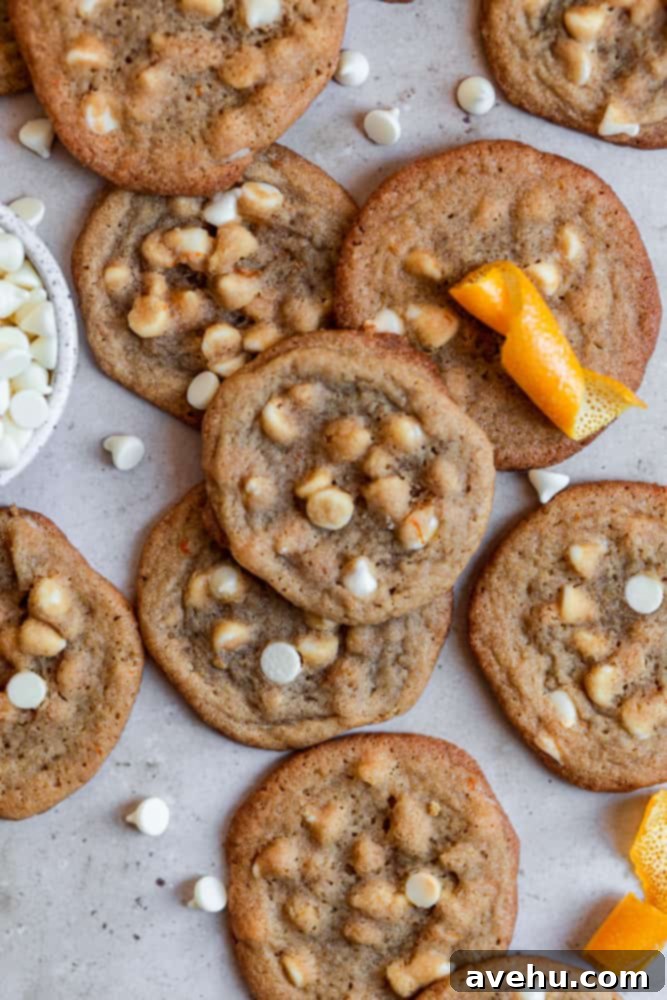
Irresistibly Crispy & Chewy Orange Creamsicle Cookies with White Chocolate Chips: Your New Favorite Citrus Delight
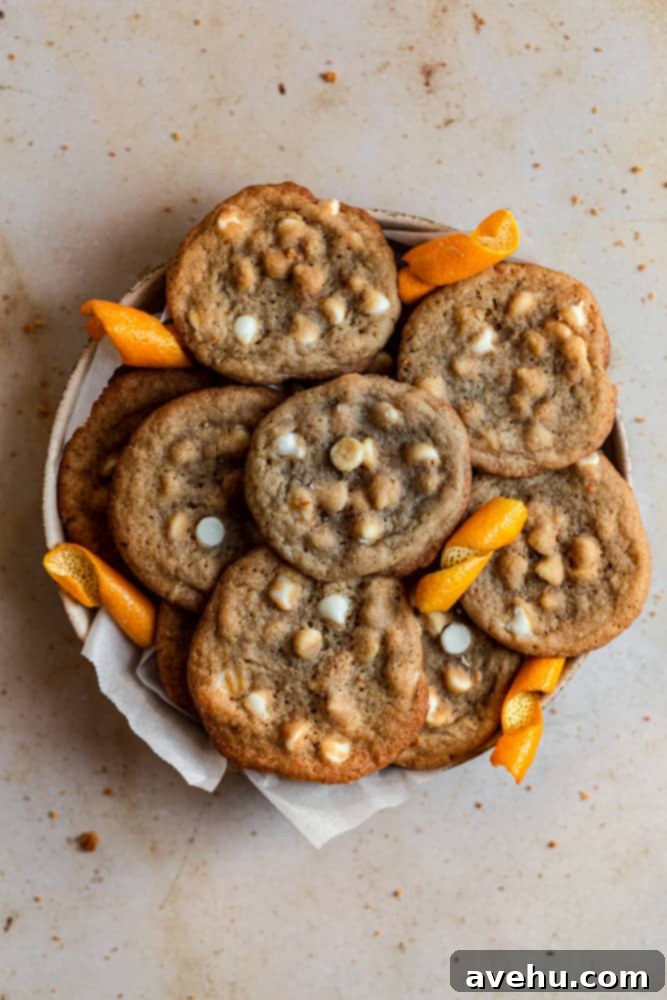
Imagine your favorite creamsicle transformed into a warm, buttery, and utterly delightful cookie. That’s exactly what you get with these incredible orange cookies! They boast a wonderfully crispy exterior that gives way to a soft, chewy interior, all studded with creamy white chocolate chips. This perfect combination of bright orange and sweet vanilla truly captures the essence of a classic creamsicle, making them a truly unforgettable treat.
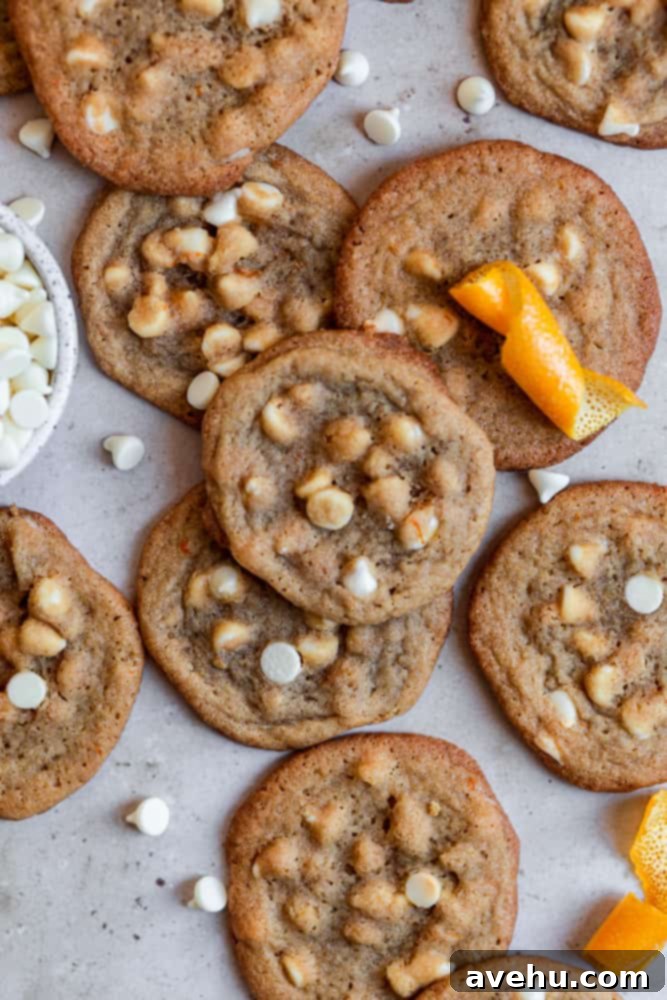
It’s funny, for the longest time, I actually couldn’t stand creamsicles. I adore both orange and vanilla flavors individually, but something about their combination in ice cream just never quite clicked for me. It always felt a bit… off. Then, I embarked on a baking adventure and created these orange cookies, and my entire perspective shifted!
If you’ve ever felt the same way about creamsicles, I urge you to give these cookies a try. I’m willing to bet they will completely change your mind. The magic lies in how the vibrant, zesty orange harmonizes with the sweet, mellow vanilla and the rich, creamy white chocolate in a baked form. It’s a symphony of flavors and textures that simply doesn’t compare to its frozen counterpart.
As a pastry school graduate, I’ve always been fascinated by how different flavors interact and complement each other. These orange cookies are a prime example. The bright, tangy citrus notes from fresh orange juice and zest provide a delightful contrast to the sweet, creamy vanilla imparted by the extract and white chocolate chips. This combination creates a truly dreamy flavor profile. My love affair with orange and chocolate began with my popular Chocolate Orange Shortbread Cookies, proving that citrus often pairs beautifully with rich undertones. Beyond that, I have a deep affection for anything citrusy, like these delicate Lemon Shortbread Cookies or the festive Cranberry Orange Shortbread Cookies. There’s just something inherently uplifting about citrus flavors in baked goods!
For me, the vanilla and orange flavors come alive so much more effectively in a cookie. The soft, chewy texture acts as a perfect canvas for these complementary tastes, and now I simply can’t get enough of them. Moreover, they offer that coveted crispy edge and delightful chewiness in the center – truly everything I look for in a perfect homemade cookie!
To elevate these amazing orange cookies even further, consider transforming them into a sandwich cookie. Whip up a batch of this luscious orange buttercream frosting and generously spread it between two cookies. It’s an instant pick-me-up treat that’s impossible to resist and adds another layer of bright citrus flavor and creamy texture.
Why You’ll Fall in Love with This Orange Cookie Recipe
These orange creamsicle cookies aren’t just another dessert; they’re a delightful experience waiting to happen. Here’s why they’re destined to become a staple in your baking repertoire:
- Perfect Texture: Crispy Edges, Chewy Centers: Achieving that ideal cookie texture can be a challenge, but this recipe nails it. Each bite delivers a satisfying crispness on the outside, giving way to a wonderfully soft and chewy center. This contrast makes them incredibly addictive.
- Bursting with Authentic Orange Flavor: We don’t rely on artificial flavors here. These cookies are infused with the bright, natural essence of fresh orange juice and zest. Every morsel delivers a vibrant, sunny citrus punch that tastes like pure sunshine.
- Effortlessly Easy to Make: Don’t let their gourmet taste fool you – these orange cookies are surprisingly simple to whip up. With straightforward steps and common pantry ingredients, even novice bakers can achieve spectacular results. It’s an easy cookie recipe that promises big rewards.
- A Unique Creamsicle Experience: If you love the classic orange and vanilla creamsicle flavor but prefer it in a baked good, these cookies are your dream come true. The white chocolate chips perfectly complement the orange, creating that iconic creamy vanilla note in every bite.
- Versatile for Any Occasion: Whether you’re baking for a special gathering, a casual weeknight dessert, or just craving a delicious treat, these orange cookies fit the bill. Their vibrant flavor and appealing texture make them a crowd-pleaser for any event.
Essential Ingredients for Your Perfect Orange Cookies
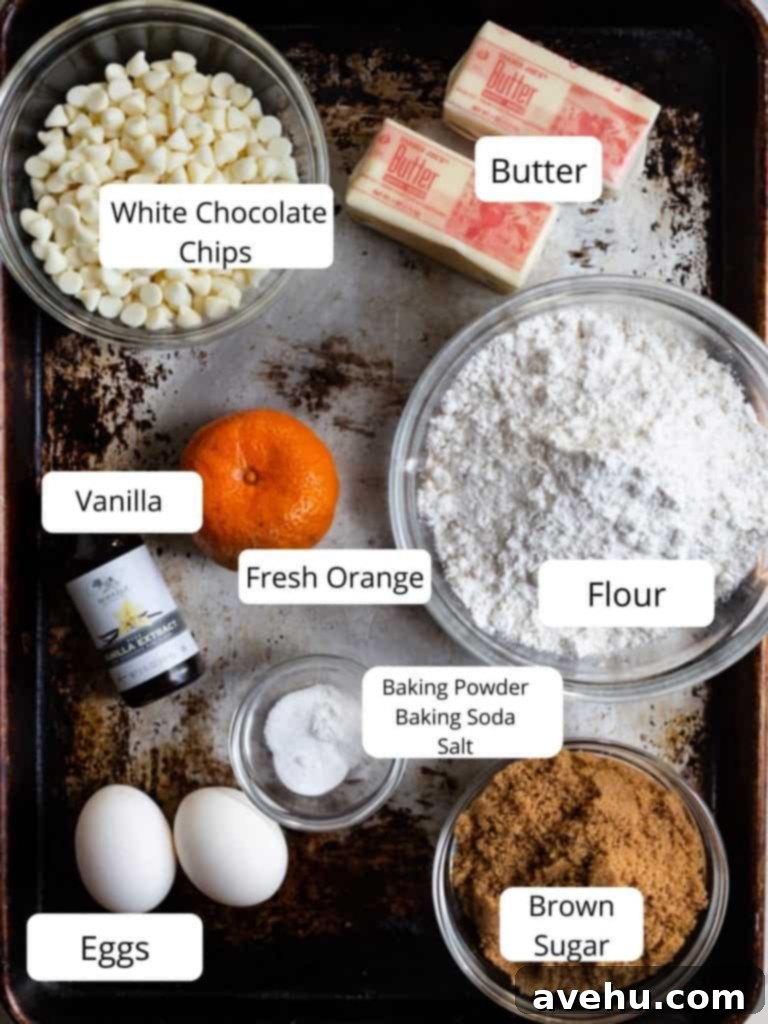
Crafting these delectable orange cookies requires a few key ingredients, each playing a crucial role in achieving that perfect flavor and texture:
- Unsalted Butter (Softened): This is the foundation of our buttery cookies. Using softened unsalted butter is vital for proper creaming with the sugar, which incorporates air and creates a light, tender crumb. If your butter isn’t softened, you can learn how to soften butter quickly with a few simple tricks.
- Brown Sugar: While granulated sugar provides crispness, brown sugar is the secret to a wonderfully moist and chewy cookie. Its molasses content adds depth of flavor and contributes significantly to the irresistible chewiness.
- Fresh Orange (Juice & Zest): For an authentic, bright, and strong orange flavor, you’ll need one fresh orange. Using both the zest (which contains aromatic oils) and the juice ensures a multi-dimensional citrus punch. While you can substitute orange extract, use it sparingly (1 teaspoon) as it can be quite potent and may not offer the same nuanced flavor as fresh citrus.
- Egg and Extra Egg Yolk: Eggs are essential for binding the ingredients and providing structure to the cookie dough, preventing it from crumbling. The addition of an extra egg yolk contributes to a richer flavor and an even chewier texture, making these cookies truly decadent.
- Vanilla Extract: A touch of vanilla extract is crucial for balancing and enhancing the orange and white chocolate flavors. It adds a warm, classic sweetness that rounds out the entire profile, mimicking the “creamsicle” effect.
- All-Purpose Flour: This forms the primary bulk and structure of our cookies. Make sure to measure it correctly, ideally by weight or using the spoon-and-level method, to avoid dense or dry cookies.
- Baking Soda: As a chemical leavening agent, baking soda reacts with acidic ingredients (like brown sugar and potentially the orange juice) to help the cookies spread and become tender.
- Baking Powder: Another leavening agent, baking powder works to give the cookies a slight lift and contributes to their overall soft texture. Using both baking soda and baking powder creates a balanced rise.
- Kosher Salt: Don’t underestimate the power of salt in sweet baking! It enhances all the other flavors, making the orange brighter and the vanilla and chocolate richer. It also balances the sweetness, preventing the cookies from tasting overly sugary.
- White Chocolate Chips: This is where the “creamsicle” magic truly happens! In addition to the vanilla extract, white chocolate chips provide a creamy, sweet counterpoint to the vibrant orange, adding both flavor and delightful pockets of texture throughout the cookie. Their melting quality during baking creates gooey pockets that make these cookies truly special.
How to Master These Delicious Orange Cookies
Creating these crispy-chewy orange cookies is a straightforward process, but a few key steps ensure perfection. Follow these instructions carefully for the best results:
- Step 1: Prepare Your Workspace and Wet Ingredients: Begin by preheating your oven to 350°F (175°C). Line two baking sheets with parchment paper; this prevents sticking and ensures even baking, then set them aside. In the bowl of a stand mixer fitted with the paddle attachment (or a large bowl with a hand mixer), combine the softened unsalted butter and brown sugar. Crucially, zest your fresh orange directly over the sugar in the bowl. This method helps capture all the aromatic oils from the zest, infusing the sugar with intense orange flavor from the start. Cream the butter, sugar, and orange zest together on medium speed for about 1 minute, until the mixture is light and fluffy. Next, add the large egg, extra egg yolk, vanilla extract, and fresh orange juice. Mix on low speed for another minute until everything is well combined and smooth. Be careful not to overmix at this stage.
- Step 2: Incorporate the Dry Ingredients: In a separate medium bowl, whisk together the all-purpose flour, baking soda, baking powder, and kosher salt. This step ensures that the leavening agents and salt are evenly distributed throughout the flour, preventing pockets of unmixed ingredients in your cookies.
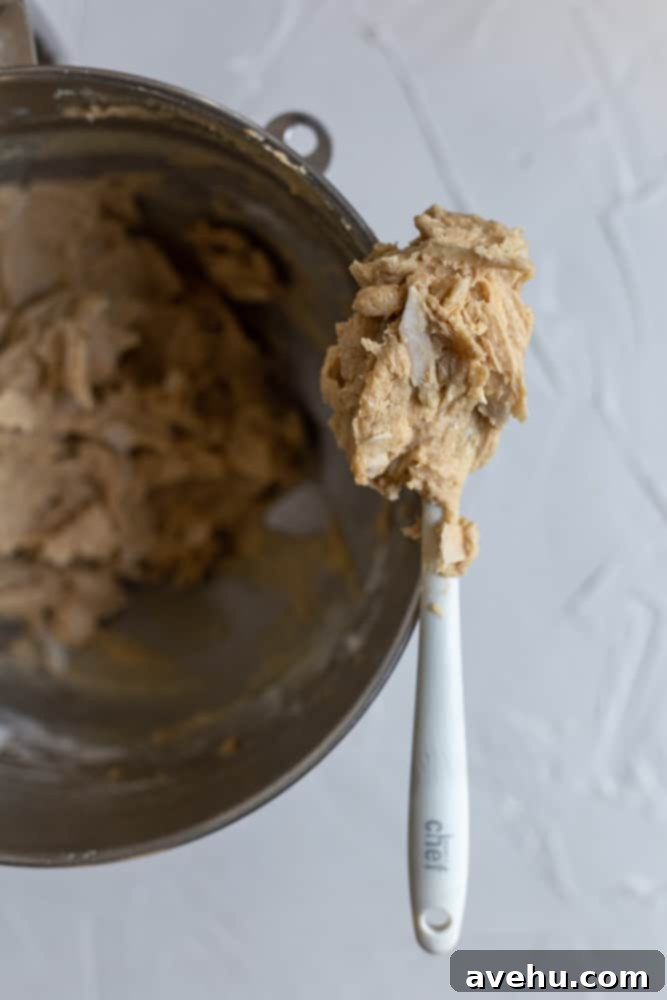
- Step 3: Combine and Add White Chocolate Chips: Gradually add the dry ingredient mixture to the wet ingredients in the mixer bowl. Mix on low speed until just combined. Overmixing the flour can lead to tough cookies, so stop as soon as no dry streaks remain. Once the dough is mostly combined, fold in the white chocolate chips. Mix until they are evenly distributed throughout the cookie dough, but again, avoid overmixing.
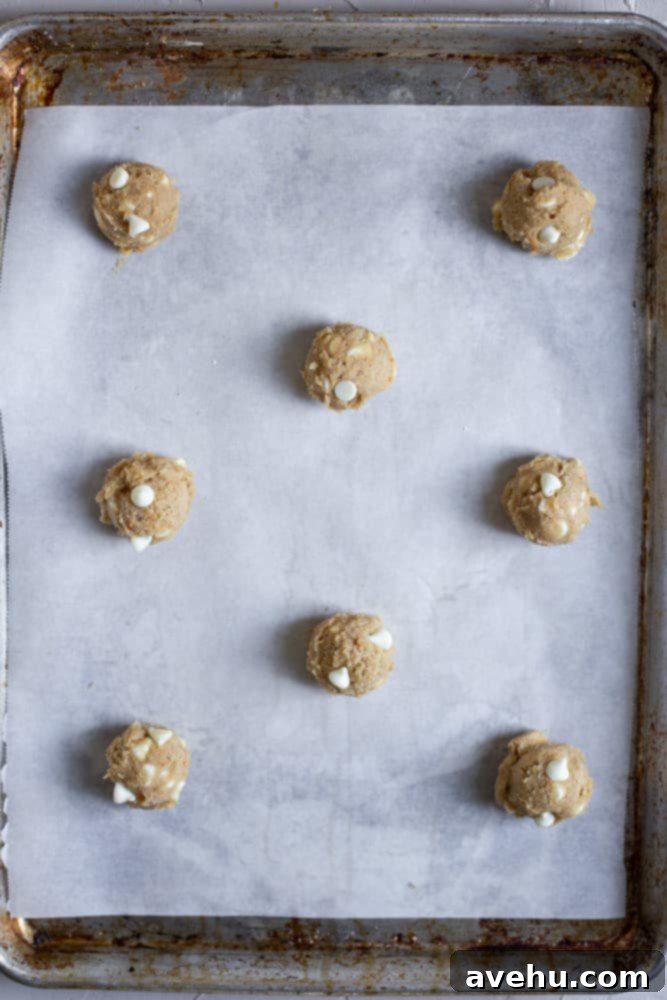
- Step 4: Scoop and Chill the Dough: Using a small cookie scoop (approximately 1 tablespoon in size) or a regular tablespoon, scoop uniform balls of dough onto one of your prepared baking sheets. For an extra touch, you can gently press a few additional white chocolate chips onto the tops of the dough balls. At this stage, you can place the dough balls relatively close together to save space on the sheet since they won’t be baked yet. This chilling step is absolutely crucial for preventing excessive spreading and ensuring your cookies maintain their delightful crispy-chewy texture. Place the entire baking sheet with the scooped cookie dough into the freezer for at least 30 minutes, or up to 2 hours in the refrigerator.
- Step 5: Bake to Golden Perfection: Once the dough has chilled, remove it from the freezer/refrigerator. Arrange the chilled cookie dough balls on your parchment-lined baking sheets, ensuring they are spaced at least 2 inches apart to allow for proper spreading during baking. You will likely need to bake the cookies in batches. Transfer the baking sheets to your preheated 350°F (175°C) oven and bake for 13-14 minutes, or until the edges are golden brown and set, but the centers still look slightly soft. This ensures that perfect crispy-chewy texture.
- Step 6: Cool and Enjoy: Once baked, remove the cookies from the oven and let them cool on the baking sheets for about 5 minutes. This allows them to firm up slightly before you transfer them. Then, carefully move the cookies to a wire rack to cool completely. Enjoy your freshly baked, irresistibly crispy and chewy orange creamsicle cookies!
The Secret to Unleashing Maximum Orange Flavor in Your Cookies
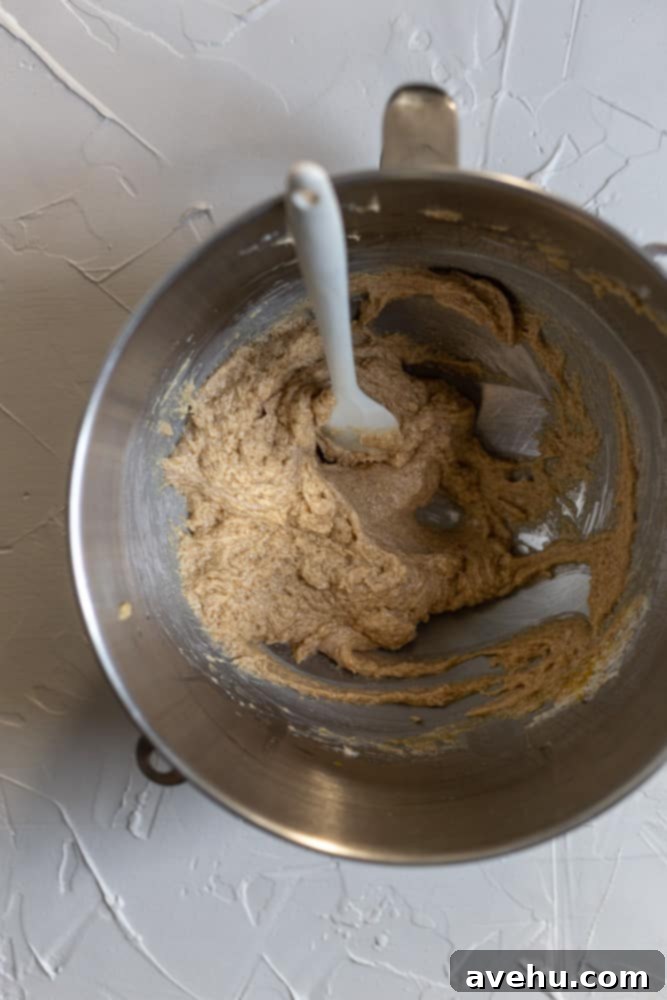
To truly get the most vibrant and authentic orange flavor into your cookies, there’s a simple yet powerful technique you should always employ: zest the orange directly over your sugar.
Here’s why this works wonders: Orange zest is packed with tiny pockets of essential oils, which are responsible for that incredibly aromatic and potent citrus flavor. If you zest the orange into a separate bowl first, a significant portion of these precious oils can be lost as they cling to the bowl or evaporate. By zesting directly onto the sugar, the sugar crystals act like tiny sponges, immediately absorbing these flavorful oils. When you then cream the butter and sugar together, the orange-infused sugar ensures that the citrus essence is thoroughly distributed and deeply integrated into every part of your cookie dough.
This clever trick isn’t limited to just orange cookies. It’s a fantastic method for any recipe that calls for citrus zest, whether it’s lemon, lime, or grapefruit. Always remember: zest your citrus directly over the sugar for maximum flavor infusion!
Storing and Freezing Your Delicious Orange Cookies
Whether you’re planning to enjoy them fresh or save some for later, these orange cookies are incredibly versatile when it comes to storage:
Storing Baked Cookies: Once your cookies have cooled completely, place them in an airtight container. They will maintain their freshness, crispy edges, and chewy centers at room temperature for up to 5 days. For optimal freshness and to prevent them from drying out, you might want to place a slice of bread in the container; the cookies will absorb moisture from the bread, keeping them soft.
Freezing Baked Cookies: These cookies freeze exceptionally well! To freeze, arrange fully cooled cookies in a single layer on a baking sheet and freeze until solid (about 1-2 hours). Once frozen, transfer them to an airtight, freezer-safe zip-top bag or container. They can be stored in the freezer for up to 3 months. When you’re ready to enjoy, simply thaw them at room temperature for about 30 minutes, or warm them briefly in a microwave for a freshly baked experience.
Freezing Cookie Dough for Future Baking: This is a fantastic option for meal prepping your desserts! Once you’ve scooped your cookie dough balls onto a baking sheet, freeze them for about 30 minutes until they are firm. Then, transfer the frozen dough balls to an airtight, freezer-safe zip-top bag. The dough can be stored in the freezer for up to 2 months. When you’re craving a warm, fresh cookie, simply take out as many dough balls as you like, space them 2 inches apart on a parchment-lined baking sheet, and bake them from frozen. You might need to add an extra 1-2 minutes to the baking time (14-16 minutes total) compared to fresh dough, but they will bake up perfectly, providing you with a quick and easy cookie fix whenever inspiration strikes.
Expert Recipe Tips for Orange Cookie Success
Achieving the perfect batch of these orange cookies is easy with a few insider tips:
- Choose Your Orange Wisely (or Adapt!): Any type of fresh orange – Navel, Valencia, Cara Cara – will work wonderfully for this recipe. However, if you don’t have a fresh orange on hand or simply prefer the convenience of extract, you can substitute 1 teaspoon of orange extract for both the juice and the zest. Be mindful that extract is more concentrated, so 1 teaspoon is generally sufficient for a strong flavor.
- Precision Scooping for Uniformity: For consistent cookie size and even baking, I highly recommend using a small cookie scoop, which holds approximately 1 tablespoon of dough. If you don’t have one, a regular kitchen tablespoon will work just fine – just try to eyeball consistent amounts. Uniform cookies not only look professional but also ensure every cookie bakes through at the same rate.
- Strategic Chilling and Spacing: When scooping the cookie dough and preparing it for chilling (especially if you plan to freeze for later baking), you can place the dough balls relatively close together on the baking sheet to maximize space. This is fine because they won’t spread during chilling. However, the most critical tip for baking is to ensure they are spaced at least 2 inches apart before baking! This generous spacing is crucial to prevent the cookies from spreading into each other as they bake. You will almost certainly need to bake them in batches to achieve this, which is perfectly normal for most cookie recipes.
- Room Temperature Ingredients are Key: Ensure your butter and egg are at room temperature before you start mixing. Room temperature butter creams more effectively with sugar, incorporating air for a lighter texture. Room temperature eggs emulsify better with the other ingredients, leading to a smoother, more uniform dough.
- Don’t Overmix the Dough: Once you add the dry ingredients to the wet, mix until just combined. Overmixing develops the gluten in the flour, which can lead to tough, dense cookies instead of the desired chewy texture.
- Trust Your Oven, But Verify: Ovens can have hot spots. If possible, rotate your baking sheets halfway through the baking time to ensure all cookies bake evenly. Cookies are done when the edges are golden brown and set, but the centers still look slightly soft. They will continue to set as they cool.
- Parchment Paper is Your Friend: Always use parchment paper! It not only prevents sticking but also aids in even heat distribution and makes cleanup a breeze. Never bake cookies directly on a greased baking sheet alone, as it can cause them to spread excessively.
Orange Cookie Recipe FAQs
Here are answers to some common questions about making these delicious orange cookies:
Q: What gives these orange cookies their moist and chewy texture?
A: The secret lies in the brown sugar! Brown sugar contains molasses, which not only adds a lovely depth of flavor but also contributes significantly to the cookie’s moisture content and soft, chewy consistency. Additionally, the extra egg yolk helps create a richer, chewier crumb.
Q: Can I use bottled orange juice instead of fresh?
A: While I highly recommend fresh orange juice for the most vibrant and authentic flavor, bottled orange juice can be used as a substitute if fresh isn’t available. Just make sure it’s 100% orange juice without added sugars or flavors that might alter the cookie’s profile. However, be aware that the flavor might not be as bright or intense as with freshly squeezed juice and zest.
Q: What’s the best way to zest an orange?
A: For effortlessly fine and aromatic zest, I swear by a microplane zester. It’s incredibly effective at grating just the colorful outer layer (the zest) without digging into the bitter white pith underneath. Simply glide the orange gently over the blades, rotating it as you go, until all the zest is collected. Remember to zest directly over the sugar for maximum flavor!
Q: Can I prepare these cookies ahead of time?
A: Absolutely! These orange cookies are fantastic for making ahead. Once you’ve prepared the cookie dough and scooped it into balls, arrange them on a baking sheet and freeze for about 30 minutes until solid. Then, transfer the frozen cookie dough balls to an airtight zip-top bag or freezer-safe container, where they will keep well for up to 2 months. When you’re ready to bake, simply place the frozen dough balls 2 inches apart on a parchment-lined baking sheet and bake for approximately 13-14 minutes, or until the edges are golden and the centers are slightly soft. This makes fresh-baked cookies a breeze any time!
Q: Why did my cookies spread too much?
A: Several factors can cause cookies to spread excessively. Ensure your butter wasn’t too soft (overly melted butter will make dough runny). Chilling the dough is crucial – don’t skip this step! Using too much butter or not enough flour can also be culprits. Lastly, make sure your oven temperature is accurate; an oven that’s too low won’t set the cookies quickly enough, leading to spreading.
Q: How can I make these cookies even more “creamsicle-like”?
A: To boost the creamsicle factor, ensure you’re using fresh orange zest and juice for vibrant orange flavor. Don’t skimp on the vanilla extract, as it’s key to the creamy vanilla taste. For an ultimate indulgence, consider dipping half of the cooled cookies in melted white chocolate and allowing it to set, or sandwich them with the orange buttercream frosting mentioned earlier!
Love Citrusy Cookies? Discover More Recipes!
If you’ve fallen in love with the bright, zesty flavors of these orange cookies, you’re in for a treat! Citrus fruits add an incomparable freshness and zing to baked goods. Explore more of my favorite citrus-infused cookie recipes below:
- Cranberry Orange Shortbread Cookies: A delightful blend of sweet, tart, and zesty, perfect for the holidays or any time you crave a comforting cookie.
- Chocolate Orange Shortbread Cookies: A sophisticated pairing of rich chocolate and vibrant orange in a tender, melt-in-your-mouth shortbread.
- Chewy Lemon Coconut Cookies: A tropical twist with bright lemon and chewy coconut for a truly refreshing cookie experience.
- Raspberry Lemon Linzer Cookies: Elegant and flavorful, these delicate cookies feature a zesty lemon shortbread filled with sweet-tart raspberry jam.


Crispy and Chewy Orange Cookie Recipe
Pin
Review
SaveSaved!
Ingredients
- 1 cup (227 g) unsalted butter, softened
- 1 cup (220 g) brown sugar
- 2 tsp (2 tsp) orange zest
- 1 large (1 large) egg
- 1 large (1 large) egg yolk
- 1 tsp (1 tsp) vanilla extract
- 2 tsp (2 tsp) orange juice, fresh
- 2.5 cups (312.5 g) all purpose flour
- 1/2 tsp (0.5 tsp) baking soda
- 1/2 tsp (0.5 tsp) baking powder
- 1/4 tsp (0.25 tsp) kosher salt
- 1 1/2 cup (270 g) white chocolate chips
Instructions
-
Preheat the oven to 350 F and line 2 cookie sheets with parchment paper and set aside.You can make this by hand or in a stand mixer or with a hand mixer on low- medium speed.
-
In the bowl of a stand mixer fitted with the paddle attachment add the 1 cup butter, the 1 cup brown sugar, and 2 tsp zest. Cream for 1 minute until fluffy. Add in the 1 egg, 1 egg yolk, 1 tsp vanilla, 2 tsp orange juice and zest. Mix on low speed for 1 minutes to combine.
-
Add in the 2.5 cups flour, ½ tsp baking soda, ½ tsp baking powder, and ¼ kosher salt. Mix until incorporated. Add in the white chocolate chips and mix together until they are mixed evenly throughout.
-
Using a small cookie scoop or a tablespoon kitchen spoon, scoop out the dough onto the cookie sheet. Press more white chocolate chips into the cookie dough if you want! The cookies can be spaced close together right now while they are chilling. Chill the cookies in the freezer for 30 mins.
-
Bake the cookies 2 inches apart on separate cookie sheets for 13-14 minutes. You will need to bake the cookies in batches. Cool on a cookie rack and enjoy!
Notes
You can substitute orange extract for the juice but only use 1 tsp.
These cookies freeze really well.
