Crafting the Perfect Naked Cake: A Comprehensive Guide to Rustic Elegance with Fresh Flowers
Making a showstopping naked cake is surprisingly simpler than it appears, making it an ideal project for both novice and experienced bakers alike. This charmingly rustic dessert offers incredible versatility, allowing you to tailor its aesthetic from understated simplicity to an elaborate floral masterpiece. Whether you’re planning a casual birthday celebration or an elegant wedding, a beautifully adorned naked cake effortlessly adds a touch of natural sophistication to any occasion. All you need are a few fundamental baking tools, a reliable recipe, and a creative vision for your decorations, particularly when incorporating fresh flowers.
What Exactly is a Naked Cake?
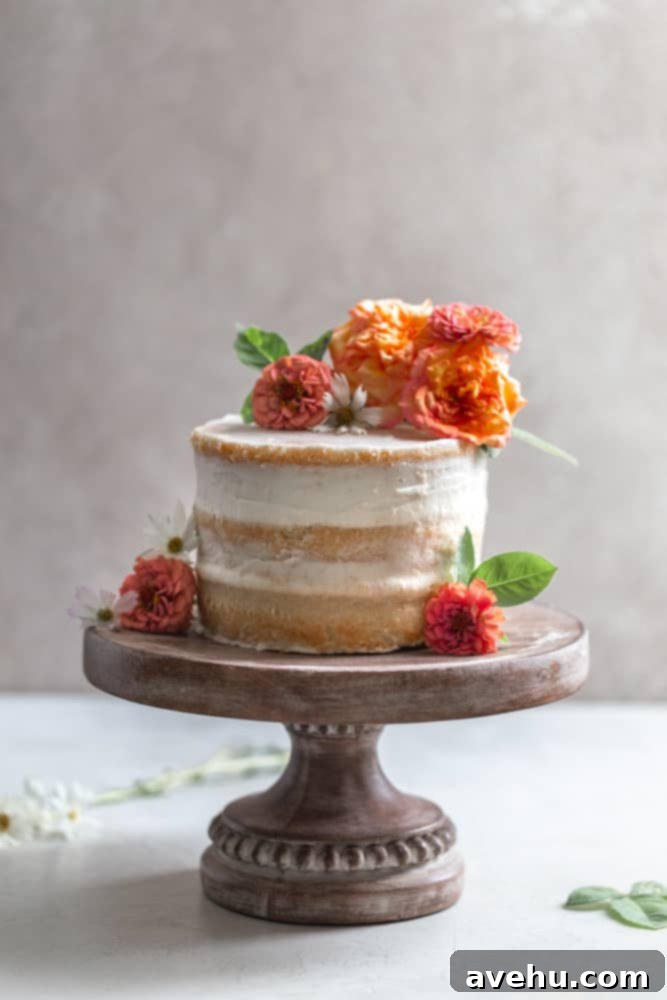
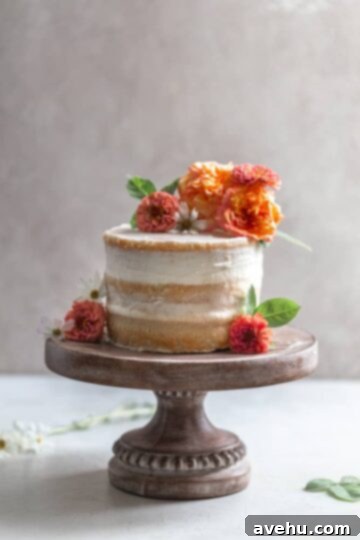
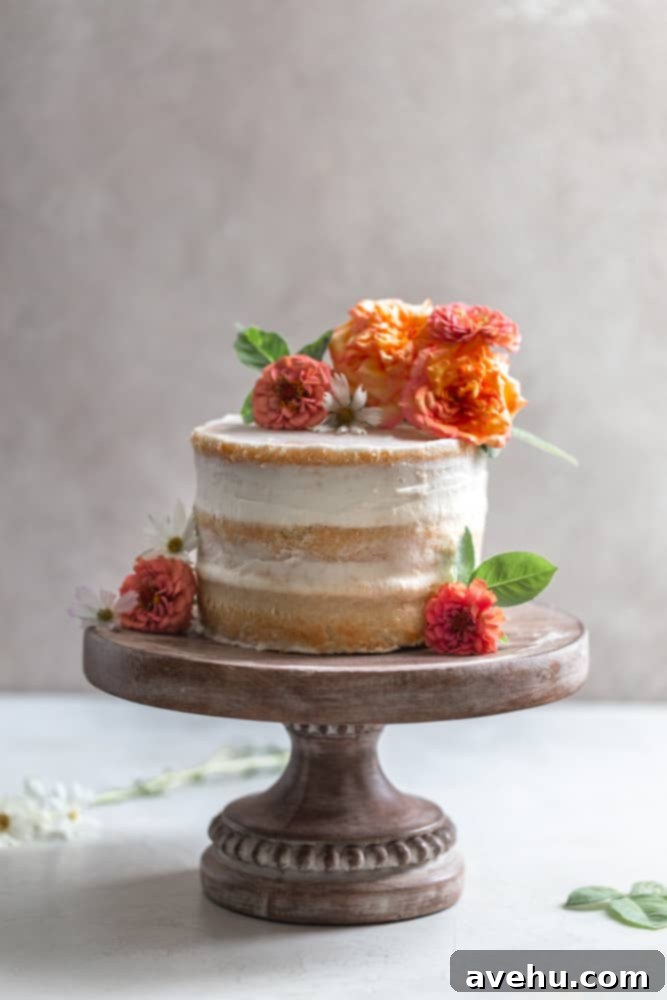
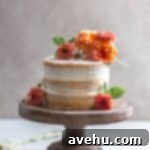
At its core, a naked cake is characterized by its minimal, or sometimes completely absent, exterior frosting. Unlike traditional cakes that are fully encased in a thick layer of buttercream, a naked cake intentionally exposes its beautifully baked layers and the delicious filling in between. While the inner layers are generously filled with buttercream or another type of frosting, the sides of the cake feature only a very thin, translucent “crumb coat” or are left entirely bare, revealing the natural texture and color of the cake itself. This deliberate imperfection is central to its appeal.
The allure of naked cakes lies in their distinctly rustic and organic aesthetic. They embody a relaxed elegance that feels both modern and timeless. This style frees bakers from the immense pressure of achieving perfectly smooth, flawless frosting – in fact, a slightly “messy” or artfully unfinished look is part of its charm. If the frosting isn’t perfectly even or a few crumbs show through, it’s simply embraced as part of the cake’s authentic, homemade character. This forgiving nature makes naked cakes a fantastic choice for those who might feel intimidated by intricate cake decorating techniques.
Why Choose a Naked Cake? The Benefits Beyond Beauty
Beyond their stunning visual appeal, naked cakes offer several practical advantages that contribute to their widespread popularity:
- Reduced Sweetness: For those who find heavily frosted cakes overly sweet, the minimal frosting on a naked cake provides a more balanced flavor profile, allowing the cake itself and the filling to truly shine.
- Showcases the Cake: The exposed layers highlight the quality and color of the cake, making it the star of the show. Imagine contrasting layers of vanilla and chocolate, or a vibrant red velvet peeking through!
- Rustic Charm & Versatility: The raw, unfussy look of a naked cake makes it perfect for rustic-themed events, outdoor weddings, or any gathering where a natural, organic feel is desired. Yet, with the right decorations, it can also be incredibly sophisticated and elegant.
- Easier to Decorate: Without the need for a perfectly smooth outer layer of frosting, decorating a naked cake can be much less stressful. Imperfections are easily masked or even celebrated, particularly when adorned with elements like fresh flowers or fruits.
- Unique Aesthetic: They stand out from conventional cakes, offering a fresh, contemporary alternative that guests will remember.
Essential Equipment and Ingredients for Your Naked Cake
Before you begin, gather these fundamental tools and ingredients. Having everything ready will streamline your baking and decorating process.
- At least 3 layers of a quality cake
- Delicious and stable buttercream
- Fresh flowers (and greenery!) for decoration
- A sturdy and attractive cake stand
- An offset spatula and/or bench scraper
- Optional: Cake turntable, cardboard cake boards, floral tape/plastic wrap
Choosing Your Cake Base
The foundation of any great cake is a superb cake recipe. For naked cakes, while you might initially gravitate towards classic vanilla for its neutral “canvas” that allows floral colors to pop, don’t limit your creativity! Rich chocolate cake, vibrant red velvet, zesty lemon, or even a spiced carrot cake can all make stunning naked cakes, offering delightful flavor combinations with your chosen frosting and decorations.
The Importance of Layers and Height: To achieve that dramatic, showstopper effect characteristic of naked cakes, baking enough layers is crucial. Aim for at least three layers; this immediately gives the cake an impressive height and allows for more visible layers of cake and frosting, which is far more visually appealing than a two-layer cake. Imagine the beautiful stripes of cake and filling – more layers mean more impact.
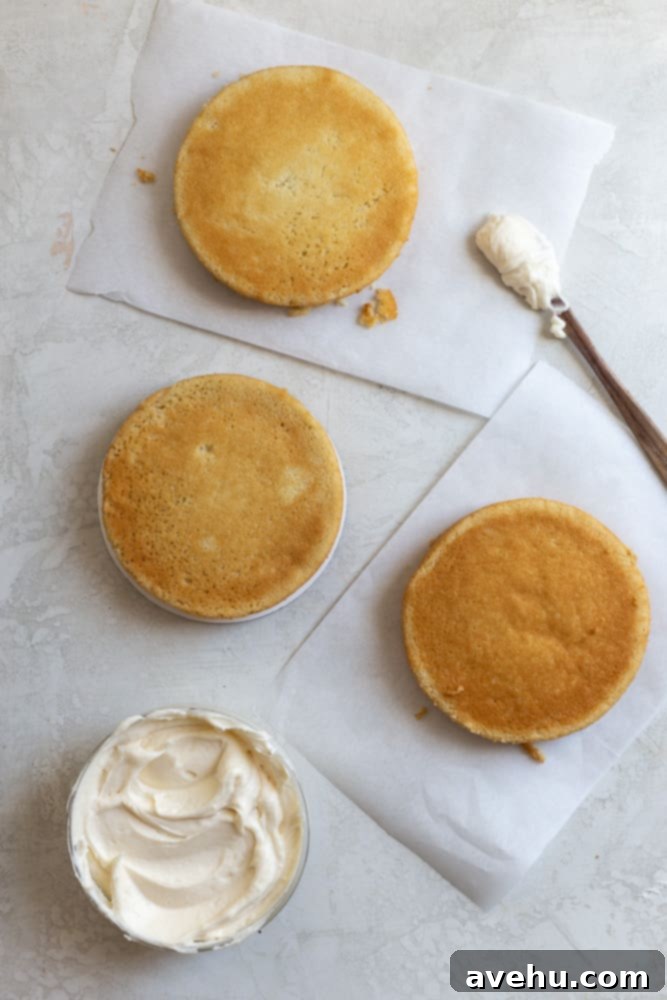
Furthermore, ensure your cake layers are even and level. Uneven layers can lead to a lopsided or unstable cake. After baking and cooling, use a sharp serrated knife or a dedicated cake leveler to trim any domed tops, creating flat, uniform surfaces. This small step significantly contributes to a professional-looking finished product. While three layers are recommended, feel free to go higher for an even grander statement, but always prioritize stability – consider using dowels or cake supports for taller constructions.
For home bakers, a 6-inch cake with three layers is a popular choice, serving approximately 15-18 people. If you need to cater to a larger crowd, an 8-inch cake pan is a better option. Regardless of size, stick to the three-layer minimum for visual impact. Having multiple cake pans of the same size can be incredibly handy, allowing you to bake all your layers simultaneously and save time.
Perfecting Your Buttercream
A good, stable buttercream recipe is indispensable. American buttercream, with its rich, sweet flavor and easy workability, is a popular choice. However, other buttercreams like Swiss or Italian meringue buttercream can also work beautifully, offering a smoother, less sweet finish. You have complete freedom to flavor or color your buttercream to complement your cake and theme. Keep it classic and white for a timeless look, or introduce vibrant colors. For a particularly striking effect, consider an ombre color scheme, filling each layer with a slightly different shade of buttercream.
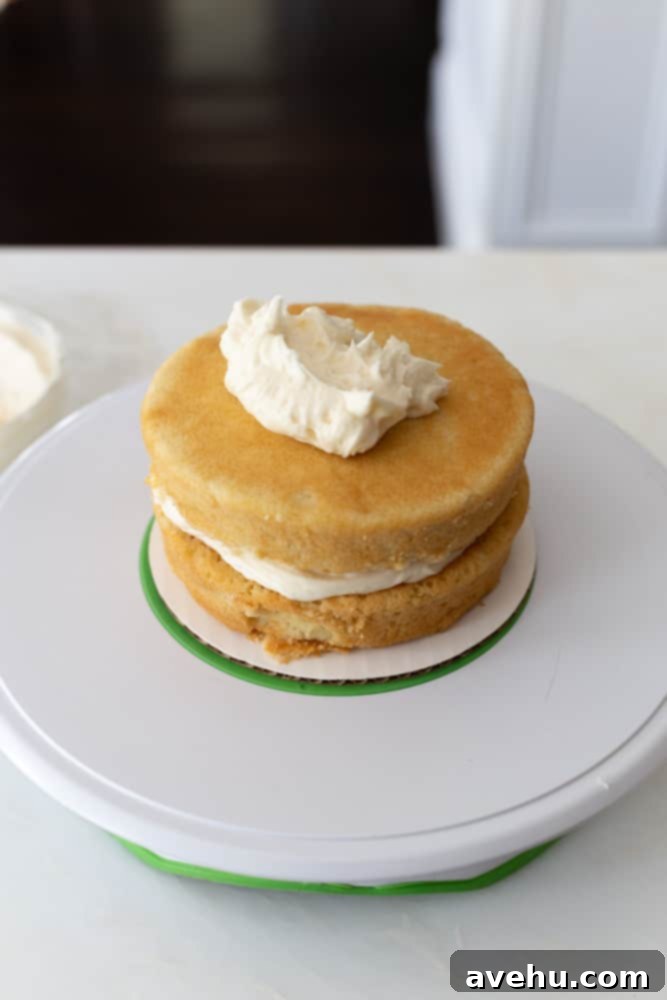
Typically, one standard recipe for buttercream should be sufficient for filling the layers and lightly frosting the top of either a 6-inch or 8-inch naked cake, as you’re not applying a heavy exterior coating. The key is to have a buttercream that holds its shape well but is still spreadable.
Selecting and Preparing Fresh Flowers
Now for the artistic part: selecting your fresh flowers! You can source beautiful blooms from local grocers like Trader Joe’s or Whole Foods (which sometimes offer edible varieties), florists, or even your own garden. While artificial flowers might seem convenient, they rarely achieve the natural elegance of fresh ones and can often look less refined. Always opt for fresh flowers for the best visual impact and authentic rustic feel, but remember to follow crucial safety guidelines.
Before purchasing, envision the final look of your cake. This will help guide your choices in terms of flower types, sizes, and colors. You don’t need a precise blueprint, but a general idea will prevent impulsive buys and ensure a cohesive design. For dynamic arrangements, choose flowers in differing sizes – a few larger focal blooms, complemented by smaller accent flowers and plenty of lush greenery. Eucalyptus, with its graceful drape, is a personal favorite for adding texture and elegance to a cake stand.
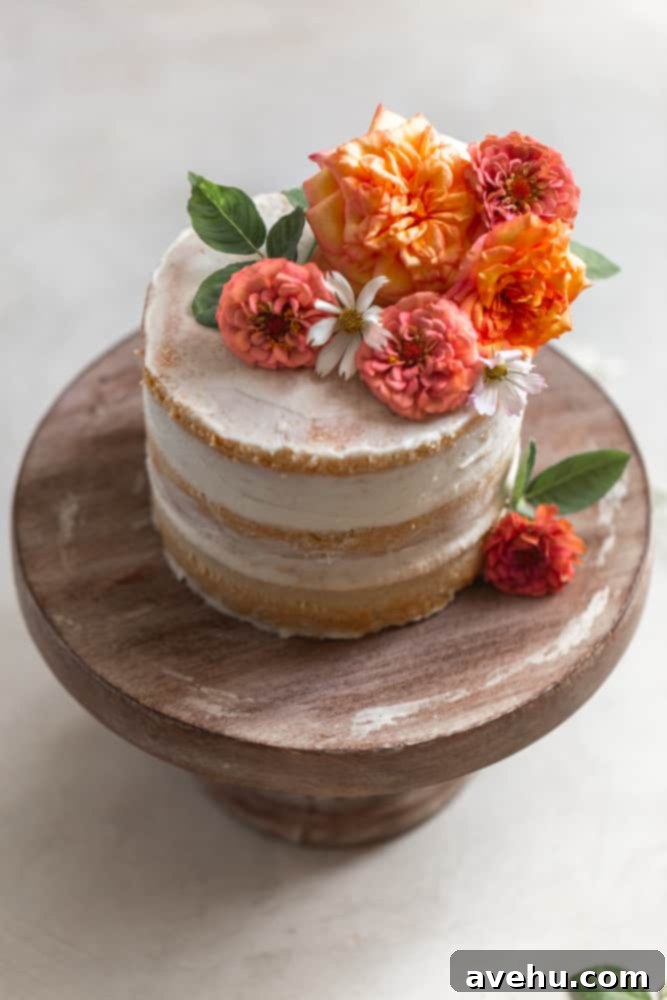
Flower Safety is Paramount: This cannot be stressed enough. Not all flowers are food-safe, and even safe ones can carry pesticides or dirt. Before placing any flowers on your cake:
- Thoroughly wash each flower, from petal to stem, with cool water.
- Gently dry them to prevent water marks on your cake.
- If inserting stems directly into the cake, always wrap them tightly in floral tape or plastic wrap to create a barrier between the stem and the cake. This prevents sap, chemicals, or bacteria from contaminating the cake.
- As an extra precaution, consider placing a thin, clear piece of plastic wrap on the top surface of the cake where the majority of your flowers will rest. This adds an additional layer of protection, and once the flowers are arranged, the plastic will be completely hidden.
Adorning a cake with fresh flowers is an incredibly rewarding method of decoration. They bring vibrant colors, delicate textures, and a natural beauty that truly enhances the rustic appeal of a naked cake, elevating it from a simple dessert to an edible work of art.
Choosing Your Cake Stand
The cake stand is not just a functional item; it’s an integral part of your cake’s presentation. Opt for a pretty, yet rustic cake stand that complements the natural aesthetic of your naked cake. Materials like wood, ceramic, or simple metal can beautifully frame your creation. While you can certainly assemble and decorate the cake directly on its final stand, working on a turntable beforehand will significantly ease the frosting process, allowing you to rotate the cake smoothly for even application and clean lines.
Step-by-Step: Assembling and Frosting Your Naked Cake
With your impeccably baked cake layers, silky buttercream, stunning flowers, and elegant cake stand ready, it’s time to bring your vision to life. This process is more forgiving than traditional cake decorating, making it enjoyable for all skill levels.
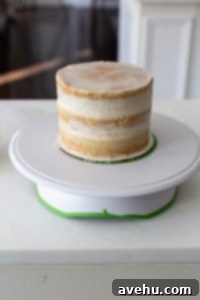
- First Layer Placement: Begin by placing your first leveled cake layer in the center of your chosen cake stand or, ideally, on a cardboard cake board if you plan to move the cake later. While not strictly necessary for a naked cake, a cardboard cake board provides extra stability and makes transferring the finished cake much easier.
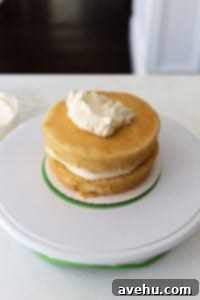
- Frosting the First Layer: Using an offset spatula or a piping bag, apply a generous, even layer of buttercream to the top of the first cake layer. Don’t stress about absolute perfection; the rustic charm allows for a more relaxed approach. The goal is a thick enough layer to be substantial but not so thick that subsequent layers become unstable.
- Adding Subsequent Layers: Take your second cake layer and carefully invert it so the flat bottom now faces upwards. This technique helps ensure a perfectly level surface for stacking. Gently place this layer on top of the buttercream. Repeat the frosting process (step 2). Continue this until all your desired layers (usually three or more) are stacked.
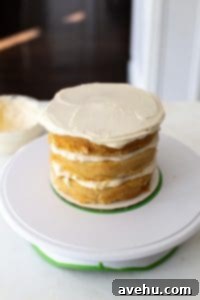
- The Top Layer and Naked Finish: Once your final cake layer is in place (flipped bottom-up for a flat top), frost its surface lightly with buttercream. The key here is a thin, delicate coating to maintain the “naked” aesthetic while providing a base for decorations or a hint of sweetness.
- Achieving the “Naked” Sides: Now, for the signature naked look on the sides. You have a few options:
- The “Barely There” Crumb Coat: Apply a very thin, translucent layer of buttercream to the sides of the cake. Use a bench scraper or a large offset spatula to gently smooth and scrape away most of the frosting, allowing the cake layers to peek through clearly. This gives a beautiful, minimalist effect and helps to lock in any loose crumbs.
- The “Peeking Frosting” Look: For an even more rustic feel, you can choose to apply no frosting to the sides at all, letting the thick buttercream filling between the layers be the only visible frosting on the exterior. This creates distinct, visible lines of cake and buttercream.
If you don’t own a bench scraper, a long, straight spatula or even a butter knife can be used to achieve a similar smoothing effect. The beauty of a naked cake is that there’s no right or wrong level of “nakedness” – it’s all about your preference!
- Ready for Decoration: Your cake is now perfectly frosted and ready for the most exciting part – decorating with fresh flowers!
How to Safely and Beautifully Add Fresh Flowers to Your Cake
Decorating a cake with fresh flowers is an art form that can be easily mastered with a few key techniques and safety considerations. If you want a deeper dive, I have a dedicated guide on how to decorate a cake with fresh flowers, but here are the essential steps:
As previously mentioned, strict hygiene is critical. Before any flower touches your cake:
- Wash and Dry Thoroughly: Rinse each flower petal by petal and stem by stem under cool running water. Gently pat them dry with paper towels.
- Barrier for Stems: If you plan to insert flower stems directly into the cake, it is absolutely essential to wrap each stem tightly in plastic wrap or food-safe floral tape. This creates a protective barrier, preventing any sap, pesticides, or microbes from contaminating your delicious cake.
- Cake Protection: For an added layer of safety, consider placing a thin, clear piece of plastic wrap or a small piece of parchment paper on the areas of the cake where the flowers will sit directly. This creates a physical barrier between the flowers and the edible cake surface. Once the flowers are arranged, this protective layer will be entirely hidden.
Attaching the Flowers:
- If your buttercream is still soft, you can gently press the base of the flower or greenery into the frosting until it adheres securely.
- If the buttercream has set or “crusted” slightly, dab a small amount of fresh, leftover buttercream onto the base of the flower or stem and then press it onto the cake. This acts as a food-safe adhesive.
Creative Decorating Ideas with Flowers
The variety of fresh flowers available means there are endless ways to make your naked cake truly unique and beautiful. Let your creativity bloom!
Consider these popular decorating styles:
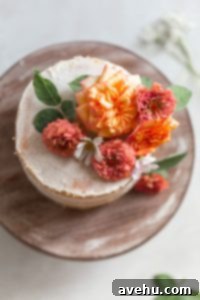
- Clustered Elegance: Create a lush cluster of roses, peonies, or other focal flowers cascading over one edge of the cake. Complement this with delicate greenery like eucalyptus or ruscus draping down the sides of the cake or even onto the cake stand for an enchanting effect.
- Central Bouquet: Arrange a small, artfully designed bouquet in the center of the top cake layer. Then, scatter individual smaller blossoms and leaves around the sides of the cake, on the cake board, or even tucked into the spaces between cake layers for a whimsical touch.
- Cascading Beauty: Start with a cluster at the top and let smaller flowers and greenery gently trail down the side of the cake, creating a natural, waterfall-like effect.
- Minimalist Sprinkles: Sometimes, less is more. A few strategically placed blooms and sprigs of greenery can be incredibly impactful on a naked cake, allowing the cake’s simplicity to shine.
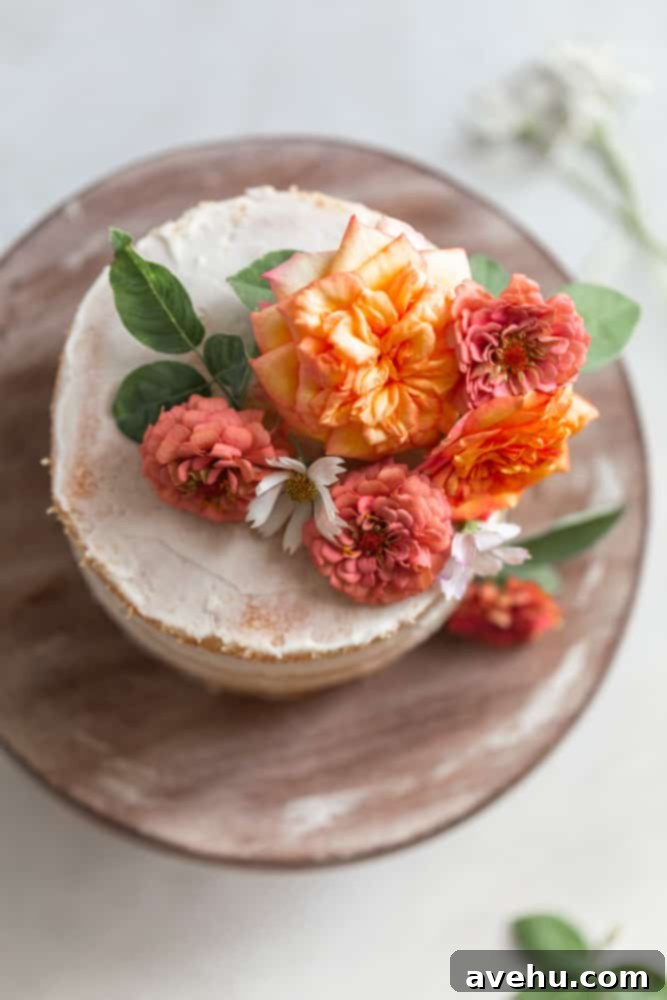
Don’t confine your decorations solely to the top of the cake. The sides, the base, and even the cake stand itself can become part of your floral tableau. There’s no single “correct” way to decorate; the most important thing is to have fun and allow your artistic instincts to guide you. If you’re not satisfied with your initial arrangement, most flowers can be carefully removed and repositioned without causing significant damage to the cake, giving you the freedom to experiment until you achieve your desired look.
Pro Tips for a Flawless Naked Cake Experience
- Level Cake Layers are Non-Negotiable: Uneven cake layers are the primary cause of wobbly, unstable cakes. Always take the time to level your cake layers after baking and cooling.
- Chill Your Cake: Chilling your cake layers before frosting makes them much easier to handle and less prone to tearing. A chilled cake also firms up the buttercream during stacking, improving stability. A brief chill (15-30 minutes) after applying your “naked” crumb coat can also help set the frosting before final decoration.
- Buttercream Consistency Matters: Your buttercream should be smooth and creamy, but firm enough to hold its shape. If it’s too soft, it will squeeze out from between layers, leading to instability. If it’s too stiff, it will be difficult to spread evenly. Adjust with a tiny bit of milk or powdered sugar as needed.
- Plan Your Floral Design: Before you start placing flowers on the cake, arrange them loosely on a piece of parchment paper next to your cake. This helps visualize the composition and ensures you have enough blooms and greenery for your desired look.
- Consider Edible Alternatives: For ultimate food safety, explore edible flowers (like pansies, violas, or calendula) or use fresh herbs like mint or rosemary for greenery. You can also use fresh fruits (berries, figs) for a natural and delicious decoration.
Making Ahead and Storing Your Naked Cake
One of the practical advantages of a naked cake is that much of the work can be done in advance.
- Cake Layers and Frosting: You can bake your cake layers and prepare your buttercream up to 2-3 days ahead of time. Store unfrosted cake layers, tightly wrapped in plastic wrap, at room temperature (if climate allows) or in the refrigerator. Buttercream can be stored in an airtight container in the refrigerator and brought to room temperature, then re-whipped until smooth before use.
- Assembly and “Naked” Frosting: The cake can be assembled and given its “naked” frosting coat 1-2 days in advance. Store the frosted, but undecorated, cake at room temperature under a cake dome or lightly covered with plastic wrap (taking care not to smudge the frosting).
- Flower Decoration: This is the crucial step to leave until the last possible minute. Fresh flowers look their absolute best within 24 hours of being arranged. Any longer, and they risk drooping or wilting, compromising the cake’s appearance. Decorate just a few hours before the event, if possible.
Storing the Decorated Cake
Once your naked cake is adorned with fresh flowers, it’s best to store it in the refrigerator. This helps keep the flowers looking vibrant and fresh for as long as possible. If the cake will be out for an extended period, consider removing the flowers shortly before serving to maintain their pristine look.
Serving Your Beautiful Cake
Before cutting into your masterpiece, remember to carefully remove all the flowers and any plastic wrap or floral tape that was used. This ensures a clean slice and avoids any non-edible elements being served with the cake.
For all the visual learners out there, make sure you watch the video for how to assemble and decorate a naked cake!
For More Cake Decorating Tutorials and Inspiration:
- 10 Ways to Make Your Cakes More Professional
- How to Stack a Two-Tier Cake
- How to Decorate a Cake with Fresh Flowers
This post contains affiliate links! This means that if you purchase something off one of those links I make a small commission at no extra cost to you. Thanks for supporting my blog!!!
Print
How to make a naked cake
Equipment
-
Offset Spatula or bench scraper
-
Cake stand
-
Cake turntable (optional)
Materials
For a 6″-8″ Naked Cake
- 3 layers cake
- 1 1/2 cups buttercream
- 1 bunch fresh flowers differing colors and style
Instructions
Fill and stack the cake:
-
Make sure the cake layers have level, even tops. Use a sharp serrated knife to level them off or a cake leveler.

-
Place one layer of cake on a cake turntable if using or on the cake stand. Fill with an even layer of buttercream then top with the second cake layer. You can turn the cake layer upside down so that the bottom becomes the top to make sure the cake is more level. Repeat this step until the 3rd, top layer of cake.

-
Using an offset spatual or bench scraper, lightly cover the top of the cake with a thin coat of buttercream.

-
You can now cover the sides with a light coat of buttercream, smoothing it out with the bench scraper or spatula. Alternatively you can just leave the sides naked and have the buttercream peak out between the layers.

-
Clean and dry each flower from petal to stem. Wrap the stems in plastic wrap if you are inserting them into the cake. Lightly cover the top of the cake with clear plastic wrap so the cake is safe from the flowers.

-
Arrange the flowers around the cake

Video
Notes
Play around! Remember there is no wrong way to do this.
Remember to add the flowers on as close to the event as possible but the cake can be made and frosted 2 days in advance.
