Decadent No-Gelatin Chocolate Mousse Cake: Your Easy Guide to Fudgy & Airy Perfection
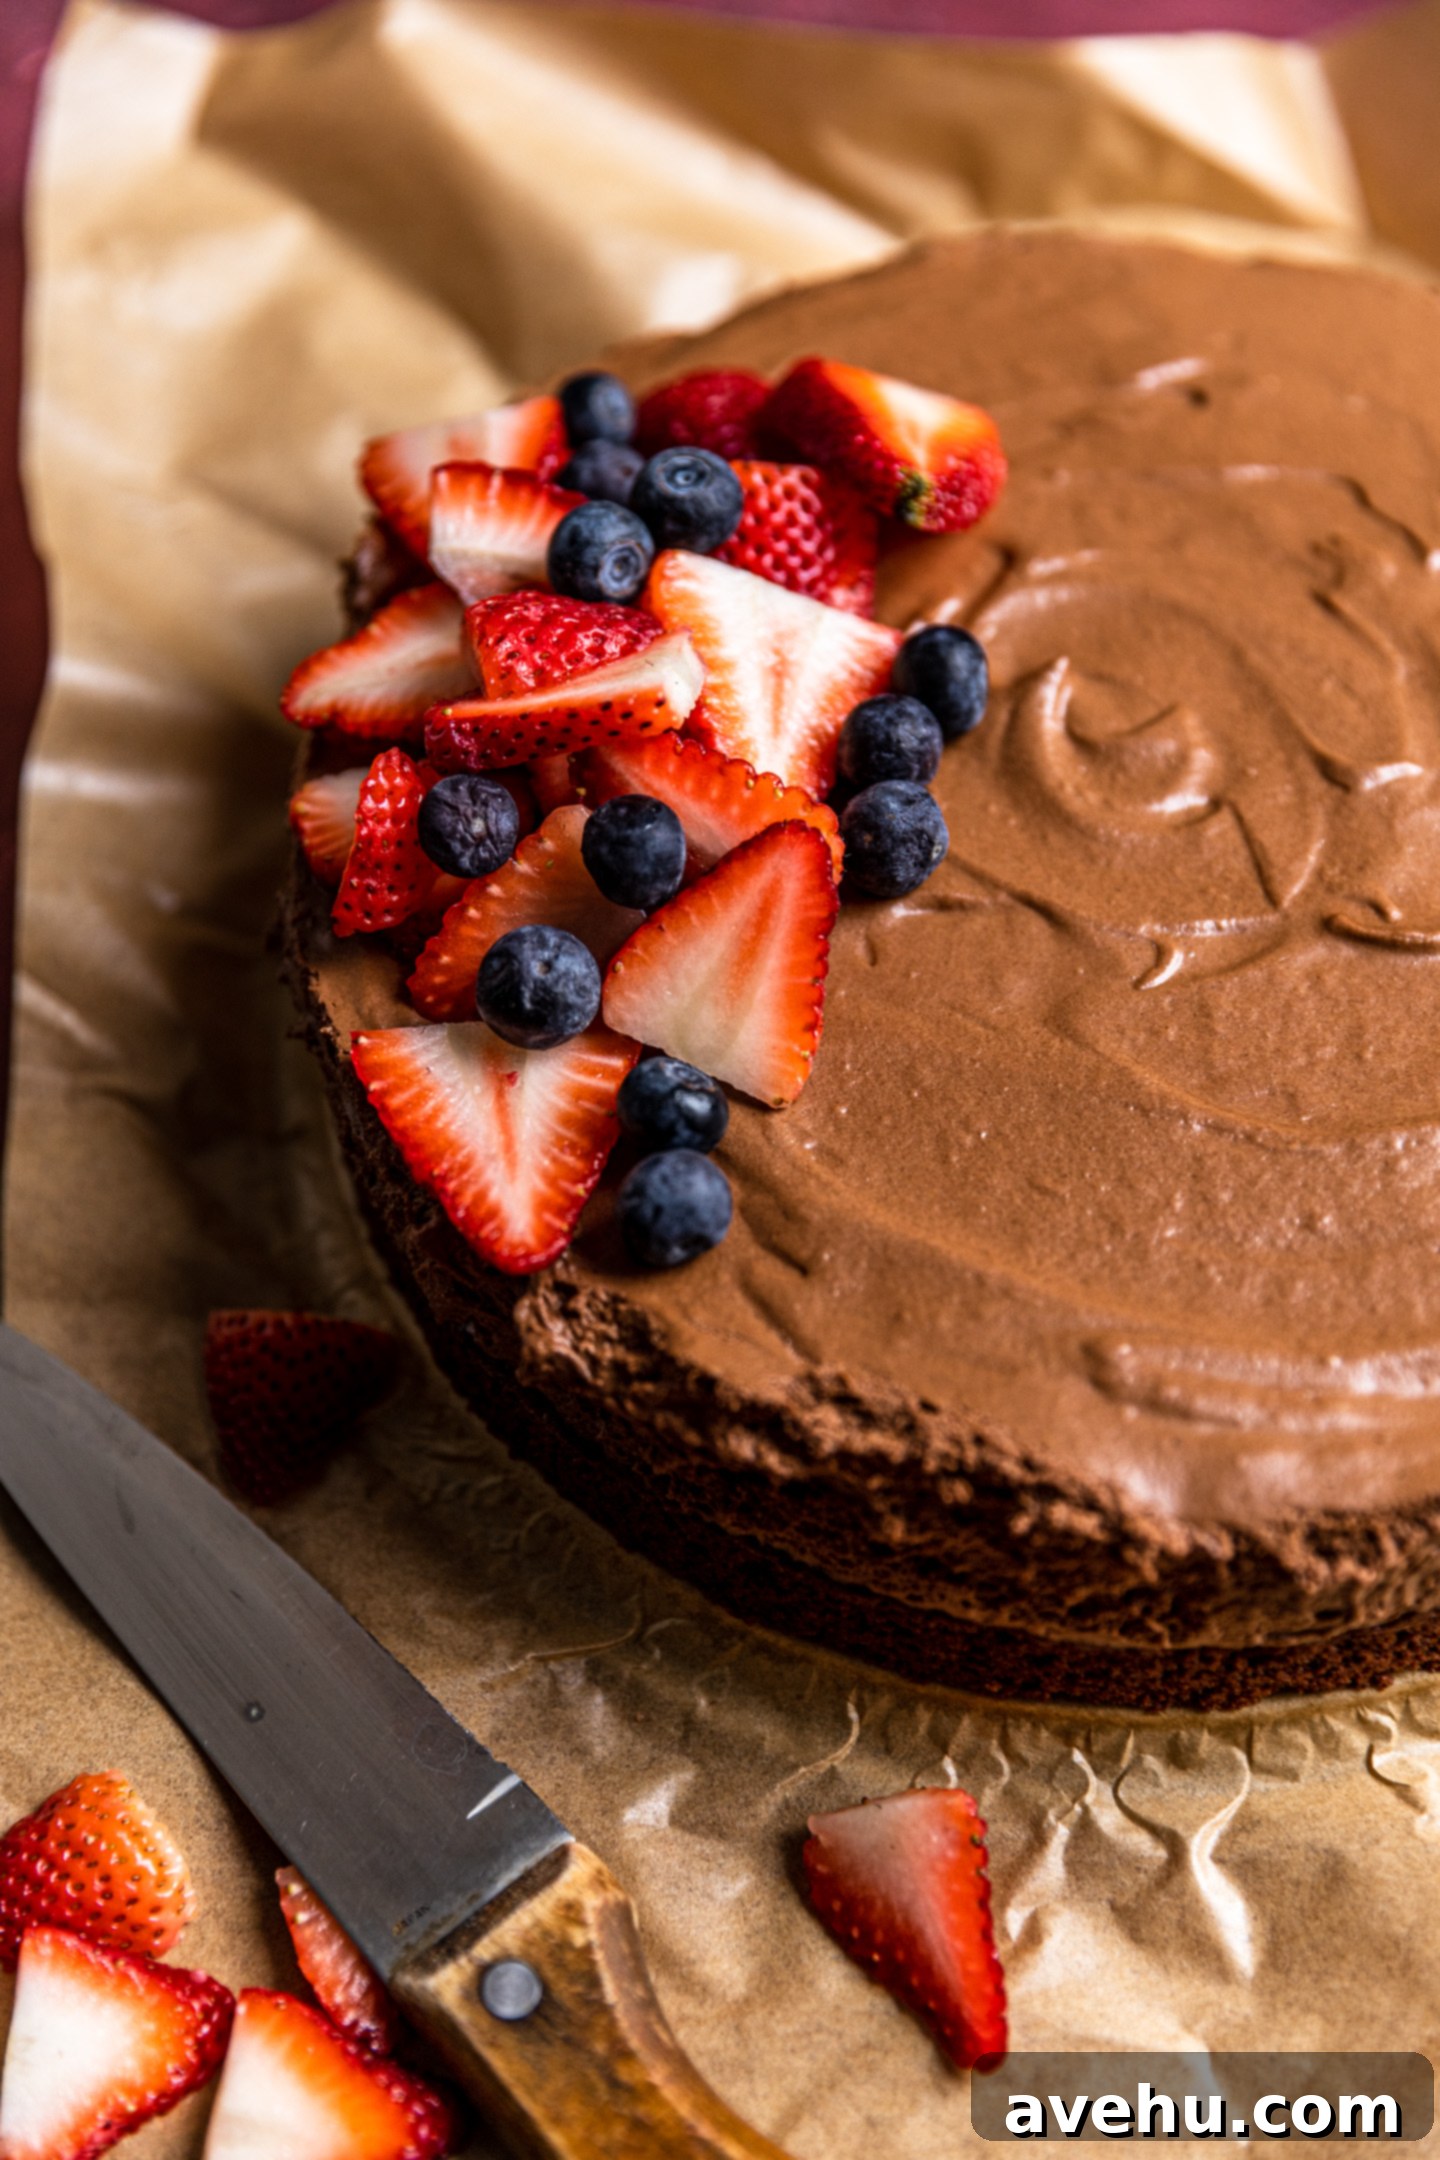
Indulge in the ultimate chocolate experience with this show-stopping chocolate mousse cake. It masterfully combines a rich, dense layer of fudgy chocolate cake with an unbelievably light and airy chocolate mousse topping. What makes this recipe truly special is that the exquisite lightness of the mousse is achieved entirely without gelatin, relying instead on the magic of perfectly whipped egg whites and heavy cream. Crowned with a vibrant medley of fresh berries, this dessert looks incredibly sophisticated and decadent, yet is surprisingly easy to create in your own kitchen. Prepare to impress with minimal effort!
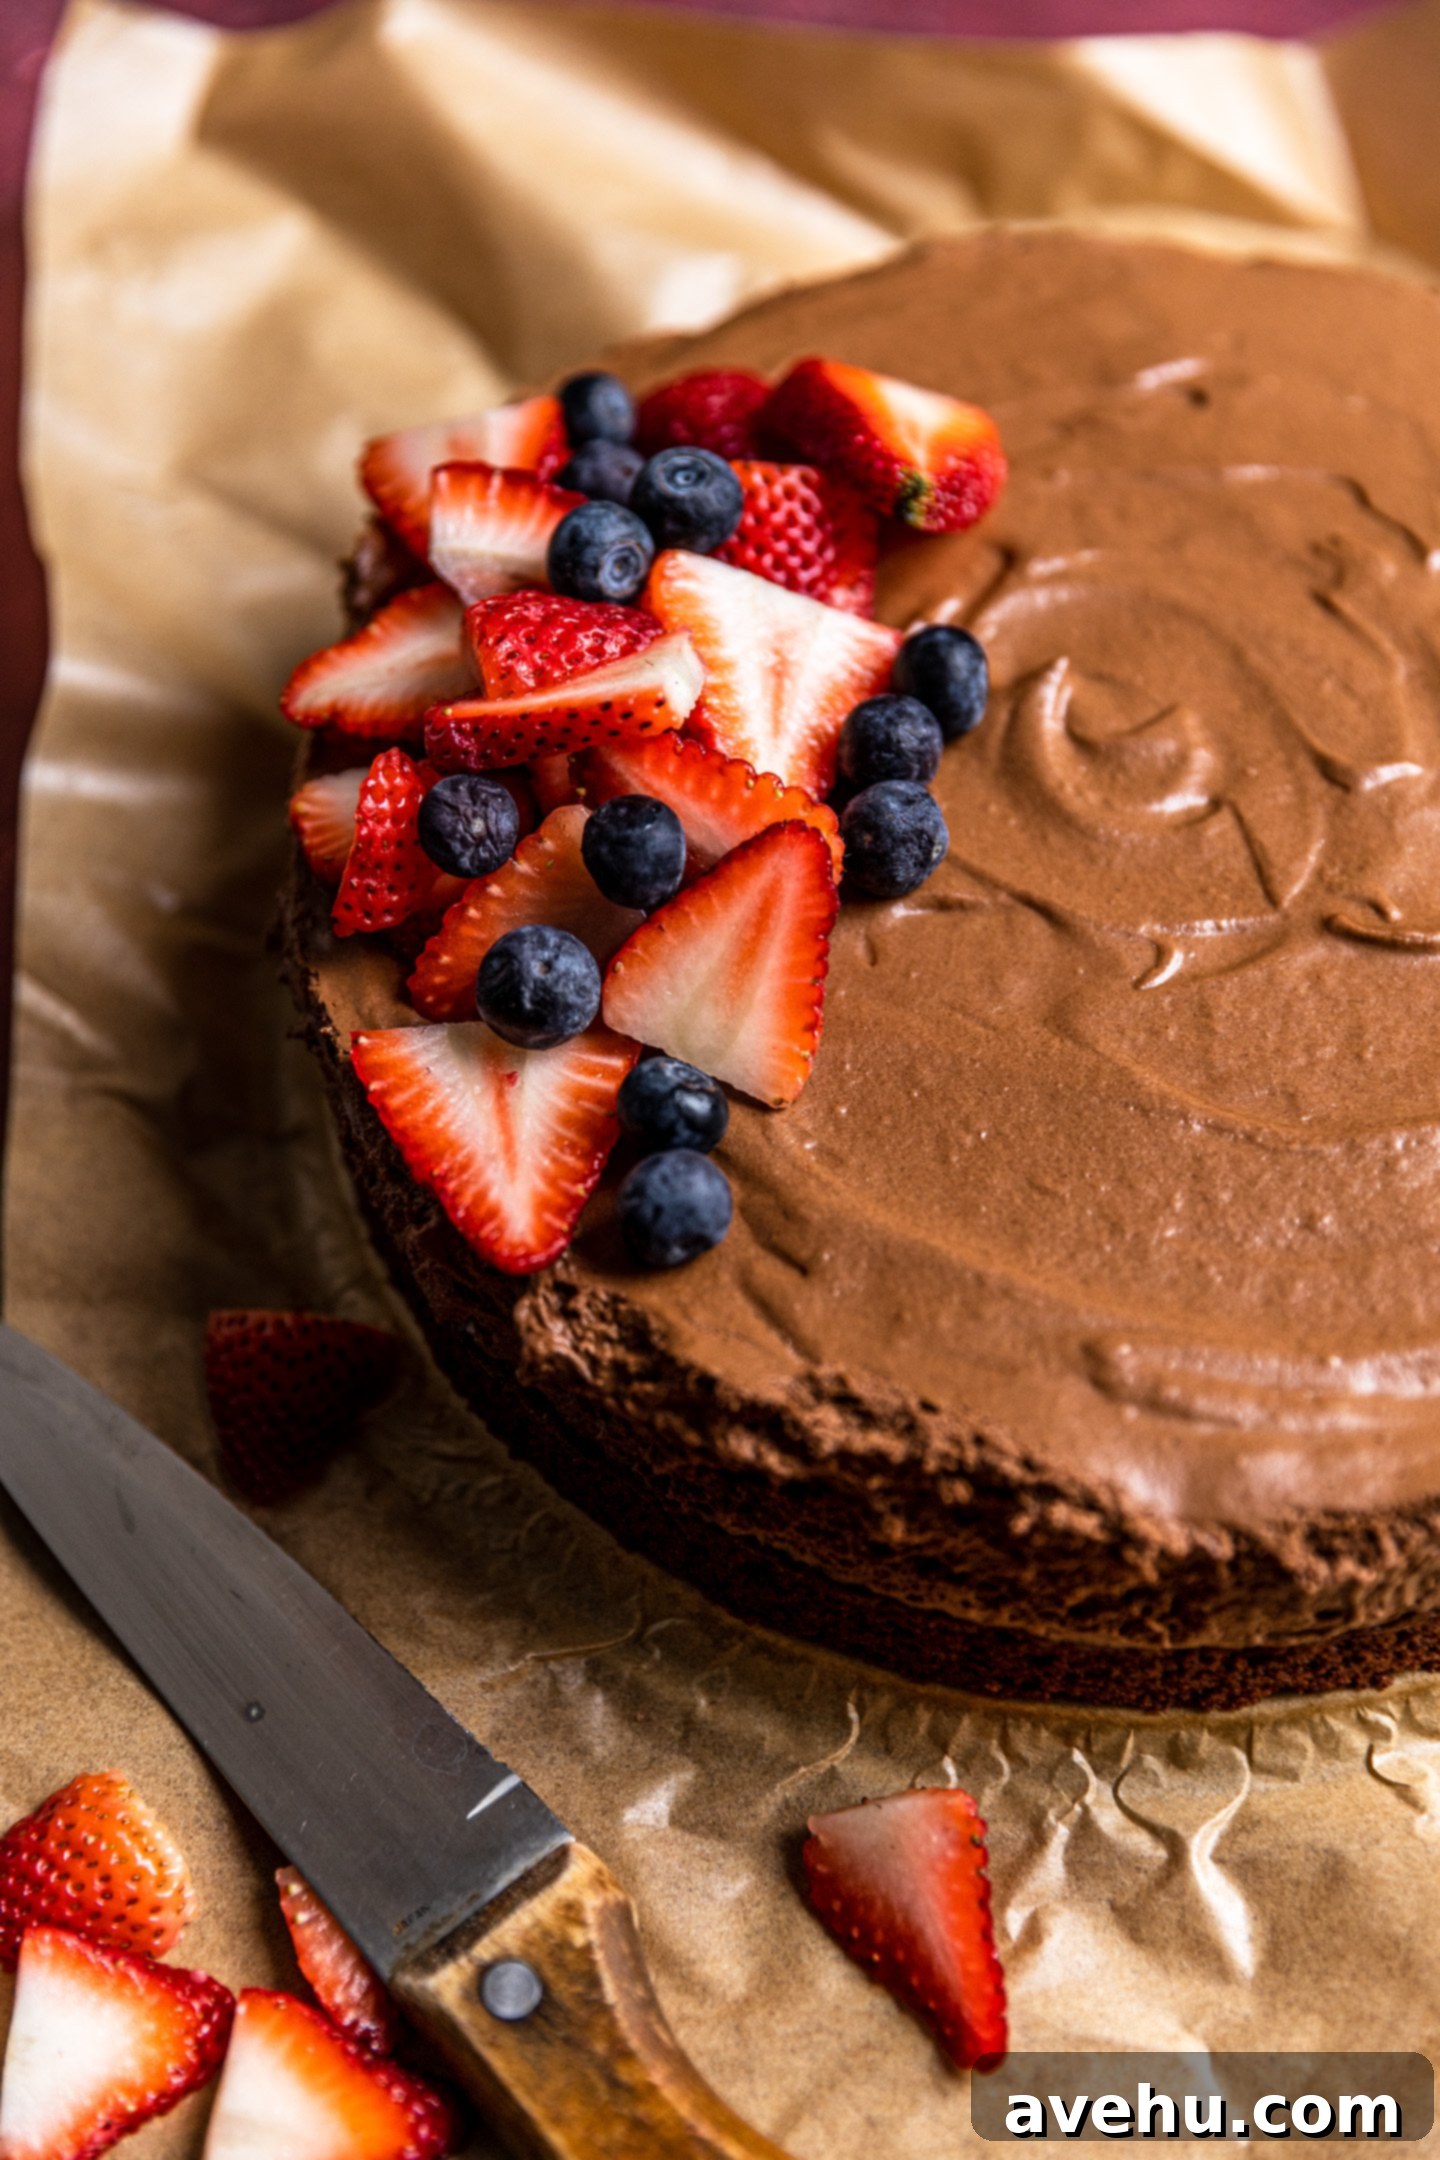
For this particular recipe, my goal was simple: to create a dessert that exudes elegance and sophistication, making it look like it took hours of intricate work, but is actually remarkably straightforward to prepare. I wanted that “looks fancy, but is super easy” vibe to shine through every slice.
To achieve the perfect foundation, I adapted the intensely fudgy and moist base from my beloved cosmic brownie recipe, transforming it into a delightful cake layer. This ensures a rich, satisfying chocolate hit from the very first bite. For the ethereal topping, I drew inspiration from my flourless chocolate cake, meticulously developing a light and airy mousse that balances the density of the base beautifully.
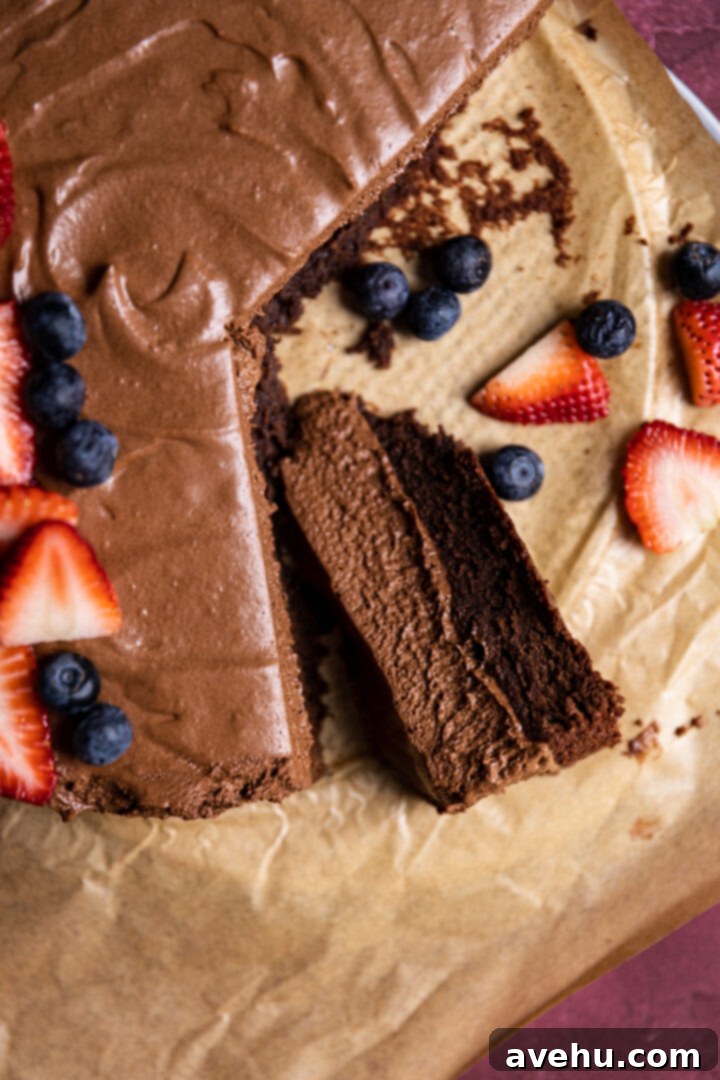
The result is a spectacular chocolate mousse cake featuring two wonderfully contrasting textures that create an impeccable balance on the palate. You get the deep, comforting richness of the dense chocolate fudgy layer, perfectly complemented by the cloud-like, delicate consistency of the chocolate mousse. This harmonious interplay of textures makes every bite an absolute dream for any chocolate lover.
During the testing phase for this decadent dessert, I focused on two critical aspects. Firstly, I was determined that the mousse layer should be impressively tall – ideally, as high as, if not higher than, the fudgy bottom layer – to ensure a stunning visual impact and a generous, creamy texture. Secondly, and perhaps most importantly, I wanted the mousse to be completely gelatin-free. As a trained pastry chef, I understand that gelatin isn’t a staple in most home kitchens, and I personally don’t often use it. So, I embarked on a mission to perfect this recipe without it, making it more accessible for home bakers.
Instead of relying on gelatin for its structural integrity, this extraordinary chocolate mousse derives its incredible airiness and stability from a clever combination of whipped egg whites and whipped heavy cream. My initial tests using only egg whites proved insufficient; while they added some lift, the mousse lacked the desired height and robust structure. The strategic addition of whipped heavy cream provided that crucial extra boost in volume and ensured the mousse held its shape beautifully, creating a truly luxurious and stable layer.
The best part about this elegant chocolate mousse cake is how straightforward it is to make from scratch right in your own kitchen! The ingredient list features common pantry staples, and the process is surprisingly simple and easy to follow. The only item that might be a little out of the ordinary is an acetate strip for lining the springform pan, which helps create those perfectly smooth, professional-looking sides. Don’t worry, I’ve included detailed notes on how to use it effectively below!
I knew I had perfected the recipe when I overheard one of my friends exclaim, “This is like something straight out of a fancy restaurant!” That’s exactly the reaction I was aiming for – restaurant-quality dessert, made easily at home. Wohoo!
Ingredients and Equipment Essentials for Your Mousse Cake
Crafting a chocolate mousse cake that looks and tastes like it came from a professional bakery often comes down to understanding your ingredients and utilizing the right tools. Let’s dive into a few important items you’ll need to achieve that flawless finish and incredible flavor.
The Magic of an Acetate Cake Collar
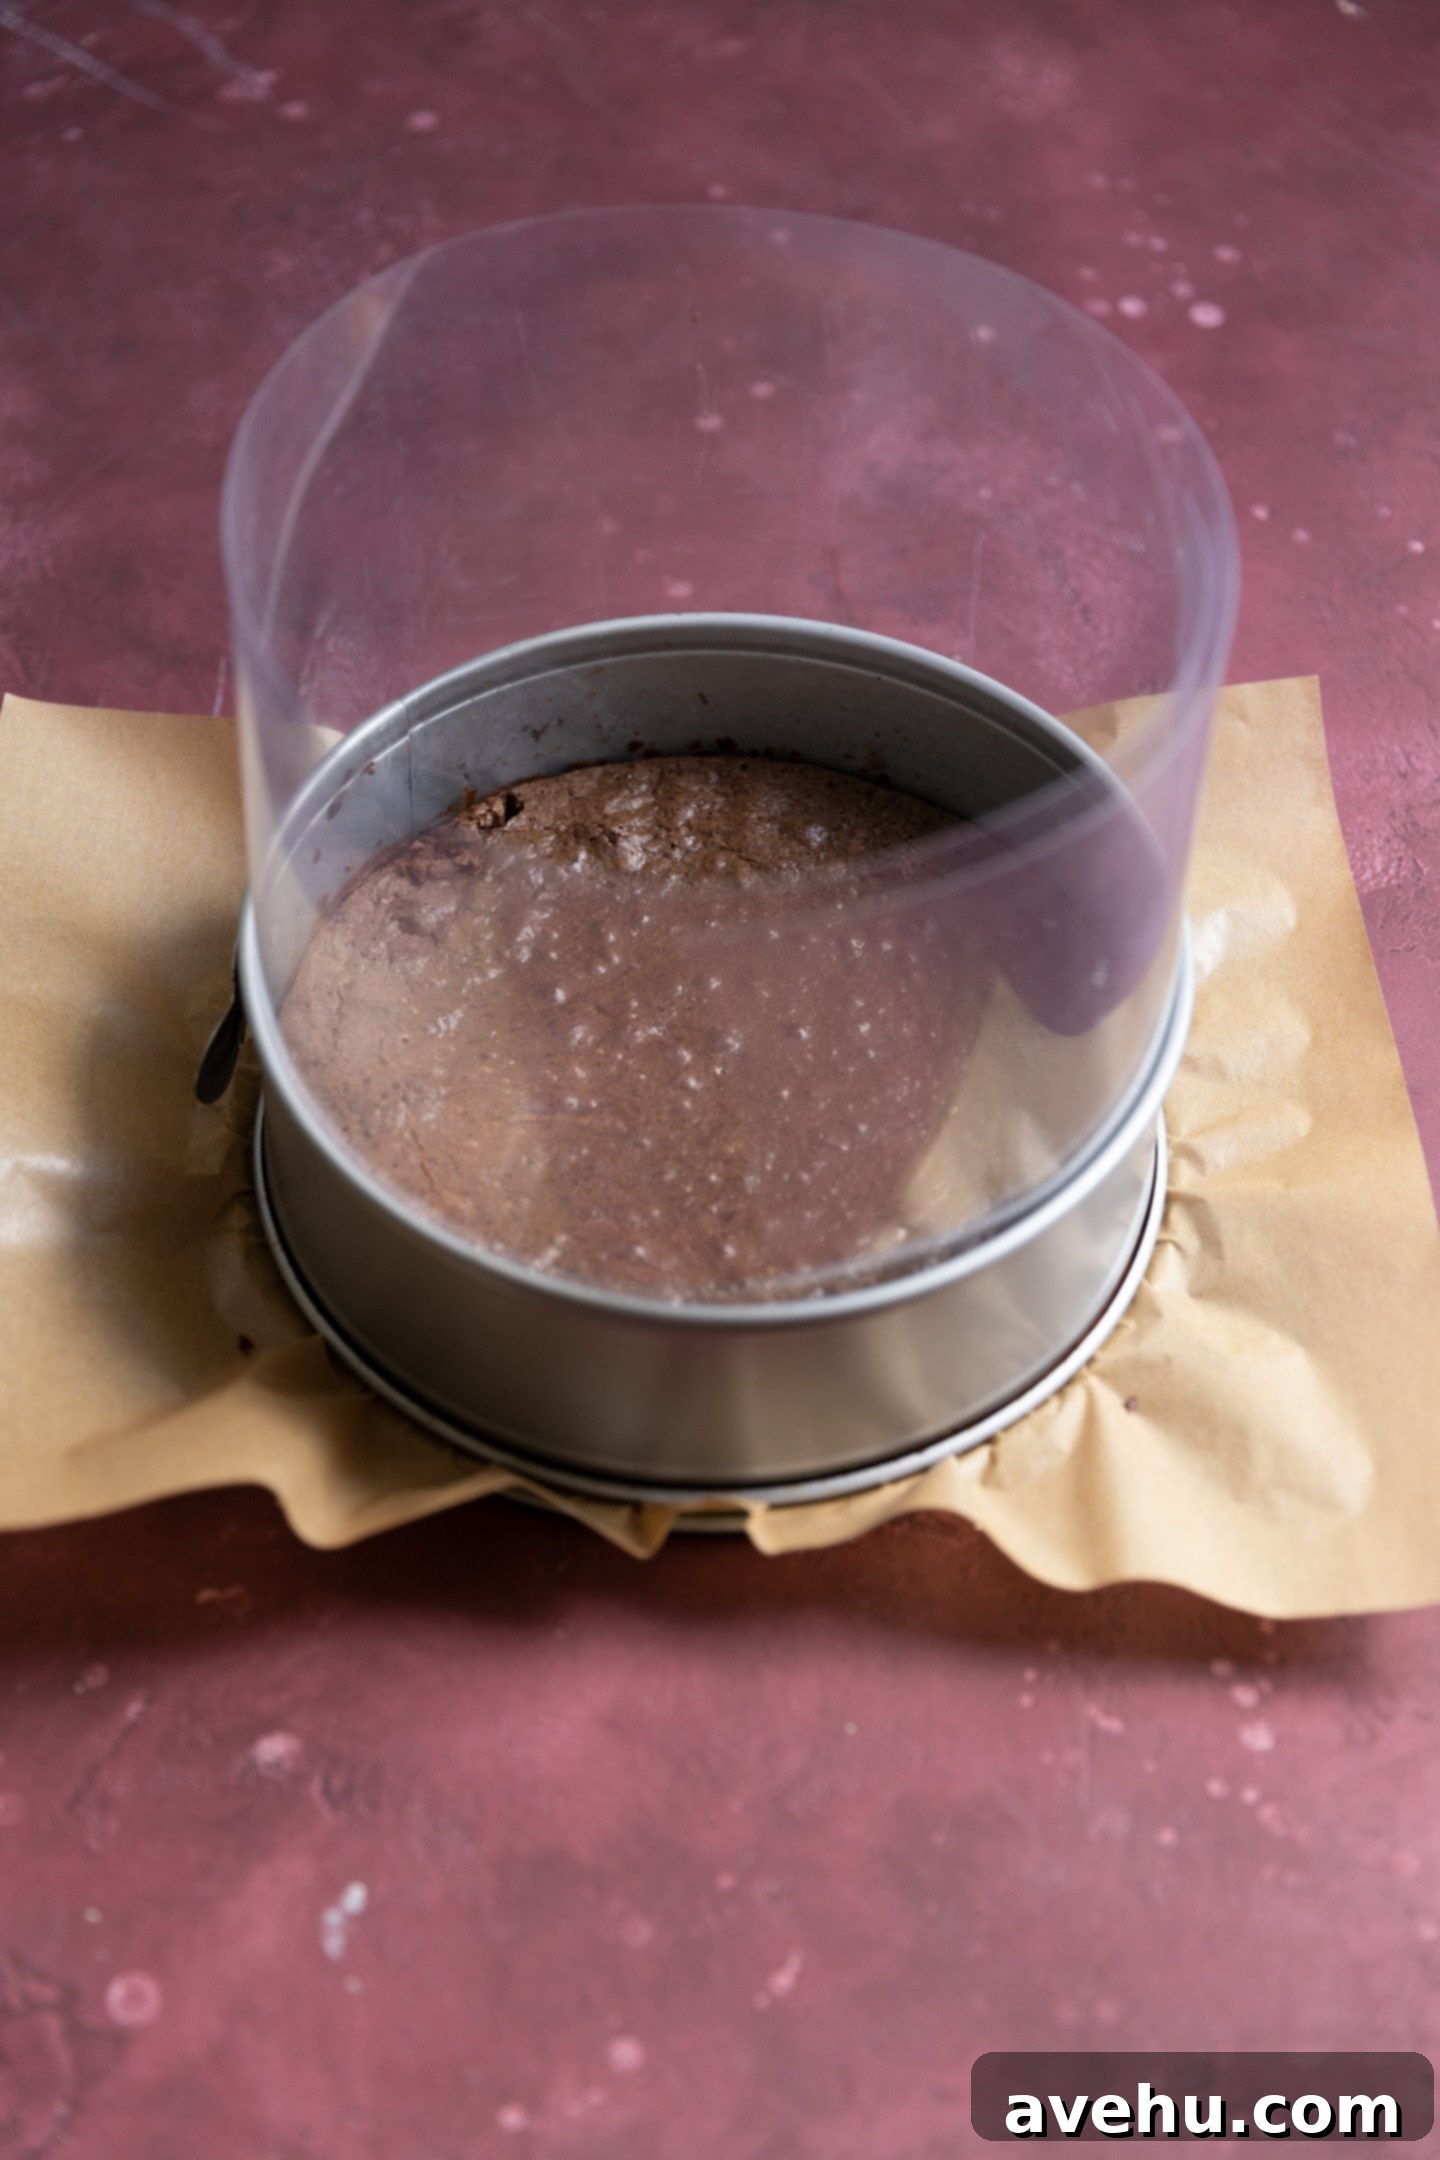
Acetate Cake Collar: An acetate cake collar, often simply referred to as a “cake collar,” is a thin, flexible strip of food-safe plastic that you wrap around the inside of your cake pan. Its primary function is to contain pourable mixtures like mousse or curd, preventing them from spreading or spilling over the cake until they have properly chilled and set. This is particularly useful for desserts with delicate layers that need support as they firm up.
Acetate typically comes in a roll, allowing you to cut it to the exact height and length required for any cake size. A huge bonus is its reusability! I often use the same strip multiple times for this recipe and others. The process is simple: line the springform pan with the acetate, pour in your mousse, allow it to chill thoroughly, then simply unclip the pan and peel off the acetate for pristine, smooth sides. This little trick is a game-changer for achieving a professional look.
Selecting the Right Chocolate
70% Dark Chocolate: The choice of chocolate is paramount for both the fudgy cake base and the airy mousse. Opting for 70% dark chocolate for this recipe is highly recommended because it provides the perfect balance of intense, deep chocolate flavor without being overly sweet. This richness is crucial for a truly decadent dessert. Furthermore, good quality 70% dark chocolate melts beautifully and smoothly, contributing significantly to the silky, creamy texture of the mousse, which is a hallmark of this cake.
Why Specific Tools Matter
Rubber Spatula: When incorporating delicate ingredients like whipped egg whites or heavy cream into your chocolate base, a lightweight rubber spatula is your best friend. Unlike a whisk, which can introduce too much air or deflate the carefully whipped components, a spatula allows for gentle folding. This technique helps reduce unwanted air bubbles and ensures that the mousse remains incredibly smooth, light, and maintains its volume.
Glass Bowl: For the chocolate mousse preparation, a glass bowl is particularly advantageous. Its transparency allows you to see the bottom and sides of the bowl clearly as you fold in the whipped egg whites and cream. This visual aid ensures that you haven’t missed any chocolate streaks, leading to a perfectly uniform and beautifully mixed mousse, free from unmixed pockets.
Exploring Pan Options: What if You Don’t Have a Springform Pan?
Honestly, if you love baking, a springform pan is an absolute game-changer! LOL, I use mine constantly for a variety of cheesecake recipes and single-layer cakes because it simplifies the unmolding process dramatically. To properly utilize an acetate liner, a springform pan is essential, as its un-clipping mechanism allows you to easily place the liner around the edges of your cake once it’s baked.
However, if you don’t own a springform pan, you can still make this cake. Just be sure to use a standard round cake pan with relatively high sides (at least 3 inches). Without a springform pan, you won’t be able to use the acetate liner, so the high sides are crucial to prevent the mousse from spilling over before it sets. The unmolding might not be as seamless, but the delicious result will be worth it!
No Acetate? No Problem!
If you prefer not to purchase an acetate cake collar, or simply don’t have one on hand, you can use parchment paper as a viable alternative. While parchment isn’t quite as sturdy or reusable as acetate, it will still serve the purpose of creating a barrier for your mousse. Cut a long strip of parchment paper that is taller than your cake pan and long enough to wrap around the entire inner circumference. Lightly grease the pan, press the parchment against the sides, and proceed with the recipe. It may require a bit more careful handling, but it works!
Step-by-Step Instructions for Your Masterpiece
Once your glorious chocolate mousse cake is assembled, it’s absolutely essential to chill it in the fridge for a minimum of 4 hours, though overnight is truly best. This crucial chilling period allows the mousse to fully set and firm up. If you attempt to cut into it prematurely, you’ll end up with a goopy, unset mess rather than perfectly structured slices. Patience is key for this decadent dessert!
Decadent Chocolate Mousse Cake (No Gelatin!)
Pin
Review
SaveSaved!
Ingredients
For the Fudge Cake Base:
- 1/2 cup unsalted butter
- 6 oz semi-sweet chocolate, chopped or chips, about a heaping 1 cup
- 1 cup granulated sugar
- 3 large eggs
- 1 tsp vanilla extract
- 2/3 cup all-purpose flour
- 1 tbsp unsweetened cocoa powder
- 1/4 tsp kosher salt
For the Chocolate Mousse:
- 2 tbsp unsalted butter
- 8 oz semi-sweet chocolate, chopped or chocolate chips
- 1/2 tbsp instant coffee, or substitute vanilla extract
- 1 tbsp hot water
- 4 large eggs, separated, whites and yolks in separate bowls
- 1/4 cup granulated sugar
- 1 cup cold heavy whipping cream
- 1/4 tsp cream of tartar
- Fresh berries, for garnish (raspberries, blueberries, strawberries work beautifully)
Equipment
-
Acetate Cake Collar
-
8-Inch Glass Mixing Bowl
-
Rubber Spatula
-
9-Inch Springform Pan
-
Hand Mixer or Stand Mixer
Instructions
Prepare the Fudgy Cake Base
-
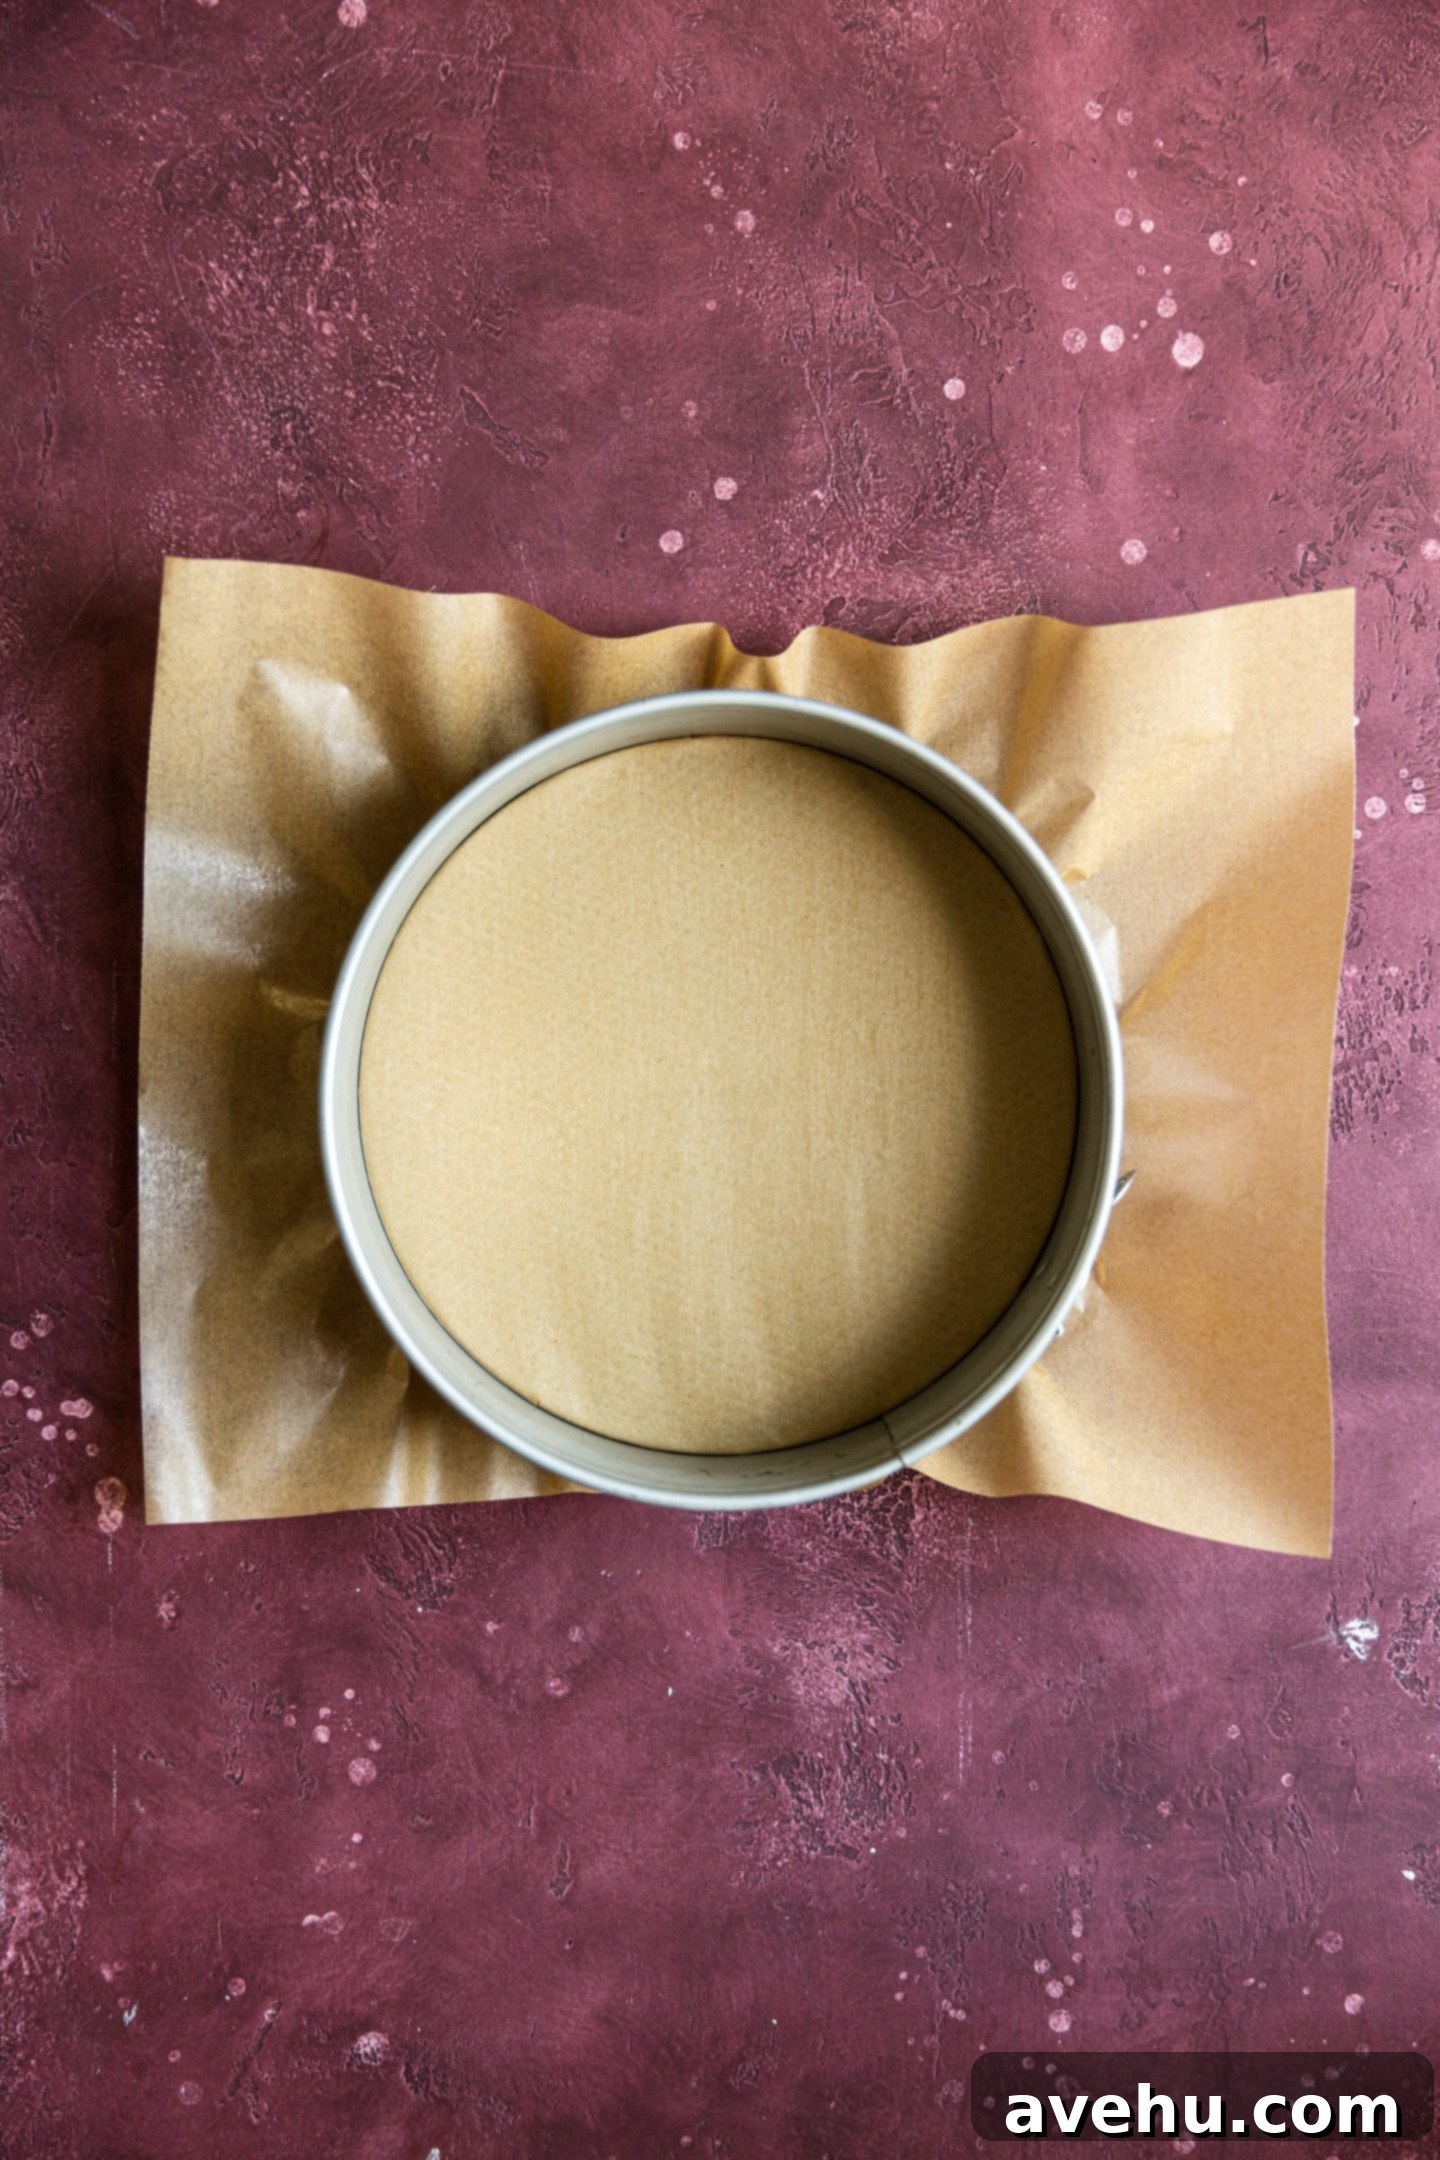
Begin by preheating your oven to 350°F (175°C). Prepare a 9-inch springform pan by lightly spraying it with non-stick cooking spray and then lining the bottom with a circle of parchment paper. If you don’t have parchment, ensure the pan is very well greased.
-
In a medium-sized, microwave-safe bowl, combine the 1/2 cup unsalted butter and 6 oz semi-sweet chocolate. Heat in 30-second intervals, stirring thoroughly after each, until the mixture is fully melted and smooth. Be careful not to overheat the chocolate. Allow it to cool slightly.
-
To the cooled chocolate mixture, add the 1 cup granulated sugar, 3 large eggs, and 1 tsp vanilla extract. Using a hand mixer on low to medium speed, or whisking by hand, mix until these wet ingredients are just combined. Avoid overmixing to keep the cake tender.
-
Now, add the dry ingredients: 2/3 cup all-purpose flour, 1 tbsp unsweetened cocoa powder, and 1/4 tsp kosher salt. Mix gently until the ingredients are just incorporated and no dry streaks of flour remain. Overmixing flour can lead to a tough cake.
-
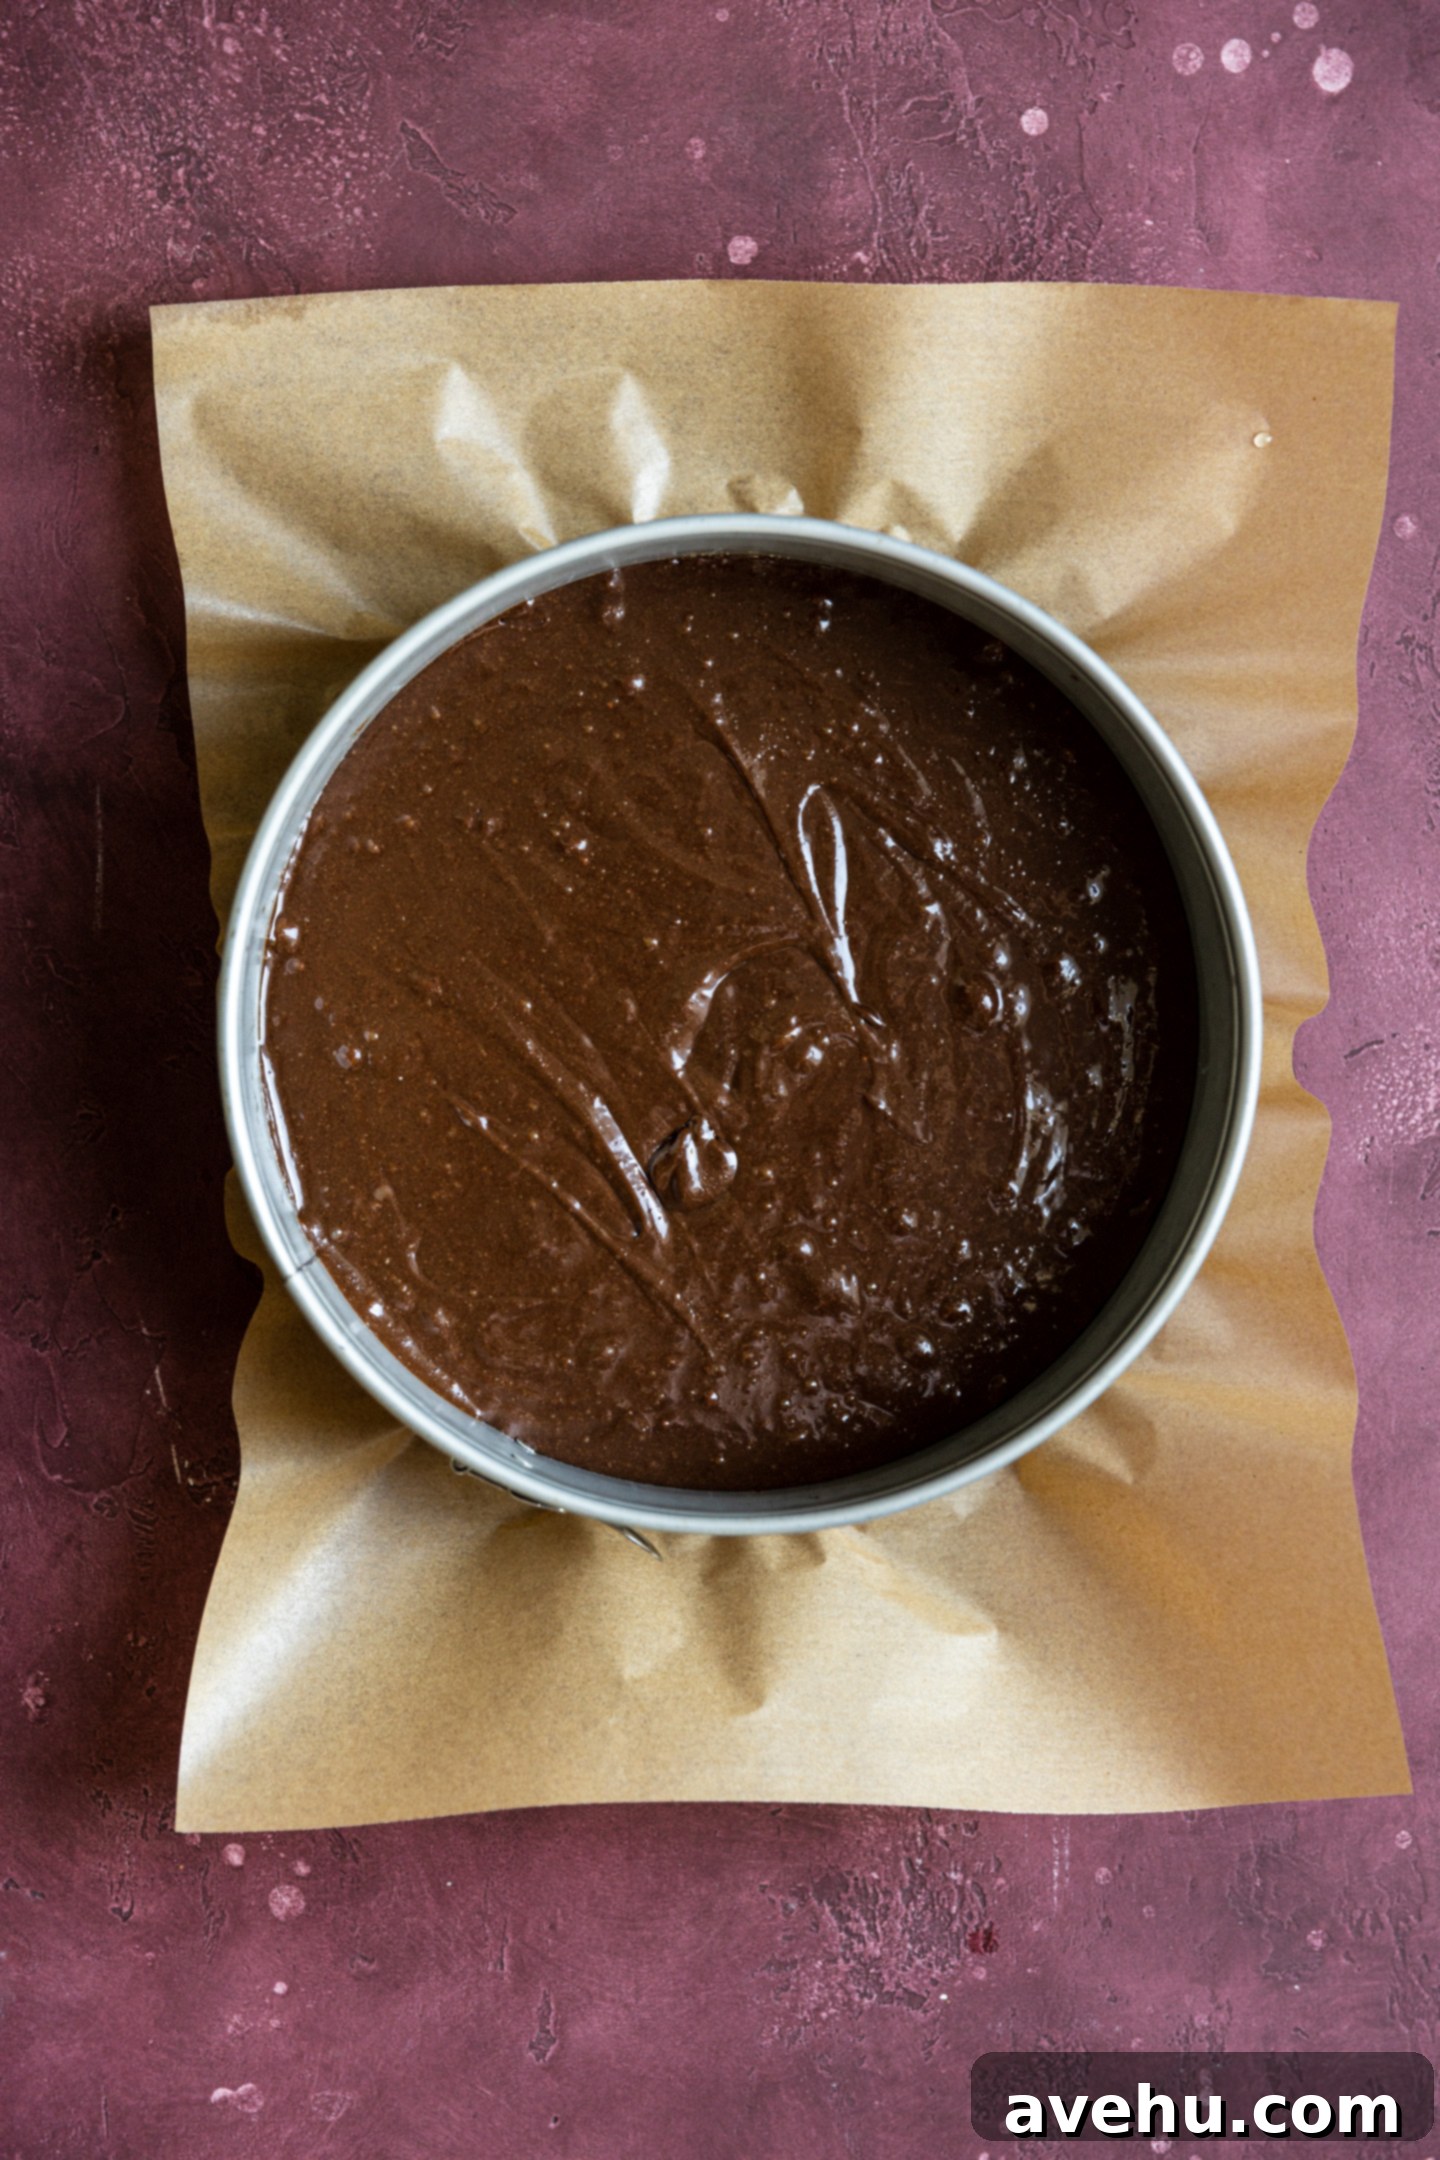
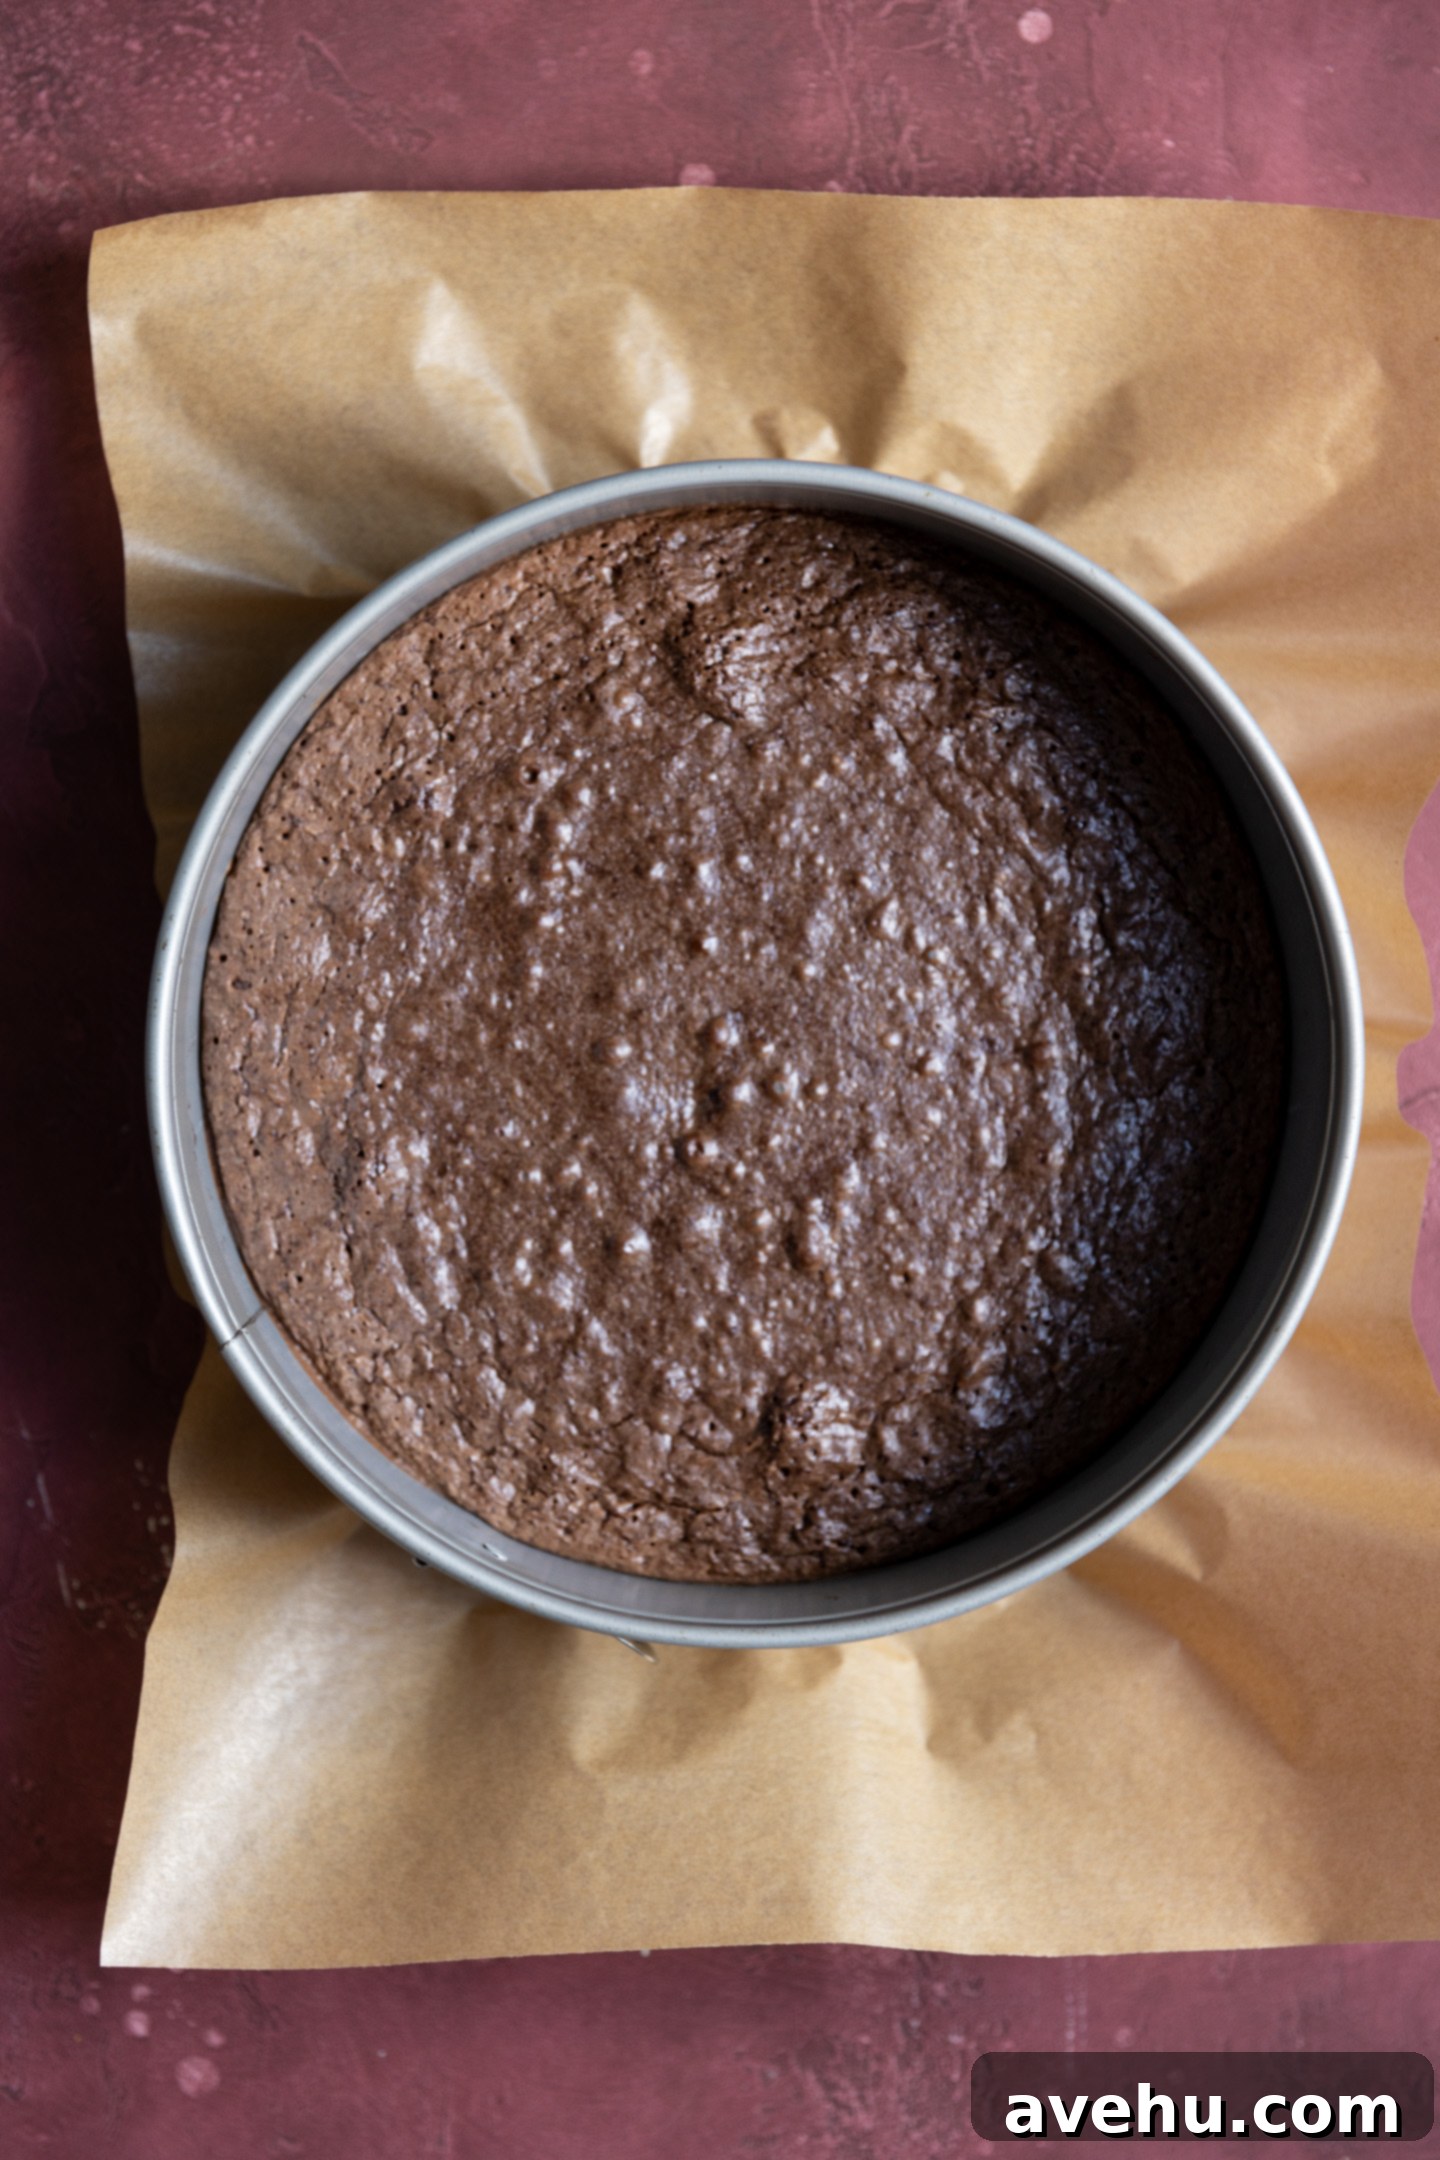
Pour the fudgy cake batter evenly into your prepared springform pan. Bake for 25-28 minutes, or until the center of the cake is set and a toothpick inserted comes out with moist crumbs (not wet batter). Transfer the pan to a wire rack and allow the cake to cool completely to room temperature. This step is crucial before adding the mousse.
Assemble the Silky Chocolate Mousse
-
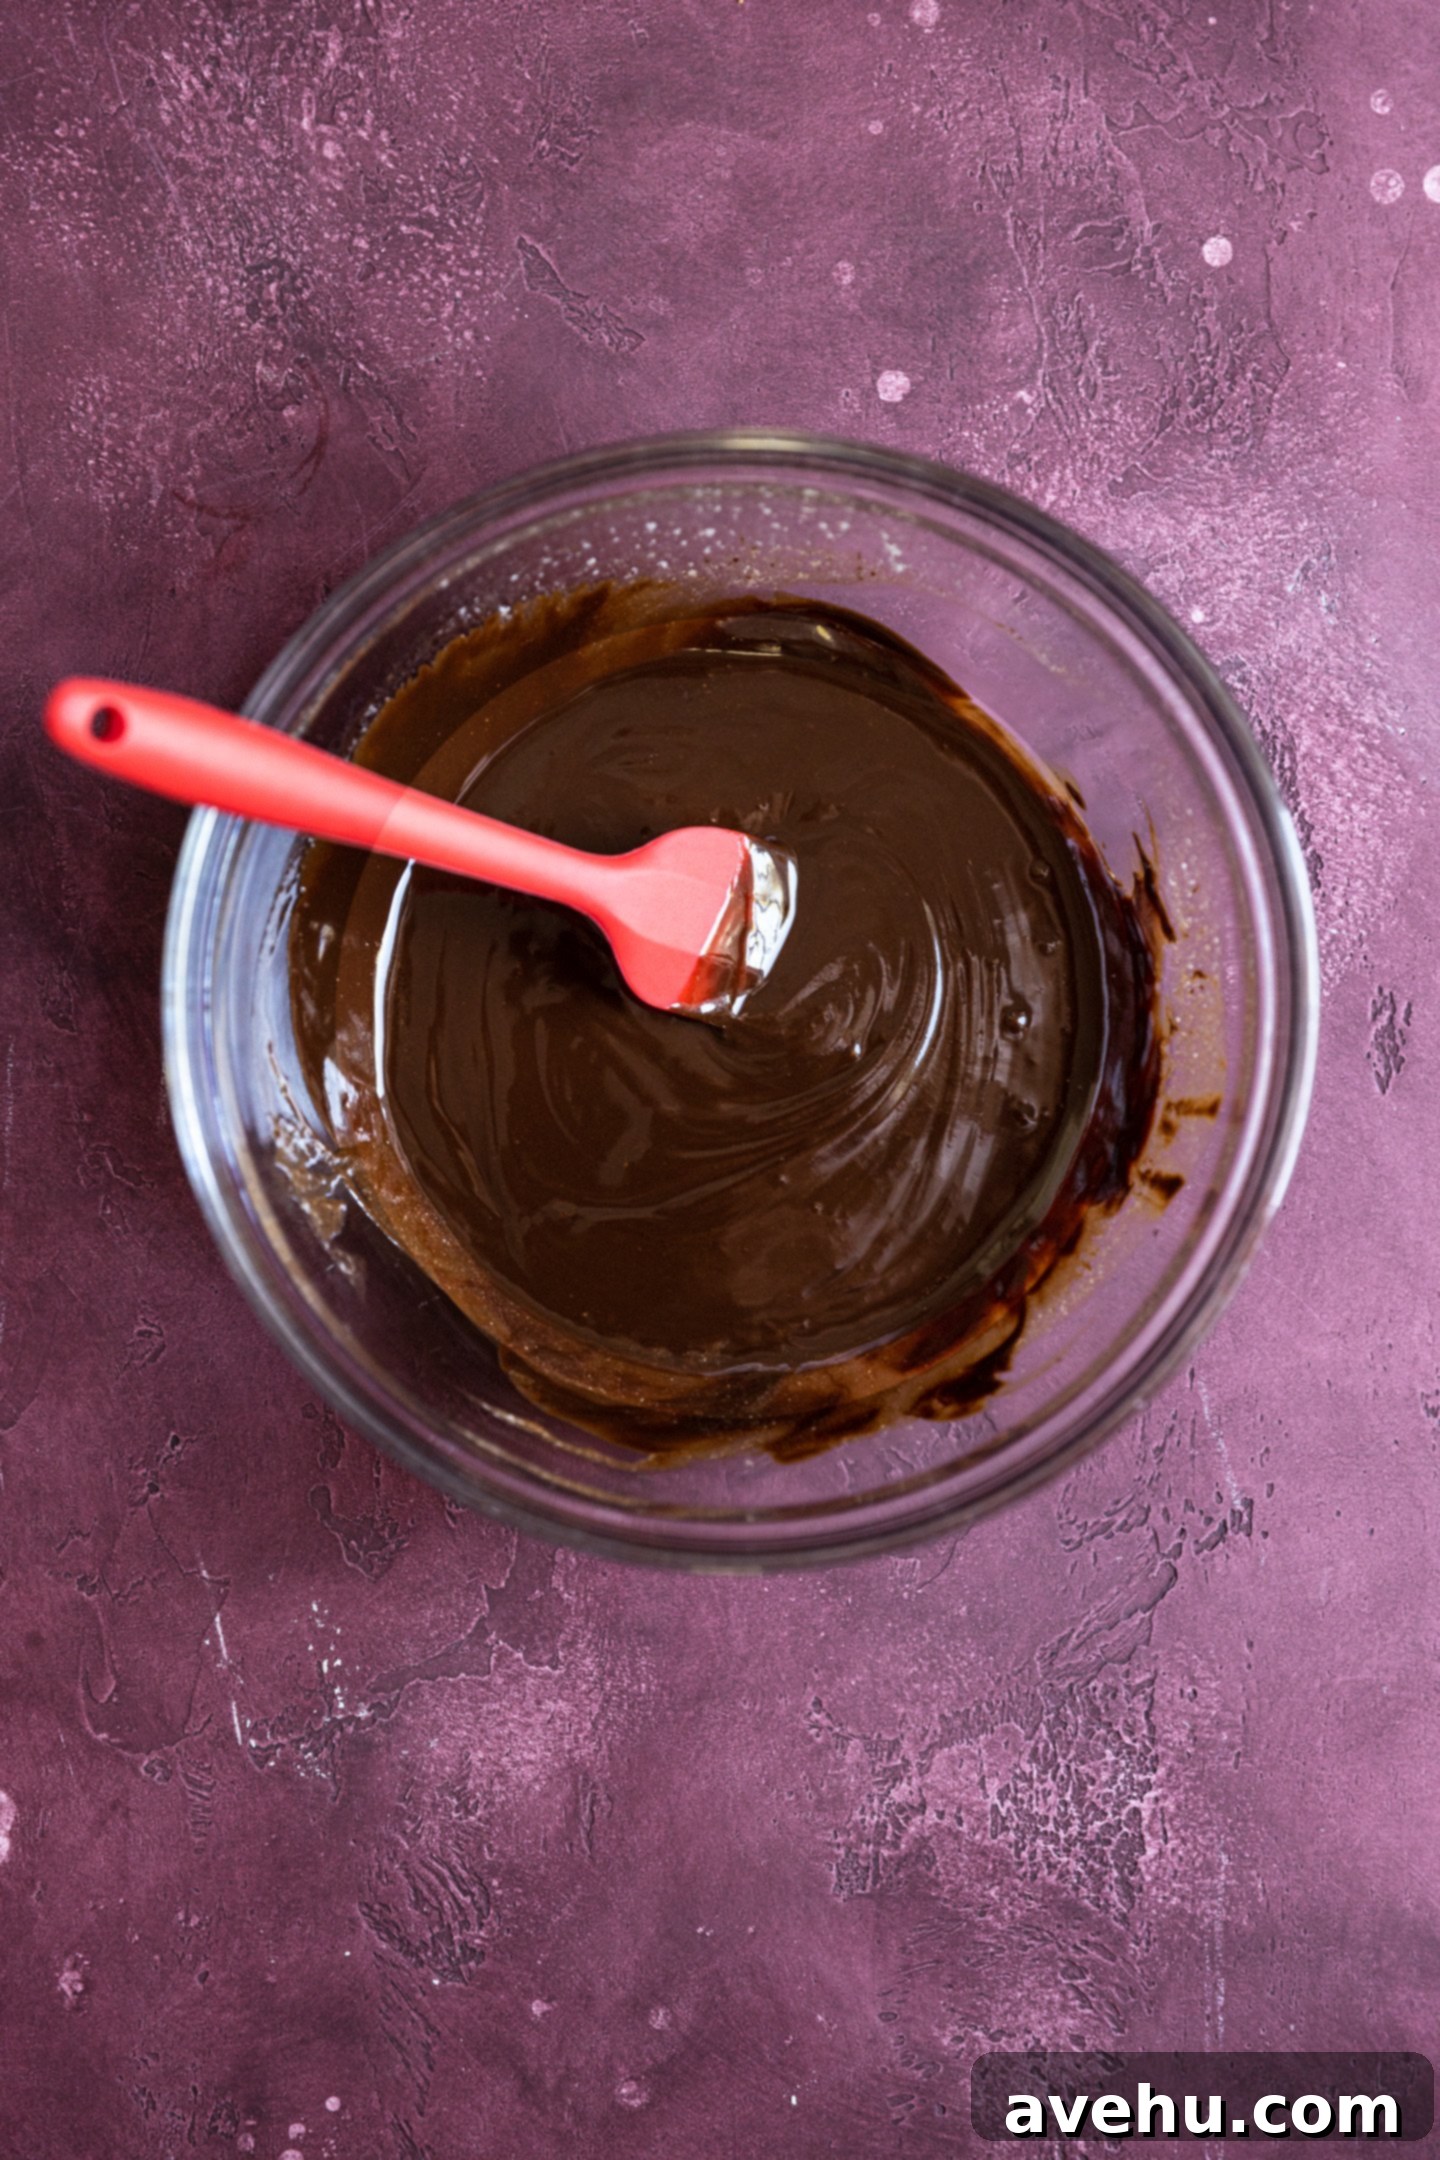
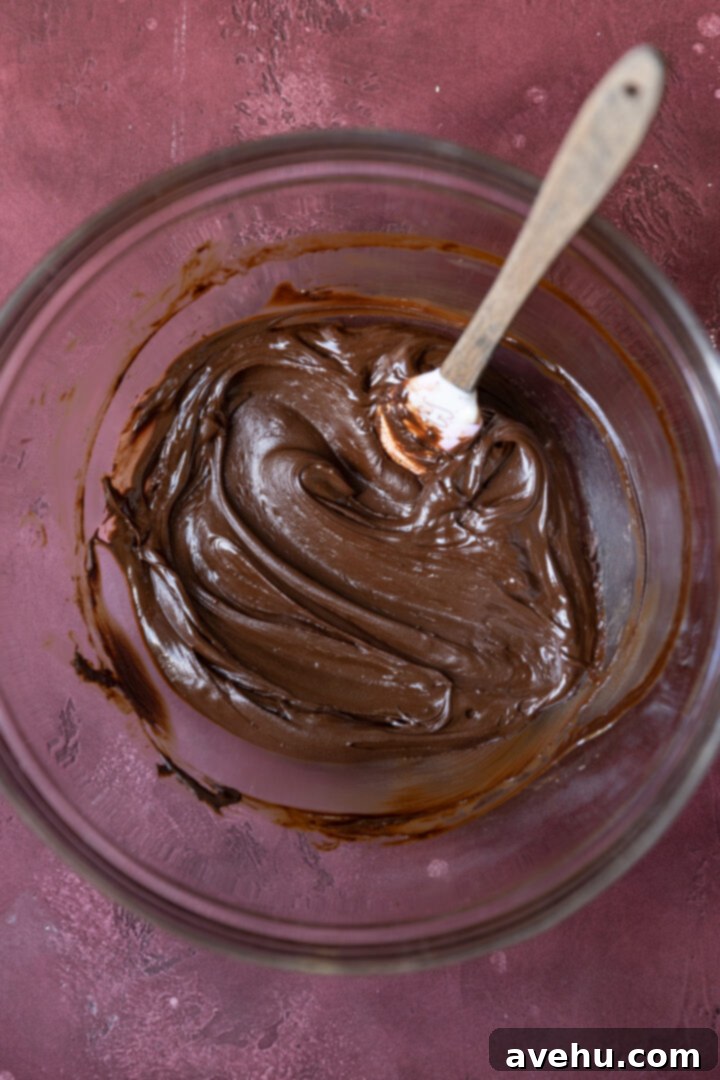
In a large microwave-safe bowl (a glass bowl is ideal for visibility), melt the 2 tbsp unsalted butter and 8 oz semi-sweet chocolate. Heat in 30-second intervals, stirring well after each, until the chocolate is smooth and completely melted. Let this mixture cool to lukewarm. In a separate small cup, combine the 1/2 tablespoon of instant coffee with 1 tablespoon of hot water, stirring until dissolved. Pour this coffee mixture into the cooled chocolate and stir to combine. The coffee enhances the chocolate flavor without making it taste like coffee.
-
Carefully separate your 4 large eggs. Place the egg whites into the clean mixing bowl of a stand mixer or a large bowl for a hand mixer. Add the egg yolks directly into your cooled chocolate mixture. Use a rubber spatula to gently mix the chocolate mixture until the yolks are fully combined. It will thicken slightly at this stage, which is perfectly normal.
-
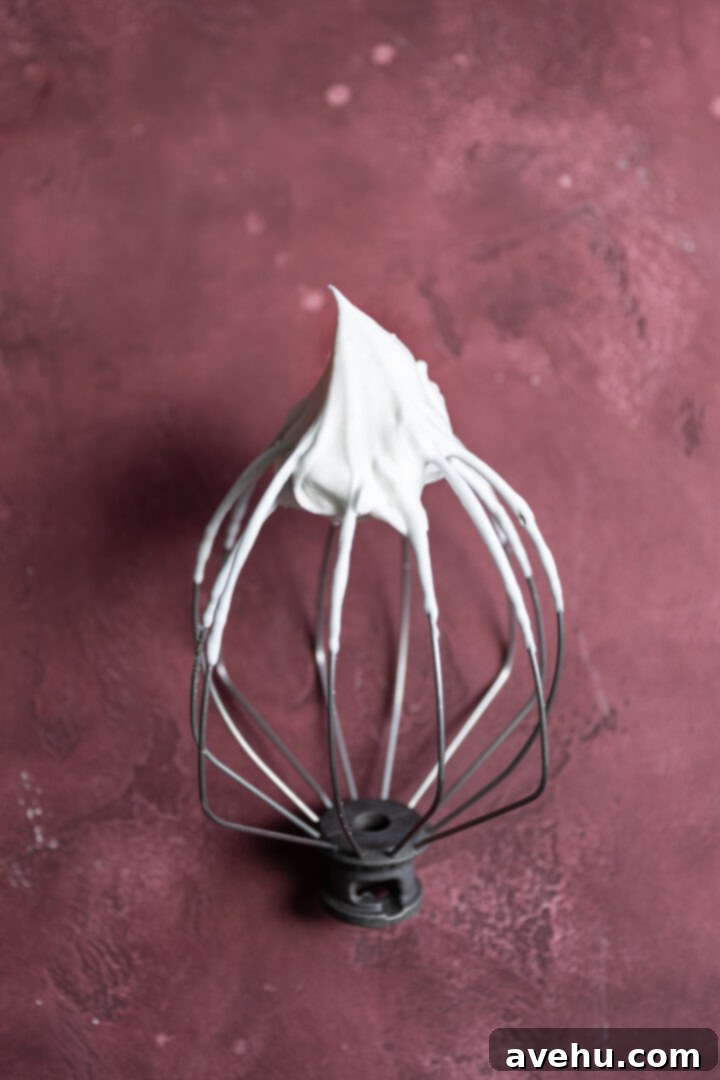
Using the whisk attachment for your mixer, whip the egg whites on high speed. Gradually pour in the 1/4 cup granulated sugar slowly as the whites begin to foam. Continue whipping until very stiff, glossy peaks form. You’ll know the whites are ready when you lift the beater and the tip of the egg white holds its shape firmly and doesn’t droop.
-
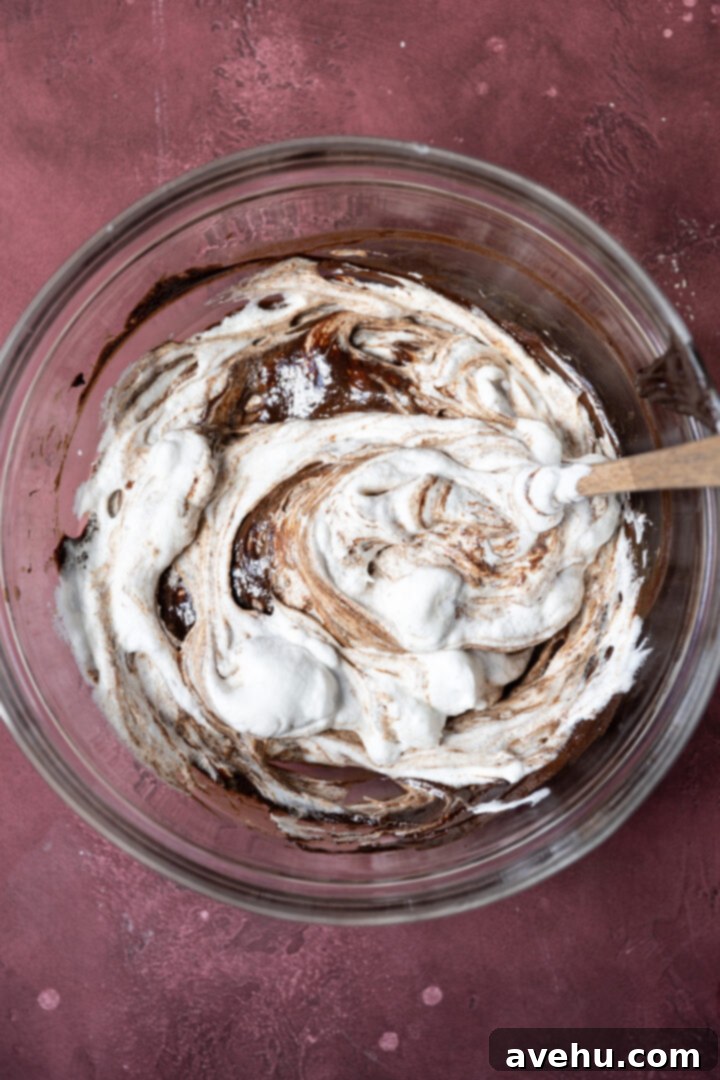
Gently fold about one-third of the whipped egg whites into the chocolate-yolk mixture. Use a rubber spatula and a delicate “cut and fold” motion to avoid deflating the air from the whites. Continue adding the remaining egg whites in two more additions, folding until no white streaks are visible and the mousse is uniformly light and airy.
-
Lightly wash and dry your mixing bowl and whisk attachment to ensure no grease remains. Pour 1 cup of cold heavy whipping cream and 1/4 tsp cream of tartar into the bowl. Beat on high speed until stiff peaks form. This happens quickly, often in about 1 minute, so watch it carefully! Overmixing can cause the cream to curdle, resulting in a grainy texture.
-
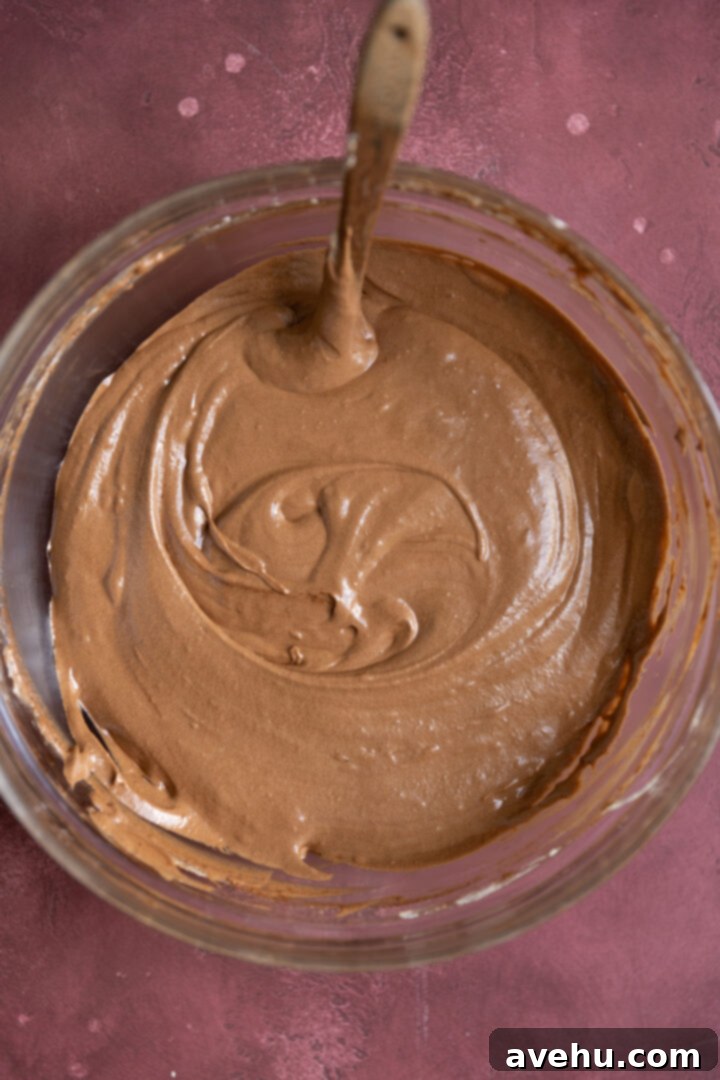
Now, gently fold the whipped cream into the chocolate mousse mixture. Use the same careful folding technique you used for the egg whites to maintain the mousse’s light and airy texture. Continue until the whipped cream is fully incorporated and the mousse is uniformly smooth.
-
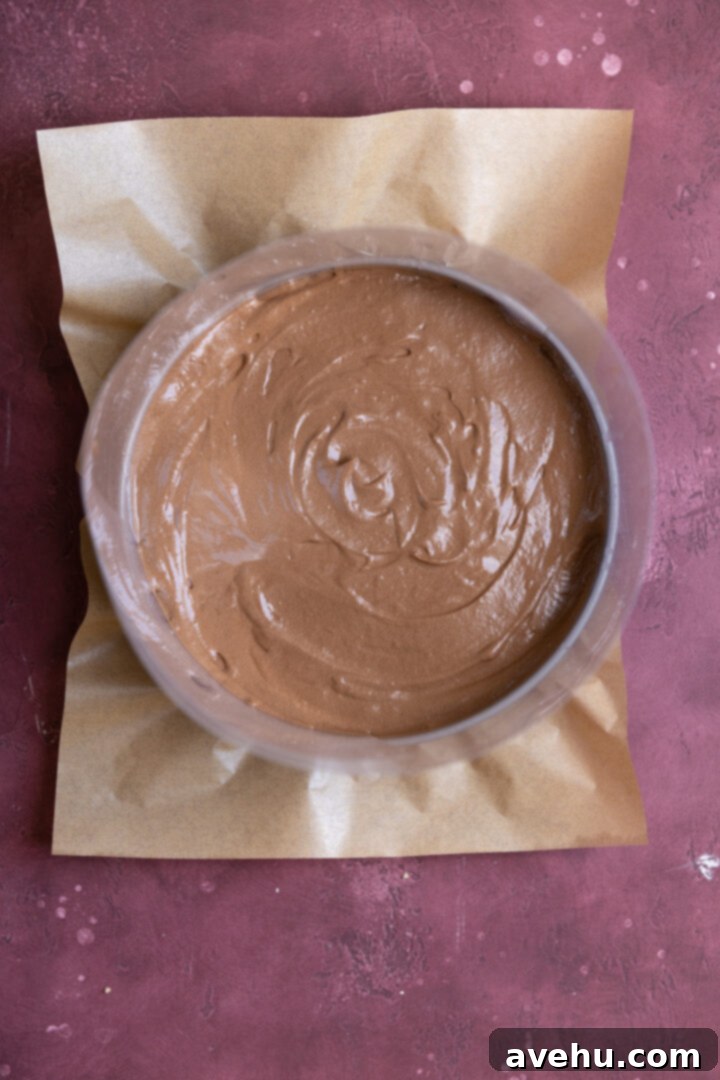
Carefully unclasp the springform pan. Line the inside edges of the pan with the acetate collar (or parchment paper strip) so it sits flush against the cake base and extends above the top of the pan. Re-clasp the springform pan to hold the acetate firmly in place. Ensure the liner creates a tight seal at the bottom to prevent any mousse from seeping out. Pour the decadent chocolate mousse evenly over the cooled cake base. Gently spread it with a spoon or offset spatula to create a flat, even surface.
-
Refrigerate the assembled chocolate mousse cake for a minimum of 4 hours, or ideally, overnight, to allow the mousse to set completely. Before serving, carefully remove the springform ring and acetate liner. Garnish generously with fresh fruit – raspberries are always a favorite, but a mix of berries adds beautiful color and a refreshing tartness!
Notes
Storing and Freezer Tips for Your Mousse Cake
Storing: To maintain its exquisite texture and flavor, always store your chocolate mousse cake in the refrigerator. This cake remains fresh and absolutely delicious for up to three days. For optimal results and to prevent it from drying out or absorbing fridge odors, cover it lightly with plastic wrap or place it in an airtight cake carrier.
Freezing: I generally do not recommend freezing the assembled chocolate mousse cake. The delicate, airy structure of the mousse layer, achieved without gelatin, tends to break down when frozen and then thawed, resulting in a less desirable, often watery or grainy texture. However, you can make parts of the cake ahead of time! If you wish to prepare components in advance, you can bake and freeze only the dense fudge cake base. Once you’re ready to serve, simply thaw the cake base, then proceed with making and adding the fresh mousse layer. This way, you get the convenience of partial meal prep without compromising the mousse’s quality.
