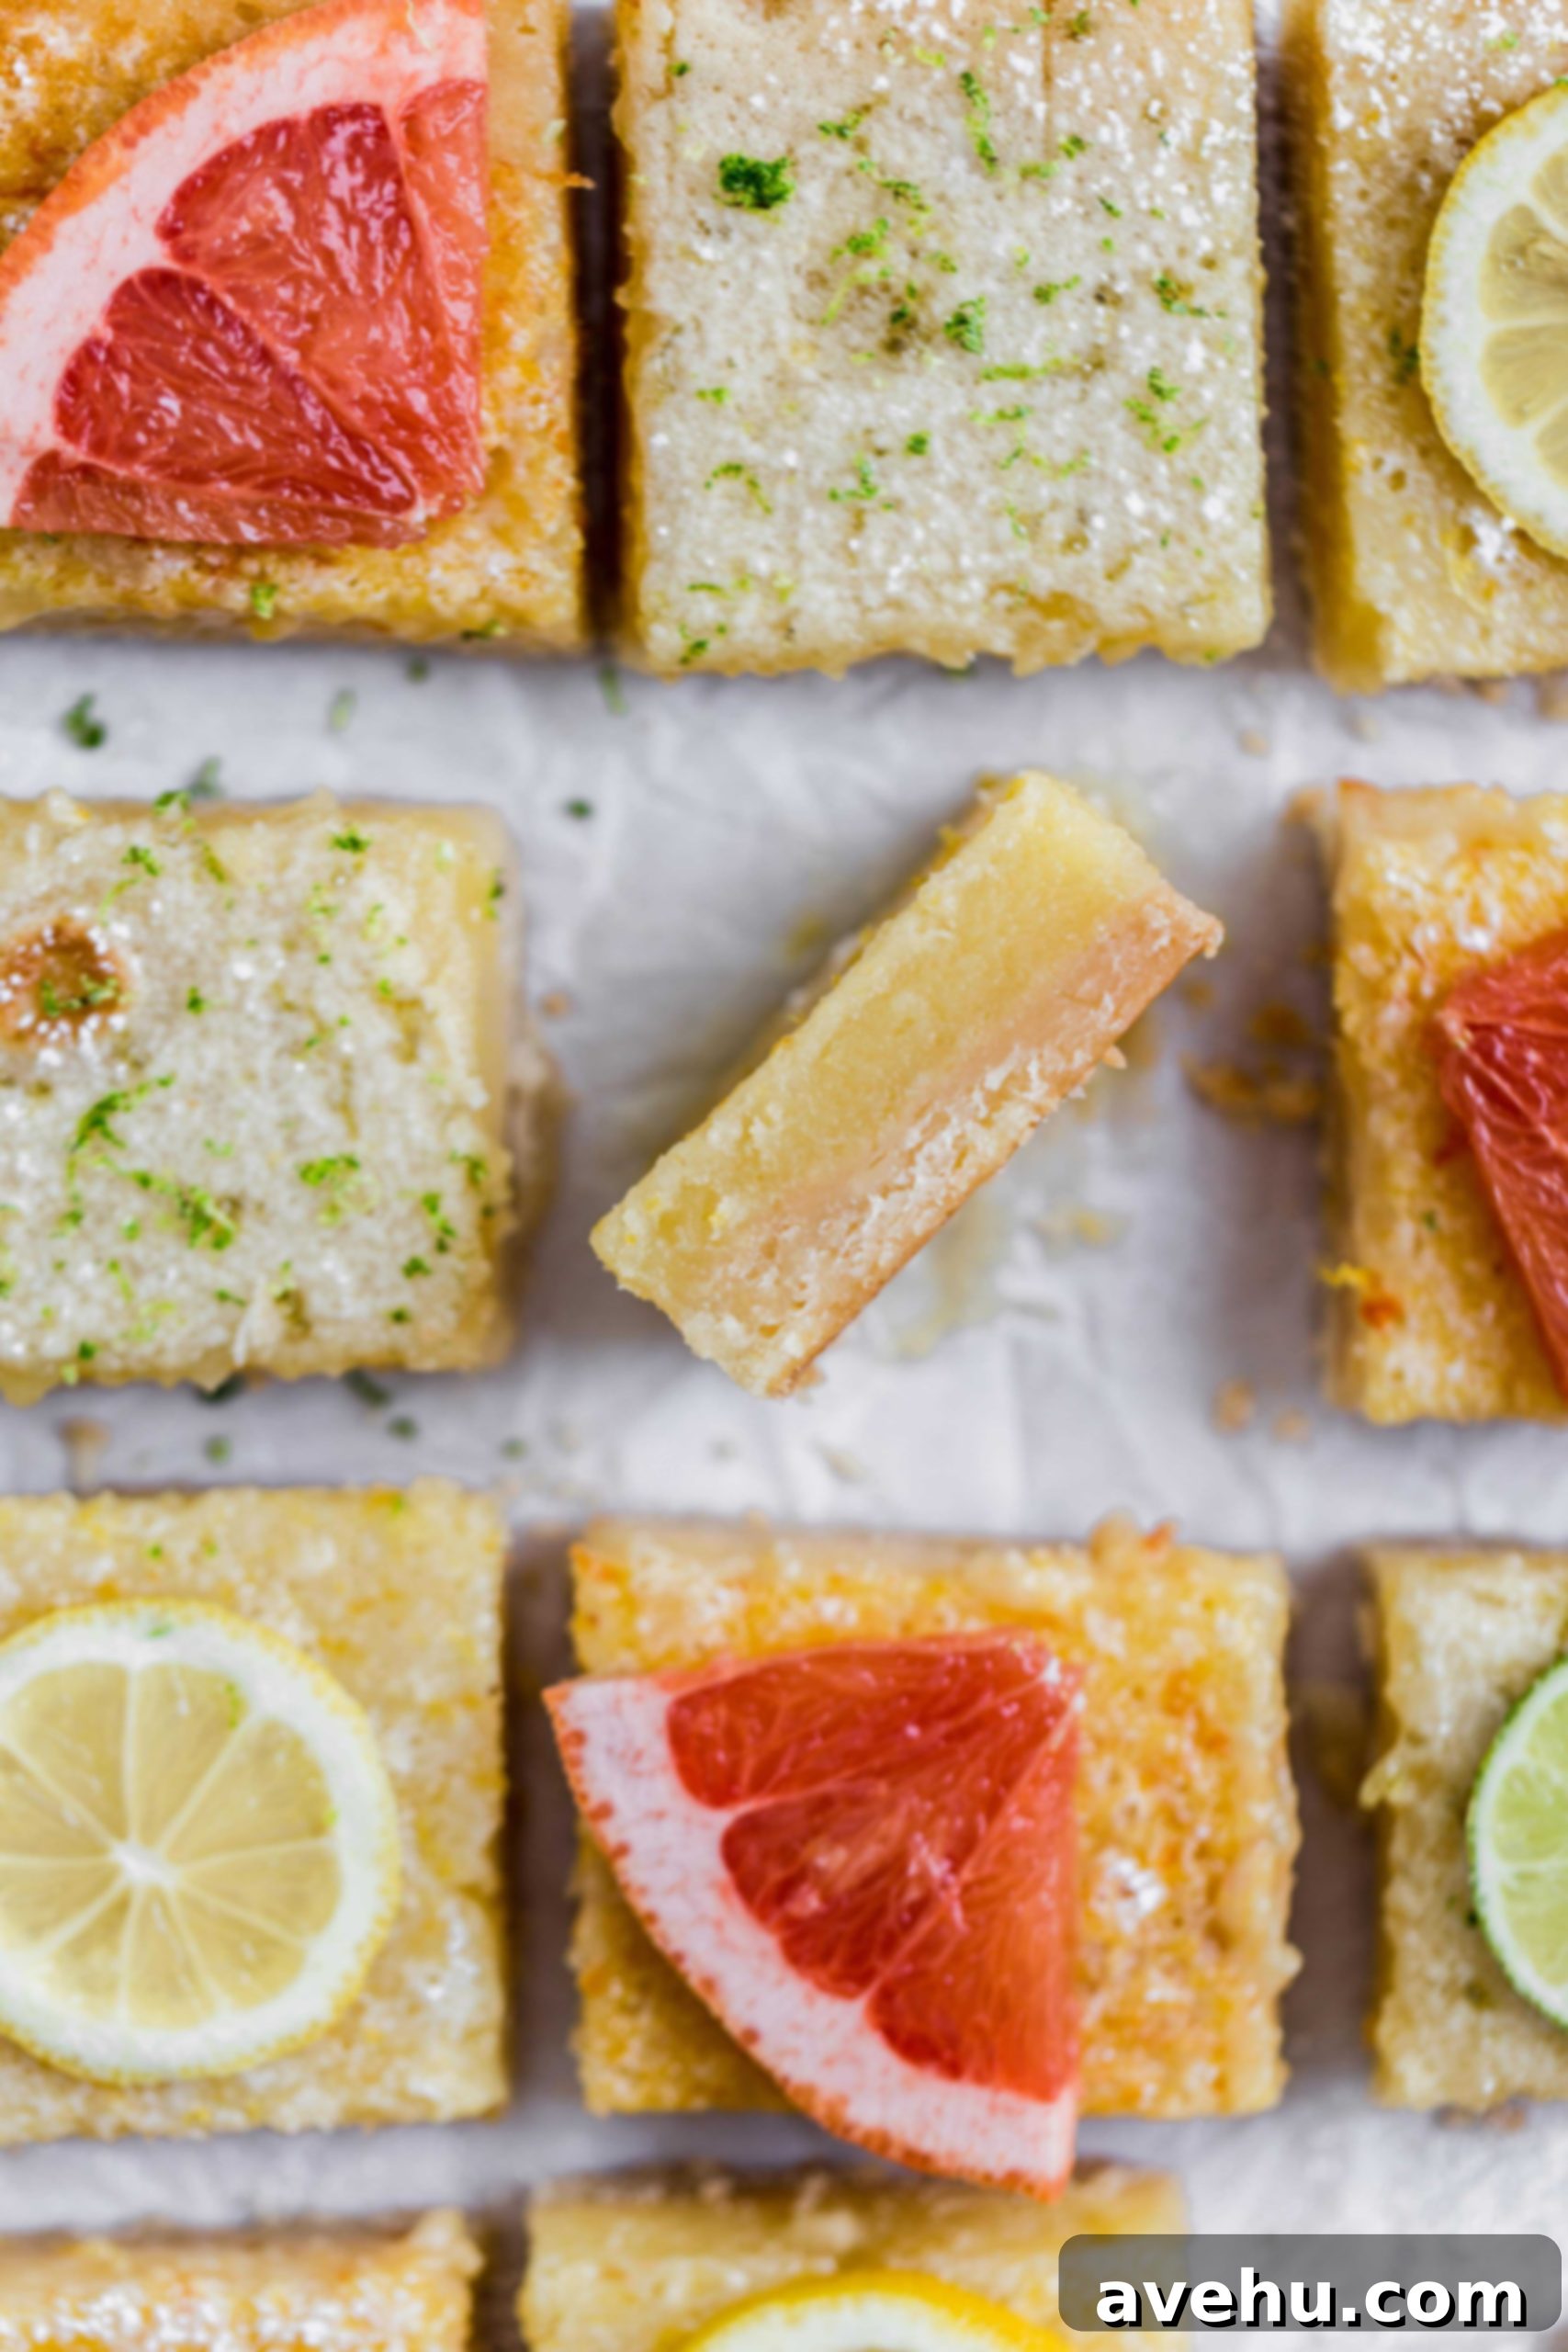
Easy & Tangy Citrus Bars: Lemon, Lime, or Grapefruit – A 3-Way Recipe!
Prepare to delight your taste buds with these incredibly easy citrus bars, a versatile recipe that allows you to choose your favorite tangy fruit: classic lemon, vibrant lime, or unique grapefruit! Each variation promises a super tangy and utterly delicious treat that’s perfect for any occasion. Whether you’re a purist who loves the bright zing of lemon, prefer the zesty kick of lime, or are adventurous enough for the bittersweet notes of grapefruit, you simply can’t go wrong with this foolproof recipe. These bars are a beloved dessert in our home, and we’re confident they’ll become a favorite in yours too!
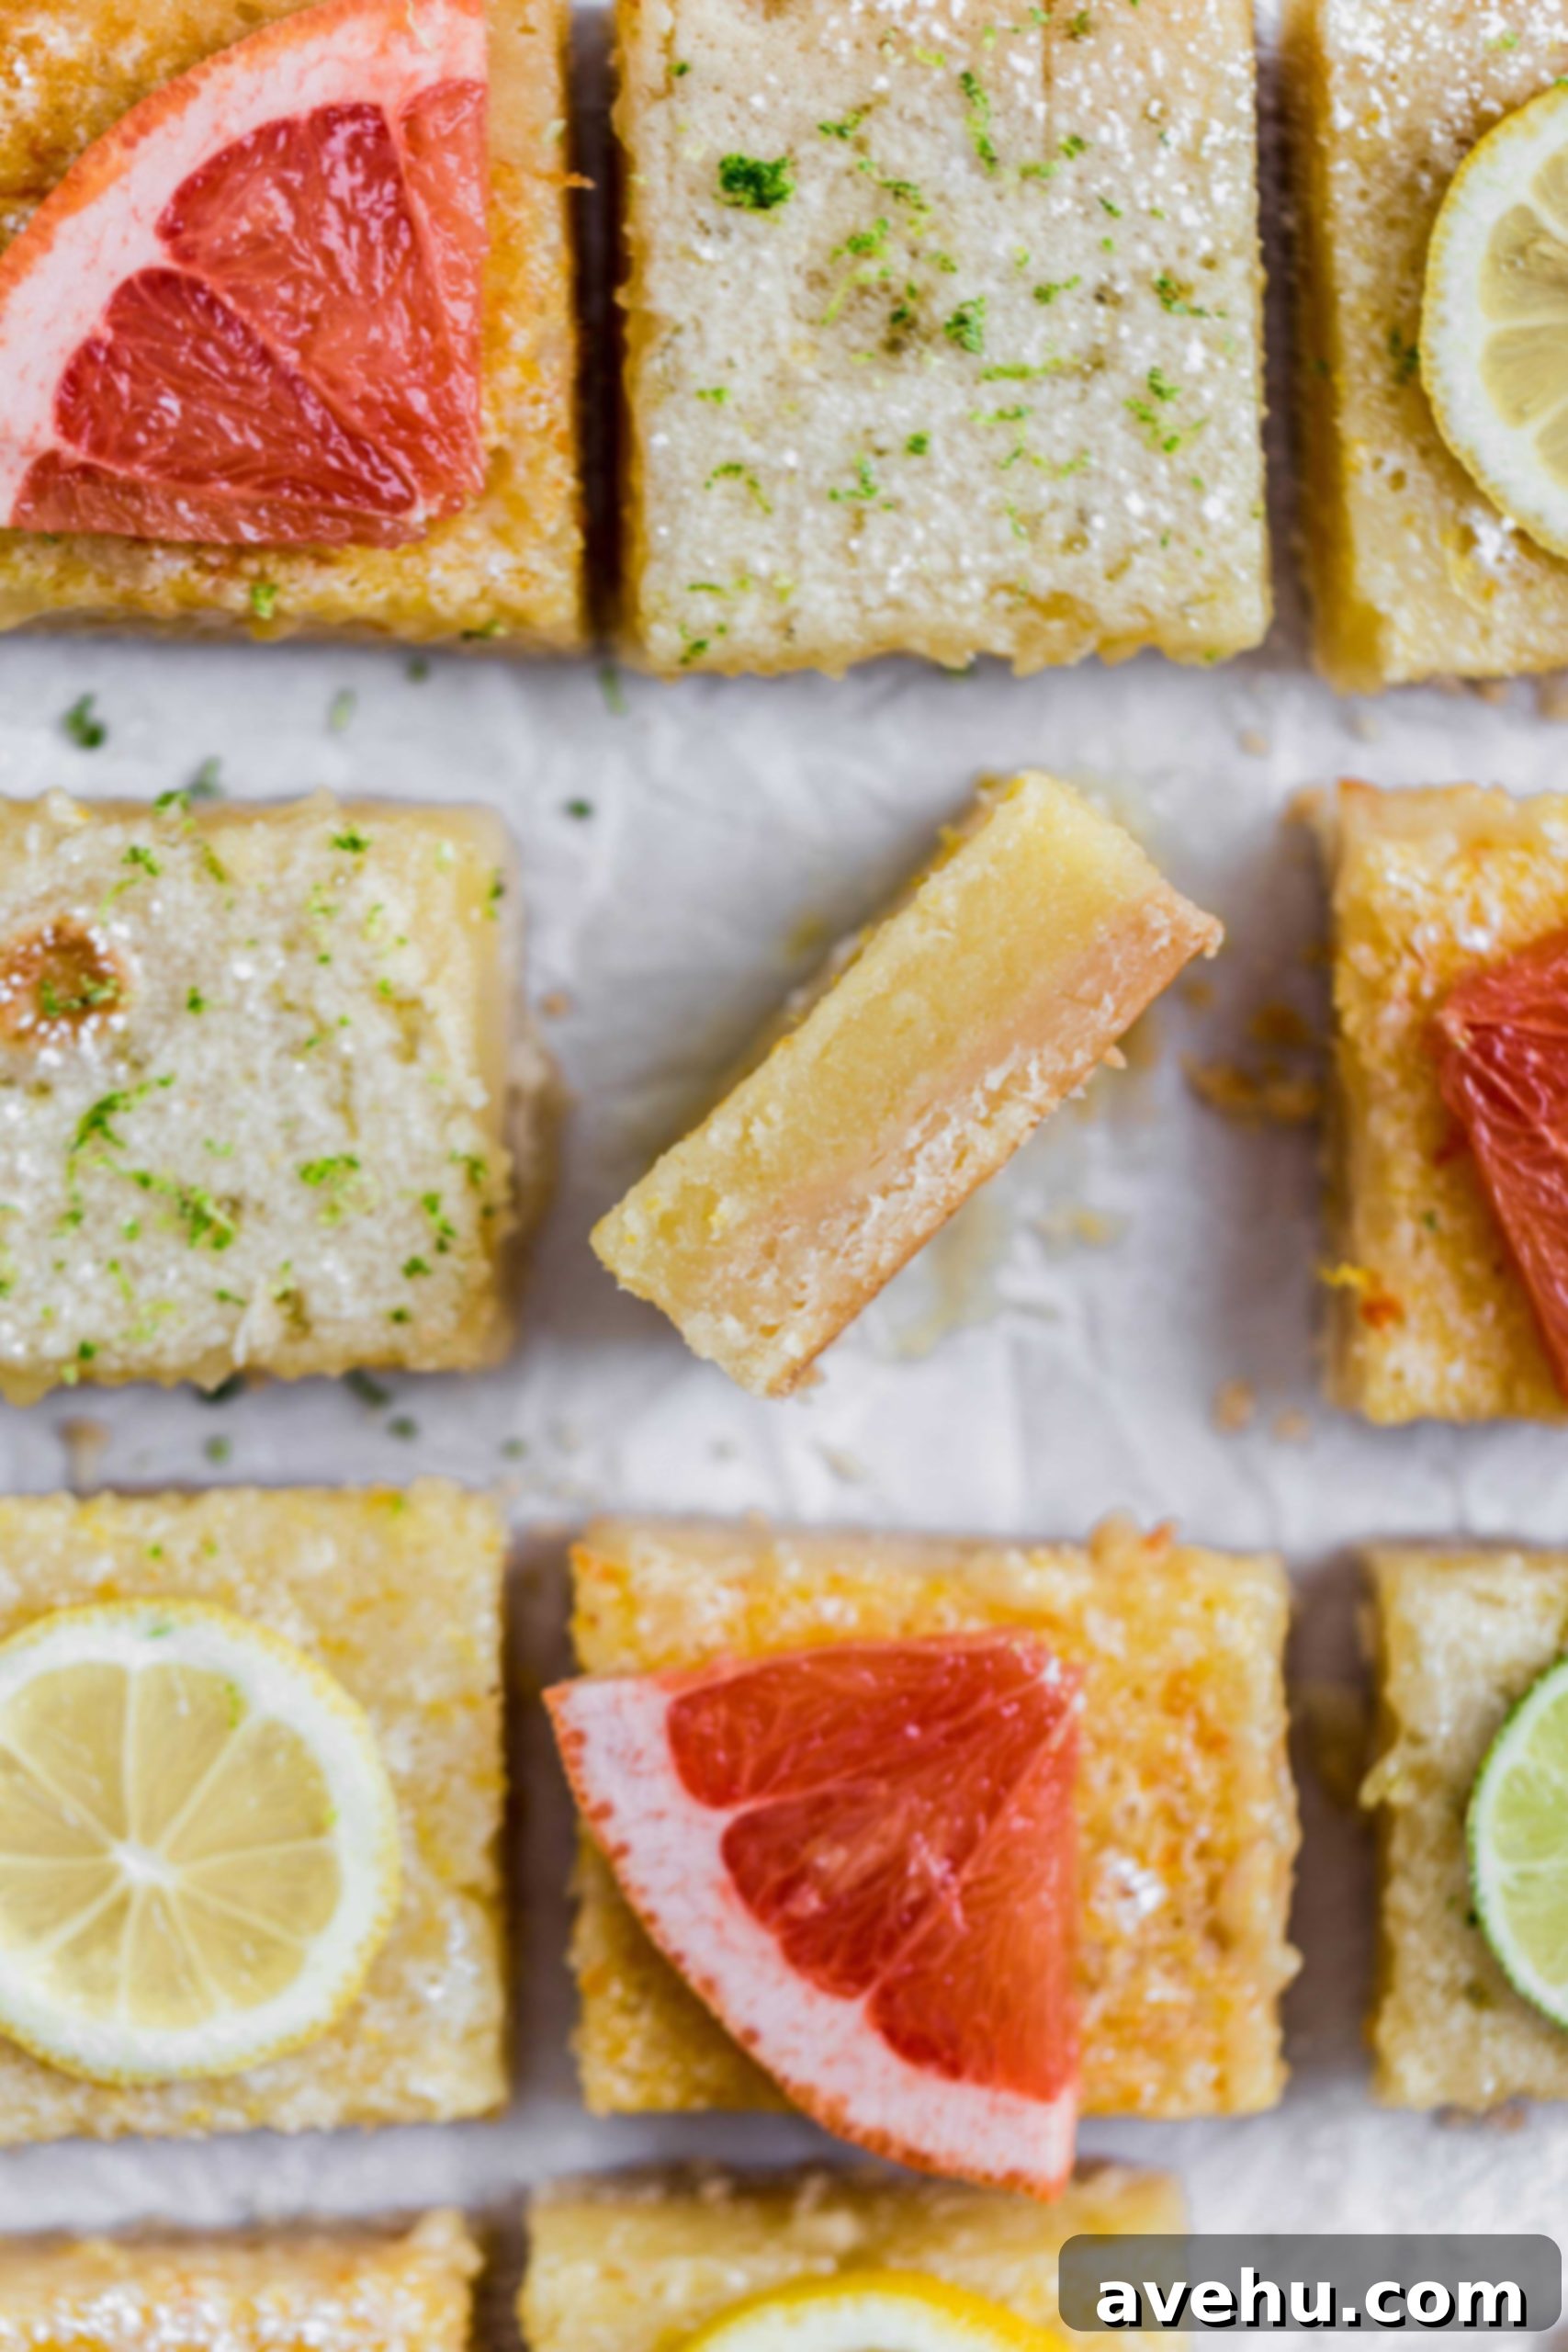
Beyond these delightful bars, any lemon dessert holds a special place in our hearts. In fact, our lemon poppyseed cake proudly ranks among my top three favorite cakes of all time – but shhh, don’t tell the others! However, let’s bring our focus back to these fantastic, easy-to-make, and wonderfully classic lemon bars. This recipe stands out not only for its incredible flavor but also for its simplicity. It’s quick to assemble, uses just a handful of common ingredients, and can easily be adapted to be dairy-free, making it accessible to even more dessert lovers.
One of the best aspects of this recipe is that you likely already have most, if not all, of the ingredients in your pantry. This means that whenever a craving for a bright, tangy, and sweet treat strikes, you’re just a few simple steps away from enjoying homemade citrus bars. These bars are perfect for summer gatherings, holiday dessert tables, or simply as a comforting treat on a quiet afternoon. Their vibrant flavor instantly brightens any day!
What You Need for These Easy Lemon Bars (or Lime, or Grapefruit!)
The beauty of this recipe truly lies in its minimal ingredient list. With just 7 essential items, you can create a dessert that tastes far more complex and impressive than the effort it requires. Here’s a detailed look at what you’ll need to make these mouth-watering bars:
- Butter or a Butter Substitute: For that perfect shortbread crust, softened butter is key. If you’re looking to make these dairy-free, a good quality plant-based butter substitute will work wonderfully without compromising on flavor or texture.
- Confectioners Sugar (Powdered Sugar): This fine sugar is crucial for the crust, contributing to its melt-in-your-mouth texture. Do not substitute with granulated white sugar for the crust, as the results will be drastically different.
- All-Purpose Flour: The foundation for both the crust and the filling, providing structure and body.
- Kosher Salt: A pinch of salt in both layers enhances all the other flavors, balancing the sweetness and brightening the tang of the citrus.
- 6 Large Eggs: These are essential for creating the rich, custardy texture of the filling. Eggs provide structure, richness, and help the filling set beautifully.
- Fresh or Bottled Citrus Juice (Lemon, Lime, or Grapefruit): The star of the show! While bottled juice can be used for convenience, fresh-squeezed juice will always yield the most vibrant and authentic flavor. We’ll delve deeper into the quantities needed for fresh juice later.
- Granulated White Sugar: This is used exclusively in the filling to balance the intense tartness of the citrus juice, creating a perfectly sweet and tangy custard.
That’s it! Just seven common ingredients stand between you and a batch of unbelievably delicious citrus bars. There’s nothing exotic or hard to find, which makes this recipe a true winner for home bakers of all skill levels.
Crafting Your Perfect Citrus Bars: A Step-by-Step Guide
The process of making these bars is divided into two main, straightforward parts: preparing the melt-in-your-mouth shortbread crust and then whisking together the luscious citrus filling. Let’s break down each step to ensure your success.
How to Make the Shortbread Crust: The Foundation of Flavor
Start your citrus bar journey by creating the shortbread crust. If you’ve ever felt intimidated by pie dough, let me assure you, this shortbread crust is a different beast entirely. It’s incredibly forgiving and a joy to work with!
The process begins with combining softened butter (or your chosen butter substitute), confectioners sugar, all-purpose flour, and a touch of kosher salt. The easiest and most efficient way to achieve the perfect consistency is by using a stand mixer fitted with the paddle attachment. The key here is to ensure your butter is at room temperature. If it’s too cold, the dough won’t come together smoothly, resulting in a crumbly mess. Room temperature butter, however, creams beautifully with the sugar and incorporates evenly with the flour.
You’ll know the dough is ready when it starts to ball up in the mixer bowl and feels wonderfully smooth and non-sticky to the touch. The texture is so satisfying – almost like a soft, pliable clay! This smooth consistency is vital for a tender, flaky crust.
A crucial note: Do NOT substitute regular granulated white sugar for confectioners sugar in the crust. The fine texture of confectioners sugar is precisely what gives this shortbread crust its signature melt-in-your-mouth quality. Granulated sugar has larger crystals that won’t incorporate the same way, leading to a much grittier and less delicate crust. Stick to confectioners sugar for that luxurious texture!
Once your dough is perfectly formed, press it firmly and evenly into the bottom of a 9×13 inch baking pan. For effortless removal and beautifully clean-cut bars, line your pan with parchment paper, leaving a generous 2-inch overhang on all sides. This parchment paper sling will allow you to lift the cooled bars out of the pan in one piece, making cutting a breeze. Bake this golden foundation until lightly golden and set.
Preparing the Zesty Citrus Filling
While your delightful crust is baking to perfection, you can prepare the vibrant and tangy filling. This ensures a seamless transition and keeps your baking process efficient. In a medium-sized mixing bowl, combine the following ingredients:
- 6 large eggs
- 1 cup of your chosen citrus juice (lemon, lime, or grapefruit – fresh is always best for maximum flavor!)
- 1 to 2 teaspoons of the zest of your chosen citrus. This is where you can truly customize the intensity of flavor. Go a little lighter for a subtle aroma or load it up for an extra punch of citrusy goodness.
- 2 1/2 cups of granulated white sugar
- 1 cup of all-purpose flour
Whisk these ingredients together thoroughly. A hand whisk works perfectly well for this, so there’s no need to pull out your stand mixer again unless you prefer. If you do use a mixer, opt for the whisk attachment to ensure everything is well combined and slightly foamy. Once mixed, set the filling aside until your shortbread crust has finished baking and had a moment to cool.
Filling and Baking Your Citrus Bars: The Grand Finale
Filling the Crust: Timing is Everything (Almost!)
When it comes to filling the crust, you don’t need to wait for it to be completely cool. A quick 5-minute cool-down period after baking is usually sufficient. The goal is just to ensure it’s not piping hot, which could affect the setting of the delicate custard. Before pouring, give your egg mixture one final vigorous whisk. It should appear noticeably foamy – this aeration helps create a lighter, more tender filling. Carefully pour the foamy citrus mixture over the slightly cooled crust, spreading it evenly. If you’re a fan of intense citrus flavor and beautiful presentation, feel free to sprinkle a little more fresh zest over the top before it heads into the oven.
Baking the Perfect Citrus Bars
Now, it’s time to bake your fantastic citrus bars! Increase your oven temperature to 350°F (175°C). Place the baking pan on the lower rack of your oven and bake for approximately 30 minutes. During baking, keep an eye on a few key indicators of doneness. The top of the bars will develop a beautiful crusted, slightly white and foamy appearance. The edges will turn a lovely golden brown, indicating they are fully cooked. Most importantly, the middle of the bars should still have a slight jiggly movement when gently shaken. This subtle jiggle is a sign of a perfectly set, yet still tender and moist custard. Over-baking can lead to a rubbery texture, so trust the jiggle!
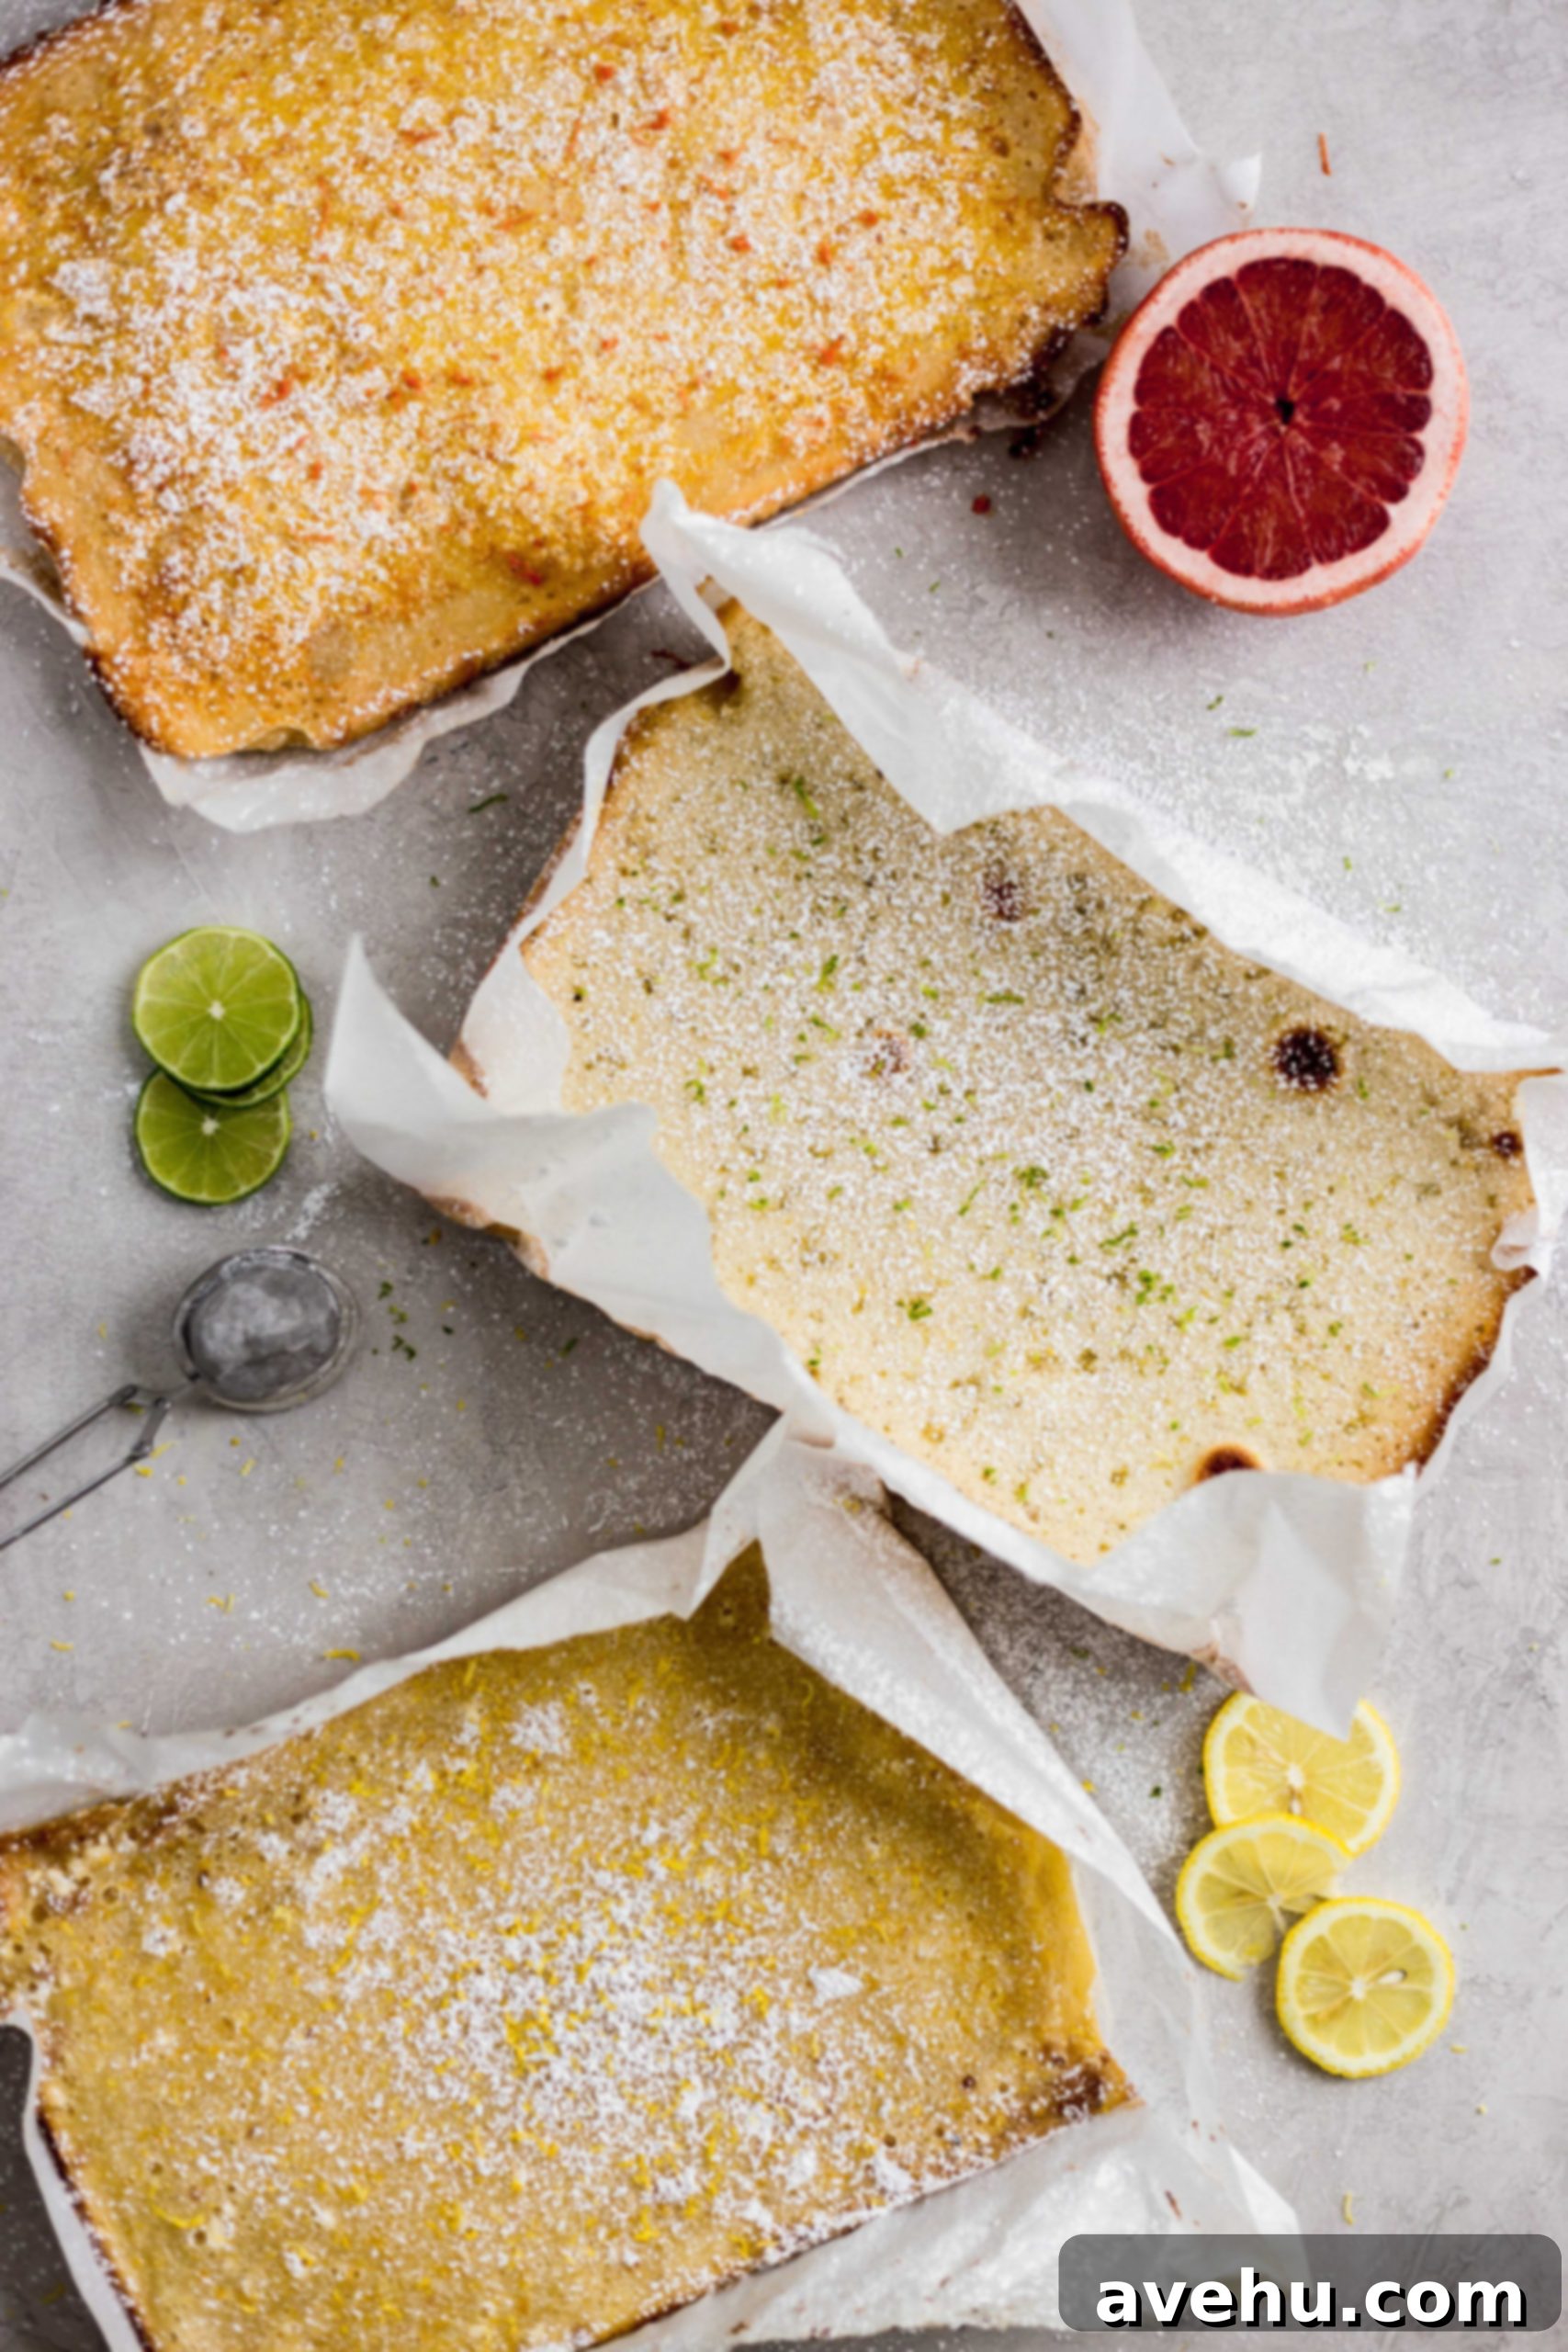
Once baked, remove the bars from the oven and allow them to cool completely on a wire rack at room temperature for about an hour. This initial cooling helps the custard begin to set. However, for the ultimate firm texture and easy, clean cuts, chilling is essential. Transfer the pan to the refrigerator and chill for at least 4 hours, or ideally, overnight. Patience during this chilling phase will be greatly rewarded with perfectly set, sliceable bars.
Serving Your Delightful Citrus Bars
How to Serve Your Chilled Bars
After your citrus bars have had ample time to chill and firm up, they are ready to be transformed into individual servings. Using the parchment paper overhang as handles, gently lift the entire slab of bars out of the baking pan and transfer it to a cutting board. Depending on your preferred serving size, you can typically cut the 9×13 inch pan into 12 to 16 neat squares. Cutting them into smaller portions is a fantastic strategy when you’re feeding a crowd, ensuring everyone gets a taste of this irresistible dessert. For an elegant finish and an extra touch of sweetness, generously dust the cut bars with a sprinkle of confectioners sugar. Garnish with a bit more fresh zest or thin slices of your chosen citrus fruit to really make them pop visually.
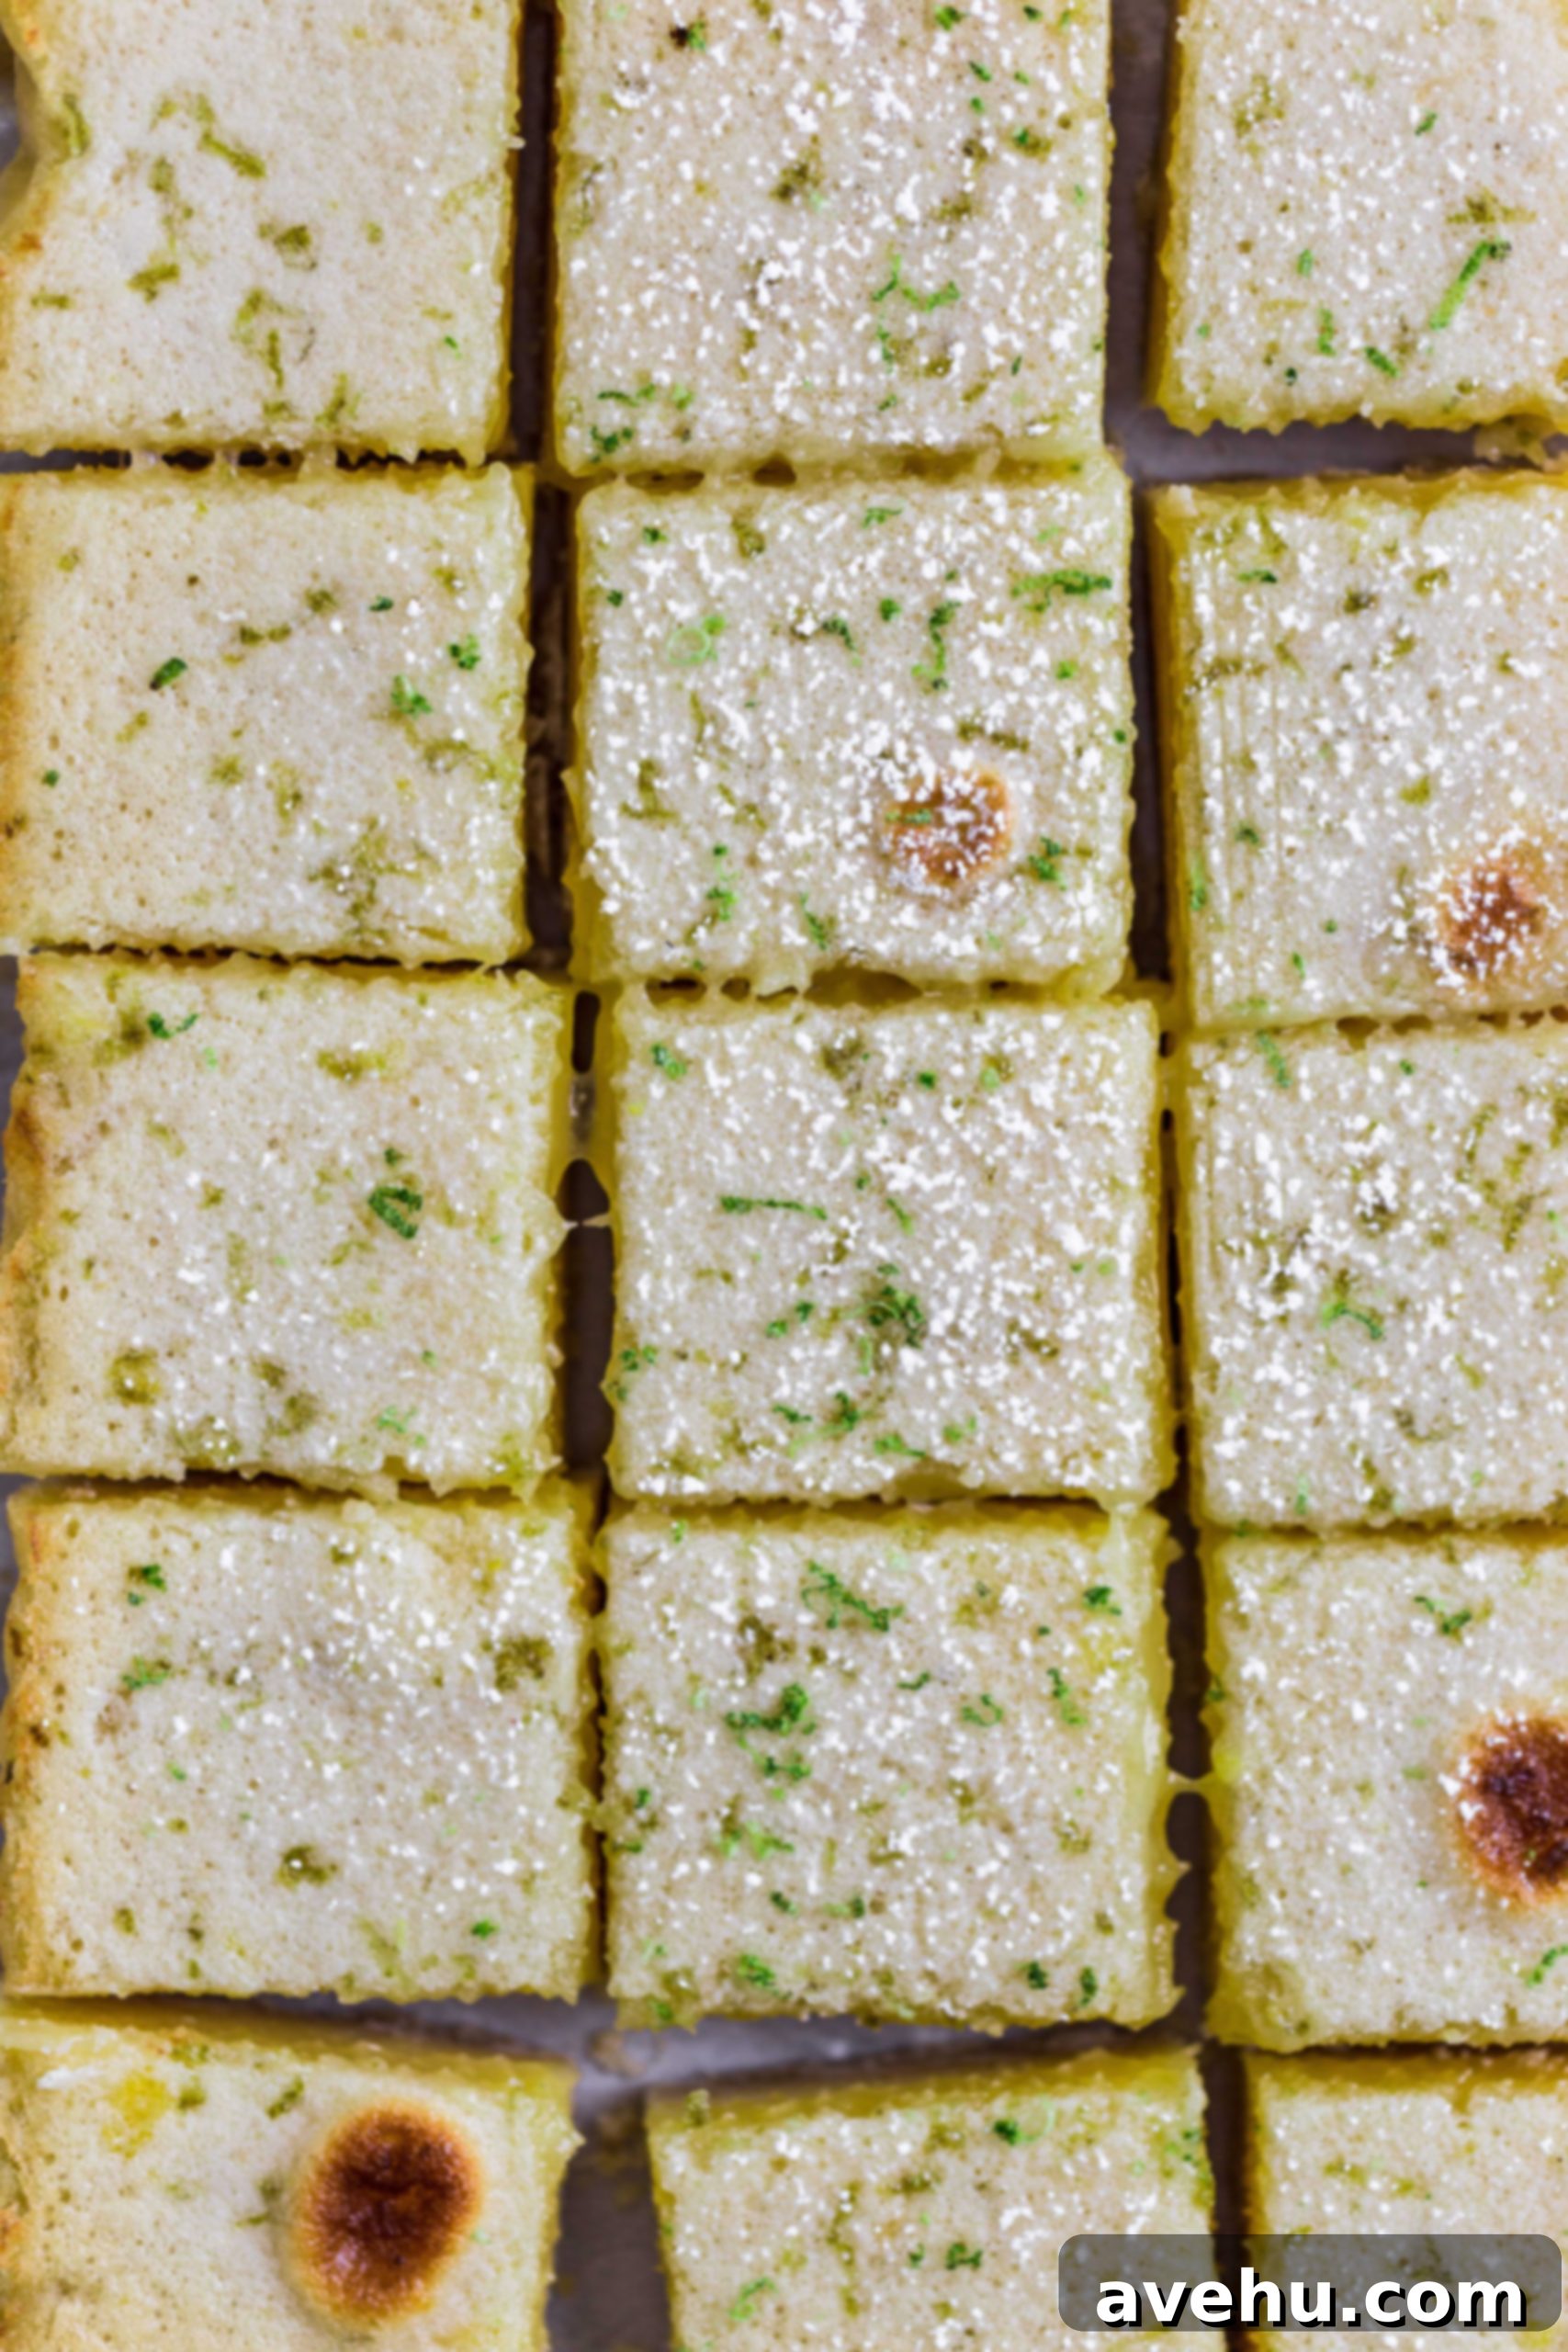
Always serve these bars cold! This is a key element of their appeal. Their chilled state provides a refreshing contrast to their intense tanginess. One of the many reasons we adore this recipe is that you can pull them straight from the fridge, and they’re immediately ready to enjoy—no waiting for them to warm up. While they are best served cold, you can leave them out of the refrigerator for a couple of hours without any issues; they won’t melt or degrade quickly. Just be sure to return them to the fridge for storage once you’re done serving. These are not a countertop-storage type of dessert, as the custard filling requires refrigeration to maintain its optimal texture and freshness. We particularly love these bars during the warmer months, as their bright, refreshing flavors—especially when made with grapefruit or lime—make them an ideal summer treat.
Expert Tips for Clean Cuts
Achieving perfectly clean and neat squares of citrus bars is easier than you think, with just a few simple tricks. You’ll want to use a large, sharp chef’s knife for the best results. The secret to pristine edges is to wipe the knife clean after every single cut. This prevents any sticky residue from transferring to the next slice, ensuring each bar looks professionally made. Start by making a long cut straight down the middle of the slab, whether vertically or horizontally – the direction doesn’t matter, just aim for a precise center line. Then, cut those two larger halves in half again. Once you have your four long sections, rotate the slab 90 degrees and cut it into evenly sized squares. This method helps maintain uniformity and gives you those beautiful, clean-edged bars.
Storage and Make-Ahead Tips for Citrus Bars
Freezing Citrus Bars: To Freeze or Not to Freeze?
While many desserts freeze well, for these specific citrus bars, we generally do not recommend freezing them. The delicate custard filling, when thawed, can sometimes become watery or separate, compromising the smooth, creamy texture that makes these bars so delightful. For optimal enjoyment, it’s best to stick to refrigeration.
Make-Ahead and Storage Guidance
The good news is that these citrus bars are fantastic for making ahead, which makes them an ideal dessert for parties, potlucks, or just having a sweet treat ready for whenever a craving strikes. Here are some key tips for storing and preparing them in advance:
- Advance Preparation: You can confidently make these bars up to 2 days in advance of when you plan to serve them. This allows ample time for them to chill and for the flavors to fully meld and develop.
- Cutting Time: For the freshest appearance and to prevent the exposed edges from drying out, it’s best to refrain from cutting the bars until you are ready to serve them. Store the entire chilled slab in the pan.
- Refrigeration is Key: Always keep your citrus bars covered and stored in the refrigerator. When properly stored, they will maintain their delicious taste and perfect texture for up to 7 days. Make sure they are in an airtight container or tightly wrapped with plastic wrap to prevent them from absorbing any unwanted odors from the fridge.
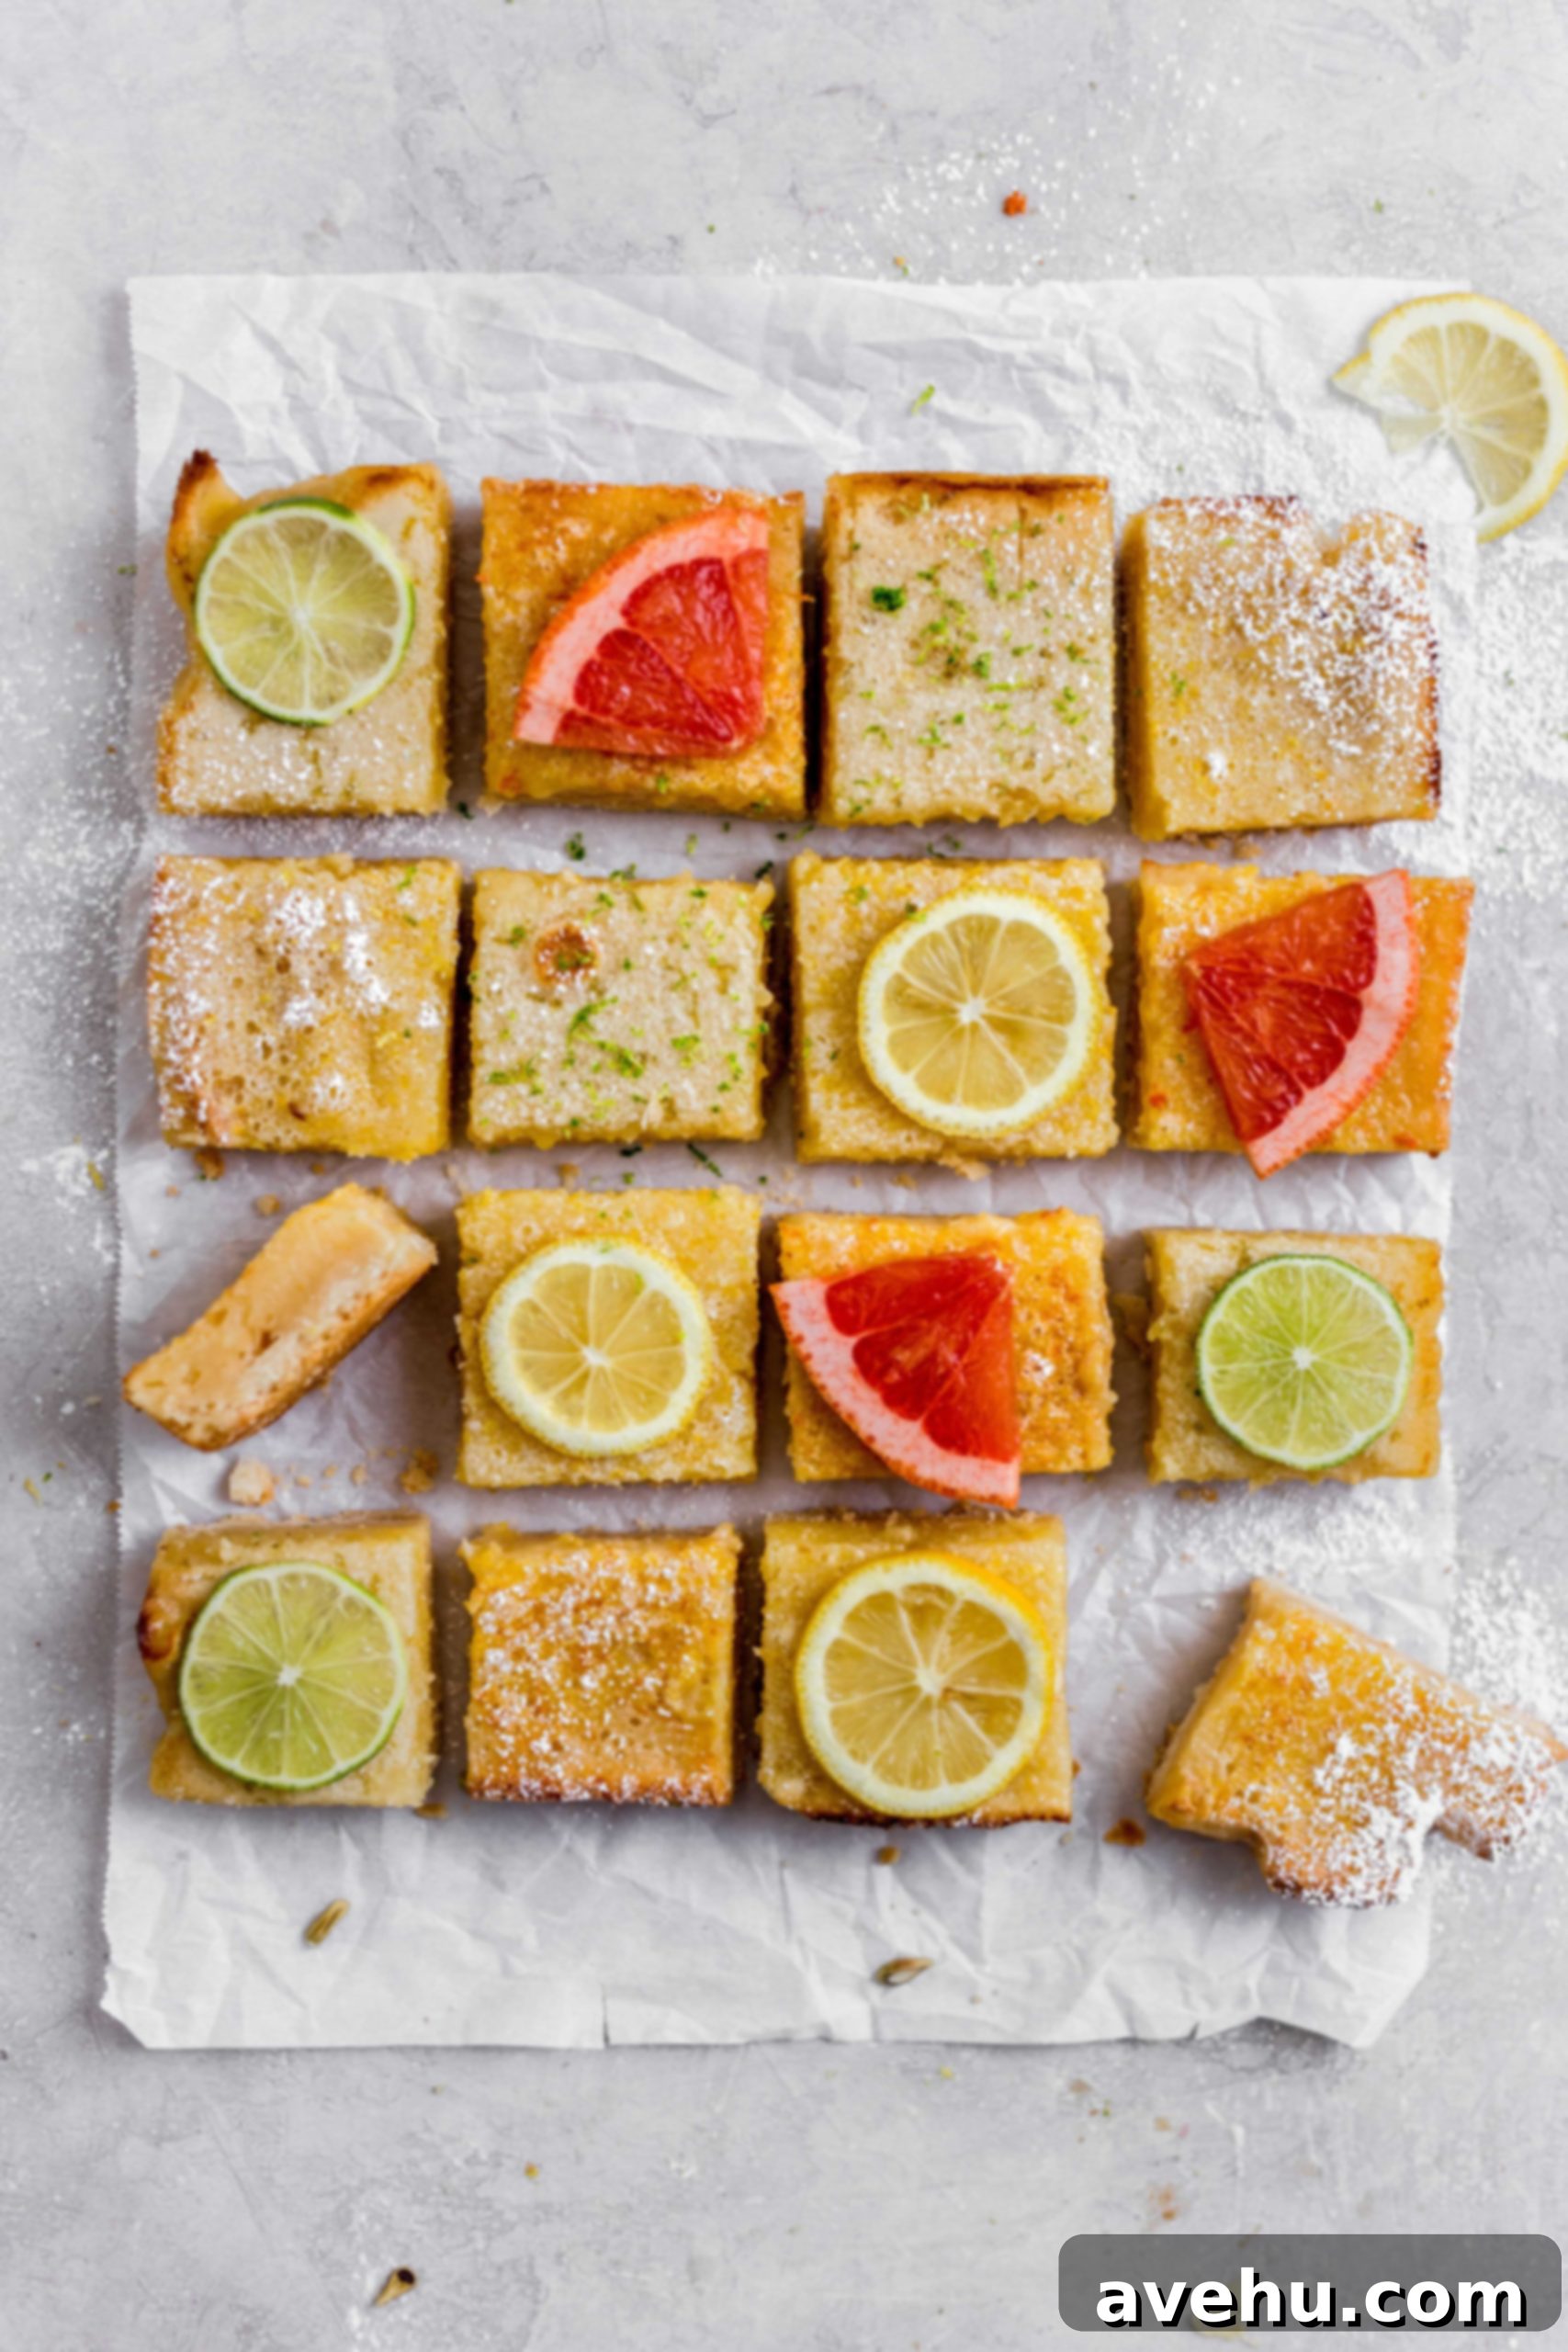
With these tips, you can enjoy these wonderful, tangy citrus bars throughout the week or easily prepare them for your next gathering, knowing they’ll be as fresh and delicious as if they were just baked.

Easy Lemon Bars- 3 ways to make!
Pin
Review
SaveSaved!
Ingredients
Shortbread Crust
- 1 cup butter or butter substitute, softened
- 1/2 cup confectioners sugar
- 2 cups all purpose flour
- 1/4 tsp kosher salt
Filling
- 6 eggs, large
- 1 cup lemon, lime, or grapefruit juice, fresh or bottled
- 1-2 tsp zest
- 2.5 cups granulated sugar
- 1 cup all purpose flour
Equipment
-
Stand mixer
Instructions
Make the crust
-
Preheat your oven to 325° F and line a 9×13 inch baking dish with parchment paper leaving a 2″overhang on the sides.
-
In a stand mixer fitted with the paddle attachment, add the butter, confectioners sugar, flour, and salt. Mix on medium speed until a soft ball of dough forms. The dough should come together in one piece and not be sticky.
-
Press the dough firmly and evenly into the bottom of the prepared pan and bake for 20 minutes. The crust is ready when the middle is firm and the edges are golden brown. Cool for 5 minutes.
Make the filling:
-
Raise the oven temperature to 350°F. In a medium sized bowl whisk the eggs, juice, zest, sugar and flour until it is combined well and foamy looking.
-
Pour the filling into the crust and bake for 30 mins.
-
The bars are done when the edges are golden brown and the top is foamy and slightly firm. The middle should still be a little jiggly.
-
Cool the bars on the counter for 30 minutes then chill for at least 4 hours or overnight.
-
Cut and serve cold with dusted confectioners sugar and more zest!
Notes
To get one cup you will need:
- 2-3 grapfruit depending on size
- 6-8 lime depending on size
- 6-8 lemons depending on size
You can also try Meyer lemons in this recipe!
