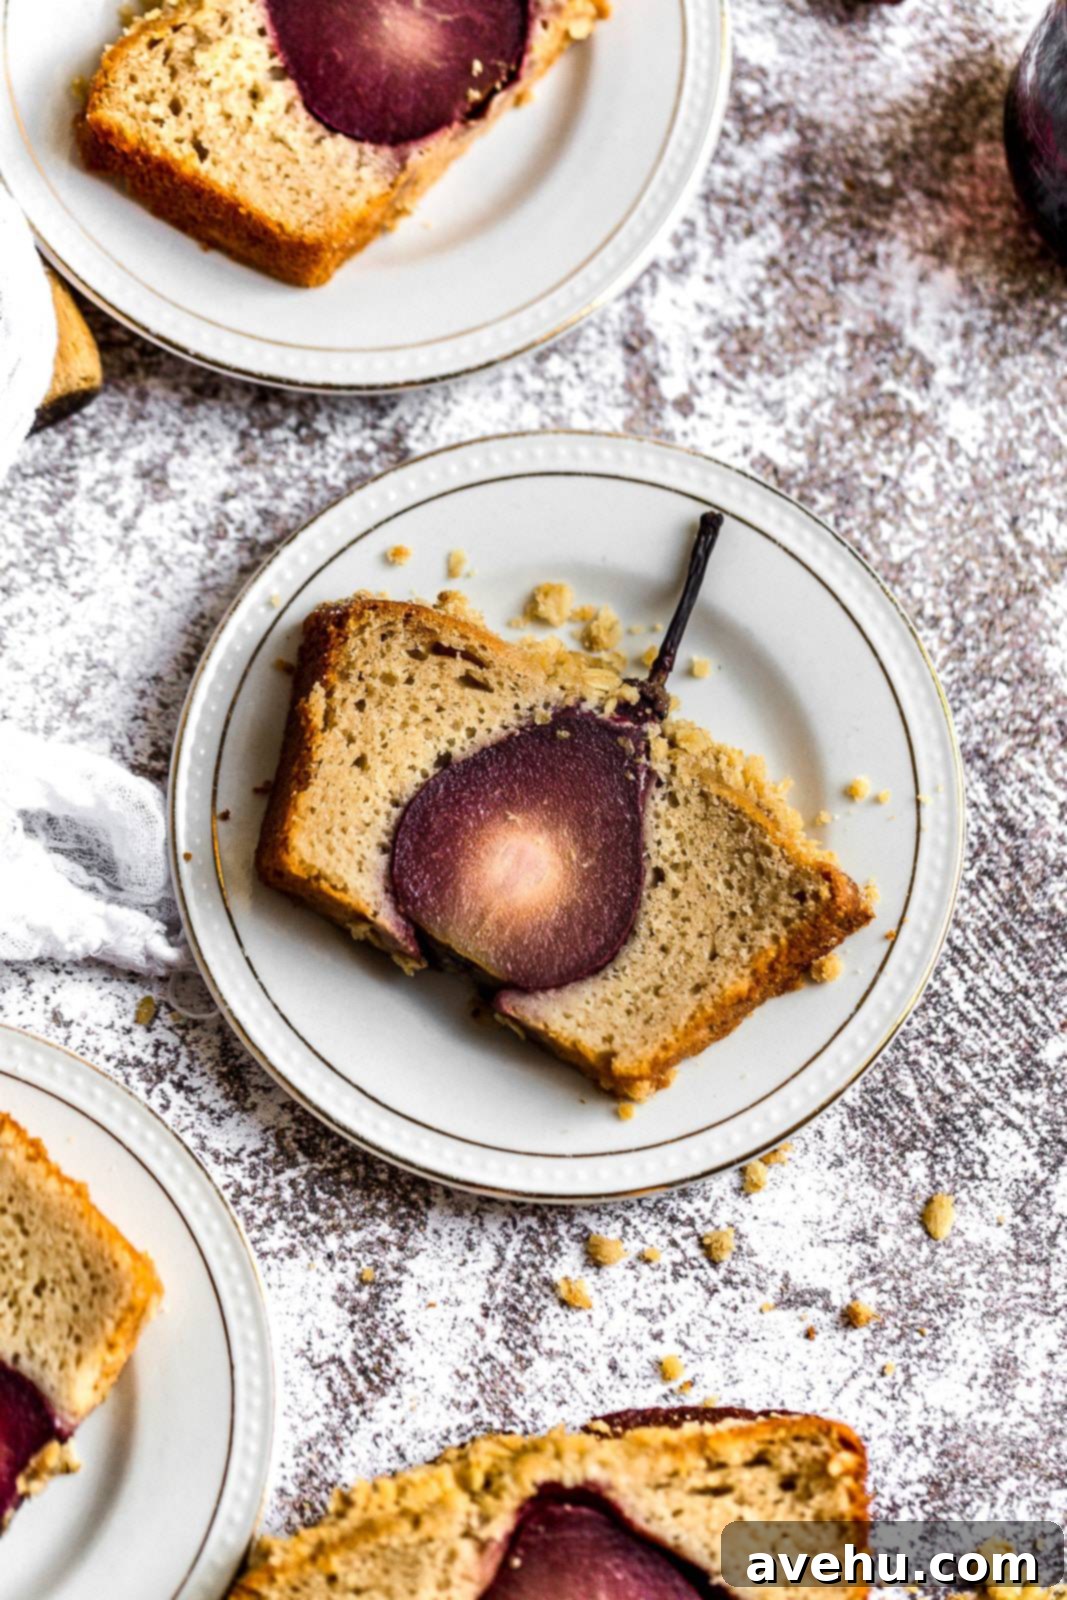
Elegant Red Wine Poached Pear Cake with Cinnamon Crumb Topping: A Delicious Surprise Dessert
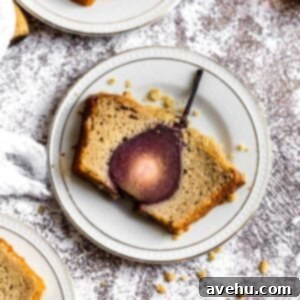
Prepare to impress your guests with this truly elegant yet surprisingly easy dessert: our Red Wine Poached Pear Cake with Crumb Topping. Imagine a light, moist cinnamon cake, perfectly baked, that seemingly hides a beautiful secret within. As you slice into it, a ruby-colored, red wine-poached pear is revealed, nestled gently in the center of each slice. This stunning presentation, combined with the delightful flavors and textures, guarantees those coveted “oohs” and “aahs” from everyone at your table. It’s a sophisticated fruit dessert that looks incredibly fancy but is straightforward to create, making you look like a pastry chef with minimal effort!
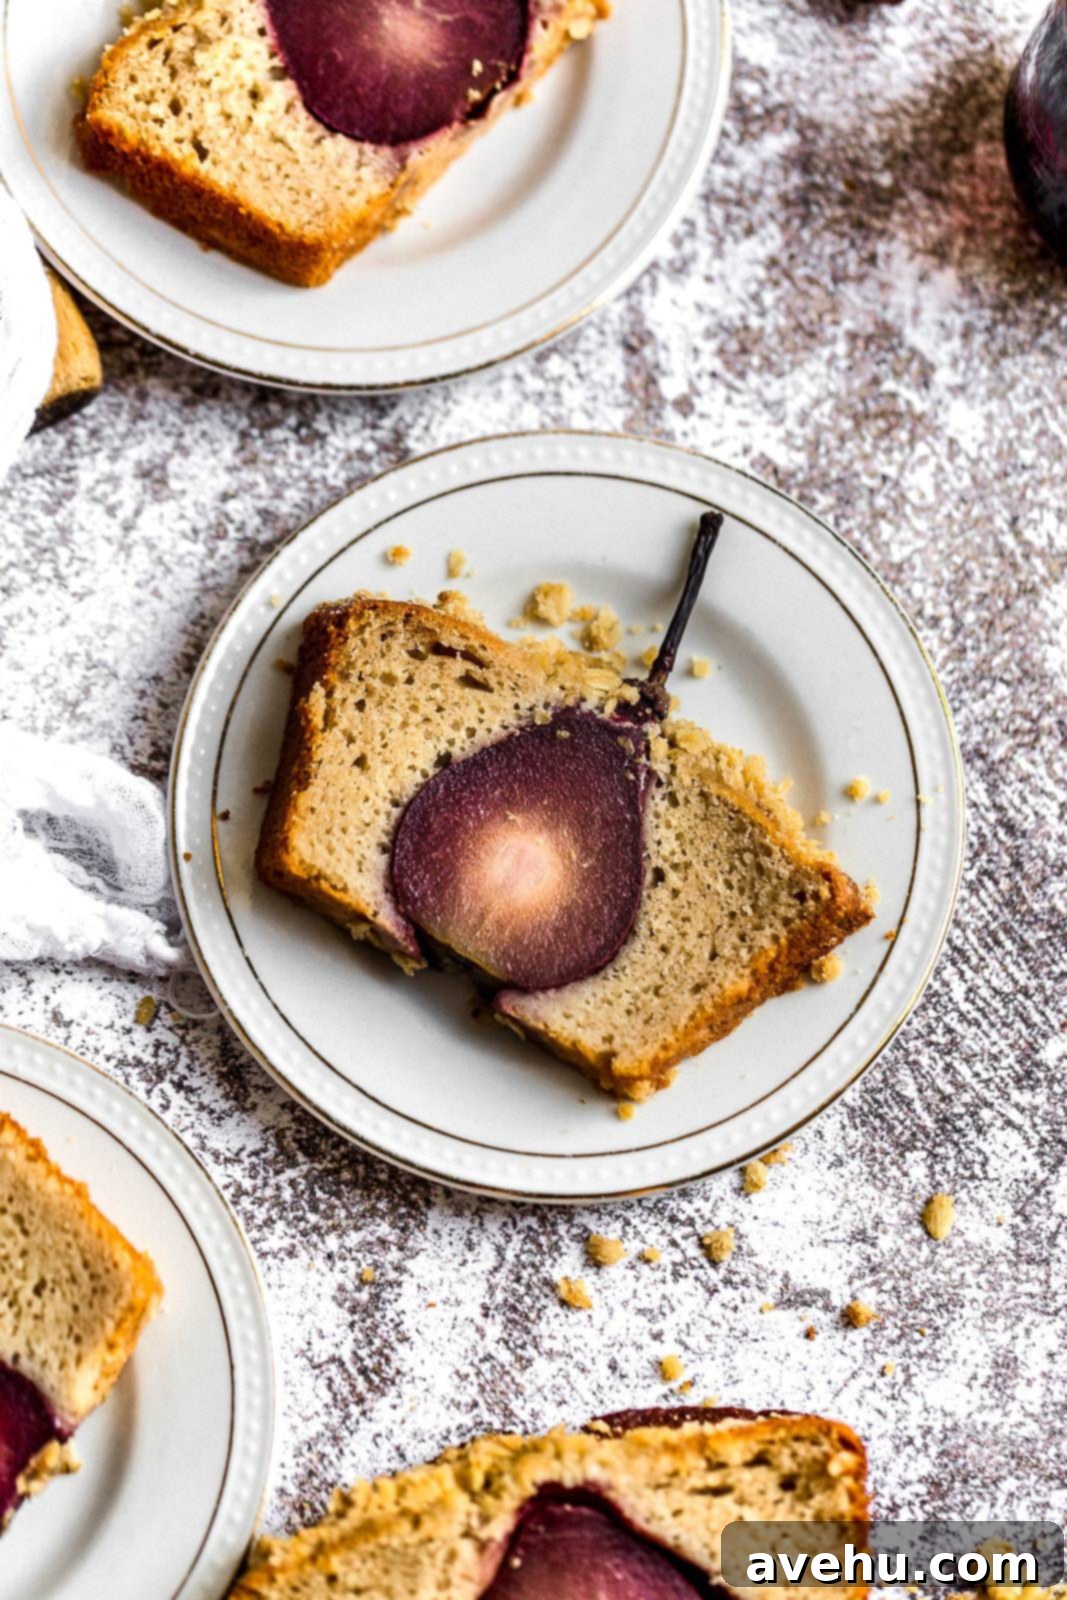
Surprise! Tucked away inside this deliciously soft cake is a glistening, jewel-toned red wine poached pear. This hidden gem is what transforms a simple pear cake into a memorable culinary experience.
Pear Cake with Crumb Topping: The Ultimate Showstopper
From the outside, this cake appears to be a delightful, rustic treat, featuring a generous, golden-brown crumb topping. But the true magic unfolds when you make the first cut. Picture your guests, completely unaware, watching as you slice into the tender cake, revealing the vibrant, ruby-red fruit perfectly baked within. The expressions of delight and astonishment are priceless!
The visual appeal is just the beginning. The taste is equally captivating. Each bite offers a harmonious blend of textures and flavors: the tender, subtly sweet red wine-infused pear, the moist and airy cinnamon-spiced cake, and the satisfying crunch of the buttery crumb topping. This recipe has even passed the rigorous “mother-in-law test,” a true testament to its exceptional quality and deliciousness. It’s a testament to how simple ingredients, when combined thoughtfully, can create something truly extraordinary. Whether for a holiday gathering, a special dinner, or just a weekend indulgence, this pear cake promises a delightful culinary adventure.
Why You’ll Adore This Red Wine Pear Cake
- Visually Stunning: The hidden red wine pear creates an incredible “wow” factor upon slicing.
- Exquisite Flavor Profile: A perfect balance of fruity sweetness from the pears, warmth from cinnamon, and richness from the red wine.
- Moist and Tender Texture: The cake itself is incredibly soft, light, and moist, complementing the tender poached pears beautifully.
- Impressively Easy: Despite its sophisticated appearance, the steps are straightforward and manageable for bakers of all skill levels.
- Versatile: Ideal for special occasions, elegant brunches, or simply a luxurious afternoon treat.
- Dairy-Free Option: Easily adaptable for those with dietary restrictions by using butter and milk substitutes.
Crafting Your Surprise Pear Cake: Step-by-Step Guide
The journey to this magnificent dessert begins with the pears themselves. Poaching them in a flavorful liquid not only infuses them with rich color and taste but also tenderizes them to perfection. The poaching liquid is a carefully balanced blend of semi-sweet red wine, bright orange juice, aromatic vanilla, warming cinnamon, and just enough sugar to enhance the pears’ natural sweetness without overwhelming it.
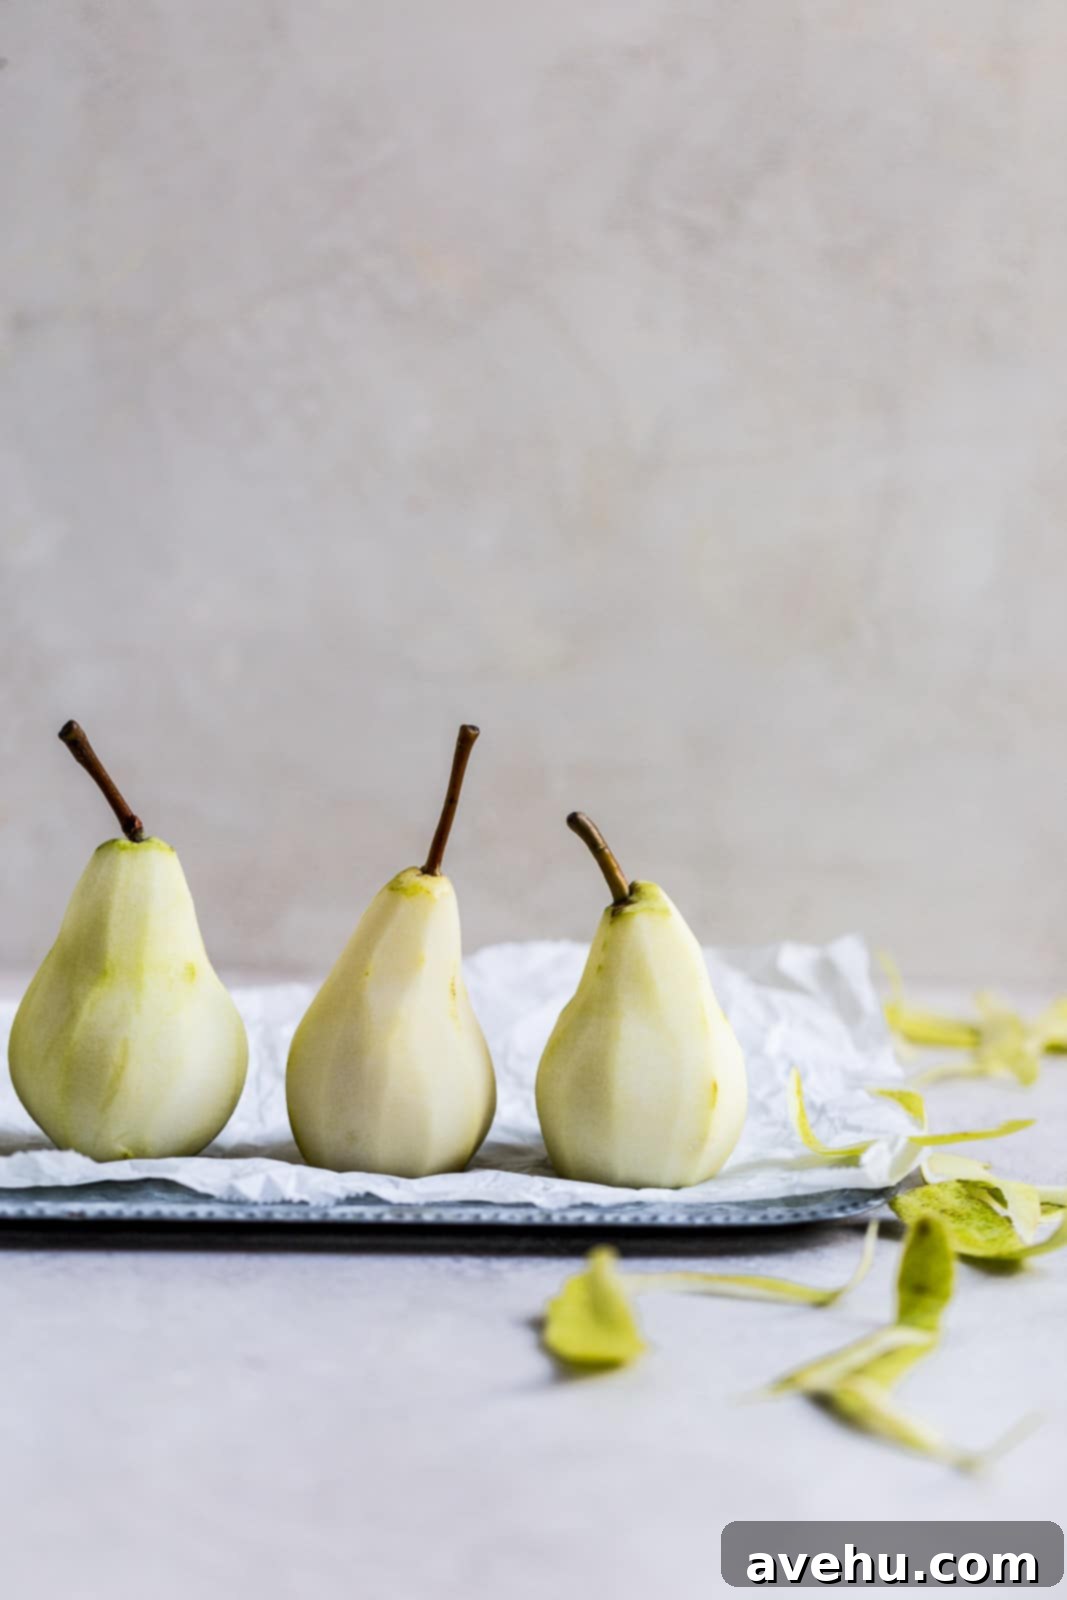
When selecting your pears, I highly recommend using Anjou pears. Their firm texture and ability to maintain their shape beautifully throughout the poaching and baking process make them ideal for this recipe. Other varieties, such as Bosc pears, can sometimes become too soft or mushy, which would compromise the delightful presentation and texture of the finished cake. Choose small to medium-sized pears that will fit comfortably in your loaf pan.
How to Perfectly Poach Pears for Your Cake
To begin, gather all your poaching liquid ingredients. In a medium-sized pot, combine the semi-sweet red wine, orange juice, water, vanilla extract, cinnamon sticks, and granulated sugar. A pot with tall sides is best, as it will allow the pears to be fully submerged or adequately surrounded by the poaching liquid. Bring this aromatic red wine mixture to a rolling boil over medium heat, stirring occasionally to ensure the sugar fully dissolves. It’s crucial that the liquid is boiling *before* you start peeling your pears. This timing prevents the peeled pears from oxidizing and turning brown, preserving their beautiful natural color until they can absorb the rich ruby hue of the wine.
Once your poaching liquid is bubbling vigorously, you can begin peeling the pears. Carefully remove the skin from each pear. For stability in the pot and later in the cake, slice off a small portion from the very bottom (the “butt end”) of each pear. This creates a flat base, allowing them to stand upright without toppling over. You can choose to leave the stems on; they add an elegant, rustic touch to the finished cake presentation, making it even more appealing.
Gently add the peeled pears into the boiling poaching liquid. Immediately reduce the heat to a gentle simmer. Cover the pot and let the pears poach for 10 minutes. After this initial poaching time, carefully rotate the pears in the pot, ensuring all sides are exposed to the flavorful liquid for even cooking and color absorption. Continue to cook for another 10 minutes, or until the pears are tender when pierced with a knife but still hold their shape beautifully. The goal is tender, not mushy.
Once poached, remove the pot from the heat and allow the pears to cool completely in the poaching liquid. You can expedite this process by placing the entire pot in the refrigerator, or simply leave it at room temperature. A fantastic advantage of this step is that the pears can be poached up to two days in advance. In fact, the longer they remain submerged in the cooling liquid, the more of that beautiful ruby color and delicious wine flavor they will absorb, enhancing the final taste and appearance of your cake. The poaching liquid itself can also be saved and reduced into a delicious syrup to drizzle over the finished cake or other desserts!
Preparing the Light and Flavorful Cake Batter
With your perfectly poached pears ready, it’s time to prepare the cinnamon-spiced cake batter. You’ll need two medium-sized mixing bowls for this step. In the first bowl, combine all your dry ingredients: all-purpose flour, granulated sugar, baking powder, baking soda, ground cinnamon, and kosher salt. Whisk these together lightly to ensure they are thoroughly combined and evenly distributed. This step prevents pockets of leavening agents or spices in your final cake.
In the second bowl, combine the wet ingredients: large eggs, sour cream (or a dairy-free sour cream substitute), vegetable oil, vanilla extract, and milk (whole, rice, or soy milk work well for dairy-free options). Whisk these wet ingredients together until they are smooth and well-incorporated.
Now, gently add the wet ingredients into the dry ingredients. Mix until just combined. Be careful not to overmix the batter, as this can lead to a tough cake. A few small lumps are perfectly acceptable and often indicate a tender crumb.
Prepare your loaf pan by either lining it with parchment paper, allowing for easy removal, or by generously spraying it with non-stick baking spray. Carefully take your cooled, poached pears out of their liquid and gently pat them dry with a paper towel. This helps ensure the cake batter adheres well to the pears. Arrange the pears in a neat row down the center of your prepared loaf pan. You want them to stand upright, ready to be enveloped by the cake batter.

Pour the cake batter into the pan, alternating pouring it on either side of the pears. This technique helps keep the pears centered and upright in the loaf pan, preventing them from shifting too much. It’s perfectly fine if the stems or a small portion of the pear tops peek out of the batter; this adds to the cake’s rustic charm. Once the batter is in the pan, gently bang or shake the pan lightly on your countertop. This helps to settle the batter, remove any large air bubbles, and ensures it is evenly distributed around the pears.
Crafting the Irresistible Crumb Topping
No pear cake is complete without a delectable, crunchy crumb topping. This adds another layer of texture and flavor that beautifully complements the soft cake and tender pears. In a small bowl, combine the dry ingredients for the topping: all-purpose flour, brown sugar, granulated sugar, and ground cinnamon. Add the cold, diced butter (or butter substitute) to this mixture.
Using your fingertips, pinch and rub the butter into the dry ingredients. Continue this process until the mixture resembles coarse, wet sand. It’s completely fine, and even desirable, to have a few larger chunks of butter remaining; these will melt and create pockets of extra crispness during baking. As a personal preference, I always say “the more the merrier” when it comes to crumb topping, so feel free to be generous!

Once your crumb topping is ready, sprinkle it generously and evenly over the top of the prepared cake batter in the loaf pan. Then, transfer the pan to your preheated oven and bake for the recommended time until golden brown and a toothpick inserted into the cake (but not the pear!) comes out clean.
The Art of Slicing This Elegant Pear Cake
Patience is key for the perfect presentation of this cake. It is absolutely essential to allow the cake to cool down completely before attempting to slice it. If you try to cut it while it’s still warm, the cake will be much too delicate and crumbly, and you won’t achieve those beautifully clean slices that showcase the embedded pear. Cooling allows the cake structure to set and firm up, ensuring each piece holds its shape and proudly displays the gorgeous cross-section of the red wine-poached pear.
When you’re ready to slice, use a very sharp knife. Instead of pressing straight down, use a gentle back-and-forth, sawing motion. This technique helps to cut cleanly through the crumb topping, the tender cake, and the soft pear without tearing or squishing any component. Each slice should reveal a stunning, perfectly intact piece of pear, creating that visual “surprise” that makes this cake so special.

Storing Your Delightful Pear Cake
Proper storage ensures your Red Wine Poached Pear Cake remains fresh and delicious for as long as possible.
If you plan to serve the cake on the same day it’s baked, or within 24 hours, it can be safely left on the kitchen counter at room temperature. To maintain its freshness and prevent it from drying out, store it in an airtight container. If you prefer to keep it in the loaf pan, make sure to wrap the top thoroughly with tin foil or plastic wrap, pressing it firmly against the cake to seal out air.
For longer storage, particularly if you’re making it a couple of days in advance (up to 2 days), it’s best to store the cake in the refrigerator. Cakes that contain fresh fruit often benefit from refrigeration to help retain their moisture and prolong their shelf life. Ensure it’s still in an airtight container or tightly wrapped to prevent it from absorbing any odors from the fridge.
Important Note: I do not recommend freezing this cake. While some cakes freeze well, this particular recipe, with its delicate poached pear, is truly at its best when enjoyed fresh. Freezing and thawing can sometimes alter the texture of the poached pear, making it less appealing. So, plan to bake and enjoy it relatively soon after preparation for the optimal experience.
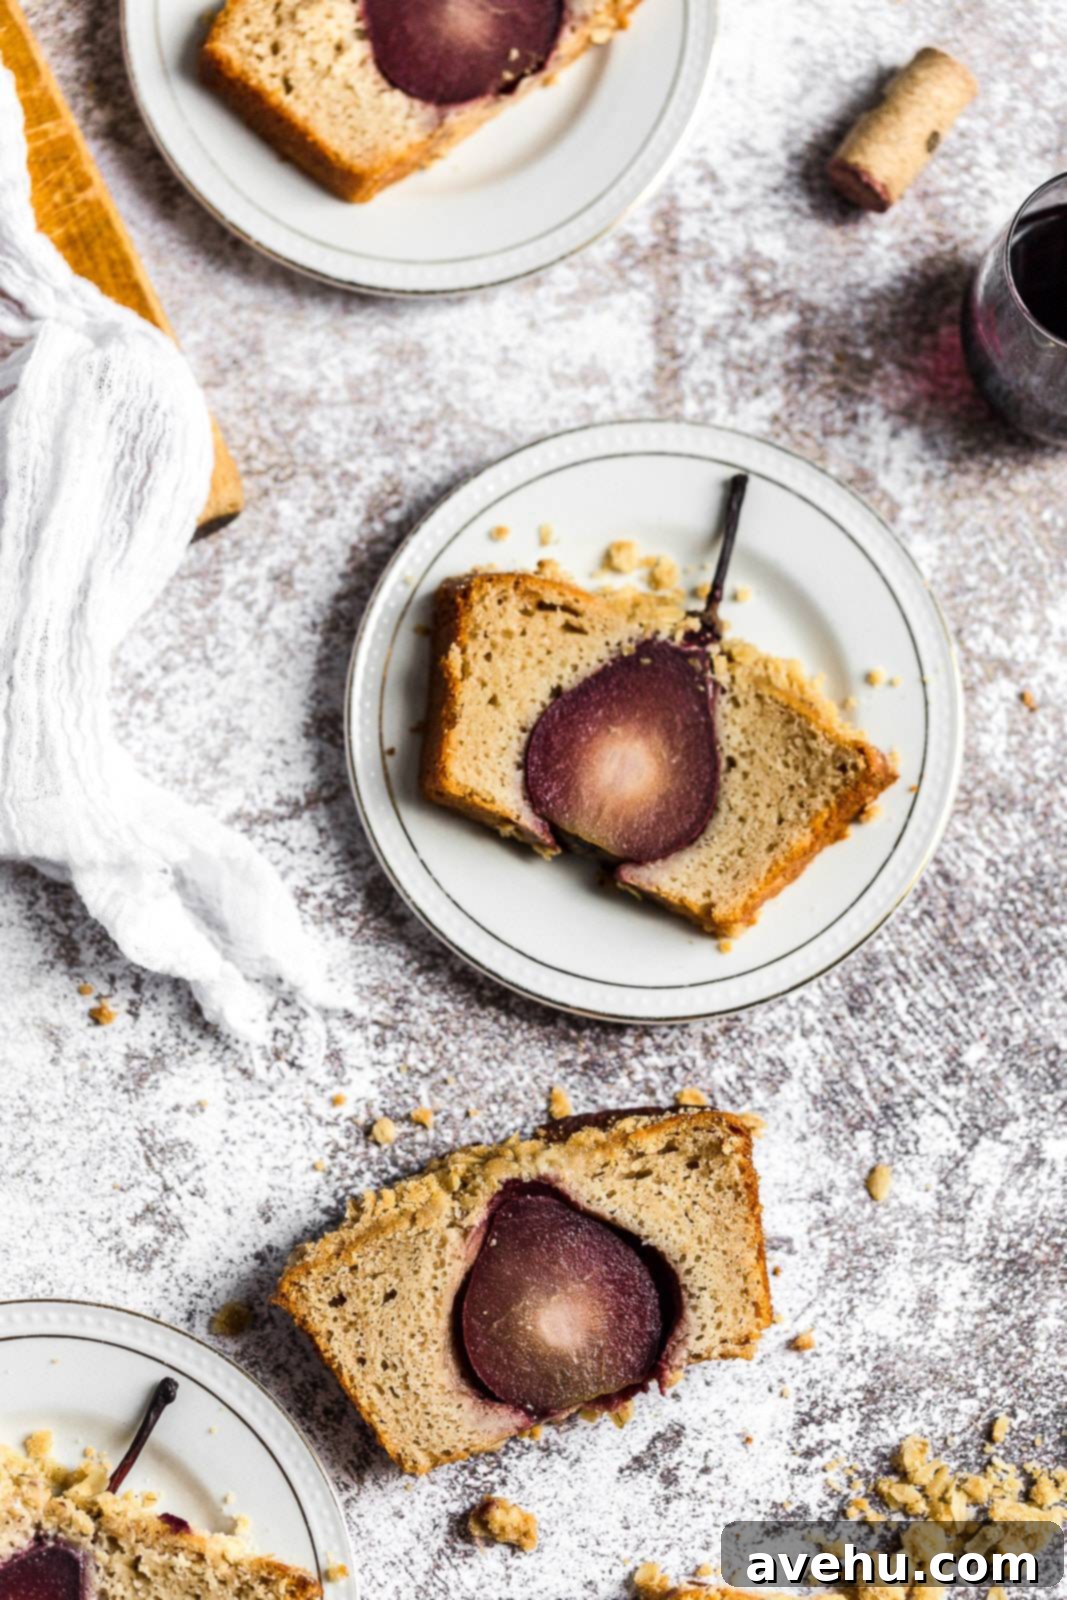
If you’re looking to streamline your baking process, a fantastic way to prepare ahead is to poach the pears up to two days in advance. Store them in their poaching liquid in the refrigerator until you are ready to assemble and bake the cake. This separates the most time-consuming step, making the final baking day much quicker and less stressful.
When it’s finally time to serve this exquisite dessert, put on your best poker face and get ready for the delightful reactions as your guests discover the hidden ruby surprise!
Looking for more easy yet impressive dessert ideas? Explore these other fantastic recipes:
- Dairy Free Chocolate Ganache Tart
- Easy Cranberry Pie
- Easy and Chocolatey Red Velvet Cake
- Chocolate Chip Blondies
Pear Cake with Crumb Topping
Pin
Review
SaveSaved!
Ingredients
For the Red Wine Poached Pears
- 750 mL bottle semi sweet red wine, 1 bottle
- ¾ cup orange juice
- 1 cup water
- 1 tablespoon vanilla extract
- 2 cinnamon sticks, sub 1 teaspoon ground cinnamon
- ½ cup granulated sugar
- 3-4 Anjou Pears, small
For the Cinnamon Cake Batter
- 1 ½ cups all purpose flour
- ¾ cup granulated sugar
- 1 1/2 teaspoon baking powder
- ¼ tsp baking soda
- 1 1-1/2 teaspoon ground cinnamon
- ¼ tsp kosher salt
- 2 eggs, large
- 3/4 cup sour cream, or dairy free sour cream
- 1/3 cup vegetable oil
- 1 teaspoon vanilla extract
- ½ cup whole, rice, or soy milk
For the Crunchy Crumb Topping
- 1/2 cup all purpose flour
- 1/4 cup brown sugar
- 1/8 cup granulated sugar
- ¼ -½ teaspoon cinnamon
- ¼ cup butter, cold, diced small
Instructions
Prepare the Poached Pears:
-
In a medium pot with tall sides over medium heat, combine red wine, orange juice, water, vanilla, cinnamon sticks, and sugar. Stir until the sugar has dissolved and bring the mixture to a full boil.
-
Only begin peeling the pears once the poaching liquid is actively boiling. Carefully peel the pears and slice off a small portion from the bottom of each so they can stand upright. You may leave the stems on for a decorative touch.
-
Gently place the peeled pears into the boiling liquid (either standing or on their side). Reduce the heat to a gentle simmer. Cover the pot and cook for 10 minutes. Then, rotate the pears to ensure all sides are evenly poached and colored, and cook for another 10 minutes. Remove from heat and allow to cool in the liquid; you can place the pot in the fridge for faster cooling. The pears can be left in the poaching liquid for up to 2 days to deepen their flavor and color.
-
Preheat your oven to 350° F (175°C) and prepare your cake batter ingredients.
-
In a medium-sized bowl, combine the 1 ½ cups all-purpose flour, ¾ cup granulated sugar, 1 ½ teaspoons baking powder, ¼ teaspoon baking soda, 1 teaspoon ground cinnamon, and ¼ teaspoon kosher salt. Whisk these dry ingredients lightly to combine thoroughly.
-
In a separate bowl, combine the 2 large eggs, ¾ cup sour cream (or dairy-free sour cream), ⅓ cup vegetable oil, 1 teaspoon vanilla extract, and ½ cup milk (whole, rice, or soy). Whisk these wet ingredients until well combined.
-
Pour the wet ingredients mixture into the dry ingredients. Whisk gently until the batter is just evenly combined, being careful not to overmix.
-
Lightly spray your loaf pan with baking spray or line it with parchment paper. Remove the cooled poached pears from their liquid and gently pat them completely dry with a paper towel. Carefully place the pears in a row, standing straight up, down the middle of the prepared loaf pan.
-
Pour the cake batter into the pan, alternating between the two sides of the pears to keep them centered. If the pears try to shift, gently nudge them back into the middle. Lightly shake or tap the loaf pan on the counter to help the batter settle evenly around the pears.
Prepare and Bake the Crumb Topping:
-
In a small bowl, combine ½ cup all-purpose flour, ¼ cup brown sugar, ⅛ cup granulated sugar, ½ teaspoon cinnamon, and ¼ cup cold, diced butter. Use your fingertips to pinch and rub the mixture together until it forms coarse crumbs resembling wet sand. It’s okay to have some larger pieces of butter. Sprinkle this crumb topping generously over the cake batter. Bake for 30-35 minutes, or until the cake edges begin to pull away from the sides of the pan and the crumb topping is golden brown. A toothpick inserted into the cake portion (avoiding the pear) should come out clean.
Notes
Poaching Liquid Tip: Do not discard the flavorful poaching liquid! You can reduce it into a delicious syrup. Simply bring the remaining liquid to a boil, then reduce the heat to a simmer, and let it cook until it reduces by about half, which typically takes around 15 minutes. This rich syrup makes a wonderful drizzle for the finished cake or other desserts.
