Fudgy Black Forest Brownies: The Ultimate Easy Cherry Chocolate Dessert Recipe
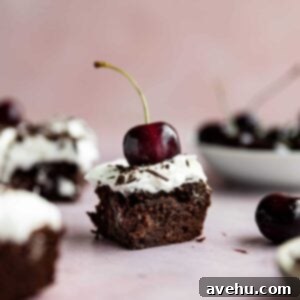
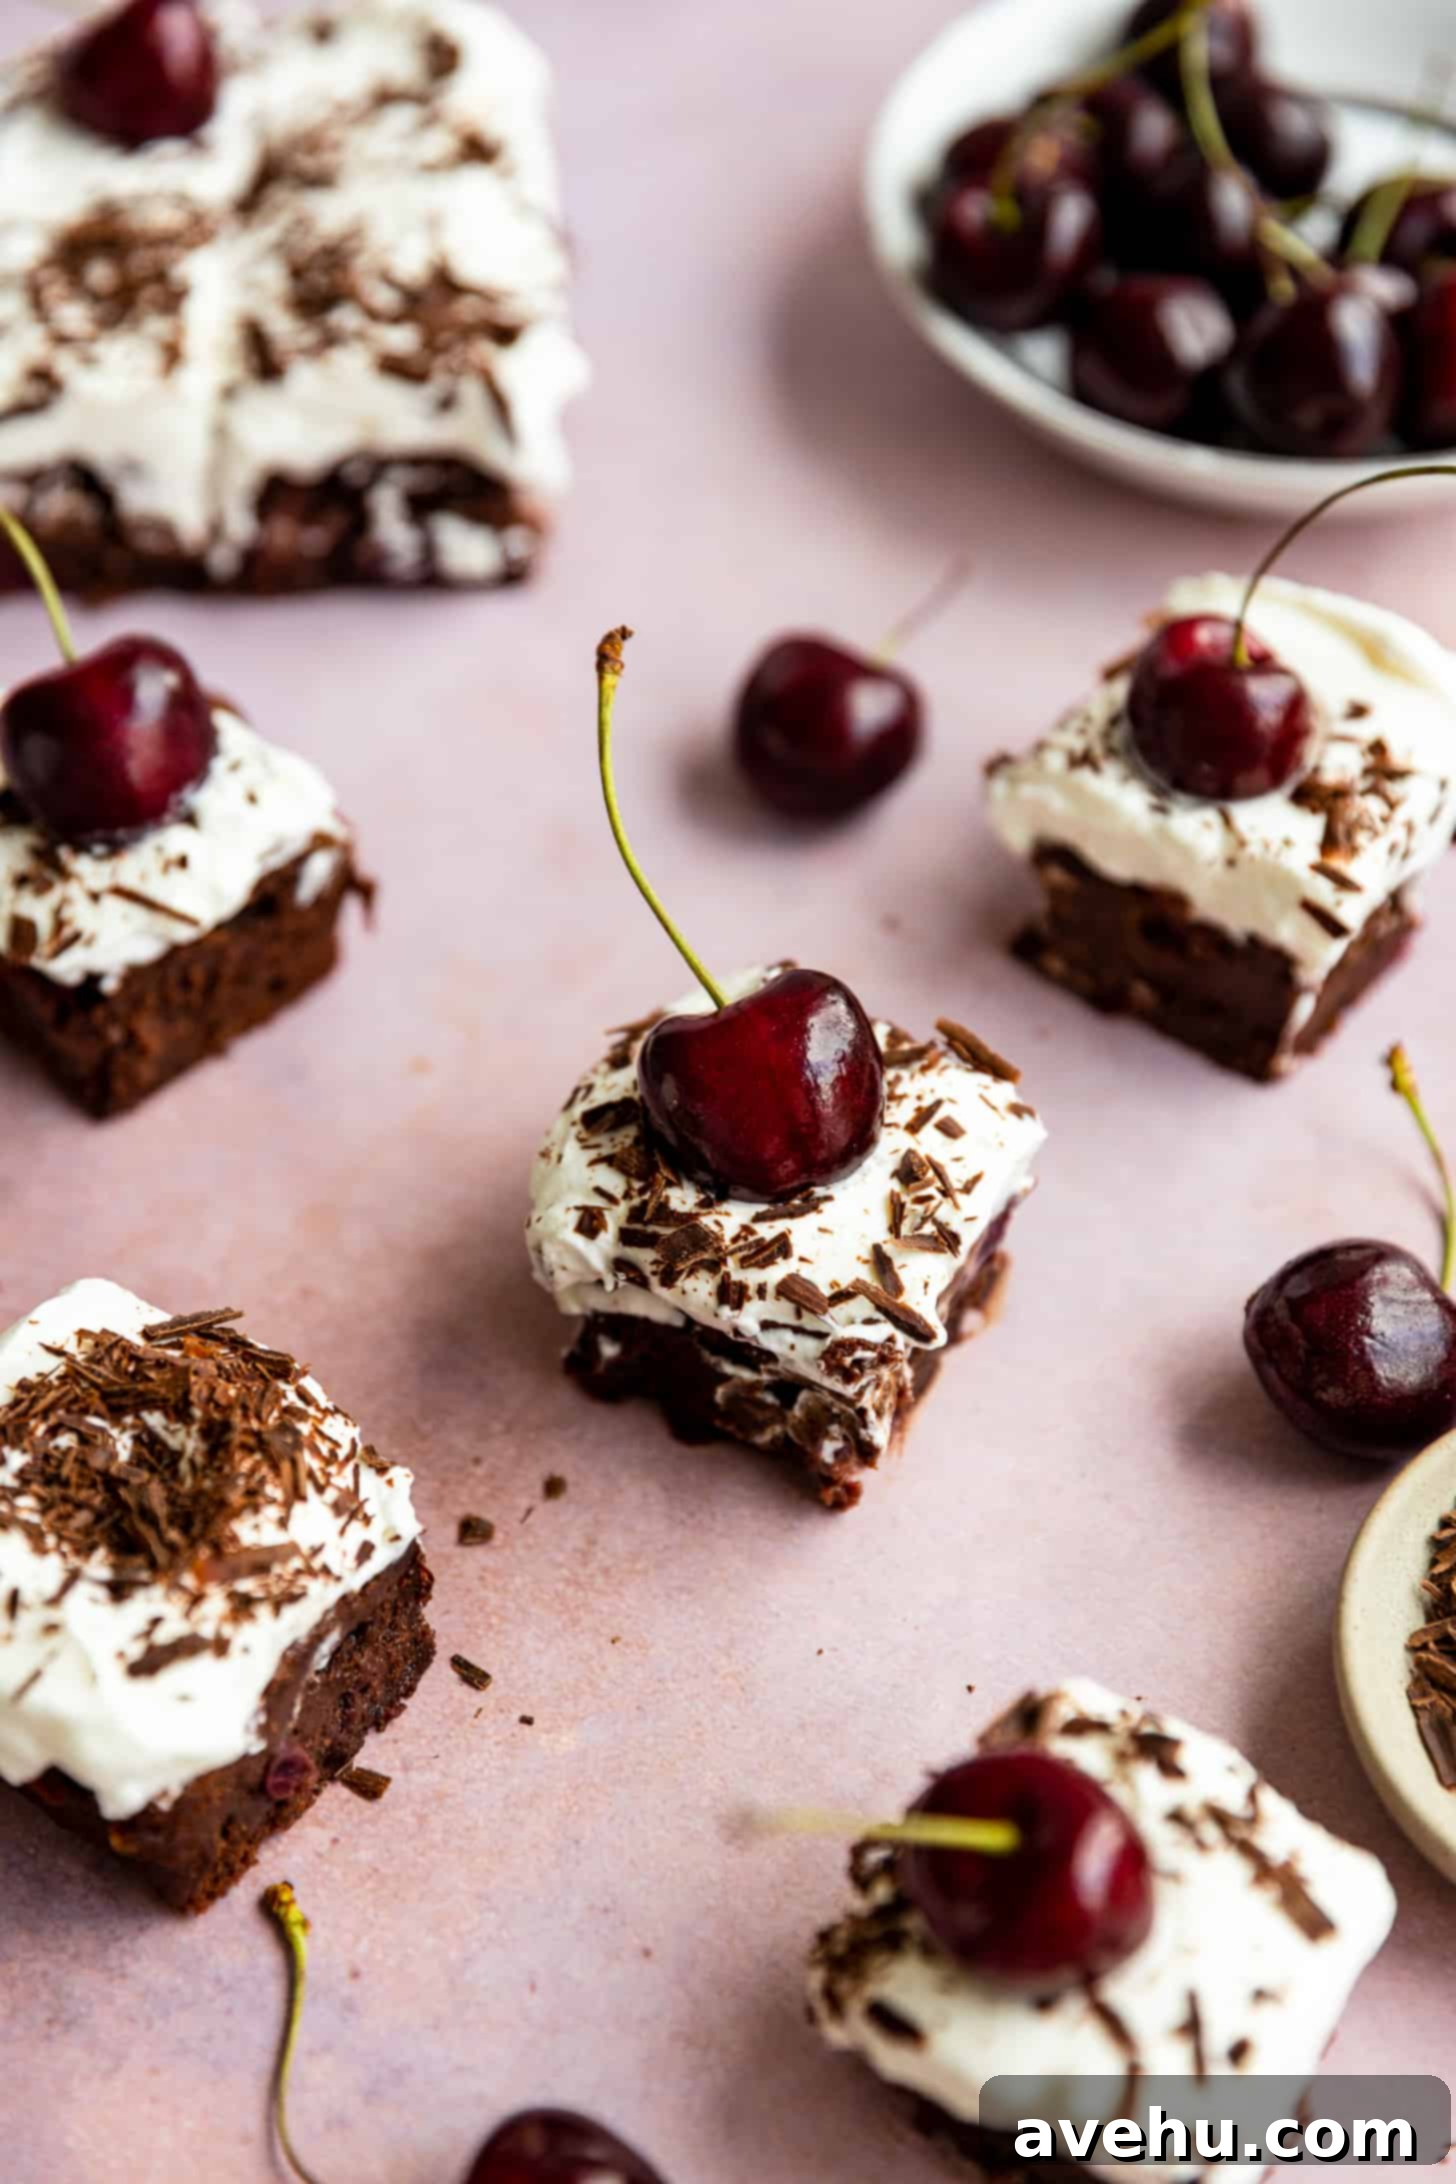
Prepare to indulge in these incredible Fudgy Black Forest Brownies – a symphony of rich chocolate and vibrant cherry flavor that’s both deeply satisfying and surprisingly simple to create! This decadent dessert reimagines the classic German Black Forest cake into an irresistible brownie form, making it perfect for any occasion where you want to impress without extensive effort. Each square features a luscious, fudgy brownie base studded with sweet, fresh cherries, crowned with a cloud of homemade whipped cream, elegant chocolate shavings, and a bright red cherry on top. It’s a visually stunning treat that tastes as amazing as it looks!
The allure of Black Forest desserts dates back to the 16th century, with its origins rooted deep in the culinary traditions of Germany. Traditionally, a Black Forest Gateau (or Schwarzwälder Kirschtorte) is a layered masterpiece featuring chocolate sponge cake, a rich cherry filling, fresh cream, and often a hint of kirschwasser (cherry brandy). This time-honored combination of sweet black cherries and intensely dark, luscious chocolate creates a flavor profile that is truly unforgettable.
As a trained pastry chef, I’ve always been captivated by these classic flavors. My goal with this recipe was to capture the essence of Black Forest perfection and transform it into a more approachable, yet equally exquisite, dessert: these Black Forest Brownies. They boast the same incredible richness and decadence you’d find in my one-bowl brownies, but with an added layer of sophistication and visual appeal that makes them truly special – all without requiring hours in the kitchen!
What truly elevates these brownies to a bakery-worthy status is their elegant topping. A generous dollop of velvety homemade whipped cream, delicate curls of shaved chocolate, and plump, ruby-red fresh cherries create a stunning presentation that’s sure to wow your guests. These brownies are an ideal choice for romantic occasions like Valentine’s Day or anniversaries, festive gatherings, potlucks, or any moment you desire a rich chocolate dessert with an exciting cherry twist. They offer a delightful contrast of textures and temperatures – from the warm, fudgy brownie to the cool, airy cream – making every bite a delightful experience.
Cherries are a versatile and delicious fruit, wonderful on their own or baked into tempting treats. If you’re as passionate about baking with cherries as I am, be sure to explore some of my other delightful cherry recipes, such as these charming Cherry Cupcakes, the creamy and indulgent Cherry Cheesecake, or the comforting Cherry Coffee Cake. For the ultimate chocolate aficionados, don’t miss out on these intensely rich Triple Chocolate Brownies or the heavenly Brownies with Cream Cheese Frosting.
WHY YOU’LL LOVE THIS BLACK FOREST BROWNIE RECIPE
There are countless reasons why these Black Forest Brownies will become your new go-to recipe for an impressive, yet easy dessert. Here’s why you should definitely give them a try:
- Effortlessly Impressive: Made with simple, accessible ingredients, these brownies come together in less than an hour, including baking time! This makes them absolutely perfect for those unexpected guests, last-minute gatherings, or when you simply crave a luxurious dessert without a lengthy preparation.
- Beginner-Friendly Baking: Don’t let the sophisticated presentation intimidate you. This recipe is incredibly straightforward, designed for bakers of all skill levels. Even if you’re a novice in the kitchen, you can confidently create these beautiful brownies and feel like a professional pastry chef. The clear steps and helpful tips ensure success every time.
- Authentic Black Forest Flavor Profile: Experience the true, beloved taste of Black Forest dessert. The deep, dark chocolate pairs perfectly with the tartness and sweetness of fresh cherries, creating a harmonious and utterly delicious flavor that’s both comforting and exciting.
- Seasonal Cherry Delight: This recipe is a fantastic way to utilize fresh cherries when they’re in season, ensuring you get the best possible flavor and juiciness. Baking with seasonal produce always yields the most delicious results, and these brownies truly highlight the natural goodness of fresh cherries.
- Perfect for Any Occasion: From casual family desserts to elegant holiday spreads, these brownies fit right in. Their beautiful appearance and rich flavor make them suitable for celebrations, potlucks, or simply a weekend treat.
INGREDIENTS NEEDED FOR FUDGY BLACK FOREST BROWNIES
Gathering your ingredients is the first step towards creating these irresistible brownies. Here’s a detailed look at what you’ll need and why each component is crucial:
- Unsalted Butter: The foundation of fudgy brownies, butter not only provides a rich, buttery flavor but also contributes significantly to their incredibly moist and dense texture. Using unsalted butter allows you to control the total salt content in the recipe.
- Semi-Sweet Chocolate: You’ll need two forms of chocolate here. Semi-sweet chocolate chips will be melted into the brownie batter, providing the deep chocolate base. Additionally, a larger block of semi-sweet chocolate is essential for creating those beautiful, delicate chocolate shavings for garnish. The semi-sweet variety strikes the perfect balance between sweetness and rich cocoa flavor.
- Granulated Sugar: This classic sweetener contributes to the brownies’ sweet profile and also plays a role in achieving that desirable moist, chewy texture.
- Large Eggs: Eggs act as a crucial binding agent, holding all the ingredients together and giving the brownies their structure. They also add richness and contribute to the fudgy consistency.
- Vanilla Extract: A touch of pure vanilla extract enhances the chocolate flavor, adding a layer of sweet and aromatic complexity to the brownies.
- All-Purpose Flour: Just enough flour is used to give the brownies proper structure without making them cakey. It helps hold everything together, ensuring a firm yet fudgy bite.
- Fresh Pitted Cherries: These are the star of the Black Forest flavor! Fresh cherries provide a burst of tart, juicy sweetness that beautifully complements the rich chocolate. It is highly recommended to use fresh cherries only. Frozen cherries contain too much moisture, which can significantly alter the brownie batter’s consistency and lead to a less fudgy result.
- Unsweetened Cocoa Powder: To intensify the chocolate experience, cocoa powder adds a rich, deep brown color and an additional layer of robust chocolate flavor to the brownies.
- Kosher Salt: A pinch of salt is vital for balancing the sweetness of the sugar and the tartness of the cherries. It also works to enhance all the other flavors, making the chocolate taste even more prominent.
Whipped Cream Topping Ingredients
Making your own whipped cream is surprisingly simple and results in a far superior topping that holds its shape beautifully compared to store-bought varieties.
- Cold Heavy Whipping Cream: This is the foundation of your fluffy topping. Ensure it’s very cold for optimal whipping results. The high-fat content is what allows it to transform into a stable, airy cream.
- Powdered Sugar (Confectioners’ Sugar): Adds sweetness to the cream and helps to stabilize it. Powdered sugar dissolves seamlessly, ensuring a smooth texture without any grainy bits.
- Cream of Tartar: This is your secret ingredient for perfectly stable whipped cream! Cream of tartar helps to stabilize the proteins in the heavy cream, ensuring it whips up quickly to stiff peaks and holds its thick, fluffy texture for an extended period without deflating.
HOW TO MAKE EASY BLACK FOREST BROWNIES STEP-BY-STEP
Follow these simple steps to create a batch of the most delicious Black Forest Brownies you’ve ever tasted!
Step 1: Prepare for Baking: Begin by preheating your oven to 350°F (175°C). Next, line an 8×8-inch baking pan with parchment paper, allowing some overhang on the sides to create “handles.” This will make it incredibly easy to lift the cooled brownies out of the pan. Alternatively, you can generously spray the pan with a nonstick baking spray. Set the prepared pan aside.
Step 2: Combine Wet Ingredients: In a large, microwave-safe bowl, combine the unsalted butter and semi-sweet chocolate chips. Microwave these ingredients in short 30-second intervals, stirring thoroughly after each interval, until the chocolate is completely melted and the mixture is smooth and glossy. Once melted, stir in the granulated sugar until well combined. Then, whisk in the large eggs one at a time, followed by the vanilla extract, mixing until everything is fully incorporated and smooth.
Step 3: Add Dry Ingredients: To the chocolate mixture, add the all-purpose flour, unsweetened cocoa powder, and kosher salt. Using a spatula, mix gently until just combined. Be careful not to overmix the batter; stop as soon as there are no visible dry streaks of flour. Overmixing can lead to tougher, cakey brownies rather than fudgy ones. Finally, delicately fold in the fresh pitted cherries until they are evenly distributed throughout the batter.
Step 4: Pour and Bake: Pour the luscious brownie batter into your prepared 8×8-inch baking pan, spreading it evenly. Bake for 33-35 minutes. The brownies are done when the edges appear set and a toothpick inserted into the center comes out with moist crumbs, but not wet batter. The center should still be wonderfully gooey. Remove the pan from the oven and allow the brownies to cool completely to room temperature. For a quicker cool-down, you can place them in the refrigerator for about one hour.
Step 5: Make the Whipped Cream Topping: While your brownies are cooling, it’s time to prepare the dreamy whipped cream. In the bowl of an electric mixer (either a stand mixer fitted with a whisk attachment or using a hand mixer), combine the very cold heavy cream, powdered sugar, and cream of tartar. Begin whipping on low speed, gradually increasing to high speed. Continue to whip until stiff peaks have formed. This process can take anywhere from 2 to 5 minutes, depending on the power of your mixer. Keep a close eye on it! Stiff peaks mean that when you lift the whisk, the cream holds its shape firmly. DO NOT overmix, as this can cause the cream to curdle and separate.
Step 6: Garnish and Serve: Once the brownies are completely cooled, spread a generous layer of your freshly made whipped cream evenly over the top. To create elegant chocolate shavings, take a large block of semi-sweet chocolate and use a vegetable peeler to gently shave off delicate curls. Sprinkle these chocolate shavings generously over the whipped cream, then add a few fresh cherries for a final pop of color and flavor. Slice, serve, and enjoy these magnificent Black Forest Brownies!
TIPS FOR RECIPE SUCCESS: MASTERING YOUR BLACK FOREST BROWNIES
Achieving perfectly fudgy and flavorful Black Forest Brownies is easy with a few key tips and tricks. Follow these guidelines to ensure your brownies turn out spectacular every time:
- Avoid Overbaking for Ultimate Fudginess: This is perhaps the most crucial tip for fudgy brownies. Keep a close eye on your oven! The brownies are ready when the edges are set and a toothpick inserted into the center comes out with moist crumbs, but not wet batter. The very center should still appear slightly gooey. Overbaking will lead to a dry, cakey texture, sacrificing that wonderful fudginess we crave.
- Ensure Cherries Are Well-Dried: After pitting and quartering your fresh cherries, gently pat them dry with a paper towel. Any excess moisture introduced into the batter can throw off the delicate balance of wet and dry ingredients, potentially making your brownies less fudgy or affecting their overall texture.
- A Cherry Pitter is Your Best Friend: If you bake with cherries often, investing in a cherry pitter is highly recommended – it makes the task quick and mess-free. If you don’t have one, don’t worry! You can easily pit cherries by cutting around the pit with a sharp knife, much like you would an avocado, twisting the halves apart, and then gently removing the pit with your fingers.
- Crafting Perfect Chocolate Shavings: For those elegant chocolate garnishes, you’ll need a large block of chocolate (not chocolate chips, as they won’t shave properly). Simply use a vegetable peeler and run it down the side of the chocolate bar to create beautiful, delicate curls. For a finer texture, you can also use a grater.
- Cool Brownies Completely Before Topping: Patience is a virtue, especially here! It’s essential that your brownies are completely cooled to room temperature (or even chilled) before you add the homemade whipped cream. If the brownies are still warm, the whipped cream will melt and slide right off, ruining your beautiful presentation.
- Start with Cold Whipping Cream and a Chilled Bowl: For the best whipped cream results, ensure your heavy cream is straight from the refrigerator. For an extra boost, you can even chill your mixing bowl and whisk attachment in the freezer for 10-15 minutes before whipping. Cold ingredients whip up faster and hold their volume much better.
- Don’t Overmix the Whipped Cream: Whipping cream can go from perfectly stiff peaks to grainy butter very quickly. Watch it closely! Once stiff peaks form (the cream holds its shape when the whisk is lifted), stop mixing immediately.
- Consider Pan Size: This recipe is designed for an 8×8-inch pan for thick, fudgy brownies. If you use a 9×13-inch pan, your brownies will be thinner and may require a slightly shorter baking time. Adjust accordingly and keep an eye on doneness.
STORAGE AND FREEZING INSTRUCTIONS
These Black Forest Brownies are delicious fresh, but they also store well, allowing you to enjoy them over several days or even prepare them in advance. Here’s how to properly store and freeze them:
Storing: Once your Black Forest Brownies have completely cooled, they can be stored in an airtight container in the refrigerator for up to 5 days. For the best presentation and texture, I highly recommend adding the whipped cream topping, chocolate shavings, and fresh cherry garnish only when you are ready to serve. This prevents the cream from deflating or making the brownies soggy over time.
Freezing: You can absolutely freeze these Black Forest Brownies, making them a fantastic make-ahead dessert! To freeze, ensure the brownies are completely cooled and do not add the whipped cream or garnishes. Wrap the brownies tightly in plastic wrap, then an additional layer of aluminum foil, or place them in a freezer-safe airtight container. They will keep well in the freezer for up to 3 months.
To thaw, simply transfer the frozen Black Forest Brownies to the refrigerator overnight. Once thawed, you can add your freshly made whipped cream and garnishes just before serving for that perfect, fresh finish.
FREQUENTLY ASKED QUESTIONS ABOUT BLACK FOREST BROWNIES
Here are answers to some common questions you might have when making these delicious Black Forest Brownies:
How do you make brownies wonderfully fudgy?
Achieving a supremely fudgy brownie is all about the balance of ingredients and precise baking. This recipe inherently delivers fudginess because it uses no chemical leavening agents like baking powder or baking soda, which are typically found in cakey brownie recipes. This absence allows for a denser, more concentrated texture. Furthermore, a higher ratio of fat (butter) and chocolate also contributes to that rich, moist consistency. The absolute key, however, is to avoid overbaking. When done, the edges should be set, but the center should still be slightly soft and gooey. This ensures maximum fudginess.
Can Black Forest Brownies be made ahead of time?
Absolutely! These Black Forest Brownies are an excellent dessert for making in advance. You can bake the brownies themselves up to 5 days ahead of time. Store them in an airtight container in the refrigerator to maintain their freshness. For the best results and presentation, I strongly recommend preparing and adding the homemade whipped cream topping, chocolate shavings, and fresh cherry garnish just before you plan to serve them. This ensures the cream is fresh, fluffy, and holds its shape beautifully.
Where does the name “Black Forest” come from?
The name “Black Forest” originates from the Schwarzwald, a beautiful, densely forested mountain region in southwestern Germany. This region is not only known for its dramatic landscapes but also for being the birthplace of the famous “Schwarzwälder Kirschtorte,” or Black Forest Gateau, which was first created around 1915. This traditional cake features layers of rich chocolate sponge, sweet cherries, generous amounts of fresh cream, and a distinctive hint of kirschwasser (a cherry brandy) made from the region’s sour cherries. Our Black Forest Brownie recipe draws its delicious inspiration directly from these classic flavors and components of this iconic German dessert!
Can I use frozen cherries instead of fresh ones?
While convenient, I strongly advise against using frozen cherries for this particular brownie recipe. Frozen fruit contains a significant amount of water, which, when thawed, will release excess moisture into your brownie batter. This added liquid can drastically alter the texture of your brownies, making them more cakey or even soggy, rather than the desired fudgy consistency. Fresh, pitted cherries are truly the way to go to ensure the best flavor and texture in these brownies.
Can I add kirschwasser (cherry brandy) to these brownies?
Yes, to honor the traditional Black Forest Gateau, you can absolutely incorporate a hint of kirschwasser. You have a couple of options: you can gently brush a small amount (about 1-2 tablespoons) over the cooled brownies before adding the whipped cream. Alternatively, for a more subtle flavor, you can add 1 teaspoon of kirschwasser to your heavy cream before whipping it, which will infuse the topping with a delicate cherry brandy aroma.
What kind of chocolate is best for this recipe?
For the melted chocolate in the brownie base, good quality semi-sweet chocolate chips (around 50-60% cacao) work perfectly, offering a balanced sweetness and deep chocolate flavor. When it comes to making the chocolate shavings for garnish, opt for a solid bar of good quality semi-sweet or dark chocolate. A chocolate bar with a higher cocoa content (e.g., 60-70% dark) will yield beautiful, crisp shavings and a more intense chocolate flavor, contrasting wonderfully with the sweet cream and cherries.
MORE DELICIOUS BROWNIE RECIPES TO EXPLORE
If you loved these Black Forest Brownies, you’re in for a treat! Explore more of my favorite brownie creations:
- Fudgy One Bowl Brownies: The ultimate easy recipe for consistently perfect, rich brownies.
- Decadent Birthday Brownies: Celebrate any occasion with these fun and festive brownies.
- Strawberry Brownies: A delightful twist with fresh strawberries for a fruity chocolate experience.
- Red Velvet Brownies: Indulge in the iconic flavor and vibrant color of classic red velvet in brownie form.

Fudgy and Easy Black Forest Brownies
Pin
Review
SaveSaved!
Ingredients
- 1/2 cup (113.5 g) butter, unsalted
- 6 oz (170.1 g) semi sweet chocolate chips, about 1 heaping cup
- 1 cup (200 g) granulated sugar
- 3 (3) large eggs
- 1 tsp (1 tsp) vanilla extract
- 1/2 cup (62.5 g) flour
- 1/4 cup (21.5 g) cocoa powder
- 1/2 tsp (0.5 tsp) salt
- 250 g (250 g) cherries, – about 20, pitted and quartered.
- 1 cup (238 g) heavy whipping cream
- 3-4 tbsp (3 tbsp) powdered sugar
- ⅛ tsp (0.13 tsp) cream of tartar
- Chocolate shavings, for garnish
- Fresh cherries, for garnish
Instructions
-
Preheat the oven to 350° F and line an 8×8 inch pan with parchment paper or spray with nonstick baking spray.
-
 In a microwave safe bowl combine the 1/2 cup butter and 6 oz chocolate. Microwave for 30 seconds at a time stirring in between until the chocolate is completely melted.
 -
Add in the 1 cup sugar, 3 eggs, and tsp of vanilla extract. Mix well with a whisk.
-
Switch to a spatula and add in the 1/2 cup flour, 1/4 cup cocoa powder, and 1/2 tsp kosher salt. Mix until combined.
-
 Add the cherries to the batter and mix lightly.
 -
 Pour the batter into the lined baking pan and bake for 33-35 minutes. Cool the brownies completely at room temperature or refrigerate them for 1 hour to cool.
Make the whipped cream topping
-
In the bowl of an electric mixer (either a hand mixer or stand mixer) fitted with the whisk attachment, add the 1 cup heavy cream, 3 tbsp powdered sugar and ⅛ tsp cream of tartar.
-
 Whip on medium-high speed until stiff peaks form- this could be as quick as 2 minutes or up to 5 minutes depending on the strength of your mixer. A stiff peak is when you can turn the whisk attachment over and the peak will hold its shape. Make sure not to overmix or it can curdle. This can happen fast so make sure to watch it!
 -
 Shave a larger piece of chocolate with a vegetable peeler to make the chocolate shavings.
 -
 Slather the whipped cream on top of the brownies when cool and top with chocolate shavings and fresh cherries.
Notes
Use only fresh cherries for this recipe, frozen will add too much moisture.
Don’t skip the homemade whipped cream, it will hold its shape much longer than any store bought can.


