Easy 5-Minute Royal Icing Without Meringue Powder: Your Go-To Recipe for Perfectly Decorated Cookies
Ever found yourself staring at a batch of freshly baked cookies, ready to unleash your inner artist, only to realize you’re missing a crucial ingredient like meringue powder? It’s a common decorator’s dilemma, and often, it strikes at the most inconvenient times – late in the evening when specialty stores are closed, or when you simply don’t have the time to track down a niche item. This is precisely why this incredibly easy and quick royal icing recipe will become your new best friend in the kitchen!
Forget the frantic search for meringue powder. Our brilliant solution uses readily available carton egg whites, combined with powdered sugar and a few other pantry staples, to create a flawless royal icing in about 5 minutes. This isn’t just any icing; it dries to a beautiful, hard finish, making your decorated cookies stackable and sturdy. You can easily color it to match any theme, and its versatility allows for both delicate outlining and smooth, even flooding on your favorite treats, like these quick cut out sugar cookies. Say goodbye to last-minute store runs and hello to effortless, professional-looking cookie decorations!

Understanding Meringue Powder and Its Alternatives
For many home bakers, the term “meringue powder” can sound intimidating or conjure images of hard-to-find ingredients. In essence, meringue powder is simply a dehydrated, powdered form of egg whites, often with added sugar, corn starch, and stabilizers. It’s traditionally used in royal icing recipes for a very specific purpose: to provide structure, speed up drying time, and ensure a hard, crisp finish. The egg proteins in meringue powder help to create a stable foam that, when mixed with sugar, sets firm, allowing for intricate designs and easy stacking of decorated cookies.
While indispensable for traditionalists, sourcing meringue powder can be a hurdle. It’s not a staple you’ll typically find in your average grocery store. Instead, it usually requires a trip to a specialized baking supply shop, an arts and crafts store with a baking section, or an online order. This can be incredibly inconvenient when a cookie decorating emergency strikes – like realizing your child needs 50 decorated cookies for school tomorrow and it’s already 9 PM.
As a trained pastry chef, I always have meringue powder on hand in my pantry. However, I understand that this isn’t the case for most home bakers. That’s why I dedicated myself to developing a reliable, high-quality substitute that delivers the same fantastic results without the hassle. My goal was to empower everyone to create beautiful, festive cookies without needing to buy an entire jar of a specialty ingredient, or resorting to buying store-bought cookies and pretending you made them (we’ve all been there, no judgment!).
This recipe provides a safe, accessible, and equally effective alternative, ensuring your royal icing dries hard, holds its shape, and has that classic professional look and feel. It’s the perfect companion for my quick cut-out vanilla sugar cookies or chocolate sugar cookies that require ZERO chill time! This means you can go from dough to beautifully decorated cookies in record time!
The Easiest Way to Make Royal Icing: Carton Egg Whites
The secret to this incredibly easy royal icing lies in using pasteurized liquid egg whites from a carton. This simple swap eliminates the need for meringue powder entirely and simplifies the entire process. Here’s why carton egg whites are a game-changer:
Firstly, convenience is key. You can find carton egg whites in almost any supermarket, usually in the dairy or refrigerated section. No special trips, no online orders, just grab them during your regular grocery run. Secondly, and most importantly, carton egg whites are pasteurized. This means they have been heated to a temperature that kills any harmful bacteria, such as salmonella, making them completely safe to consume raw in icings or other unbaked preparations. This removes any food safety concerns often associated with using fresh, raw egg whites.
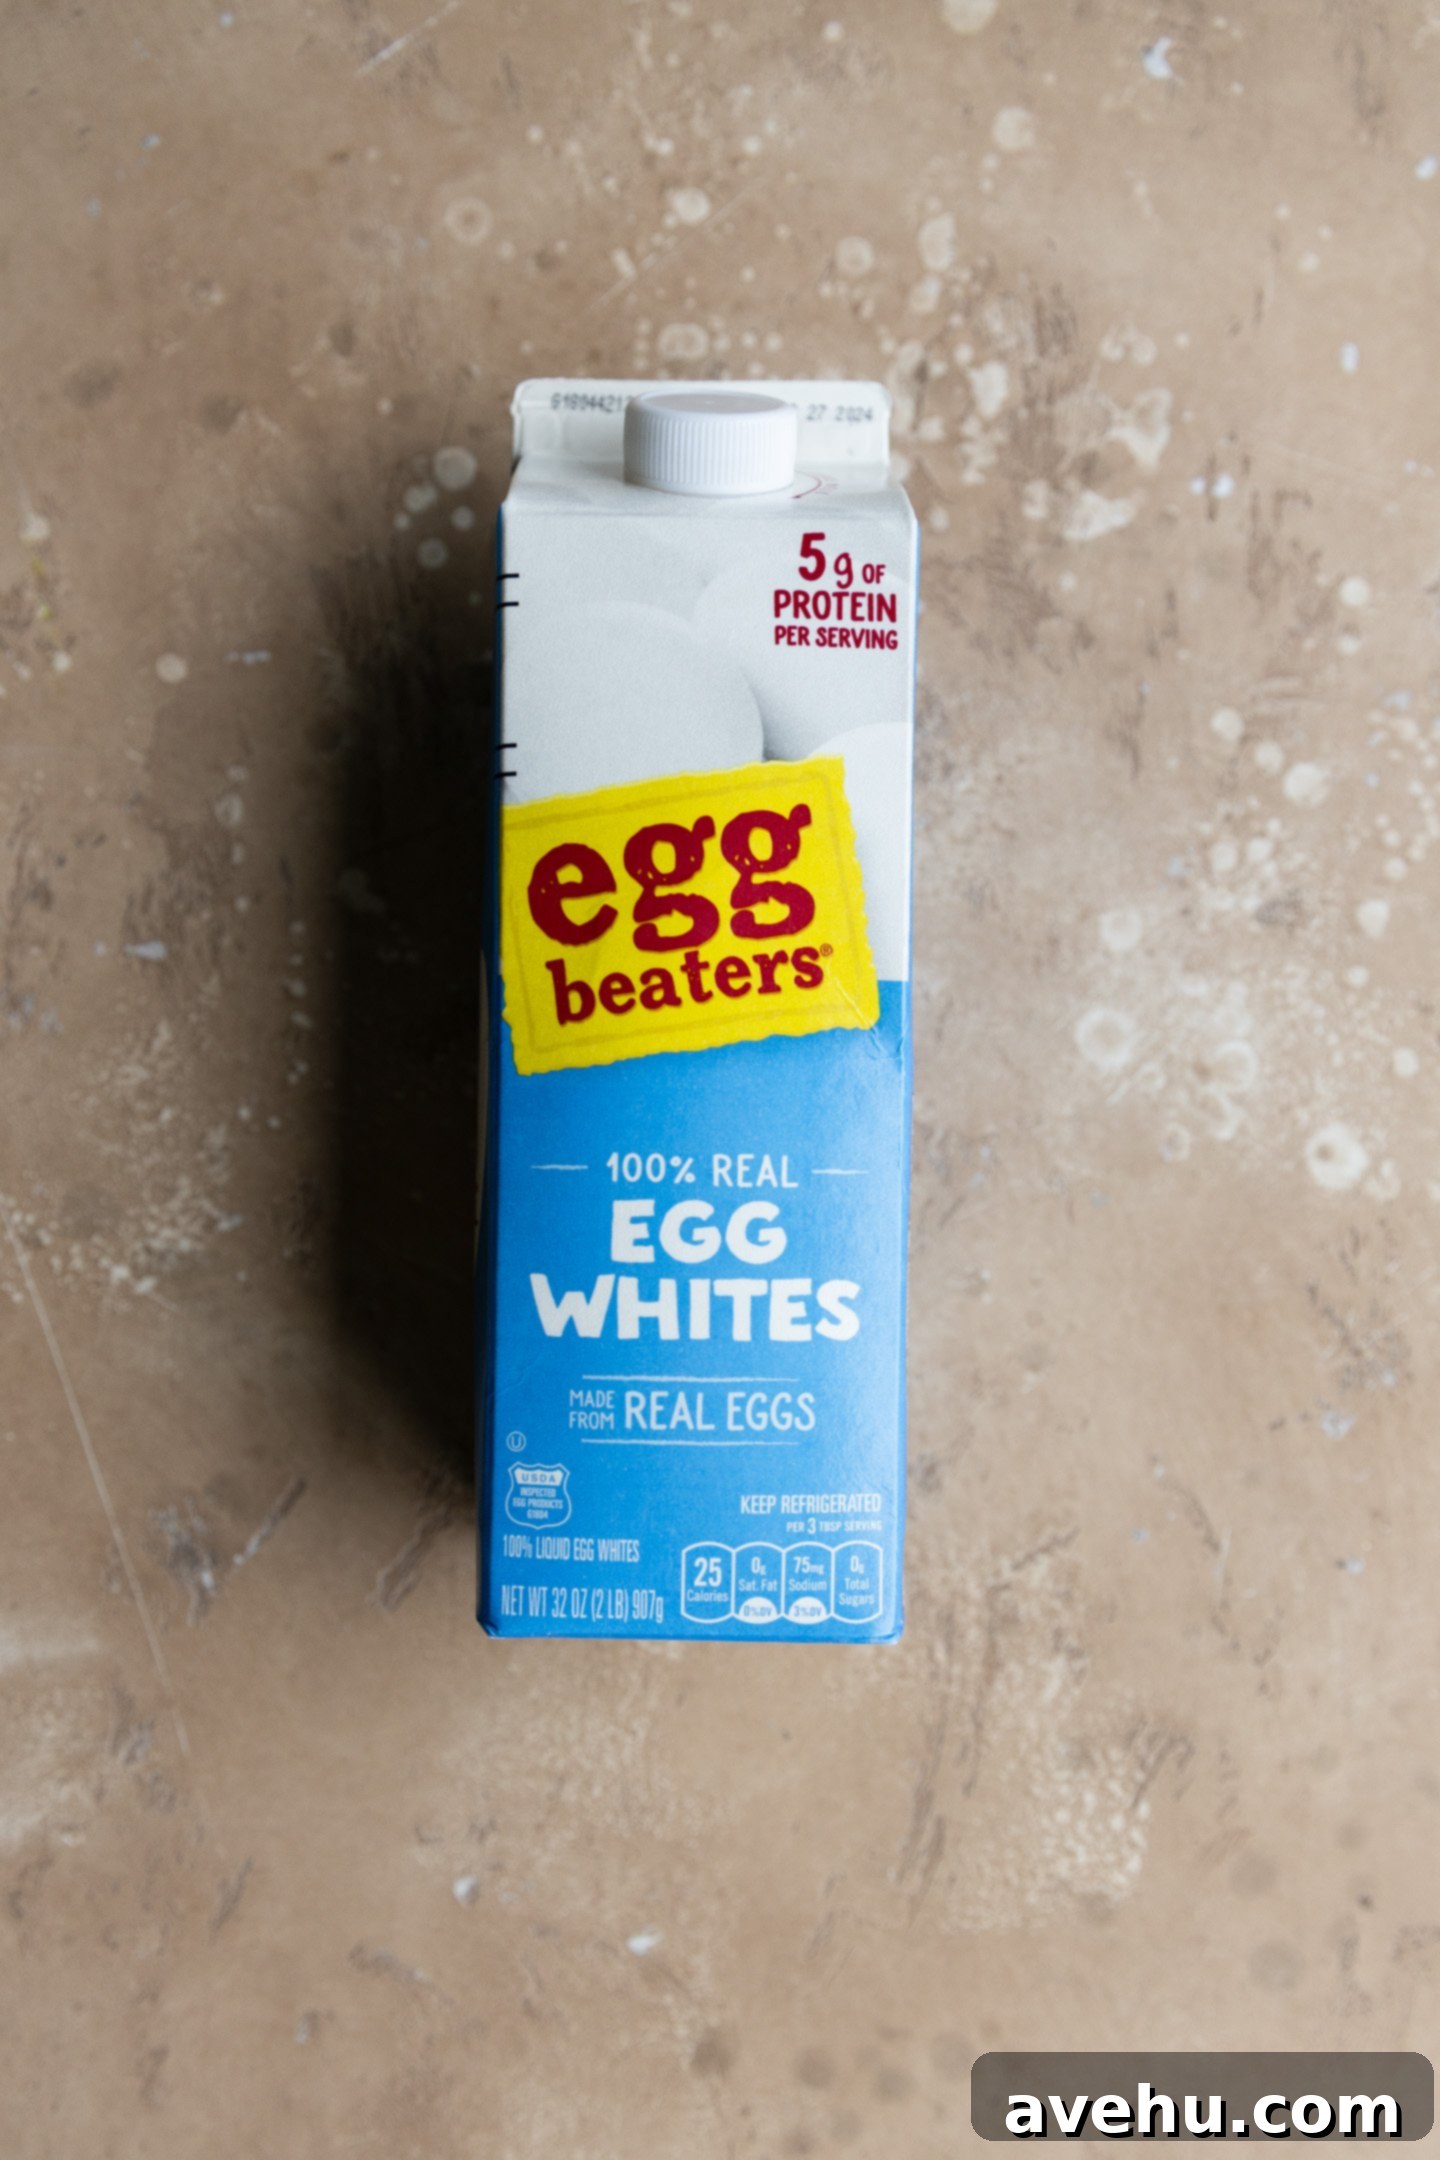
Another benefit is the elimination of egg separation. With carton egg whites, you don’t have to worry about accidentally getting yolk into your whites, which can prevent them from whipping properly. It’s simply pour-and-go! Just whip them up with powdered sugar, vanilla extract, and a touch of cream of tartar, and in mere minutes, you’ll have a glossy, stable royal icing. The only thing left to master is adjusting its consistency, and you’re ready to decorate like a pro!
As a general guideline, for every pound of powdered sugar, you’ll need the equivalent of about 3 large egg whites. Conveniently, 2 tablespoons of carton egg whites equals approximately 1 large egg white.
Royal Icing Versus Cookie Icing: A Clear Distinction
While both royal icing and cookie icing are used for decorating, they are distinctly different in composition, properties, and the results they achieve. Understanding these differences is crucial for choosing the right icing for your decorating needs.
Royal Icing: The Professional Choice
Royal icing, whether made with meringue powder or the carton egg whites in this recipe, always incorporates some form of egg white. The egg whites are the key ingredient that allows this icing to dry quickly and set to a hard, smooth, and opaque finish. This firm texture makes royal icing ideal for creating intricate details, crisp outlines, and elegant dimensional designs. Once dried (typically within 1-2 hours, depending on humidity and thickness), royal icing creates a protective shell on the cookie, making them stackable, shippable, and less prone to smudging. The finish is often matte or semi-glossy, giving cookies a refined, professional appearance. Think of how a baked meringue hardens; this is precisely the effect egg whites have on the icing once it dries.
Cookie Icing: The Simpler Alternative
Cookie icing, on the other hand, is a different beast entirely. It typically does not contain egg whites. Instead, it often relies on corn syrup or other stabilizers to achieve a smooth consistency that can dry somewhat firm, though not as hard as royal icing. This type of icing usually remains a bit softer, with a slightly chewier texture, and often has a glossier finish due to the corn syrup. The primary drawback of cookie icing is its drying time – it can take up to 24 hours or even longer to fully set, making it less suitable for intricate piped designs that require multiple layers or for cookies that need to be stacked or packaged quickly.
Therefore, if your goal is to stack, pack, or transport your decorated cookies within a day, or if you plan to create detailed patterns and layered designs, royal icing is undeniably the superior choice. Its quick-drying, hard-setting properties make it the go-to for serious cookie decorators.
How to Master This Royal Icing Recipe
Making this royal icing is surprisingly straightforward, but a few key steps ensure perfect results every time. Follow these instructions carefully to achieve a glossy, stable icing:
First and foremost, ensure your mixing bowl and whisk attachment are impeccably clean and completely grease-free. Even a tiny speck of fat or oil can prevent the egg whites from whipping up properly, leading to a runny, unstable icing. This is another area where carton egg whites shine – you don’t have to worry about accidental yolk contamination, which is a common pitfall when separating fresh eggs.
Begin by adding the carton egg whites to the bowl of your stand mixer fitted with the whisk attachment. Start whipping on medium speed for about 2 minutes. You’ll notice the egg whites begin to foam and become slightly airy. This initial aeration is crucial for building volume and stability.
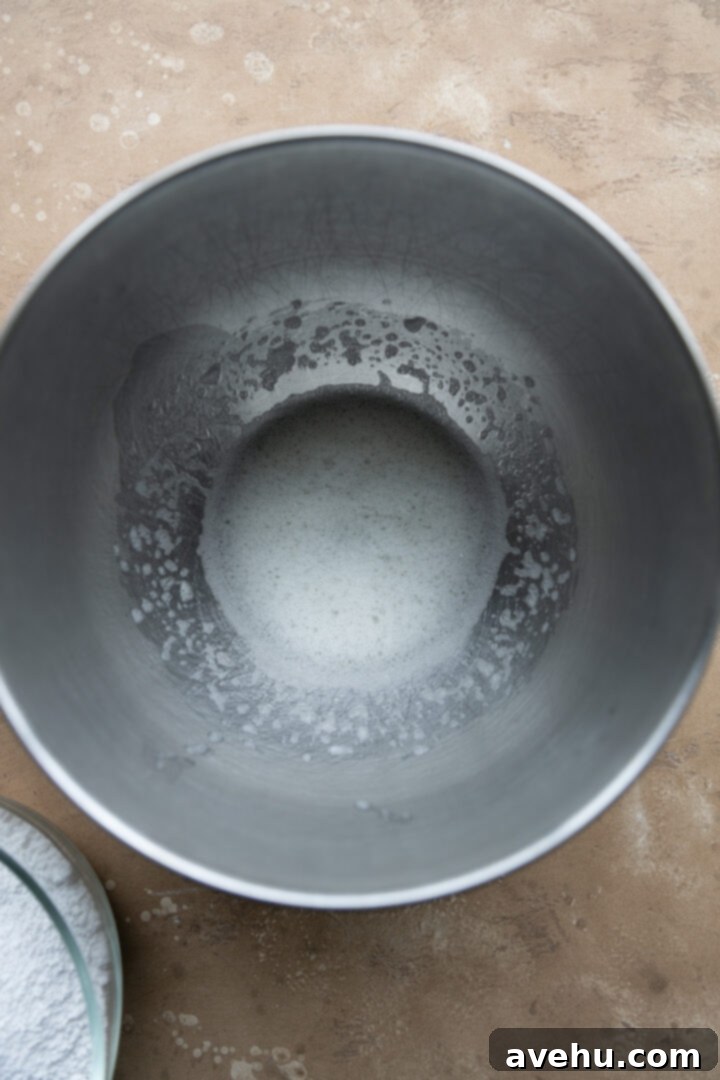
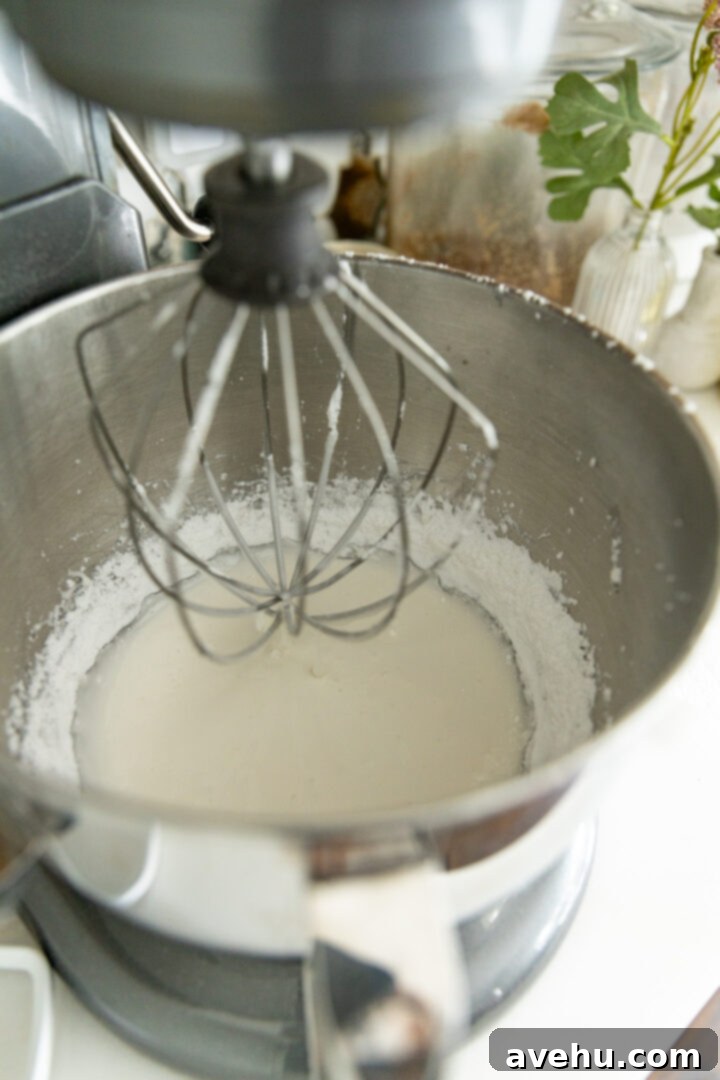
Once the egg whites are foamy, increase the mixer speed to medium-high and gradually begin to pour in the powdered sugar. This step is critical: add the sugar slowly, a tablespoon or two at a time, allowing it to fully incorporate into the whites. This process can take up to 90 seconds. Adding the sugar too quickly can weigh down the delicate egg white foam, causing it to deflate and preventing the icing from reaching the desired thick, stable consistency. Think of it as carefully building a strong foundation for your icing.
It’s important to wait until the egg whites are foamy before adding sugar. This allows them to achieve enough volume to “hold” all the sugar without collapsing. Gradual addition helps create a stable, airy structure that results in light and fluffy icing.
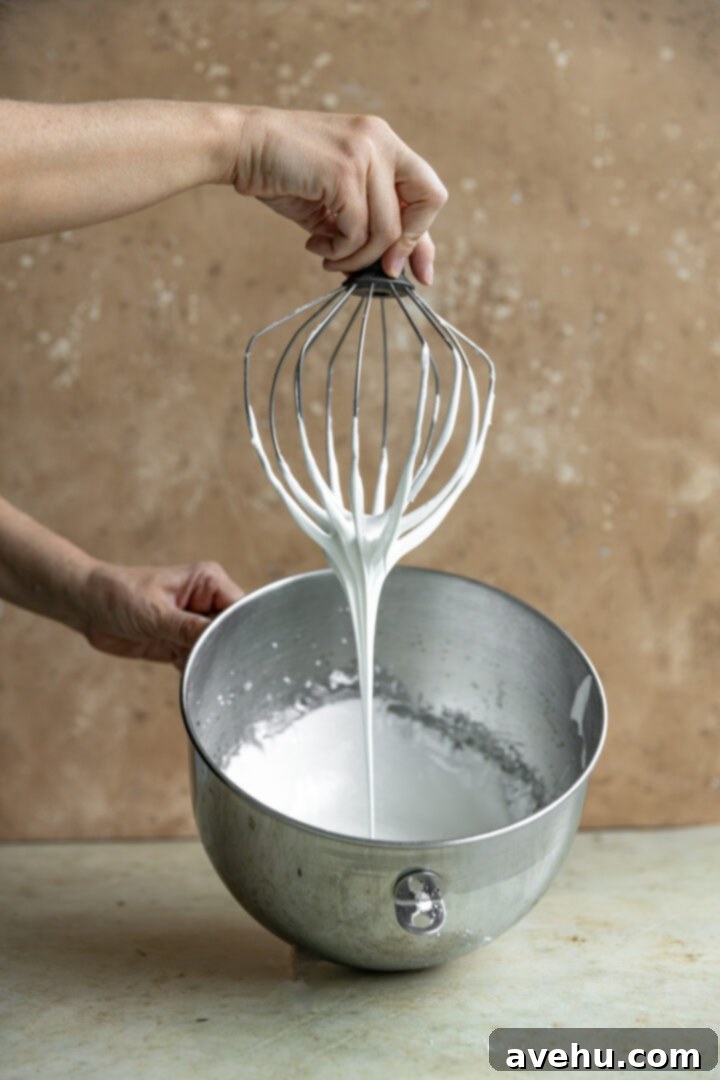
After all the powdered sugar has been incorporated, slowly pour in the vanilla extract, which adds a wonderful flavor dimension. Then, add the cream of tartar. Cream of tartar acts as a stabilizer, helping the egg whites whip up faster, achieve more volume, and maintain their stability. It also contributes to the hard, crisp finish of the dried icing. Continue whipping on high speed for another minute or two, until the mixture is thick, opaque white, and has a beautiful, glossy sheen. When you lift the whisk, the icing should form stiff peaks.
At this point, stop the mixer and lift the whisk attachment to observe the consistency. The icing should be quite thick and hold its shape. You are now ready to adjust the consistency based on whether you need it for outlining or flooding.
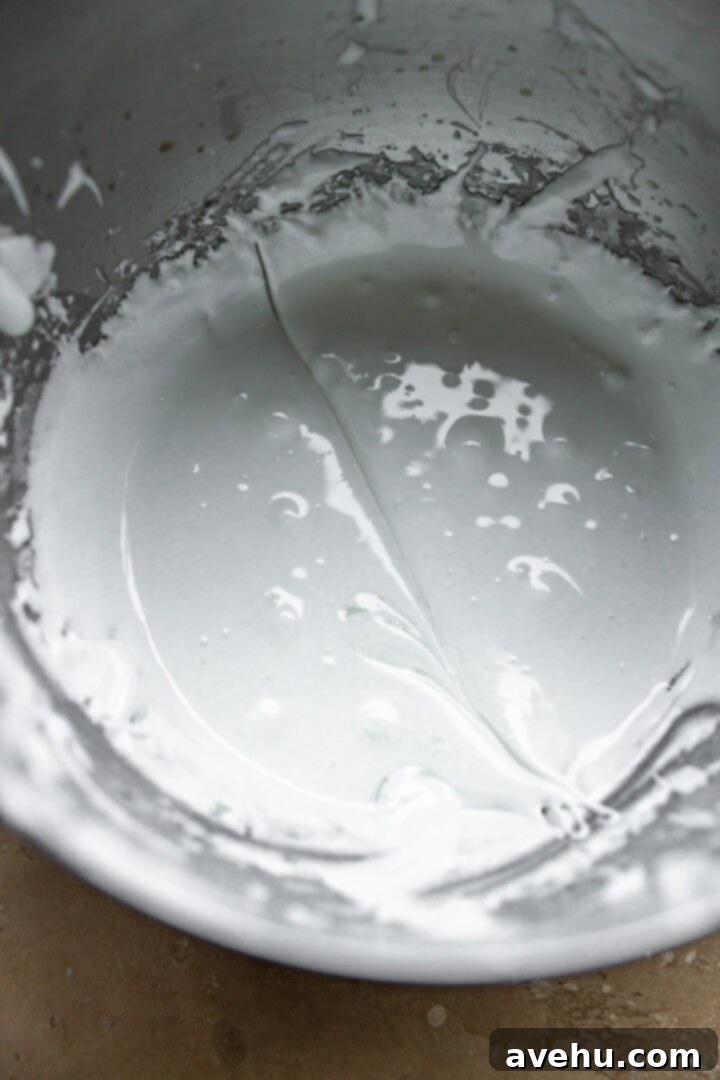
Achieving Perfect Consistency for Outlining Versus Flooding
The beauty of royal icing lies in its ability to be adjusted to various consistencies, each serving a specific decorating purpose. The “knife drag” method is your best friend here:
Outlining and Detail Consistency
To test for outlining consistency, lift the bowl off the mixer and use a clean knife to drag a line through the surface of the icing. If the line disappears and the icing smooths back completely within approximately 15-20 seconds, you’ve achieved the ideal consistency for outlining, piping intricate details, and creating borders. This consistency is thick enough to hold a crisp line and prevent “bleeding” when flooding. Often, the icing is perfectly at this point right after mixing, making it ready for outlining without any further adjustments.
While this consistency is perfect for outlining, you can certainly use it for flooding as well, especially if you prefer not to make two separate batches. However, be aware that a thicker flood consistency will spread slower and might require more gentle persuasion with a toothpick to cover the cookie evenly.
Flooding Consistency
For a faster and smoother flood, you’ll need a slightly thinner consistency. To achieve this, transfer a portion of your outlining-consistency icing into a separate bowl. Then, add water sparingly, about 1 teaspoon at a time, mixing thoroughly after each addition. Continue testing with the knife drag method. When the line disappears and the icing smooths back in about 8-10 seconds, it’s perfect for flooding. This “10-second rule” ensures the icing is fluid enough to spread quickly and evenly across the cookie surface, yet thick enough to stay within your piped outline.
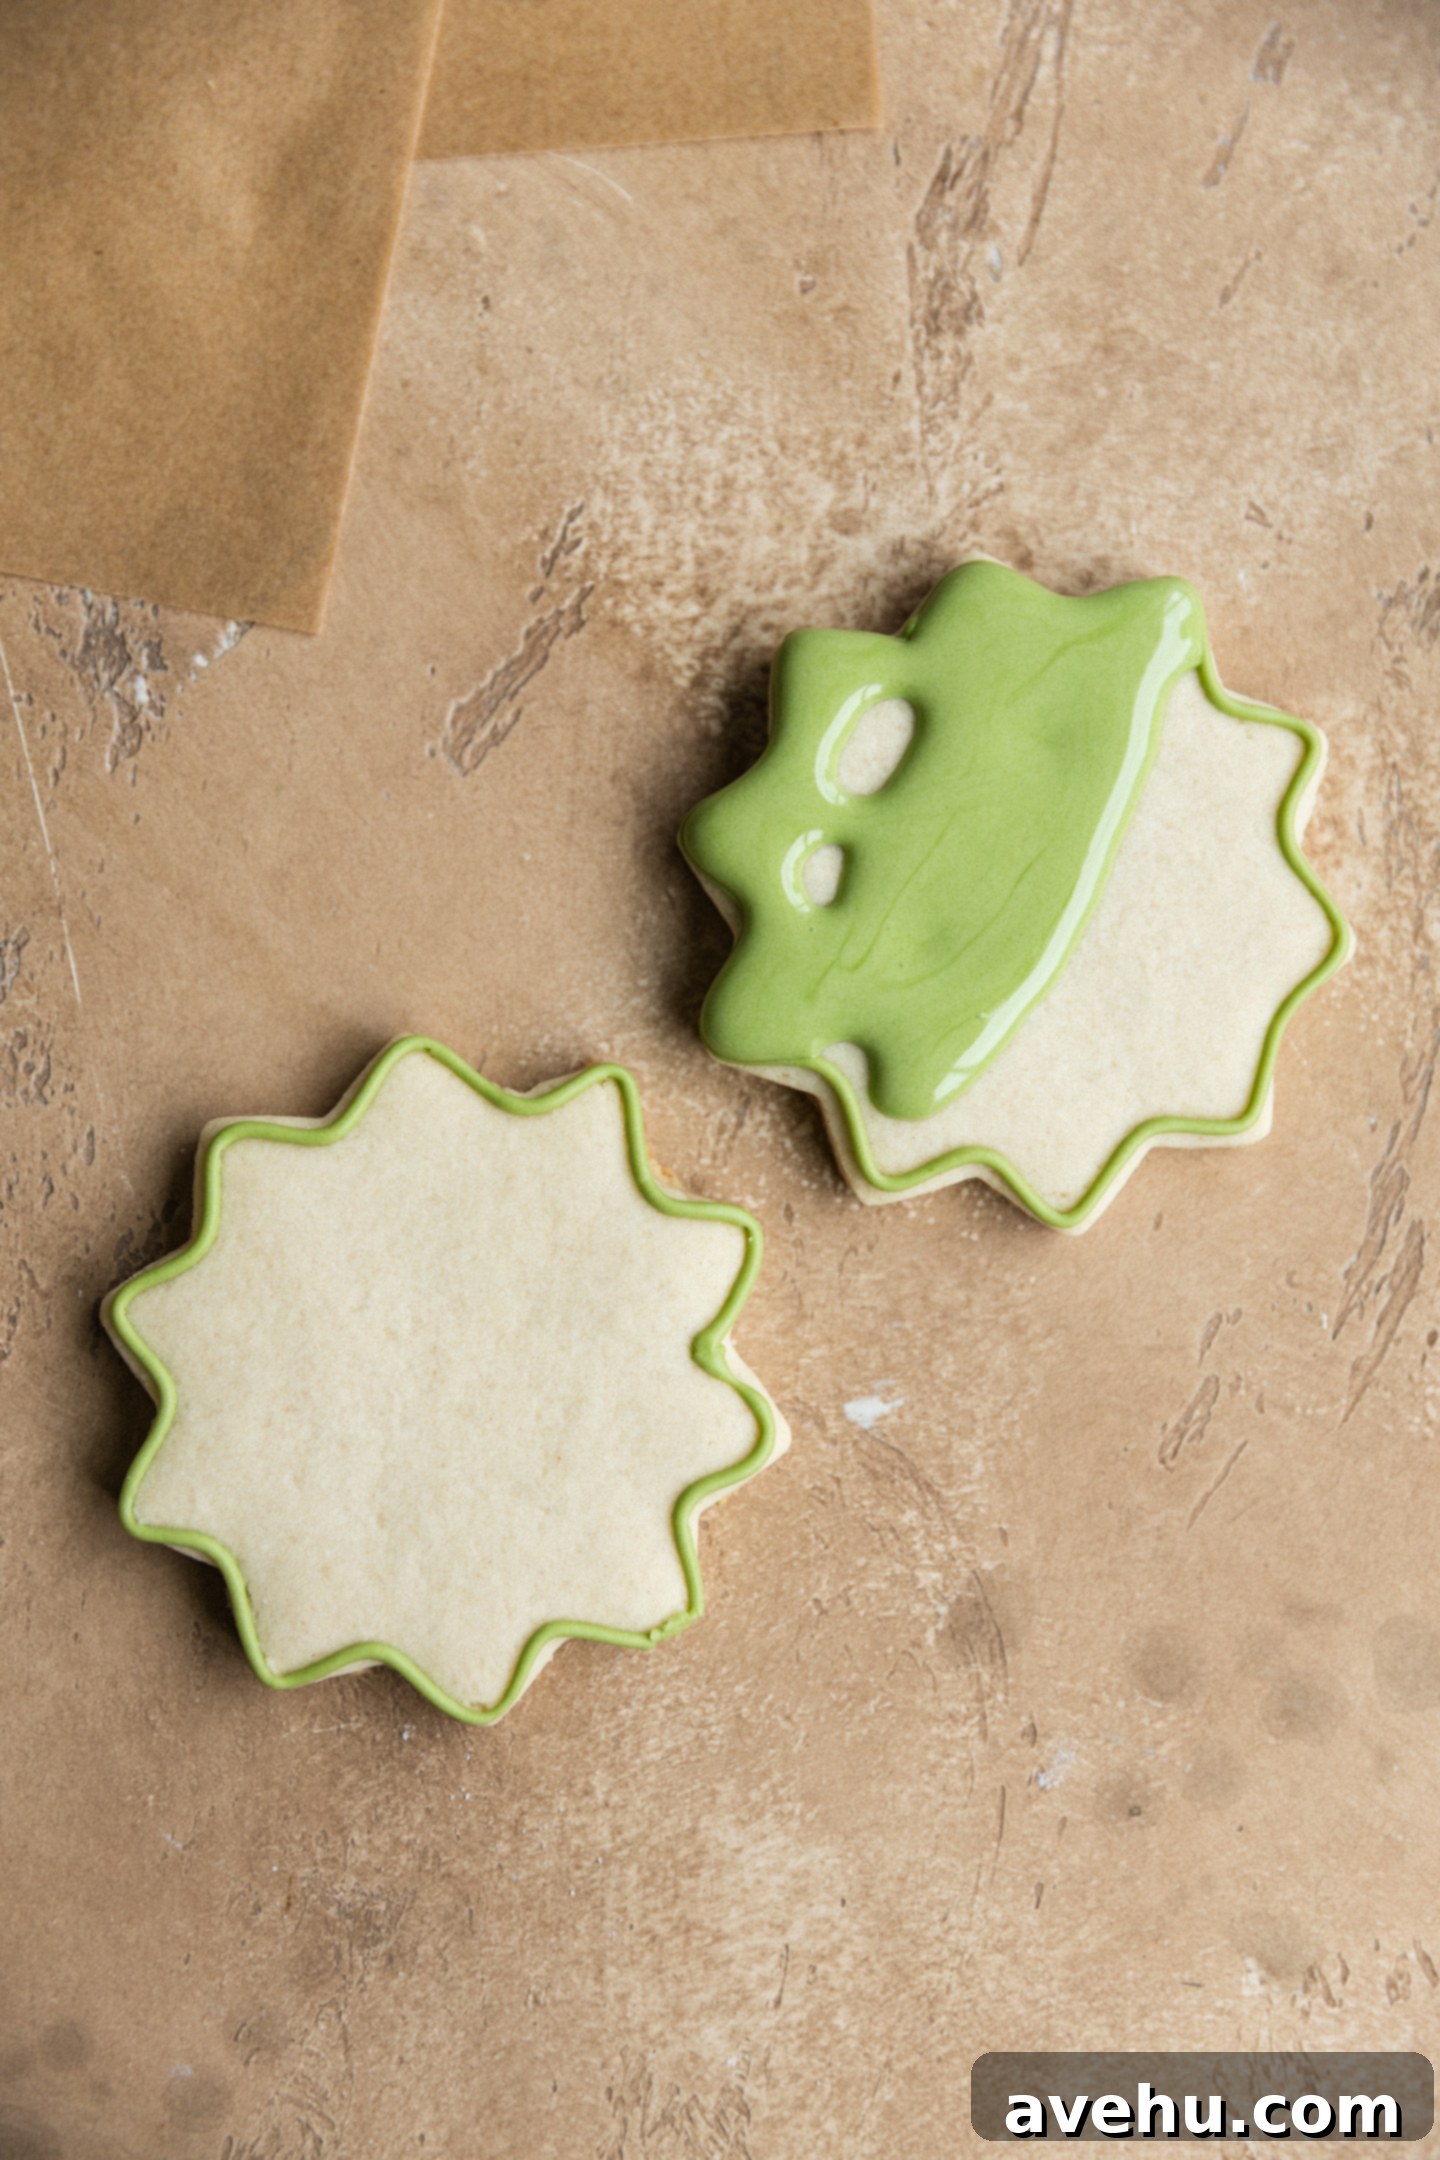
Troubleshooting: If you accidentally add too much water and your icing becomes too loose or runny, don’t panic! Simply add 1/3 cup of powdered sugar at a time and whip it back into the mixture until it reaches your desired thicker consistency. It’s always easier to thin out icing than to thicken it, so add water in small increments.
Essential Coloring and Decorating Tips for Royal Icing
Once you have your royal icing perfectly made and adjusted, it’s time for the fun part: coloring and decorating! Having the right tools and knowing a few tricks can make a huge difference in your decorating experience. Here’s a curated list of my go-to items and tips:
- Gel Food Coloring: This is hands down the best choice for coloring royal icing. Unlike liquid food coloring, gel colors are highly concentrated, meaning a small amount goes a long way to achieve vibrant hues without adding excess moisture. This is critical for maintaining the perfect icing consistency you just worked so hard to achieve. This particular set offers a fantastic range of colors and is a worthy investment for any baker.
- Piping Bags: These are essential for both outlining and flooding. I find them particularly useful for outlining because they offer superior control and precision compared to squeeze bottles for fine details.
- Couplers: These ingenious little tools allow you to change piping tips on the same bag without emptying the icing. They’re a huge time-saver and eliminate the need for multiple bags for different tip sizes of the same color.
- Piping Tips: For outlining, a small round tip like Wilton #3 is excellent for creating crisp, fine lines. For flooding, a slightly larger round tip like Wilton #5 works wonderfully, allowing for a faster flow. Remember, the smaller the tip number, the smaller the opening.
- Squeeze Bottles with Piping Tips: While piping bags are great for outlines, squeeze bottles are a true blessing for flooding. They make the process incredibly easy and controlled, allowing you to quickly fill in large areas with smooth, even icing.
- Small Mixing Bowls: Keep several on hand for mixing different colors of icing. This makes it easy to work with multiple shades without constantly washing bowls.
- Mini Spatulas: Perfect for mixing colors into small batches of icing and for filling piping bags or squeeze bottles cleanly.
- Toothpicks or Scribes: These are invaluable for spreading flooding icing evenly to the edges, popping any pesky air bubbles that might appear, and gently nudging the icing into small corners for a flawless finish.
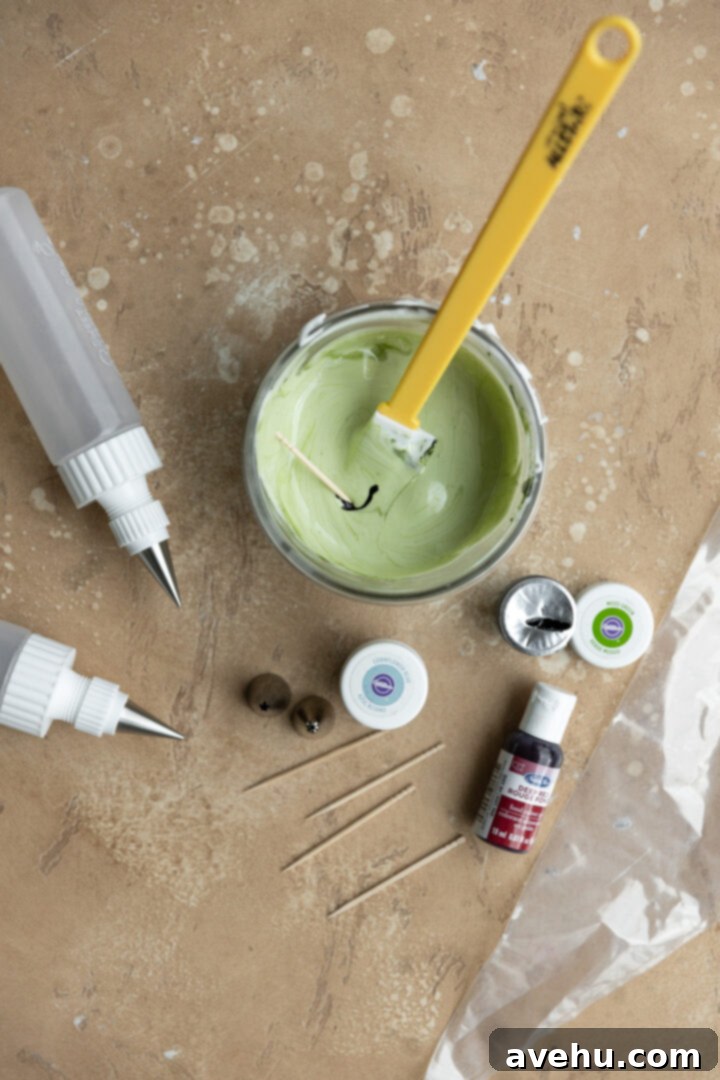
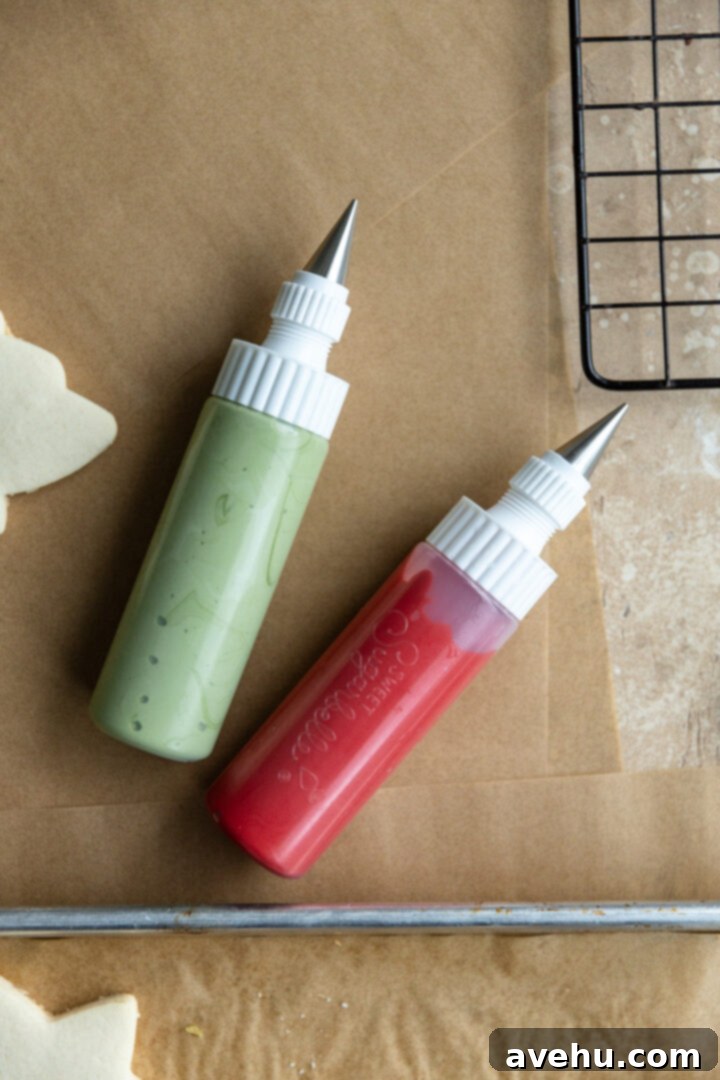
Smart Coloring Strategy
To minimize dirty dishes and maximize efficiency, always start by coloring your icing with the lightest shades first. Once you’ve achieved your desired light color, transfer it to the piping bag or squeeze bottle you plan to use. Then, you can use the same mixing bowl to create darker shades of the same color, or move on to a completely different color without needing to wash the bowl meticulously. A slight tint from a previous lighter color won’t negatively impact a subsequent darker color, saving you precious time and effort.
For Outlining vs. Flooding Quantities: You generally need less outlining icing than flooding icing. A smart approach is to first color a batch of icing to your desired shade at the outlining consistency. Then, separate the smaller amount you need for outlining and transfer it to a piping bag. Take the remaining, larger portion of that same color, and thin it down with water (1 tsp at a time) to your desired flooding consistency. This method ensures you have both consistencies of the same color ready to go efficiently.
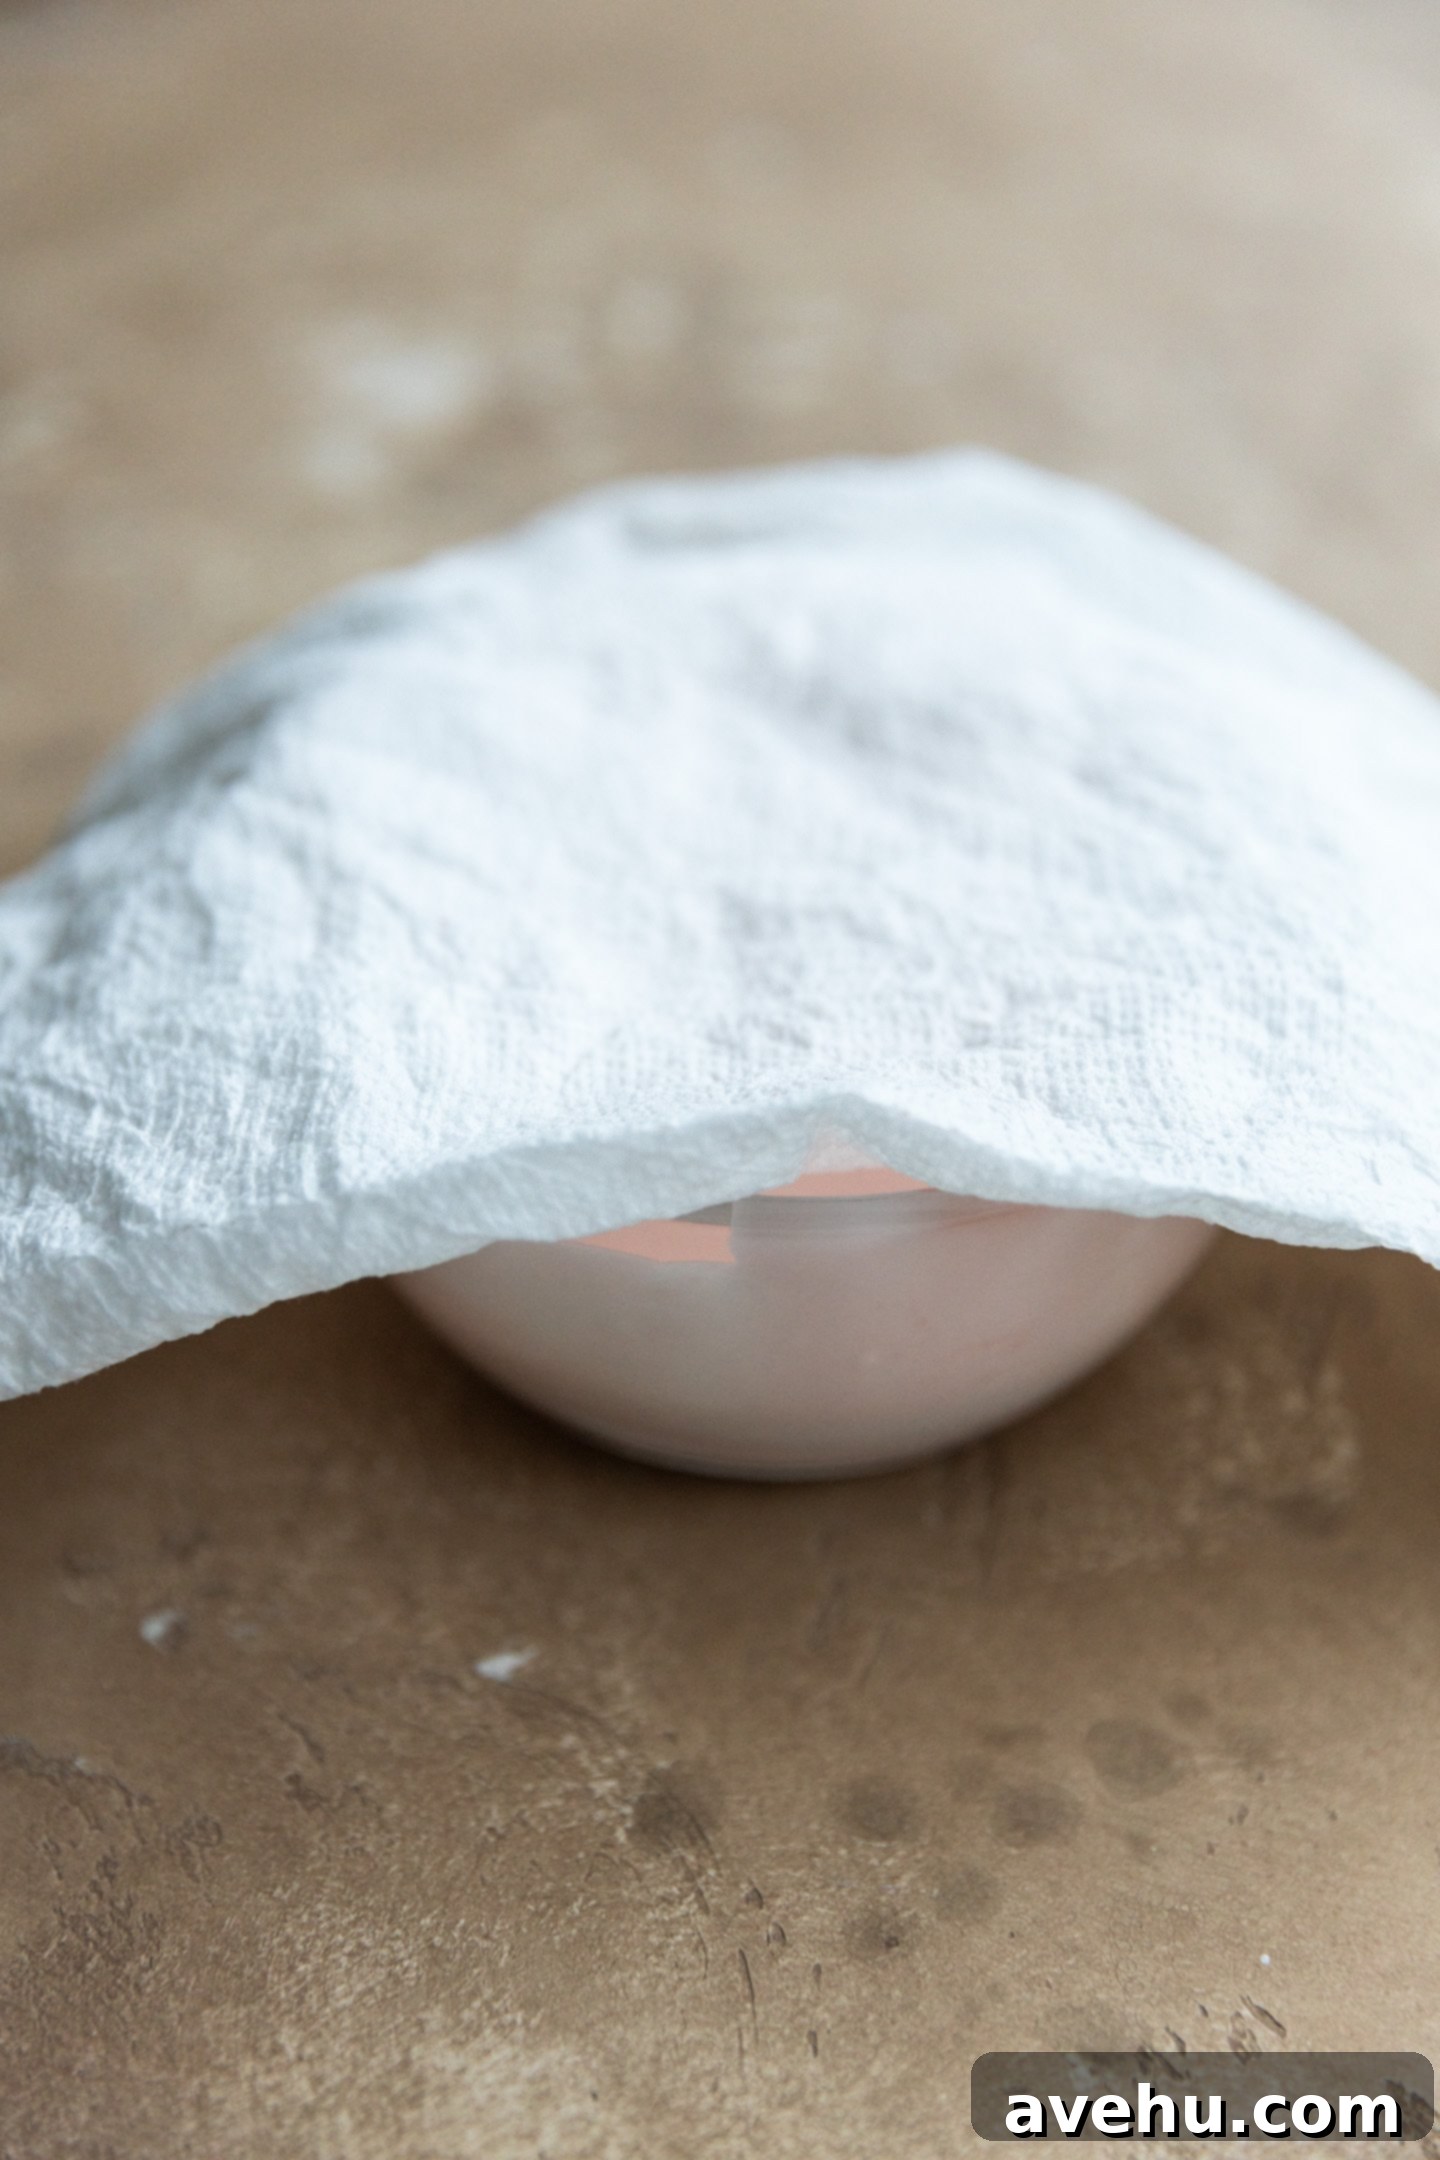
Storage and Handling Icing Separation
One of the great advantages of royal icing is its excellent shelf life. You can make this icing 2-3 weeks in advance and store it in the refrigerator. For best results, place the icing in an airtight container. In pastry school, we learned a clever trick to prevent the icing from drying out: place a piece of damp paper towel directly on top of the icing before sealing the lid. Crucially, the paper towel should be damp, but not dripping wet, and it should not actually touch the surface of the icing. This creates a humid environment within the container, keeping the icing moist and preventing the formation of a crust.
Dealing with Icing Separation
Over time, especially during storage, you may notice that the icing separates. This is perfectly normal and nothing to worry about. The liquid ingredients (egg whites and water) might settle to the bottom of the bowl, leaving a thicker layer of sugar paste on top. This is simply due to the density differences of the ingredients. To remedy this, simply give the icing a good whip! You can use a whisk for a minute or two, or place it back in your stand mixer and whip on medium speed for about 2 minutes until it’s smooth, uniform, and glossy once again. Your icing will be as good as new, ready for decorating.

When applying multiple layers or intricate designs, remember to allow each layer of royal icing to dry for at least 30 minutes before adding more details. This prevents colors from bleeding and ensures your designs remain crisp and well-defined. For best results, allow cookies to dry completely (1-2 hours) before stacking or packaging.

Emergency Royal Icing (No Meringue Powder)
Pin
Review
SaveSaved!
Ingredients
- 3 egg whites, from a carton (2 tbsp= 1 egg white)
- 1 lb powdered sugar
- 1 tsp vanilla extract
- 1/2 tsp cream of tartar
- water, as needed
Equipment
-
Stand mixer
-
Piping bags
-
Piping Tips
Instructions
-
In the bowl of a stand mixer fitted with the whip attachment, add the 3 egg whites (or 6 tbsp egg whites) from a carton. Whip on low-medium speed for 2 minutes until slightly foamy.
-
When the egg whites start to foam up, switch to med-high speed and slowly start pouring in the powdered sugar. This can take up to 90 seconds. Don’t go to fast or the whites could collapse.
-
When all the sugar is mixed in, add the 1 tsp vanilla extract and 1/2 tsp cream of tartar and mix.
-
Bring the mixture up to high speed for 1-2 minutes until peaks start to form and the mixture is very glossy.
Consistency
-
At this point the consistency is great for outlining. Separate what you need to outline the cookies. You can also use this to flood but it will just be a slower flood. See noted below for further details.
-
To make the icing thinner for a faster flood consistency, add 1 tsp water until you get to the desired consistency.
Notes
To thin, add 1 tsp water at a time and mix. If you drag the knife through again and it comes back together within 8-10 seconds its great for flooding.
Use this icing on top of no chill sugar cookies!
Yield
This recipe makes around 3 cups of icing which can decorate about 40-50 cookies depending on how intricate the designs are. The icing dries hard in about 2 hours, is sweet and crunch but not too hard to bite into!
Storage
If you are using it within the next 3-4 days you can leave the icing at room temperature. In pastry school we learned to dampen a paper towel and put it on top of the bowl before putting the lid on. This helps keep the moisture in the icing and prevents it from drying out. You don’t want the paper towel to touch the icing.
