Effortless Cookie Icing: Decorate Sugar Cookies Without a Piping Bag!
Do you dream of beautifully decorated sugar cookies but shy away from the intricacies of royal icing? You’re in the right place! This incredibly easy cookie icing recipe is your secret weapon for stunning, bakery-worthy cookies without any fuss. Forget complicated consistencies, multiple piping bags, or hours of delicate work. This simple cookie glaze comes together in just one bowl with a whisk in less than three minutes, making cookie decorating a joy rather than a chore. The best part? You don’t even need piping bags to achieve gorgeous results! I’ll walk you through a simple dipping technique that will leave your cookies looking professionally decorated, just like the ones pictured below on my favorite chocolate sugar cookies.

Many home bakers find themselves intimidated by royal icing. Its precise requirements for different consistencies – from outlining to flooding – and the time-consuming preparation of numerous piping bags or squeeze bottles can deter even the most enthusiastic decorators. That’s precisely why I’m thrilled to share this straightforward recipe for the best easy cookie icing today. It’s designed to eliminate all that stress and bring back the fun into cookie decorating, especially when preparing for holidays or special occasions.
Why This is the Best Easy Cookie Icing Recipe
This simple cookie icing stands out as the ultimate choice for your decorating needs for several compelling reasons:
- One Bowl, One Whisk Wonder: Say goodbye to mountains of dirty dishes. This entire cookie glaze recipe can be made using just a single bowl and a whisk, minimizing cleanup and maximizing efficiency.
- Blazingly Fast Prep: You’ll have this delicious icing ready to go in 3 minutes or less. This incredible speed means more time for decorating and less time waiting around.
- Effortless Consistency: No more guessing games or counting seconds to achieve the perfect flow. This recipe delivers a consistency that’s ideal for dipping, spreading, and achieving smooth, even coats every time.
- Hardens Perfectly, Bites Softly: This cookie icing dries to a firm finish, allowing for easy stacking and transportation of your decorated treats. Crucially, it remains delightfully soft to bite into, unlike some icings that can be overly brittle.
- No Piping Bags Required: This is truly a game-changer for many! Our innovative dipping method allows you to decorate cookies beautifully without ever touching a piping bag, reducing mess and making the process accessible to everyone.
Seriously, not needing piping bags to decorate holiday cookies is an absolute revelation. Even as a trained pastry chef who ran a custom cake and cookie design shop for five years, I can tell you that piping bags often led to unexpected messes. This recipe allows you to cut down on specialized equipment without sacrificing any of the creative fun. It’s an ideal, no-fuss activity to enjoy with children during holiday breaks or any time you want to add a personal touch to your baked goods. Plus, the icing tastes fantastic – sweet, smooth, and perfectly complements your favorite cookie base!
Feel free to use this versatile cookie icing on top of my popular no-chill cut out sugar cookies or my equally delightful no-chill chocolate sugar cookies, just as you see demonstrated in the pictures throughout this guide.
How to Make This Simple Cookie Icing
Before you begin, ensure your cookies are completely cooled. This is a crucial step, as icing warm cookies can lead to melting and a messy finish. Once your cookies are ready, gather your minimal equipment: a large mixing bowl, a whisk, and a set of measuring spoons. If you opt for a 1 lb box of powdered sugar, you won’t even need to measure it out – a convenient shortcut!
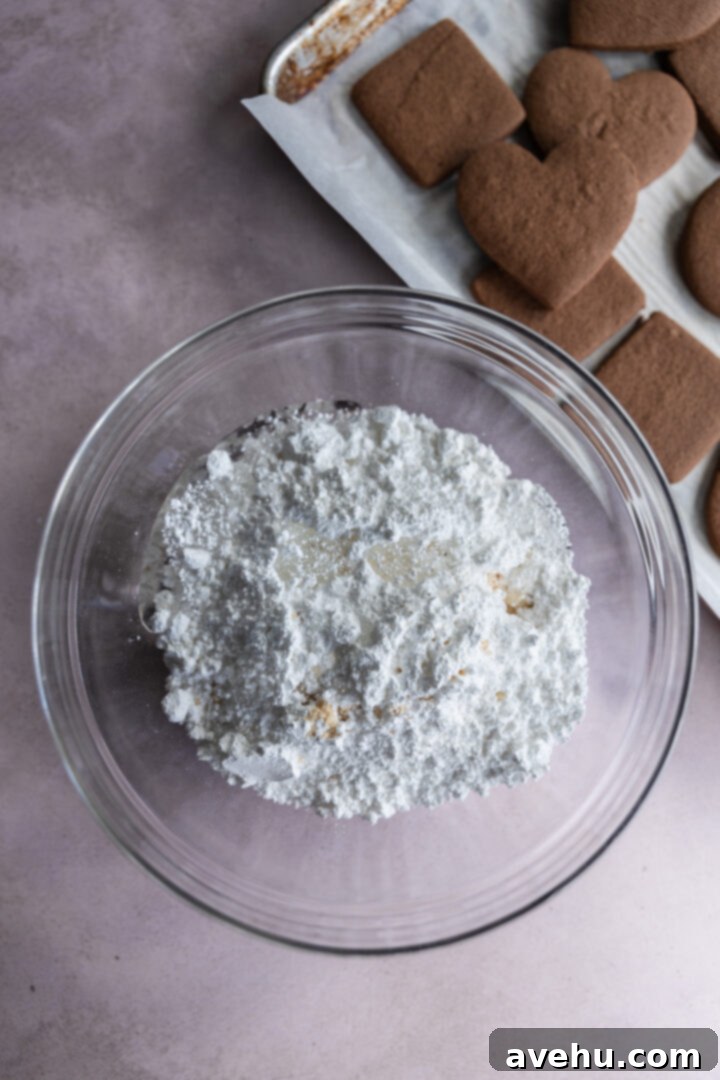
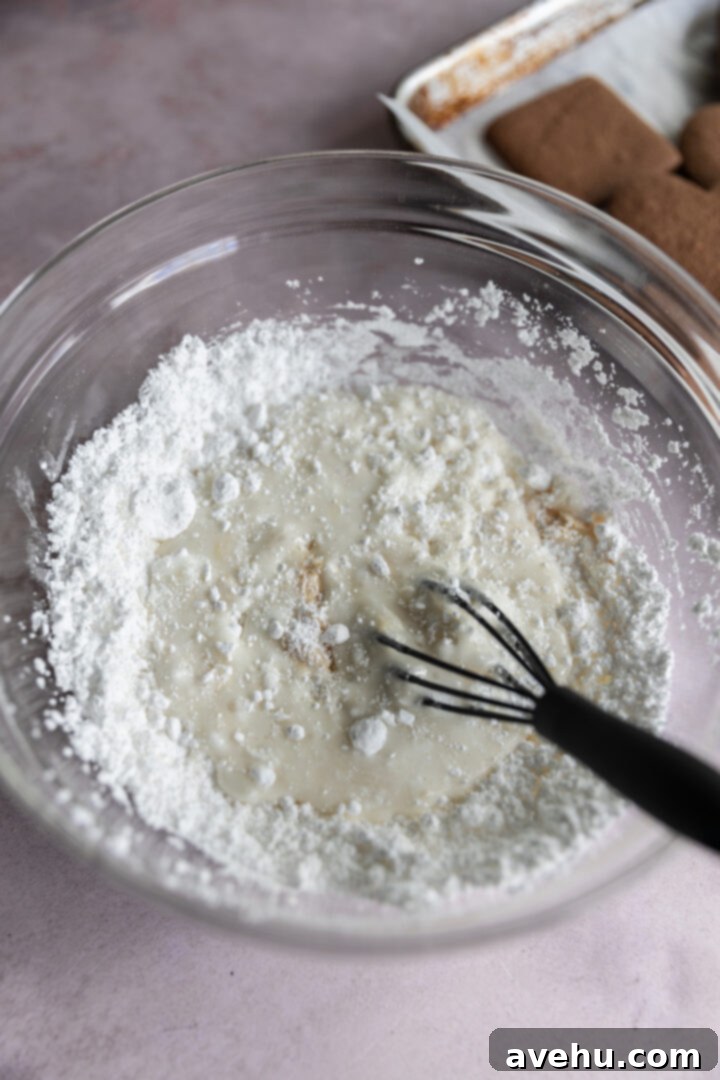
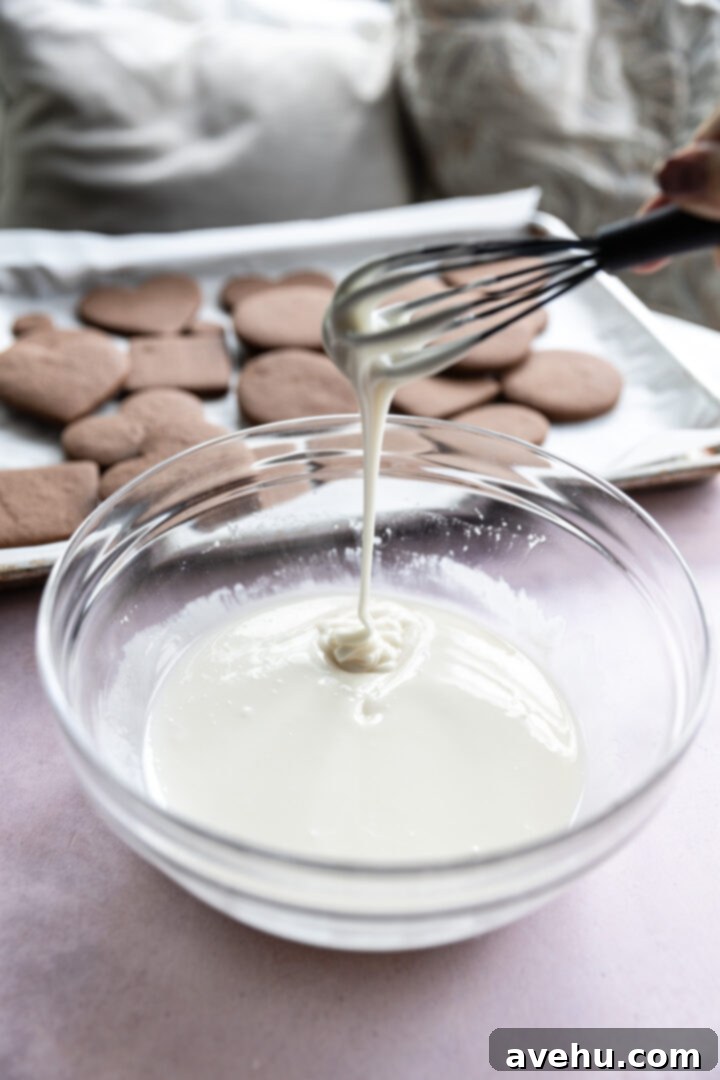
Begin by adding the entire pound of powdered sugar to your large mixing bowl. Next, carefully measure and add 1 teaspoon of vanilla extract, 2 tablespoons of light corn syrup, and 5 tablespoons of milk. Vigorously whisk all the ingredients together until the icing is completely smooth and free of lumps. This should take no more than 30 seconds. And just like that, your quick cookie icing is ready for decorating!
While milk provides a wonderfully creamy texture and rich flavor, you can substitute it with water if preferred. Be aware that using water might result in a slightly less creamy icing, though it will still function perfectly for dipping.
Tips for Coloring Your Easy Cookie Icing
Once your basic white icing is prepared, you have two options: use it as is for a classic look, or divide it into separate bowls to create a vibrant palette of colors. For coloring, I highly recommend using gel food colors. These are readily available at most arts and crafts stores or can be purchased online. My personal favorite brand for achieving rich, vibrant hues is Americolor.
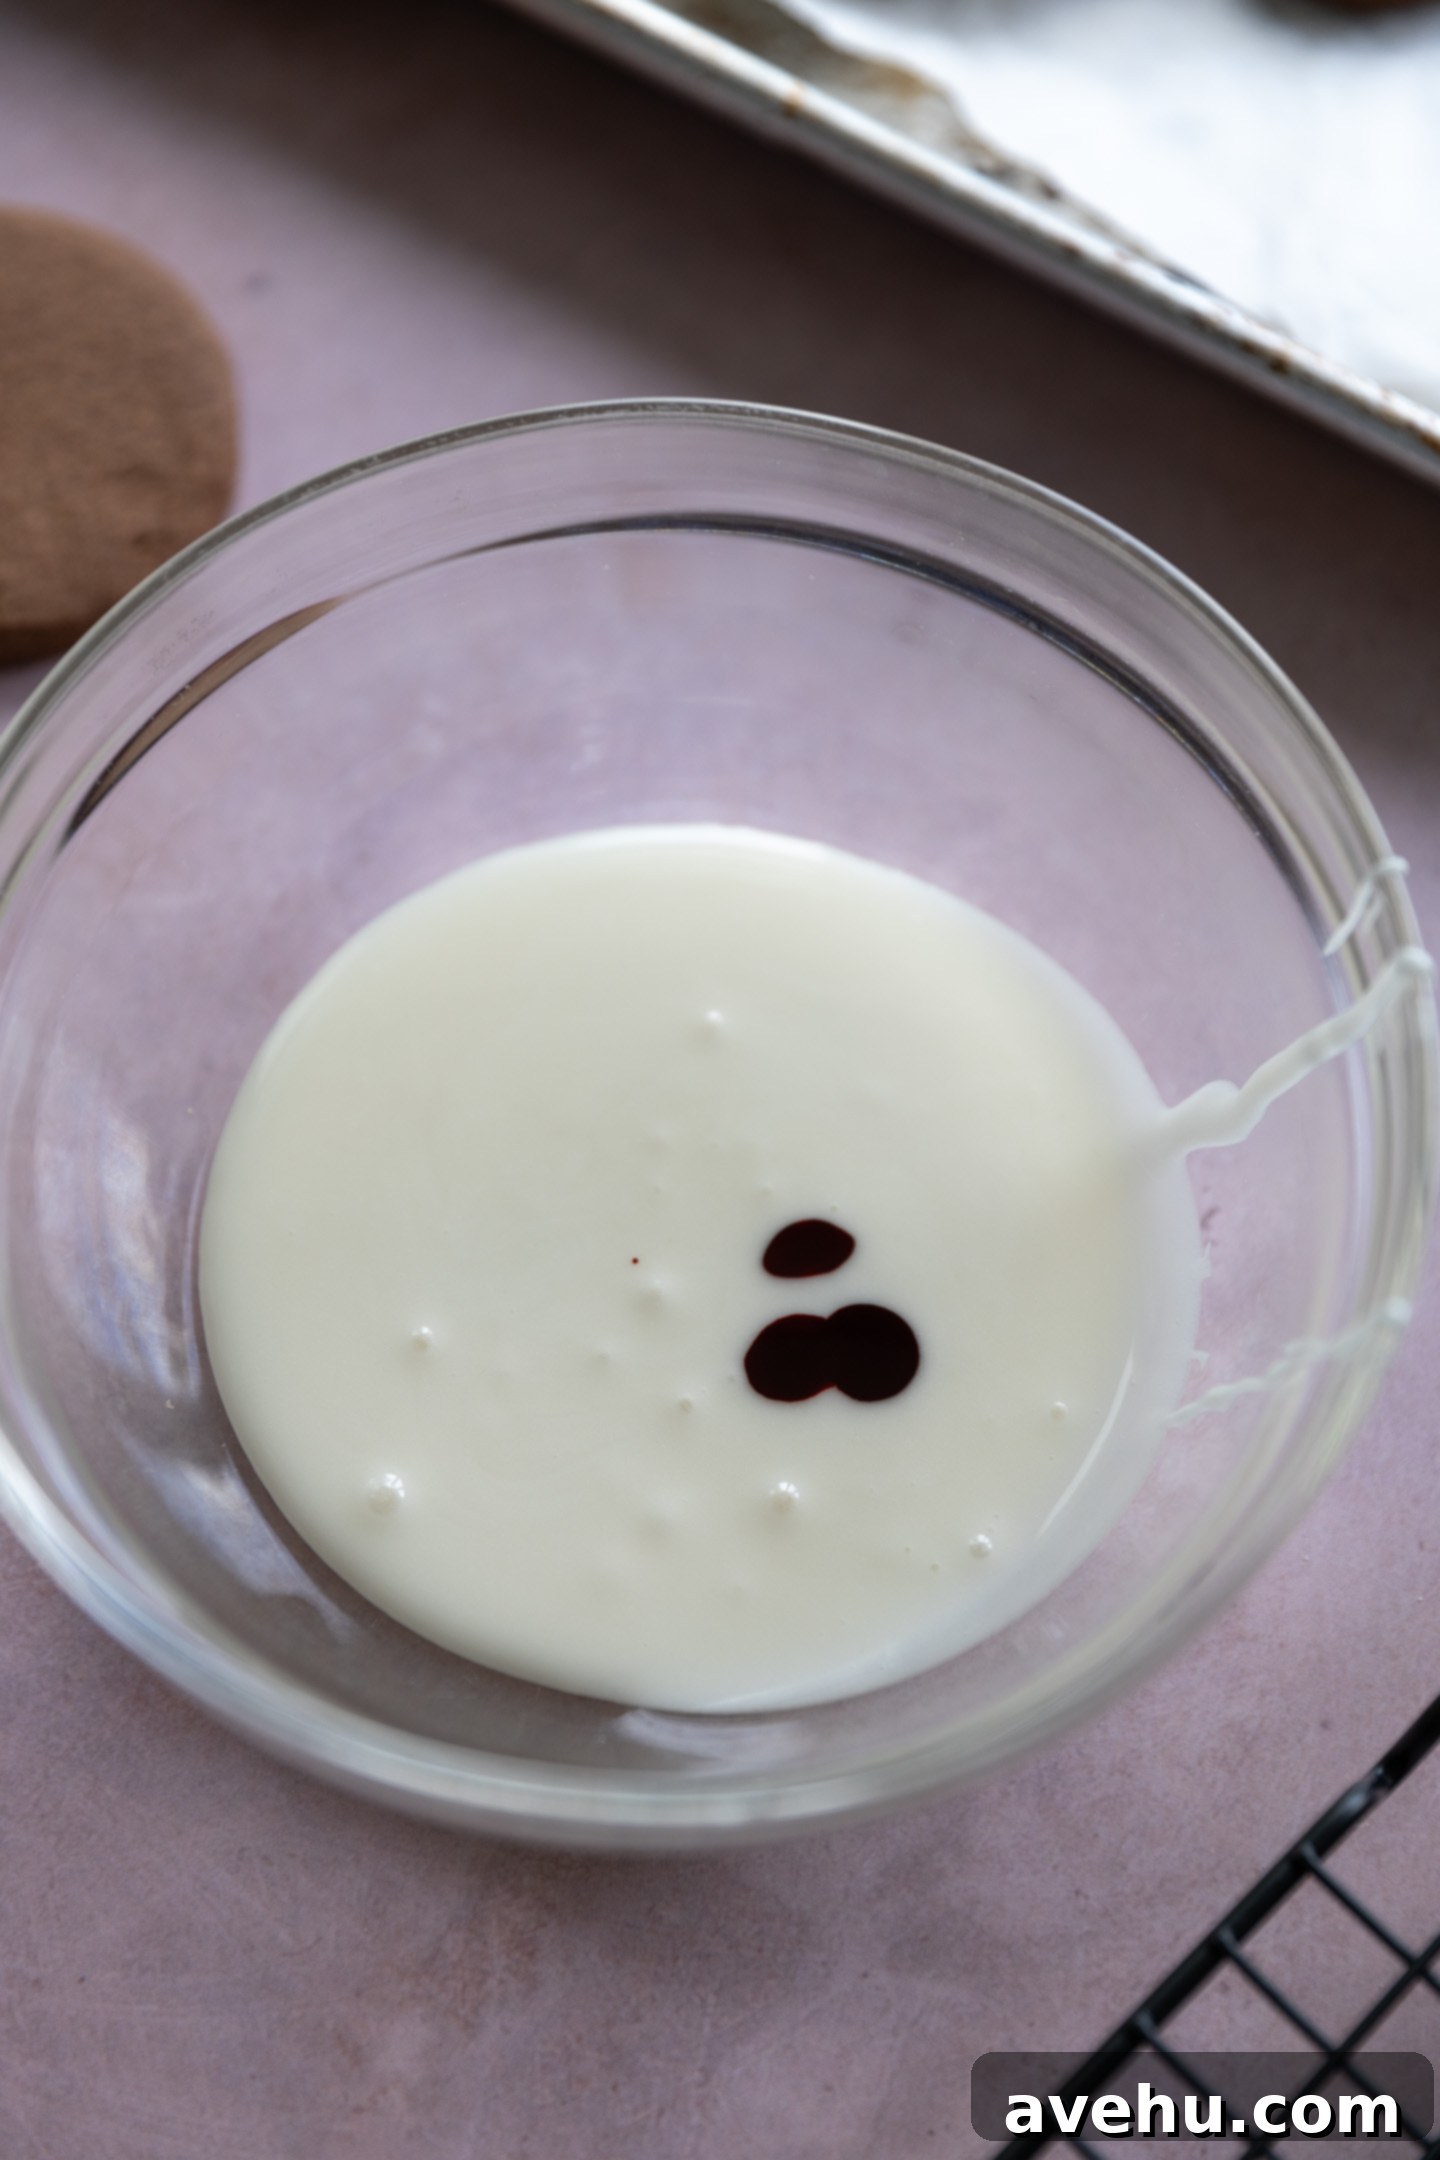
Gel food coloring is superior to water-based liquid food coloring for several reasons. Firstly, you only need a minimal amount to achieve a deep, saturated color, preventing you from adding excess liquid to your icing. Secondly, because it’s gel-based, it won’t thin out or significantly alter the perfect viscosity of your icing, ensuring consistent results every time you decorate. This is key for maintaining the ideal dipping consistency.
How to Decorate Cookies Without Piping Bags: The Dip & Drip Method
Now for the most exciting part – decorating your cookies with this incredible no-fuss icing! Once your colors are mixed and you’re ready to go, follow these four simple steps for perfectly glazed cookies:
- Dip the Cookie: Carefully pick up a cooled cookie, gripping its edges with your fingers. Gently dip the cookie face down into the bowl of icing. It’s important that only the top surface of the cookie, and not the sides, gets submerged. Think of it like a “Spiderman grip” – you want to hold the cookie firmly enough so it doesn’t fall in, but loosely enough to allow for a clean dip. Rotate the cookie gently in the icing a couple of times to ensure the entire surface is evenly coated.
- Let it Drip: Lift the cookie, still holding it face down, directly above the icing bowl. Allow the excess icing to drip back into the bowl for approximately 3 seconds. This helps remove any extra glaze, preventing thick, messy edges.
- Quick Flip: With a swift and confident motion, quickly flip the cookie right side up. This allows the icing to settle smoothly on the surface.
- Gentle Shake: Give the cookie a slight, gentle shake or tap. This helps to further spread the frosting evenly across the surface and encourages any small air bubbles to rise and pop, resulting in a perfectly smooth finish.
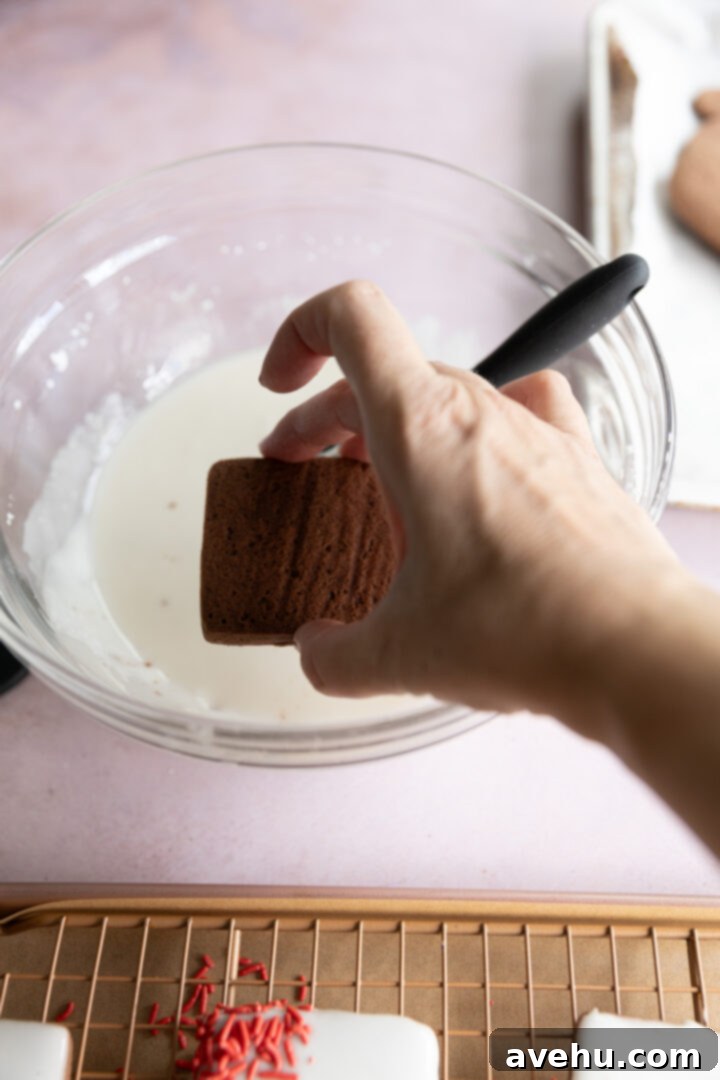
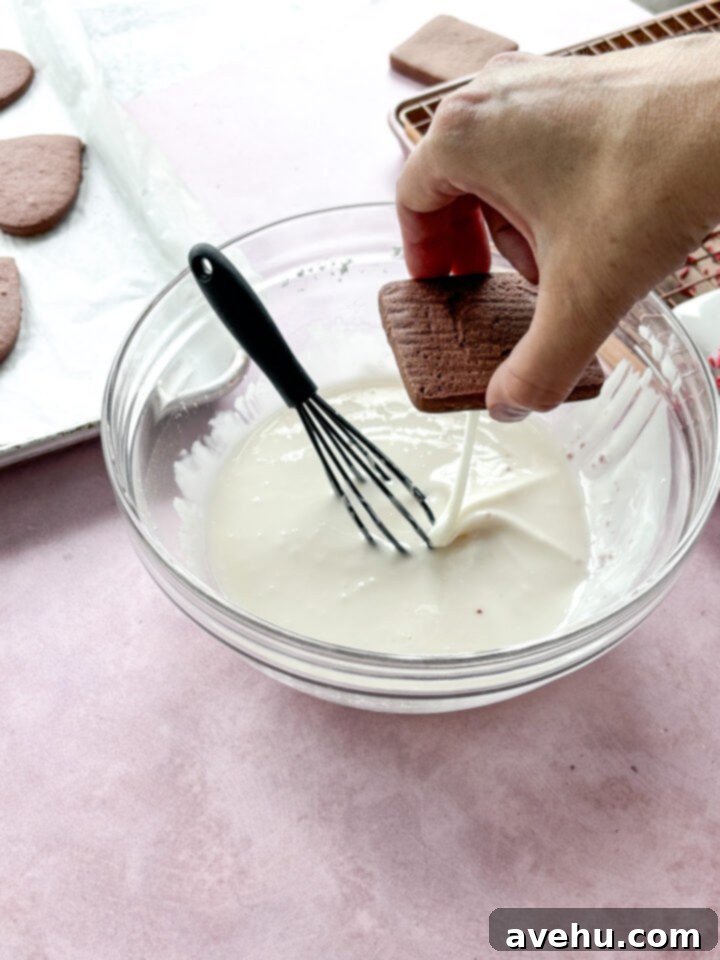
Immediately after decorating, place the cookie on a wire rack that has been set over a parchment-lined baking sheet. This setup will catch any remaining drippings and prevent your workspace from becoming sticky. Don’t worry if a few crumbs find their way into the icing bowl; simply pick them out as you go.
It’s completely normal for the first couple of cookies to have a little excess icing drip over the sides. Like any new technique, this method takes a little practice to master. But trust me, once you get into the rhythm, your cookies will come out looking just as neat and beautiful as if you had piped the icing with precision!
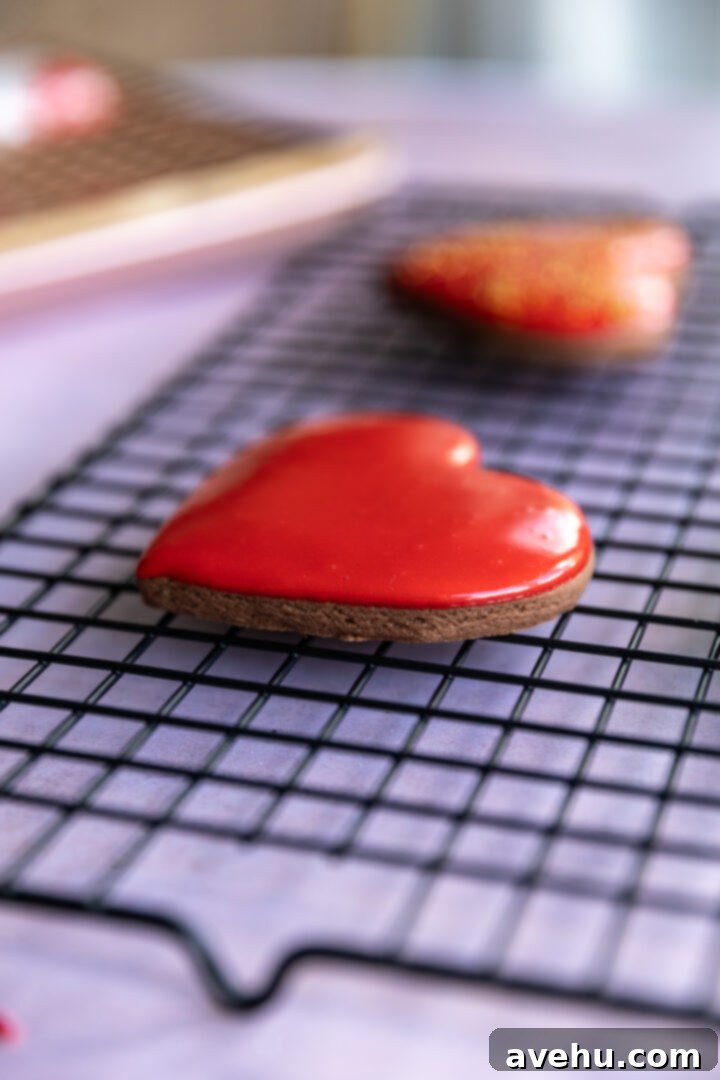

You can leave your cookies with a sleek, plain glaze or take them to the next level by adding sprinkles. If you choose to add sprinkles, be sure to have them ready to go before you start decorating. The icing sets and hardens quickly on the surface, so you’ll need to apply sprinkles immediately after icing each cookie to ensure they adhere properly. This adds a wonderful texture and festive flair to your treats!
Handling Air Bubbles for a Flawless Finish
Occasionally, you might notice a few tiny air bubbles forming on the surface of your freshly iced cookies, especially after flipping them over. These are perfectly normal and easily remedied. It’s important to address them before the icing dries, as they can pop on their own and leave unsightly little craters or open holes in your otherwise smooth glaze.
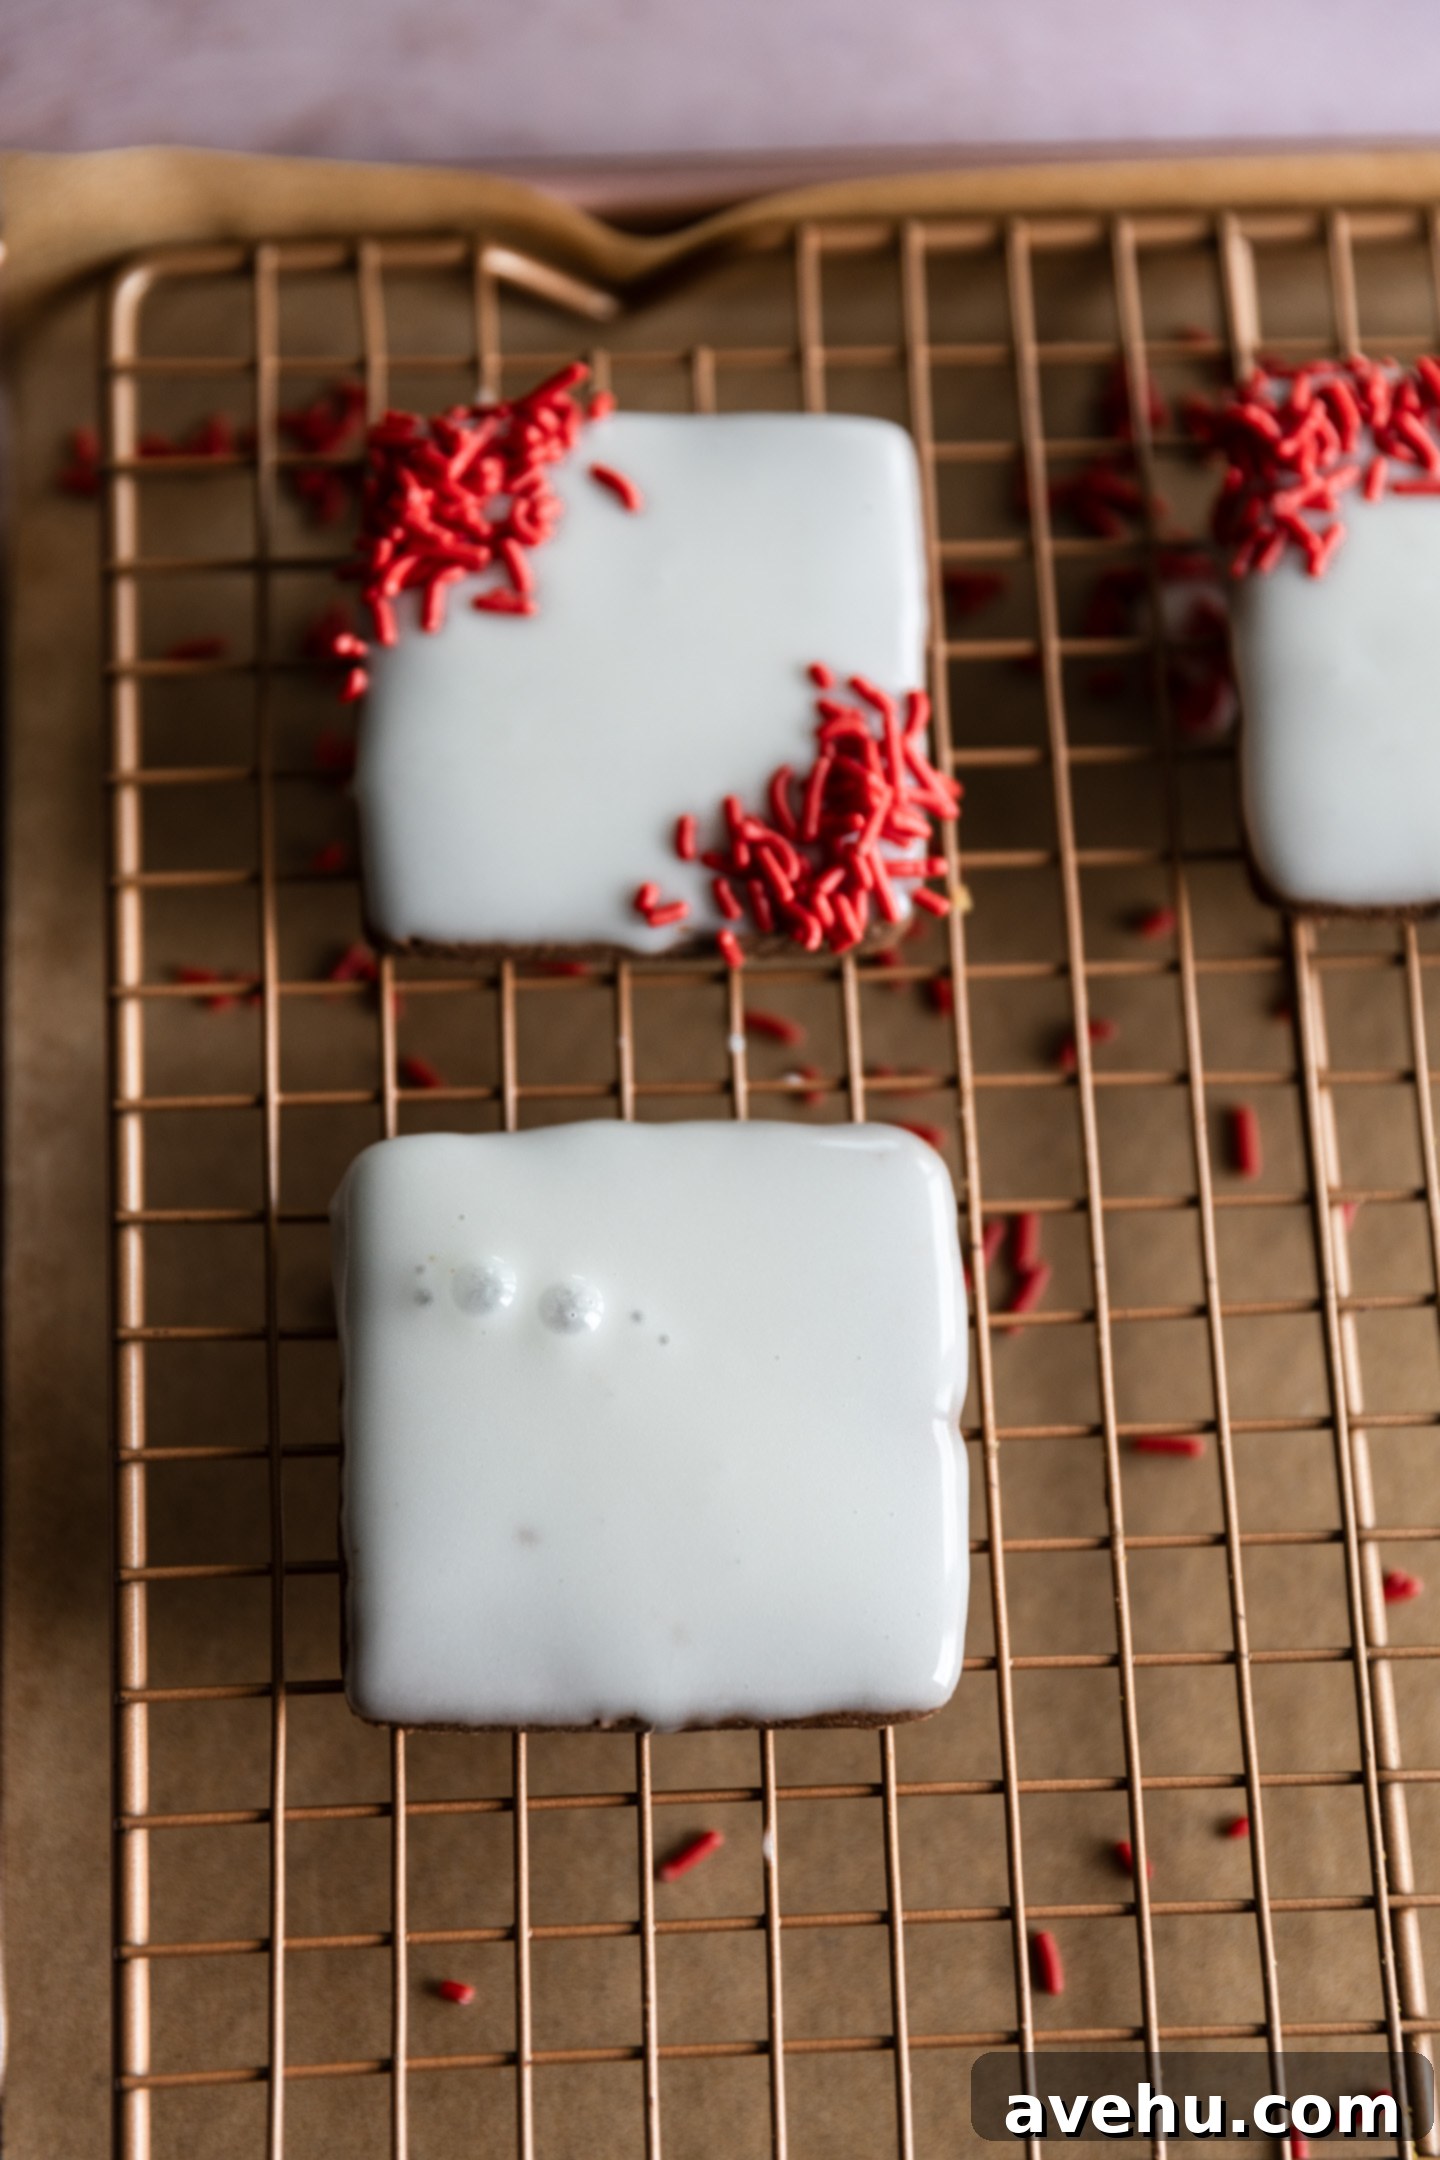
To achieve a perfectly smooth, bubble-free surface, simply use a clean toothpick to gently pop any visible air bubbles as soon as you place the cookie on the wire rack. The icing will naturally smooth over the tiny hole, leaving you with a pristine finish.
Yield, Dry Time, and Troubleshooting Tips
This recipe yields approximately 3.5 cups of versatile cookie icing. The exact number of cookies it can cover will depend on their size and how generously you apply the icing. For reference, my chocolate sugar cookie recipe typically makes 20 cookies, each around 3 inches in diameter, and I still had about ¾ of a cup of icing remaining, so you’ll likely have plenty for a standard batch of cookies.
While the surface of the icing hardens relatively quickly, allowing you to add sprinkles, it requires a full 24 hours to completely dry and cure. This extended drying time ensures that the icing is firm enough to prevent sticking, allowing you to stack and package your beautifully decorated cookies without damage, whether you’re sending them to friends or storing them for later enjoyment.
Adjusting Icing Consistency
The beauty of this easy cookie icing is its forgiving nature when it comes to consistency. If you find your icing is too thick for dipping and spreading smoothly, simply add 1-2 teaspoons of milk (or water) at a time, whisking well after each addition until you reach the desired flowing consistency. Conversely, if your icing turns out too thin and runny, you can easily thicken it by whisking in an additional ⅓ cup of powdered sugar until it reaches the perfect dip-and-drip texture.
Cookie Icing vs. Royal Icing: Understanding the Differences
It’s important to distinguish this “cookie icing” from “royal icing,” as they are distinct types of glazes with different properties and uses. While both produce a hard-drying, decorative finish for cookies, their compositions are quite different.
The primary difference lies in their ingredients: royal icing always incorporates some form of egg white, whether it’s fresh egg whites, meringue powder, or liquid egg whites. These egg proteins are what give royal icing its characteristic strength and ability to be piped into intricate details. In contrast, this easy cookie icing is entirely egg-free. Instead, it relies on light corn syrup to achieve a beautiful shine and a firm yet palatable texture once dry.
Royal icing also boasts a much faster drying time, often hardening within 1-2 hours, which is ideal for multi-layered designs. This cookie icing, while quick to set on the surface, requires a longer 24-hour period to fully harden through. Furthermore, royal icing’s robust structure makes it perfect for elaborate piping work, fine lines, and delicate details that this simpler cookie icing, while excellent for flooding, is not designed to achieve.
Can You Pipe with This Easy Cookie Icing?
While this recipe emphasizes a no-piping-bag dipping method, you absolutely can pipe this icing using traditional piping bags fitted with various tips or even squeeze bottles. However, it’s worth noting that this particular icing is best suited for simpler designs, such as basic outlines, dots, or flooding larger areas. Its consistency is not ideal for the intricate, delicate details that royal icing excels at. If your goal is highly detailed decorative cookies, royal icing remains the superior choice.
Nonetheless, feel free to experiment and play around with piping this glaze! It’s a wonderful opportunity for creative exploration, especially when engaging in cookie decorating with kids. They’ll love seeing what fun designs they can come up with using piping bags or squeeze bottles, even if the results are more abstract than precise.

Storage and Freezing Guidelines
Due to its quick-hardening nature, especially when exposed to cold temperatures, I generally do not recommend storing this prepared cookie icing for later use. It’s so incredibly easy and fast to make that it’s truly best prepared fresh for each decorating session. Attempting to store or freeze the liquid icing can alter its consistency, making it difficult to work with later.
However, you absolutely can freeze frosted cookies! Once your cookies are fully iced and have completely dried (remember, a full 24 hours), you can carefully store them in a single layer in an airtight container or a freezer-safe zip-top bag. They will keep beautifully in the freezer for up to two months. When you’re ready to enjoy them, simply thaw them at room temperature, and they’ll be as delicious as the day they were decorated!

