Easy 4-Ingredient No-Bake Chocolate Icebox Cake: Your Perfect Summer Dessert
Get ready for the ultimate summer treat that requires no baking and minimal effort! This incredible chocolate icebox cake is a true lifesaver for hot days, allowing you to whip up a decadent dessert in just 15 minutes of prep time. Imagine a rich, creamy, and satisfying dessert that comes together with only four simple ingredients, all while keeping your oven off and letting your freezer do the heavy lifting. It’s so straightforward to make that even your kids can join in the fun, making it a fantastic family activity. This classic, refreshing dessert is guaranteed to become a family favorite, perfect for bringing to parties, BBQs, and any gathering where you want to impress without the stress.
The Irresistible Allure of No-Bake Desserts
There’s something uniquely appealing about no-bake desserts, especially when the weather heats up. The thought of turning on a hot oven on a sweltering summer day is enough to deter many from baking. This is where the magic of an icebox cake truly shines. It offers all the joy and satisfaction of a homemade cake but without the heat, the extensive baking time, or the complicated techniques. Instead, simple refrigeration or freezing transforms humble ingredients into a spectacular treat. These desserts are not only convenient but often incredibly forgiving, making them ideal for both seasoned bakers and beginners alike. The anticipation of a chilled, creamy dessert on a hot afternoon is simply unmatched, providing a refreshing escape with every bite.
My Unique Twist on a Classic: The Round Icebox Cake
When I set out to develop this recipe, as well as its equally delicious counterpart, the strawberry icebox cake, I wanted to create something distinct from the many log-shaped versions commonly seen. While traditional icebox cakes are often prepared by individually slathering each cookie with whipped cream and forming a log (which, with 54 cookies, can be quite a task!), I opted for a more elegant and efficient approach. My goal was to achieve a classic, beautiful cake shape using a round 9-inch springform pan, enhancing both the presentation and the preparation experience.
I prefer this method for several compelling reasons:
- Significant Time Savings: Instead of laboriously frosting each individual cookie, you simply spread layers of whipped cream over entire layers of cookies. This dramatically reduces preparation time, making the recipe much quicker and more enjoyable.
- Superior Shape and Portions: The round cake shape is not only aesthetically pleasing but also far more practical for serving. It cuts down into neat, uniform slices, making it easier to serve more people efficiently, especially at larger gatherings. Plus, there’s no need to fuss with frosting the sides, simplifying the process even further.
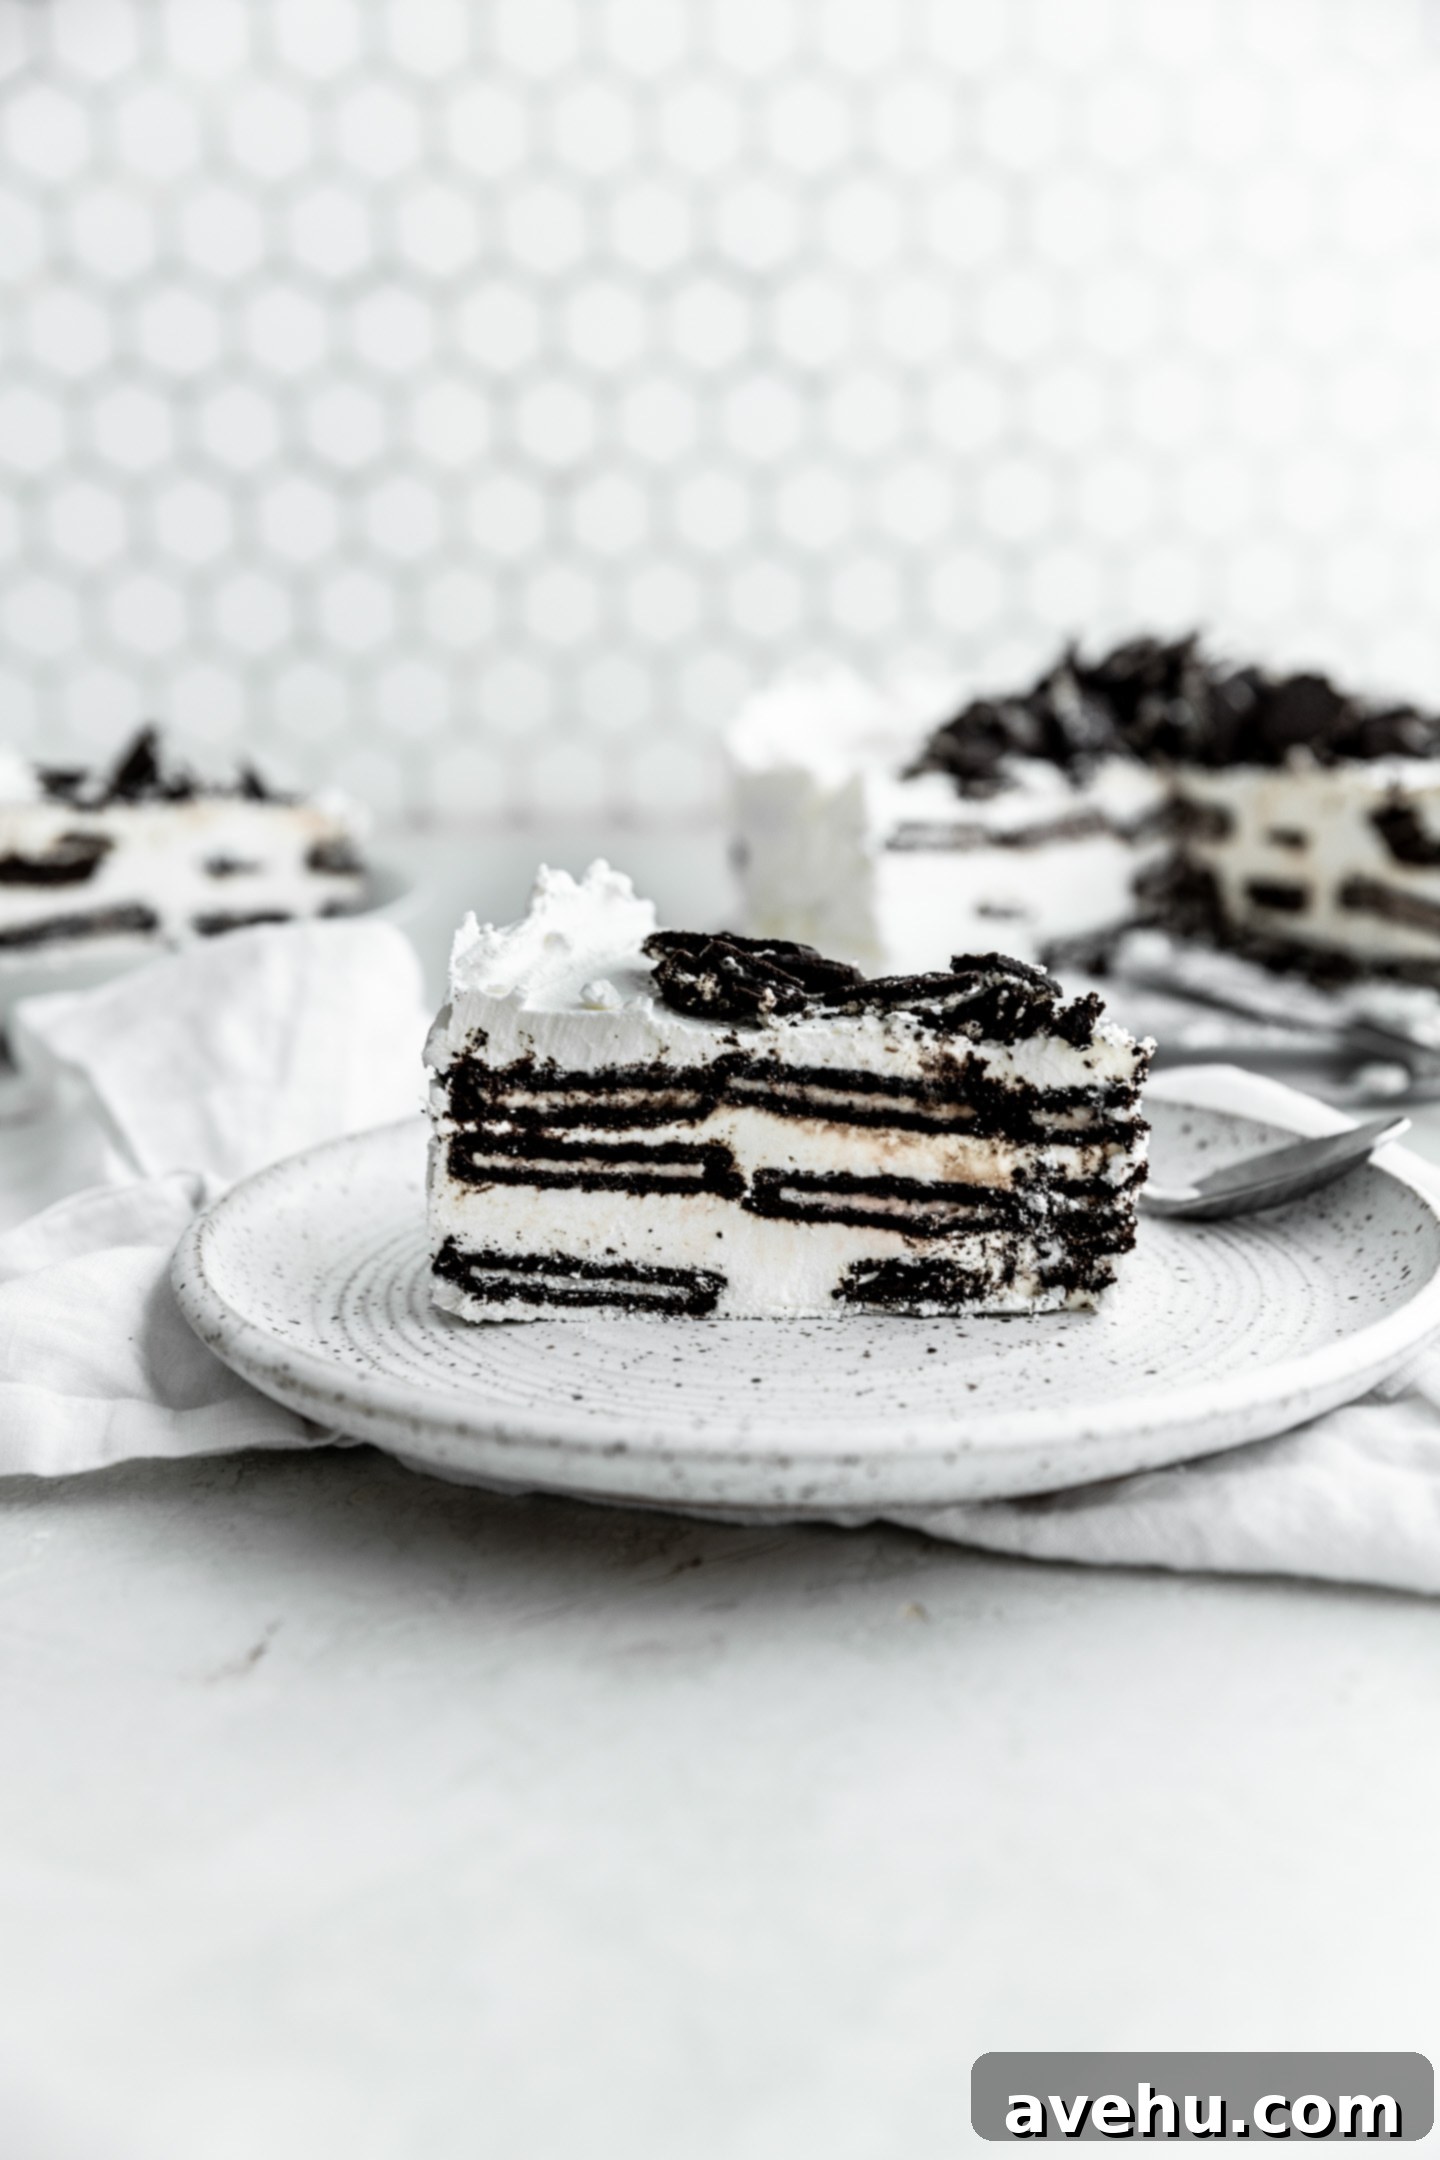
- Impressive Presentation: When you gently release the springform pan, the sight of the layered cookies subtly peaking out from the sides is truly striking. It gives the dessert a sophisticated, professional appearance that belies its simple construction, making it an impressive centerpiece for any dessert table.
As a trained pastry chef, I find immense joy in taking classic recipes and infusing them with my own creative flair. For this particular chocolate icebox cake recipe, I chose to use Oreo Thins instead of the more traditional chocolate wafers. My reasoning was simple: Oreo Thins are widely available, incredibly popular, and their thin profile is absolutely perfect for achieving the desired cake-like texture once frozen. They offer a delightful crunch and rich chocolate flavor that truly elevates this simple dessert.
This dessert is truly like sinking your teeth into a cold, refreshing cloud, interspersed with delightful bits of chocolate cookies. It’s absolutely perfect for combating the heat of a scorching summer day, offering a light yet satisfying indulgence.
For those who adore simple, easy, and no-bake summer desserts, this 4-ingredient chocolate icebox cake is an absolute must-try. If you’re looking for more beloved summer treats, be sure to explore these other fantastic recipes: s’mores brownies, cherry coffee cake, or a rustic puff pastry apple pie.
Preparation Time, Freezing, and Yield
One of the most attractive features of this easy chocolate icebox cake is its minimal hands-on time. The actual assembly and preparation of the cake take a mere 15 minutes, making it incredibly convenient for busy schedules. However, to achieve its signature firm, cake-like consistency, it requires sufficient time in the freezer. You’ll need a minimum of 4 hours to allow the layers to properly meld and set. For the absolute best results and a perfectly firm cake that slices beautifully, I highly recommend making this dessert the night before and letting it freeze overnight. This ensures everything is thoroughly chilled and stable, ready to be enjoyed the next day.
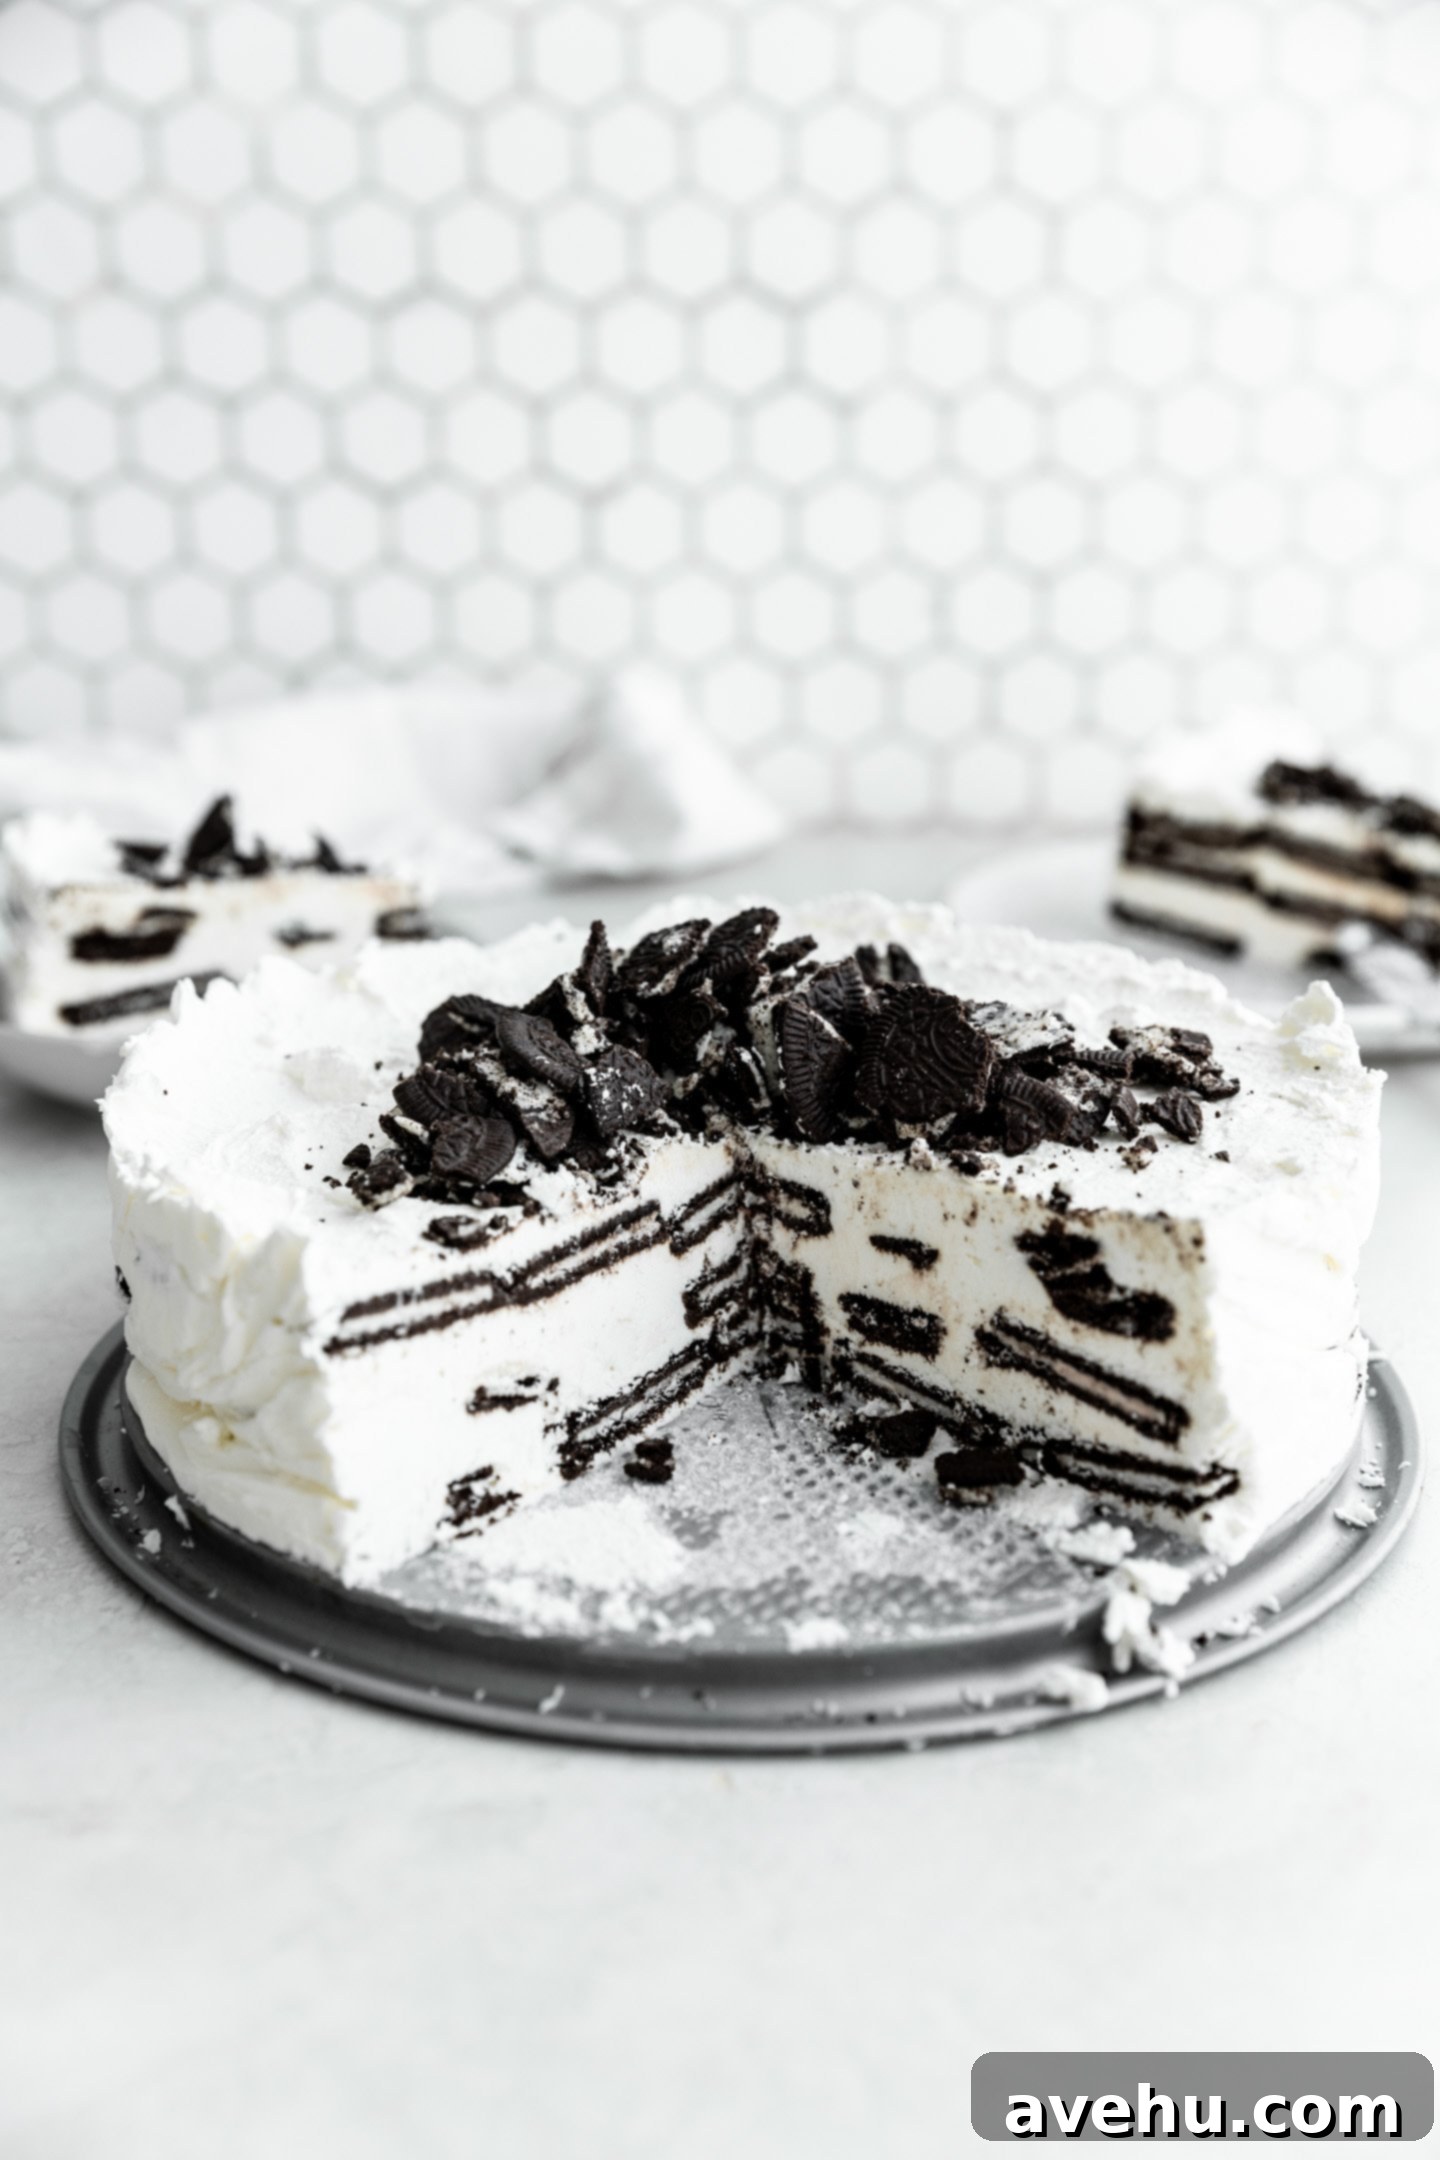
When it comes to serving, this impressive no-bake dessert is quite generous. Depending on how large you cut your slices, the cake will comfortably feed between 10 to 15 people, making it an excellent choice for family dinners, potlucks, or any occasion where you need to serve a crowd with a delightful and simple dessert.
Essential 4 Ingredients for Your Icebox Cake
The beauty of this simple chocolate icebox cake lies in its straightforward ingredient list. You only need four core components to create this delectable dessert:
- Thin Chocolate Wafers or Oreo Thins: For this recipe, I specifically recommend Oreo Thins. You’ll need approximately 1 1/2 packages for the cake layers themselves, but don’t discard any leftovers – they make an excellent garnish! The “thin” aspect is crucial, as it ensures the cake remains easy to slice and bite into once frozen.
- Heavy Cream: This is a non-negotiable ingredient. You must use heavy whipping cream, not half-and-half or light cream. The high fat content in heavy cream is essential for creating stable, fluffy whipped cream that holds its shape and consistency in the freezer.
- Powdered Sugar: Also known as confectioners’ sugar. Unlike granulated sugar, powdered sugar dissolves instantly and completely into the cream, resulting in a silky-smooth, grain-free texture in your whipped cream.
- Vanilla Extract: A touch of pure vanilla extract enhances the overall flavor profile, adding warmth and depth to the creamy layers and complementing the chocolate cookies perfectly.
A critical note on the cookies: always opt for thin varieties. Thicker cookies tend to become excessively firm and dense when frozen, making the cake difficult to cut and chewy to eat. The delicate crispness of thin cookies, like Oreo Thins, softens just enough in the freezer to create a tender, cake-like texture that’s incredibly satisfying.
Crafting Your No-Bake Chocolate Icebox Cake: Step-by-Step
1. Prepare the Whipped Cream
Begin by combining the cold heavy whipping cream, powdered sugar, and vanilla extract in the bowl of a stand mixer fitted with the whip attachment, or use a hand mixer. Ensure your bowl and whisk attachment are clean and dry, and ideally, chilled beforehand, as this helps the cream whip faster and achieve better volume.
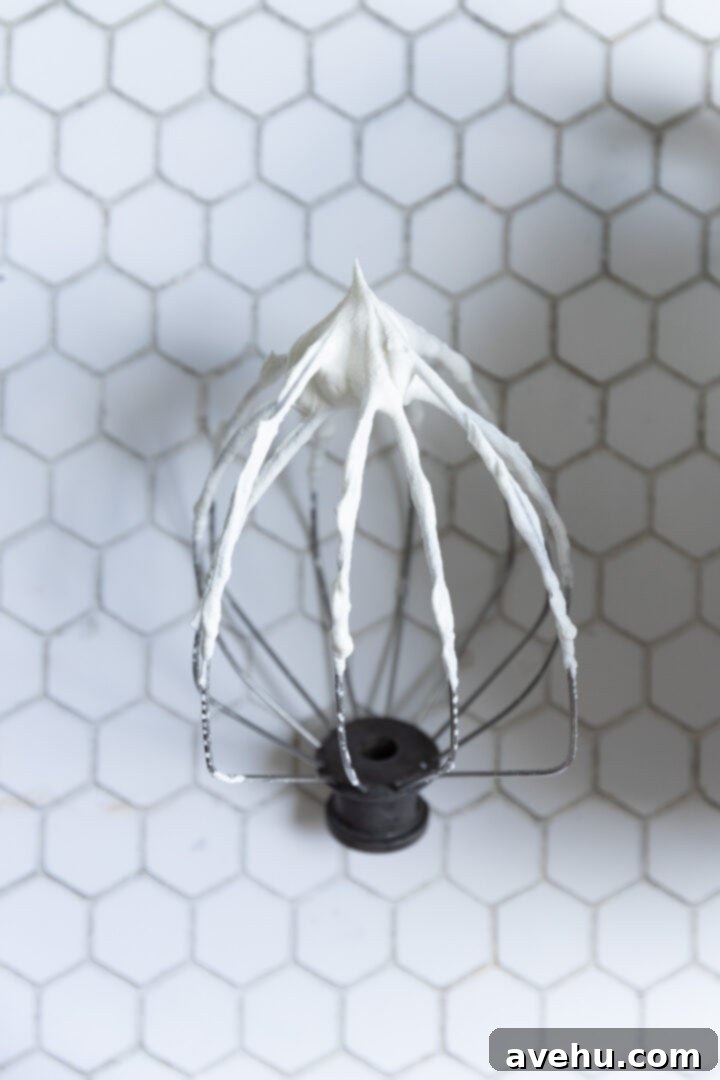
Whisk the mixture on medium-high speed. Keep a close eye on it, as the transformation happens quickly – usually within 1-2 minutes. You’ll know the whipped cream is ready when stiff peaks form. To check, stop the mixer, lift the beater, and if the cream stands up straight without drooping, it’s perfect. Be careful not to over-whip, as it can quickly turn into butter!

2. Assemble the Cake Layers
For easy removal, I recommend lining the sides of your 9-inch springform pan with plastic wrap, though this step is optional. Start by spreading a thin, even layer of your freshly whipped cream across the bottom of the pan. This provides a soft base for your first layer of cookies and helps anchor them.
Next, arrange a single layer of Oreo Thins (or your chosen thin chocolate wafers) neatly around the pan. You’ll typically use about 19 cookies per layer. Don’t be afraid to gently push them towards the sides to fit them snugly and ensure complete coverage. The goal is to create a solid foundation of cookies for each subsequent layer.
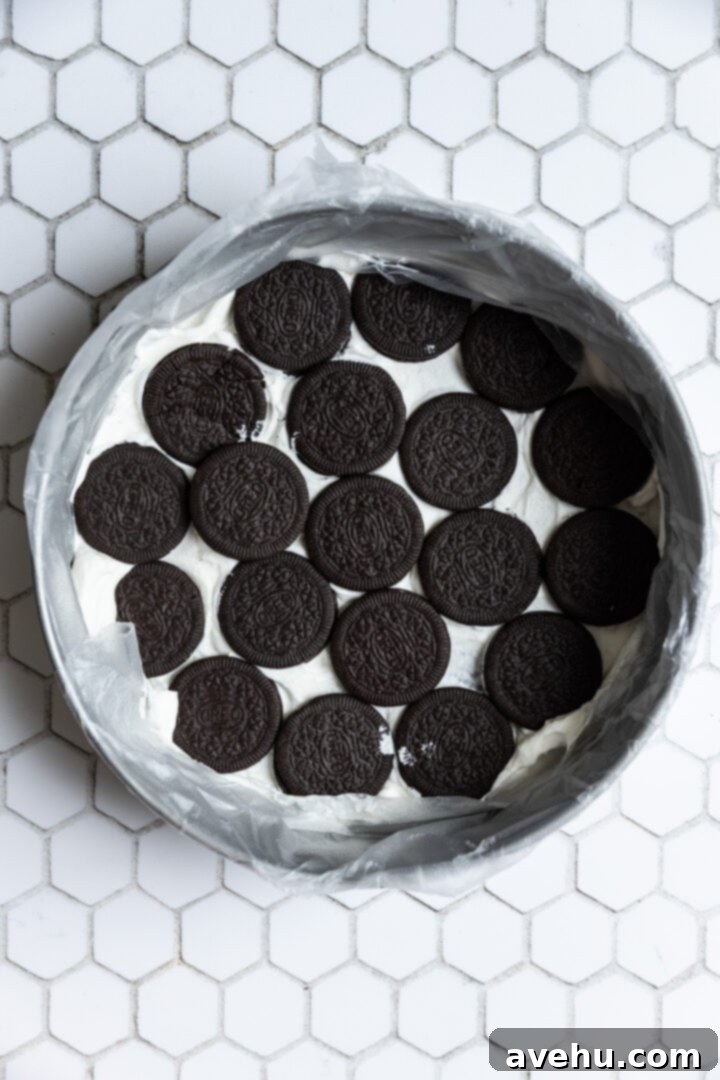
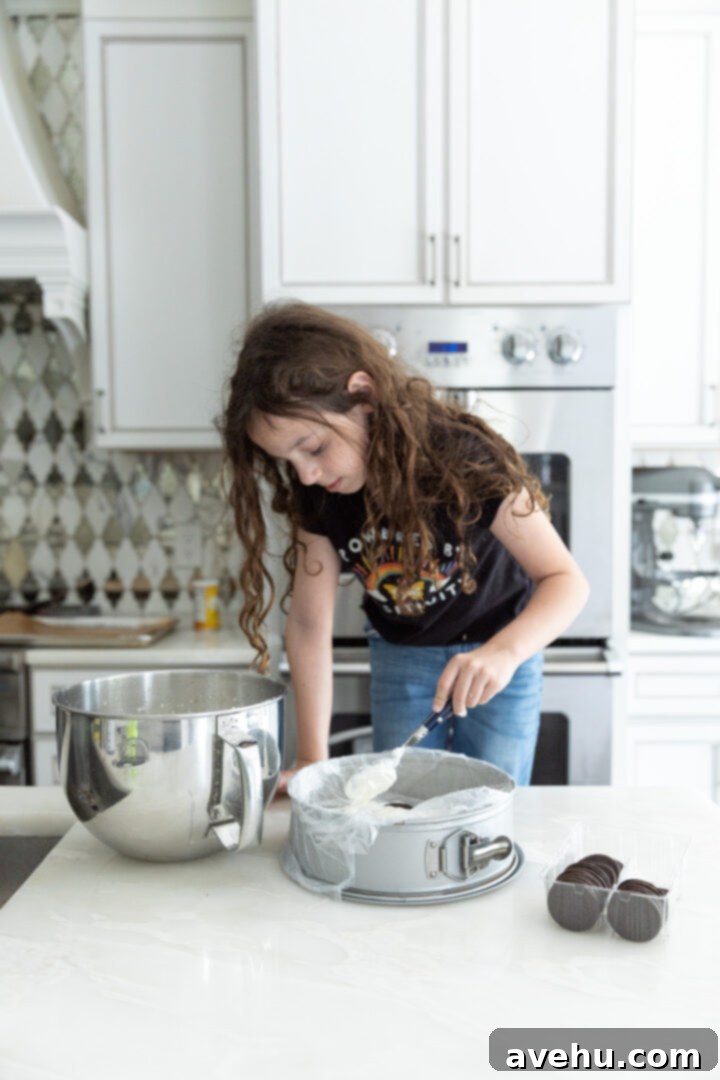
Continue this layering process, alternating between a generous, even layer of whipped cream and a layer of cookies, until you reach the top of the springform pan. Ensure you finish with a final, smooth layer of whipped cream. You should aim to use approximately 54-56 cookies in total for the entire cake. This alternating pattern is key to creating the beautiful striations and balanced flavor of the icebox cake.
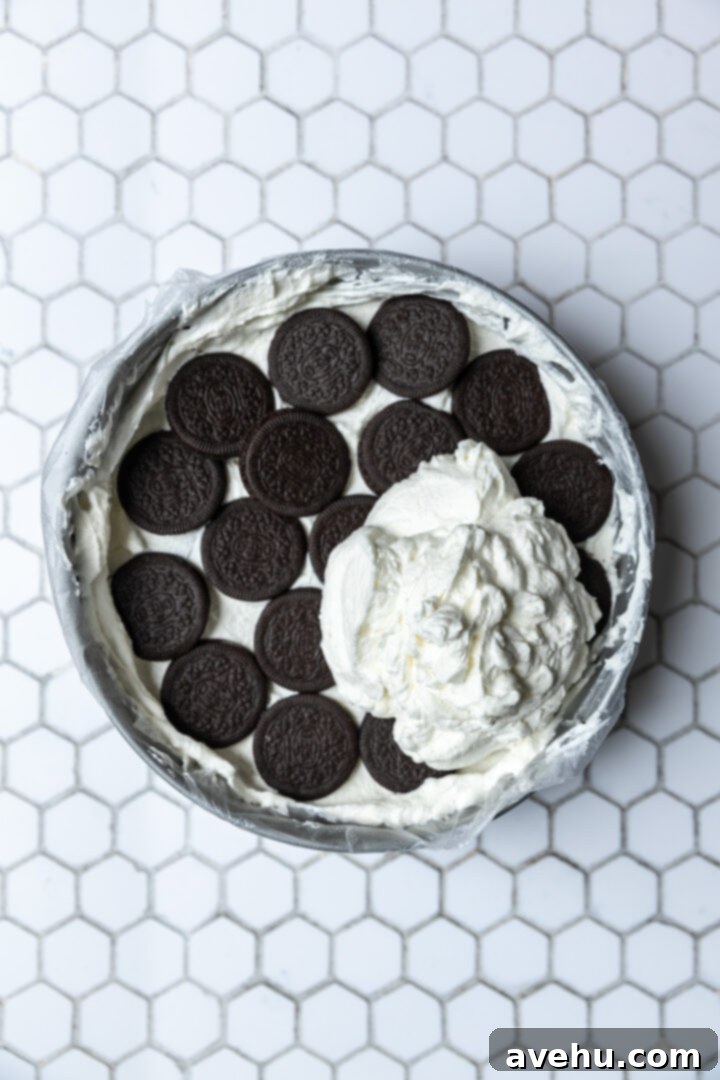
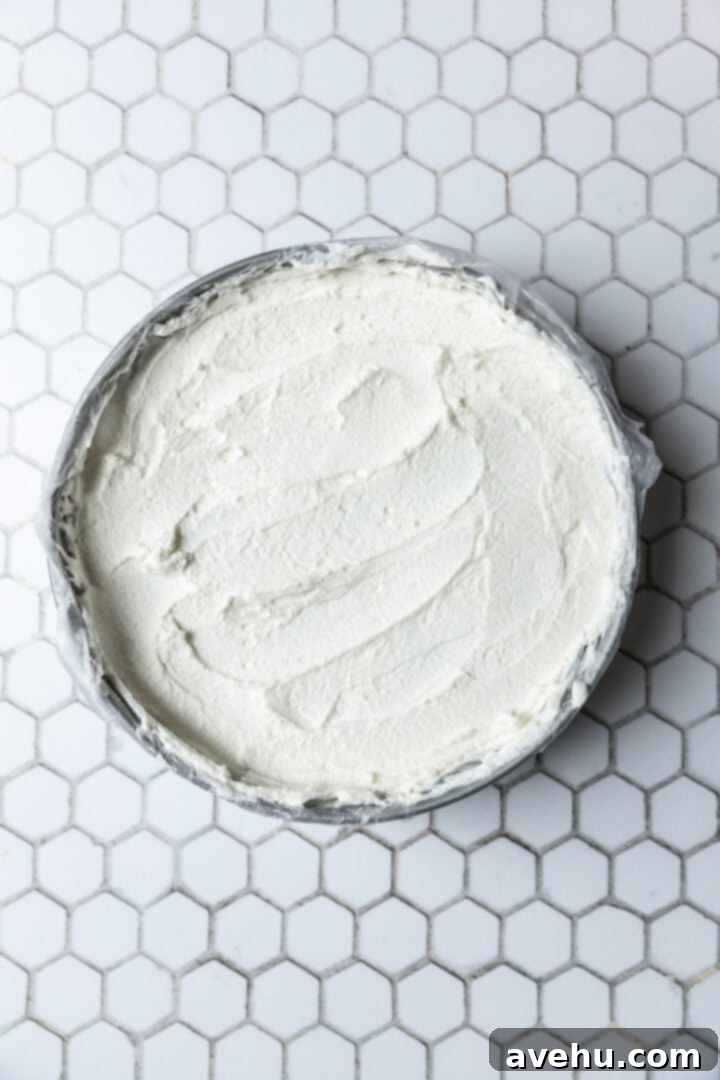
3. Freeze to Perfection
Once your cake is fully assembled, cover it loosely with plastic wrap and place it in the freezer. It needs to freeze for a minimum of 4 hours to properly set and for the cookies to soften and meld with the whipped cream, transforming into a tender, cake-like texture. For the ultimate result and ease of slicing, freezing the cake overnight is highly recommended. This extended chilling time allows the flavors to deepen and the structure to solidify perfectly.
Serving Your Delicious Icebox Cake
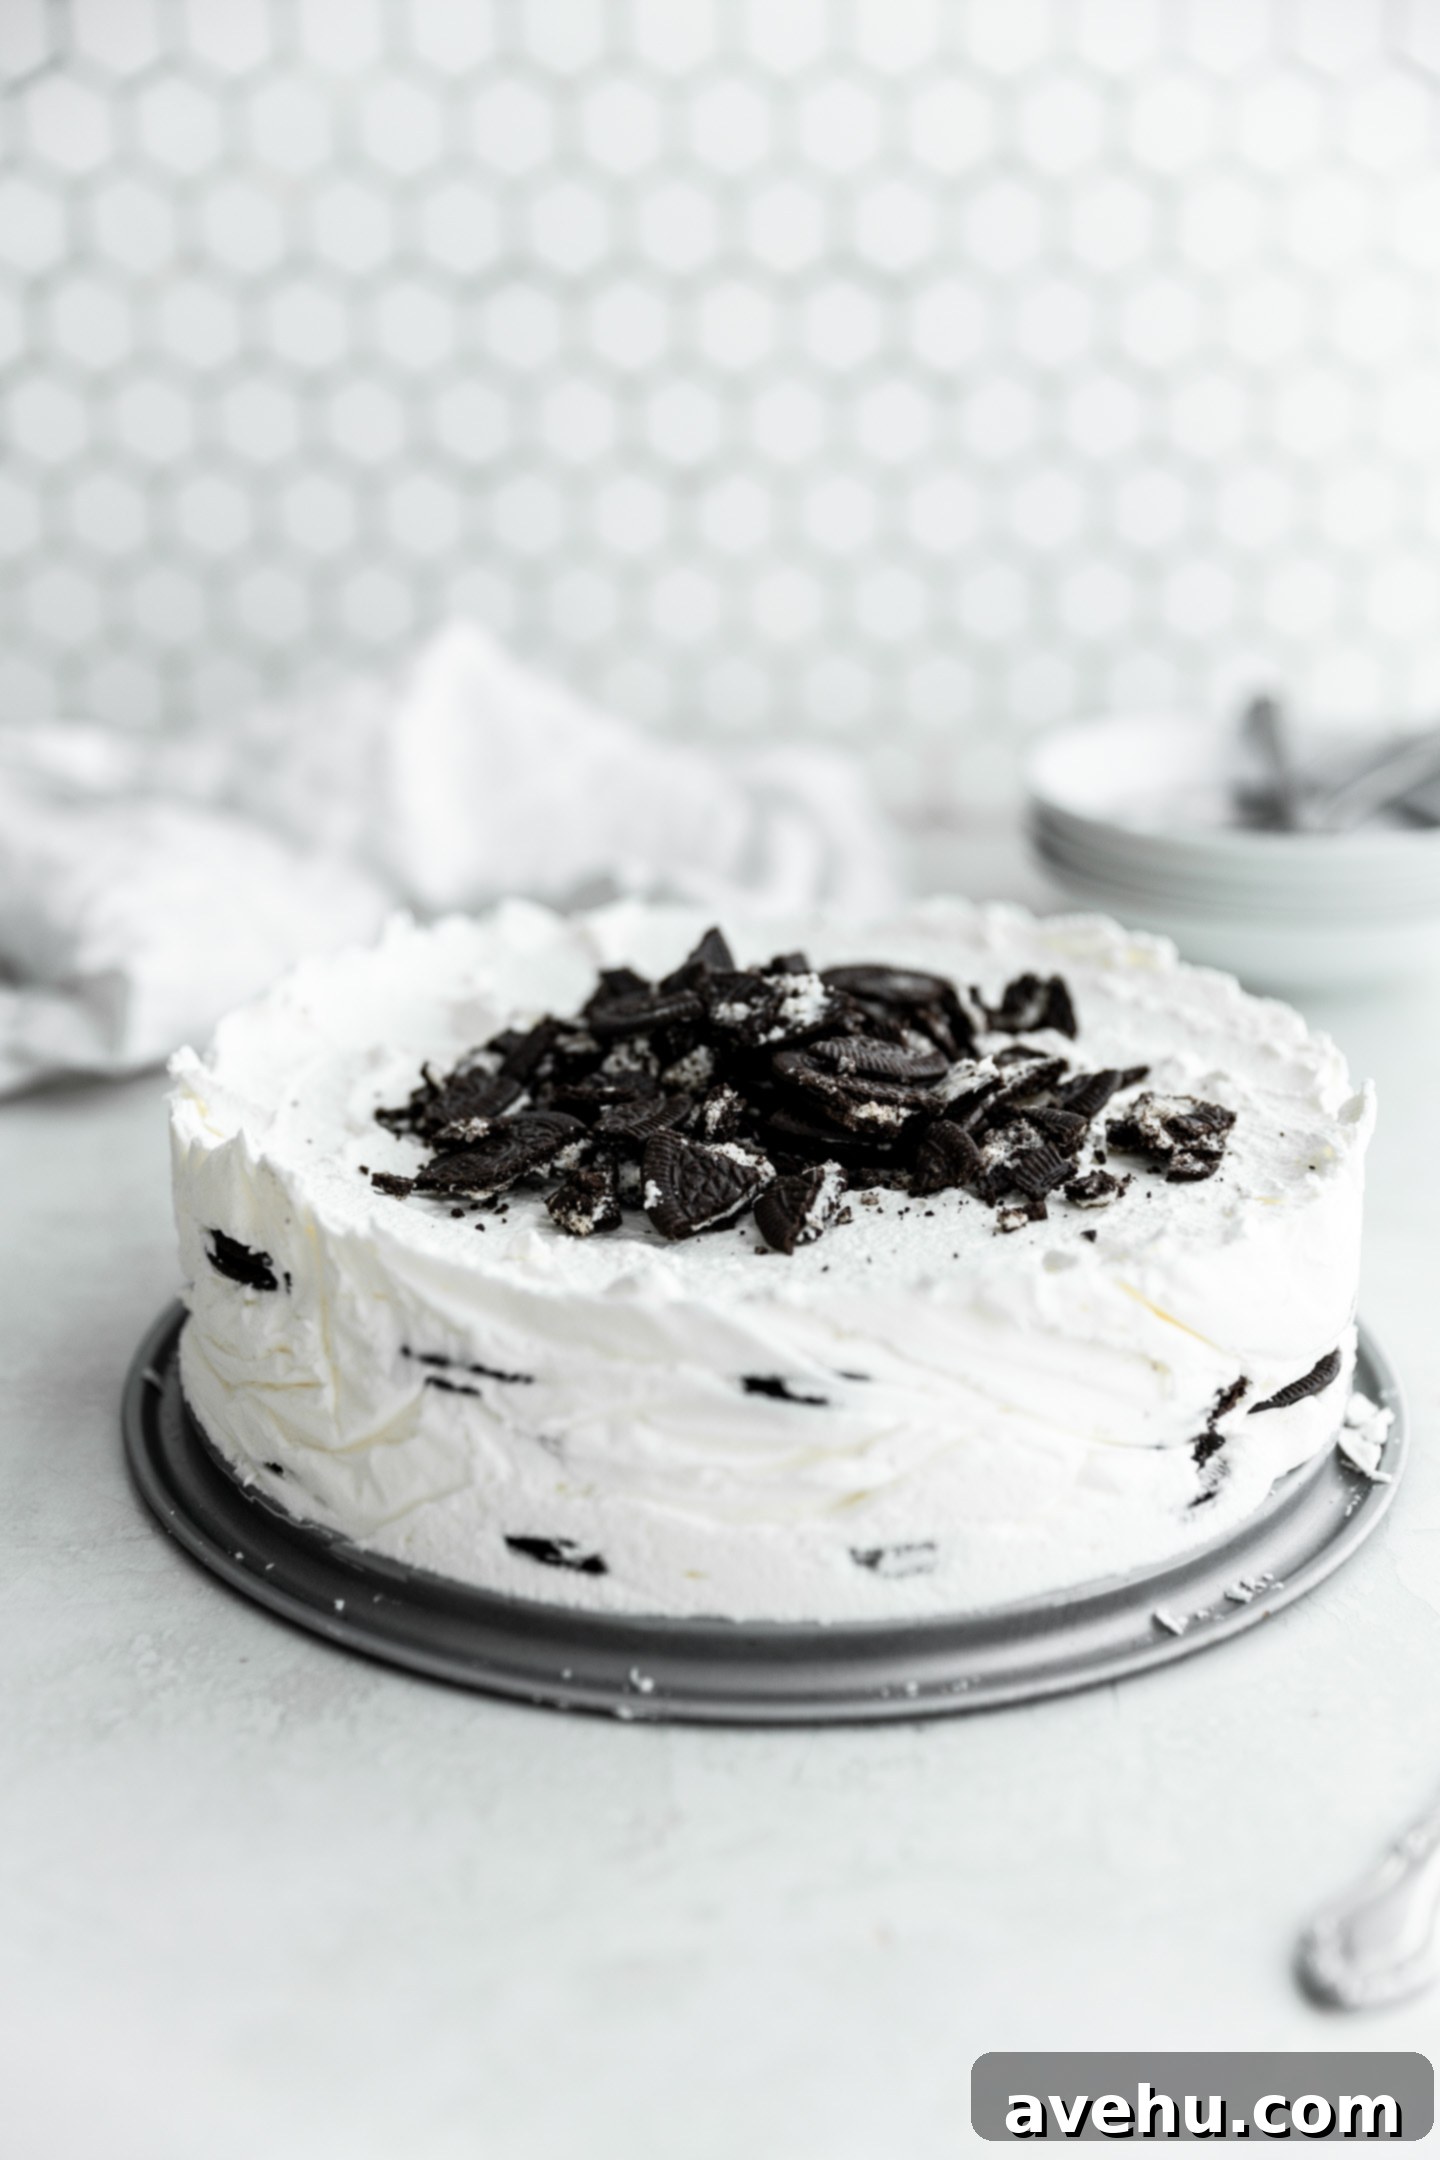
When you’re ready to serve your magnificent no-bake chocolate icebox cake, prepare any garnishes you desire. A classic and effective option is to crush any leftover Oreo Thins and sprinkle them generously over the top of the cake, adding both visual appeal and an extra layer of chocolatey crunch.
To ensure a smooth release and easy slicing, take the cake out of the freezer approximately 10 minutes before you plan to serve it. This brief time at room temperature allows the edges to slightly soften and come away from the springform pan. You may also need to gently run a thin, sharp knife around the inner edges of the pan to help loosen the cake before unclasping and lifting the sides. Once released, you can cut the icebox cake just like a regular cake, revealing the stunning, fun layers of cookies and whipped cream within!
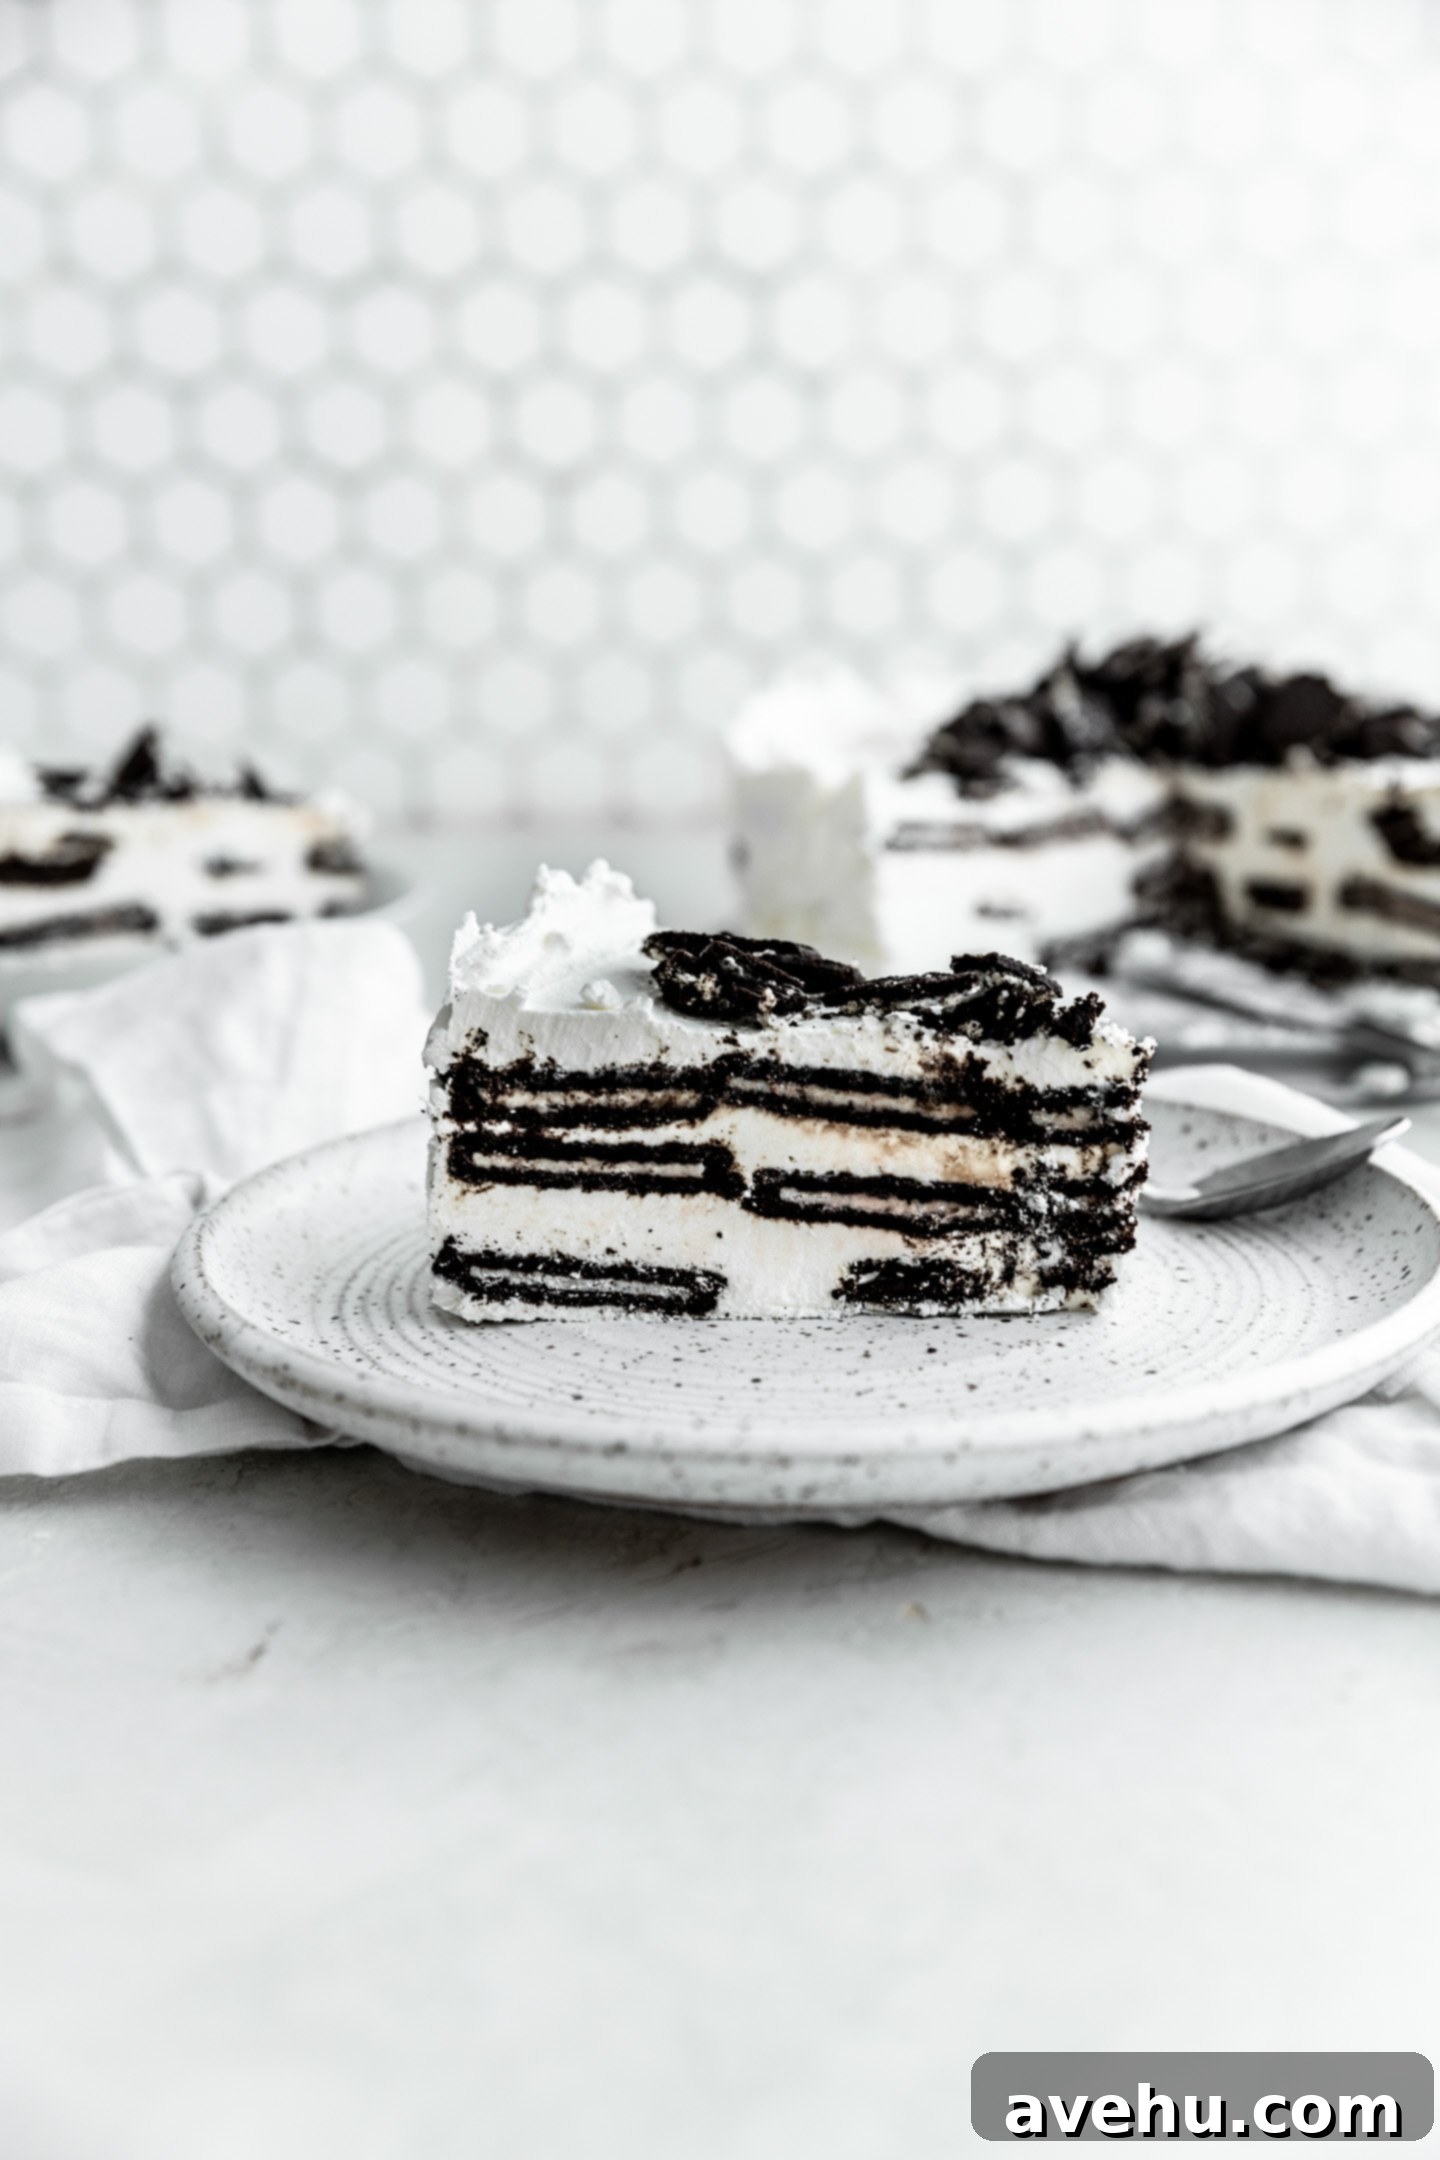
This simple 4-ingredient dessert is not just easy but also incredibly fun to make. It’s an ideal activity to do with your children, especially during the summer, as there’s absolutely no need for a hot oven. My 8-year-old daughter thoroughly enjoyed helping me prepare this cake, and the satisfaction of creating something so delicious together was truly special. It’s a wonderful way to introduce kids to the joys of baking (or no-baking!) and create lasting memories.
4 Ingredient easy icebox cake
Pin
Review
SaveSaved!
Ingredients
- 3 cups heavy whipping cream
- 1/2 cup powdered sugar
- 1 tsp Vanilla Extract
- 1 1/2 packages oreo thins, about 54 cookies
Equipment
-
1 Stand mixer
-
1 Spring form pan
Instructions
-
In the bowl of a hand or stand mixer fitted with the whip attachment, add the 3 cups heavy whipping cream, 1/2 cup powdered sugar and 1 tsp vanilla extract. Whip on medium- high speed until stiff peaks form. This can happen fast so keep an eye on it! About 1-2 minutes.
-
Spread a thin layer of whipping cream on the bottom of a spring form pan, then top with a layer of Oreo Thins wafers around the pan. I used about 19.
-
Continue alternating between a layer of whipped cream and a layer of cookies. Ending with a top layer of cream. You should use around 54 cookies.
-
Put the cake in the freezer and freeze for 4 hours minimum or overnight.
-
When ready to serve, take out 10 minutes before to let the sides of the pan release from the cake. You make need to use a knife around the sides to loosen.
-
Crush the rest of the Oreo thins and add them to the top as garnish.
Notes
