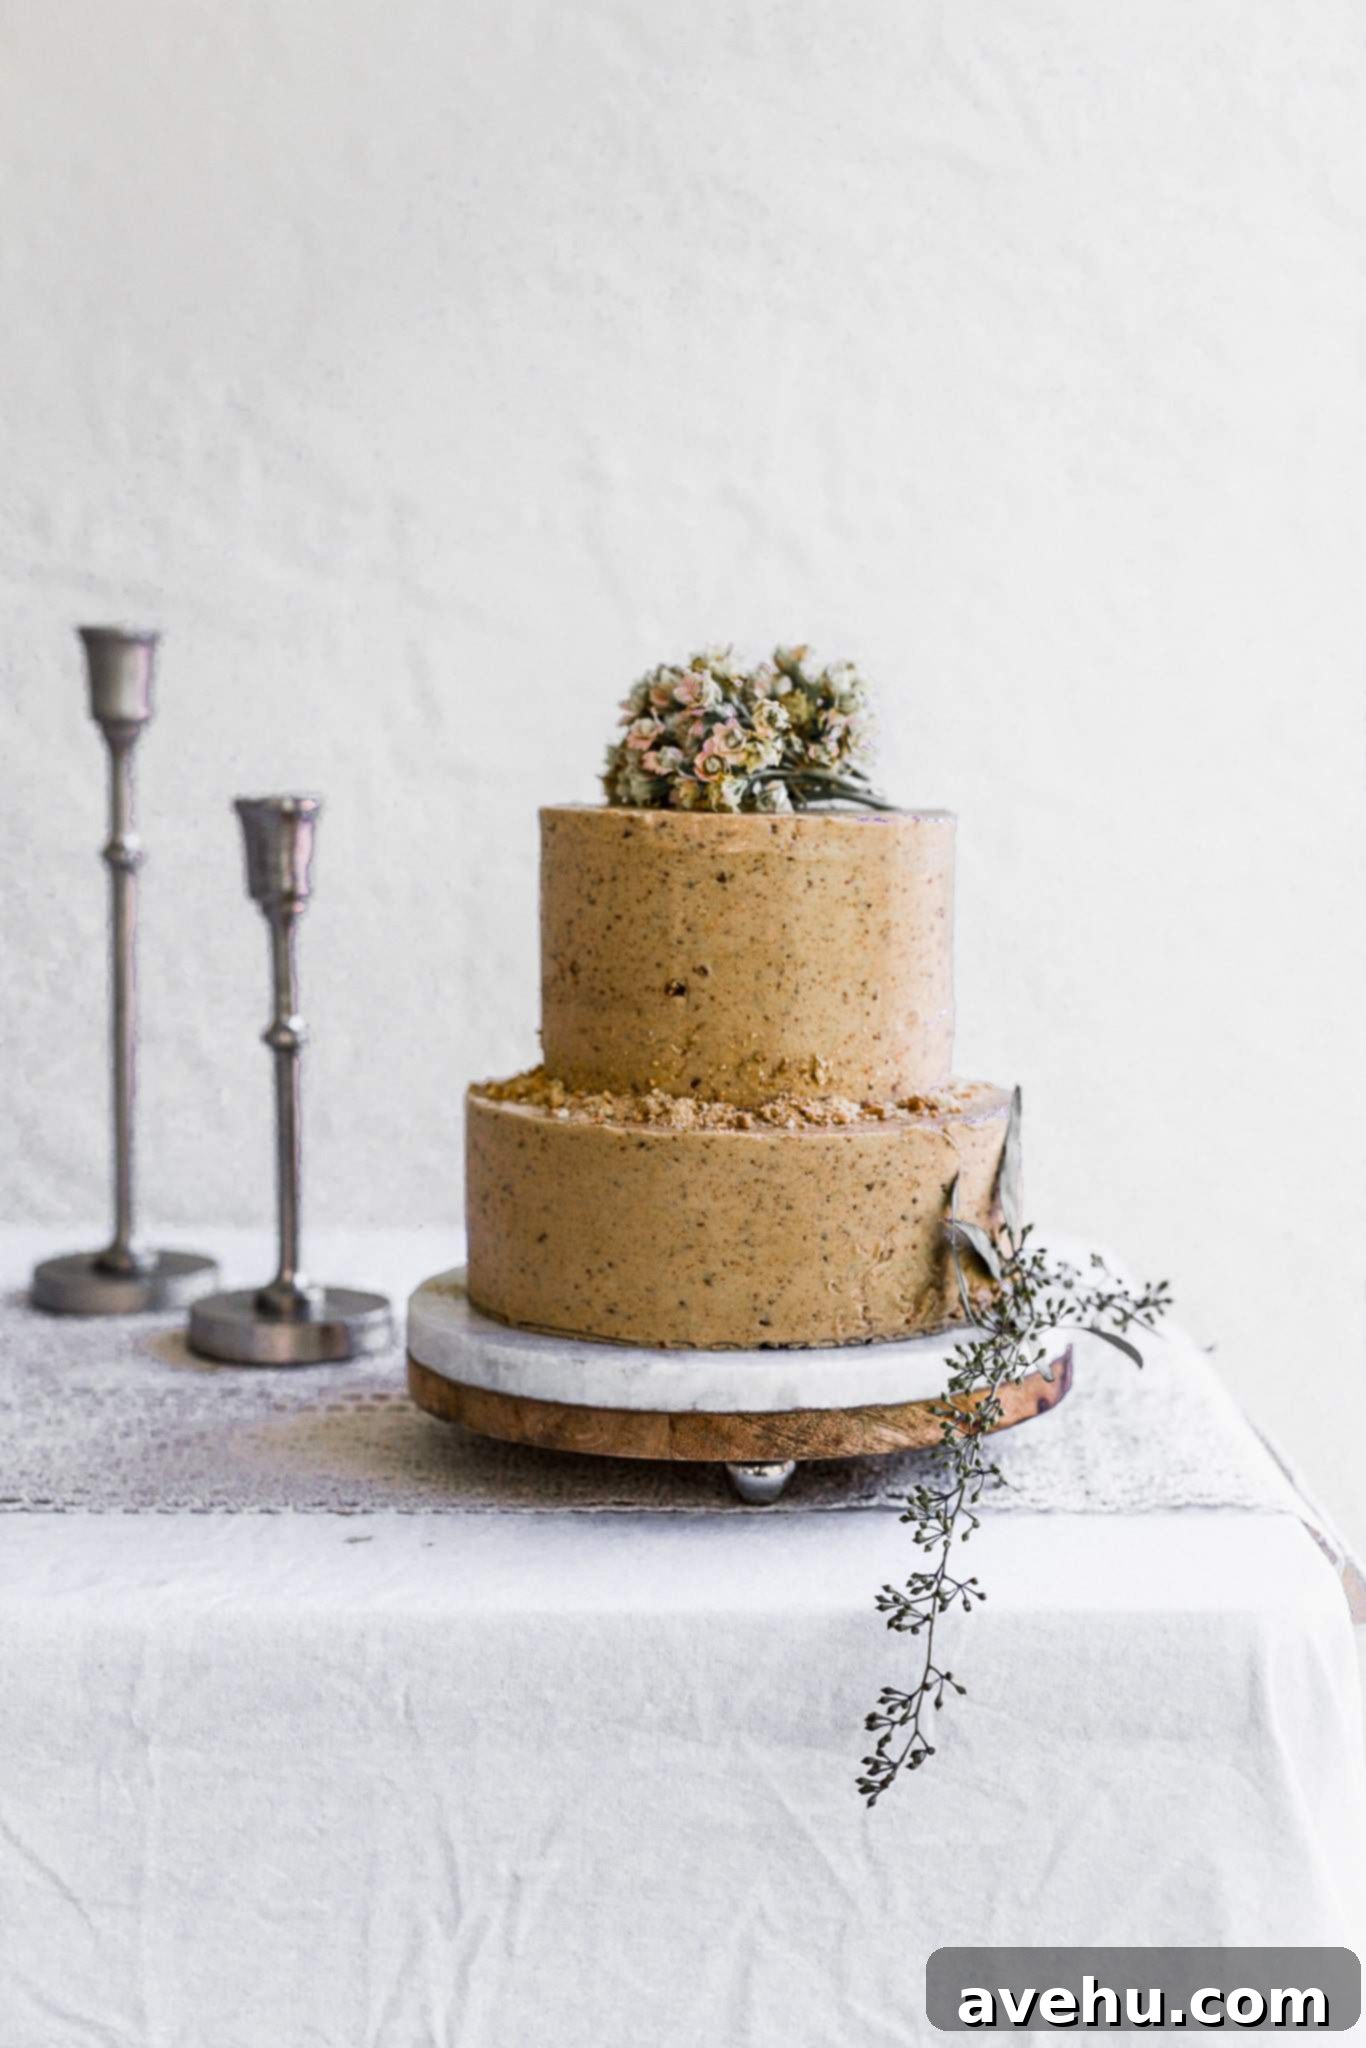
Mastering the Art of Two-Tier Cakes: A Step-by-Step Guide to Baking, Stacking, and Decorating
Dreaming of creating a stunning two-tier cake that impresses everyone? This comprehensive, step-by-step tutorial is designed to answer all your questions about how to bake, fill, stack, and decorate a two-tier cake from start to finish. You might think it’s a daunting task, but with the right techniques and a little confidence, it’s far easier than you imagine!
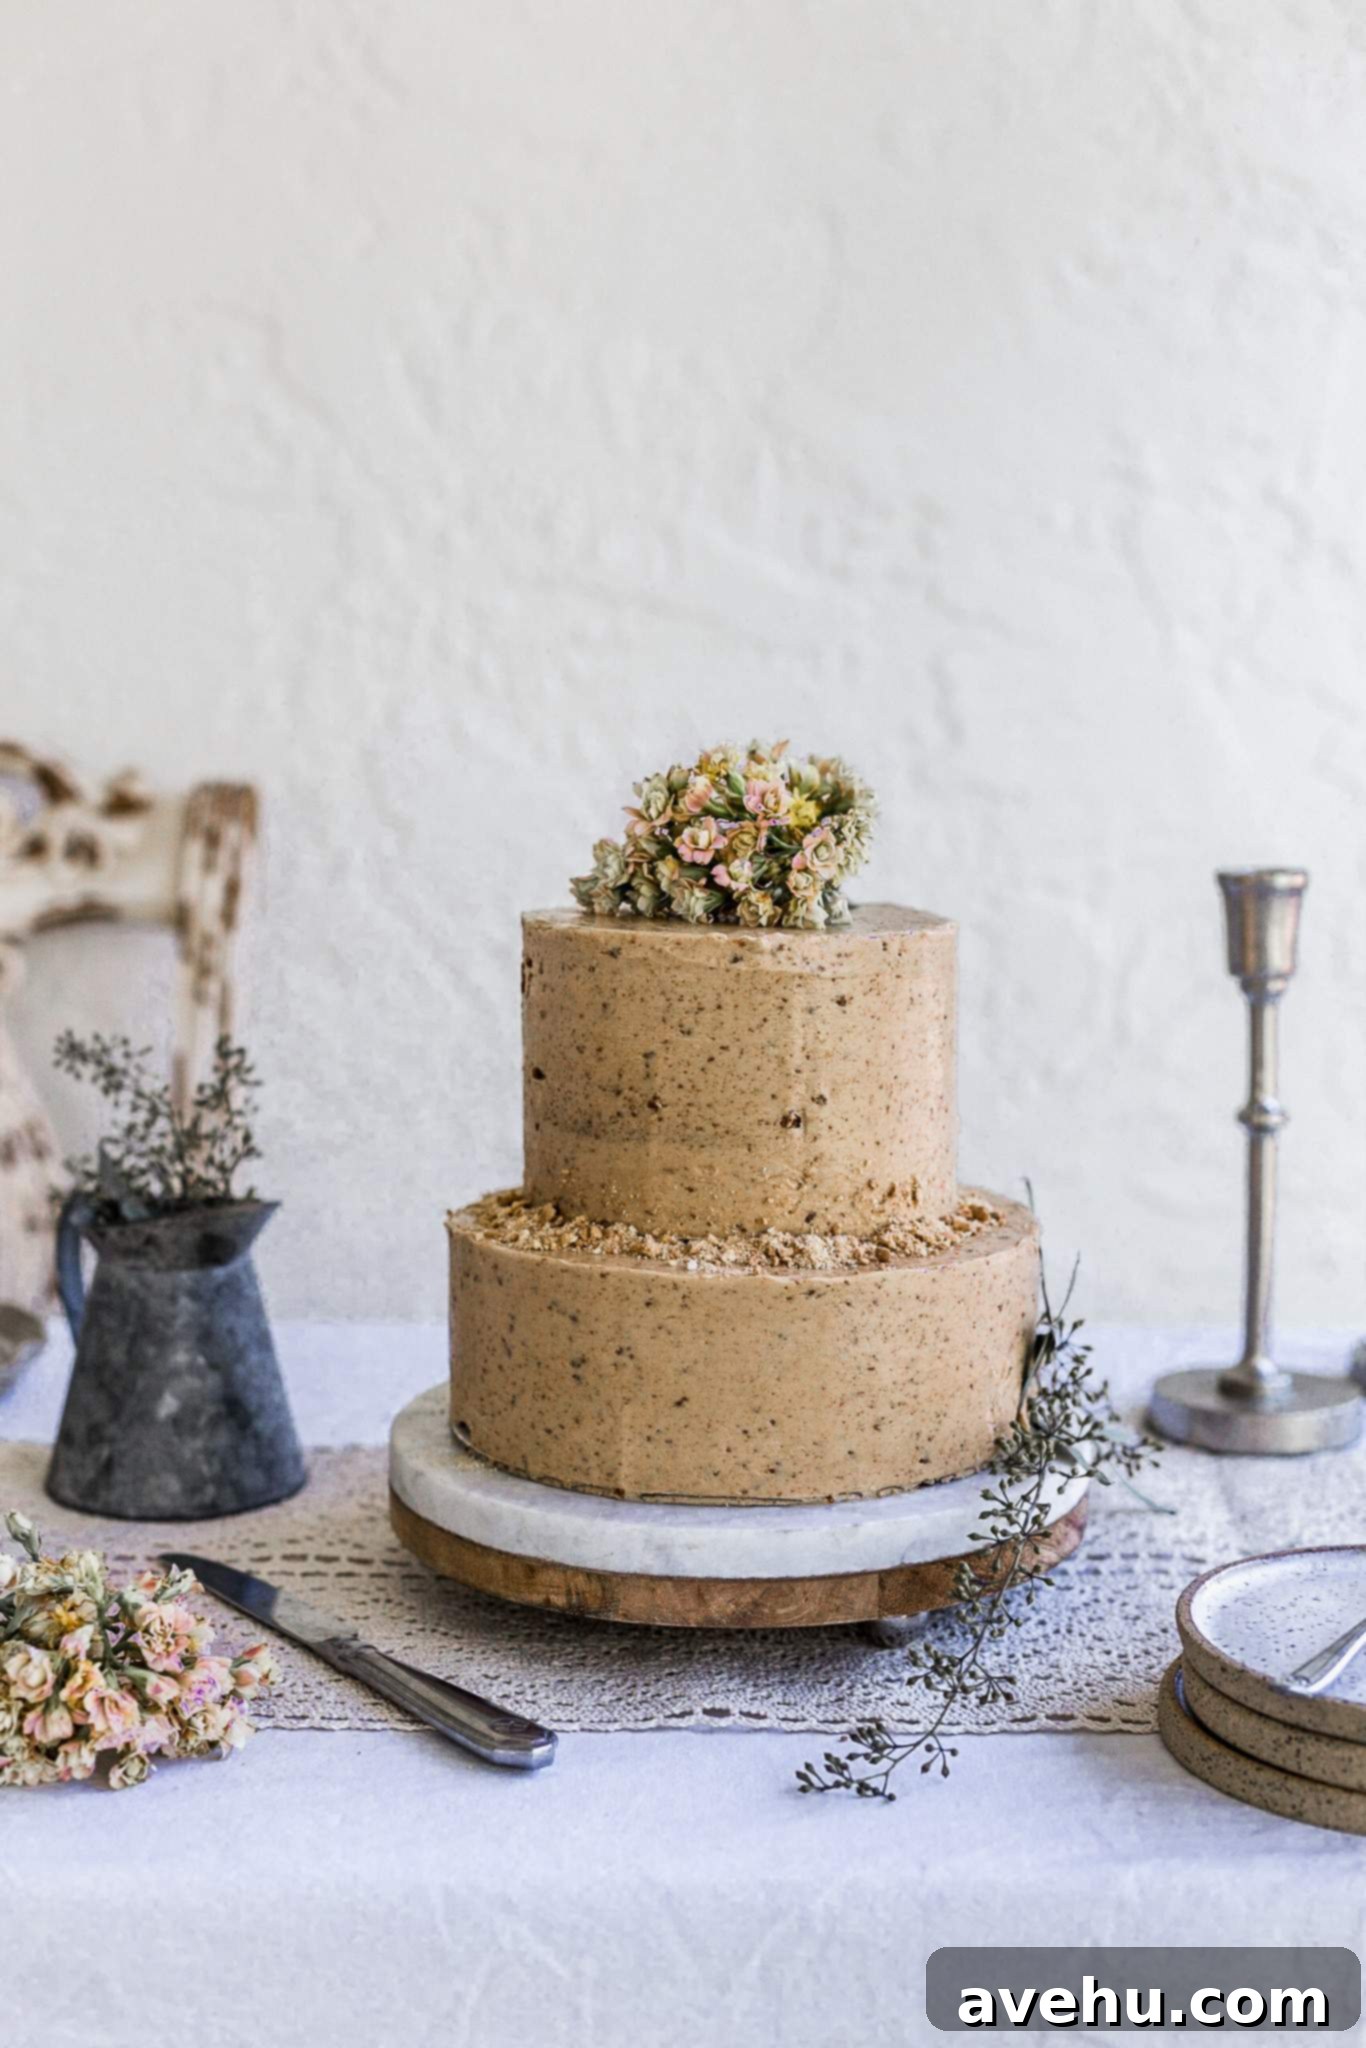
The foundation of a successful two-tier cake lies in baking layers that offer inherent stability. This means selecting a cake recipe robust enough to bear the weight of another cake tier stacked gracefully on top. A light and airy cake, such as an angel food cake, is generally not suitable for stacking, as its delicate structure is prone to collapsing or drooping under pressure. Instead, aim for a recipe that provides a sturdier crumb.
As a trained pastry chef and the owner of a custom cake business for five years, I’ve had the pleasure of creating countless cakes for various occasions. My experience has taught me the essential tricks and tips for achieving professional results every time. If you’re passionate about cake decorating, be sure to explore my guides on 10 ways to make your cakes look more professional and how to decorate a cake with flowers!
To make this guide easy to follow, we’ve broken it down into these key sections:
- Choosing the right cake, buttercream, and baking pans
- Understanding cake sizes and servings
- Differentiating between tiers and layers
- Essential tools for stacking a cake
- Assembling and filling your cake layers
- Mastering cake frosting techniques
- Achieving perfectly smooth cake edges
- The art of stacking a two-tier cake
- Troubleshooting common stacking mistakes
- Creative cake decorating ideas
- Tips for safely delivering a stacked cake
What Kind of Cake is Best for Stacking?
While a denser cake is often the easiest choice for stacking due to its inherent strength, it’s not your only option. You can successfully stack a slightly fluffier cake recipe too, provided your cake layers are baked thick enough to support the weight. The key is to avoid cakes that are excessively light or delicate.
One of my go-to recipes for stacked cakes is this easy one-bowl vanilla cake recipe. It strikes a perfect balance, being a little on the denser side for excellent stability, yet incredibly flavorful and stacks beautifully. You’ll find this reliable recipe included in the recipe card further down this page.
I also have a wonderful chocolate cake recipe, though it tends to be slightly fluffier. If you’re new to stacking two-tier cakes, I highly recommend starting with the vanilla recipe for an easier experience. For this particular tutorial, I used my delicious cookie butter cake recipe. It’s perfectly sturdy for stacking and offers an incredibly rich and satisfying flavor!
Choosing the Right Buttercream Recipe for Stability
When it comes to stacking, not all buttercreams are created equal. My top recommendation is this classic American buttercream recipe. It’s wonderfully versatile, pipes beautifully, and most importantly, it crusts up perfectly, providing excellent stability crucial for a stacked cake. You’ll likely need to double the recipe to ensure you have enough for both filling and frosting a two-tier cake. If you love a generous amount of frosting, consider tripling it!
Baking Pans to Use for Professional Results
The quality of your baking pans significantly impacts the final outcome of your cake layers. My absolute favorites are Wilton baking pans, whether I’m stacking a cake or not. They are incredibly durable, distribute heat evenly for consistent baking, and their straight sides ensure your cake layers come out with sharp, clean edges—a critical factor for a professional-looking stacked cake.
I own these pans in all standard sizes, but for stacking, you’ll need multiple pans of the same size. Specifically, you’ll want three 8-inch round cake pans and three 6-inch round cake pans. Keep an eye out for sales at craft stores like Michaels; you can often snag these pans at a great price! Baking and stacking cakes in three layers for each tier is my preferred method, as it adds impressive height and contributes to that polished, professional appearance.
Why Avoid Disposable Aluminum Pans for Stacking?
While disposable aluminum pans might seem like a budget-friendly option, I strongly advise against using them for stacked cakes. They lack the rigidity and stability required to produce consistently even and sturdy cake layers. This can lead to uneven baking, sloped sides, and a cake that’s much harder to level and stack. Investing in good quality, sturdy metal baking pans is a wise decision; they will last for years and consistently deliver superior results.
Understanding Cake Sizes and Servings for Your Tiered Creation
A two-tier cake, by definition, requires two distinct cakes (each comprised of multiple layers) in different sizes. The most common and widely used combination is a 6-inch cake placed atop an 8-inch cake. This standard size typically yields between 40 to 50 servings, depending on how generously you slice the cake.
It might not seem like such a cake could feed that many people, but remember that stacked cakes are significantly taller than single-tier cakes. This height allows you to cut thinner slices while still providing a substantial and satisfying portion. I often cut a slice, and if it’s exceptionally tall, I’ll divide it in half to serve, ensuring everyone gets a perfect piece.
Clarifying the Difference Between Tiers and Layers
This is a common point of confusion for many aspiring cake decorators, so let’s clear it up once and for all.
Tiers and layers are two distinct components of a stacked cake. Simply put, there are multiple cake layers *within* a single tier. A tier of cake is an assembled unit, composed of several individual cake layers stacked together with frosting or filling in between. Does that make sense?
In most of the cakes I create, each tier typically consists of three cake layers. Occasionally, for my 6-inch cakes, if the individual layers are particularly thick, I might use only two layers while still achieving the desired height and aesthetic. The goal is always a visually appealing and stable tier.
Essential Tools You’ll Need to Stack Your Cakes:
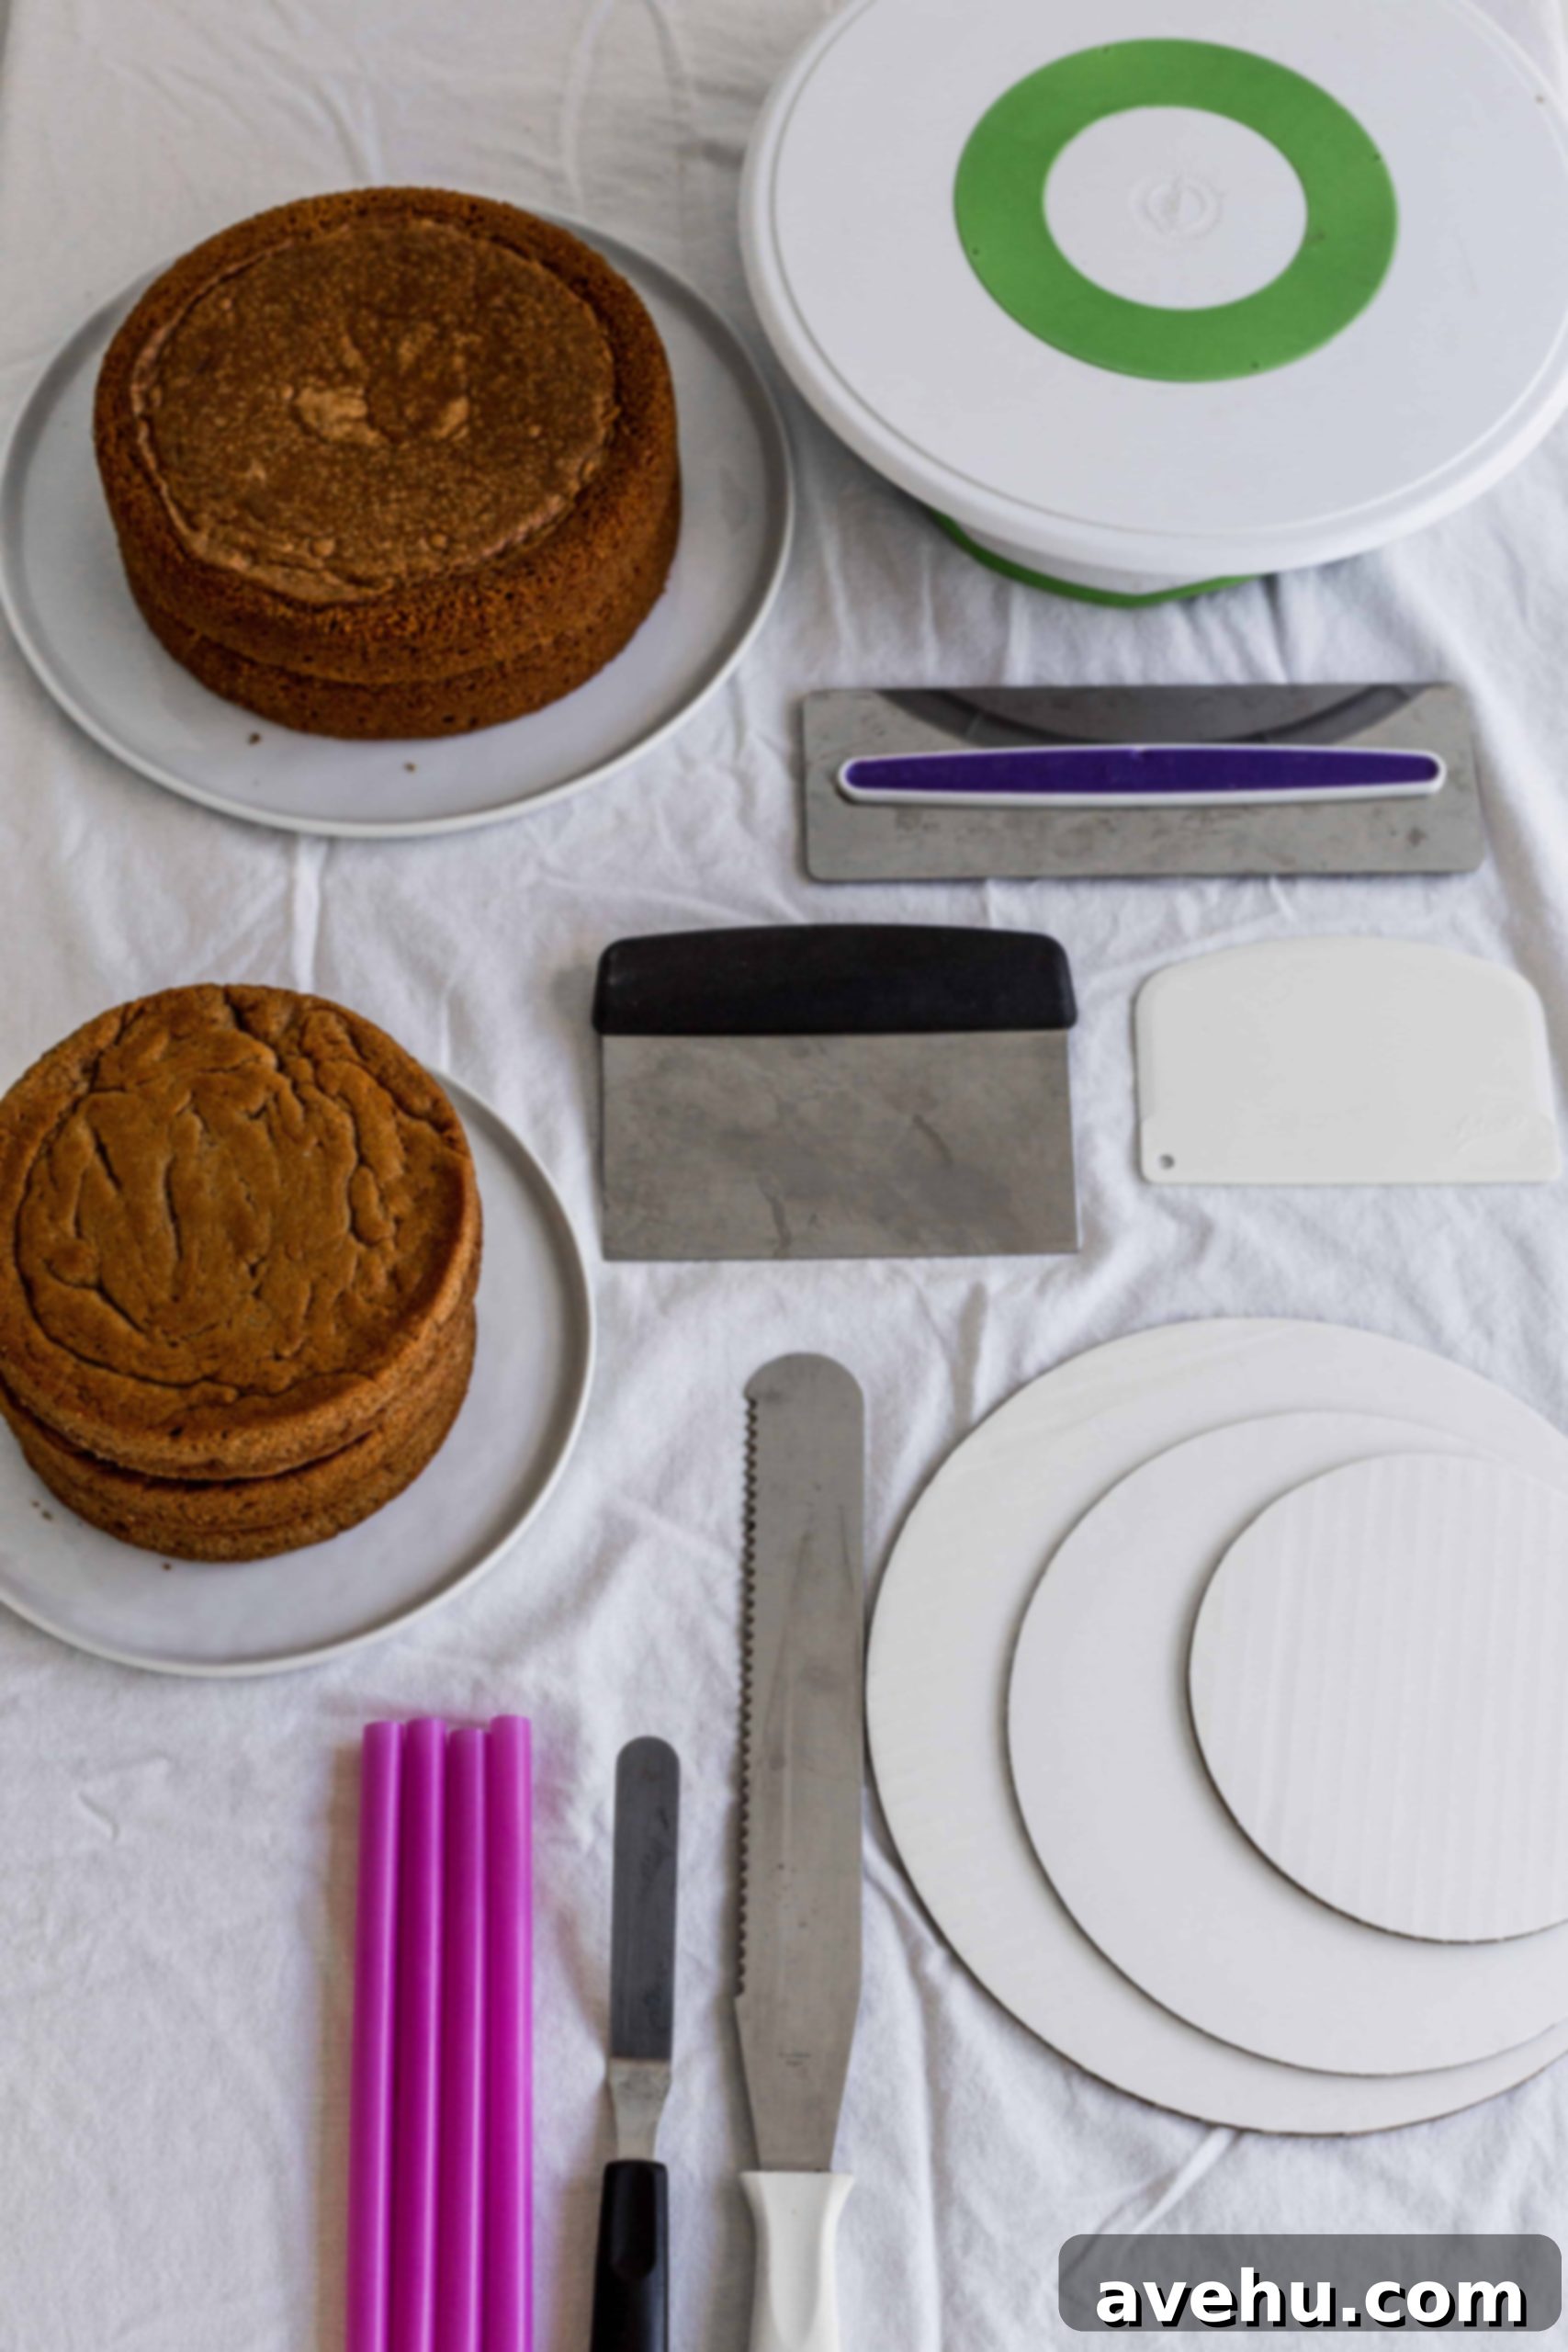
- Baking Pans (as discussed above)
- A cake leveleror a long serrated knife
- Cake turntable
- Offset spatula
- Cake boards in multiple sizes (detailed below)
- Sturdy bubble tea straws (or wooden dowels)
- Scissors
- Bench scrapers (metal or plastic)
- Clean spray bottle filled with water
- Ample buttercream– ensure it’s at the ready!
- Piping tips and bags for decorating (optional, but recommended for neat filling)
Important Notes on Your Cake Stacking Tools:
Cake boards: Using two different size boards during the frosting and filling stages is incredibly helpful. The larger board allows you to easily lift and move the cake without touching the delicate frosted sides, and it also catches any excess frosting, keeping your turntable clean. Crucially, each individual tier needs its own cake board underneath it for support, not just the very bottom cake. This is vital for stability when stacking.
For our standard 6-inch on 8-inch cake, you will need one cake board that is 2 inches larger than your bottom cake for frosting (a 10-inch board) and one that is the same size as your bottom cake (an 8-inch board) to sit directly underneath it. Similarly, for the smaller top cake, you’ll need an 8-inch cake board for frosting and a 6-inch cake board to sit directly underneath it.
So, to recap, here’s a precise list of the cake boards you’ll need:
- 1 x 10-inch cake board (for the turntable when frosting the 8-inch cake)
- 2 x 8-inch cake boards (one for the base of the 8-inch cake, one for the turntable when frosting the 6-inch cake)
- 1 x 6-inch cake board (for the base of the 6-inch cake)
If you’re preparing this cake for a special event or wish for a more elegant presentation than a simple cardboard cake board, you might consider using a cake drum. A cake drum can act as your 10-inch base for the entire cake.
A cake drum is distinct from a standard cake board. A cake drum is significantly thicker, more rigid, and often has a more finished look, making it ideal for presenting cakes at parties, weddings, or when transporting. A regular cake board, on the other hand, is a thinner, round piece of cardboard, less sturdy and primarily used for support during construction. For a professional finish or if your cake needs to travel, I highly recommend using a cake drum as your final base.
Assembling Your Cake Layers for Stacking
Start with Perfectly Flat Cake Tops
Once your cake layers have cooled completely, the first crucial step is to level them by carefully trimming off any domed tops. You simply cannot achieve a stable, straight stacked cake if your individual layers aren’t perfectly flat. Any unevenness will lead to a leaning or unstable final structure.
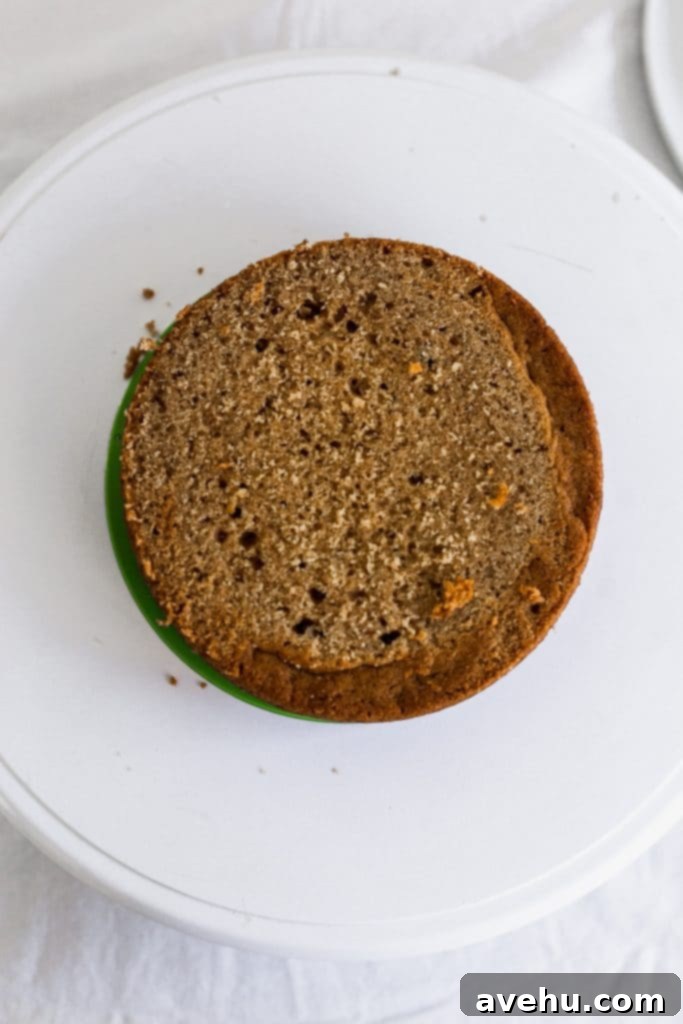
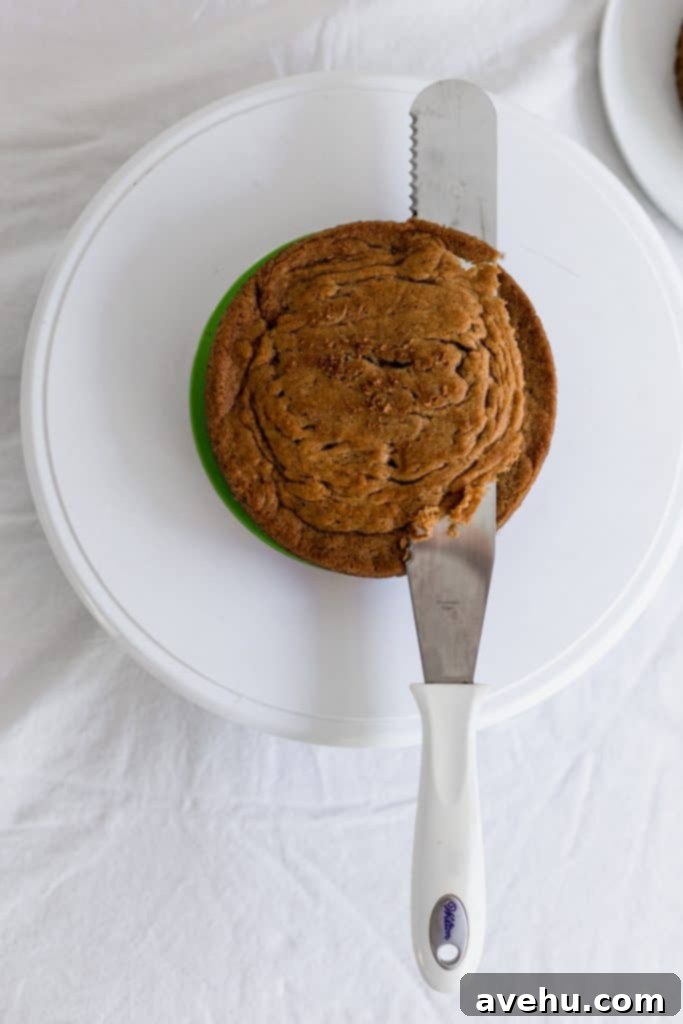
While some bakers use baking strips or other internet hacks to bake flat cakes, I personally find it simplest and most effective to just slice off the domed top. Don’t discard those cake scraps! They make for a delightful chef’s treat or can be repurposed into delicious cake pops or trifles.
To achieve a perfectly flat surface, I use either a cake leveler or a long serrated knife. For beginners, a cake leveler is an excellent investment. It’s incredibly user-friendly, essentially acting like a saw for your cakes, ensuring an even cut. While the initial cut through a slightly crisp cake edge can be a little firm, it’s completely manageable and the most straightforward way to begin. After leveling, you should have between 5-6 flat-topped cake layers ready for assembly.
Before you start filling, gather your essential tools: a turntable, an offset spatula, your chosen cake boards, and a generous bowl of prepared buttercream. Having everything within reach will make the process much smoother.
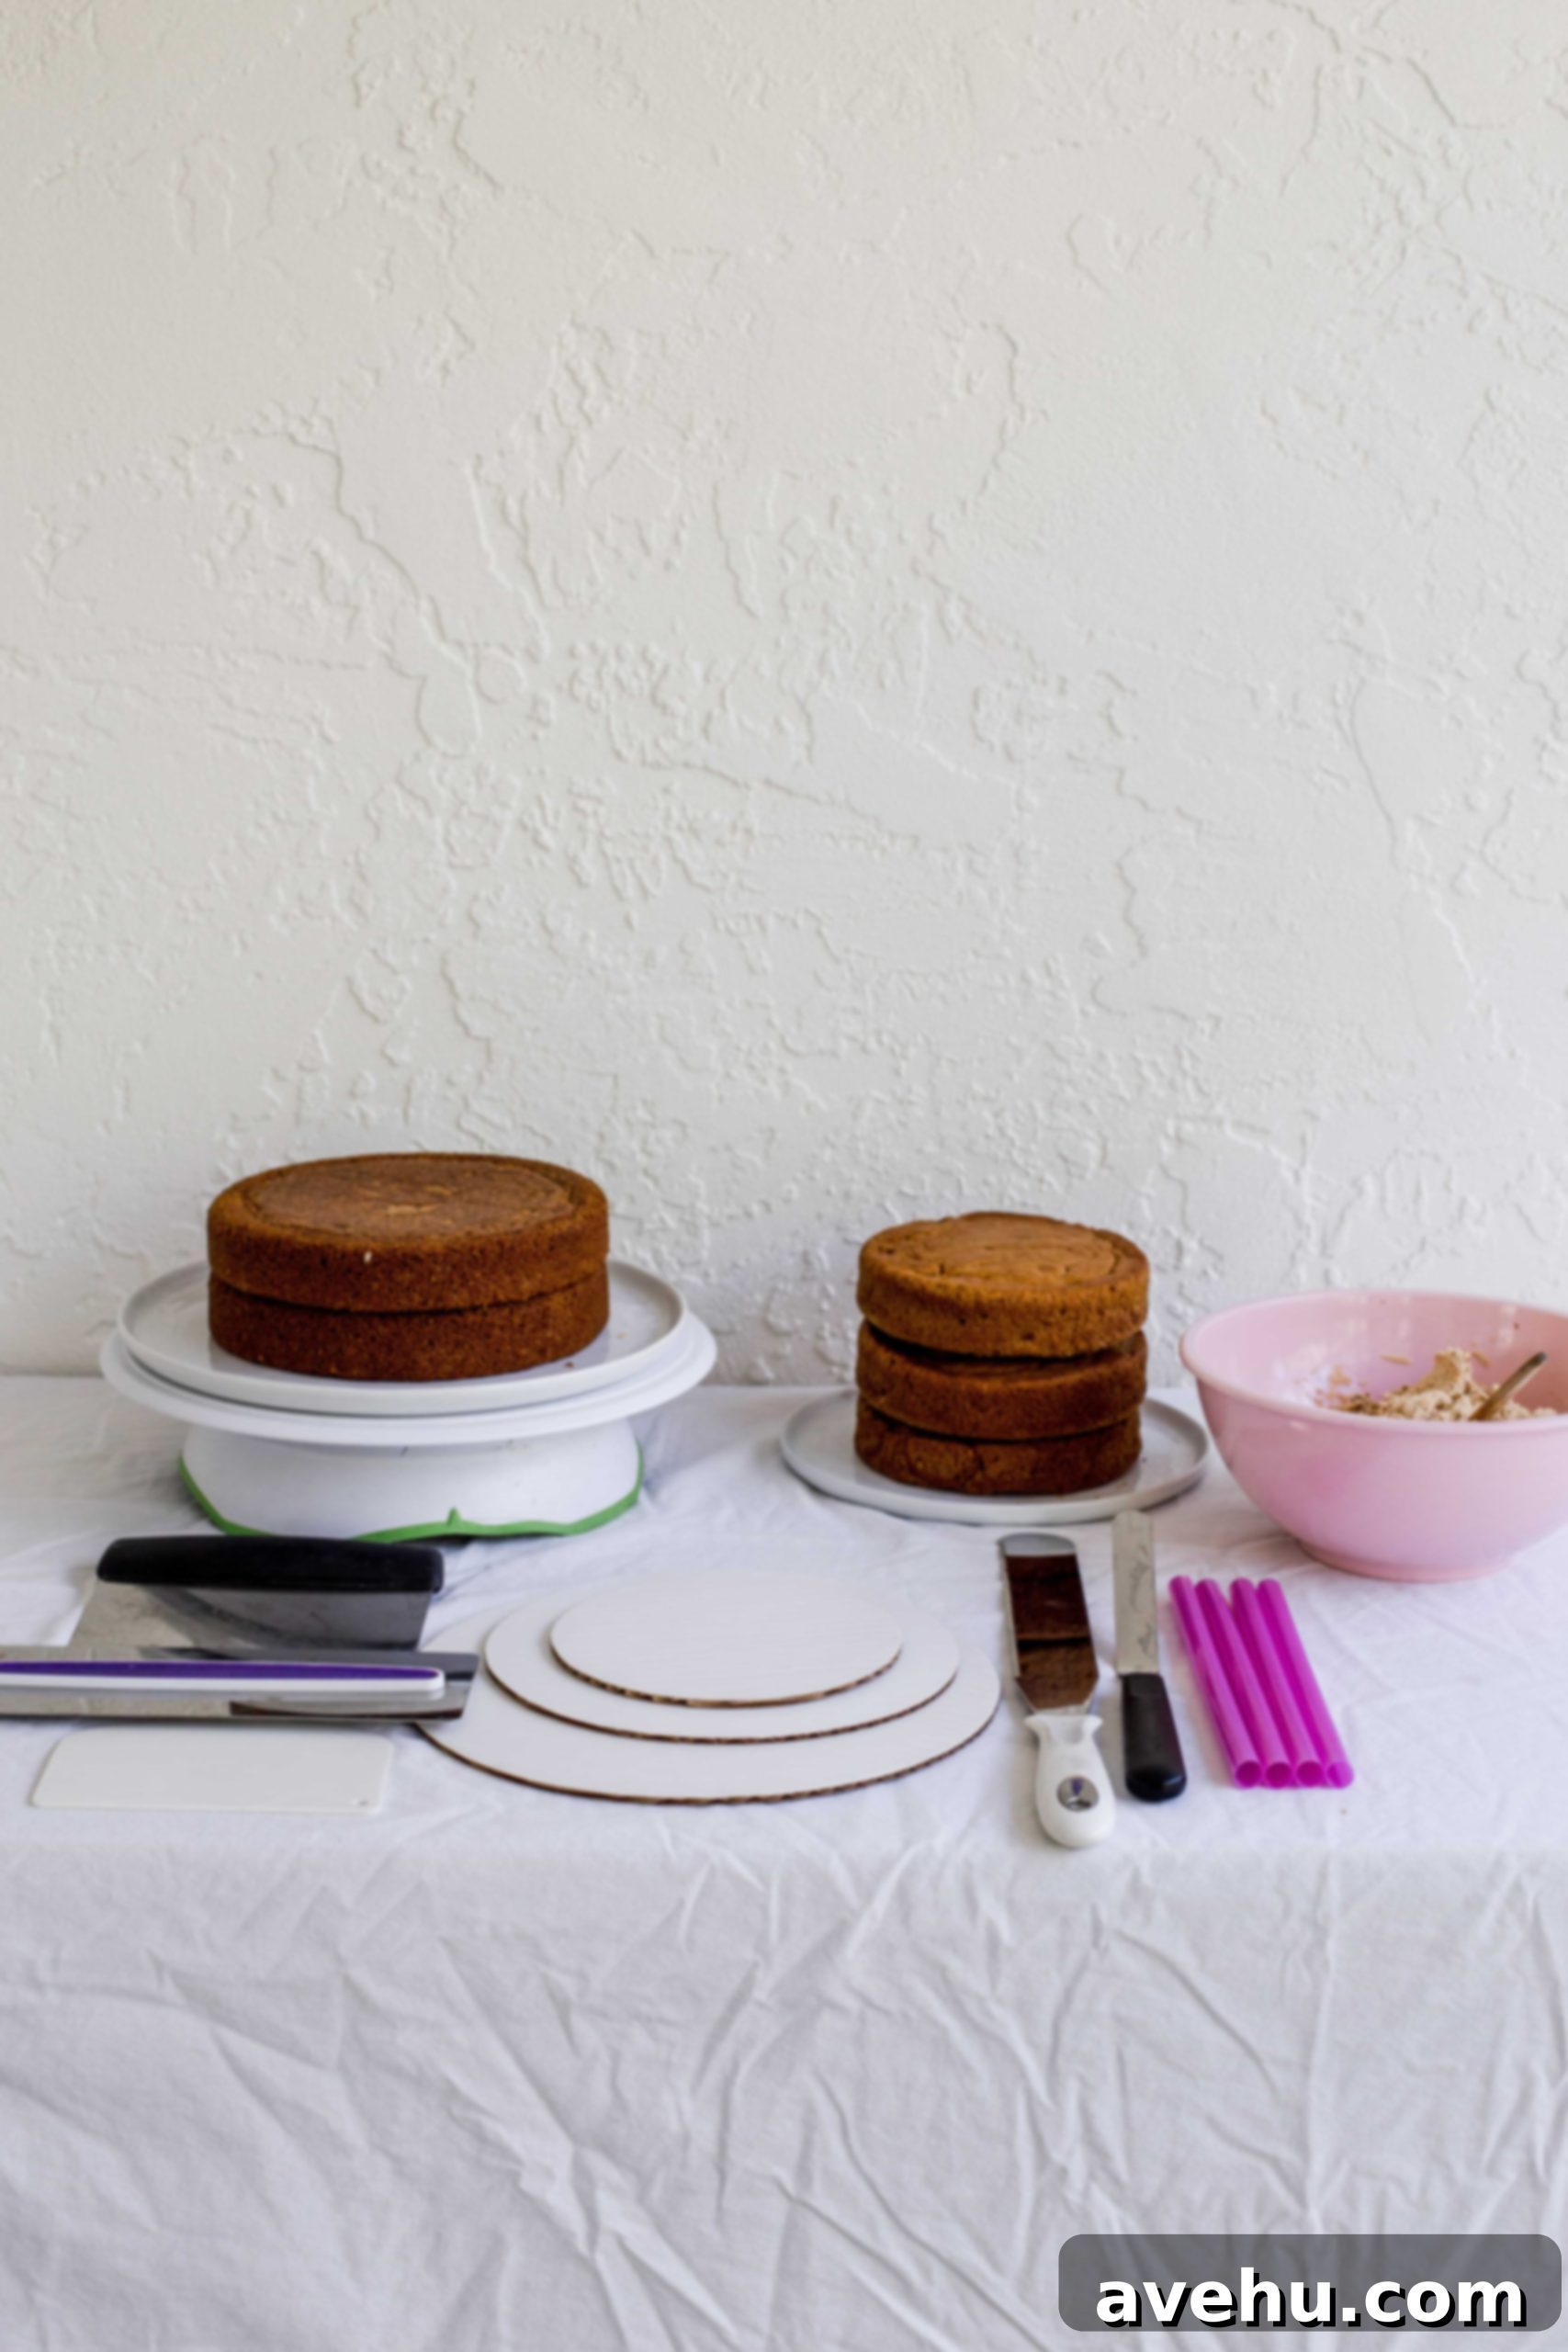
Time to Start Filling Your Cake Layers
Begin by placing your 10-inch cake board (the larger one) squarely on your cake turntable. Apply a small dab of buttercream—just about a teaspoon—to the very center of the 10-inch board. This will act as an adhesive. Next, center your 8-inch cake board directly on top of the buttercream dab and press down firmly to secure it. This two-board setup is crucial for easy handling later.
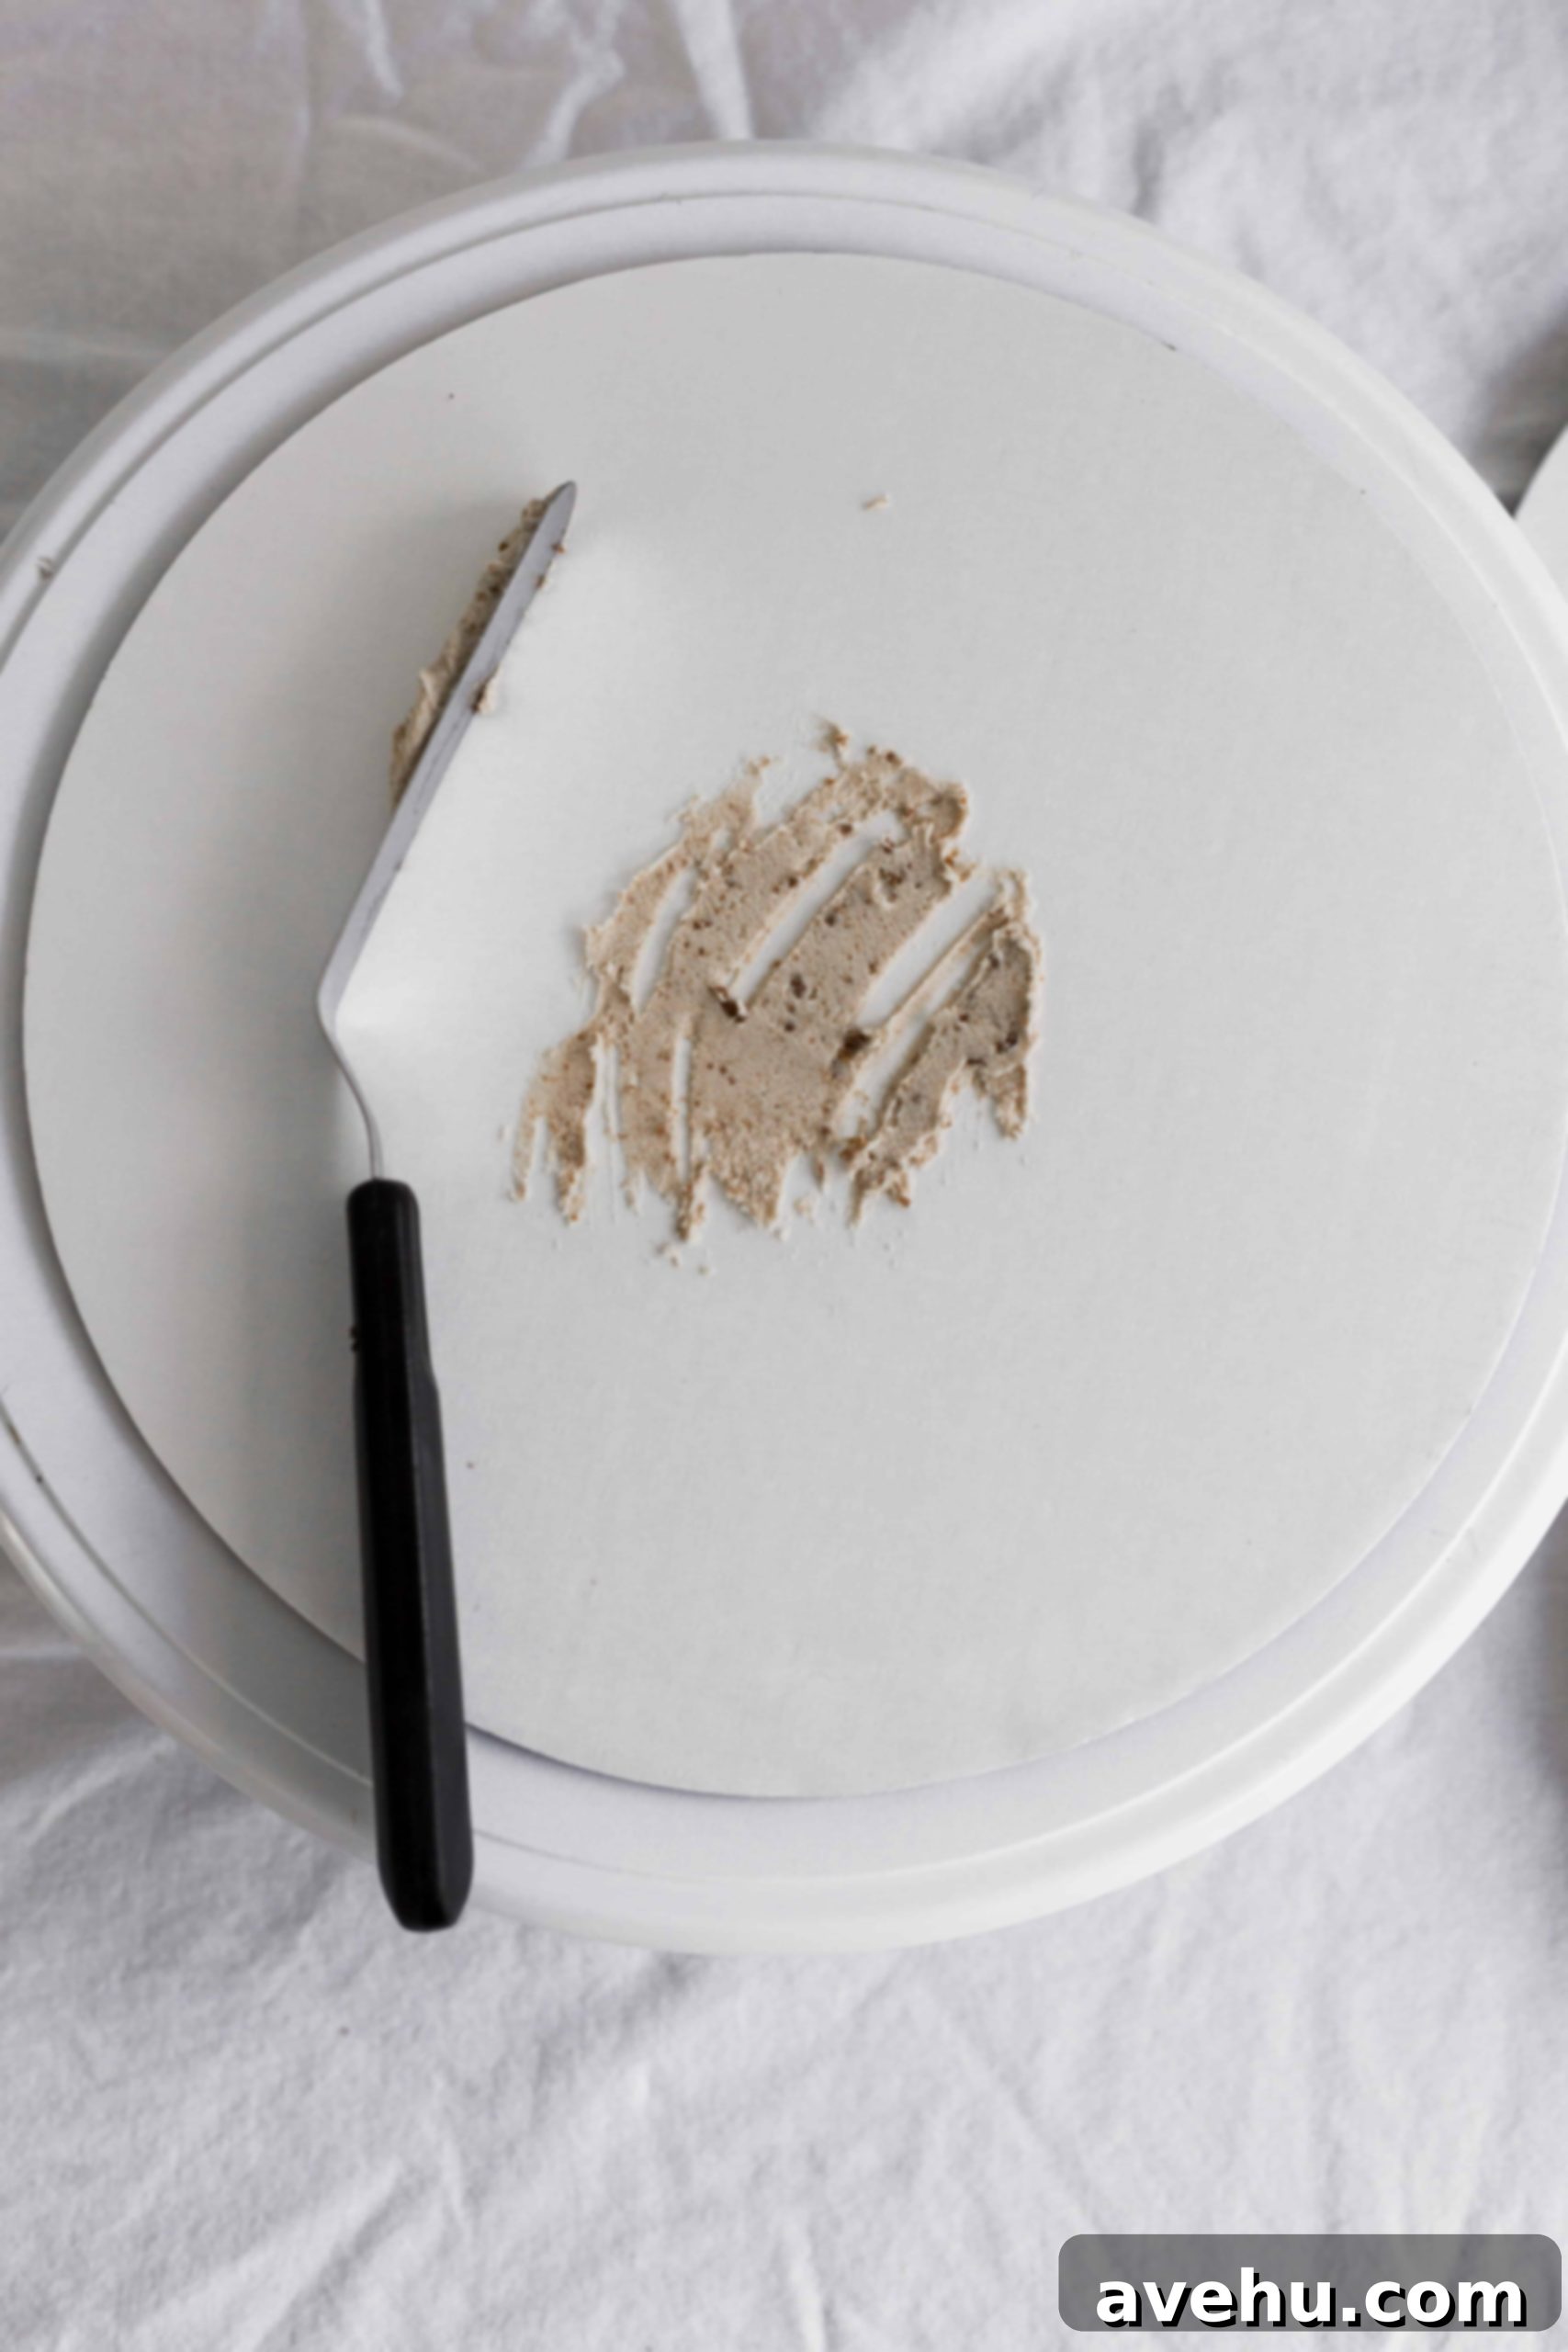
Now, spread about 1 tablespoon of buttercream evenly over the 8-inch cake board. This ensures your first cake layer adheres securely. Carefully place the first layer of your 8-inch cake on top of the buttercream.
How to Fill Your Cake with Buttercream:
You have two main methods for applying the buttercream filling: using a piping bag or an offset spatula. For beginners, a piping bag offers more control and a neater finish. If using a piping bag, pipe a sturdy border of buttercream approximately 1/4 inch in from the edge of the cake layer, creating a “dam.” Then, fill the center area within this border. This dam prevents your filling from oozing out when the next layer is added, especially if you’re using a softer filling or a generous amount of buttercream.
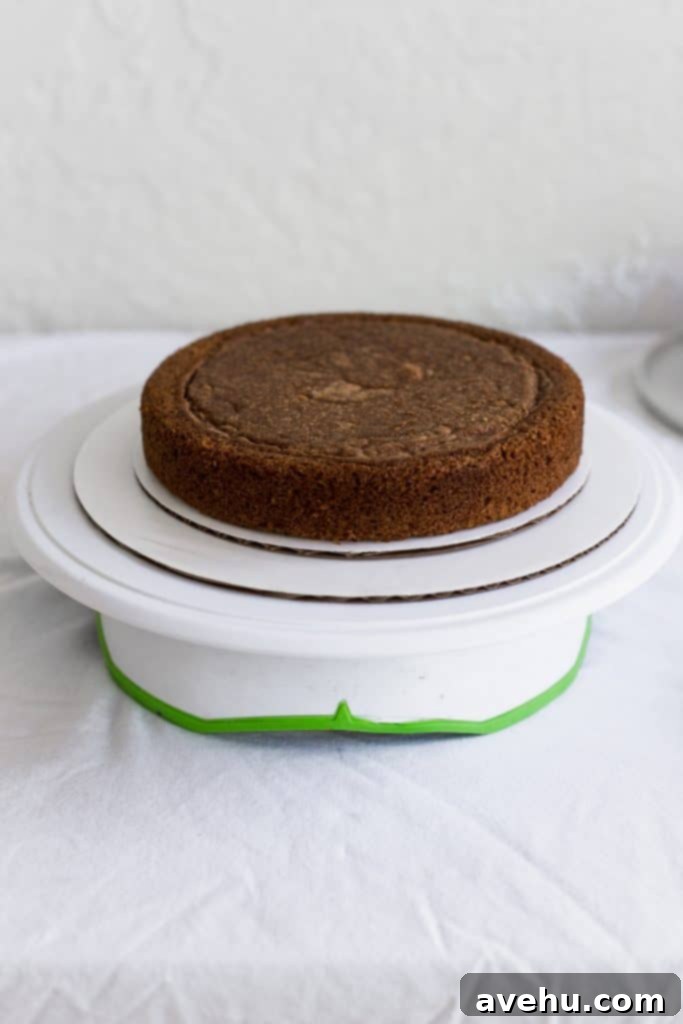
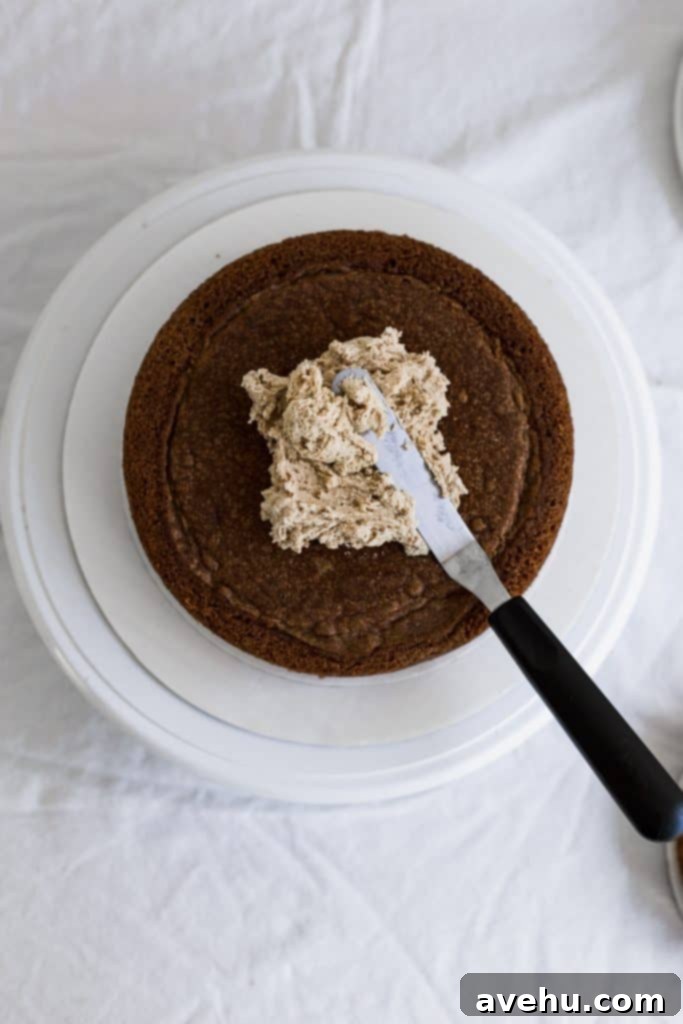
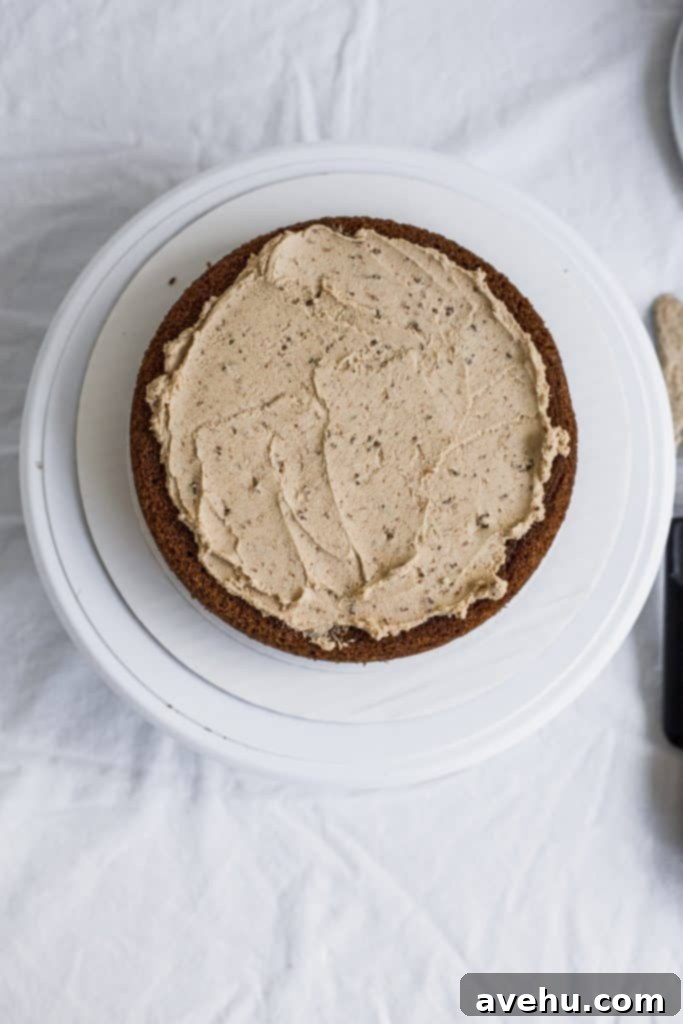
If you’re using an offset spatula, place about 1/4 to 1/3 cup of buttercream in the center of the cake layer and gently spread it outwards, stopping about 1/4 inch from the edge. This provides sufficient filling without risking overflow. Once you have an even layer of frosting, take another cake layer and flip it over so that its flat bottom is now facing upwards. Carefully place it directly over the buttercream layer. Yes, the cut side should be the one resting on the buttercream, ensuring a flatter and more stable top surface for your tier.
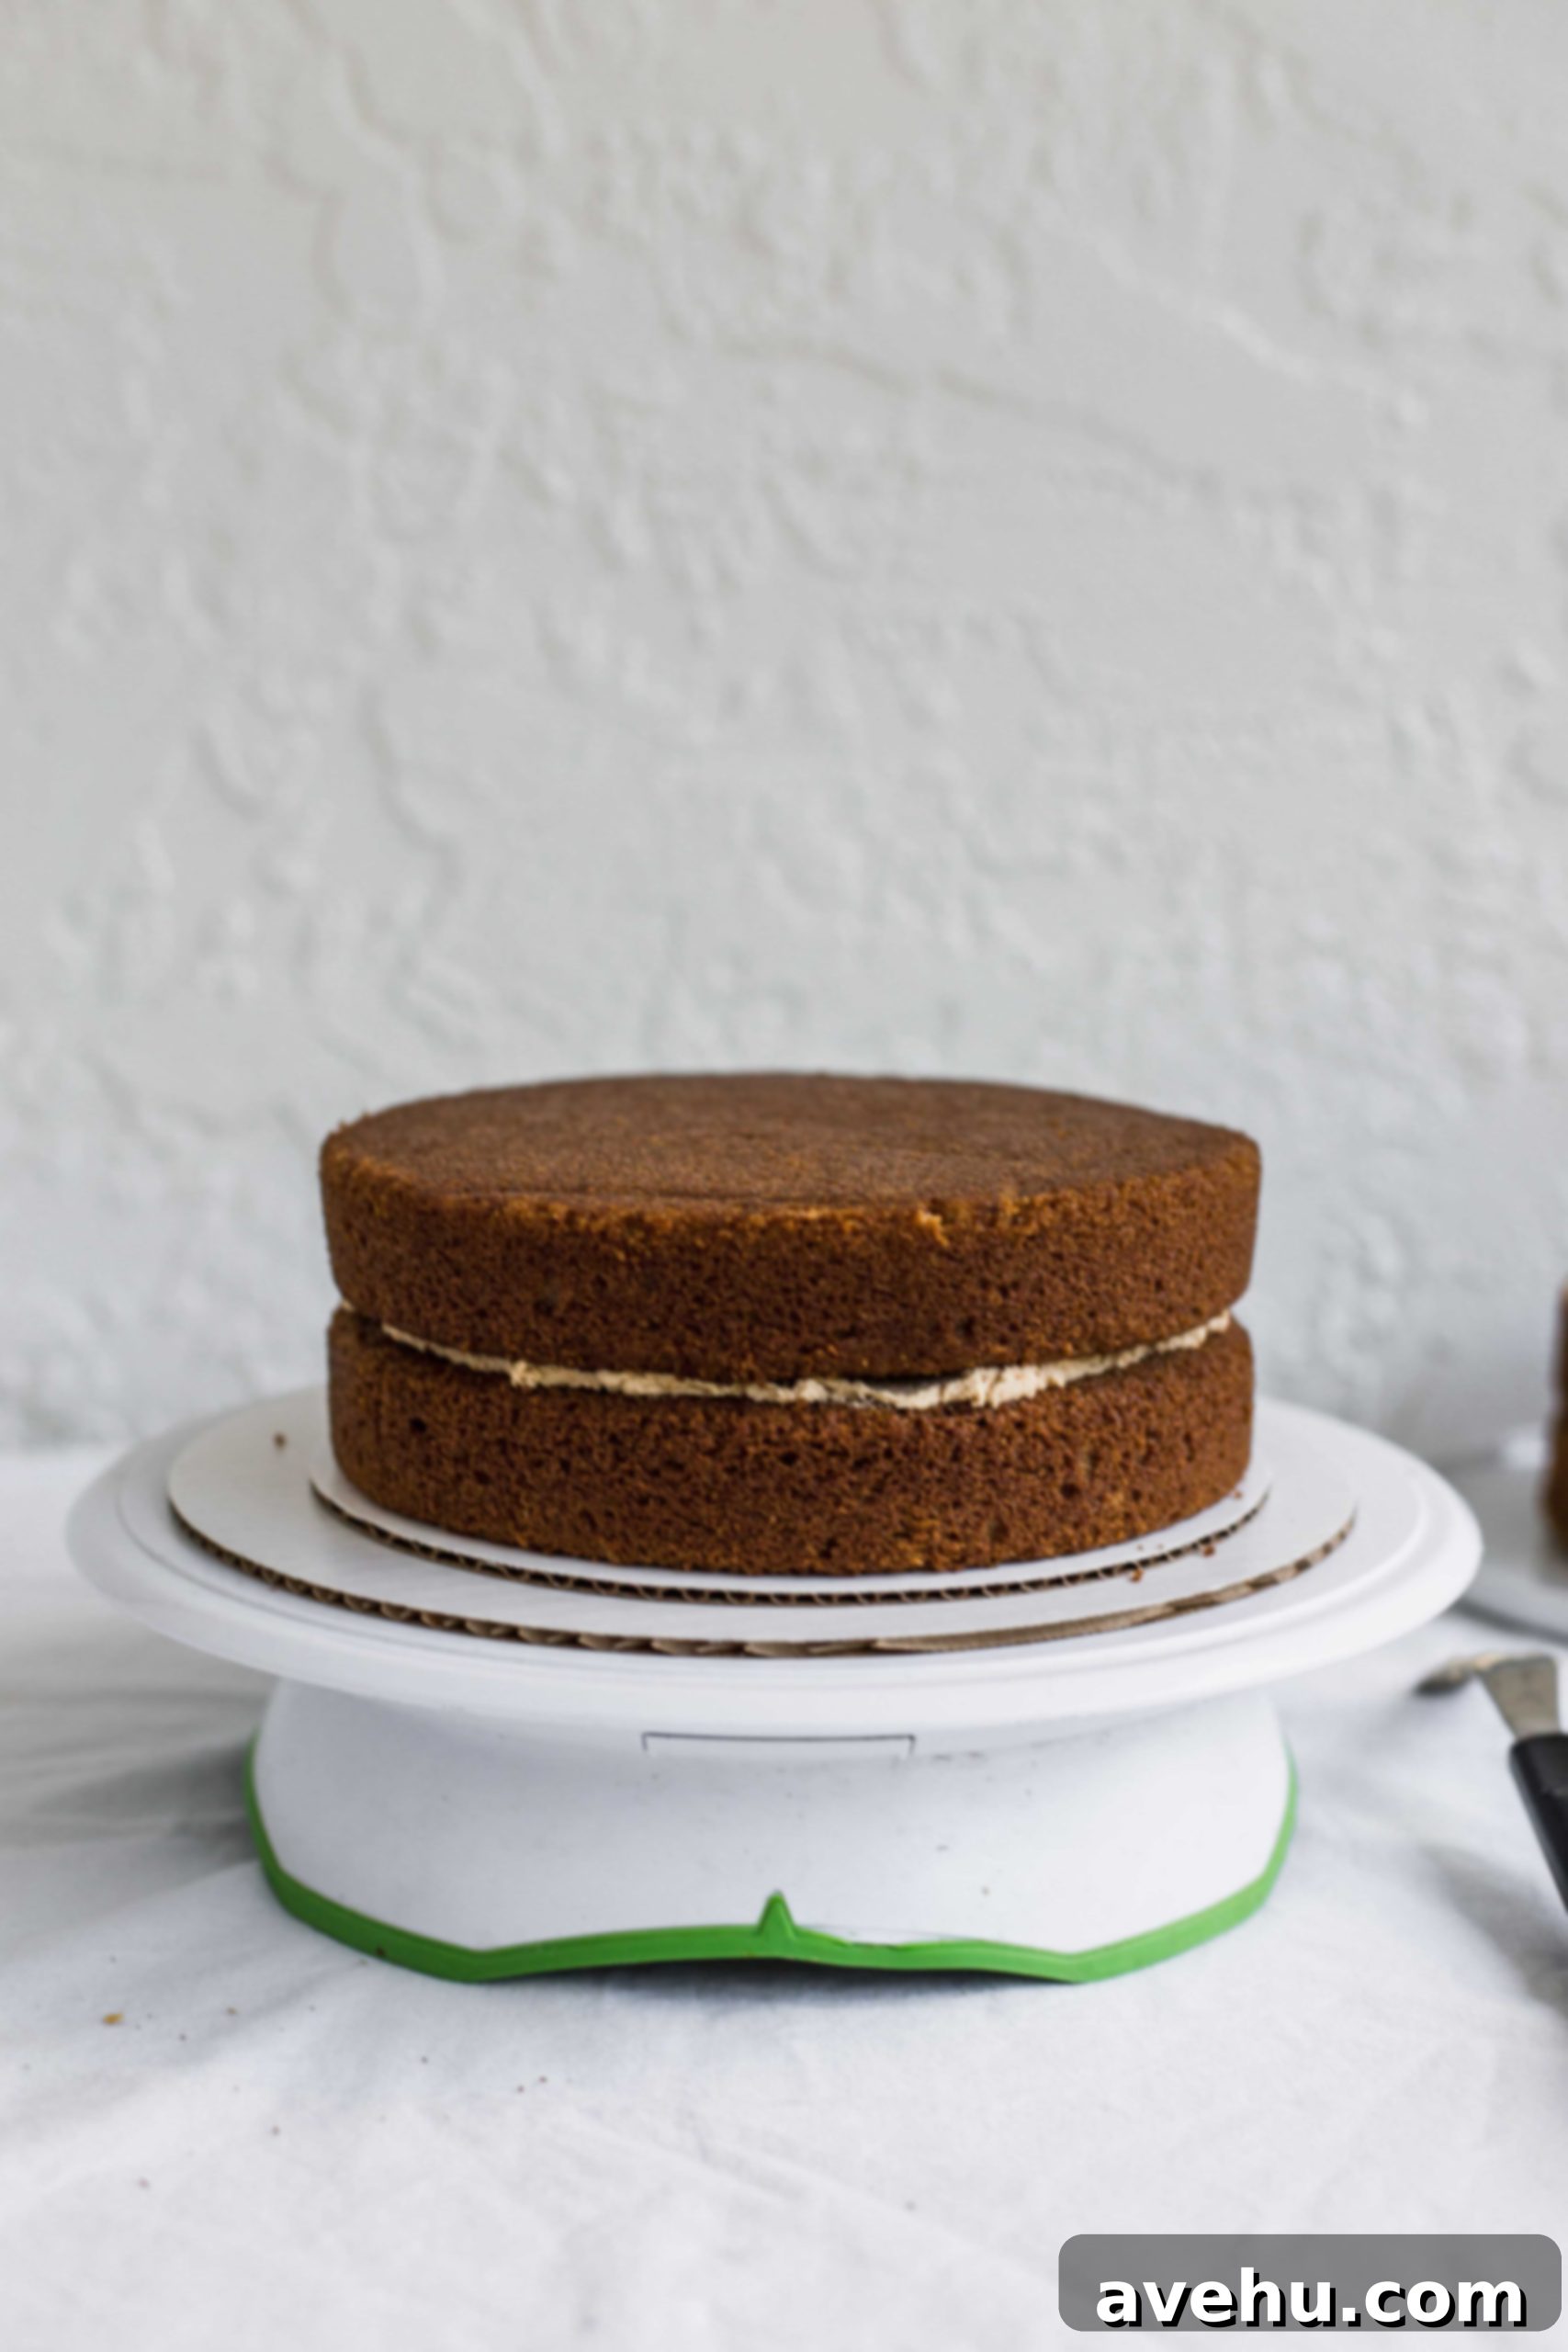
This “flipping” technique is a simple but effective trick for guaranteeing a truly flat top to your cake tier. Repeat the process of applying buttercream filling and then placing the final cake layer upside down. Once your 8-inch cake tier is fully assembled, it’s time to chill it for a bit to firm up the filling before moving to the next stage.
Mastering the Art of Frosting Your Cake Tiers
Before applying your final, beautiful coat of frosting, we must start with an essential step: the crumb coat.
A crumb coat is precisely what it sounds like—a thin, light layer of frosting designed to trap and seal in any loose cake crumbs. This seemingly minor step is critical for achieving a clean, professional finish on your final cake. Without a crumb coat, crumbs would inevitably mix into your top layer of frosting, making your cake look messy and unpolished.
Applying the Crumb Coat to Your Cake
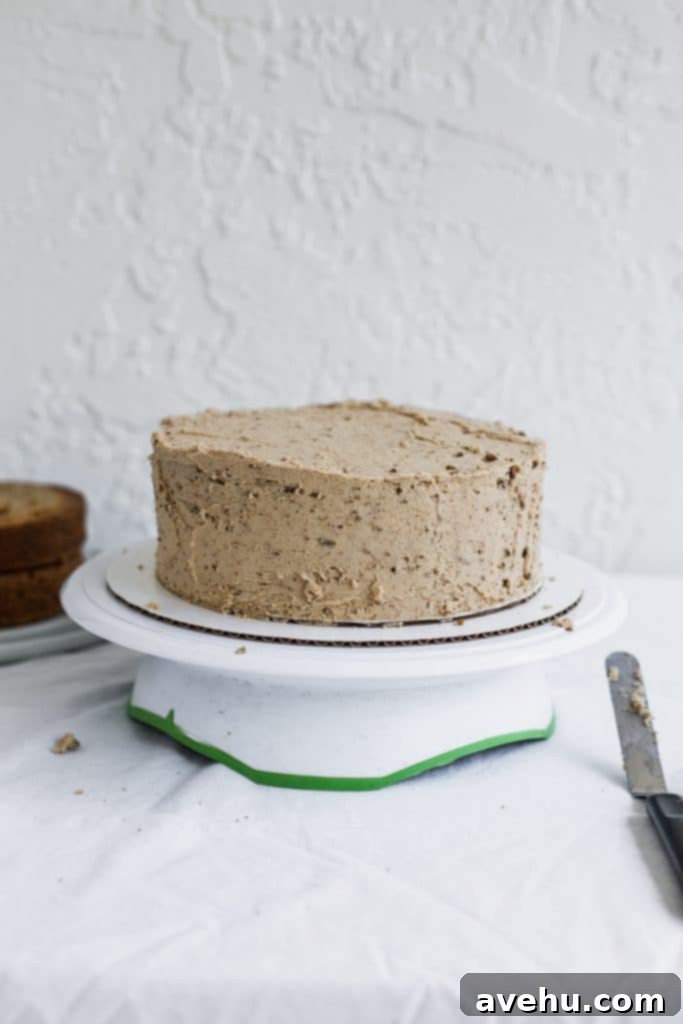
Using an offset spatula, scoop a modest amount of frosting and begin smearing it onto the sides of your cake. As you apply the frosting, continuously turn your cake turntable. Work your way from the bottom to the top of the cake, ensuring you apply just a very light, thin layer of frosting that fully covers the cake surface. The goal here is simply to trap all crumbs, not to achieve perfect smoothness.
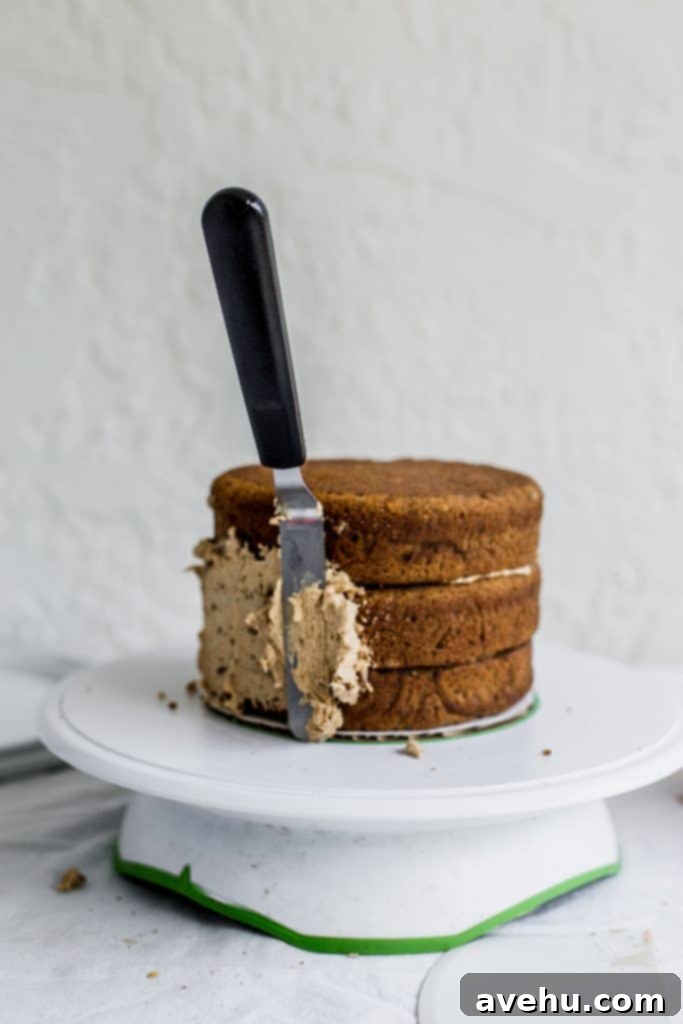
Pro Tip!
To prevent crumbs from contaminating your main batch of buttercream, always scrape any frosting from the back of your spatula onto the sides of a separate “crumb frosting” bowl before scooping fresh buttercream. This keeps your clean frosting pristine for the top coat!
Once the crumb coat is applied, carefully pick up the cake (the larger cake board will make this easier) and place it in the freezer for about 15 minutes. This chilling period allows the crumb coat to firm up and fully seal in those pesky crumbs.
While your 8-inch cake chills, repeat this entire process—from placing cake boards to applying the crumb coat—for your 6-inch cake layers. When your 6-inch cake is ready to go into the freezer, retrieve the 8-inch cake. It’s now perfectly chilled and ready for its final, smooth top coat of frosting.
Applying the Final Frosting Top Coat
The process for applying the top coat is essentially similar to the crumb coat, but this time you’ll be more generous with the frosting and focus on achieving a smooth, even finish. I like to start by applying a thick layer of frosting to the sides of the cake, working from the bottom upwards with my offset spatula, spinning the turntable continuously. Don’t worry if it looks a bit messy at first; achieving perfection takes practice and patience!
Once the entire cake is covered (you shouldn’t see any cake peeking through), stop using the spatula for the sides and switch to your bench scraper.
How to Hold and Use a Bench Scraper for Smooth Sides:
Hold the bench scraper firmly with your wrist straight and ensure the scraper is perfectly perpendicular (straight) against the side of the cake. Keeping your hand and the scraper in one fixed position, slowly and steadily spin your turntable. The bench scraper will work its magic, smoothing out the buttercream and creating beautifully straight sides.
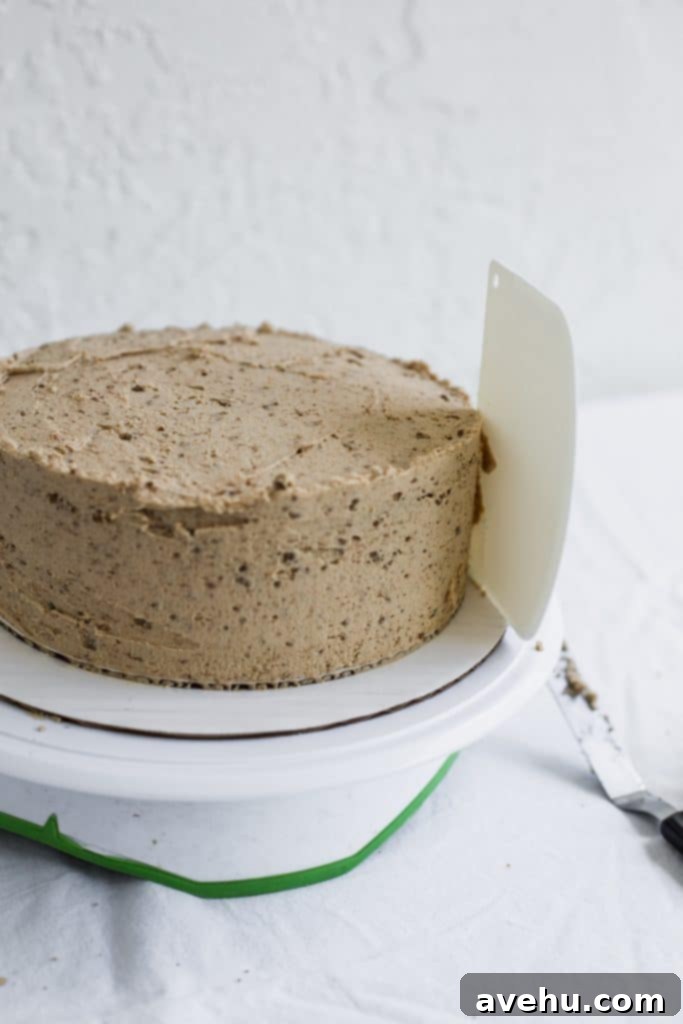
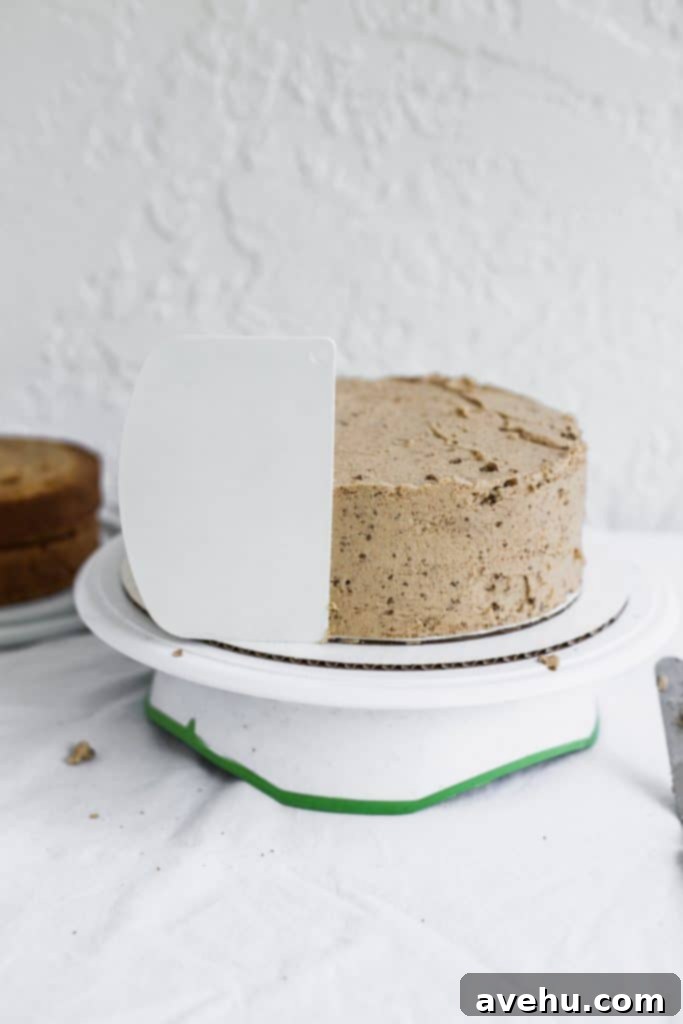
If you notice any areas on the sides that are still uneven or need more frosting, simply add a little more buttercream to those spots and continue spinning the turntable with the bench scraper pressed against the cake. It will help to even everything out beautifully. The cake sides should now be largely smooth. Don’t be discouraged if it’s not perfect on your first try; this skill truly develops with patience and practice.
At this point, you’ll likely have a slight “lip” of frosting at the top edge of the cake that stands a little taller than the cake itself. Leave this lip for a moment and instead, fill in the very top surface of your cake with more frosting, creating a flat, even layer. Finally, using your bench scraper or offset spatula held at a slight angle, gently drag that frosting lip from the outside edge of the cake towards the center, creating a sharp, clean top edge.
The Secret to Achieving Exceptionally Smooth Cake Edges
To take your cake’s finish from good to truly exceptional, I’m going to share a brilliant trick I learned while working in a professional cake decorating shop. This technique works wonders for achieving incredibly smooth, almost flawless edges:
Fill a food-safe, clean spray bottle with plain, clean water and lightly mist your freshly frosted cakes. YES, YOU HEARD ME RIGHT – a light spray of water!
After lightly spraying your cake with water, immediately take your bench scraper and gently glide it over any bumps, imperfections, or uneven edges. You’ll watch in amazement as those minor flaws magically disappear, leaving behind a beautifully smooth surface. Perform this on the turntable, focusing on one cake at a time, continuously spinning as you work.
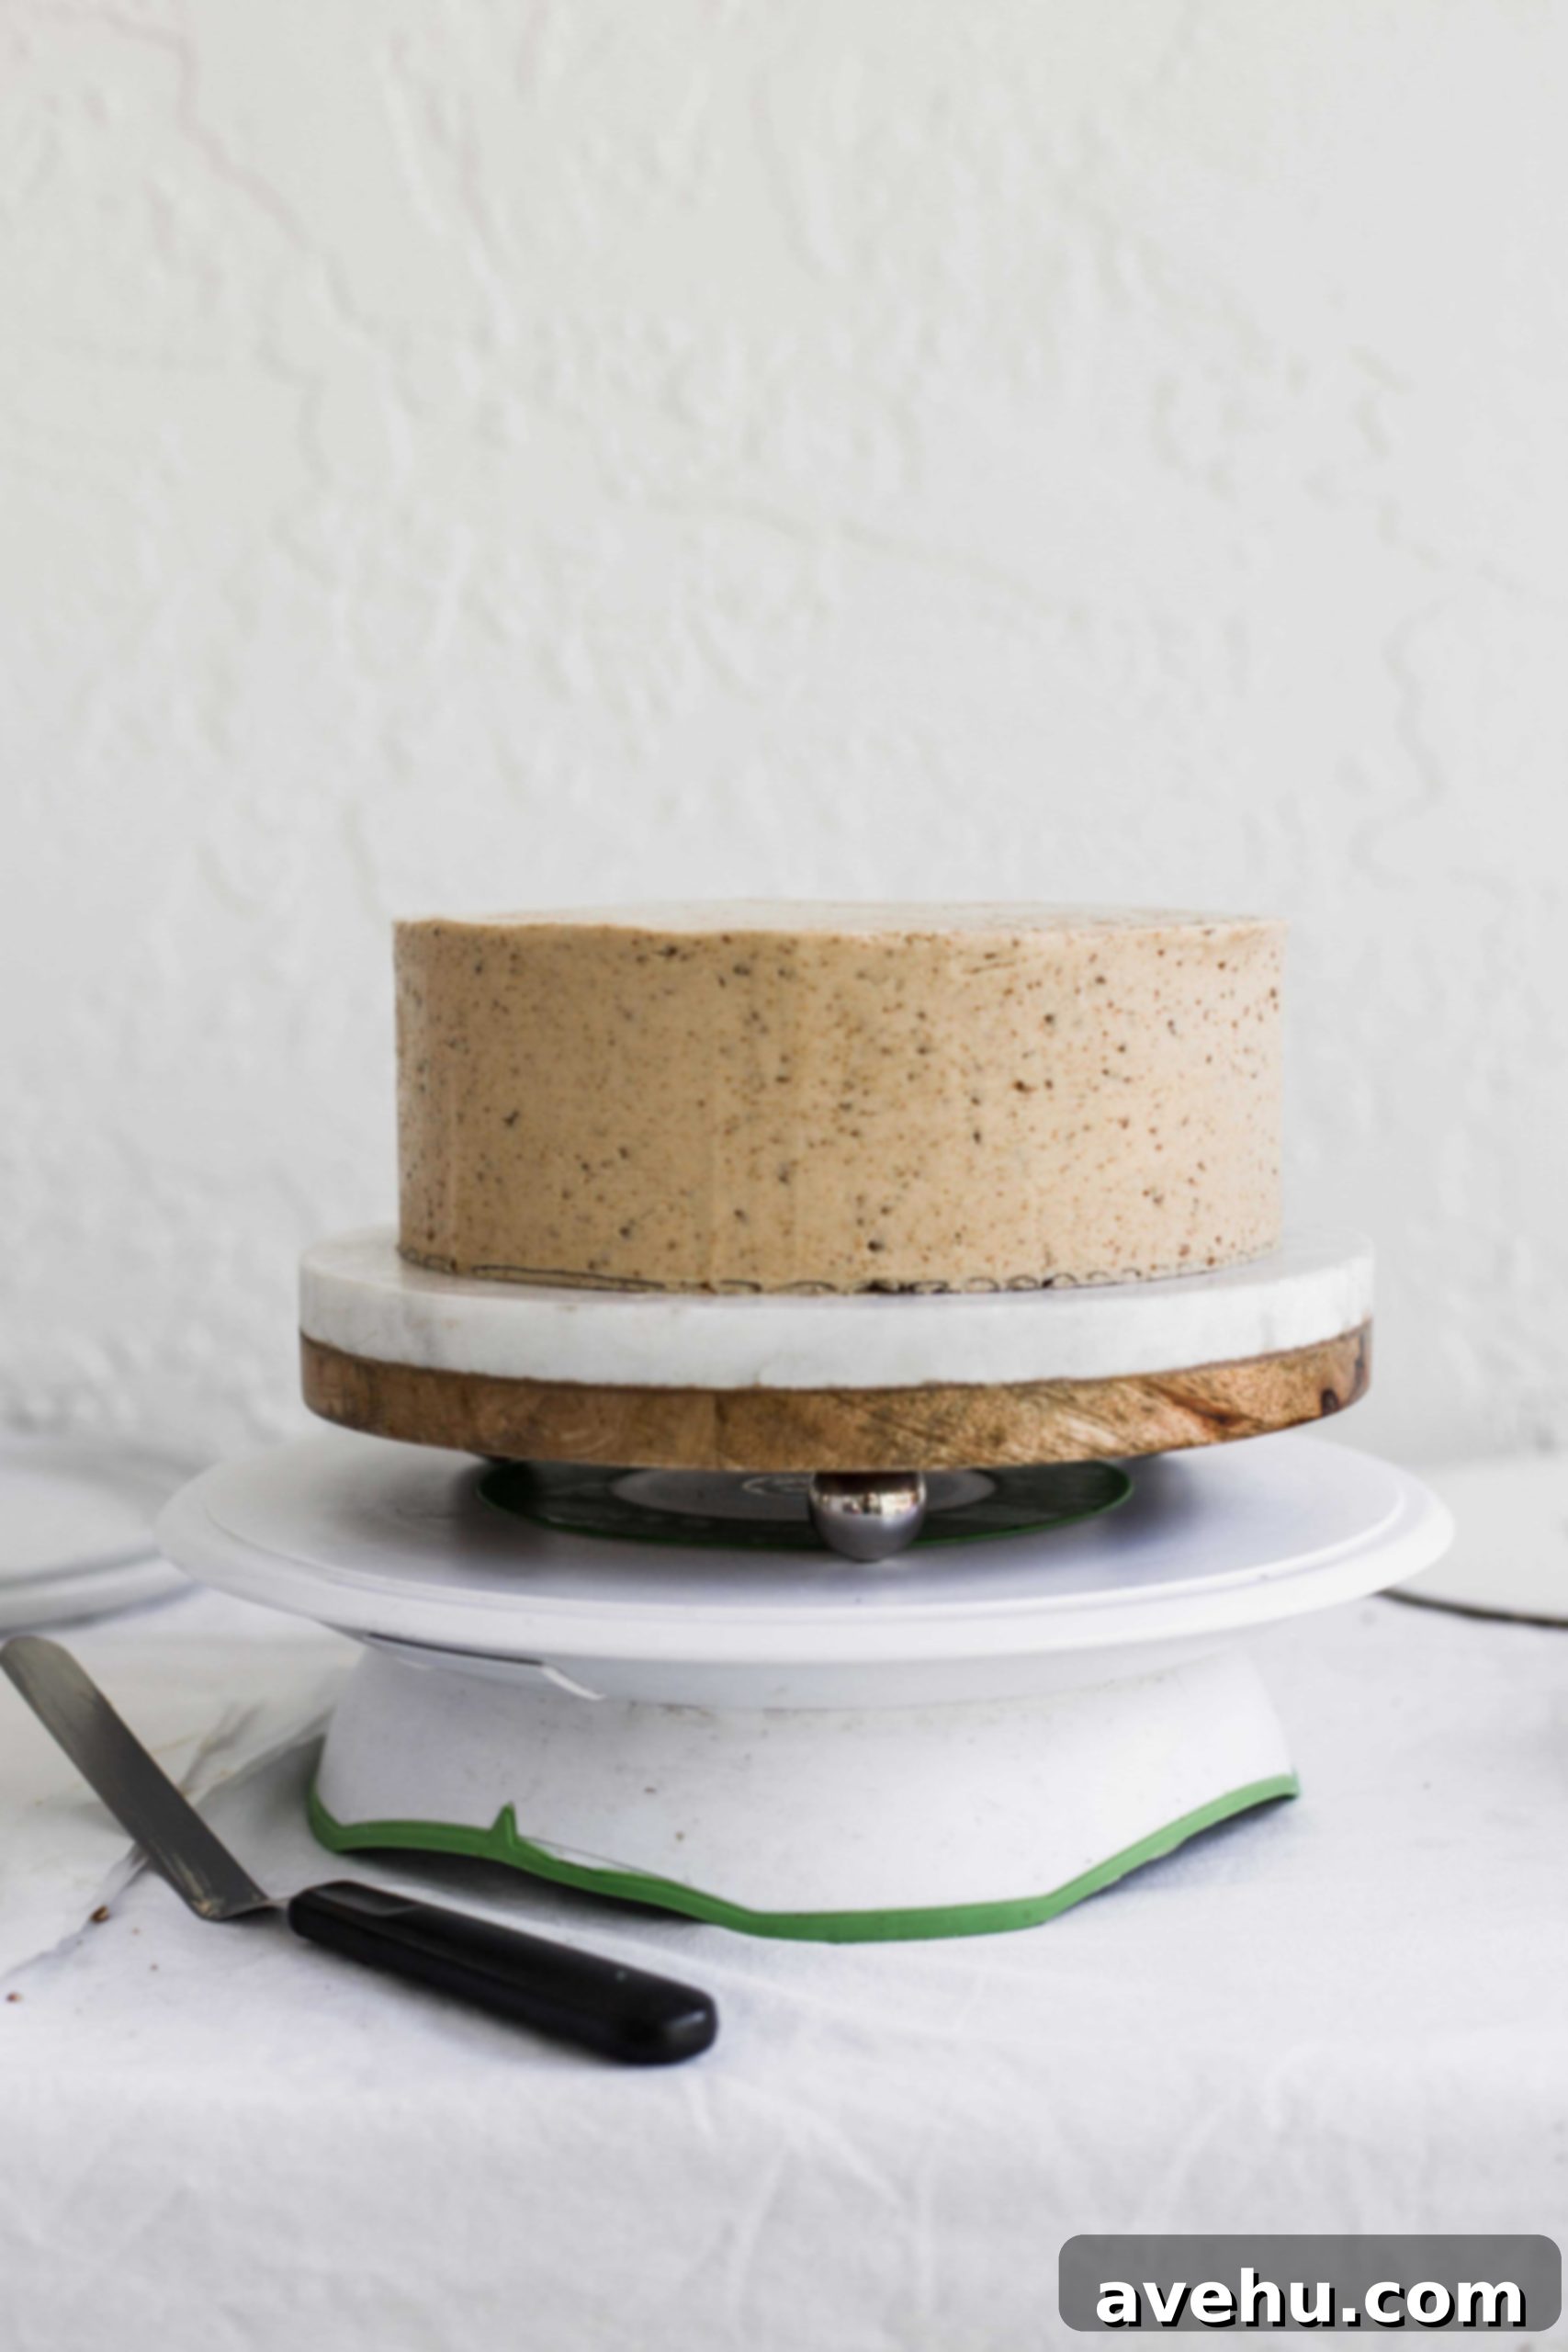
Go ahead, give it a try. I’ll wait.
Repeat this smoothing process with both cakes! At this point, you should have two beautifully frosted tiers: one 8-inch cake (typically with three layers) and one 6-inch cake (with two or three layers, depending on height). Both should be smooth, level, and ready.
Now, it’s time for the exciting part: LET’S GET THIS STACKING STARTED!!
The Art of Stacking a Two-Tier Cake
For this crucial step, you will need:
- Sturdy bubble tea straws or food-grade wooden dowels
- Sharp scissors
- And, most importantly, unwavering belief in yourself that you can do this!
First, let me clarify: standard drinking straws will not work for this. You absolutely need thick, robust bubble tea straws. I personally prefer these over wooden dowels because they are thicker, much easier to cut, and eliminate any risk of splintering or getting tiny wooden shards in your cake. They provide excellent support without the potential downsides of wood.
Another important consideration: if you plan to present your finished cake on a decorative cake stand, now is the ideal time to move your 8-inch base cake onto it. This is precisely why we used the larger 10-inch cake board initially. With the 8-inch cake sitting on its own board, you can easily slide it off the 10-inch base and onto your chosen cake stand.
How to Safely Move a Cake from a Cake Board to a Cake Stand
Using a large offset spatula (or a smaller one if that’s all you have), gently slide it between the 10-inch and 8-inch cake boards. Carefully lift the cake slightly, supporting its weight with your other hand underneath the 8-inch board. Shift the weight into your free hand and then gently place the entire 8-inch cake (still on its 8-inch board) onto your desired cake stand.
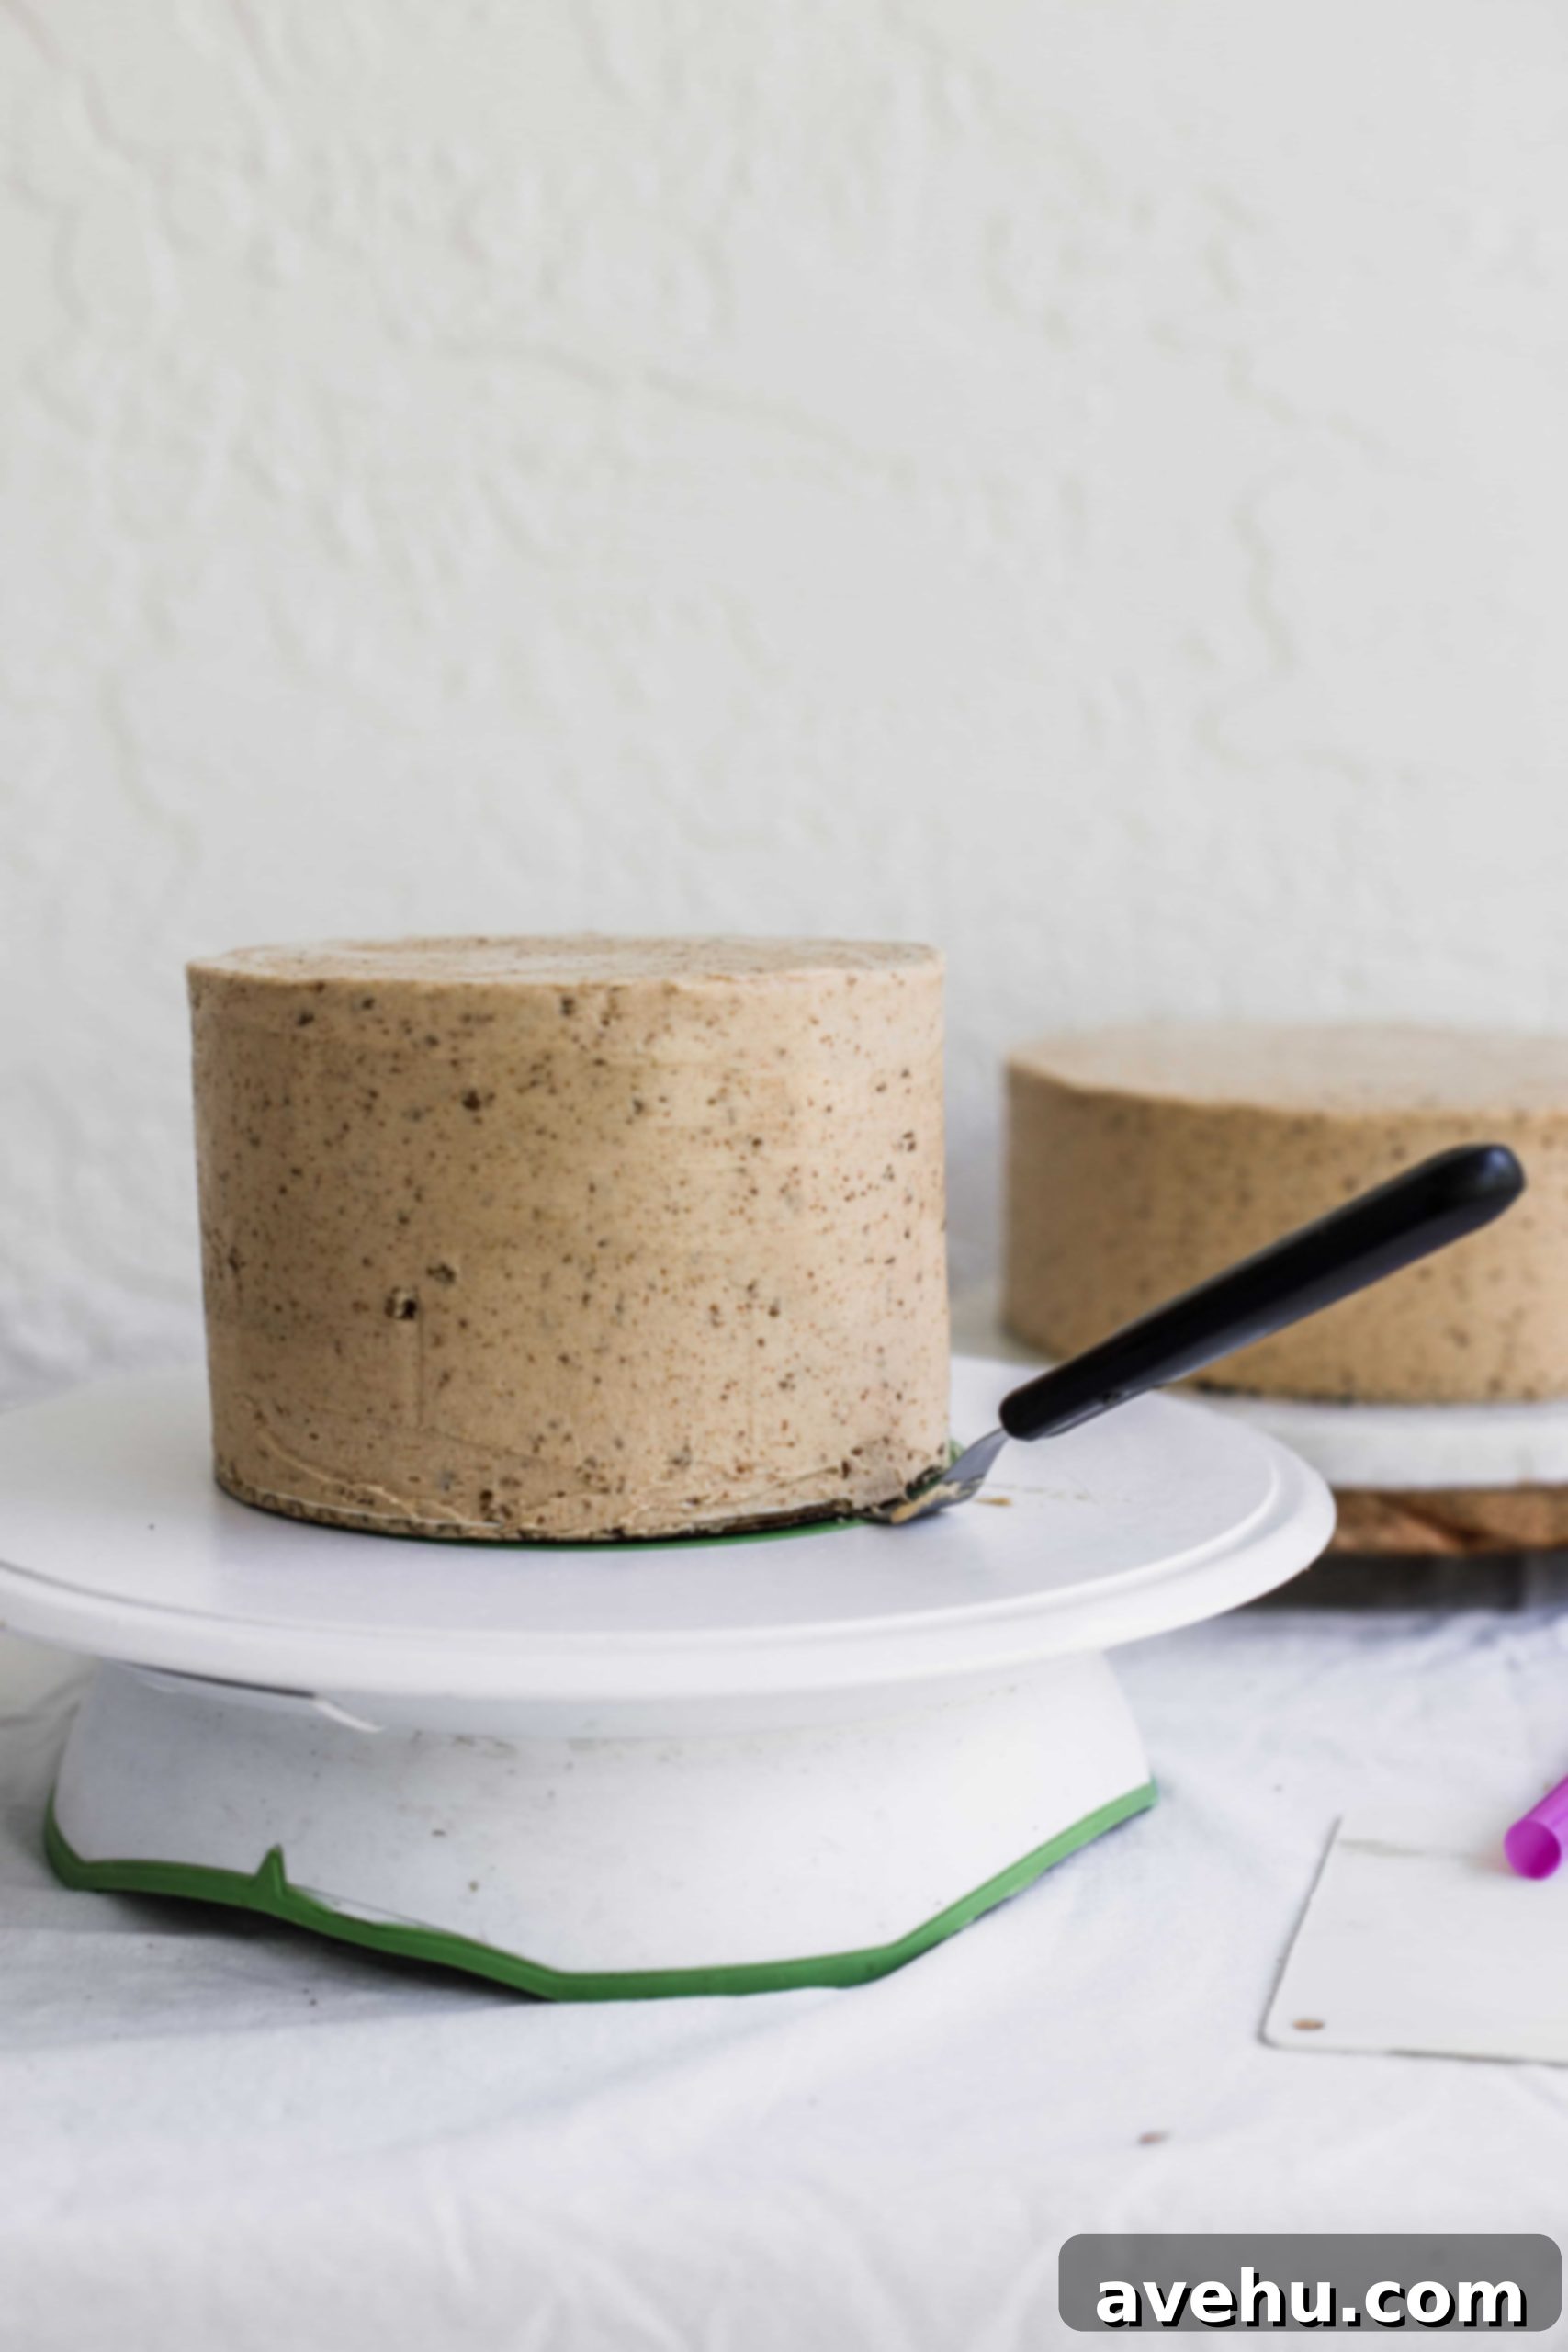
The image above demonstrates the technique of lifting a cake with an offset spatula, albeit with a smaller cake. The principle remains the same for larger tiers.
Now, we are truly ready to stack a two-tier cake!
The bubble tea straws (or dowels) are the unsung heroes of a stacked cake; they are solely responsible for supporting the entire weight of the top tier on the bottom tier. Because of this critical role, their placement must be precise and strategic.
It’s essential that these support straws are evenly distributed directly underneath where the top tier will rest. If you place the straws too close together, the weight distribution will be uneven, potentially leading to instability. Conversely, if they are too far apart, the top tier might sag between the supports or the straws could be visible, ruining the illusion. The goal is to perfectly position the straws so they effectively bear the weight of the upper tier, remaining completely hidden and ensuring a perfectly level foundation.
For an 8-inch base cake, I recommend placing four evenly distributed straws in a square formation. For larger cakes (10 inches or more), I might add a fifth straw directly in the center of that square. This arrangement ensures the top tier’s weight is optimally balanced and supported.
How to Precisely Place the Straws on the Bottom Tier
Take one bubble tea straw and carefully push it straight down into the 8-inch cake until it hits the bottom cake board. Once it’s fully inserted, mark the straw exactly where it meets the top surface of the cake. You can do this by gently nipping it with your fingernail, making a small mark with frosting, or simply eyeballing it carefully. Pull the straw back out of the cake and use your scissors to cut off the top portion, ensuring the straw is precisely the same height as your cake tier. Then, push the trimmed straw back into the exact same hole. It is crucial that the top of the straw is either perfectly flush with the top of the cake or slightly below it – you do not want the straw to be taller than the cake. If a straw protrudes even slightly, your top tier will not sit flush with the bottom tier, creating an unsightly gap or an unstable lean.
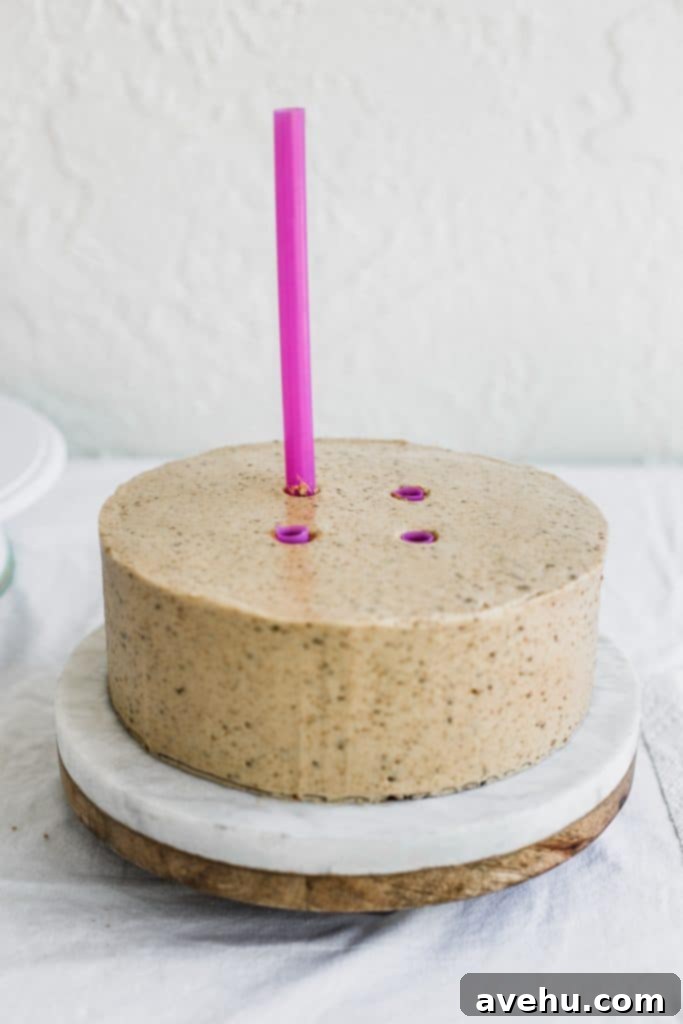
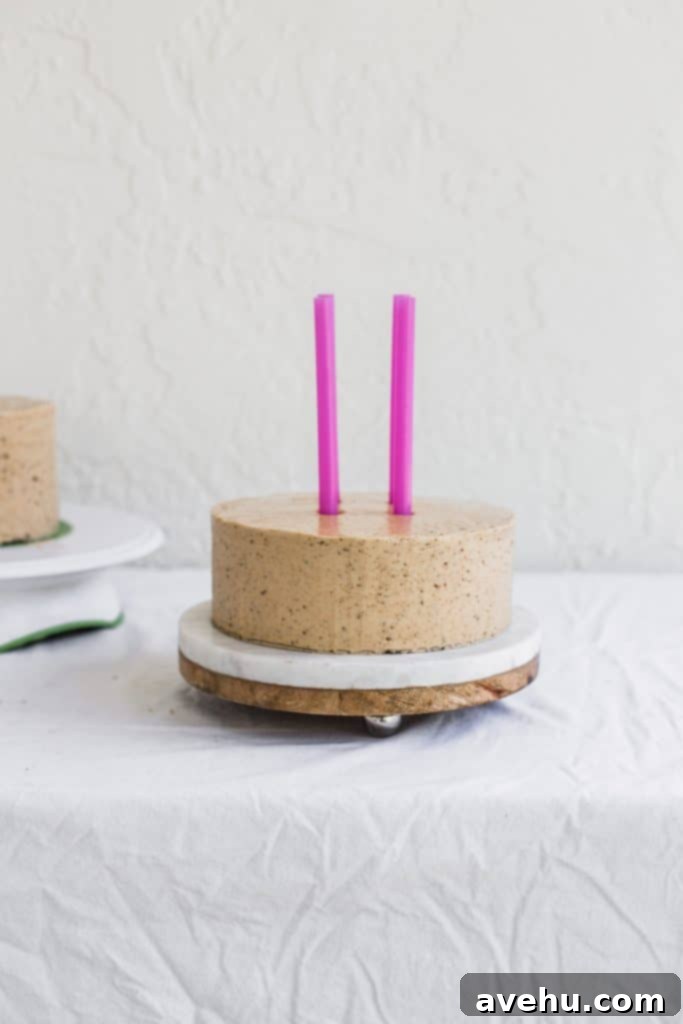
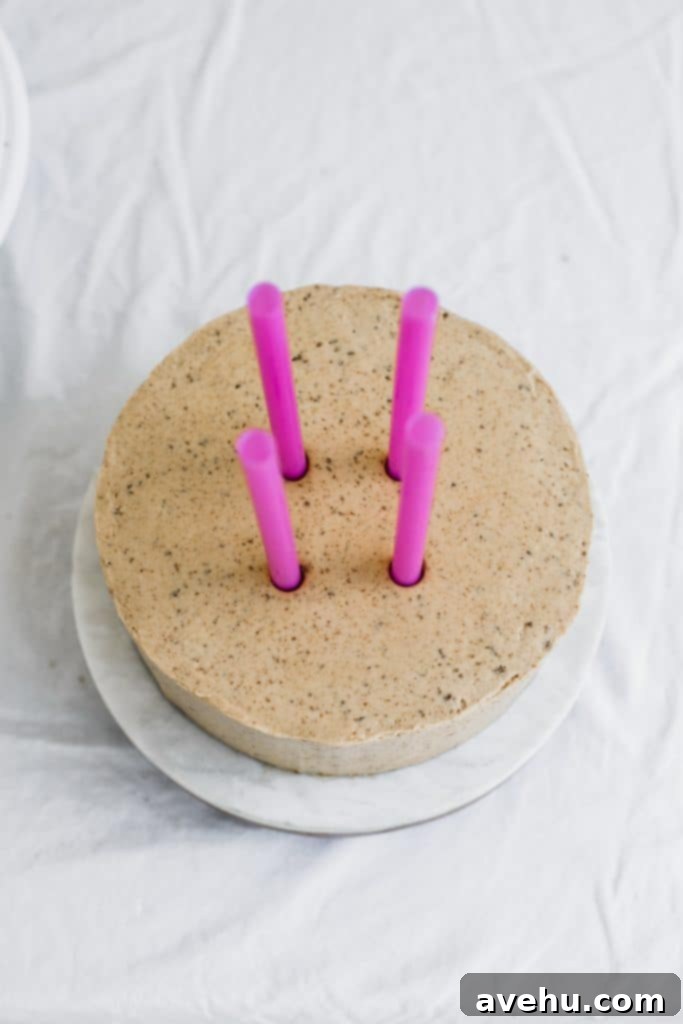
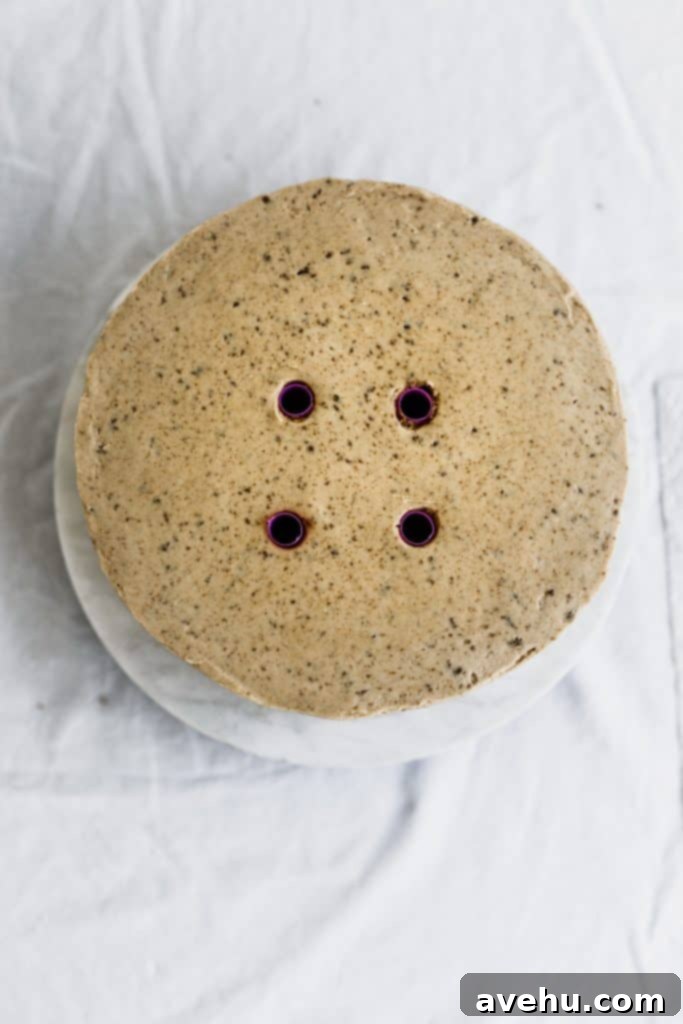
Repeat this process meticulously for all four straws, ensuring each one is cut to the exact height and perfectly flush with the top surface of your cake. Once all straws are in place, spread a thin layer of buttercream over them. This layer serves two purposes: it hides the straws from view and creates a sticky surface for the top tier to adhere to, ensuring it stays firmly in place.
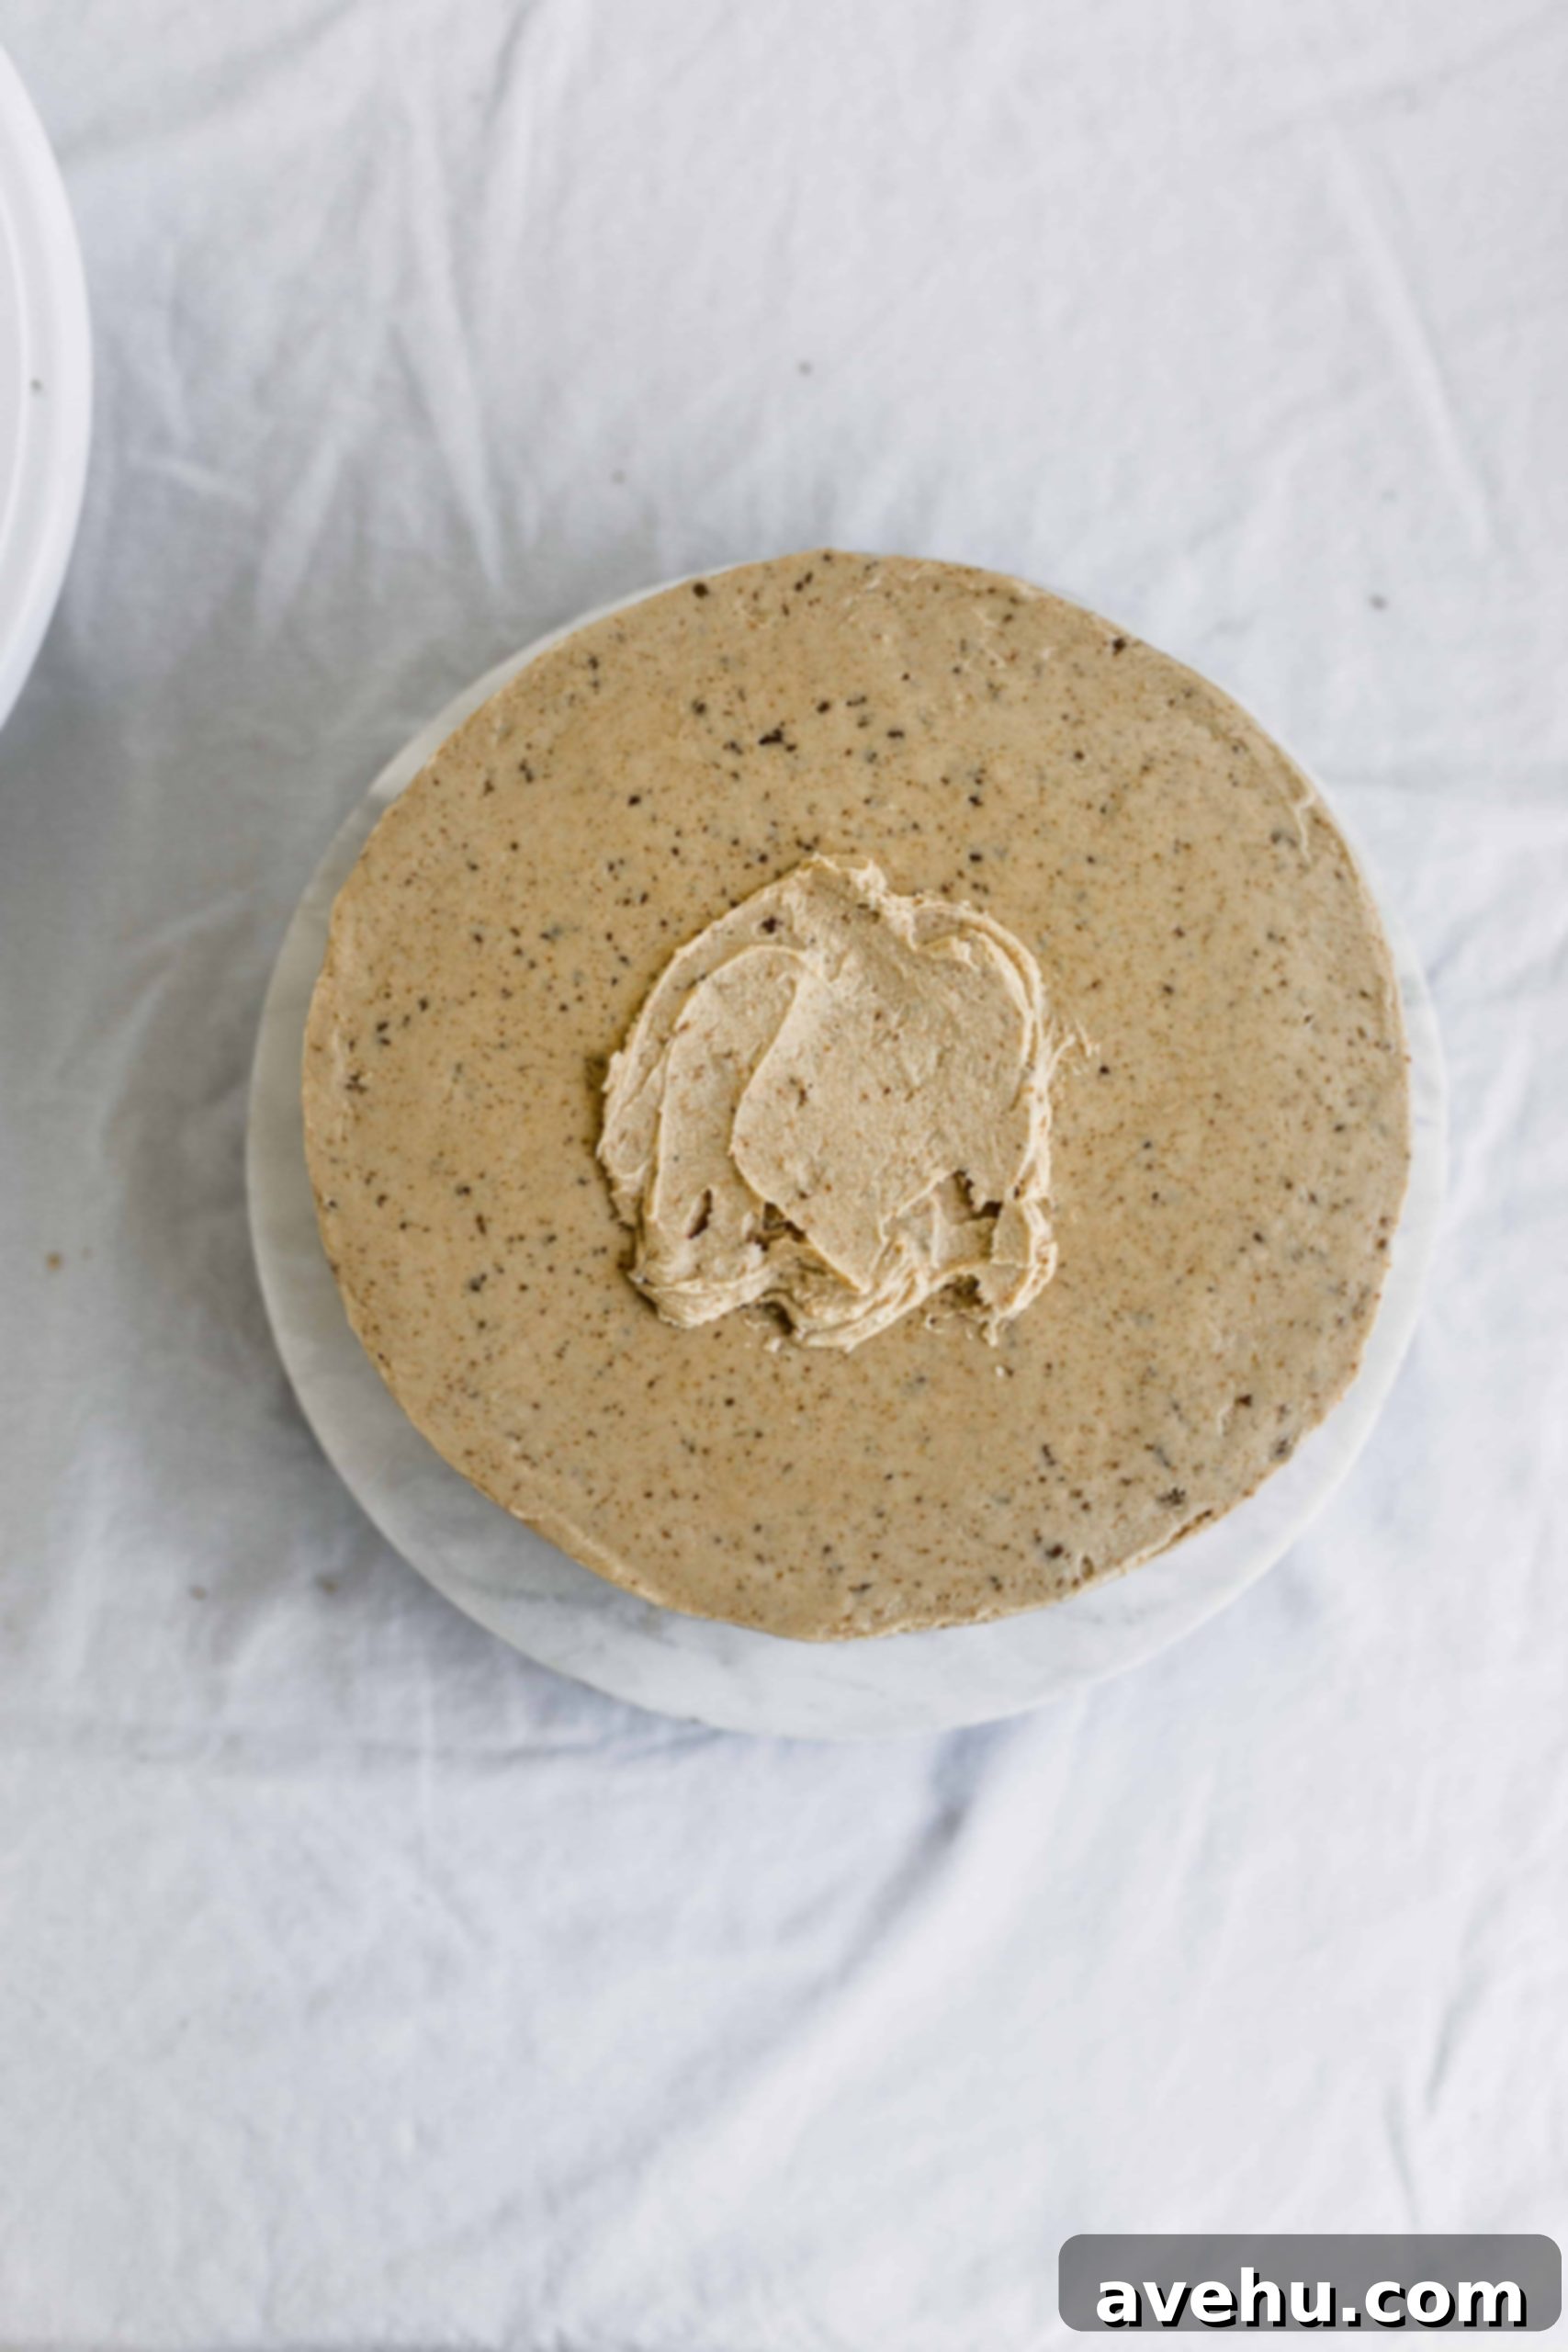
The Moment of Truth: Stacking the Top Tier
Now for the most anticipated part – and yes, it can feel a little terrifying, but you absolutely can do it! Here are some crucial tips before you begin:
- If your buttercream has had a chance to harden slightly (either by chilling or air exposure), it will be more resilient to fingerprints if you accidentally touch it during placement.
- If your buttercream is still fresh and soft, place the frosted top tier in the freezer for about 10 minutes just before stacking. This will firm up the exterior, making it easier to handle.
- Always remember that mistakes happen in cake decorating, and there are almost always ways to fix something! Don’t let fear paralyze you.
Okay, let’s do this!
Using your offset spatula, gently separate the 8-inch cake board (which was under the 6-inch cake for frosting) from the 6-inch cake board that is now securely attached to the bottom of your top tier. You want to keep the 6-inch cake board attached to the cake as you lift it. With both hands, carefully support the 6-inch cake tier from underneath, using only your fingertips. Lift it steadily and bring it over the center of your 8-inch bottom tier. Look directly overhead to precisely gauge where you want to place the cake. Bring it as close as possible to the bottom tier without actually touching it, and then, with a confident motion, gently drop it straight down into its final position. If your supporting straws are correctly placed and cut (which they should be!), they will perfectly bear the weight of the top cake, and it will settle securely.
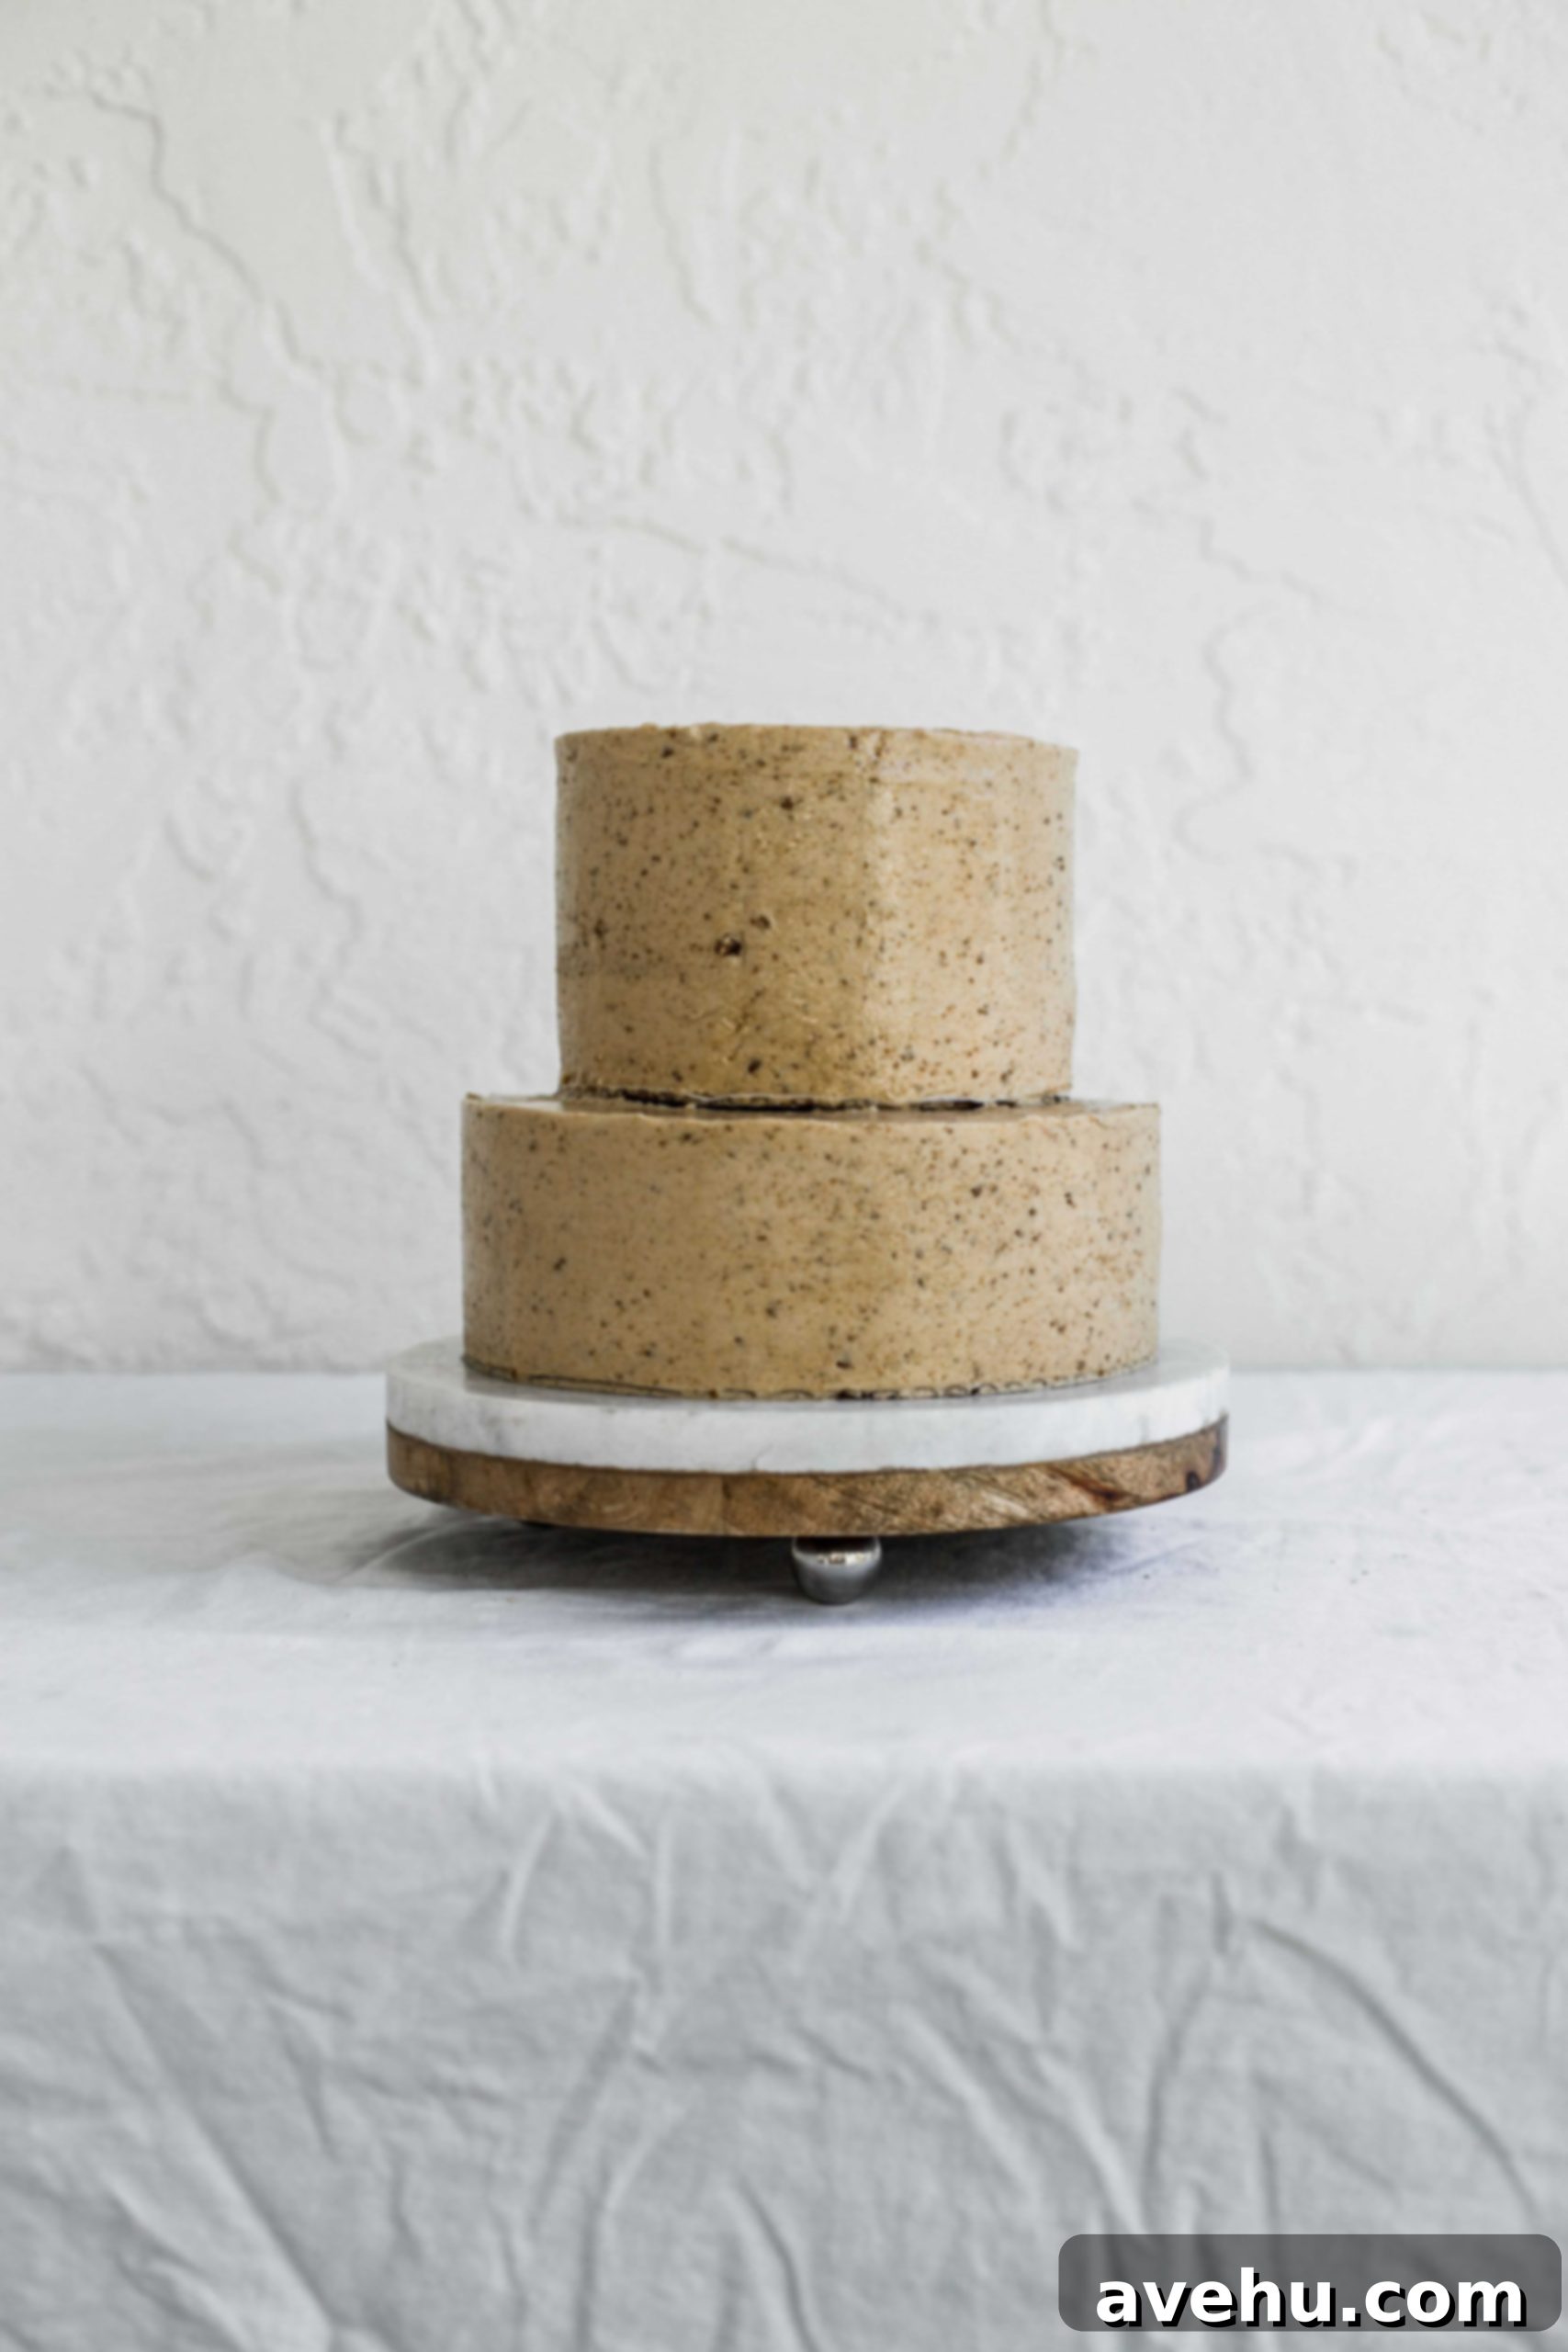
Alternatively, some bakers prefer to lean one side of the top tier onto the bottom tier (where the straws are) and then gently lower the other side into place. However, I find this method can sometimes disturb the buttercream on the bottom tier, especially if it hasn’t fully hardened. If you choose this second route, always approach it from the back of the cake. That way, if any imperfections occur, they’ll be less noticeable from the primary viewing angle.
THERE YOU GO! YOU DID IT. You have successfully stacked a two-tier cake! Now, take a deep breath and admire your impressive creation!
What to Do if You Encounter a Mishap While Stacking
First and foremost, it’s absolutely okay! Cake decorating is a learning process, and everyone makes mistakes, even experienced professionals. The most common “mess-up” people encounter is a slight gap or unevenness at the meeting point between the top and bottom tiers.
This is a super simple fix that can easily be disguised or transformed into a decorative feature. You can pipe a decorative border or design around the entire circumference of the meeting point using a piping bag and tip. Alternatively, you can add other delightful decorations such as fresh flowers, colorful sprinkles, crushed cookies, or chocolate shavings to beautifully conceal any imperfections.
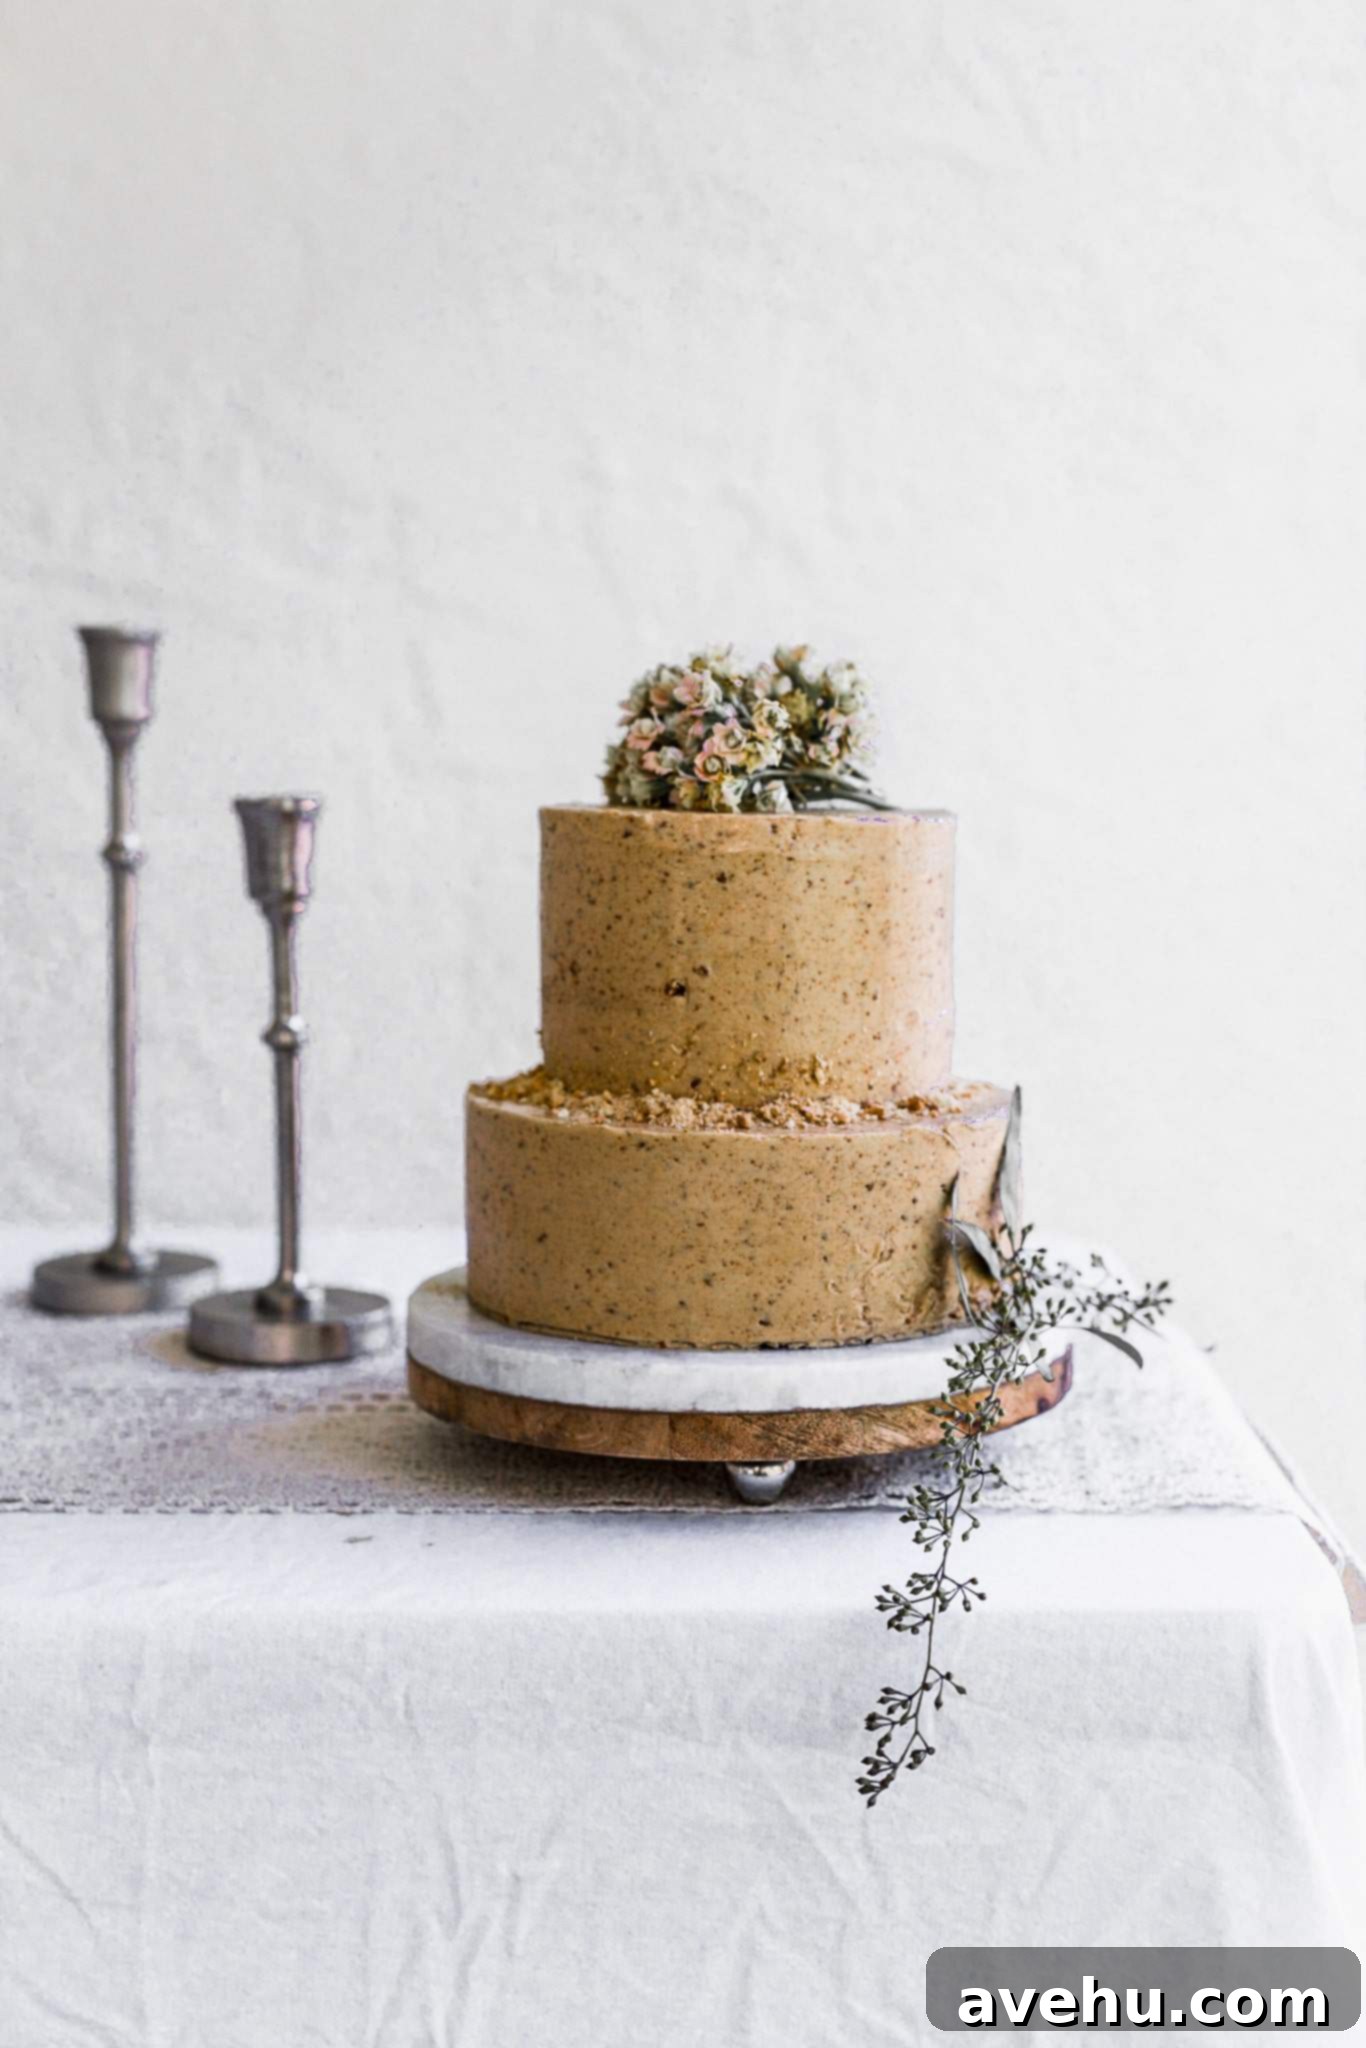
It’s also important to remember that we are often our own harshest critics. What might seem like a glaring flaw to you (like a tiny thumbprint or a slightly less-than-perfect edge) may not even be noticed by someone seeing the cake for the very first time. Focus on the overall beauty and effort you put in!
Creative Ways You Can Decorate Your Stacked Cake:
Once your cake is perfectly stacked, the real fun of decorating begins! Here are some ideas to spark your creativity:
- Sprinkles: A classic choice! Use a single color for elegance or a vibrant mix for a festive look. You can apply them to the sides, top, or create an ombré effect.
- Cookies: Mini cookies, crushed cookies, or even whole decorative cookies can add texture and flavor. Think crushed Oreos, chocolate chip cookie crumbles, or elegant shortbread.
- Dessert Sauces: Create a beautiful “drip” effect by gently pouring warm chocolate ganache, caramel, or fruit coulis along the edges of your top tier, letting it cascade down the sides.
- Macarons: These delicate French treats are perfect for adding sophisticated color and texture. Buy them in various sizes and arrange them artfully on top or around the base of each tier.
- Fresh Fruit: Berries, sliced kiwi, or colorful citrus segments can add a fresh, natural touch. Just be sure to add them closer to serving time to maintain their freshness, and consider brushing them with a little glaze for extra shine and preservation.
Safely Delivering a Stacked Cake
If your beautifully stacked cake needs to travel, whether to a party or a client, you must take extra precautions to ensure its structural integrity. The best way to provide maximum stability for transport is by inserting a long, central dowel through both tiers *after* they have been stacked.
This central dowel should extend from the top surface of the uppermost tier, pass cleanly through its cake board (the 6-inch board), and then continue down through the entire 8-inch bottom cake, reaching its base cake board. This creates a powerful anchoring system, preventing the tiers from shifting or toppling over during movement. Make sure to insert this central dowel first, before adding any final decorations, as you will need to artfully conceal the small hole it creates on the top tier.
For this specific central support, I highly recommend using a strong wooden dowel rather than a bubble tea straw, as the straws are generally not long enough to span both tiers and provide sufficient rigidity. To make it easier to penetrate the cake boards, you can sharpen one end of the wooden dowel. Alternatively, you can purchase cake boards that come with a pre-cut center hole, specifically designed for this purpose, simplifying the process.
WHEW, this post was quite detailed! Creating a two-tier cake might seem like a marathon, but each step is manageable with patience and the right guidance.
Even though I no longer sell custom cakes full-time, I genuinely enjoy sharing the experience and valuable information I’ve gathered over the years. I sincerely hope this guide helps clarify the tools you need, the techniques to master, and the step-by-step process required to successfully bake and stack your very own impressive two-tier cake!
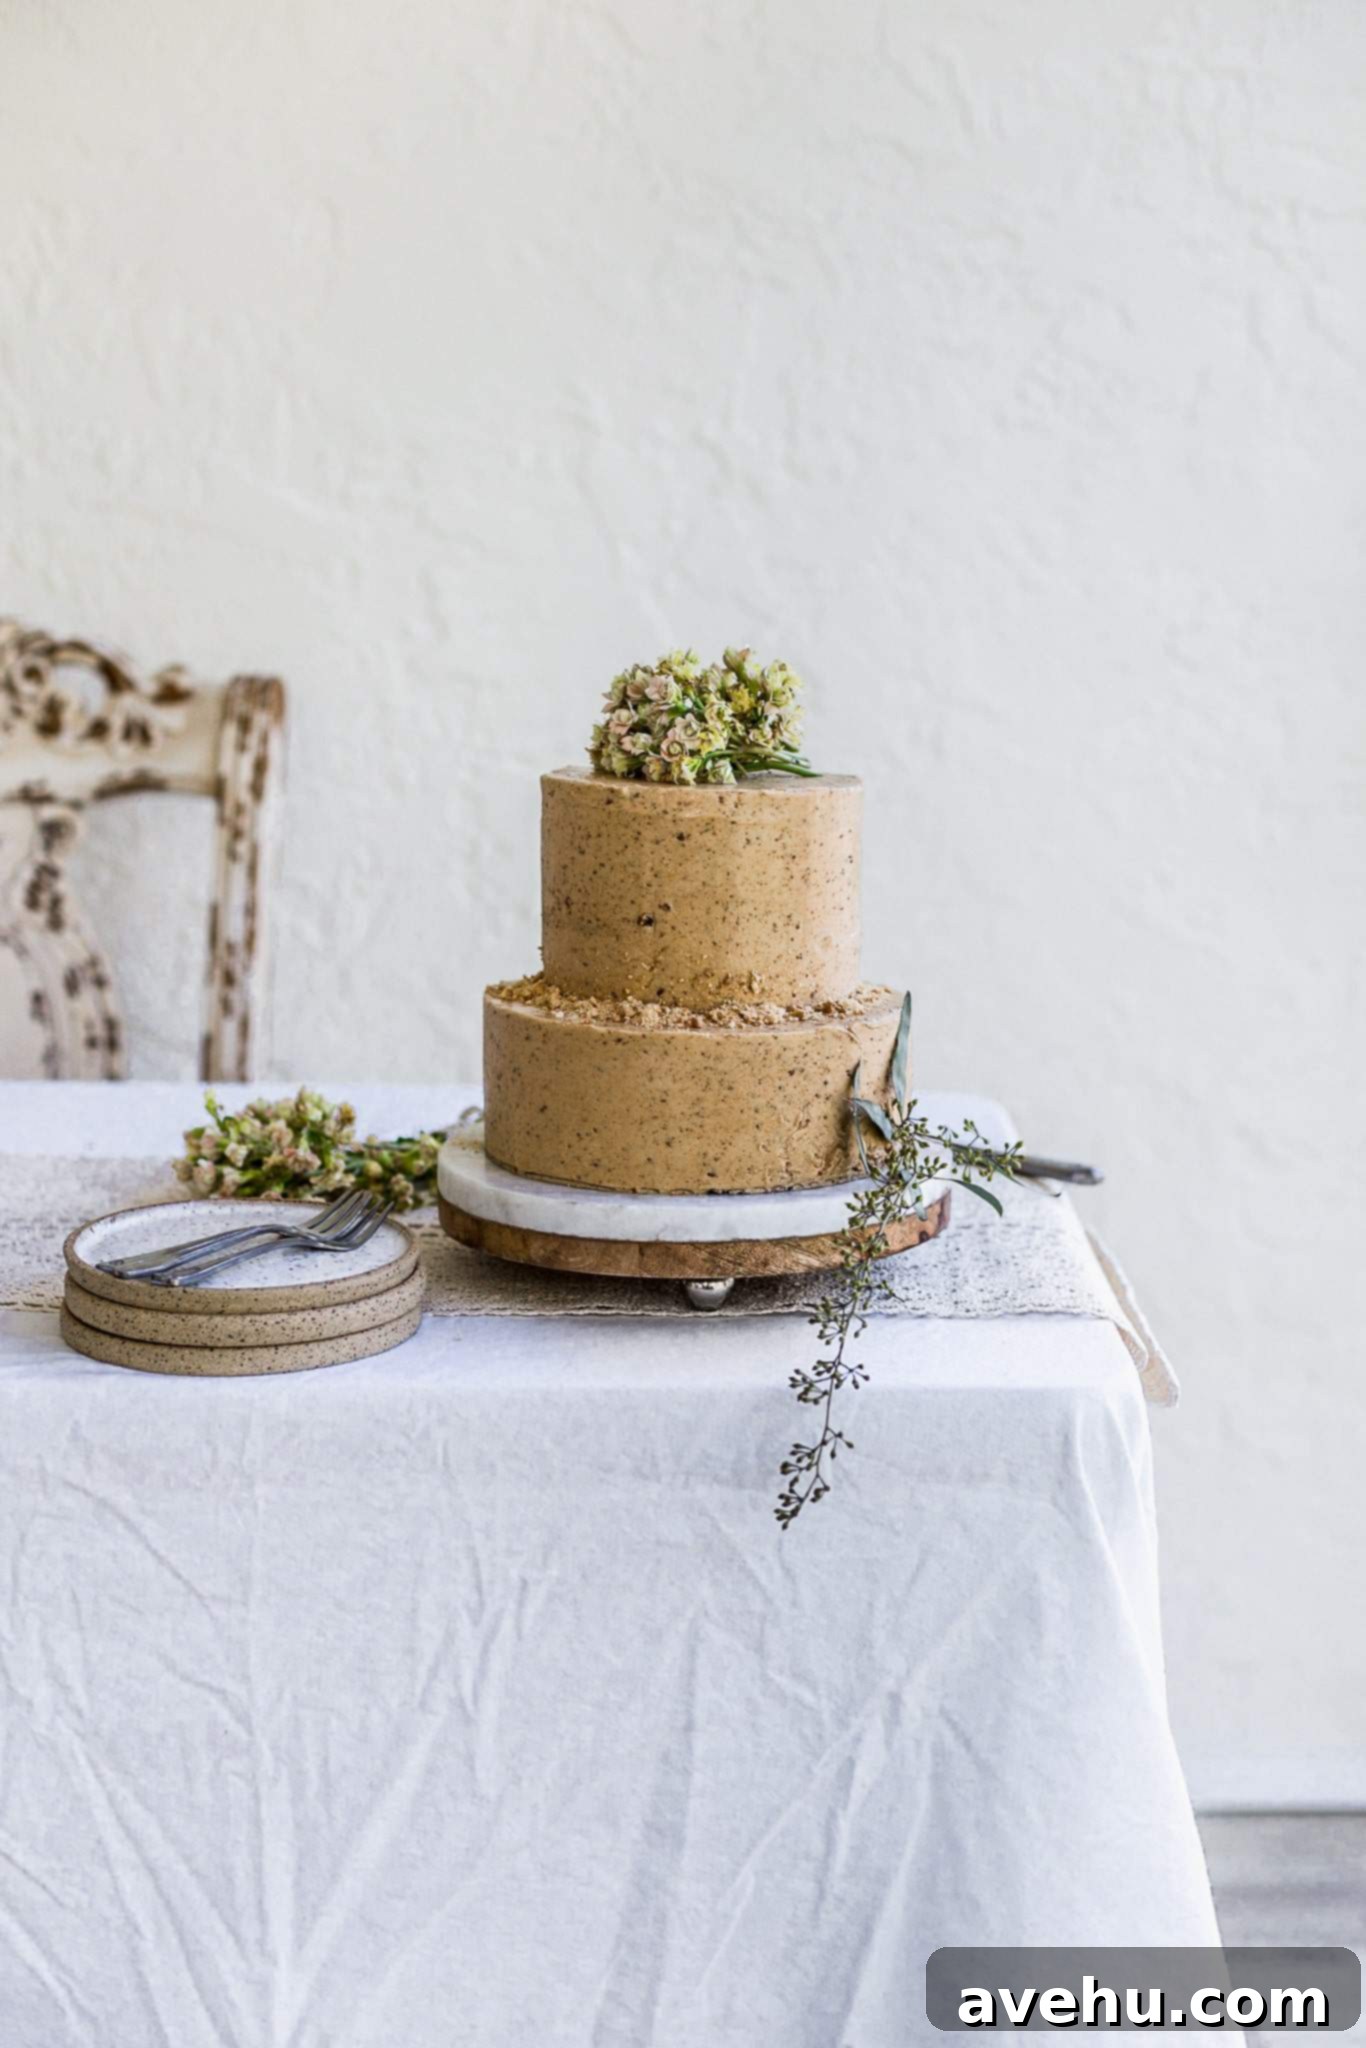
If you found this post helpful, or if you ever try stacking your own cake using these methods, I would absolutely love to hear about your experience in the comments section below! Your feedback and successes (and even your challenges!) are truly inspiring.
Thank you for following along on this delicious journey. If you have any further questions, please don’t hesitate to ask away!
If you liked this post, you might also enjoy these helpful guides:
- How to Decorate a Cake with Beautiful Fresh Flowers
- 10 Ways to Make Your Homemade Cakes Look More Professional
- Our Favorite Easy One-Bowl Vanilla Cake Recipe
- The Best Classic Vanilla American Buttercream Recipe
Heads up! This post contains affiliate links which means if you purchase something off of these links, I make a commission at no extra cost to you. I love all these products and wouldn’t recommend them if I didn’t! Thanks for supporting my blog!

How to Bake and Stack a Two Tier Cake
Pin
Review
SaveSaved!
Ingredients
For Vanilla Cake
- 8 eggs , large
- 2 egg yolks
- 2 cups vegetable oil
- 3 cups granulated sugar
- 1 cup brown sugar
- 5 cups all purpose flour
- 4 tsp baking powder
- 2 tsp kosher salt
- 1 1/2 cups milk
- 4 tsp vanilla extract
Double Batch Vanilla Buttercream
Equipment
-
3 6″ cake layers
-
3 8″ cake layers
-
1 cake leveler
-
1 turn table
-
1 Offset spatula
-
1 6″ cake board
-
2 8″ cake board
-
1 10″ cake board
-
5 bubble tea straws
-
1 bench scraper
-
1 food safe spray bottle
-
1 piping bag
-
1 round tip
Instructions
Bake the cake
-
Preheat your oven to 350° F and spray 3 8 inch round cake pans and 3 6″ round cake pans with baking spray or line with parchment paper.
-
In the bowl of a stand mixer fitted with the paddle attachment or in a large bowl- combine eggs, yolk, oil, and sugars and mix well until combined.
-
Combine the flour, baking powder and salt in a bowl and slowly add to the mixture on low speed.
-
Slowly add in milk, and vanilla and continue mixing until a smooth batter forms, about 1-2 minutes.
-
Evenly pour the batter into the pans and bake for 28-30 mins for the 6″ and 35- 40 mins for the 8″ The cake is done when a toothpick is inserted and comes out clean and when the edges are pulling away from the sides and are golden brown.
Fill and frost the 8″ layer
-
Using the cake leveler or a long serrated knife, level off the cakes so they have a flat top.
-
Place a 10″ cake board on the turntable, and a dab 1 tsp of buttercream in the middle and smooth it out. Place the 8″ cake board on top and press it to stick to the 10″ board. Smooth 1 tbsp buttercream on top of the 8″ cake board, then place your first 8″ cake layer on top.
-
Using either a piping bag with a round tip or an offset spatula, place down 1/4 cup of buttercream on top of the cake, starting in the middle and smoothing to the outside. Leave 1/2″ from the sides so it doesn’t overflow over the cake. If using a piping bag, pipe a border around the cake and then fill the middle.
-
Take the next 8″ cake layer and turn it upside down so that the bottom is now the top. Place it on top of the filling. The cut side down should be on top of the buttercream. Repeat the process of filling the cake layer with buttercream and topping it with the last 8″ cake layer.
-
Using the offset spatula, and the turntable frost the entire cake (spinning as you go) from bottom to top for a light crumb coat. Place in the freezer for 15 minutes to seal in the crumbs.
Fill and frost the 6″ layer
-
Repeat the same steps as above for filling and frosting the 6″ layer. Start by spreading 1/2 tbsp frosting over the 6″ cake board and end by putting the cake in the freezer for 15 minutes. You should now have 1, 8″ cake layer, and 1, 6″ cake layer
Top coat frosting
-
Using the offset spatula again, frost both of the entire cakes using more buttercream this time. When the cake is mostly covered with buttercream, switch to the bench scraper and smooth out the sides and tops of the cakes. Don’t worry if it isn’t perfect.
-
Fill your water bottle with clean water and lightly spray one cake at a time on the turn table. Using the bench scraper again, smooth out any cracks. Repeat for the second cake.
Stacking
-
Using bubble tea straws or wooden dowels place 4 straws in a square shape in the center of the 8″ cake making sure that they are being placed under where the 6″ cake will be. Push each straw into the cake, then mark the straw where it hits flush with the cake and cut off the rest of the straw. The straws should be the same height as the 8″ cake or a little under, just not higher.
-
Spread a thin layer of buttercream over the straws.
-
Using the offset spatula, lift the bottom of the 6″ cake and hold it with 2 hands from the bottom. Center it above the 8″cake, get as close as you can and drop it into place on top of the 8″ cake and straws.
-
Continue decorating as you please! YOU DID IT!
Notes
This takes practice! Don’t worry if it doesn’t look perfect or if it messes up, you will get better at it every time you do it.
You can double my American buttercream recipe to fill and frost this cake!
