Effortless No-Chill Chocolate Cut-Out Sugar Cookies: Your Go-To Recipe for Perfect Holiday Treats
Prepare to delight your taste buds with these incredibly easy cut-out chocolate sugar cookies, ready in 30 minutes or less! Building on the success of my beloved classic vanilla cut-out sugar cookies, I knew a rich, chocolatey version was a must-have. This recipe utilizes quality cocoa powder to deliver a deep chocolate flavor and, best of all, requires absolutely no chilling time. Say goodbye to waiting around – you can mix, roll, cut, and bake these beauties in under half an hour! These chocolate wonders are not just quick; they also boast exceptional shape retention, keeping even the sharpest edges defined and perfect for intricate designs. Once baked, transform them into festive masterpieces with an easy cookie icing, making them ideal for any holiday or special occasion.

While everyone cherishes the familiar charm of traditional vanilla cutout sugar cookies, venturing into a rich chocolate rendition opens up a world of delightful possibilities. After perfecting my original recipe, adapting it to a decadent chocolate version felt like a natural next step, and the results exceeded all expectations. These chocolate sugar cookies aren’t just a twist on a classic; they’re a standalone star. They consistently maintain their form, no matter how intricate your cookie cutter. I’ve personally tested them with various cookie cutters, including those with super sharp and delicate edges, and they truly perform as a 10/10 in terms of shape retention and overall quality.
What truly sets this recipe apart, making it an absolute favorite, is its remarkable speed and convenience. These delectable treats can be ready from start to finish in 30 minutes or less, thanks to their no-chill dough. As a pastry chef by training, I often find myself taking smart shortcuts that don’t compromise on flavor or quality. The idea of waiting two hours for cookie dough to chill simply doesn’t align with spontaneous baking desires, which is why no-chill recipes are my constant go-to. This recipe perfectly embodies that philosophy – quick, easy, and exceptionally delicious.
The secret to their deep chocolate flavor and delightful texture lies in a carefully balanced blend of cocoa powder, powdered sugar, and white granulated sugar. This specific combination creates a cookie that is perfectly crunchy without being overly hard or dense, almost reminiscent of a delicate shortbread but with an irresistible chocolate depth. The unsweetened cocoa powder ensures an authentic, robust chocolate taste that is beautifully complemented by the sweetness of the sugars. These cookies offer a satisfying snap with every bite, followed by a tender melt-in-your-mouth quality that will have everyone reaching for more.
For decorating, the chocolate cookies featured in this post are adorned with my easy cookie icing. This icing is fantastic because it eliminates the need for any complicated piping bags, making decoration simple and mess-free. However, if you’re aiming for a more elegant or intricate finish, you can elevate your decorating game by making my royal icing. No matter your skill level or time constraints, these chocolate sugar cookies provide a perfect canvas for your creativity. So, grab your most exciting cookie cutters – I challenge you to try your sharpest and most detailed ones – and let’s embark on a fun and flavorful baking adventure!
What Makes These Chocolate Sugar Cookies Unbeatable?
- Effortless Preparation: In today’s fast-paced world, who has time for lengthy baking projects? This recipe stands out with only 10-15 minutes of active preparation, zero chilling time, and a quick 10-minute bake. This means you can have a batch of freshly baked, decorated cookies on your table in under 30 minutes! It’s an ideal recipe for beginner bakers, busy parents, or anyone looking for a fun, stress-free activity to enjoy with kids. The simplicity truly makes it shine.
- Exceptional Shape Retention: One of the most common frustrations with cut-out cookies is dough spreading in the oven, causing your carefully crafted shapes to lose their definition. Not with these cookies! This recipe is specifically designed to keep its form flawlessly, ensuring that every detail of your cookie cutter, from sharp corners to delicate curves, is perfectly preserved. They bake up flat and stable, making them an excellent base for any decorating style.
- High Yield Baking: Because these cookies maintain their shape and do not puff up or spread significantly during baking, you can place them much closer together on your baking sheets. This allows you to bake a larger quantity of cookies in fewer batches, saving valuable time and oven space. As long as they aren’t touching, you’re good to go – no need for the traditional 2-inch spacing!
- Perfectly Balanced Texture: Forget hard, teeth-breaking sugar cookies. The unique combination of powdered sugar and white granulated sugar in this recipe results in a wonderfully tender yet satisfyingly crunchy cookie. They have a delightful crispness on the outside and a melt-in-your-mouth crumb that sets them apart from typical dense cut-outs. It’s a texture that feels gourmet but is surprisingly easy to achieve.
- Irresistible Rich Chocolate Flavor: The high-quality unsweetened cocoa powder delivers a deep, authentic chocolate flavor that is both prominent and perfectly balanced with the sweetness. These aren’t just subtly chocolate-flavored cookies; they offer a true cocoa experience without being overly bitter or sugary. It’s a sophisticated flavor profile that appeals to all chocolate lovers.
Essential Ingredients for Your Chocolate Cookie Dough
While the ingredients for this recipe are mostly standard pantry staples, understanding their specific roles will help you achieve the best results. For the precise measurements and a complete list, please refer to the comprehensive recipe card located further down.
Powdered Sugar + White Sugar: This is a key differentiator from many traditional sugar cookie recipes that rely solely on granulated white sugar. My choice to use an equal blend of white sugar and powdered (confectioners’) sugar is intentional. I discovered that this combination significantly contributes to the unique texture of these cookies – they become delightfully crunchy without the excessive hardness or density often found in decorated cut-out cookies. The powdered sugar adds a tenderness that gives them an almost shortbread-like quality, which I absolutely adore. This blend ensures a smooth dough that’s easy to work with and bakes into a cookie that’s a pleasure to bite into.
Unsweetened Natural Cocoa Powder: The quality of your cocoa powder directly impacts the depth and richness of your chocolate cookies. I highly recommend using a natural, unsweetened cocoa powder from reputable brands like Hershey’s or Ghirardelli. Dutch-processed cocoa can also be used, but natural cocoa tends to react better with the baking powder, producing a slightly lighter and more tender crumb while still delivering a robust chocolate flavor. Avoid using sweetened cocoa mixes, as they will throw off the sugar balance in the recipe.
Other Staple Ingredients: You’ll also need unsalted butter (at room temperature for optimal creaming), a large egg, pure vanilla extract (essential for enhancing the chocolate flavor), all-purpose flour, baking powder (for a slight lift and tenderness), and kosher salt (to balance the sweetness and deepen the flavor). Ensuring your butter is properly softened is crucial for achieving a light and fluffy base.
Crafting the Perfect Chocolate Cookie Dough
Before you begin, preheat your oven to 350° F (175° C). Prepare two baking sheets by lining them with parchment paper. As these cookies don’t spread, you can place them fairly close together on the sheets, maximizing each batch. The exact number will depend on the size of your cookie cutters.
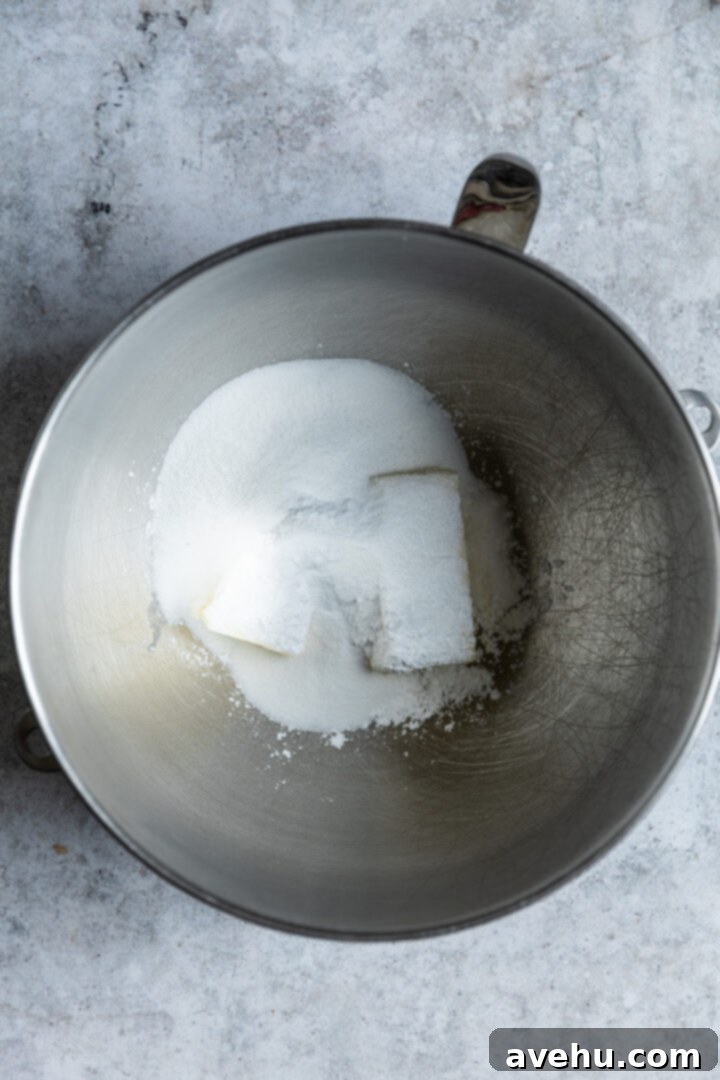
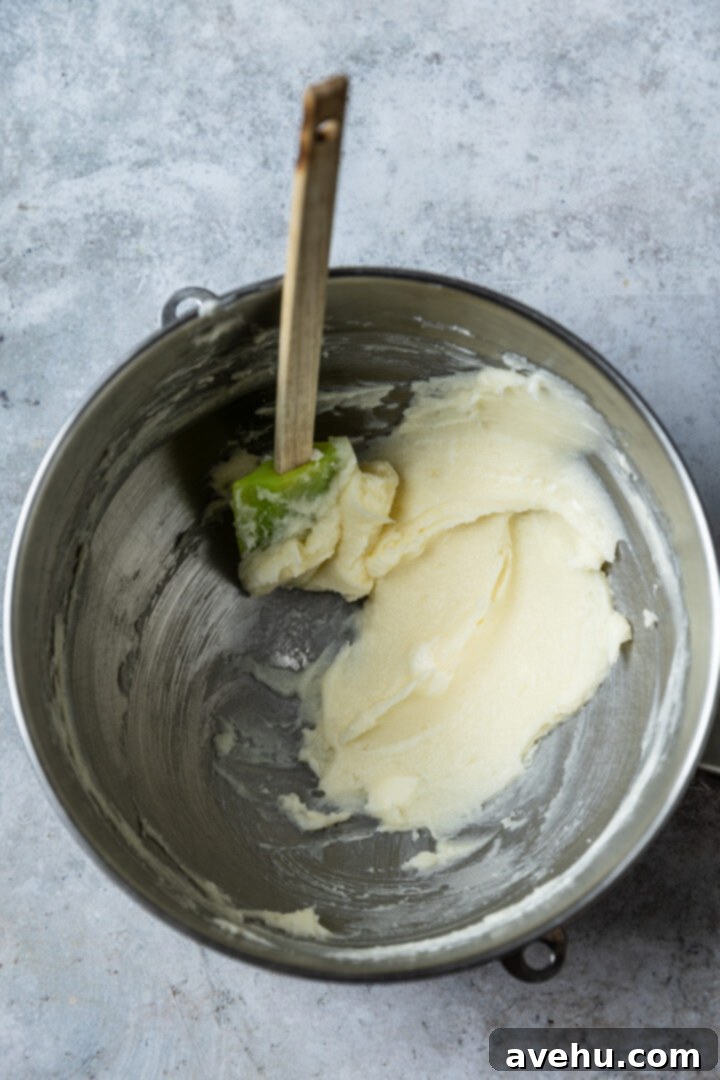
In the bowl of a stand mixer fitted with the paddle attachment (or using a hand mixer), combine the softened butter and both types of sugar – powdered and white granulated. Cream these ingredients together on medium speed for 1-2 minutes until the mixture transforms into a pale yellow, light, and fluffy consistency. This creaming process incorporates air, which is vital for the cookies’ final texture. Don’t forget to pause and scrape down the sides and bottom of the bowl with a spatula to ensure all ingredients are thoroughly combined.
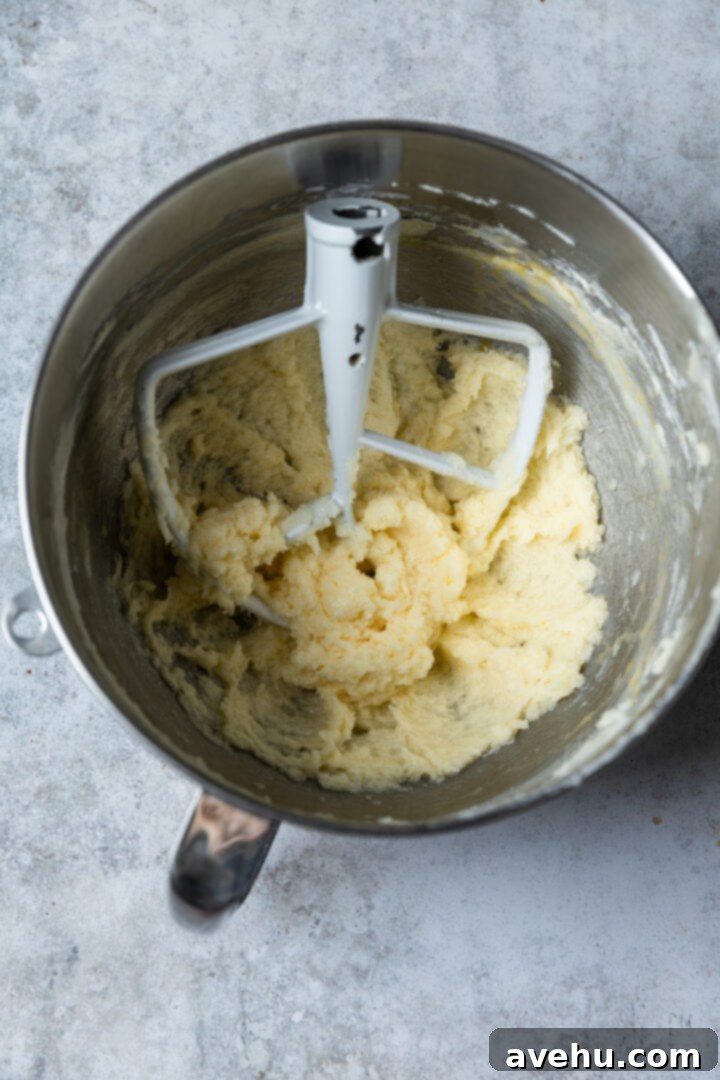
Next, crack in the large egg and add the vanilla extract to the creamed butter mixture. Mix again for about 15-30 seconds, just until these wet ingredients are fully incorporated. The mixture should still be light and fluffy. Now, with your mixer set to the lowest speed, gradually introduce the dry ingredients. Slowly add the all-purpose flour, allowing it ample time to be absorbed by the creamy butter mixture before adding the rest.
Baker’s Tip: Adding flour too quickly can lead to a tough cookie. Incorporating it slowly allows the butter to absorb the flour properly, resulting in a tender crumb. This step is crucial for the desired texture.
After the flour, continue by adding the cocoa powder, baking powder, and kosher salt. Mix on low speed until a firm, cohesive dough begins to form. This usually takes between 30 seconds to 1 minute. The dough should gather around the paddle attachment and feel smooth to the touch.
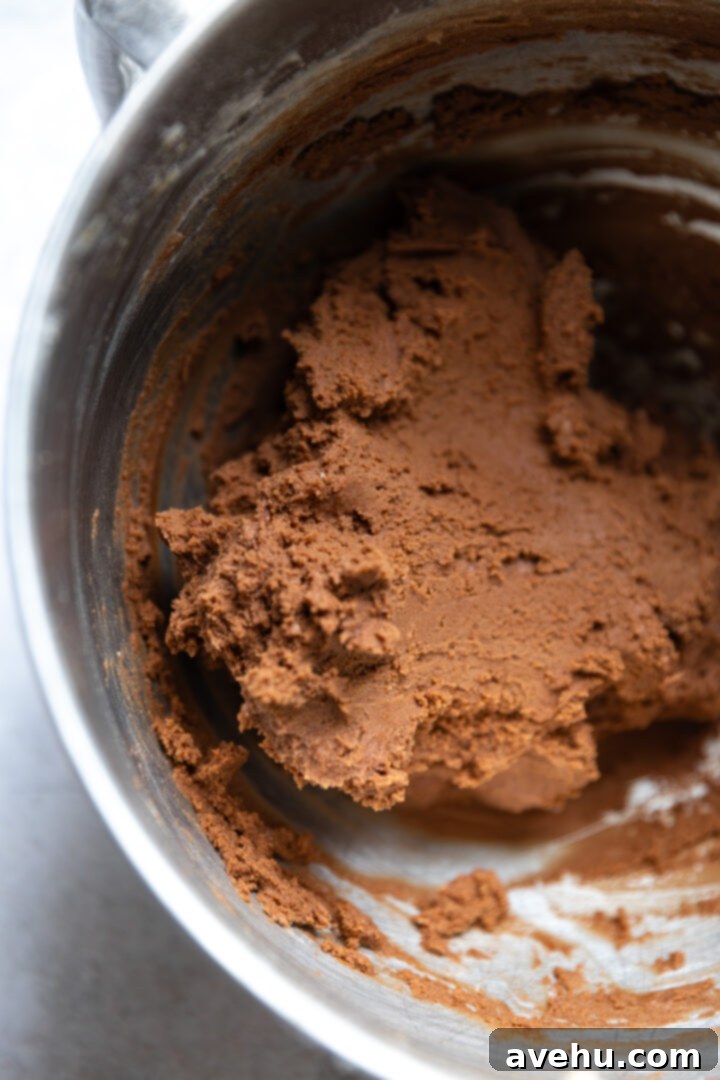
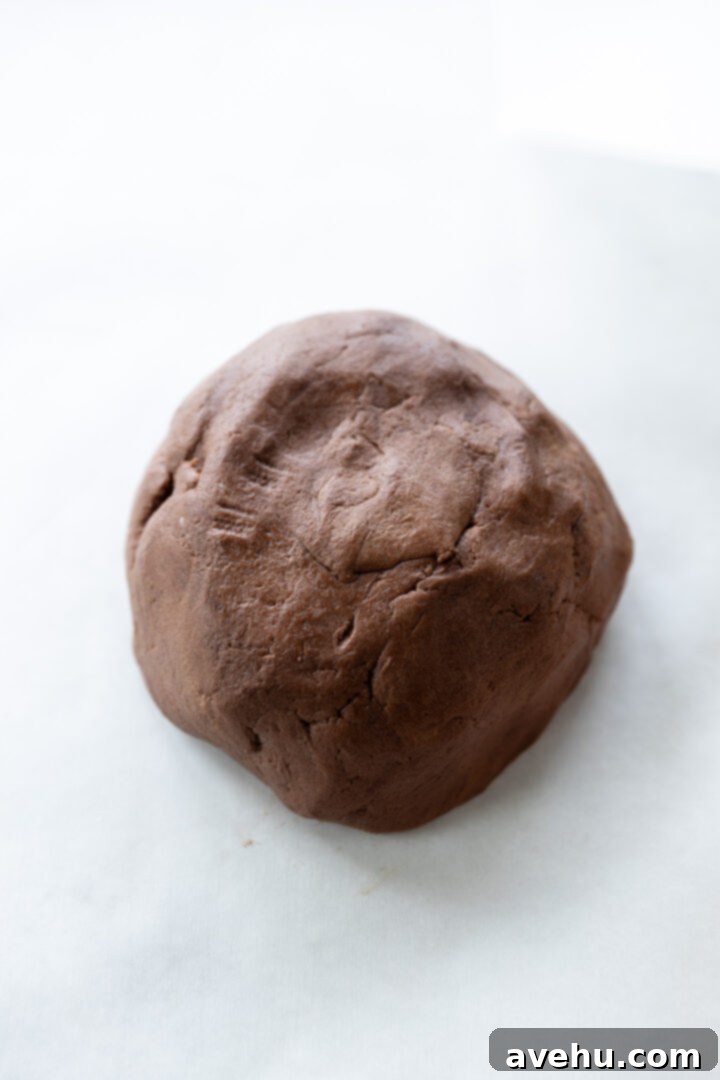
Once mixed, the dough should be easy to gather into a ball and should not stick to your hands or the bowl. If it feels a little too sticky, you can add a tablespoon more of flour, but typically, this recipe achieves a perfect consistency without extra additions.
Effortless Dough Rolling: A No-Mess Technique
My preferred method for rolling out this chocolate cookie dough ensures minimal mess and maximum efficiency: rolling it between two sheets of parchment paper. This technique is a true game-changer for several reasons. Firstly, it completely eliminates the need to dust your work surface with flour, preventing sticky situations and making cleanup a breeze. Secondly, and perhaps most ingeniously, once you’ve cut out your cookie shapes, you can simply peel away the excess dough and then lift the entire piece of parchment paper with the cut-out cookies directly onto your baking sheet. This avoids the delicate and often frustrating task of transferring individual, raw cookie shapes, which can easily distort their perfect form.
Roll the dough to an even 1/4 inch thickness. Consistency in thickness is important for uniform baking. Since these cookies maintain their shape and don’t spread much, you can place them quite close together on the parchment paper. This also means you can re-roll scraps multiple times without significantly affecting the cookie quality, which is often an issue with other recipes.
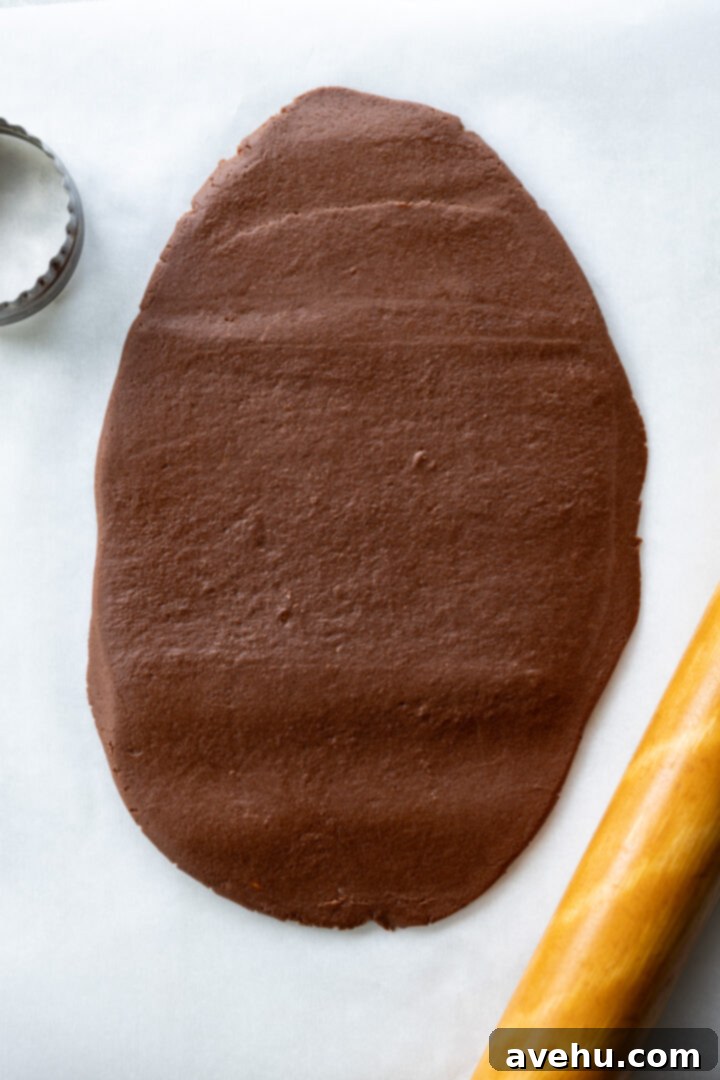
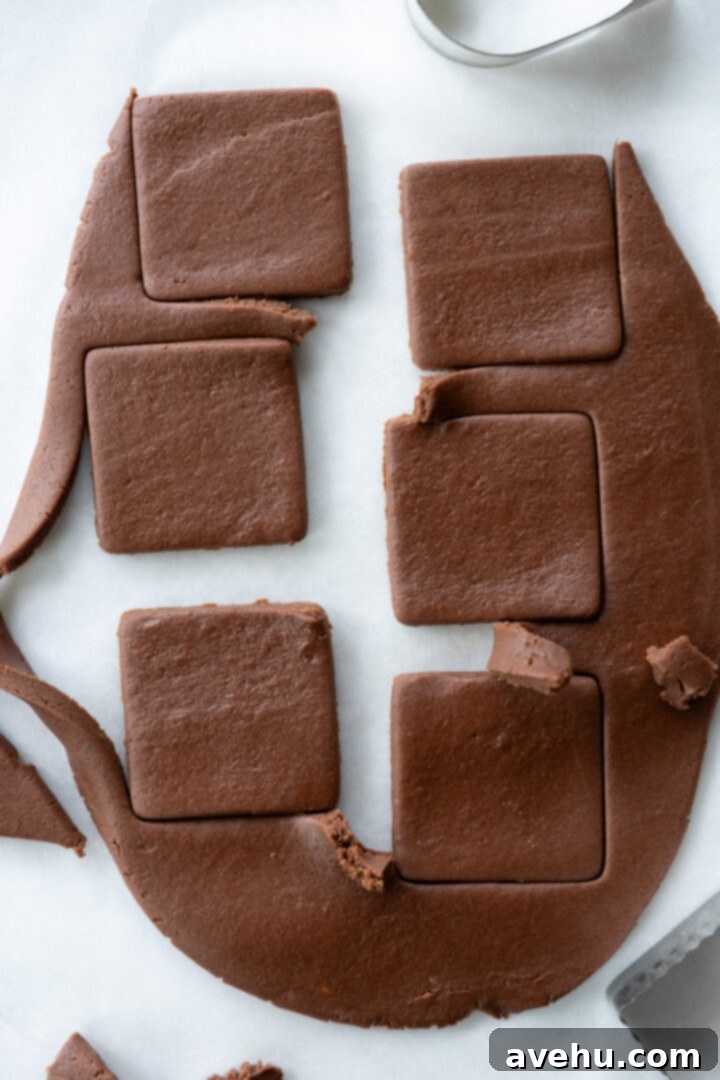
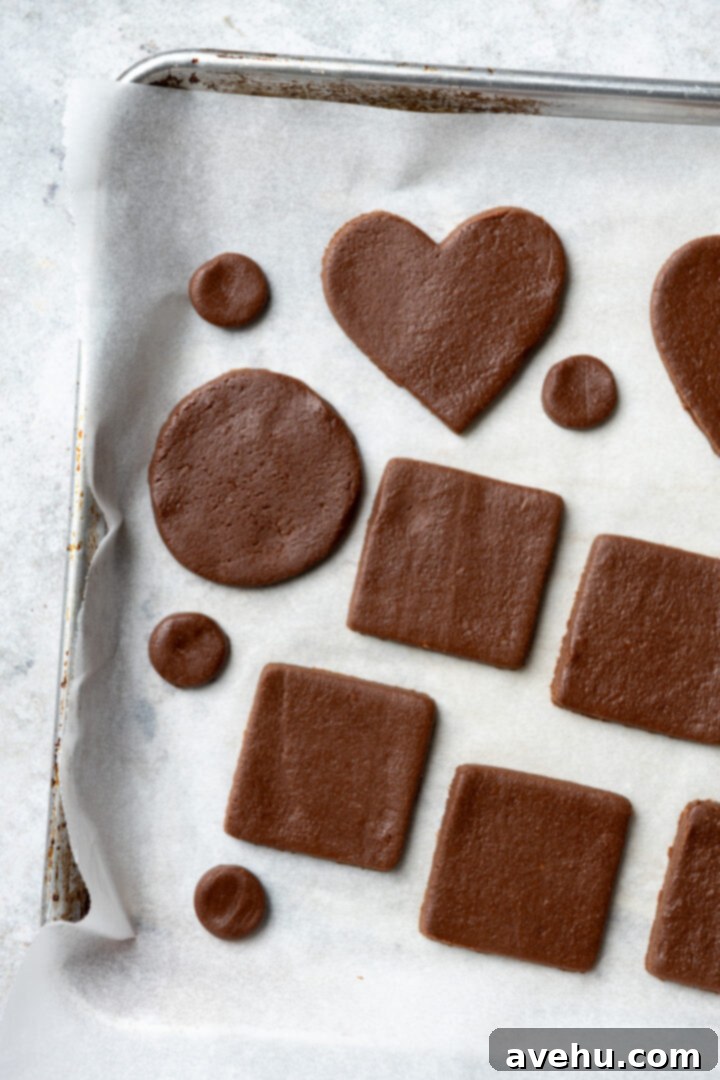
Once your dough is rolled, use your favorite cookie cutters to create your desired shapes. For the purpose of establishing a bake time reference in this recipe, I used a 3-inch cookie cutter. After cutting, simply remove the excess dough (which can be re-rolled), and transfer the parchment paper with the cut-out cookies onto your prepared baking sheet. Bake for 10-11 minutes. It’s that simple!
Since these are chocolate cookies, you won’t observe a golden-brown bottom as you would with vanilla cookies. Instead, to check for doneness, gently tap one cookie; it should feel firm to the touch after 10-11 minutes. They will continue to firm up slightly as they cool.
Understanding Yield and Adjusting Cookie Cutter Size
From one batch of this delicious chocolate cookie dough, I consistently get approximately 20 cookies using a 3-inch cookie cutter. However, the total yield of cookies you achieve from this recipe will directly depend on the size of the cookie cutters you choose to use. This recipe is very flexible and works well with a variety of sizes.
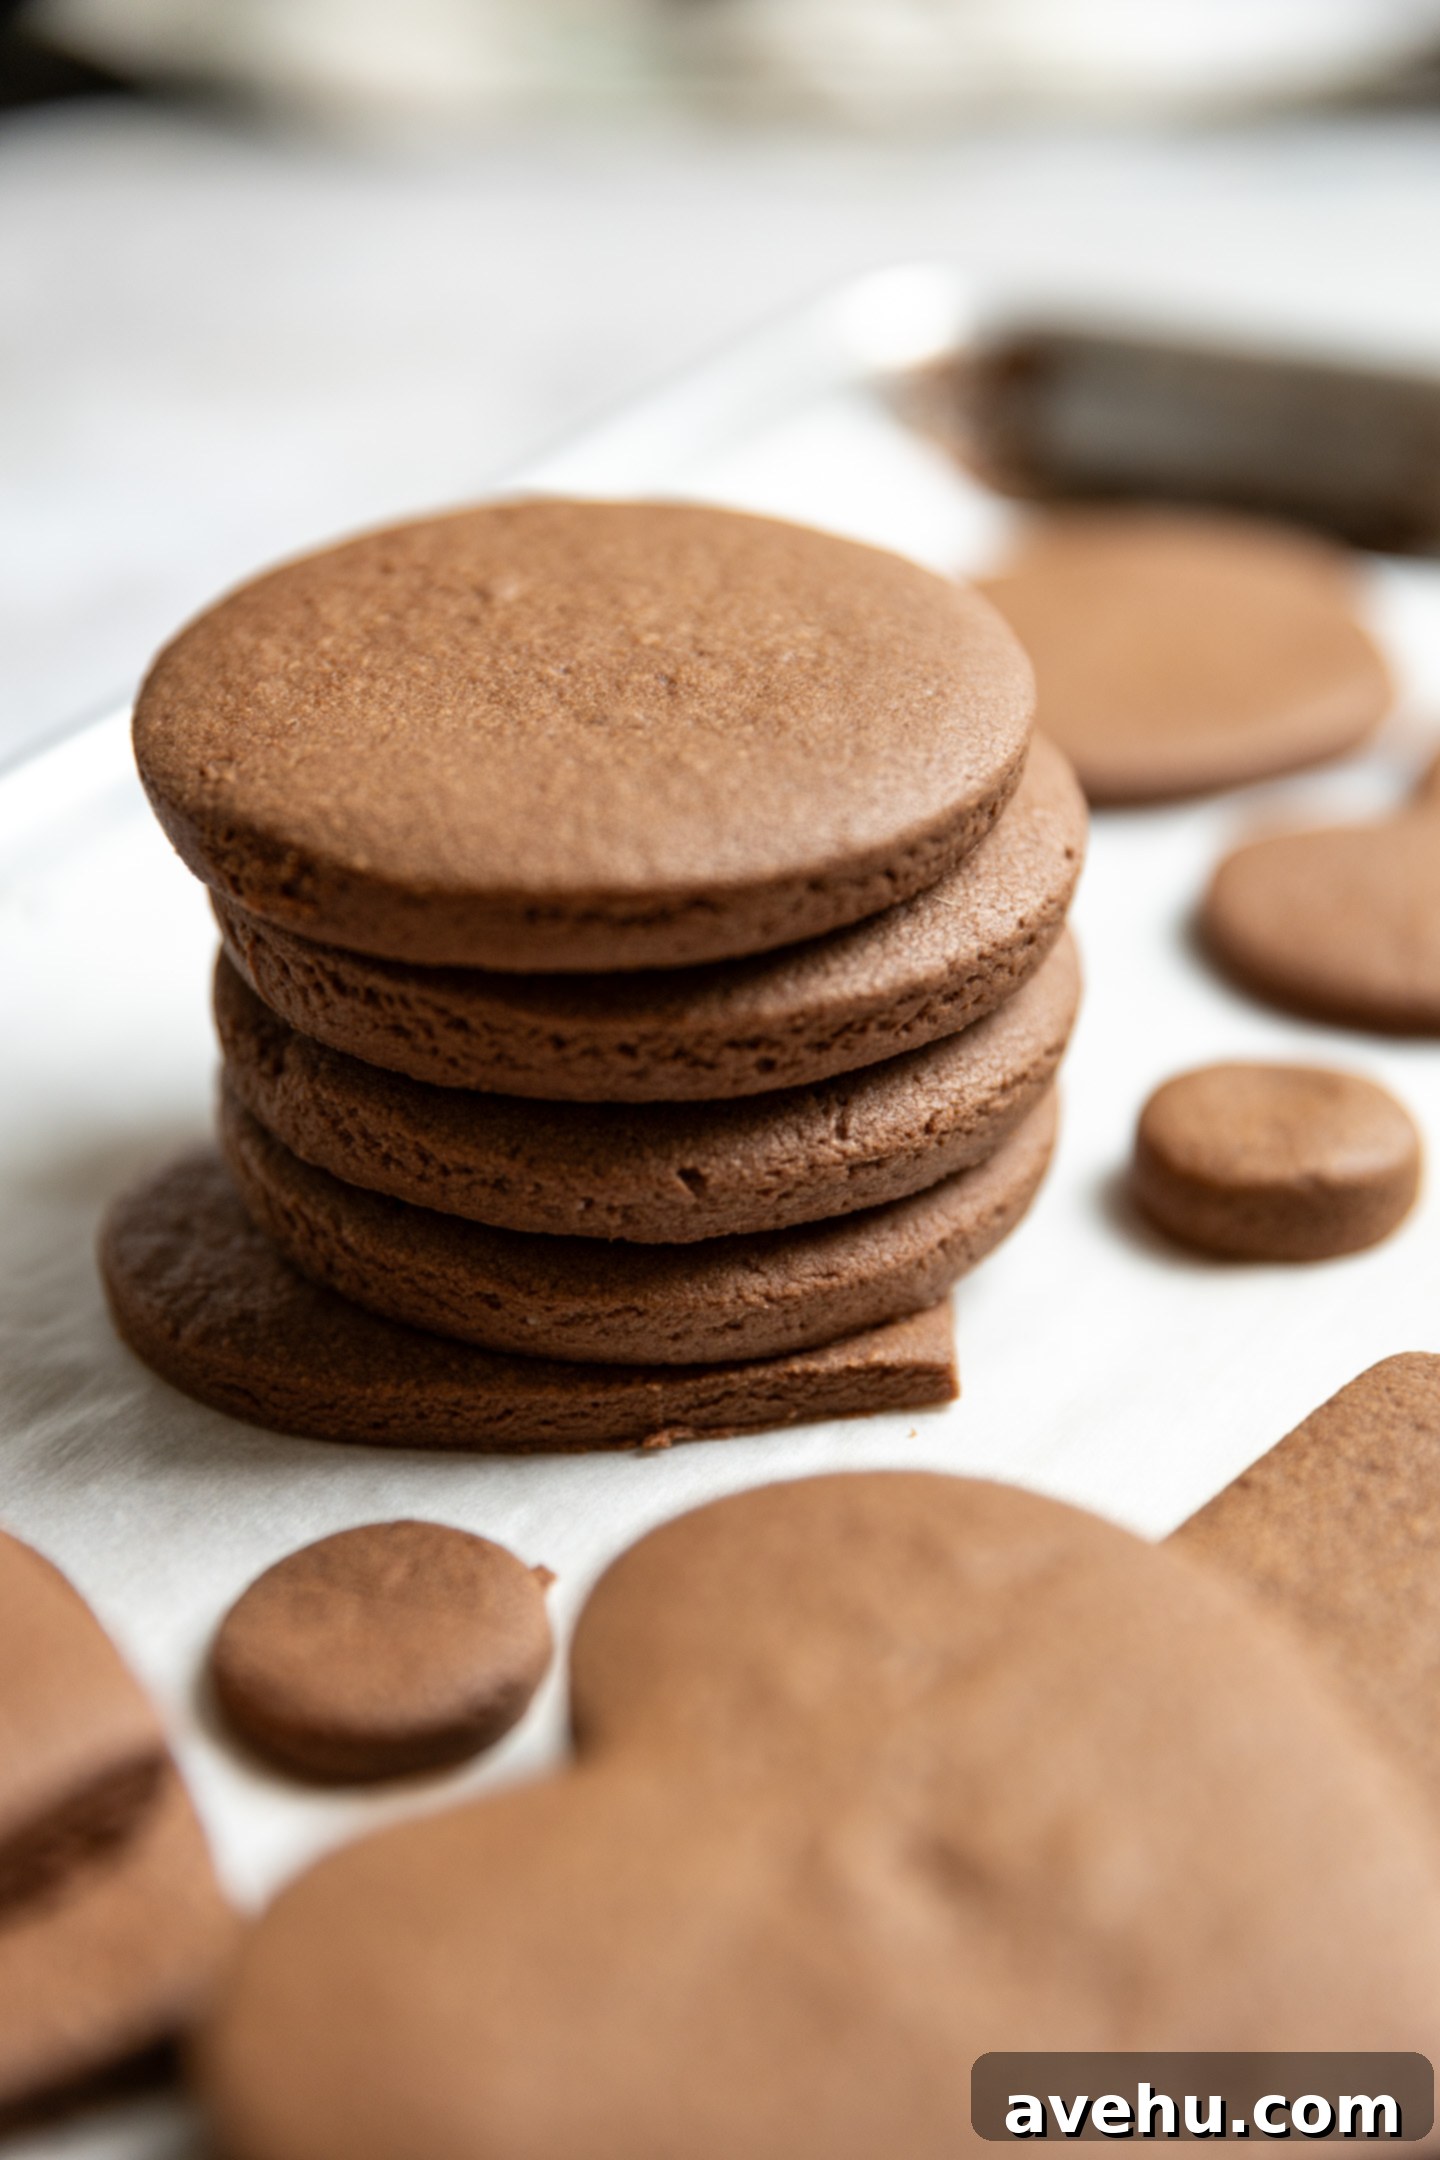
Important Note on Baking Time: If you opt for smaller cookie cutters, such as those measuring 2 inches or less, remember to reduce the baking time accordingly. For these smaller sizes, a baking time of 7-8 minutes is typically sufficient. Always keep an eye on your cookies during the last few minutes of baking, as oven temperatures can vary.
Conversely, if you prefer larger, statement-making cookies (e.g., 4 inches or more), you might need to increase the baking time by 1-2 minutes, ensuring they are firm but not overbaked. The key is to watch for the edges to set and the center to feel firm when gently tapped. The beauty of this no-spread recipe is that the shape remains constant, so you’re mostly adjusting for internal doneness.
Exciting Decorating Options for Your Chocolate Cookies
Now, for the most enjoyable part – decorating! These chocolate cut-out sugar cookies serve as a fantastic canvas for a wide array of creative embellishments. Whether you’re aiming for a simple, homemade look or a professional, intricate design, there’s an option for everyone.
1. Easy Cookie Icing: Your Go-To for Simplicity and Fun! If you’re baking with children, prefer a no-fuss approach, or simply want to avoid specialized equipment, my easy cookie icing is the perfect choice. This versatile icing can be prepared in a single bowl, colored with any food gel you desire, and then used to decorate your cookies without the need for piping bags. Simply dip the cookies, spread with a knife, or drizzle. The linked post provides detailed instructions on how to achieve a beautiful, smooth finish. Do note that this icing takes approximately 24 hours to dry completely hard, so plan accordingly if you need to stack or transport your cookies.

2. Elegant Royal Icing: For Professional Touches. If you’re looking to create more elaborate and professional-looking designs, my royal icing recipe is your best friend. This icing is perfect for piping intricate details, creating delicate lines, and achieving a smooth, hard finish that truly elevates your cookies. With royal icing, you can outline, flood, and create stunning patterns that will impress everyone. Unlike the easy cookie icing, royal icing dries hard much faster, typically within 2-3 hours, making it ideal if you need quicker drying times for detailed work or layering colors.
3. The Magic of Sprinkles! No matter which icing you choose, sprinkles are always a fantastic addition. After applying your base icing, immediately scatter different colored sprinkles, nonpareils, edible glitter, or sanding sugar to match your theme or holiday. From classic rainbow sprinkles for a birthday party to festive red and green for Christmas, or elegant gold and silver for a special event, sprinkles add texture, color, and a touch of whimsy to your chocolate cookies.
Consider experimenting with edible markers for fine details, or even incorporating small candies for a truly customized cookie collection. The dark base of the chocolate cookie dough provides a beautiful contrast to vibrant icing colors and sparkling decorations!
Storage and Freezing Tips to Keep Your Cookies Fresh
To ensure your delicious chocolate sugar cookies remain fresh and delightful for as long as possible, proper storage is key. Whether you plan to enjoy them immediately, decorate them later, or save them for a future treat, these tips will help maintain their quality.
Before Decorating: If you’ve baked the cookies but aren’t ready to decorate them yet, allow them to cool completely on a wire rack. Once cool, they can be stored in an airtight container at room temperature for up to 5-7 days. This allows you to spread out your baking and decorating process.
After Decorating (with icing): If you’re using either the easy cookie icing or royal icing, it’s crucial to let the cookies dry completely before stacking or packaging them. For the easy cookie icing, this can take up to 24 hours. For royal icing, it typically takes 2-3 hours. The best way to achieve a fully dry, hard surface is to leave the decorated cookies uncovered on a countertop overnight in a single layer. Once fully dry, they can be stored in an airtight container for up to 1 week at room temperature without smudging or sticking.
Freezing Baked, Undecorated Cookies: To extend their shelf life significantly, you can freeze the baked, undecorated cookies. Once completely cooled, place them in a single layer on a baking sheet and flash freeze for about 15-30 minutes until solid. Then, transfer the frozen cookies to a zip-top freezer-safe bag or an airtight container, separating layers with parchment paper to prevent sticking. They can be stored in the freezer for up to 2 months. When ready to use, simply thaw them at room temperature before decorating.
Freezing Cookie Dough: For ultimate convenience, you can also freeze the raw cookie dough. Shape the dough into a disk, wrap it tightly in plastic wrap, and then place it in a freezer-safe bag. It will keep in the freezer for up to 3 months. When you’re ready to bake, thaw the dough overnight in the refrigerator, then let it come to room temperature for about 30 minutes before rolling and cutting as usual. Alternatively, you can pre-cut shapes and freeze them on a baking sheet, then transfer to a bag. Bake from frozen, adding a minute or two to the baking time.

