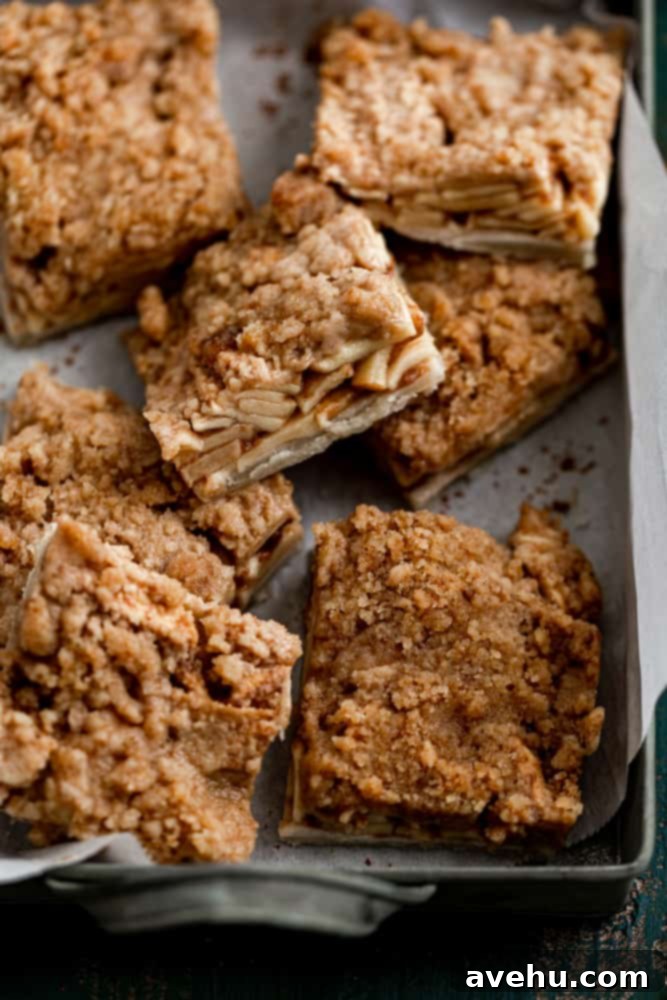
Irresistible Apple Pie Bars with Streusel Topping: Your Easy 9×13 Pan Recipe
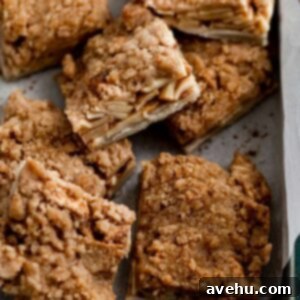
Imagine the comforting taste of homemade apple pie, but in a convenient, bite-sized bar. These baked apple pie dessert bars are a dream come true for any apple lover! Bursting with sweet and tangy cinnamon-spiced apple slices, and crowned with a golden, crunchy streusel topping, they offer all the classic flavors without the fuss of a traditional pie. Best of all, this incredible apple dessert comes together effortlessly in a standard 9×13 inch baking pan, making it a perfect no-stress treat for any occasion.
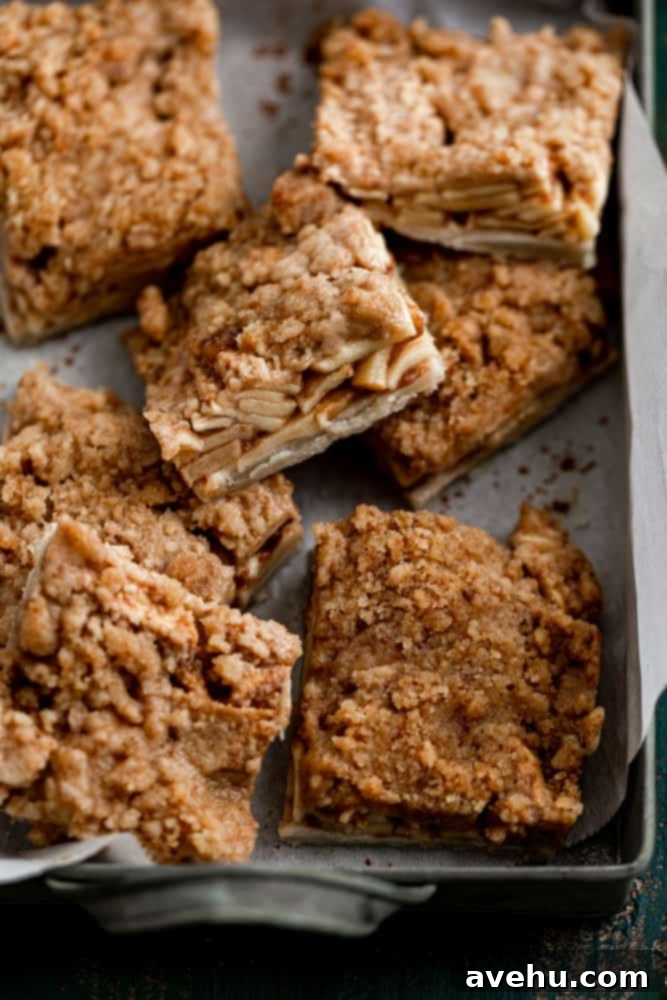
These apple pie bars serve as the ultimate shortcut to a truly delicious apple pie experience. They feature a generous layer of thinly sliced apples, perfectly seasoned with warm spices, all nestled on a tender crust and finished with an irresistible crunchy streusel. What makes this baked apple dessert recipe particularly fantastic is its simplicity – it’s designed to be easily made in a 9×13-inch pan, eliminating the need for intricate pie crust decoration or handling. Say goodbye to the complexities of a double-crust pie and hello to effortless autumn baking!
As a trained pastry chef, I’m passionate about crafting exquisite homemade dessert bar and brownie recipes. However, that doesn’t mean I shy away from clever shortcuts, especially when they deliver such spectacular results. These apple pie bars are a prime example – they capture the essence of classic apple pie while simplifying the baking process. It’s the kind of recipe that makes you feel like a baking pro without hours spent in the kitchen.
Each bar is generously filled with thin slices of cinnamon-spiced apples, spread evenly over a convenient store-bought pie crust. This foundation is then lavished with a homemade, super-quick cinnamon streusel that bakes into a delightful golden crisp. Seriously, every single bite is pure heaven! It’s undoubtedly one of my absolute favorite apple dessert recipe ideas, perfect for any time you crave that cozy, comforting apple flavor.
If you adore apple recipes as much as I do (and honestly, who doesn’t?!), you’ll definitely want to explore some of my other favorites. Don’t miss this luscious apple coffee cake, this moist and flavorful apple bundt cake, or if you’re ready for a more traditional baking adventure, my decadent caramel apple pie. Each offers a unique way to enjoy the incredible versatility of apples in dessert form.
Essential Ingredients for Your Apple Pie Bars
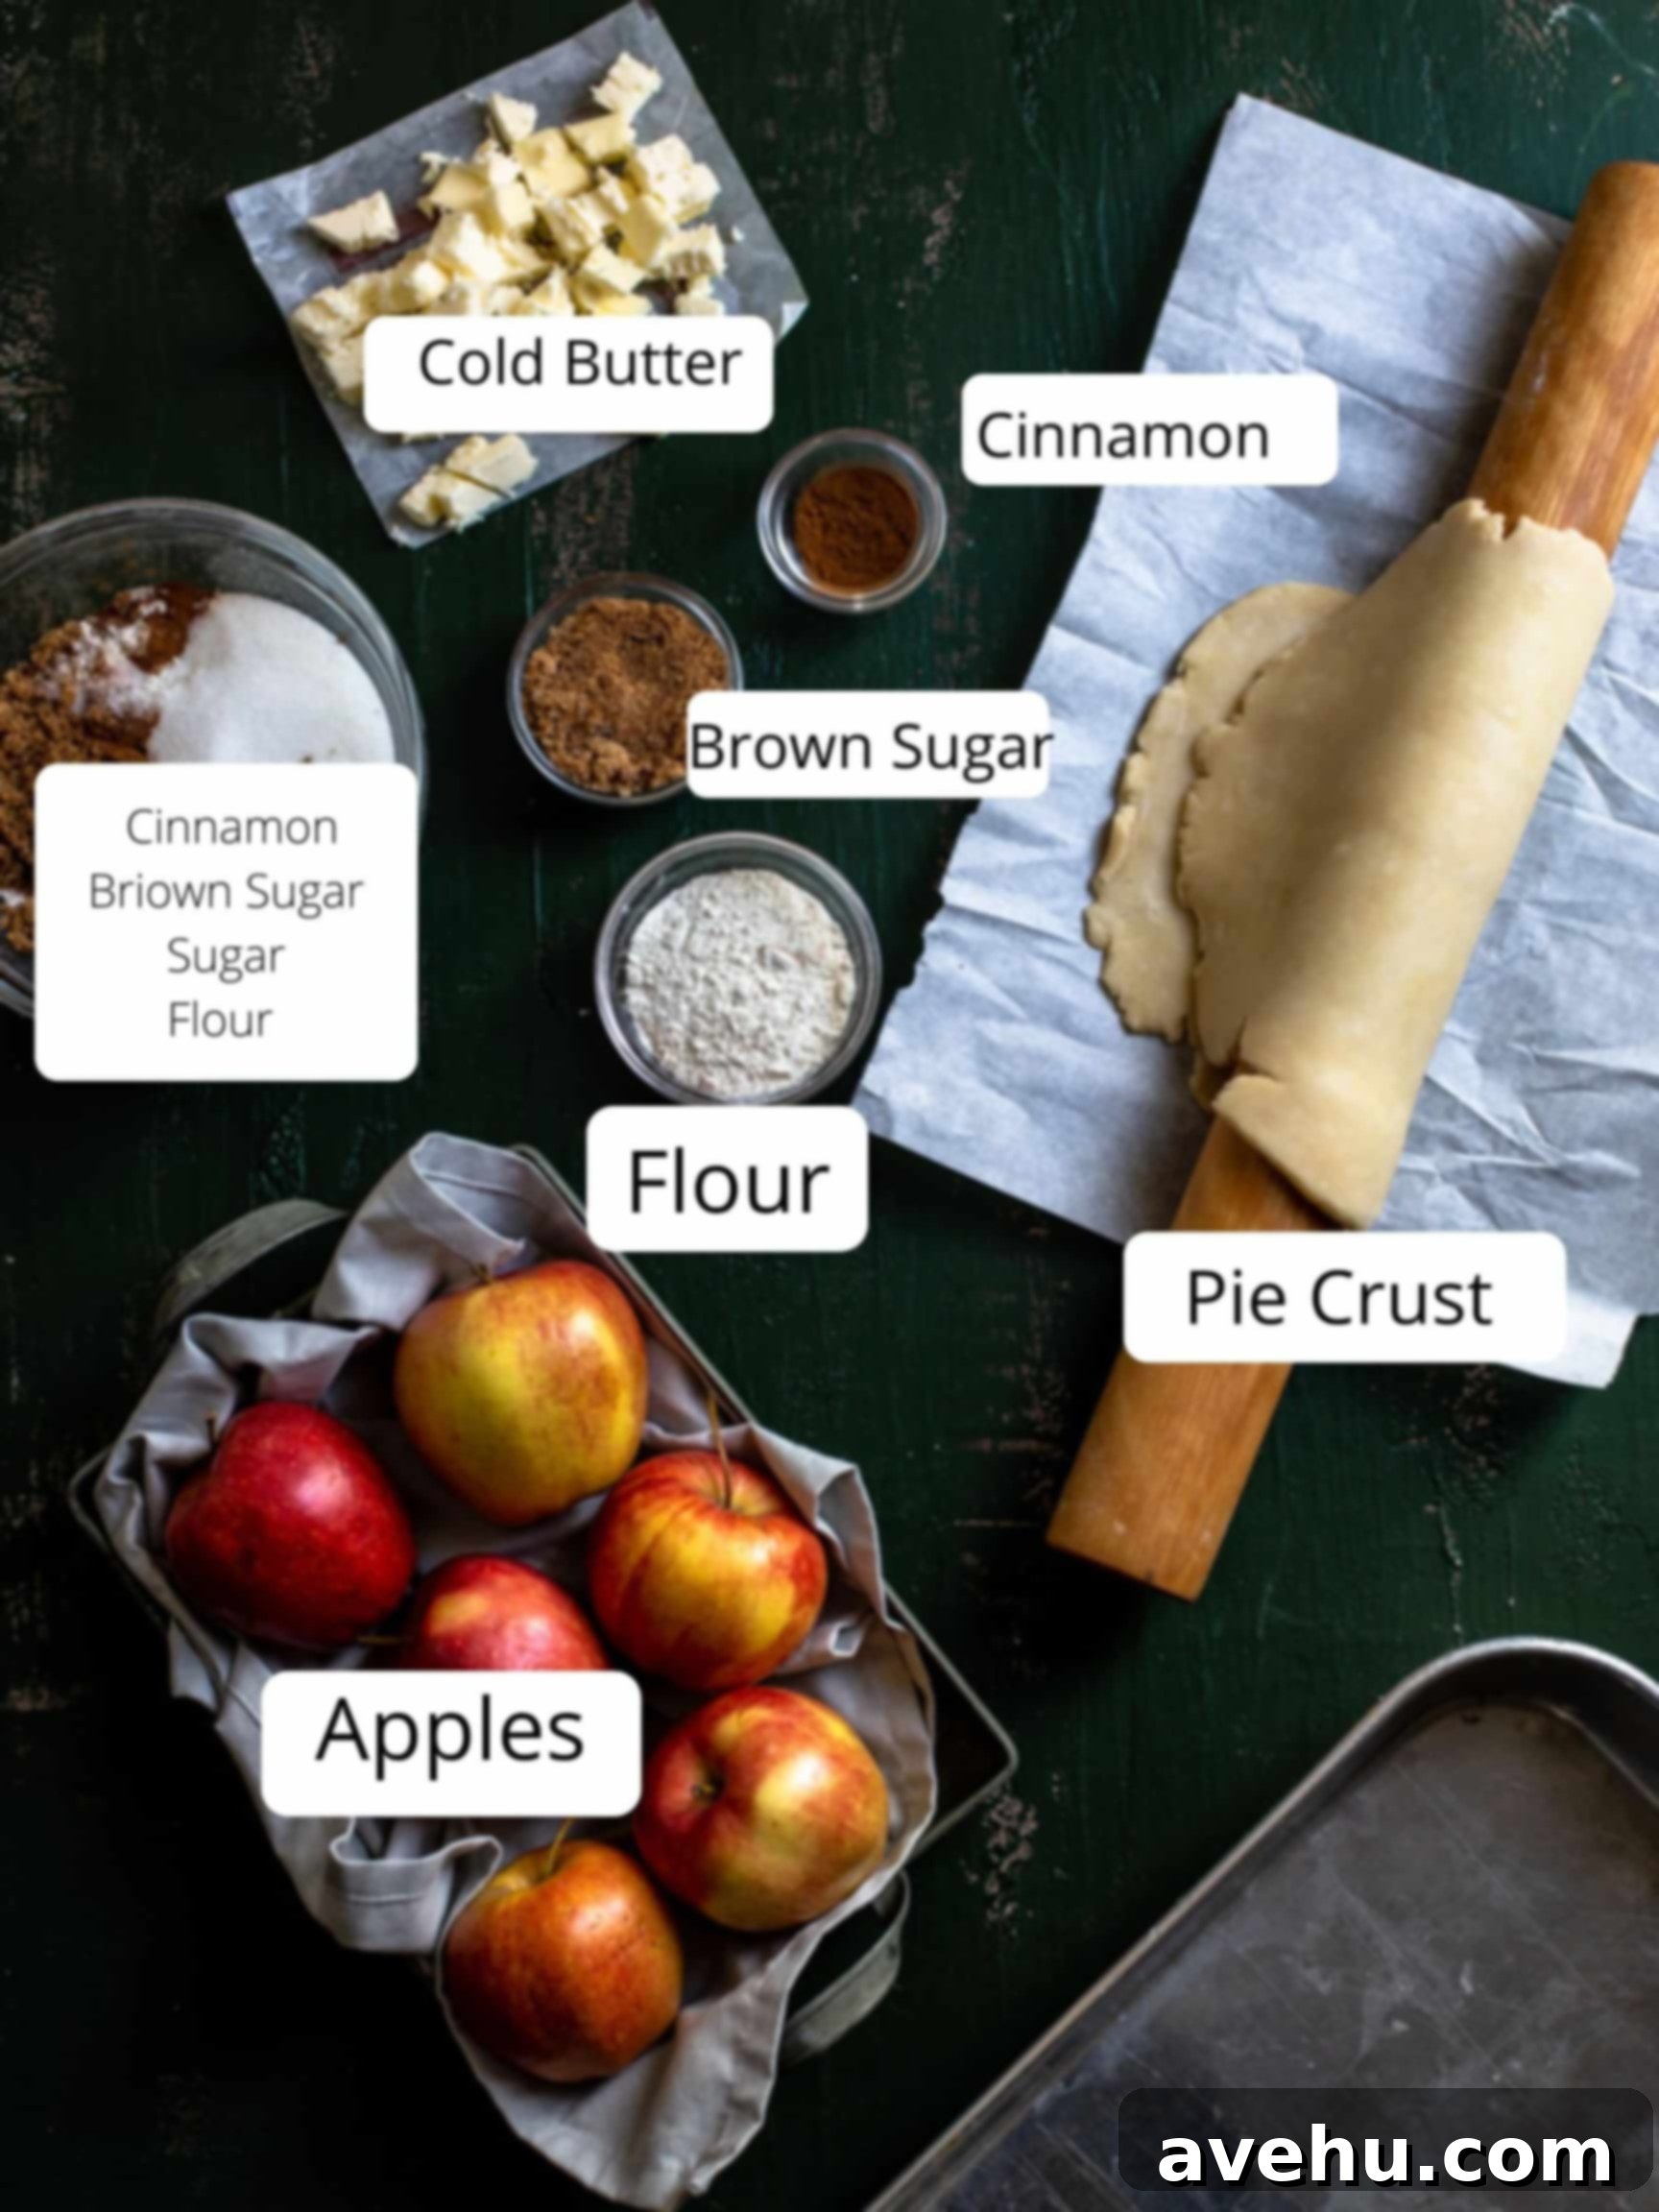
Crafting these delectable apple pie bars begins with selecting the right ingredients. For the base, you have the flexibility to use either a high-quality store-bought or homemade pie crust. Ensure it’s defrosted if frozen. If you prefer a thicker, more substantial crust, feel free to use two crusts. Honestly, a good store-bought pie crust is perfectly acceptable and often recommended for convenience, especially when time is of the essence. This recipe is all about ease and enjoyment, so don’t hesitate to embrace the shortcut!
The beauty of this recipe lies in its approachable nature. If you don’t happen to have homemade pie dough readily available in your fridge, or if the thought of making it from scratch feels like an added chore, simply opt for a store-bought crust. It will still yield a fantastic base for your apple pie bars, allowing you to focus on the delicious apple filling and the irresistible streusel topping without any unnecessary stress.
Choosing the Best Apples for Baking Perfection
The type of apple you choose significantly impacts the texture and flavor of your apple pie bars. My top favorites for baking are Honeycrisp and Braeburn apples. These varieties are celebrated for their ideal balance of sweetness and juiciness, and crucially, they maintain their shape beautifully under heat, preventing a mushy filling. If you prefer a tart note to balance the sweetness, Granny Smith apples are an excellent choice. Their firm texture and bright, acidic flavor work wonderfully in baked goods.
On the other hand, certain apple varieties are best avoided for baking, such as Gala and Macintosh. While delicious for snacking, they tend to break down too much in the oven, resulting in a mealy or watery filling that detracts from the overall texture of your apple pie bars. Sticking to firm, flavorful apples like Honeycrisp, Braeburn, or Granny Smith will ensure a perfectly textured and flavorful apple layer in every bar.
Step-by-Step Instructions for Baking Apple Pie Bars
Expert Tips for Flawless Apple Pie Bars
- Consistent Apple Slices are Key: For uniform baking and a consistent texture in every bite, aim to cut your apple slices about 1/4 inch thick. A mandoline slicer is an incredibly useful tool for this, as it not only creates perfectly even slices but also significantly cuts down on prep time. If using a knife, take your time to ensure consistency.
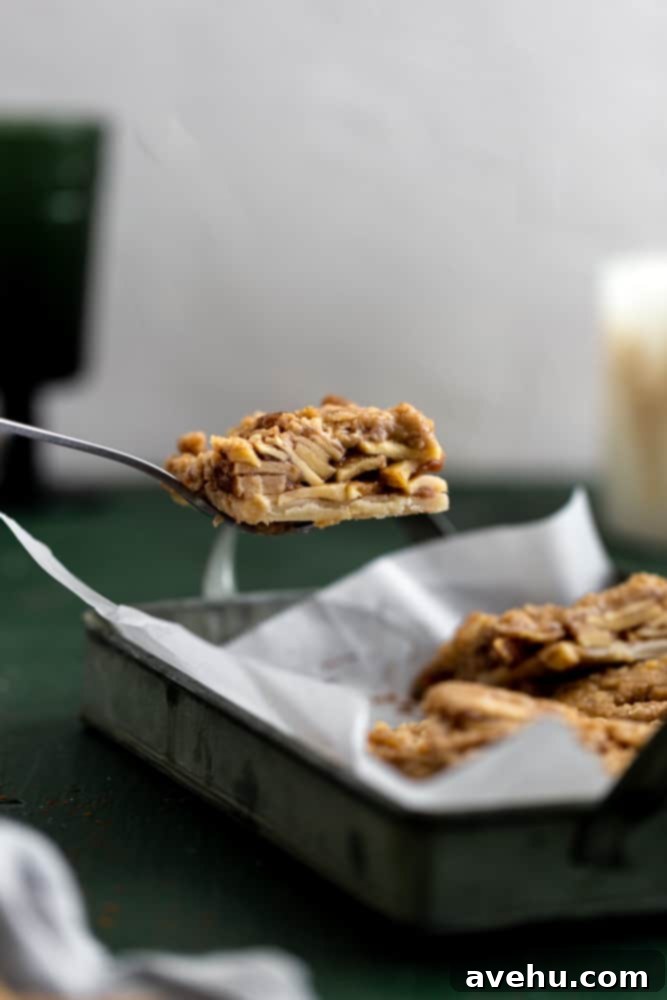
- Achieve Perfectly Clean Cuts: Patience is a virtue when it comes to cutting these bars! Do not cut them right away after baking. For the cleanest, most precise squares, allow the bars to cool completely to room temperature. Then, transfer the entire pan to the refrigerator for at least 2 hours, or ideally, overnight. Chilling solidifies the butter in the streusel and helps the apple filling set firmly, allowing for crisp, clean edges when you slice them. If you prefer them warm, you can reheat the cut bars at 350°F for about 10 minutes.
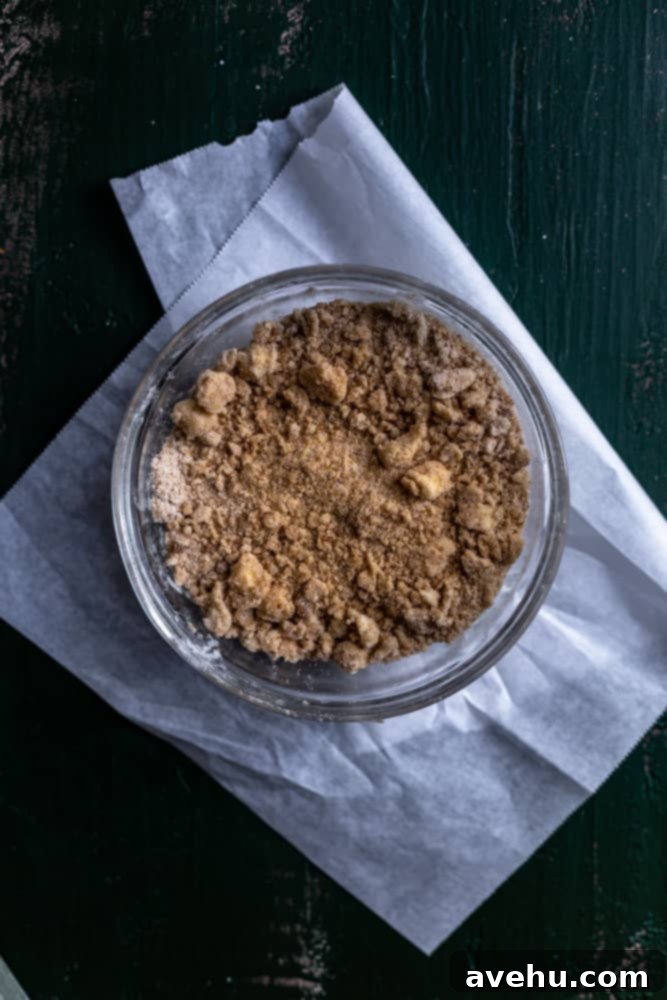
- The Power of Cold Butter in Streusel: Always use butter straight from the fridge for your streusel topping. Cold butter is essential because as it melts slowly during baking, it releases steam, creating those desirable pockets of air that give streusel its signature crumbly, tender texture. Cut the butter into small cubes, then use your fingers or a pastry cutter to ‘cut in’ the butter until the mixture resembles coarse sand with small, pea-sized pieces. Avoid using softened or melted butter, as this will result in a greasy, cake-like topping.
- Prevent a Soggy Crust: The initial pre-baking of the pie crust (also known as blind baking) is critical. This step ensures the crust is partially cooked and less likely to absorb moisture from the apple filling, preventing a soggy bottom. Make sure the crust is lightly golden before adding the apple mixture.
- Don’t Overmix the Streusel: When combining the streusel ingredients, mix just until the butter is incorporated and the desired crumbly texture is achieved. Overmixing can lead to a tougher, less desirable topping due to gluten development.
Serving Suggestions for These Delightful Bars
These versatile apple pie bars can be enjoyed in various ways, catering to different preferences. You can either serve them warm directly from the pan, allowing for a more rustic presentation and ooey-gooey goodness, or you can cut them into neat individual squares. As mentioned in our tips, for beautifully clean cuts, the best method is to chill the entire pan in the refrigerator for at least 2 hours. Once thoroughly chilled, use a sharp knife to cut them into your desired bar size. If you prefer to enjoy these chilled bars warm, simply reheat them in an oven preheated to 350°F for about 10 minutes, or until warmed through.
Whether you serve them at a casual gathering, a holiday feast, or simply as a cozy weeknight treat, these bars are always a hit. Enjoy these apple pie bars solo, appreciating their rich crumb topping and spiced apple filling. For an extra touch of indulgence, crown them with a scoop of vanilla bean ice cream, a generous drizzle of warm caramel sauce, or a dollop of freshly whipped cream. The combination of warm apples, cold ice cream, and sweet caramel creates an unforgettable dessert experience that will leave everyone craving more.

Easy Apple Pie Dessert Bars in a 9×13 Pan
Pin
Review
SaveSaved!
Ingredients
- 1 (1) store-bought or homemade pie crust, defrosted (buy 2 if you want a thicker crust)
- 6 (6) Honeycrisp apples peeled, cored, and sliced 1/4 inch thick
- ¼ cup (31.25 g) all-purpose flour
- ¼ cup (55 g) light brown sugar
- 1 teaspoon (1 teaspoon) ground cinnamon
- 1/4 tsp (Pinch) kosher salt
Crumb Topping
- 1 cup (125 g) all-purpose flour
- ½ cup (110 g) light brown sugar
- ¼ cup (50 g) granulated white sugar
- ¼ -½ teaspoon (0.25 teaspoon) ground cinnamon
- ½ cup (113.5 g) unsalted butter, cold, diced into small cubes
Instructions
-
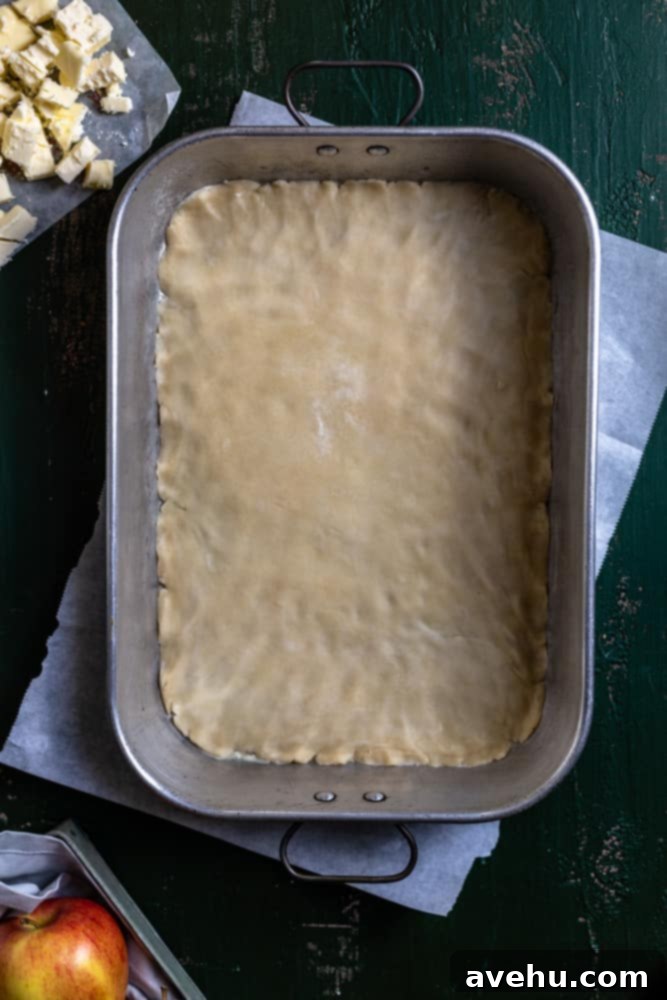
Preheat your oven to 375°F (190°C). If using store-bought pie dough, let it defrost on your counter for about 15 minutes until it’s pliable. Once ready, press the dough firmly and evenly into the bottom of a 9×13 inch baking pan (an 8×8 inch pan can also be used for thicker bars). Ensure it reaches all edges to form a consistent base. Bake for 10-12 minutes, or until the crust is lightly golden brown. It’s a thin layer, so keep a close eye on it. Remove from the oven and let it cool for 5 minutes, then reduce the oven temperature to 350°F (175°C).
-
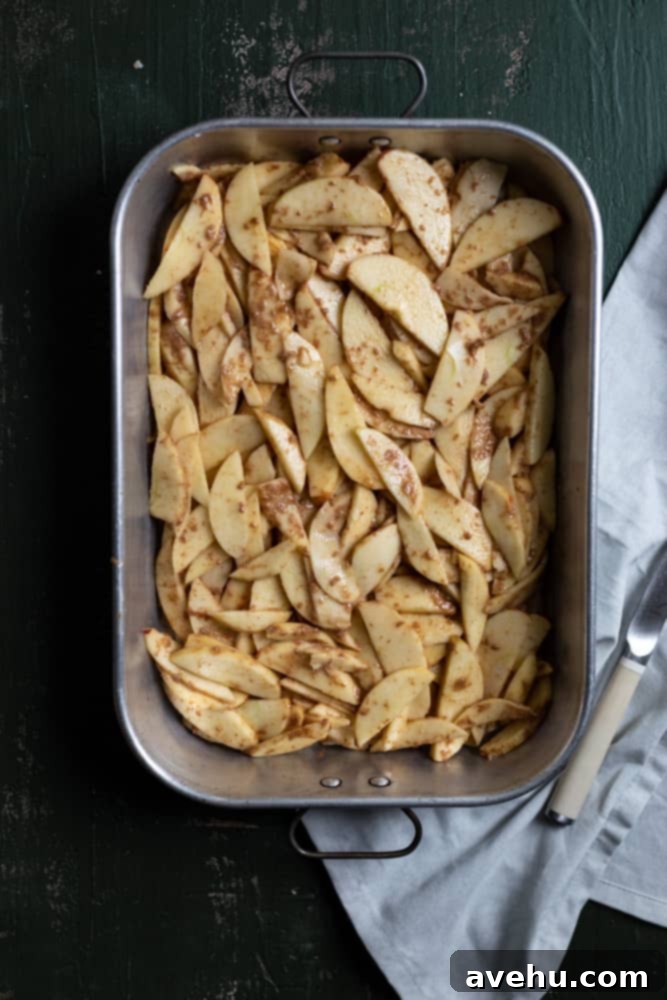
While the crust cools, prepare your apple filling. In a large bowl, combine the thinly sliced apples, 1/4 cup all-purpose flour, 1/4 cup light brown sugar, 1 teaspoon ground cinnamon, and 1/4 teaspoon kosher salt. Mix thoroughly until all the apple slices are evenly coated. This flour mixture will help thicken the apple juices as they bake. Pour the coated apple mixture over the cooled, pre-baked pie crust in the pan, spreading it out into an even layer. Set the pan aside as you prepare the delightful crumb topping.
-
Now, let’s create the irresistible crumb topping. In a small bowl, combine 1 cup all-purpose flour, 1/2 cup light brown sugar, 1/4 cup granulated white sugar, and 1/4 to 1/2 teaspoon ground cinnamon (adjust to your preference). Add the 1/2 cup of cold, diced unsalted butter. Using your fingertips or a pastry blender, gently pinch and cut the butter into the dry ingredients. Continue until the mixture resembles coarse, wet sand with some small, pea-sized chunks of butter remaining. Avoid overworking the dough to maintain that perfect crumbly texture.
-
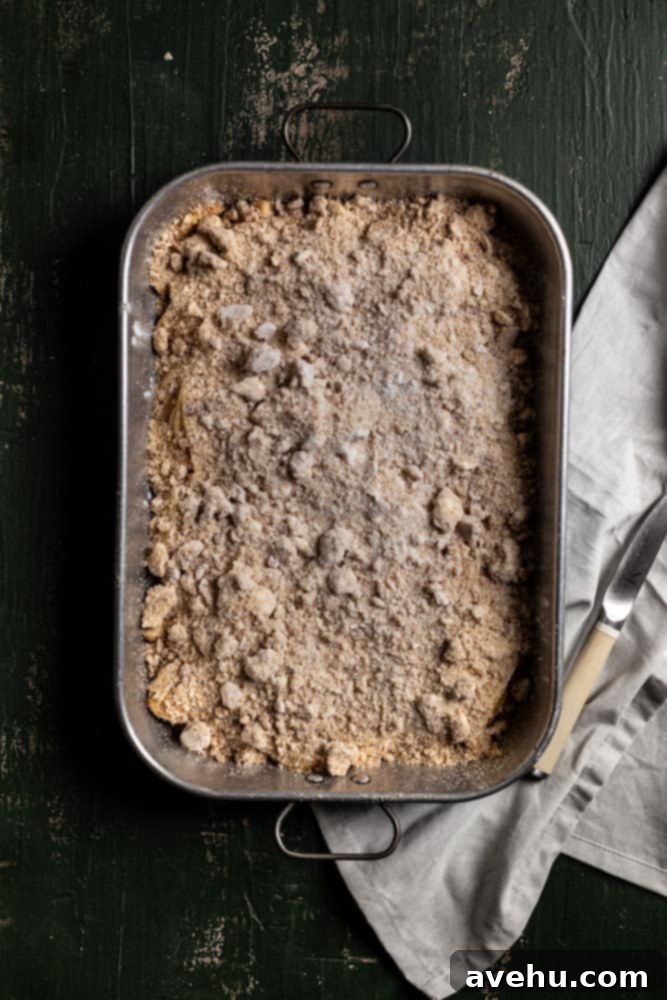
Generously sprinkle the prepared crumb topping evenly over the apple slices in the pan. Once covered, place the pan back into the oven (now at 350°F / 175°C) and bake for approximately 30-35 minutes, or until the topping is beautifully golden brown and the apple filling is tender and bubbly.
-
After baking, remove the apple pie bars from the oven and place them on a wire rack. Allow the mixture to cool completely on the counter for at least 30 minutes, or preferably longer, before cutting into bars. This cooling time is crucial for the filling to set and ensures clean, well-formed slices.
Notes
Adjusting for an 8×8 Inch Pan:
If you choose to bake in an 8×8 inch pan instead of a 9×13, the apple layer will be taller and thicker. You’ll need to increase the baking time slightly; check for doneness after 40-45 minutes by poking the apples with a fork.
For Perfect Slices:
To cut into bars cleanly and easily, let the baked pan cool completely, then chill it in the fridge for at least 2 hours (or overnight). This firming up of the filling and streusel allows for precise, neat squares. If you prefer them warm after chilling, simply reheat the cut bars in the oven for 10 minutes at 350°F (175°C).
Apple Preparation Tip:
Do not cube the apples. Slicing them thinly and uniformly (about 1/4 inch thick) works much better. Slices bake faster and create a more even, appealing layer in the bars, ensuring a delightful texture throughout.
Storage:
Store any leftover apple pie bars in an airtight container in the fridge. They are delicious eaten cold, at room temperature, or gently reheated in the oven. They will keep fresh in the refrigerator for 3-5 days.
Freezing Instructions:
To freeze apple pie bars, first allow them to cool completely to room temperature. You can freeze them whole in the pan or cut into individual bars. Cover them tightly with plastic wrap, then an additional layer of aluminum foil to prevent freezer burn. They can be frozen for up to 2 months. To defrost, transfer them to the fridge overnight. If reheating from frozen, bake at 350°F (175°C) for 10-15 minutes, or until warmed through.
