Ultimate Brookies Recipe: Chewy Chocolate Chip Cookies Meet Fudgy Brownies
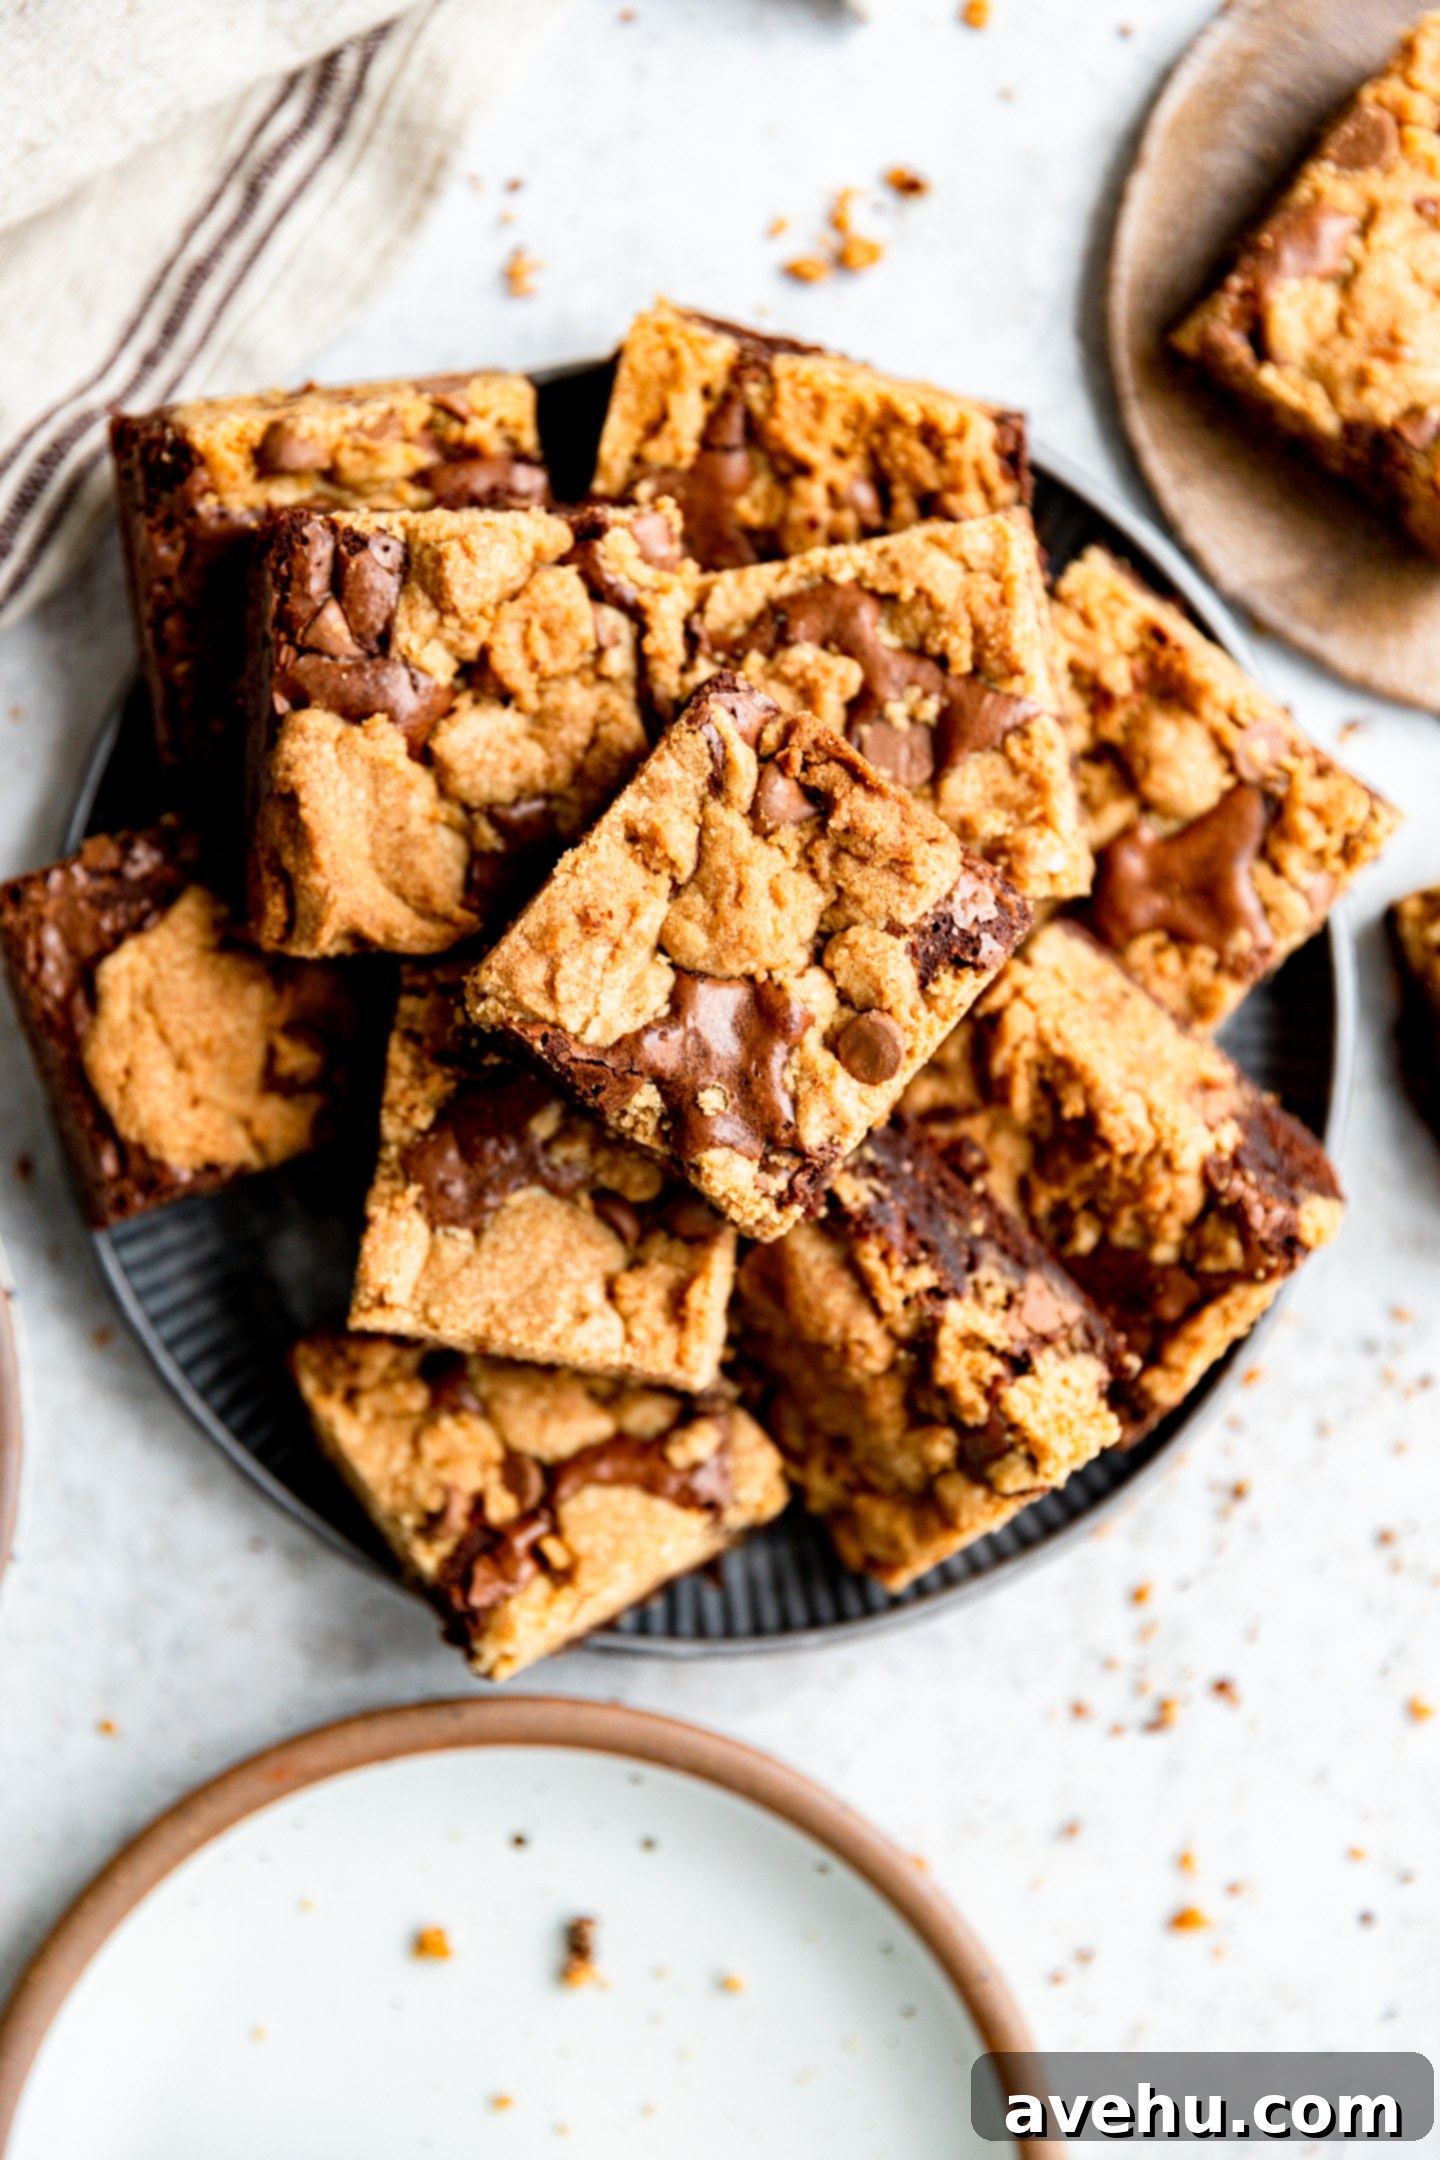
Caught in the delicious dilemma of choosing between a classic chocolate chip cookie or a rich, fudgy brownie? The good news is, you don’t have to decide anymore! Presenting the ultimate solution for every dessert lover: the Brookie! This incredible recipe brings together the best of both worlds – the satisfying chewiness of a perfect chocolate chip cookie and the deep, dark decadence of a fudgy brownie, all baked together in one glorious pan. Imagine biting into layers of buttery, chocolate-studded cookie and dense, melt-in-your-mouth brownie, crowned with that signature crinkly top. It’s truly a dessert mashup made in heaven, promising to satisfy every craving in a single, irresistible bite. Get ready to elevate your dessert game with these surprisingly easy-to-make brookies!
What Exactly Are Brookies?
If you’re asking “What are brookies?”, prepare to have your dessert world rocked! A brookie is a magical hybrid dessert where a layer of chewy chocolate chip cookie dough is baked directly on top of a layer of rich, fudgy brownie batter. It’s not just two desserts side-by-side; it’s an integrated culinary experience where the distinct flavors and textures complement each other perfectly. The name itself, “brookie,” is a delightful portmanteau of “brownie” and “cookie,” encapsulating the essence of this brilliant creation. It’s the ultimate answer when your sweet tooth is torn between two beloved classics, offering a harmonious blend that’s greater than the sum of its parts.
Our brookies are crafted by carefully layering a decadent brownie batter at the base of a 9×13 inch pan, followed by generous dollops of our signature chocolate chip cookie dough. Baked together, these layers meld beautifully, creating a single, cohesive dessert bar that truly stands out. This isn’t just any mashup; it’s a symphony of textures and flavors, combining two of our absolute favorite dessert profiles into one easy-to-make treat. Just like the name implies, it’s the perfect fusion, delivering chewy, fudgy goodness in every single bite.
The Art of Perfect Layers: Why Two Batters are Best
To achieve this exquisite balance of texture and flavor, our recipe calls for two distinct batters: a rich brownie batter and a robust cookie dough. We started with the foundational excellence of our dairy-free chocolate chip cookie recipe (adapted here for dairy ingredients to perfectly complement the brownies) and paired it with our highly-rated five-star one-bowl fudgy brownies. While other “brookie cookies” might attempt a single-batter shortcut, like our 30-minute one-batter brookies, we’ve found that using two separate batters is the secret to unlocking the very best texture for both layers in this specific bar recipe. This meticulous approach ensures that each component—the chewy, slightly caramel-flavored cookie layer and the intensely fudgy brownie with its iconic crinkle top—reaches its full potential, offering a truly superior dessert experience.
As a professionally trained baker, nothing brings me more joy than taking classic desserts and giving them a fun, innovative twist that enhances their appeal without sacrificing their beloved characteristics. This brookie recipe is a perfect example of that philosophy in action, turning two familiar favorites into a cohesive, irresistible masterpiece. If you’re ready to dive into an easy-to-follow, beginner-friendly baking adventure that promises incredible results, grab your trusty 9×13 inch pan, and let’s create some magic in the kitchen!
Essential Baking Tools for Your Brookie Adventure
Having the right tools can make all the difference in ensuring a smooth and successful baking process. For these brookies, a few key items will significantly simplify your preparation and guarantee perfect results every time:
- 9×13 Inch Baking Dish: This is the cornerstone of our brookie recipe. The dimensions of a 9×13 inch (approximately 23×33 cm) pan are absolutely crucial for achieving the ideal thickness and even baking of both the brownie and cookie layers. It allows ample space for the batters to spread without overflowing, creating that perfectly balanced two-layer dessert. We strongly advise against using a smaller 8×8 inch pan, as the combined volume of the two batters would be too much, leading to potential overflow and an unbaked or unevenly cooked center. Stick to the recommended size for optimal success and perfectly cooked brookies.
- Parchment Paper: A baker’s best friend, parchment paper is indispensable for this recipe. Lining your baking dish with parchment paper not only makes it incredibly easy to lift the entire batch of brookies out of the pan once cooled, allowing for clean, precise cuts, but it also plays a role in texture. It helps to crisp up the edges of the brookies, contributing to that delightful textural contrast. Relying solely on baking spray can sometimes leave too much oil, preventing the edges from achieving that desirable crispiness. Always use parchment paper, ensuring it overhangs the sides for easy removal.
- Large Mixing Bowls: You’ll need at least two substantial mixing bowls for this recipe, one for each distinct batter. Large bowls provide ample space to comfortably combine and blend all the ingredients for both the brownie batter and the cookie dough. This generous room prevents spills and allows for proper aeration and mixing, ensuring a smooth, uniform batter and a well-incorporated dough. If you have a stand mixer, a large bowl for the brownie batter and the stand mixer bowl for the cookie dough works wonderfully too.
Embracing the Two-Batter Approach for Superior Texture
While the idea of making two separate batters might seem like extra work at first glance, especially during initial recipe testing, I can confidently say it’s the truly superior path to brookie perfection. Trust me, it’s worth the minimal effort! The reason is simple: brownies and cookies, while both delicious, require different consistencies and ingredient ratios to achieve their signature textures. Attempting to force them into a single, universal batter often compromises the fudginess of the brownie or the chewiness of the cookie. This recipe prioritizes the integrity of each layer.
For best results, we start by preparing the brownie batter. It tends to be more liquidy, making it the ideal candidate for the bottom layer of the pan. Once the brownie batter is complete, you can simply wipe out the mixing bowl – there’s no need for a thorough cleaning – and proceed directly to making the cookie dough. This saves time and minimizes cleanup.
You might notice that the brownie batter appears quite thin when spread in the 9×13 inch pan, especially if you’re accustomed to baking brownies in a smaller 8×8 pan. Do not worry about this! This thinness is exactly what we want. The subsequent layer of thick, dense cookie dough will bake through the brownie batter beautifully, ensuring both layers cook evenly and create a substantial yet perfectly chewy and fudgy brookie. This intentional design yields the thick, satisfying, and multi-textured brookie that is the hallmark of this recipe!
Simple Ingredients, Incredible Flavor
One of the best aspects of this brookie recipe is that it relies almost entirely on common pantry staples you likely already have on hand. No need for exotic or hard-to-find ingredients here! While the recipe is forgiving, the quality of your chocolate will significantly impact the final flavor. I personally love using a good quality semi-sweet or dark chocolate for both the melted chocolate in the brownie batter and the chocolate chips in the cookie dough. This enhances the depth of flavor and creates a truly decadent experience. However, feel free to use your preferred type of chocolate – milk chocolate, bittersweet, or a mix of chips can all work beautifully depending on your taste.
For those with dietary restrictions or preferences, these brookies are easily adaptable to be dairy-free. Simply substitute regular butter with a high-quality vegan butter, such as Earth Balance, and ensure you use dairy-free chocolate chips. The resulting brookies will be just as delicious and satisfying, proving that incredible flavor doesn’t have to compromise dietary needs.
How to Create Your Perfect Brookies: A Step-by-Step Guide
Crafting these sensational brookies is a straightforward process, perfect for bakers of all skill levels. Follow these detailed steps to achieve a perfectly layered, chewy, and fudgy dessert:
Step 1: Prepare for Baking. Begin by preheating your oven to 350° F (175° C). Next, prepare your 9×13 inch baking dish by lining it with parchment paper. This is a crucial step for easy removal and clean cutting. For optimal coverage and handling, it’s best to cut two strips of parchment paper, ensuring they overlap by about 2 inches over the sides of the pan. This creates a convenient “sling” to lift your baked brookies out later. Avoid trying to use just one sheet, as it won’t cover the pan effectively or provide enough overhang.
Step 2: Melt the Butter and Chocolate (Brownie Base). In a large, microwave-safe bowl, combine one stick (1/2 cup) of unsalted butter and six ounces of your chosen chocolate (semi-sweet or dark recommended). Microwave the mixture in 30-second intervals, stirring thoroughly after each interval, until the chocolate is completely melted and smooth. This typically takes up to 90 seconds. Once melted, set the mixture aside and allow it to cool for at least 5 minutes. This prevents the eggs from scrambling in the next step.
Step 3: Begin Brownie Batter. To the cooled chocolate mixture, add the granulated sugar, large eggs, and vanilla extract. Using a whisk (or an electric stand/hand mixer), vigorously whisk the ingredients together for a full minute until the mixture becomes light and frothy. This whipping action is key because it incorporates air into the eggs and sugar, which is essential for developing that coveted crackly, shiny crust on your brownies. A spatula simply won’t achieve the same results.
Step 4: Incorporate Dry Ingredients (Brownie Base). Gently stir in the dry ingredients for the brownie layer: all-purpose flour, cocoa powder, and kosher salt. Continue to whisk for another minute, ensuring all dry pockets are fully incorporated and the batter is smooth. Be careful not to overmix at this stage.
Step 5: Layer the Brownie Batter. Pour the prepared brownie batter evenly into the parchment-lined baking dish. Use the back of a spoon or an offset spatula to spread it thinly and smoothly across the bottom of the pan. Remember, it might look thin, but this is exactly how it should be! Set the pan aside while you prepare the cookie dough.
Step 6: Prepare Cookie Dough Butter and Sugars. In a separate medium-sized microwave-safe bowl, melt the remaining stick (1/2 cup) of butter. Once melted, add the packed brown sugar and white granulated sugar, mixing until the sugars are fully dissolved and the mixture is smooth and cohesive.
Step 7: Add Wet Ingredients (Cookie Dough). Whisk in the two egg yolks (discarding the whites), followed by the vanilla extract. Mix well until everything is thoroughly combined and uniform.
Step 8: Form the Cookie Dough. Gradually stir in the dry ingredients for the cookie layer: all-purpose flour, baking powder, baking soda, and kosher salt. Mix just until a cohesive dough forms. Avoid overmixing once the flour is added.
Step 9: Fold in Chocolate Chips (Cookie Dough). Finally, fold in the cup of semi-sweet dark chocolate chips into the cookie dough. Mix thoroughly to ensure the chocolate chips are well distributed and sticking firmly to the dough, rather than clumping together.
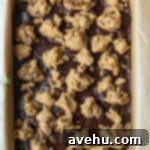
Step 10: Combine the Batters. Using a kitchen spoon (a teaspoon works perfectly for this), take small, irregular clumps of the cookie dough and dollop them all over the top of the brownie batter. There’s no need to shape them into perfect balls or ensure even spacing – a rustic, scattered approach works best as the dough will spread during baking. Ensure you use all the cookie dough, aiming for good coverage across the brownie layer.
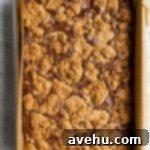
Step 11: Bake and Cool the Brookies. Carefully place the pan into your preheated oven and bake for approximately 30-35 minutes. To check for doneness, gently jiggle the pan; the center should be mostly set with only a slight wobble, indicating a fudgy interior. If it still appears quite raw, bake for an additional 2-3 minutes. Once baked, remove the pan from the oven and, here’s a crucial tip, let the brookies cool completely in the pan for at least 15 minutes before attempting to cut into them. This cooling period allows the layers to set properly, ensuring they keep their shape beautifully when sliced. Then, slice into squares, serve, and enjoy the ultimate dessert fusion!
Yield and Serving Suggestions
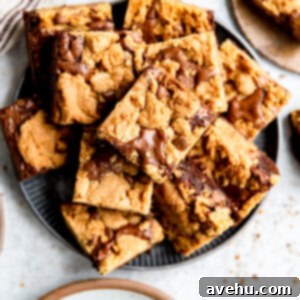
From a single 9×13 inch pan, this recipe generously yields 24 decadent brookie pieces. Given that these aren’t just single-layer treats but a substantial combination of two delicious desserts, each piece is wonderfully thick and satisfying. This makes them perfect for sharing at parties, potlucks, or simply enjoying as an indulgent treat at home. The generous yield means there’s plenty to go around, or enough to savor over several days (if they last that long!).
Make Ahead & Storage Tips
Brookies are fantastic desserts to prepare in advance! While they are undoubtedly best enjoyed fresh, you can certainly make them ahead of time. For optimal texture and flavor, I recommend preparing them no more than a day in advance. Store them in an airtight container at room temperature on your countertop to maintain their delightful chewiness and fudginess. If you wish to freeze them for longer storage, first allow the brookies to cool completely in the pan. Once cool, use the parchment paper overhang to lift the entire slab out of the pan. Wrap the slab tightly in plastic wrap, then wrap again in aluminum foil. They can be frozen for up to 2 months. Thaw at room temperature or warm briefly in the oven for a freshly baked experience.
Variations and Customizations
While this classic brookie recipe is phenomenal as is, it also serves as a fantastic canvas for customization! Feel free to experiment with different types of chocolate chips – milk chocolate, white chocolate, or even a blend can offer unique flavor profiles. You could also mix in chopped nuts (like walnuts or pecans) to the brownie layer for added crunch, or sprinkle some sea salt flakes over the top before baking to enhance the chocolate’s depth. Consider adding a swirl of caramel or peanut butter into the brownie batter before topping with the cookie dough for an extra layer of indulgence. For a festive touch, sprinkles can be incorporated into the cookie dough or scattered over the top before baking. Don’t be afraid to make these brookies truly your own!
More Indulgent Brownie and Cookie Recipes to Explore
If you’ve fallen in love with these brookies and are looking for more ways to satisfy your sweet tooth, check out these other irresistible recipes:
- Celebratory Birthday Brownies
- Delightful Mini Chocolate Chip Cookies
- Irresistible Oreo Brownies
- Warm Chocolate Chip Cookie Skillet
Super Easy and Chewy Brookies
Pin
Review
SaveSaved!
Ingredients
For the brownies:
- 1/2 cup unsalted butter, melted
- 6 oz semi-sweet chocolate chips, about 1 heaping cup
- 1 cup granulated sugar
- 3 large eggs
- 1 tsp vanilla extract
- 1/2 cup all-purpose flour
- 1/4 cup cocoa powder
- 1/2 tsp kosher salt
For the cookie dough:
- ½ cup unsalted butter, melted
- ⅔ cup brown sugar, packed
- 2 tbsp white granulated sugar
- 2 egg yolks, whites discarded
- 1 tsp vanilla extract
- 1 3/4 cup all-purpose flour
- ¼ tsp baking powder
- ½ tsp baking soda
- ¼ tsp kosher salt
- 1 cup semi-sweet dark chocolate chips
Instructions
-
Preheat your oven to 350° F (175° C). Line a 9×13 inch baking dish with two pieces of parchment paper, ensuring they overlap on both sides for easy lifting.
-
In a large microwave-safe bowl, combine the 1/2 cup unsalted butter and 6 oz semi-sweet chocolate chips. Microwave in 30-second intervals, stirring between each, until the chocolate is completely melted and smooth (up to 90 seconds total). Allow the mixture to cool for 5 minutes.
-
To the cooled chocolate mixture, add 1 cup granulated sugar, 3 large eggs, and 1 tsp vanilla extract. Whisk vigorously for about 1 minute until the mixture is frothy and well combined. This creates the signature crackly brownie top.
-
 Next, add in the 1/2 cup all-purpose flour, 1/4 cup cocoa powder, and 1/2 tsp kosher salt. Whisk until just combined, being careful not to overmix.
 -
 Pour the brownie batter into the prepared pan and spread it thinly and evenly with the back of a spoon or an offset spatula. Set aside to make the cookie dough.
 -
In a medium-sized microwave-safe bowl, melt the remaining 1/2 cup unsalted butter. Add the 2/3 cup packed brown sugar and 2 tbsp white granulated sugar, then mix until smooth and well combined.
-
Add the 2 egg yolks (discard the whites) and 1 tsp vanilla extract to the sugar mixture, and mix again until fully incorporated.
-
Add in the 1 3/4 cups all-purpose flour, 1/4 tsp baking powder, 1/2 tsp baking soda, and 1/4 tsp kosher salt. Stir until a soft dough forms. Be careful not to overmix.
-
 Fold in the 1 cup semi-sweet dark chocolate chips. Mix well to ensure the chips are evenly distributed and firmly sticking within the dough.
 -
Using a small spoon (such as a kitchen teaspoon), dollop small, irregular clumps of cookie dough all over the top of the brownie batter. There’s no need to shape them into perfect balls; a natural, scattered approach is ideal.
-
 Distribute all the cookie dough over the brownie layer, ensuring good coverage across the entire pan.
 -
 Place the pan in the preheated oven and bake for 30-35 minutes, uncovered. The brookies are done when the top looks crispy and the center is mostly set with a slight give. Remove from the oven and let them cool in the pan for at least 15 minutes before cutting. This cooling step is crucial to help them set and keep their perfect shape! Enjoy your ultimate dessert!
