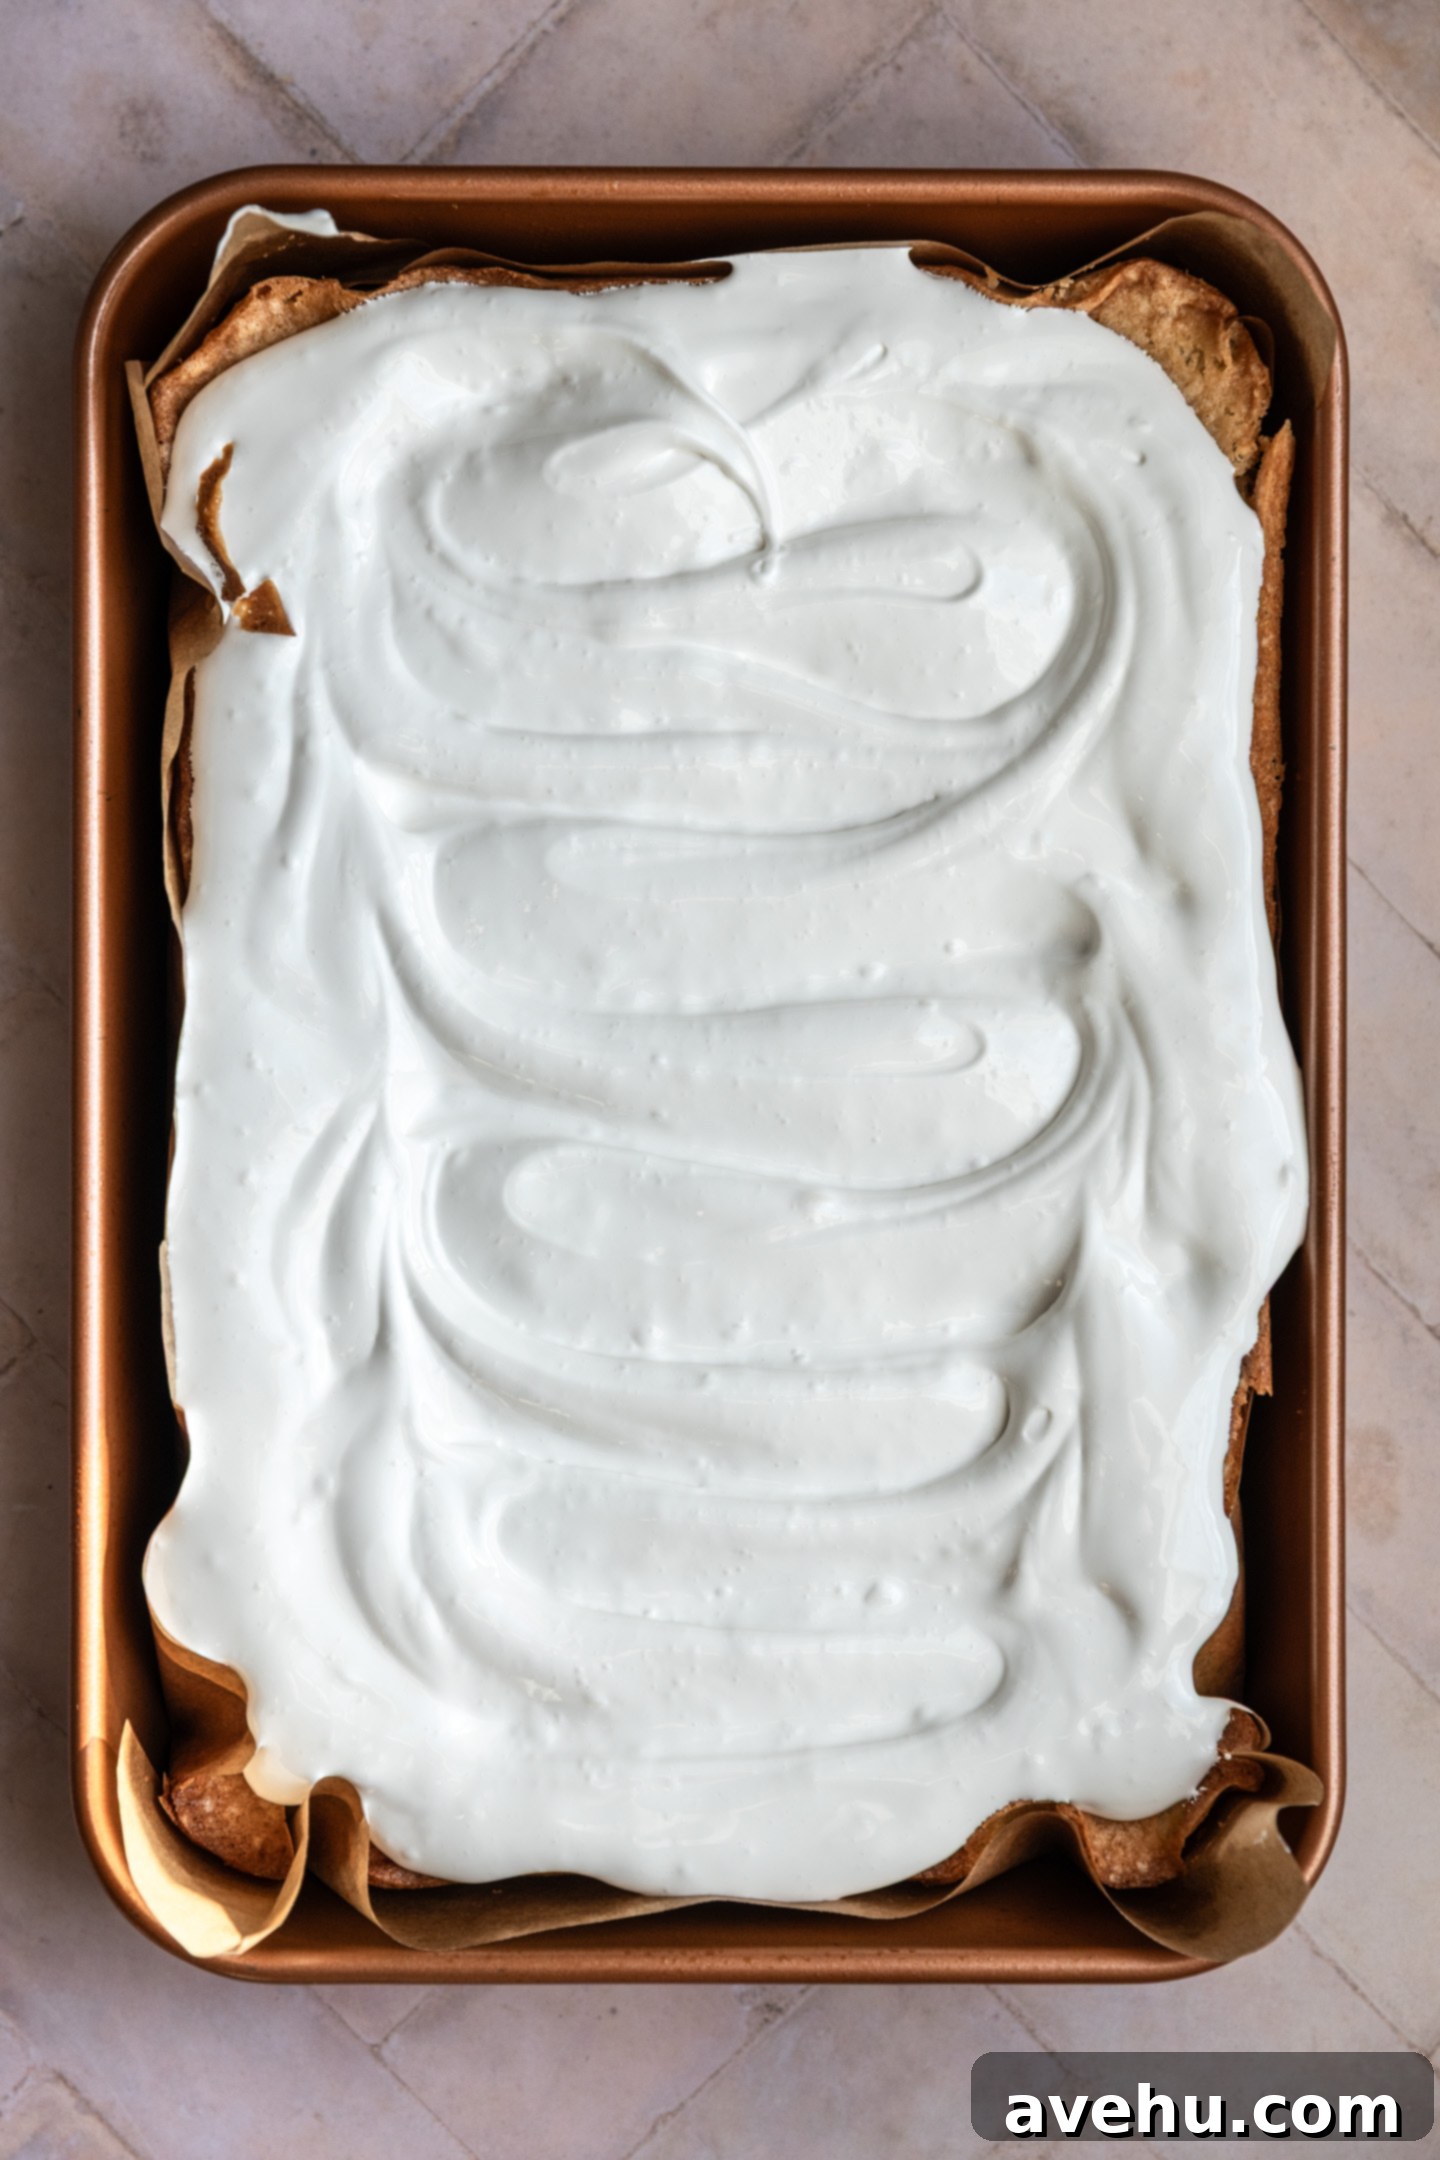
Effortless Stovetop 7-Minute Frosting: The No-Double Boiler Secret to Fluffy Perfection
Imagine creating a luscious, cloud-like frosting in just minutes, without the hassle and anxiety of a double boiler. Yes, you heard that right! This revolutionary 7-minute frosting recipe completely bypasses the traditional double boiler method, showing you how to achieve that iconic, marshmallowy perfection directly in a pot on your stovetop. It’s not only possible, but it’s incredibly easy, yielding the same super smooth, swoopy, and irresistibly delicious white frosting that will elevate any cake to a celebratory masterpiece.
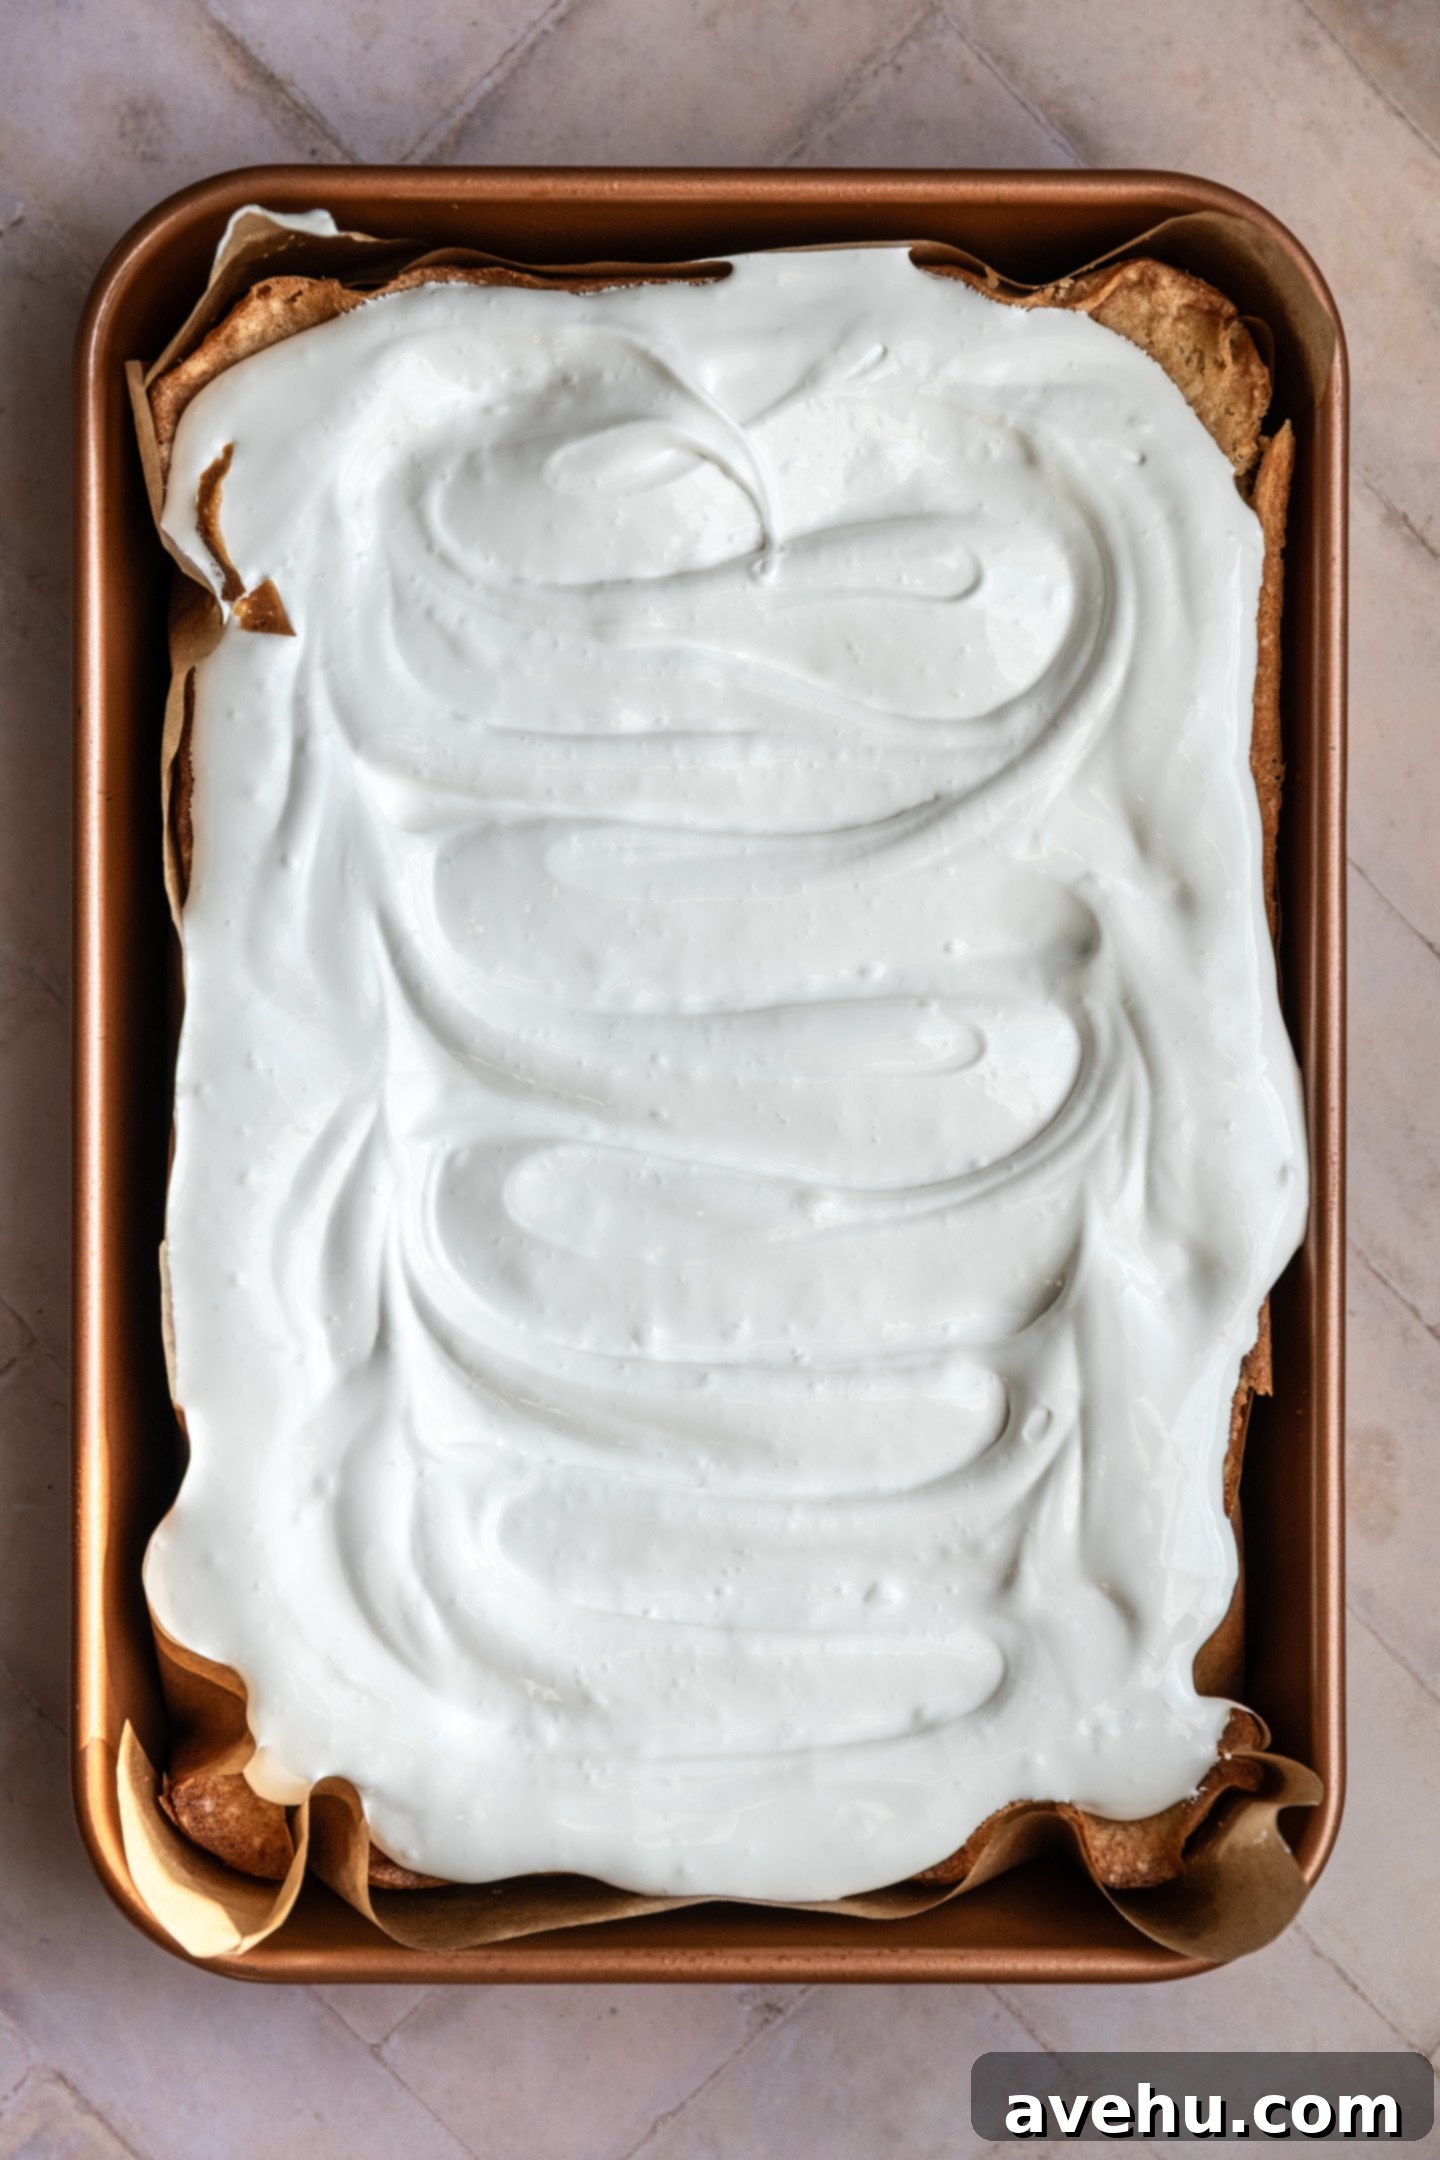
As a trained pastry chef, my passion lies not in adhering strictly to complex traditional techniques, but in discovering and sharing simpler, more accessible ways to create delicious treats. Today, we’re diving into making an incredibly easy 7-minute frosting. This beloved, old-fashioned frosting is celebrated for its ethereal lightness, delicate texture, and unmistakable dreamy marshmallow flavor. It’s essentially a streamlined version of Swiss Meringue, with a slightly tweaked cooking process that makes it remarkably user-friendly.
Traditionally, 7-minute frosting involves whipping egg whites and sugar over a double boiler for—you guessed it—seven minutes, until the mixture becomes wonderfully glossy and thick. The key distinction from a classic Swiss meringue, which is heated first and then whipped off the heat, is that this frosting is continuously whipped while gently cooking. This simultaneous heating and whipping process is crucial for achieving its unique structure and velvety consistency.
This delightful frosting is generously flavored with vanilla and boasts a significantly lighter texture compared to a traditional vanilla buttercream frosting. This difference is mainly due to the absence of butter. Instead, the magic happens as egg whites and sugar are heated and whipped into a soft, voluminous meringue. The gentle, controlled heat not only helps to fully dissolve the sugar, preventing a grainy texture, but also safely pasteurizes the egg whites, ensuring a safe and delicious treat.
When I first embarked on perfecting this recipe, the thought of balancing a bowl precariously over simmering water for a double boiler method filled me with dread, imagining inevitable slips and a massive kitchen mess. This common culinary anxiety led me to experiment: could this iconic frosting be made just as perfectly in a simple pot directly on the stovetop? The answer, to my immense relief and yours, is a resounding YES! This innovative trick worked like a charm, producing frosting that was every bit as perfect as if it had been made the traditional way, but with far less stress.
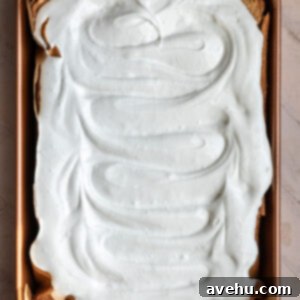
I joyously slathered this incredible homemade meringue frosting all over a classic vanilla sheet cake, and the results were divine. But don’t limit yourself! This versatile frosting would be equally delicious on this super moist banana cake, or even on a fun and festive pineapple cake. Its light texture and sweet marshmallow flavor complement a wide array of cake bases, making it a truly adaptable topping for your favorite baked goods.
Why Stovetop 7-Minute Frosting is a Game-Changer
The traditional double boiler method, while effective, can be intimidating for many home bakers. It requires careful balancing of a bowl over a pot of simmering water, precise temperature control, and often, a lot of arm strength to whisk consistently without spilling. By moving the process directly to a heavy-bottomed pot on the stovetop, we eliminate these challenges. The direct heat, when managed carefully on a low setting, still allows for the gradual heating and dissolving of sugar, while continuous whipping builds volume and structure. This simplified approach means less setup, less cleanup, and a much more enjoyable baking experience for a truly delicious homemade marshmallow frosting.
Best Served on Single-Layer Cakes and Sheet Cakes
This light and airy frosting truly shines when spread over one-layer cakes or sheet cakes. Its marshmallow-like consistency is wonderfully fluffy, but this very quality means it’s not the ideal choice for filling between cake layers. When used in multi-layered cakes, its soft nature can cause the layers to shift, making the cake unstable and challenging to frost smoothly on the outside. For best results and structural integrity, reserve this delightful frosting for simpler cake designs.
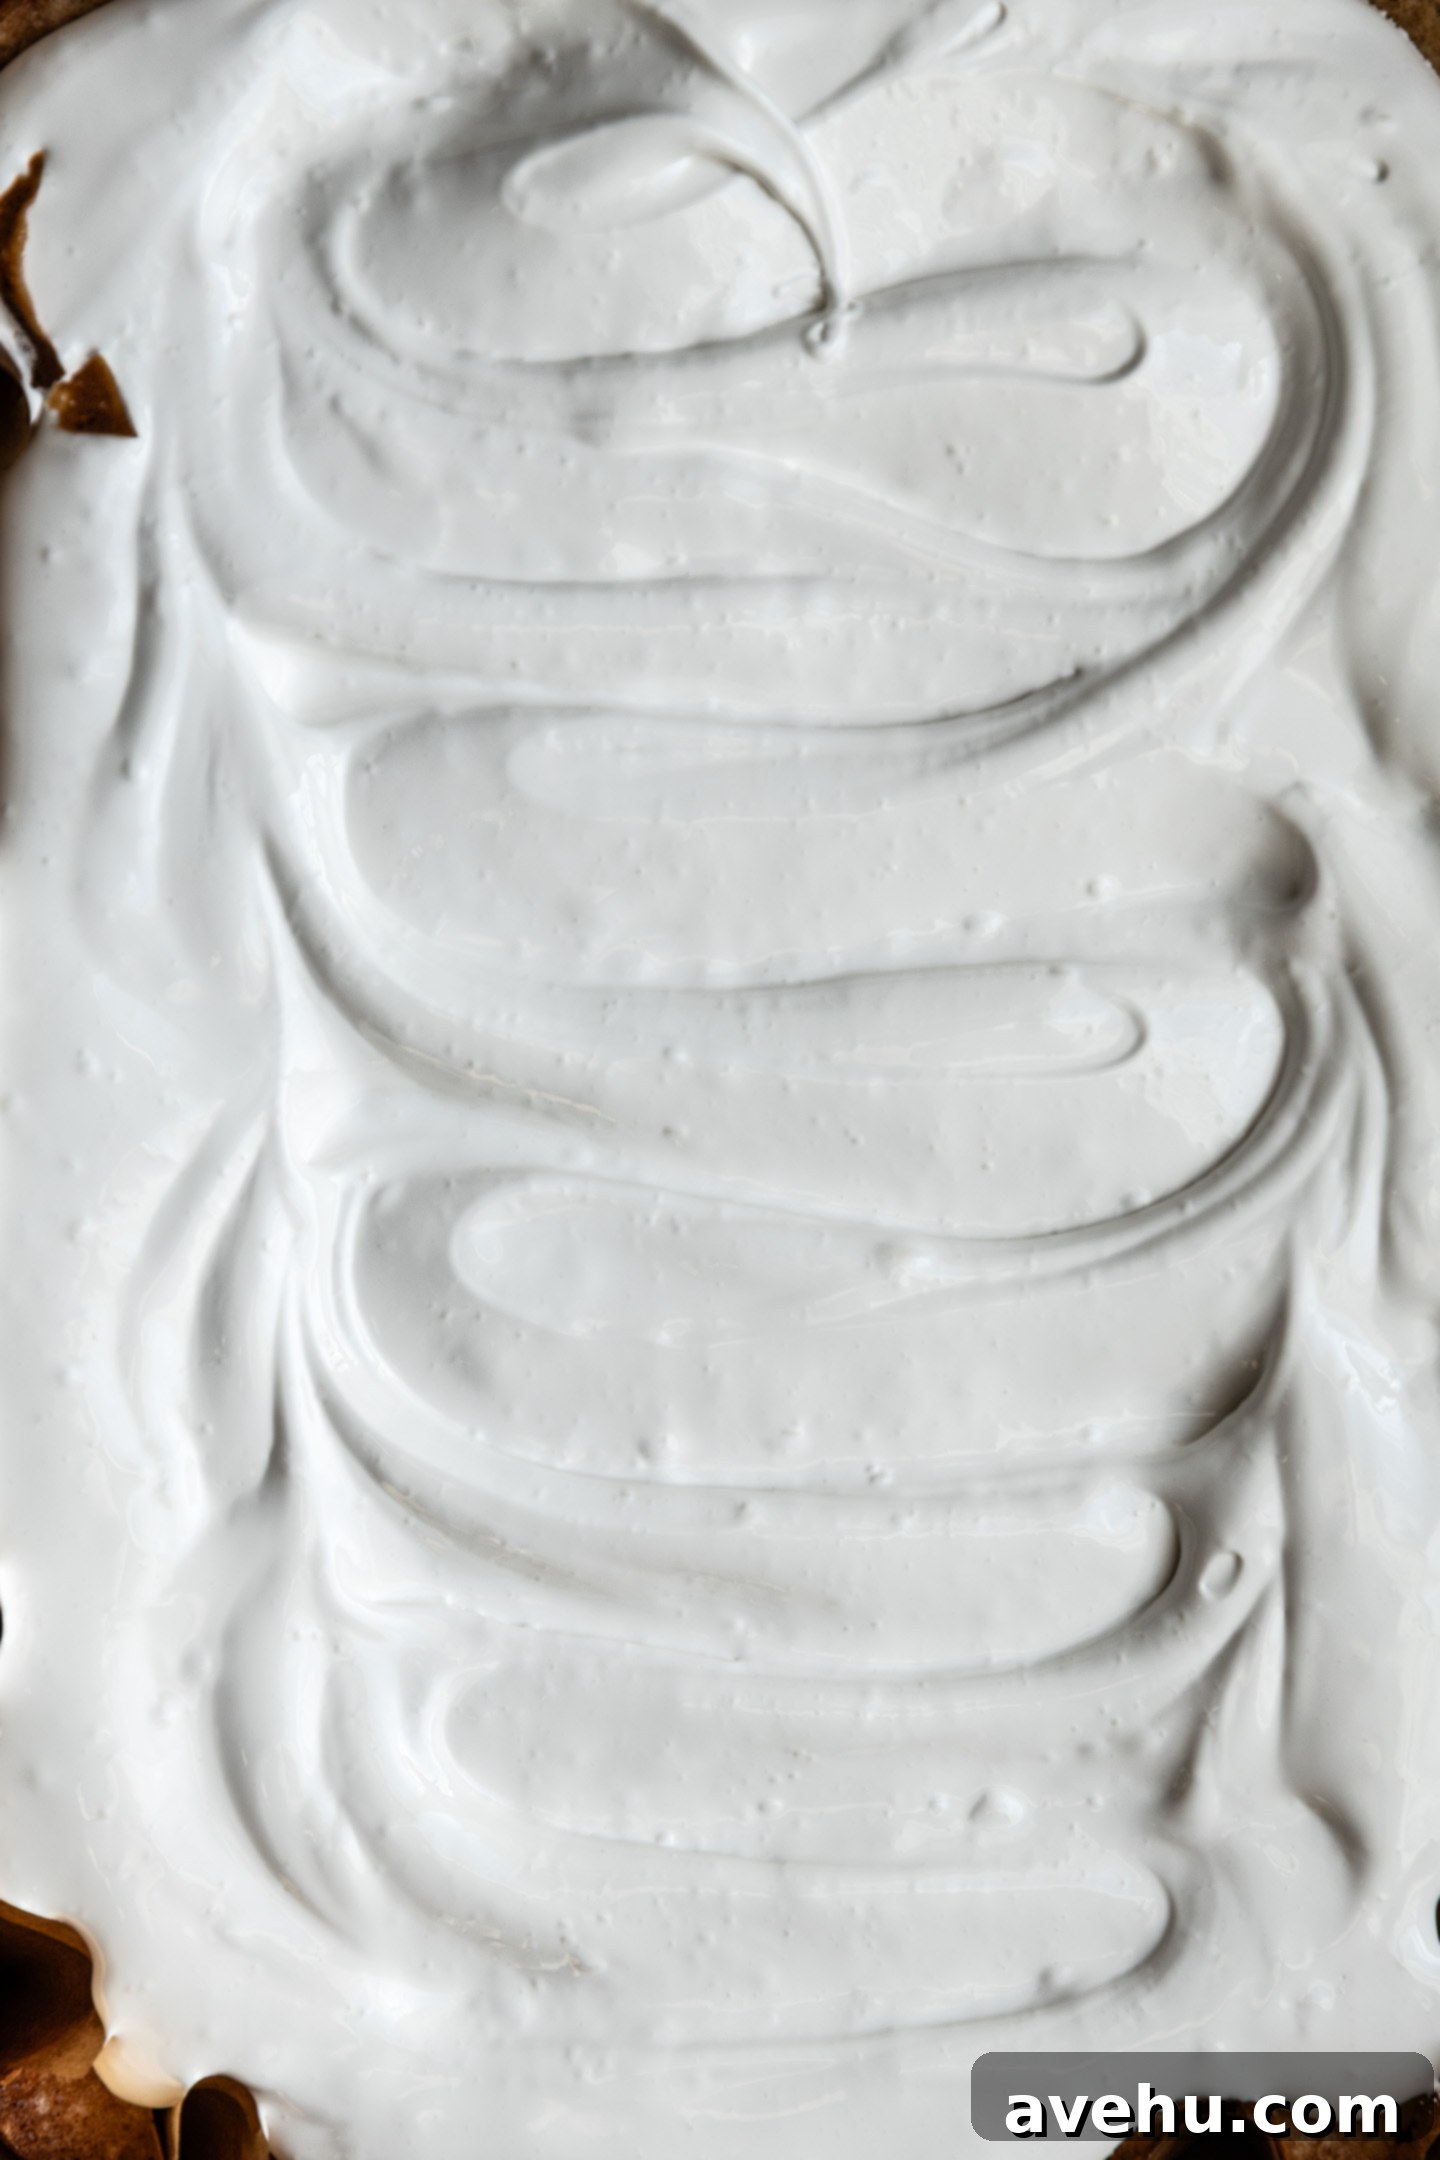
While you can certainly pipe this frosting, be aware that it won’t hold intricate shapes for extended periods. Unlike buttercreams that contain butter to provide a sturdy, thick structure, this meringue-based frosting is much softer. For elaborate piping designs that require crisp edges and stability, a different type of frosting might be more suitable. I learned this the hard way – attempting to fill and frost a whole round layer cake with this particular frosting resulted in a complete disaster! From that experience, I’ve confirmed that this delightful fluffy white frosting is best reserved for single-layer cakes or generous dollops on sheet cakes, where its soft, dreamy texture can truly be appreciated.
Essential Ingredient Insights for Your Stovetop Frosting
Each ingredient in this simple 7-minute frosting recipe plays a crucial role in achieving its perfect texture and flavor. Understanding their functions will help ensure your success every time.
- **Cream of Tartar:** This ingredient is non-negotiable for stability. Cream of tartar is an acidic salt that helps stabilize the egg whites, allowing them to whip up to greater volume and maintain that volume longer. It also prevents the sugar from crystallizing, which can lead to a grainy frosting. I strongly advise against omitting it or substituting it, as doing so can significantly impact the final texture of your meringue frosting.
- **Vanilla Extract:** Traditionally, vanilla extract is the star flavor, providing that classic sweet and aromatic finish. However, don’t hesitate to experiment! You can use other extracts like almond, lemon, peppermint, or even a touch of rum extract to customize your frosting. The key is to add your chosen flavoring *after* the frosting has been removed from the heat and has reached soft peaks, whipping it in for just a brief period to ensure even distribution without compromising the meringue’s structure.
- **Fresh Egg Whites:** For this recipe, I highly recommend using fresh egg whites separated from whole eggs. Carton egg whites, while convenient, often contain additives that can interfere with their ability to whip up properly and achieve the stable, voluminous peaks necessary for this frosting. Fresh eggs consistently yield the best results, producing a much more stable and impressive meringue.
The Golden Rule: Clean Equipment is Non-Negotiable
When working with egg whites, cleanliness is paramount. Any trace of grease or fat—no matter how small—can be the enemy of perfectly whipped meringue. If your pot, hand mixer attachments, or mixing bowl harbor even the tiniest speck of grease, your egg whites simply will not whip up into fluffy peaks; they’ll remain a soupy, disappointing liquid. And unfortunately, once this happens, there’s no way to salvage the batch.
This rule also extends to egg yolks. Since egg yolks are essentially pure fat, extreme care must be taken during the egg separation process. Ensure no speck of yolk accidentally makes its way into your egg whites. A single drop can ruin your efforts.
To guarantee success, wash all your equipment thoroughly with hot, soapy water and dry completely. For an extra layer of assurance, especially if you’re unsure about the cleanliness of your tools, you can run a cut lemon half over the inside of your pot and mixer attachments before you begin. The acidity of the lemon helps to cut through any residual grease, providing an ideal, squeaky-clean surface for your egg whites to reach their full potential.
How to Master Stovetop 7-Minute Frosting: A Step-by-Step Guide
Making this incredible marshmallow frosting directly on the stove is surprisingly simple, transforming a potentially finicky process into an effortless one. Follow these detailed steps to achieve perfect results every time.
Yield and Freshness
This recipe consistently yields approximately 4 cups of light and fluffy 7-minute frosting, which is more than enough to generously frost a standard 9×13 inch sheet cake or a dozen cupcakes. The beauty of this frosting lies in its fresh, airy texture. Therefore, for the absolute best experience, it is highly recommended to serve this frosting on the day it is made. Unlike buttercreams that can be stored and used later, this meringue-based frosting is at its peak immediately after preparation.
Troubleshooting and Expert Tips for Perfect Stovetop 7-Minute Frosting
Even with the simplest recipes, a few common issues can arise. Here are some troubleshooting tips to ensure your stovetop 7-minute frosting turns out perfectly every time:
- **”My egg whites didn’t whip and look like soup!”** This is the most common issue and almost always points to one of two culprits: **grease or yolk contamination.** Revisit the “Clean Equipment” section. Even a tiny speck of grease on your pot, mixer attachments, or bowl, or a small drop of egg yolk in your whites, will prevent them from whipping. Unfortunately, once this happens, the batch cannot be saved, and you’ll need to start fresh with meticulously clean equipment and perfectly separated egg whites.
- **”I put it in the fridge, but it didn’t firm up.”** This frosting is not like American buttercream. It does not contain butter, which is the ingredient that solidifies in the fridge and makes buttercream firm. Because it’s a meringue, chilling it will actually cause it to become soft, sticky, and lose its beautiful volume and structure. This frosting is designed to be eaten at room temperature shortly after it’s made.
- **Egg Temperature Matters:** For easier separation, it’s often best to separate cold eggs. However, egg whites whip up with greater volume and stability when they are at room temperature. So, separate your eggs when they are cold, then let the egg whites sit on the counter for 15-30 minutes to come to room temperature before you start whipping.
- **Serve Immediately for Best Texture:** This frosting is at its absolute best on the day it’s made. The light, airy texture and delicate marshmallow flavor are most pronounced when fresh. While it won’t spoil overnight, it tends to lose some of its volume and become slightly weepy or sticky if stored for too long. For optimal enjoyment, plan to make and serve it the same day.
- **Maintain Low Heat:** The key to this stovetop method is *low* heat. You want to gently warm the mixture to dissolve the sugar and pasteurize the egg whites, not cook them. If the heat is too high, you risk scrambling the egg whites, resulting in a lumpy, unusable frosting. Keep it low and whip constantly.
- **Don’t Over-Whip (Once off Heat):** After adding the vanilla extract and removing from heat, whip only for the additional 30-60 seconds specified. Over-whipping can sometimes cause the meringue to become brittle or separate.
Easy Stovetop 7-Minute Frosting (No Double Boiler Needed)
Pin
Review
SaveSaved!
Ingredients
- 4 large egg whites
- 1 1/4 cup granulated sugar, 250g
- 1/4 tsp cream of tartar
- 1 tsp pure vanilla extract
- 3 tsp cold water
Equipment
-
1 heavy bottomed pot (clean and grease-free)
-
1 hand mixer (with two whisk attachments preferred)
Instructions
-
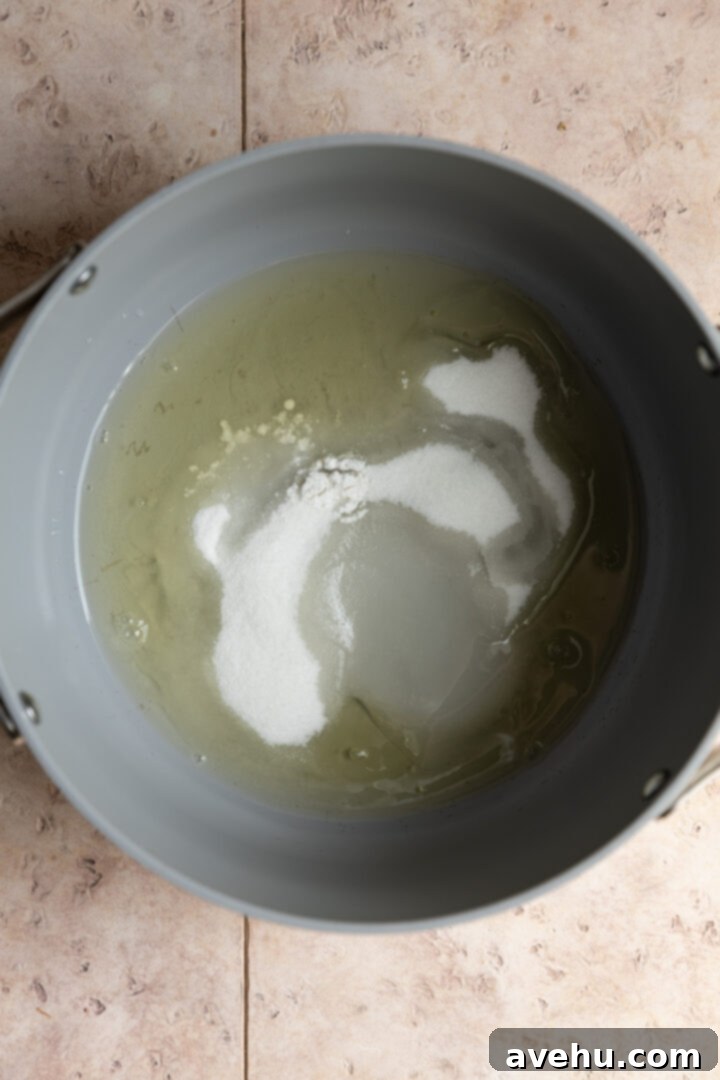
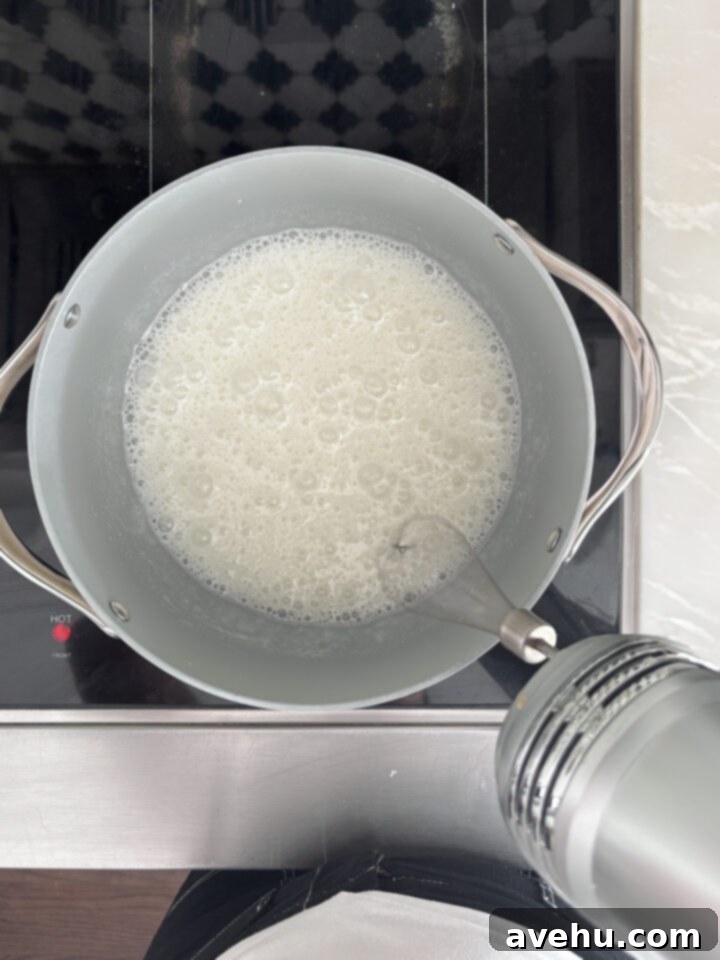
Into a very clean, heavy-bottomed large pot, combine the 4 room-temperature egg whites, 1 1/4 cups of granulated sugar, 1/4 tsp cream of tartar, and 3 tsp cold water. Place the pot over low to medium-low heat.
-
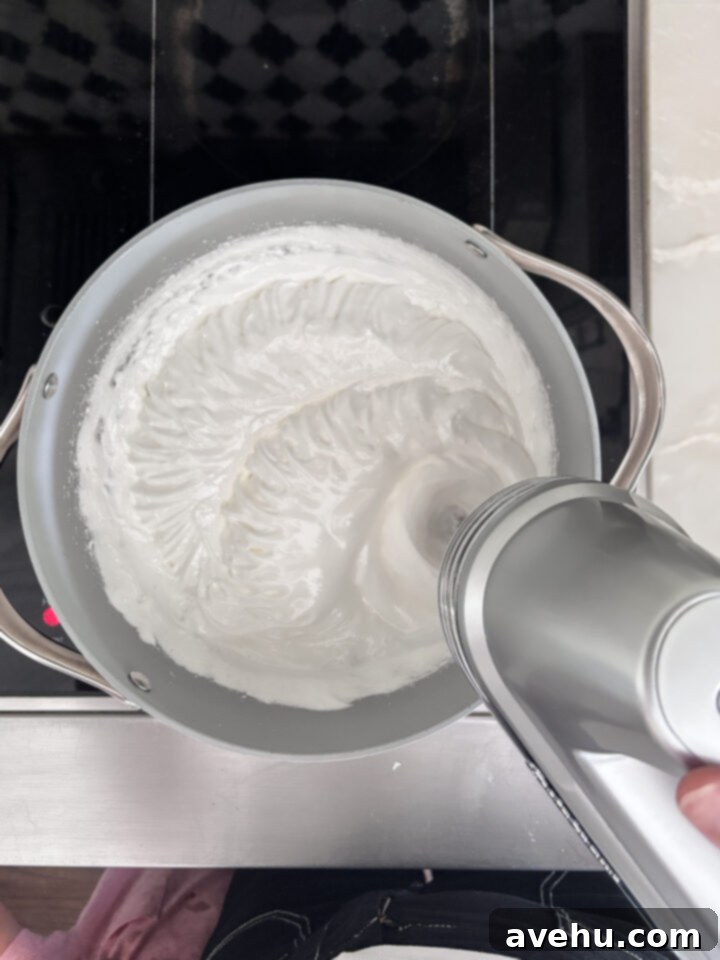
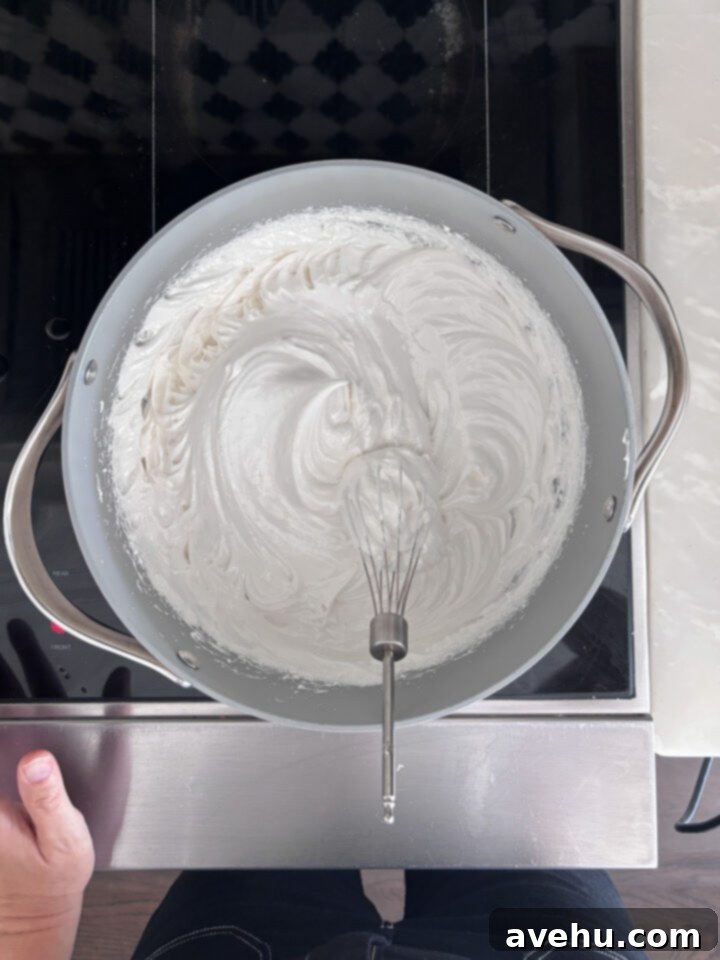
Immediately begin whipping the mixture using a hand mixer on its highest speed. Continue to whip constantly for exactly 7 minutes. During this time, the mixture will gradually increase in volume, become opaque, and transform into a glossy, thick meringue, forming soft to medium-stiff peaks.
-
Once the 7 minutes are up and you see soft peaks forming (where the peaks gently curl over), remove the pot completely from the heat. Add in the 1 tsp of vanilla extract.
-
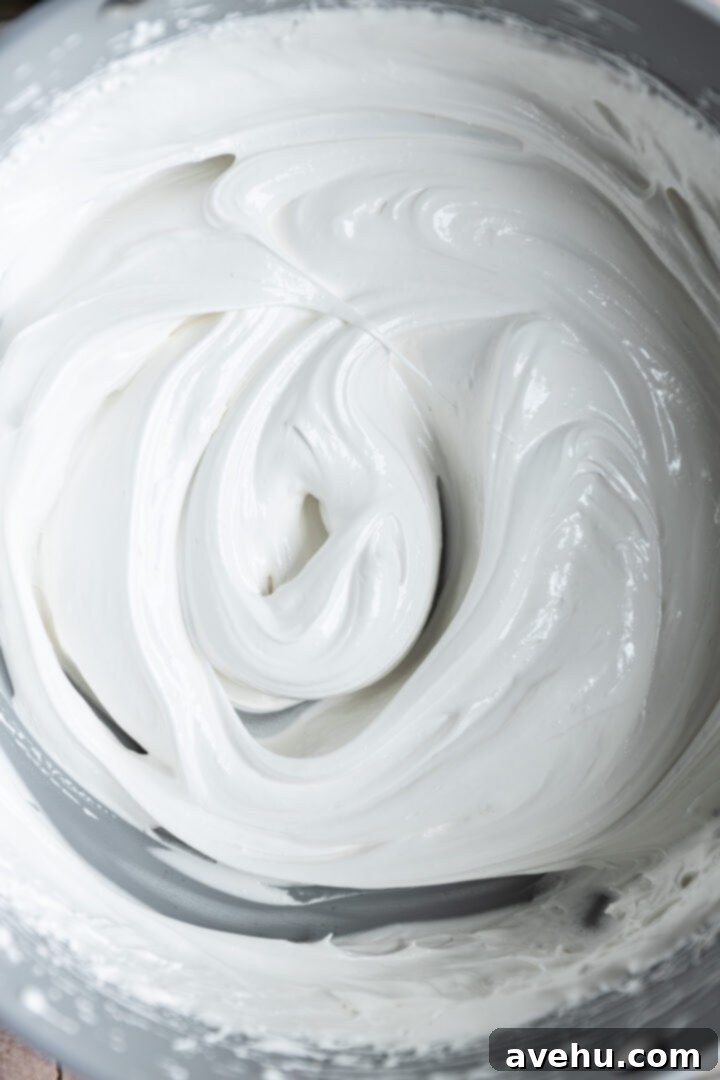
Continue whipping the frosting vigorously for another 30 seconds to ensure the vanilla is thoroughly incorporated and the frosting reaches a stable, luscious consistency.
-
Your perfectly fluffy, easy 7-minute frosting is now ready! Generously slather it over a cooled cake or your favorite baked goods and enjoy immediately.
