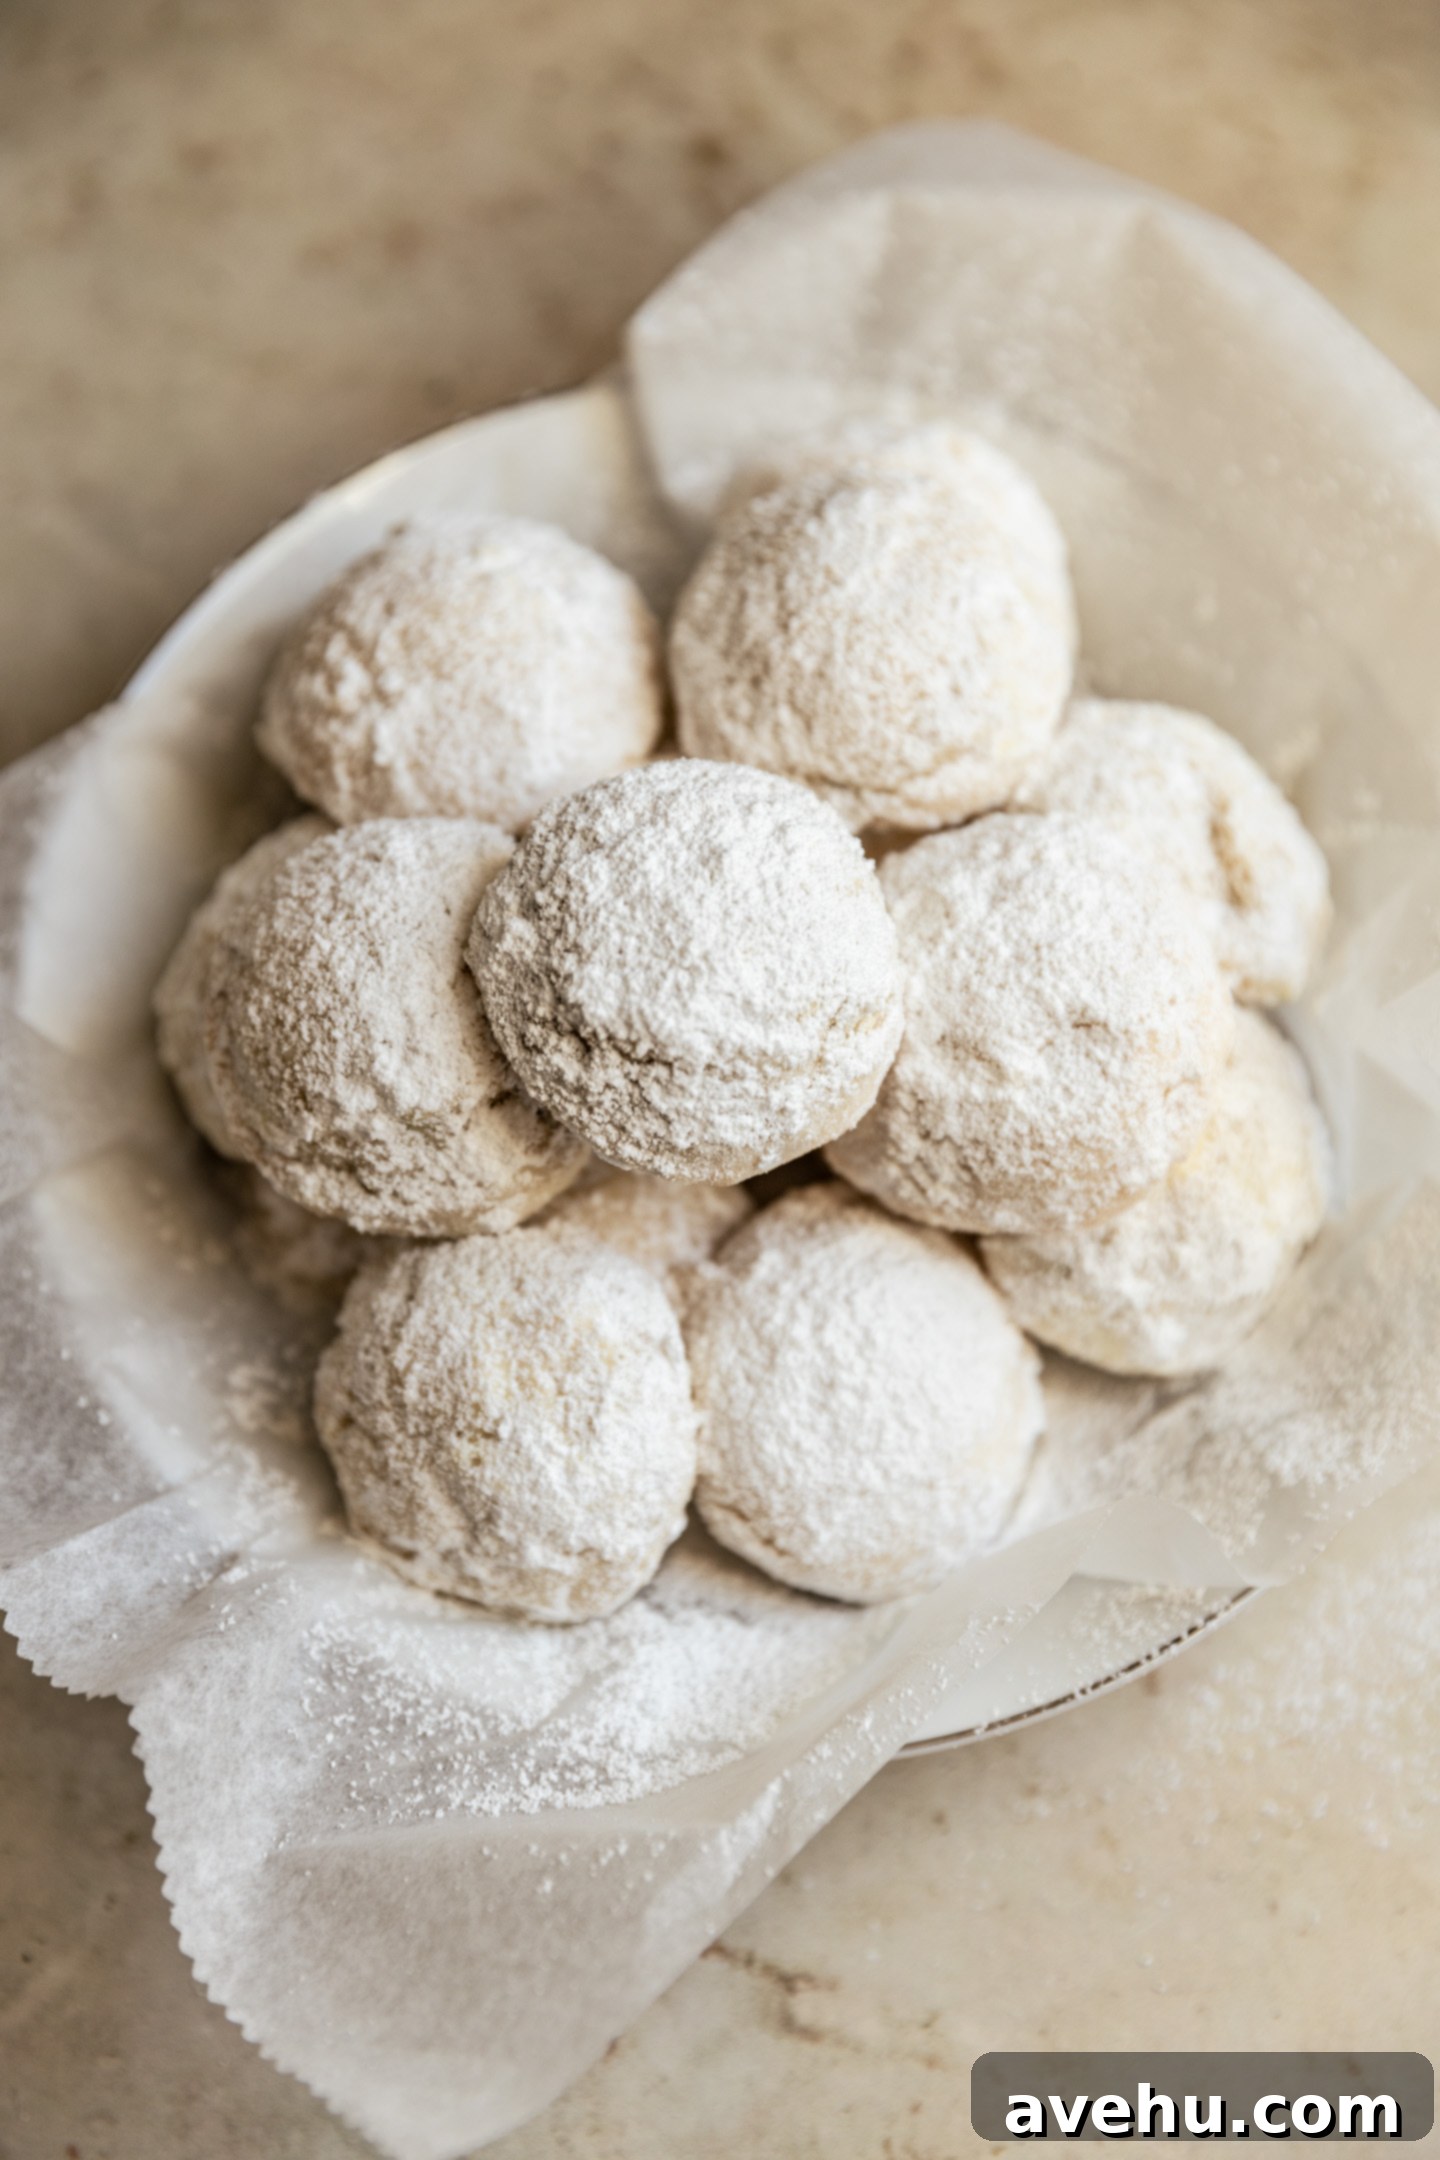
Effortless 3-Ingredient Snowball Cookies: Your Ultimate Guide to a Melt-in-Your-Mouth Holiday Treat
Prepare to discover your new favorite holiday cookie recipe! These incredible snowball cookies require just three simple ingredients and come together in a single bowl, making them unbelievably easy and perfect for busy seasons. Imagine a cookie that’s buttery, delightfully dense, and perfectly sweet, baked to golden perfection in only 15 minutes. Once cooled slightly, they’re rolled in a cloud of powdered sugar, transforming them into charming, snow-dusted orbs that truly live up to their name. While you have the option to add chopped nuts for an extra layer of flavor and texture, these cookies are absolutely divine either way. Best of all, with an ingenious and easy-to-remember measurement system, you’ll find yourself whipping up batch after batch all season long, without ever needing to consult the recipe card again!
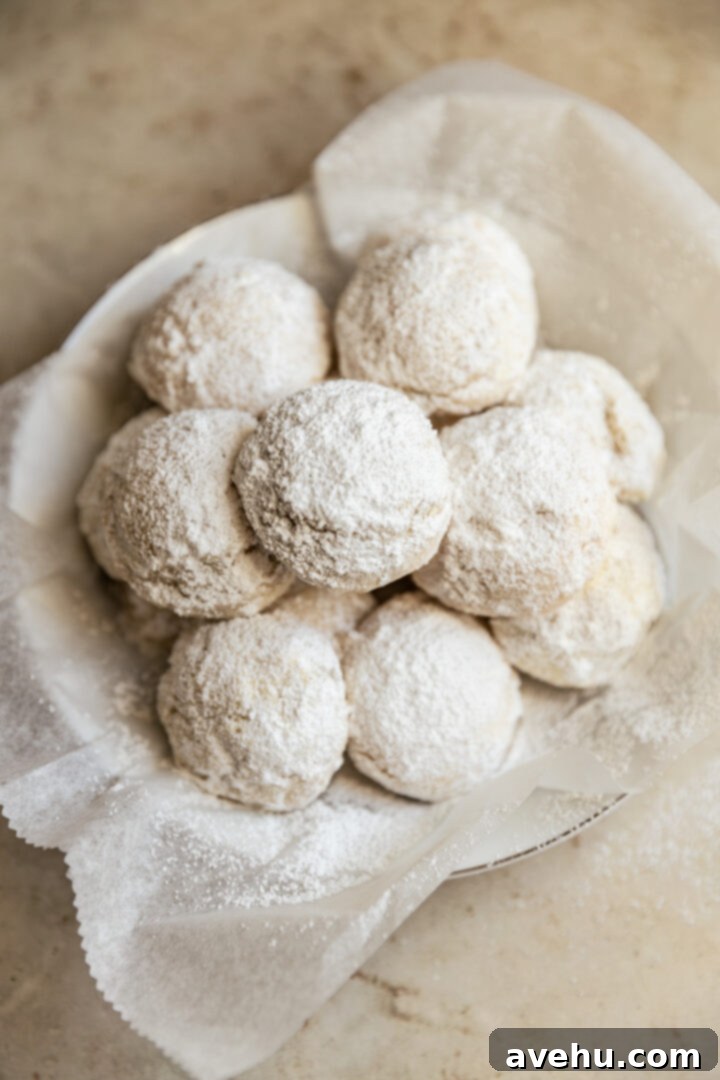
As a trained pastry chef, I’ve had the pleasure of perfecting countless holiday cookie recipes. My go-to list includes crowd-pleasers like my 5-star gingersnap cookies (a recipe I enjoy making all year round!), these festive cranberry orange shortbread cookies, and my beloved Italian Ricotta Cookies. It takes a truly special cookie to earn a spot on this curated list, and these irresistible snowball cookies have done just that! They are so exquisitely delicious and remarkably simple that they’ve quickly become a permanent fixture in my holiday baking repertoire.
What truly sets these cookies apart is their incredible simplicity. They are quite possibly the easiest Christmas cookies you can ever make, relying on just three essential ingredients: powdered sugar (also known as confectioners’ sugar), unsalted butter, and all-purpose flour. That’s it! To make the baking experience even more effortless, I’ve designed the measurements to be incredibly intuitive and easy to commit to memory. This means less time checking your notes and more time enjoying the magic of baking.
Here’s the brilliant trick to remembering the recipe:
- 1/2 cup powdered sugar
- 1 cup unsalted butter
- 2 cups all-purpose flour
You’ll, of course, need additional powdered sugar for rolling the baked cookies, but there’s no need to precisely measure this out; simply pour enough into a shallow bowl for easy coating. The beauty of this recipe lies in the progressive doubling of each ingredient. If you can remember that you start with 1/2 cup of powdered sugar and the sequence is powdered sugar, butter, then flour, then the rest becomes second nature: 1/2 cup, 1 cup, 2 cups. It’s a game-changer for stress-free holiday baking!
This intuitive measurement pattern means you can confidently bake these cookies without constantly referring to the recipe. Just remember: powdered sugar, butter, flour – and double the amount for each subsequent ingredient starting from 1/2 cup! How wonderfully easy is that? (I’m doing a little holiday happy dance just thinking about it!)
Many traditional snowball cookie recipes, often known as Mexican Wedding Cake Cookies or Russian Tea Cakes, frequently call for the inclusion of finely chopped pecans or other varieties of nuts. While adding nuts is a fantastic option if you enjoy the extra crunch and earthy flavor, I often prefer to leave them out for these specific cookies. Why? Because omitting nuts allows the inherent buttery, melt-in-your-mouth texture to truly shine through. These cookies are designed to dissolve delicately on your tongue, and without nuts, that experience is amplified.
These delightful treats are indeed known by several affectionate names around the world. You might recognize them as Mexican Wedding Cake Cookies, famous for their rich, buttery crumb and festive appearance, often served at celebrations. Or perhaps you know them as Russian Tea Cakes, a nod to their popularity in Russian tea ceremonies, offering a sweet bite alongside a warm beverage. And, of course, the charmingly simple name “Butterballs” perfectly encapsulates their main ingredient and decadent texture. The sheer number of names these cookies have goes to show just how universally loved and deliciously popular these festive, melt-in-your-mouth cookies are across various cultures!
So, grab your three essential ingredients – now you know exactly how much of each you need – and let’s get ready to fill your home with the sweet aroma of baking!
The Critical Importance of Properly Softened Butter
Achieving the perfect texture for these snowball cookies hinges significantly on one crucial detail: your butter must be correctly softened. This isn’t just a suggestion; it’s genuinely vital for the success of this recipe. If your butter is too soft, almost melted, your cookies can turn out greasy, losing that delicate, melt-in-your-mouth quality. Conversely, if the butter is too cold and firm, it won’t properly cream with the powdered sugar and flour, leading to a lumpy dough and potentially dry, crumbly cookies that don’t combine well.
What exactly constitutes “softened butter”? It’s often colder and firmer than most people imagine. When you press your finger into it, you shouldn’t be able to easily slide your finger all the way through the stick – that indicates it’s far too soft and likely on its way to melting. Instead, aim for butter that yields slightly, leaving a small indentation, much like the image below. It should still feel cool to the touch, not warm or oily. This ideal consistency allows the butter to incorporate air when creamed, creating a light and airy base for your dough.
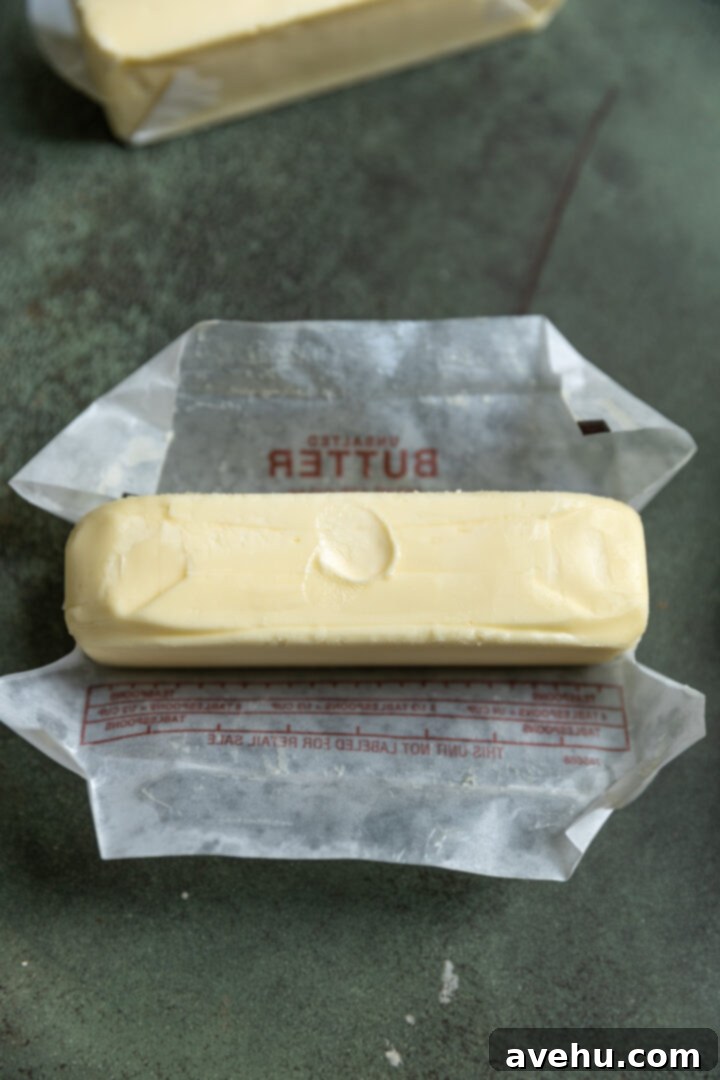
If your butter is too cold, it will resist mixing, resulting in a dense dough and cookies that lack the intended tender texture. If you find yourself in a pinch and forgot to take your butter out ahead of time, don’t despair! You can absolutely read my quick guide on how to soften butter rapidly to get it to the ideal consistency without compromising your baking schedule.
Baking Bliss: How to Effortlessly Make These Perfect Snowball Cookies
Once you’ve mastered the art of perfectly softened butter, the rest of the process is incredibly straightforward. You’ll simply combine your ingredients and watch as a beautiful, pliable dough comes to life. Let’s walk through the steps to create these delightful cookies.
First, add the precisely measured 1/2 cup of powdered sugar and 1 cup of softened unsalted butter to the bowl of a hand mixer or a stand mixer fitted with the paddle attachment. Begin mixing on a low-to-medium speed, allowing these two ingredients to cream together beautifully. This creaming process, which should take approximately 1-2 minutes, is crucial as it incorporates air into the butter, resulting in a lighter, fluffier texture for your final cookies. You’ll know it’s ready when the mixture is pale yellow and visibly light and airy.
After creaming, pause the mixer and use a rubber spatula to thoroughly scrape down the sides and bottom of the bowl. This ensures that all the butter and sugar are evenly incorporated. With the mixer still on low speed, begin adding the 2 cups of all-purpose flour, about 1/2 cup at a time. It’s important to add the flour gradually, allowing each addition to be partially incorporated into the dough before adding the next. If you notice the flour isn’t mixing in seamlessly, you can slightly increase the mixer speed, but avoid overmixing once the flour is incorporated.
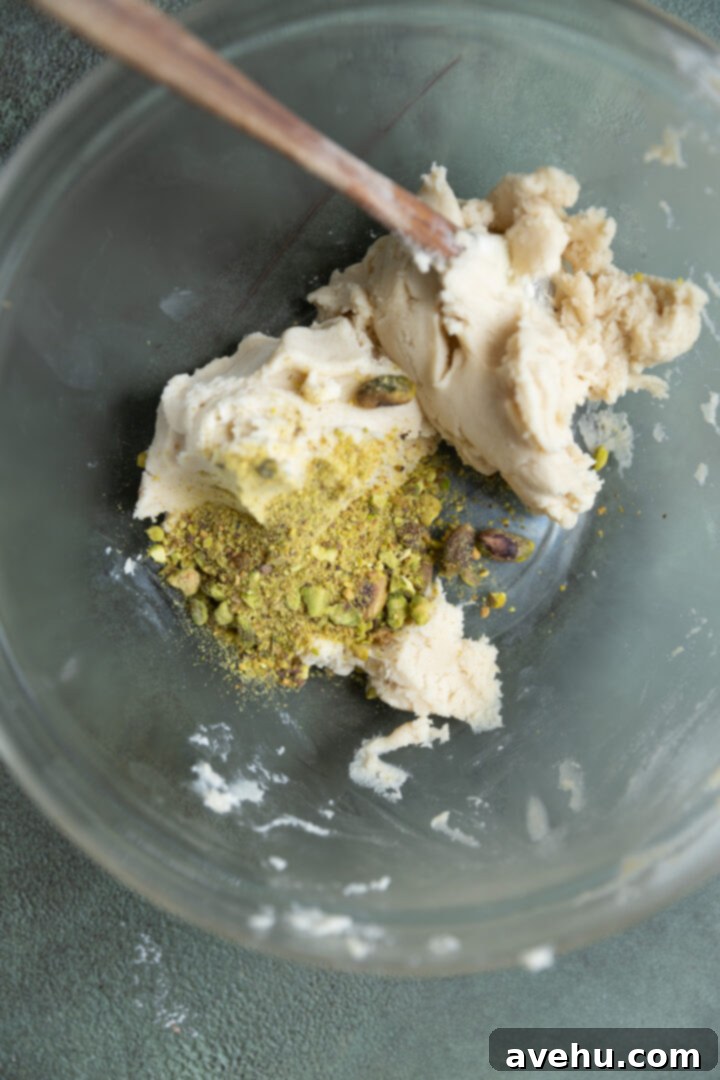
Continue adding the flour in increments until all of it has been fully mixed in. At this stage, a smooth, velvety-soft dough will form. Don’t be concerned if it doesn’t immediately gather into a single, perfectly smooth ball; the dough is naturally a little tacky, and that’s exactly what you want. This slight tackiness indicates the correct hydration and fat content. This is also the perfect moment to incorporate any chopped nuts you might desire, or you can choose to leave them out for the classic, ultra-melty experience.
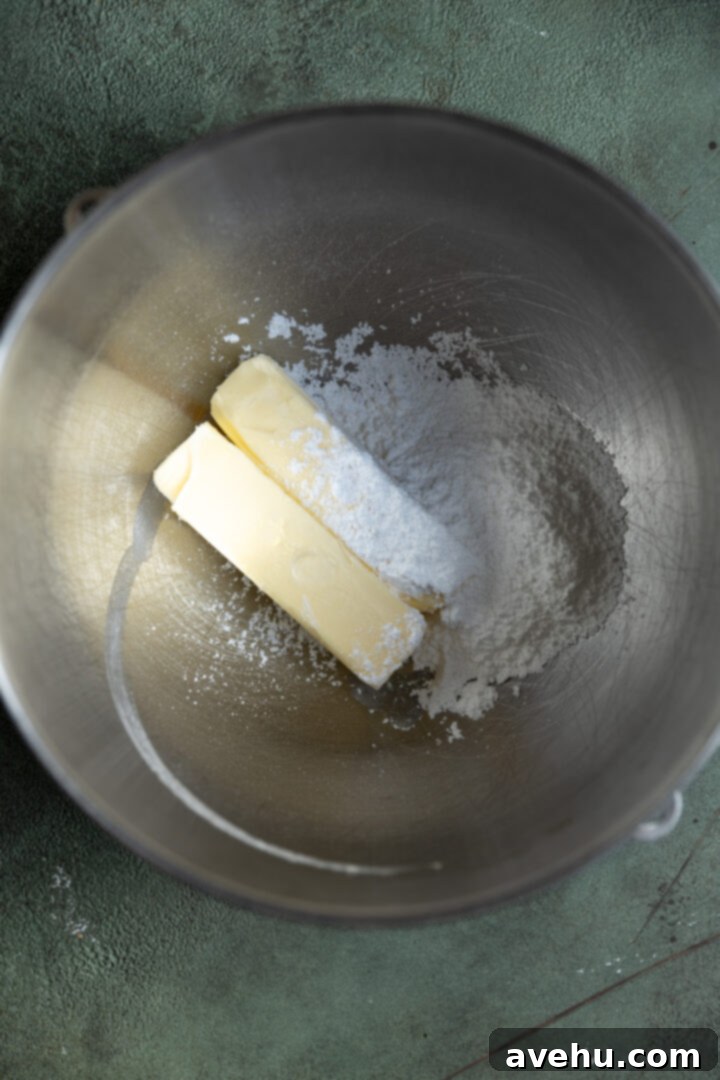
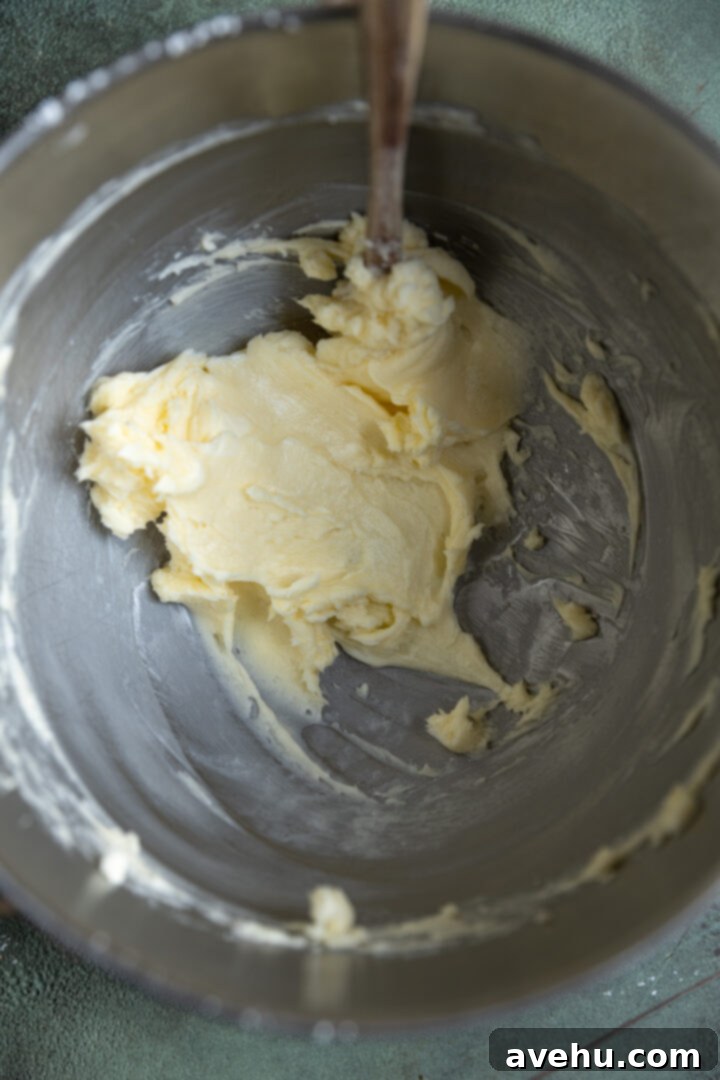
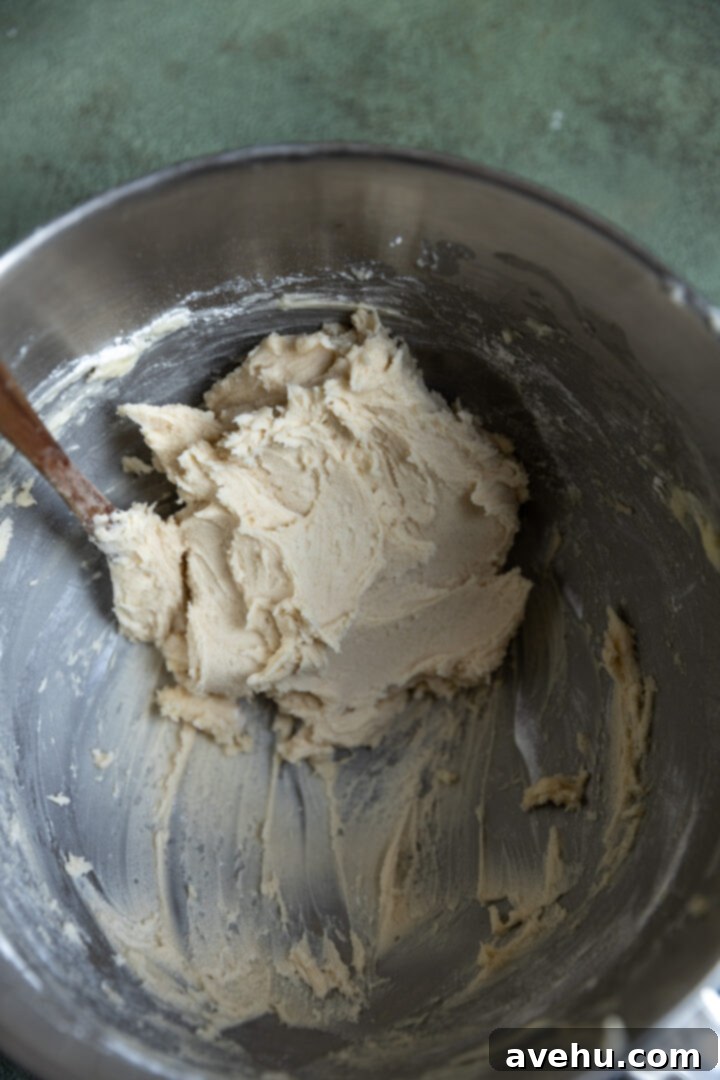
Once your dough is prepared, it’s time for a crucial chilling step. Place the bowl of dough into the fridge and let it chill for a minimum of 30 minutes. This resting period allows the butter to firm up slightly, making the dough easier to handle and preventing the cookies from spreading too much during baking. It also helps the flavors meld together beautifully.
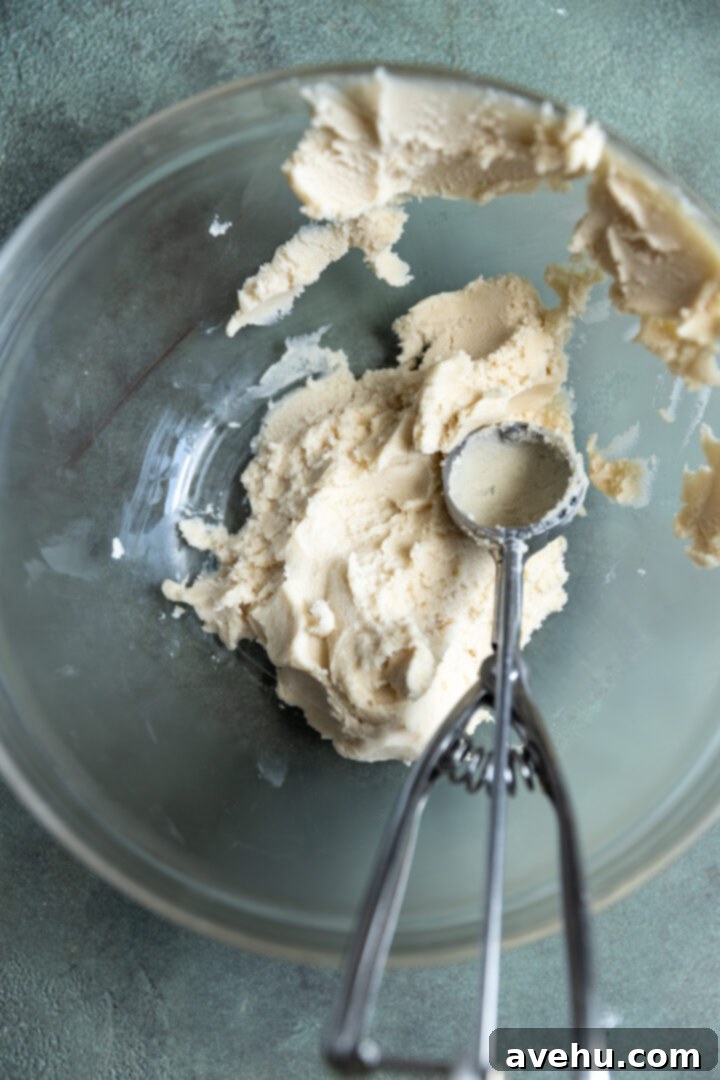
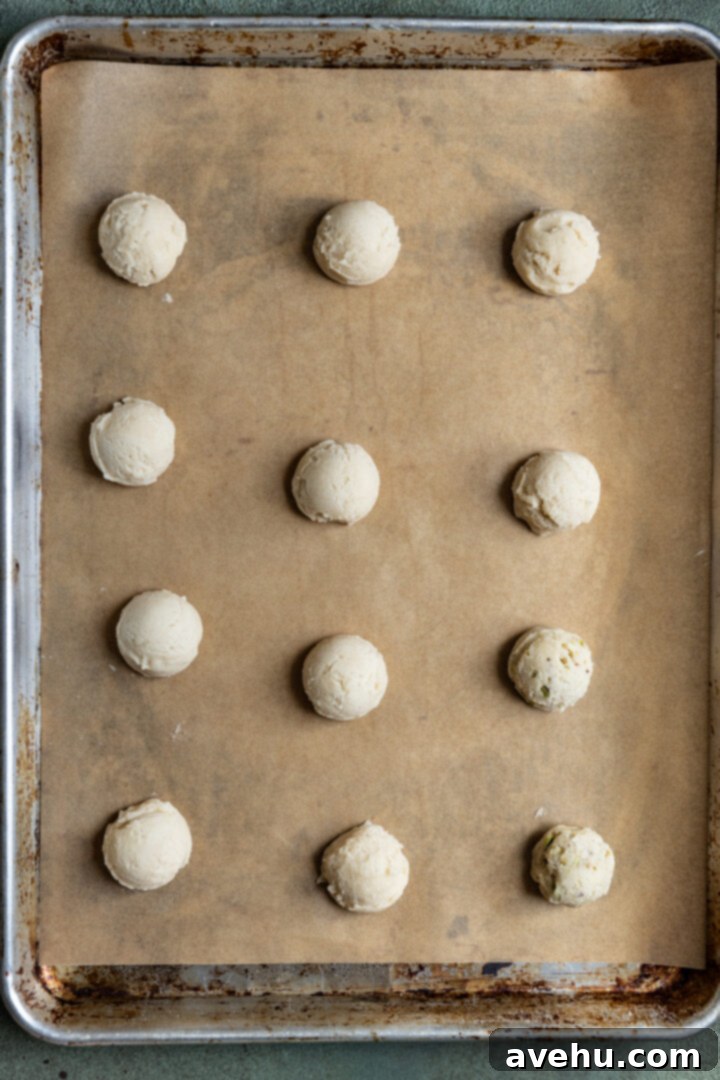
While the dough is chilling, preheat your oven to 350°F (175°C). Line two large baking sheets with parchment paper. Parchment paper is essential here as it prevents sticking and ensures even baking, making cleanup a breeze. Once the dough is sufficiently chilled, use a 1-tablespoon cookie scoop or a regular measuring spoon to portion out the dough. Roll each scoop gently between your palms to form a smooth, uniform ball. Arrange these dough balls on your prepared baking sheets, leaving about 2 inches of space between each one to allow for minimal spreading. You should be able to fit approximately 12 cookies per standard baking sheet.
Bake the cookies for precisely 15 minutes. You’re looking for them to be set and lightly golden at the edges, but still quite pale in the center. Overbaking can lead to a drier cookie, so keep a close eye on them! Once baked, remove the cookie sheets from the oven and let the cookies cool directly on the sheets for 8 minutes. This cooling period is vital before the final step: rolling them in powdered sugar to achieve that iconic snowball appearance.
The Perfect Roll: Warm, Not Hot!
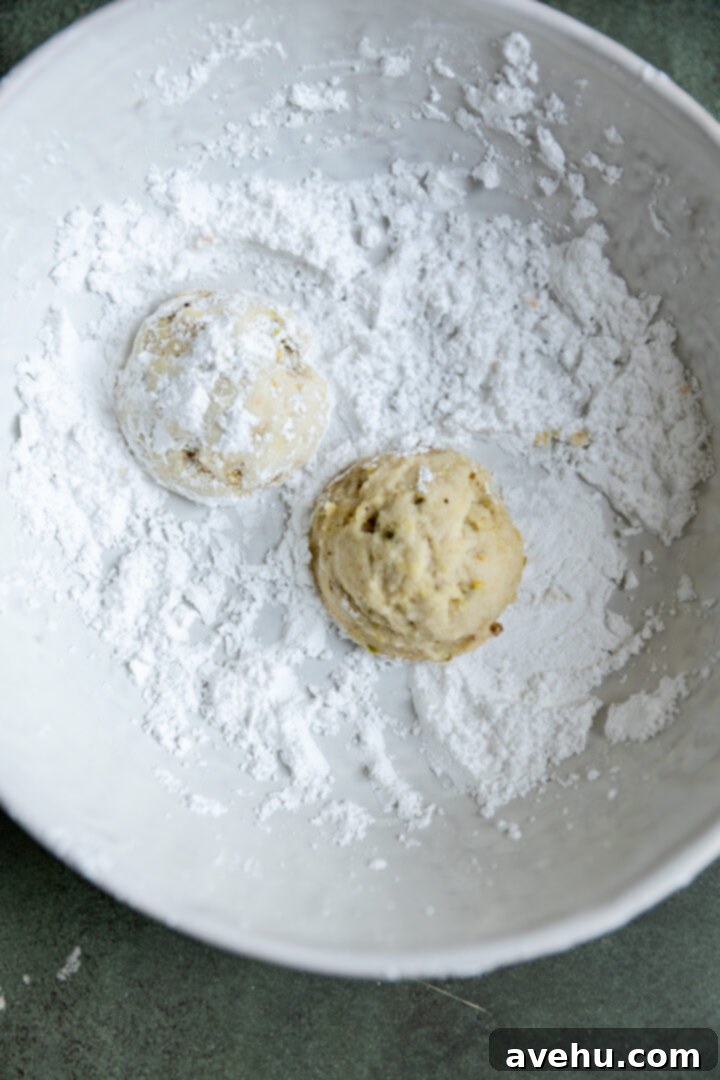
The timing for rolling your snowball cookies in powdered sugar is absolutely crucial for achieving that beautiful, snow-covered finish. You want to make sure to roll them when they are still warm, but not so hot that the powdered sugar simply melts into a sticky glaze. Through much experimentation, I’ve found that letting the cookies cool for just under 10 minutes, specifically around the 8-minute mark, is the absolute sweet spot. At this temperature, the exterior of the cookie is warm enough for the sugar to adhere perfectly, creating a beautiful, opaque white coating that truly mimics fresh snow.
If you roll them too quickly, while they’re still piping hot, the sugar will absorb moisture and melt, disappearing into the cookie. Conversely, if you wait too long and the cookies cool completely, the sugar won’t stick well at all, leaving you with a sparse, uneven coating. Should you accidentally roll them while too warm and the sugar melts, don’t worry! You can always give them another roll in fresh powdered sugar once they’ve cooled a bit more, or simply dust them generously with additional powdered sugar just before serving for an equally delightful presentation. This simple trick ensures your snowball cookies always look their festive best!
Optional Nuts: Enhancing Flavor and Texture
While the original recipe for these snowball cookies is a pure, unadulterated delight without any additions, incorporating chopped nuts offers a wonderful way to introduce an extra dimension of flavor and texture. If you appreciate a subtle crunch and a rich, earthy note in your cookies, consider adding finely chopped pecans, pistachios, or walnuts to the dough. These nuts not only provide a satisfying textural contrast to the otherwise melt-in-your-mouth cookie but also contribute their unique aromatic profiles.
Pecans lend a classic, buttery depth, while pistachios offer a slightly brighter, almost floral nuance and a beautiful green fleck. Walnuts bring a more robust, earthy flavor. The beauty of this optional addition is its flexibility. You can divide your dough in half, adding nuts to one portion and leaving the other plain, allowing you to cater to different preferences, just as I sometimes do with pistachios. This way, everyone gets to enjoy their favorite version of these exquisite holiday treats.
The Unforgettable Cookie Texture: A Melt-in-Your-Mouth Experience
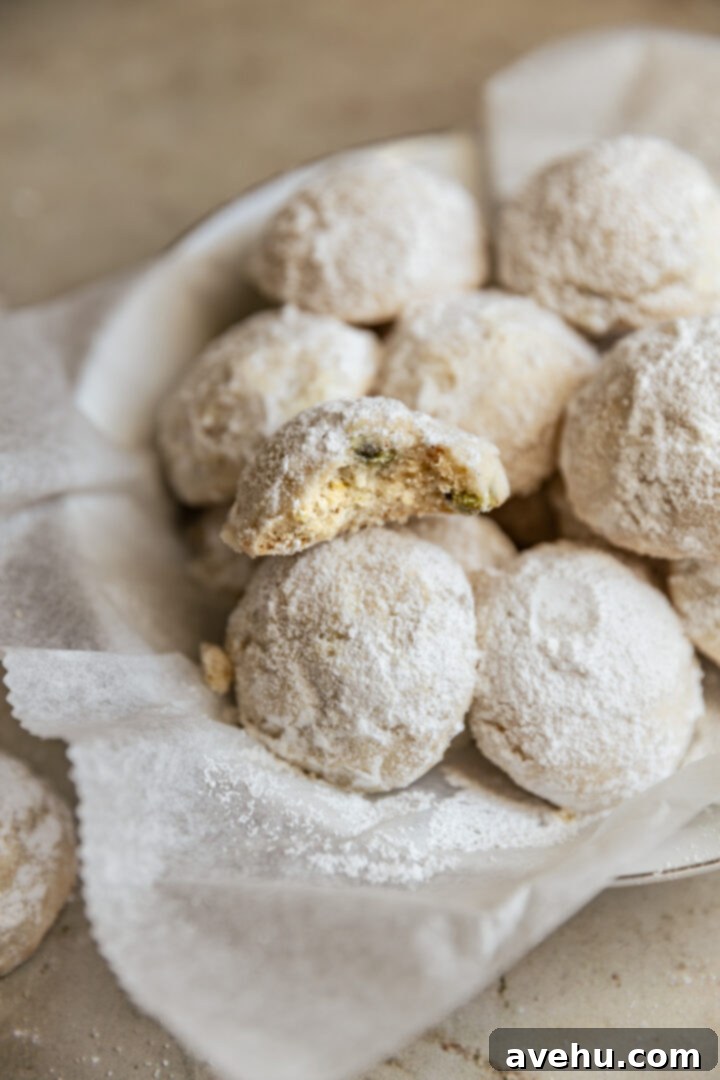
Describing the texture of these snowball cookies is truly an exercise in culinary poetry. The only way to truly convey their magic is to say they quite literally melt in your mouth! This is especially true if you choose to omit the nuts, allowing the pure, unadulterated buttery tenderness to take center stage. The first time I bit into one, I had a preconceived notion that they might be crumbly, given their delicate appearance. Instead, I experienced an immediate, profound softness that led me to utter an astonished “oh my goodness!” because they were so incredibly tender and yielded effortlessly. It’s a delightful surprise, far from crumbly, offering a smooth, almost ephemeral sensation as they dissolve on your tongue, leaving behind a lingering taste of sweet butter and sugar. This unique texture is what makes them utterly addictive and a true stand-out amongst holiday cookies.
Yield & Scaling: Perfect for Any Occasion
A single batch of this incredible recipe generously yields between 22 to 24 beautifully delicate snowball cookies. This is a perfect amount for a small gathering, a cozy family treat, or to savor yourself over a few days. However, given how utterly irresistible they are, you might find yourself needing more! The good news is that this recipe is incredibly forgiving and easy to scale up. If you’re planning for a larger event like a bustling holiday party, a cookie swap with friends, or simply want to ensure you have plenty on hand for gifting, you can effortlessly double or even triple the batch. The simple 1/2-1-2 ratio makes calculating larger quantities a breeze, ensuring you’ll always have enough of these beloved treats to go around.
Make-Ahead and Storage Tips for Holiday Ease
One of the many fantastic qualities of these snowball cookies is how wonderfully they lend themselves to make-ahead baking. I wholeheartedly recommend preparing them in advance – 10000%! They will remain absolutely delicious for at least 3 days when stored correctly, allowing you to get a head start on your holiday preparations without sacrificing freshness or flavor. If, after a few days, the powdered sugar coating appears a little absorbed or less vibrant, simply give them another light dusting with fresh powdered sugar right before serving to restore their pristine, snowy appearance.
For optimal freshness, store the cooled cookies in an airtight container at room temperature. This will keep them tender and prevent them from drying out. If you’re looking for an even longer storage solution, these cookies freeze beautifully! Place them in a single layer in an airtight freezer-safe container or a heavy-duty ziptop bag. They can be frozen for up to 2 months. When you’re ready to enjoy them, simply thaw them at room temperature. Again, a quick re-dusting of powdered sugar after thawing will make them look as though they were just baked.
3 Ingredient Easy Snowball Cookies
Pin
Review
SaveSaved!
Ingredients
- 1/2 cup powdered sugar, plus more for rolling
- 1 cup unsalted butter, at room temperature
- 2 cups all purpose flour, 240g
- 1/2 cup pecans or pistachios, (optional) I leave them out!
Equipment
-
Stand mixer
Instructions
-
Ensure your butter is at the correct room temperature. Refer to the detailed photos and descriptions above to achieve the perfect consistency!
-
Add 1/2 cup powdered sugar and 1 cup softened unsalted butter to the bowl of a hand mixer or stand mixer fitted with the paddle attachment. Cream on medium speed for 1-2 minutes until the mixture is light, fluffy, and pale in color. Stop the mixer and thoroughly scrape down the sides and bottom of the bowl to ensure even mixing.
-
With the mixer on low speed, slowly begin adding the all-purpose flour, about 1/2 cup at a time. Allow each addition of flour to incorporate into the butter mixture before adding more. This gradual approach helps prevent a floury mess and ensures a smooth dough.
-
If the dough appears too stiff or isn’t coming together quickly enough, you may increase the mixer speed to medium briefly. Once all the flour has been added and a smooth, slightly tacky dough forms, stop the mixer immediately to avoid overworking the gluten.
-
If you opt to include nuts, gently fold them in by hand at this point. For variety, you can divide the dough in half and add 1/4 cup of chopped pistachios (or other nuts) to one portion, leaving the other half plain.
-
Chill the dough in the bowl for 30 minutes in the refrigerator. During this time, preheat your oven to 350°F (175°C) and line two cookie sheets with parchment paper; set them aside.
-
Once the dough is chilled, use a 1-tablespoon cookie scoop or a standard kitchen tablespoon to portion out the dough. Gently roll each portion into a smooth ball. Arrange the dough balls on your prepared cookie sheets, allowing about 2 inches of space between each. Typically, you can fit 4 cookies per row across 3 rows, totaling 12 cookies per sheet. Repeat with the second cookie sheet.
-
Bake for 15 minutes, or until the edges are just lightly golden and the centers are set but still pale. Avoid overbaking to maintain their tender texture.
-
While the cookies are baking, pour approximately 1/4 cup or more powdered sugar into a shallow bowl. You can easily eyeball this amount as it’s solely for rolling.
-
After baking, let the cookies cool on the cookie sheets for precisely 8 minutes. This is the ideal window to roll them generously in the powdered sugar while they are still warm, ensuring the sugar adheres beautifully without melting. Transfer the sugar-coated cookies to a wire rack and allow them to cool completely at room temperature for the powdered sugar to fully set. I usually find one roll is enough for a perfect coating!
-
Store the cooled cookies in an airtight container at room temperature for up to 3 days, or freeze them in a ziptop bag for up to 2 months. If making ahead, dust with additional powdered sugar just before serving to refresh their snowy appearance.
