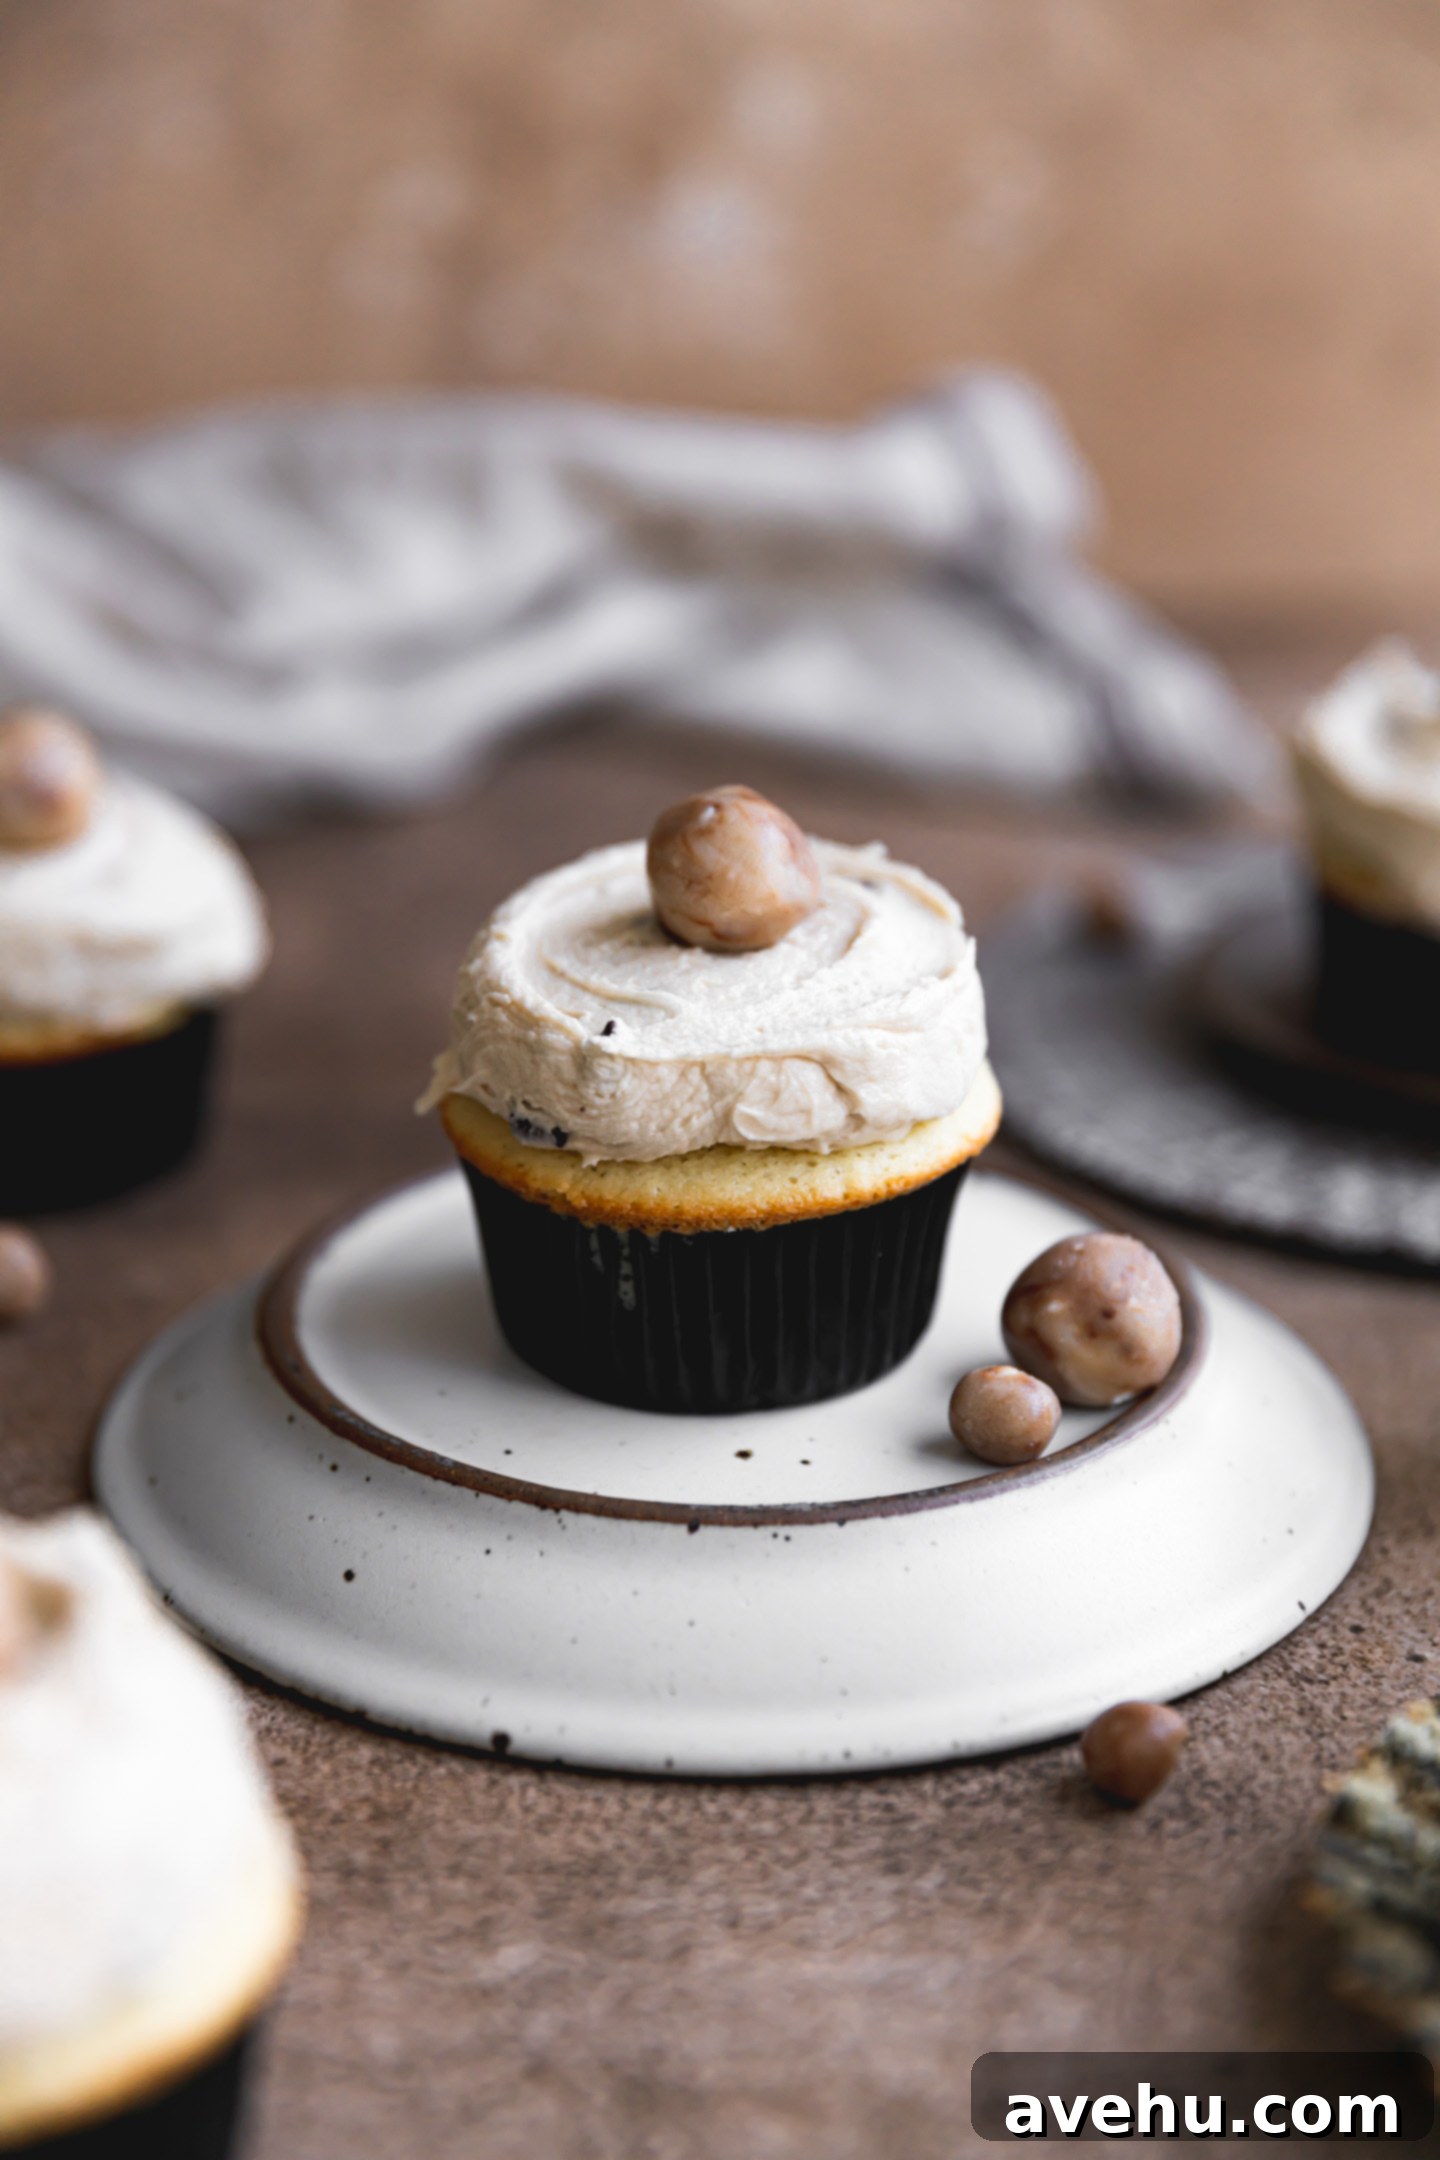
Decadent Stuffed Cookie Dough Cupcakes: The Ultimate Triple-Layer Treat!
Prepare for an explosion of flavor with these utterly irresistible cookie dough cupcakes! Each bite delivers a moist, fluffy cupcake base generously studded with mini chocolate chips, encasing a hidden treasure of rich, safe-to-eat raw cookie dough. After baking, these delightful treats are crowned with a luxurious swirl of sweet cookie dough frosting, then adorned with even more delightful pieces of cookie dough. Yes, you read that correctly – we’re talking about a triple threat of sensational cookie dough flavor in one spectacular bite! If you consider yourself a true cookie dough aficionado, these homemade cupcakes are an absolute must-try. They are not just a dessert; they are an experience crafted to delight every single one of your taste buds.
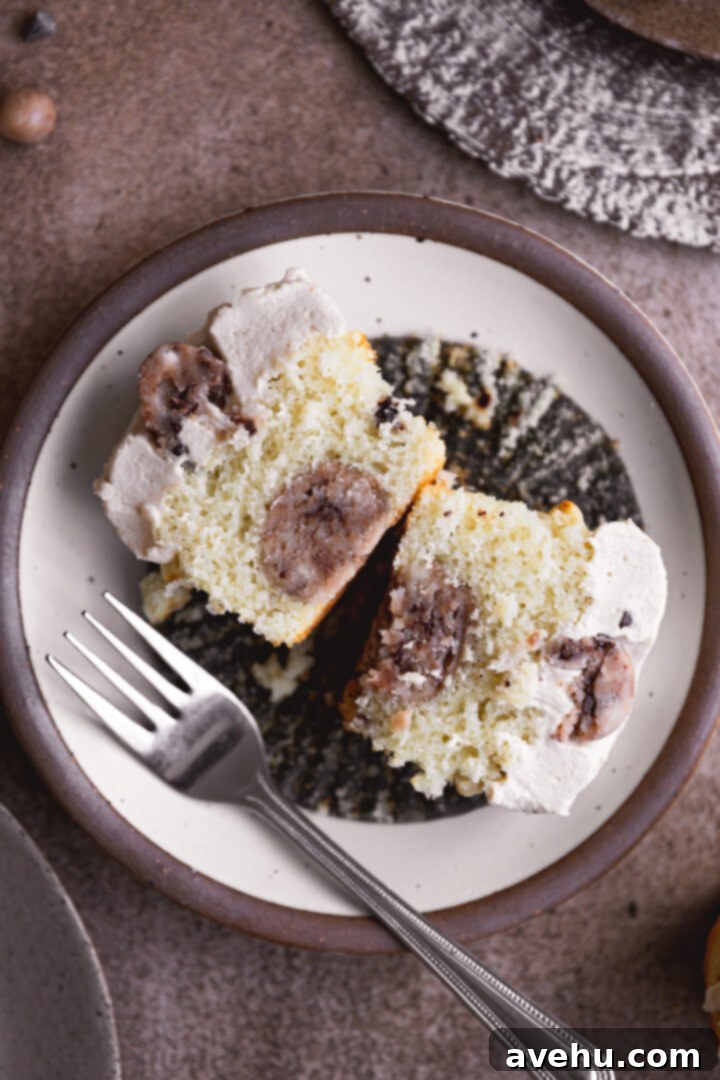
My culinary journey led me to create this recipe, primarily driven by a desire to find the perfect companion for my beloved cookie dough frosting. And let’s be honest, who can resist the allure of cookie dough itself? This recipe brings together two dessert favorites into one harmonious, glorious creation.
A key objective for me was to integrate the edible cookie dough directly into the cupcake batter during the baking process, eliminating the need for tedious coring and stuffing afterwards. This streamlined approach makes the baking experience much more enjoyable and significantly simplifies the preparation. You get all the decadence without any unnecessary extra steps, ensuring that the cookie dough melts just enough to create a soft, gooey center within the fluffy cupcake.
The foundation of these incredible cupcakes is adapted from my tried-and-true recipe for fluffy chocolate chip cupcakes. However, to elevate them to an extraordinary level, we’re taking it a step further by stuffing homemade, safe-to-eat cookie dough directly into the batter before baking. Don’t be intimidated by making your own cookie dough; it’s surprisingly simple and completely safe to consume thanks to a special technique involving heat-treated flour. I’ll walk you through every step of this easy process below, ensuring your raw cookie dough is perfectly safe and delicious.
As a trained pastry chef, I am thrilled to share this unique and delicious recipe with you. Not only will you be able to create these delectable cookie dough stuffed cupcakes, but you’ll also learn how to whip up a small batch of safe edible cookie dough – perfect for those spontaneous cravings when you simply *need* a spoonful of that buttery, sweet goodness. This recipe empowers you to enjoy the best of both worlds: a fantastic baked treat and a safe raw indulgence!
And if all that cookie dough goodness wasn’t enough to satisfy your sweet tooth, you have the wonderful option of frosting these beauties with the aforementioned irresistible cookie dough frosting. However, if you’re feeling adventurous or prefer a different flavor profile, you could also experiment with a rich chocolate buttercream frosting or a light and airy whipped cream cheese frosting. Each option offers a fantastic complement to the cookie dough core. Feeling excited yet? Grab your apron, a bag of flour, and a trusty baking sheet – let’s dive into making these incredible cupcakes!
Why Heat-Treat Flour: Ensuring Safe Edible Cookie Dough
Heat-treated flour is a crucial component for making safe-to-eat raw cookie dough. This process involves briefly heating the flour in either a microwave or an oven to eliminate any potential harmful bacteria, such as E. coli, that can naturally occur in raw flour. Many people mistakenly believe that raw eggs are the primary concern in raw cookie dough. While raw eggs can carry salmonella, modern pasteurized eggs significantly reduce this risk. The real, often overlooked, culprit is the raw flour itself. By heat-treating your flour, you effectively neutralize this risk, allowing you to enjoy your edible cookie dough with complete peace of mind.
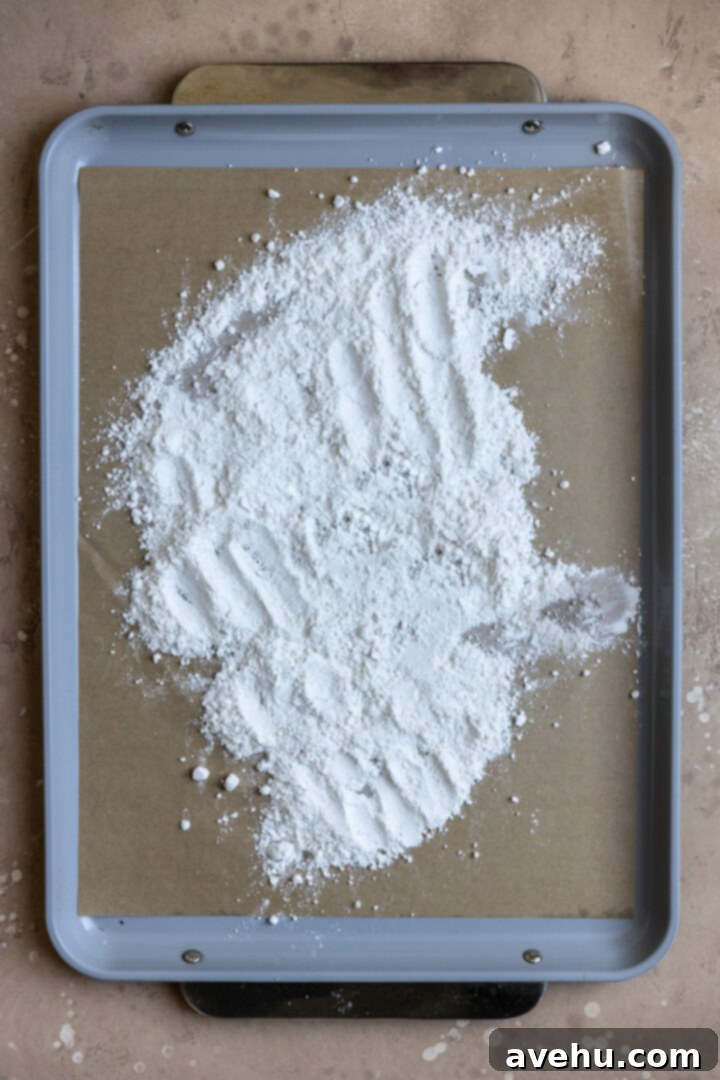
There are two simple and effective ways to heat treat flour:
- Microwave Method: Place the desired amount of flour into a microwave-safe bowl. Heat on high power for 30 seconds. Stir the flour thoroughly to ensure even heating, then heat for another 30 seconds. This quick method is perfect when you’re short on time.
- Oven Method: Preheat your oven to 350°F (175°C). Line a baking sheet with parchment paper, then spread the flour in an even, thin layer across the parchment. Bake for 5 minutes. If you plan to bake the cupcakes immediately after, you can leave the oven on to save time.
Regardless of the method you choose, it is absolutely essential that the heat-treated flour cools completely before you incorporate it into the rest of your cookie dough ingredients. Adding warm flour can cause your butter to melt prematurely and your chocolate chips to become a gooey mess – a mistake I’ve learned from personal experience! Allow it to cool down to room temperature to ensure the best texture for your cookie dough.
Crafting the Perfect Edible Cookie Dough
Making delicious and safe edible cookie dough is incredibly straightforward and requires just a few pantry staples. You’ll need:
- Cooled heat-treated all-purpose flour
- Softened unsalted butter
- Powdered sugar (confectioners’ sugar)
- Granulated sugar
- Pure vanilla extract
- Milk or cream (dairy or non-dairy works)
- A pinch of salt
- Mini chocolate chips
The process begins by creaming together the softened butter with both the powdered sugar and granulated sugar until the mixture becomes wonderfully light and fluffy. The combination of sugars is key here: powdered sugar contributes to a smooth, melt-in-your-mouth texture, helping the cookie dough hold its shape without becoming grainy, while granulated sugar adds that classic cookie dough sweetness and a slight textural contrast. This careful balance ensures your edible cookie dough has that perfect, uniform consistency we all crave.
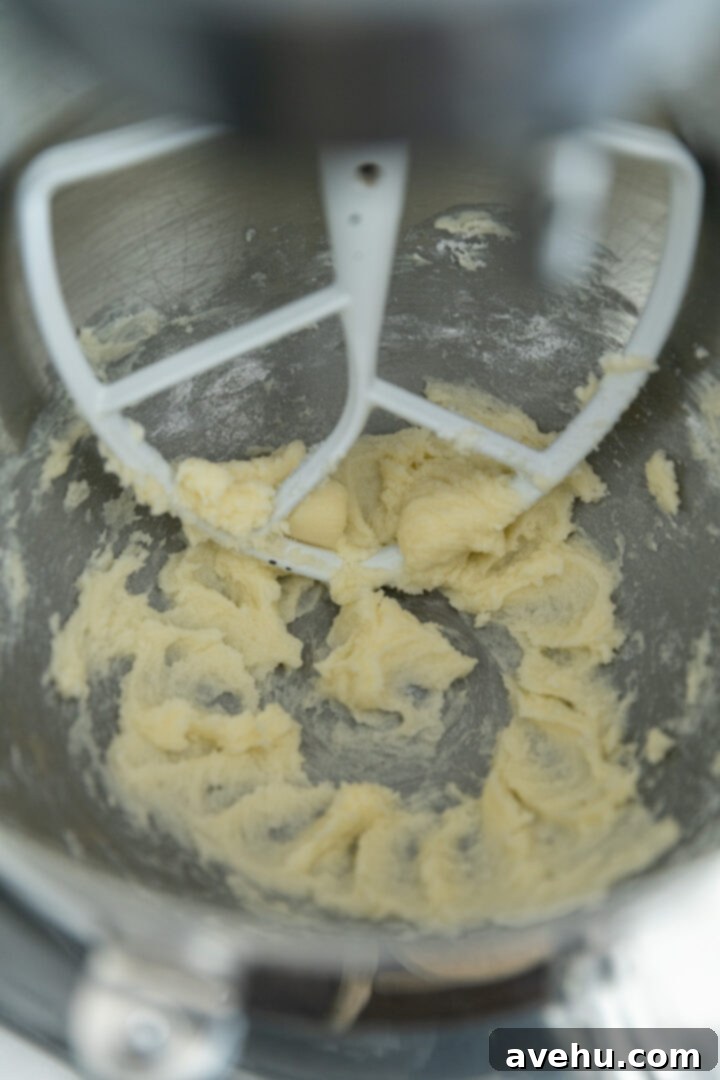
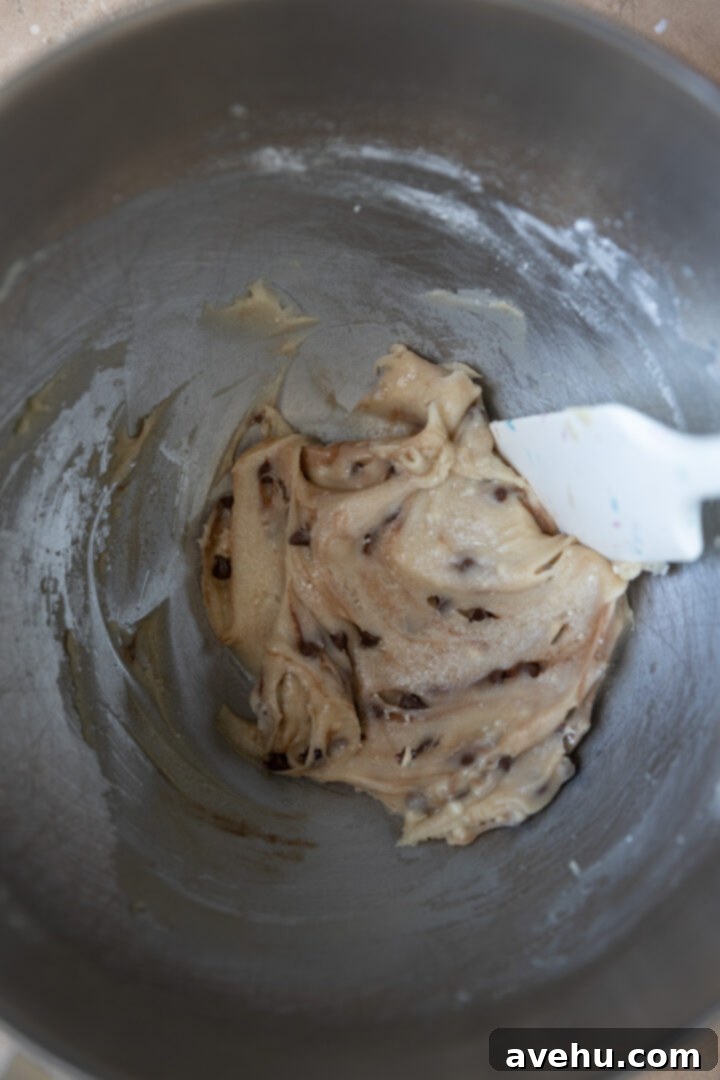
Once your butter and sugars are perfectly creamed, simply add in the remaining ingredients: vanilla, milk, salt, and the cooled heat-treated flour. Mix everything until it’s just combined and forms a cohesive dough. It’s that easy! If you used your stand mixer for the cookie dough, remember to wash the bowl and paddle attachment thoroughly before moving on to prepare your cupcake batter.
For the best results in these stuffed cupcakes, I highly recommend using mini chocolate chips. Their smaller size allows them to be evenly distributed within the cookie dough and helps when rolling the dough into small, uniform balls for stuffing. If mini chocolate chips aren’t available, you can easily rough chop regular-sized chocolate chips or a chocolate bar into smaller pieces. This ensures that every part of your cookie dough has that delightful chocolatey crunch.
The Importance of Chilling Your Cookie Dough
After preparing your delicious edible cookie dough, an essential step is to chill it in the refrigerator or freezer for at least 20 minutes. This chilling period is absolutely crucial, especially since we’ll be baking the cookie dough inside the cupcakes. Why is it so important? Chilling helps the cookie dough firm up, preventing it from completely melting and spreading out into the cupcake batter during baking. Instead, it will retain its shape, creating those distinct, decadent pockets of gooey cookie dough that make these cupcakes so special.
If you skip this vital chilling step, your cookie dough will be too soft and will likely dissolve or spread unevenly throughout the cupcake batter, losing that wonderful “stuffed” effect. The good news is that while your cookie dough is chilling and firming up, you can efficiently use this time to prepare your cupcake batter. This makes for a seamless baking process, ensuring both components are ready at the perfect moment for assembly.
Baking Perfectly Fluffy Cupcakes
I often opt for cake flour in many of my homemade cupcake recipes because its finer texture and lower protein content produce an incredibly light, tender, and fluffy crumb, far superior to what all-purpose flour typically yields. This makes a noticeable difference in the final texture of your cupcakes.
- Prep for Baking: Begin by ensuring your oven is preheated to 350°F (175°C). If you used the oven method for heat-treating flour, it might already be at temperature. Line a 12-cup muffin tin with cupcake liners, preparing them to hold your delicious batter.
- Combine Dry Ingredients: In a medium-sized bowl, whisk together the cake flour, baking powder, baking soda, and salt. Whisk well to ensure all leavening agents and salt are evenly distributed. Set this mixture aside.
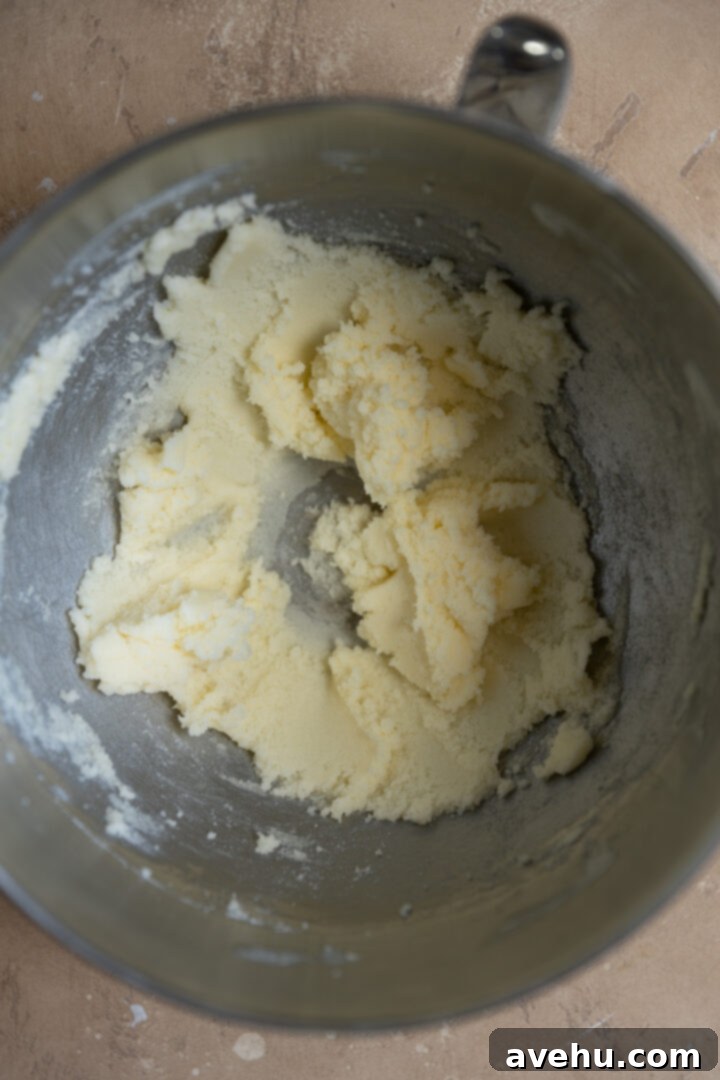
- Cream Butter and Sugar: In a large mixing bowl, or the bowl of a stand mixer fitted with the paddle attachment, cream the softened unsalted butter on medium speed for about one minute until it’s smooth. Then, add the granulated sugar and continue creaming for another 2-3 minutes until the mixture is visibly lightened in color and fluffy. This process incorporates air, contributing to the cupcakes’ light texture.
- Incorporate Eggs and Flavor: Reduce the mixer speed to low. Add the large egg, egg whites, and vanilla extract. Once fully incorporated, increase the speed to medium and mix for another minute, ensuring everything is thoroughly combined but not overmixed.
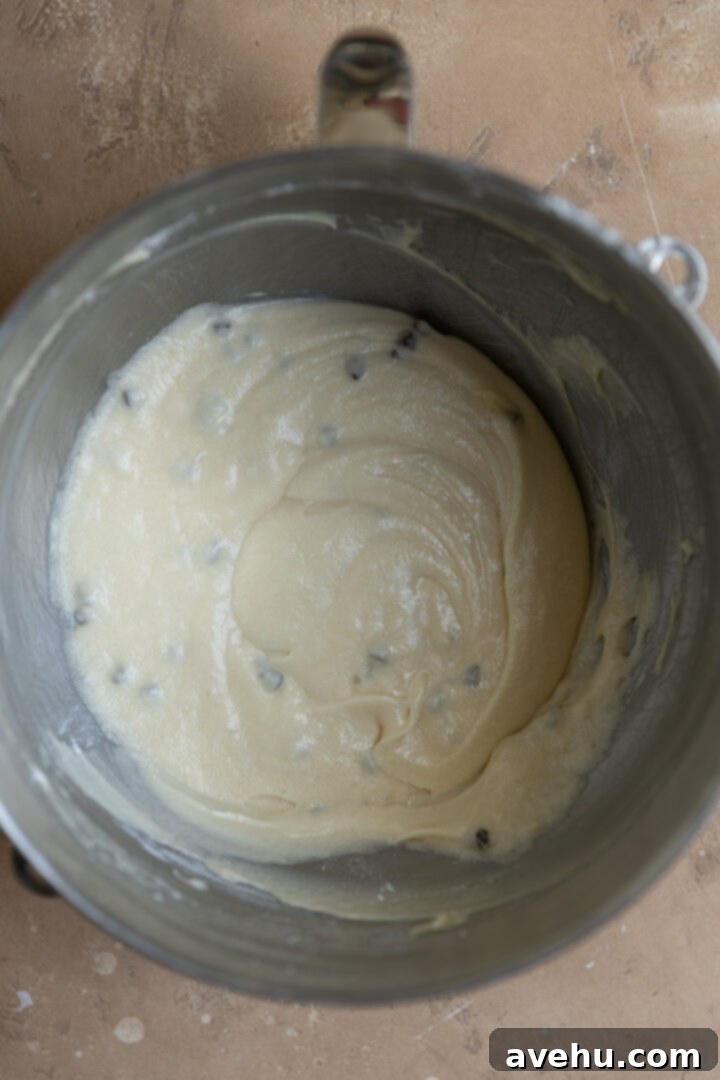
- Alternate Wet and Dry Ingredients: With the mixer on low speed, begin adding the dry ingredient mixture and the room temperature buttermilk alternately. Start by adding one-third of the dry ingredients, mix until just combined, then add half of the buttermilk. Repeat with another third of the dry ingredients, followed by the remaining buttermilk, and finish with the last third of the dry ingredients. Mix only until no streaks of flour remain, being careful not to overmix, as this can lead to tough cupcakes.
- Add Chocolate Chips: In a small bowl, lightly toss the mini chocolate chips with the remaining two teaspoons of cake flour. This light dusting helps prevent the chocolate chips from sinking to the bottom of the cupcake liners during baking. Gently fold the coated chocolate chips into the cupcake batter using a spatula.
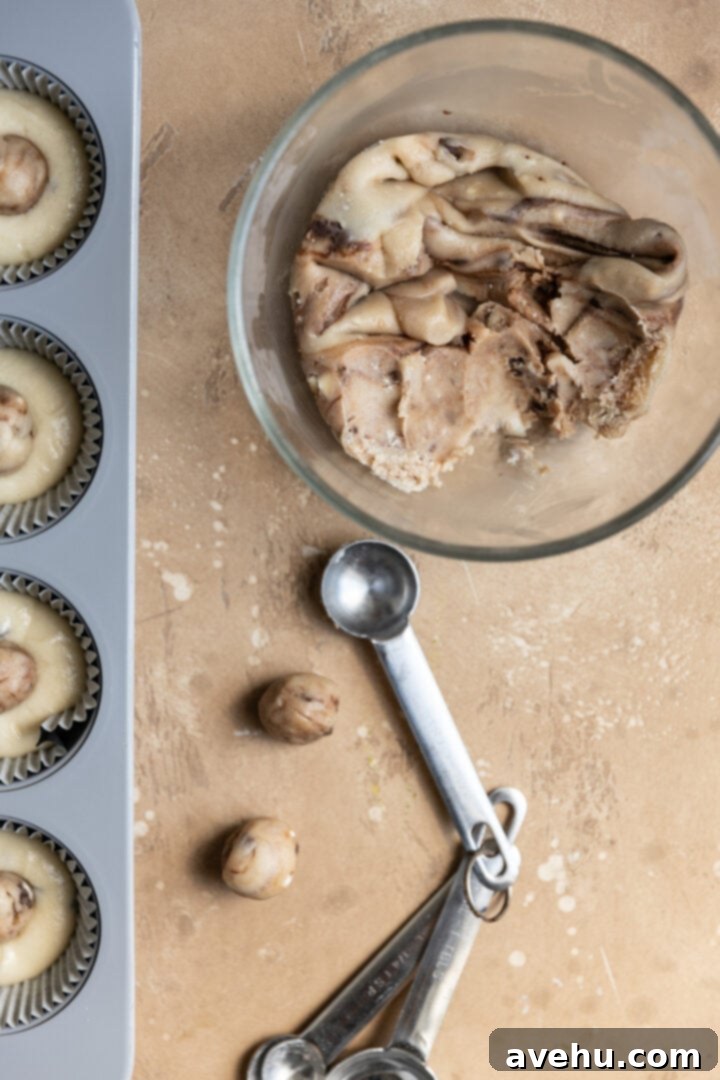
- Prepare Cookie Dough Balls: By now, your cookie dough should be nicely chilled and firm. Remove it from the fridge. Using a teaspoon, scoop out portions and roll them into small, uniform balls. You’ll need at least 12 for the cupcakes, plus extra if you plan to use them for garnish.
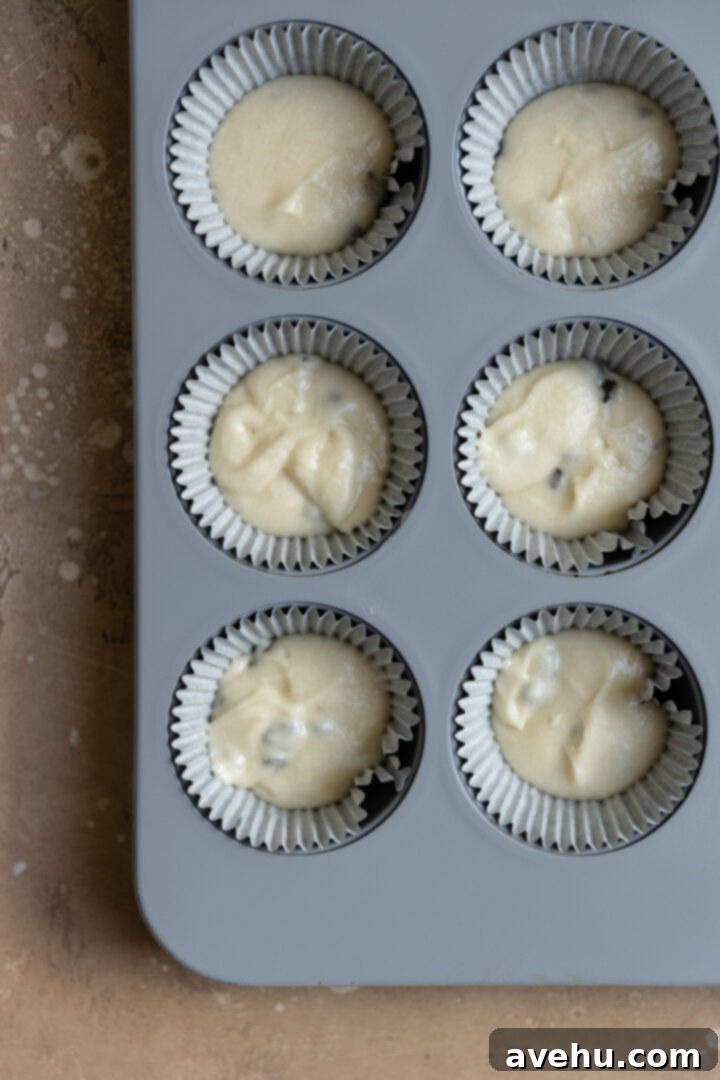
- Fill and Stuff the Liners: Fill each cupcake liner approximately halfway with the prepared cupcake batter. Carefully place one cookie dough ball into the center of the batter in each liner. Then, cover the cookie dough balls with more cupcake batter, filling each liner to about three-quarters full. It’s perfectly fine if they are slightly more full; this helps create a lovely dome.
- Bake and Cool: Transfer the muffin tin to your preheated oven and bake for 18-19 minutes, or until a toothpick inserted into the cake part (avoiding the cookie dough center) comes out clean. The tops should be golden and spring back lightly when touched. Once baked, remove the cupcakes from the oven and let them cool in the tin for a few minutes before transferring them to a wire rack to cool completely. This ensures they set properly before frosting.


Frosting and Decorating Your Masterpieces
Once your cupcakes have completely cooled, it’s time for the crowning glory: a generous swirl of rich cookie dough frosting. This frosting complements the baked-in cookie dough perfectly, enhancing that sought-after triple-cookie-dough experience. If you prefer to pipe your frosting for a professional finish, you’ll need a piping bag fitted with a wide-open round tip. This is crucial to ensure that the mini chocolate chips within the frosting can pass through without clogging. The Ateco 809 tip is an excellent choice and my personal go-to for achieving those beautiful, generous swirls on cupcakes.
For a simpler approach, you can also apply the frosting with an offset spatula, spreading it evenly across the top of each cupcake for a rustic yet appealing look. Another quick and easy method is to use an ice cream scoop to dollop a generous amount of frosting onto each cupcake, creating a lovely, rounded mound.
To really emphasize the cookie dough theme and add a final touch of visual appeal and texture, garnish your frosted cupcakes with more small cookie dough balls. Simply take any leftover chilled cookie dough, roll it into miniature spheres, and artfully place them on top of the frosting. For extra flair, you could also sprinkle a few extra mini chocolate chips or even some chocolate shavings. These finishing touches not only make your cupcakes look more professional but also add an extra layer of deliciousness to an already incredible treat.

Yield, Storage, and Freezing Tips
This recipe is designed to yield 12 perfectly sized, individual cookie dough cupcakes. The quantity of edible cookie dough made in this recipe is generous enough to ensure each cupcake can be delightfully stuffed, with extra remaining to create those charming garnishes for the frosting. This ensures you get that full, rich cookie dough experience in every single serving.
Storing: There’s no need to store these scrumptious cupcakes in the refrigerator. To maintain their optimal freshness and moist texture, simply keep them in an airtight container at room temperature. They will remain wonderfully fresh and delicious for up to 5 days, making them perfect for enjoying throughout the week or sharing at gatherings.
Freezing: If you plan to make these in advance or want to save some for later, I highly recommend freezing the cupcakes *without* the frosting. Freezing frosted cupcakes can sometimes lead to altered frosting texture upon thawing. Once the unfrosted cupcakes are completely cooled, place them in an airtight freezer-safe zip-top bag, pressing out as much air as possible to prevent freezer burn. Alternatively, you can wrap each cupcake individually in plastic wrap before placing them in the bag or container. They can be safely frozen for up to 2 months. When you’re ready to enjoy them, simply defrost them at room temperature, then prepare and apply your fresh cookie dough frosting just before serving. This method ensures that your defrosted cupcakes taste just as fresh and delightful as when they were first baked.

