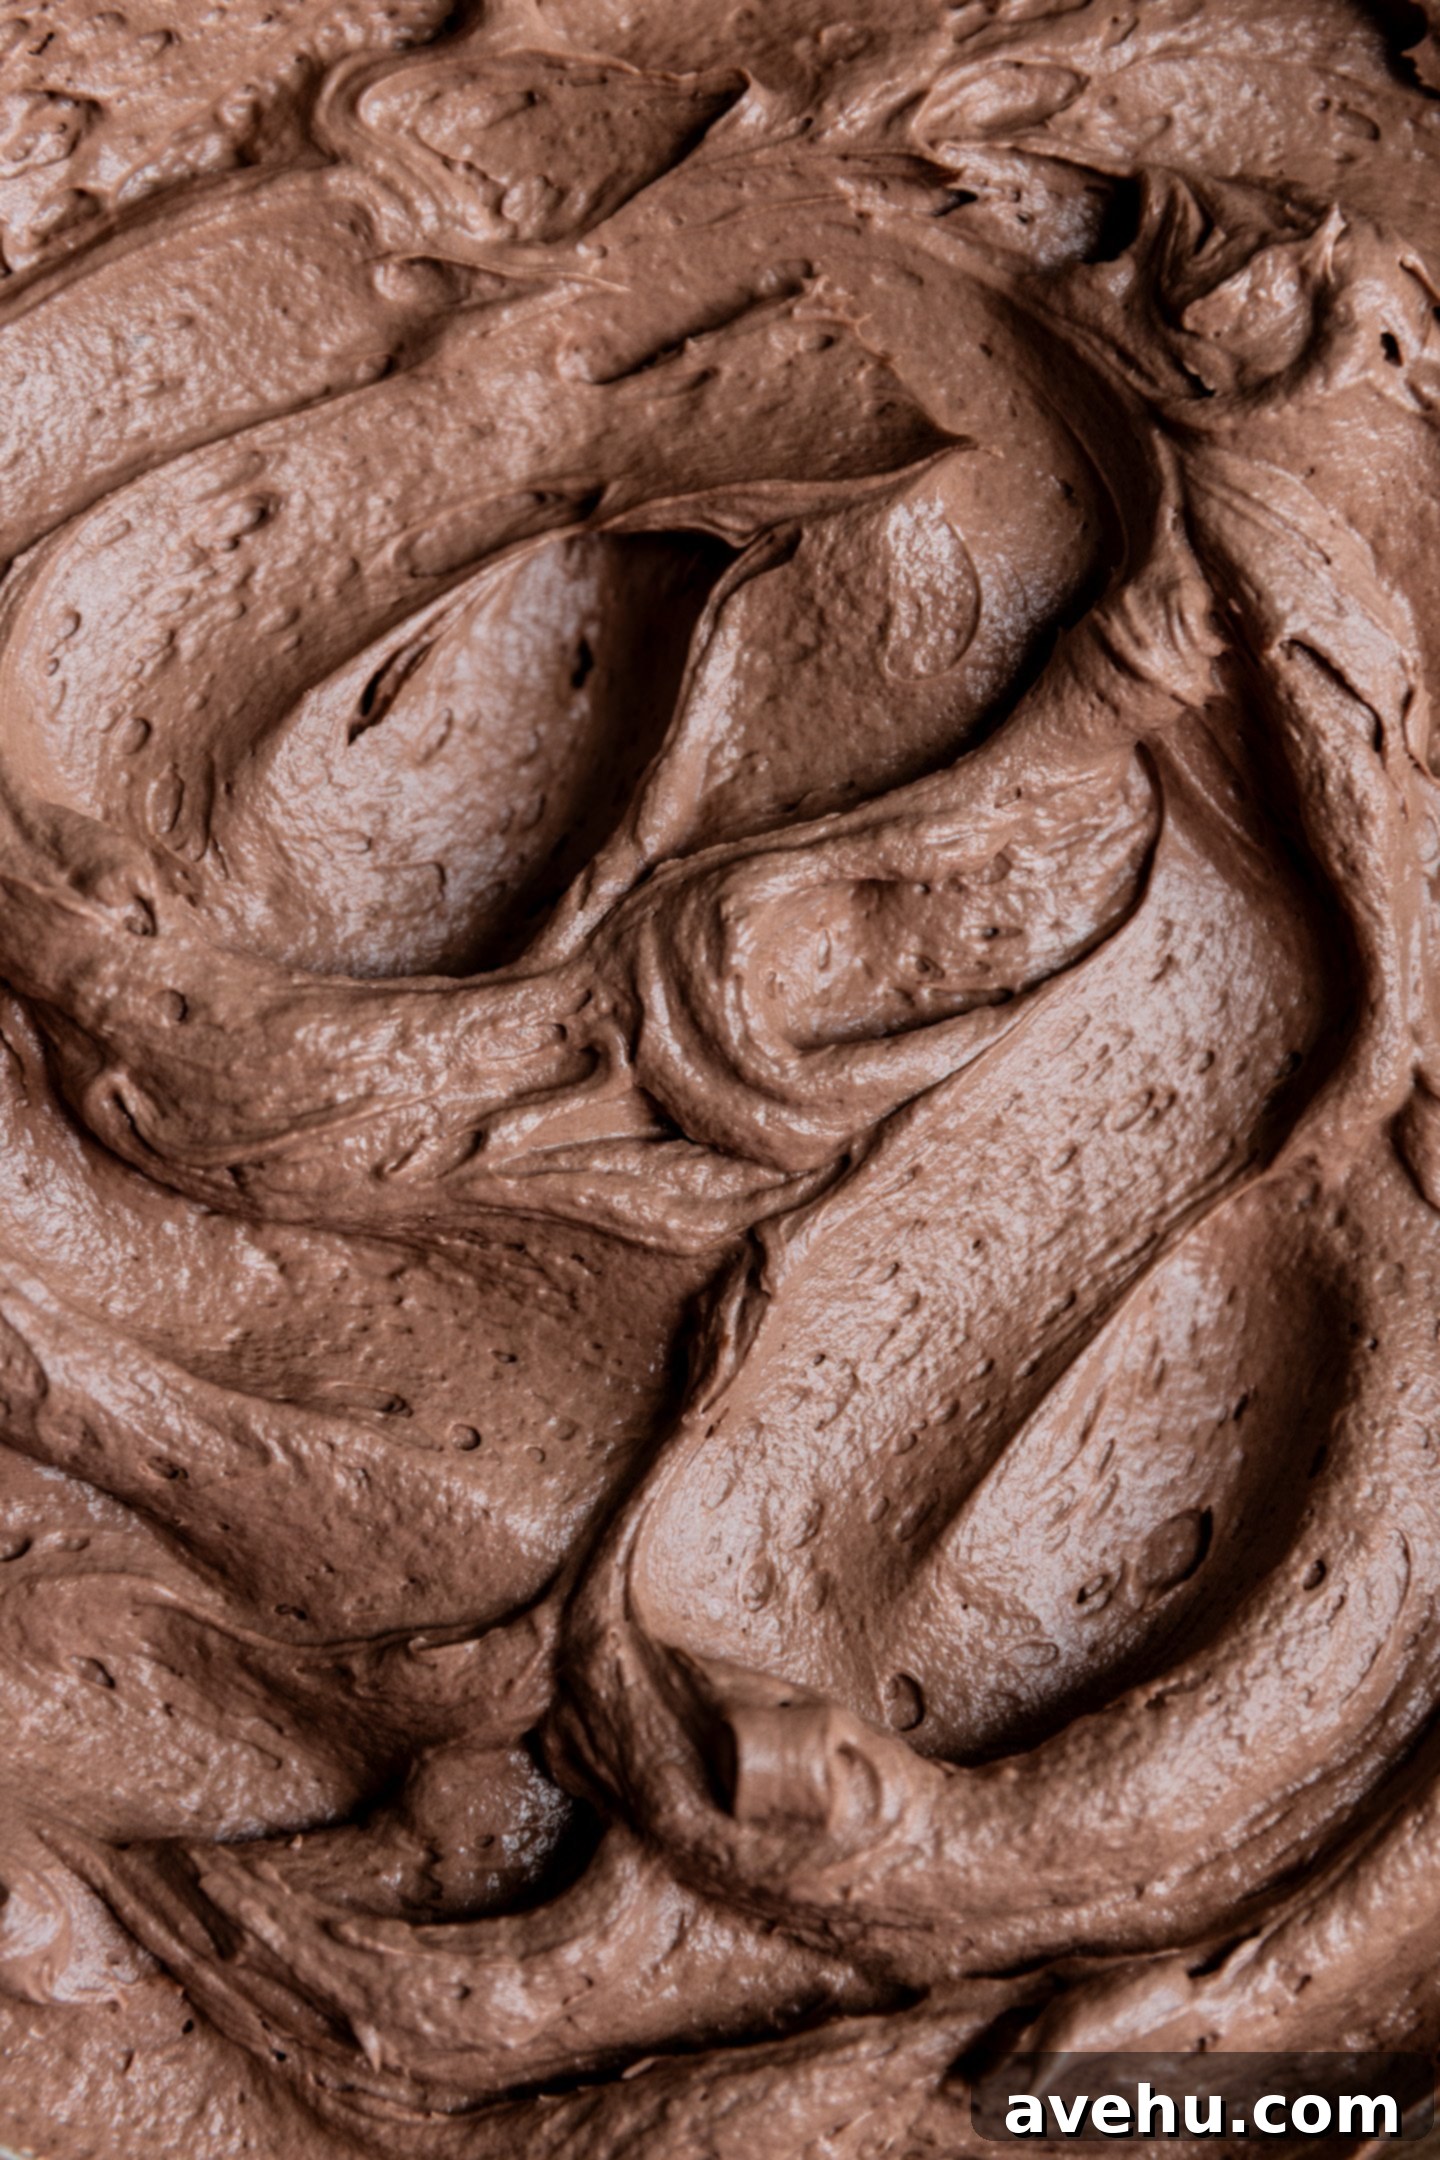
The Ultimate Guide to Fluffy Chocolate Swiss Meringue Buttercream: A Less Sweet, Stable, and Easy Recipe
Prepare to meet the chocolate frosting that will redefine your dessert dreams. This Chocolate Swiss Meringue Buttercream is incredibly light, wonderfully airy, and boasts a profound, rich chocolate flavor derived from cocoa powder rather than melted chocolate. It’s truly one of my favorite buttercreams for piping, as it holds its intricate shape beautifully and remains stable for days, even in warmer temperatures. The best part? It’s significantly less sweet than traditional American chocolate buttercream, allowing the deep cocoa notes to shine through. Plus, you can whip up this elegant frosting in just about 30 minutes, making it a surprisingly accessible choice for home bakers.
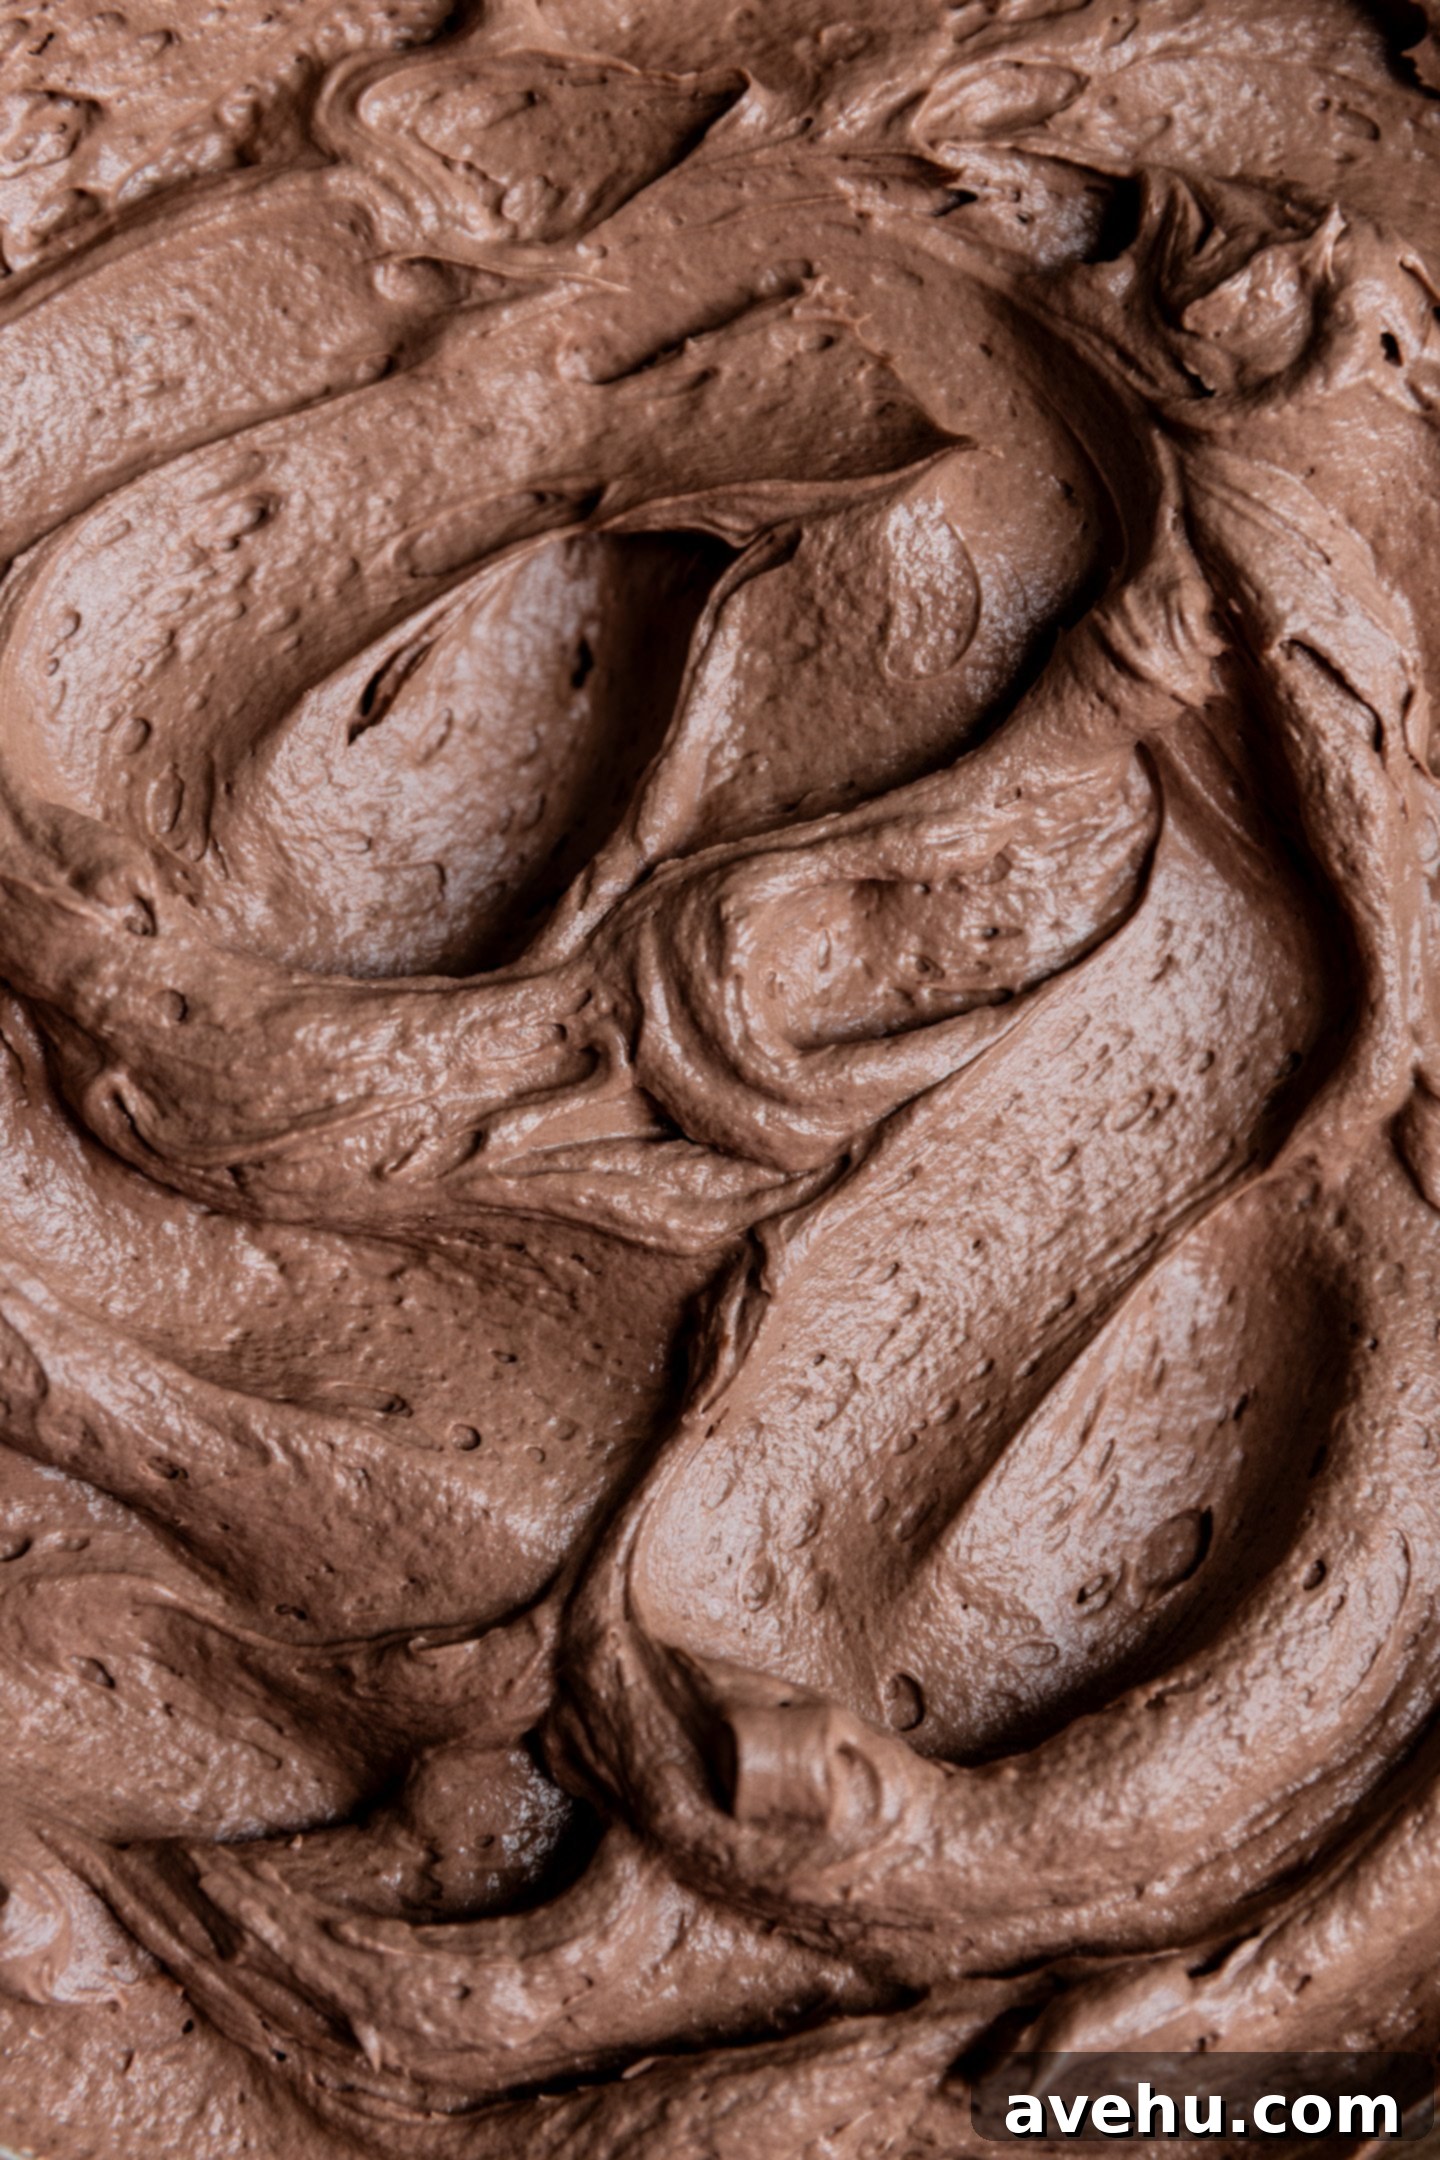
Confession time: For years, I often defaulted to homemade American buttercream recipes. They’re undeniably fast, typically ready in five minutes or less. However, after mastering classic Swiss Meringue Buttercream and then venturing into this rich chocolate adaptation, I’ve had a complete change of heart. While it does require a slightly longer commitment – about 30 minutes from start to finish – the results are unequivocally worth the extra effort.
The texture of this chocolate buttercream is astonishingly light, akin to a cloud, yet it possesses a delightful stability that makes it a dream for decorating. Its flavor is a dream: a deep, authentic cocoa taste that isn’t overly sweet, striking the perfect balance between richness and delicate sweetness. And the process? It doesn’t have to be intimidating! Many home bakers shy away from Swiss meringue, but with the right guidance, it’s entirely approachable. My goal today is to demystify this elevated frosting technique and show you exactly how to achieve professional-level results in your own kitchen.
As a trained pastry chef, I’m going to break down each step in an easy-to-understand manner, ensuring you don’t need any specialized or crazy tools. We’ll strip away the fear often associated with making this elegant frosting. And absolutely no judgment if this isn’t your go-to “every time” frosting! For those days when time is truly of the essence, my whipped chocolate frosting or this indulgent chocolate ganache frosting are fantastic, quicker alternatives.
Why Choose Chocolate Swiss Meringue Buttercream for Your Desserts?
You might be wondering what makes Swiss Meringue Buttercream (SMB) stand out from other frostings like its American or Italian counterparts. The answer lies in its unique composition and preparation method, which consistently yields a superior product. Unlike American buttercream, which often relies on a large amount of powdered sugar simply creamed with butter, SMB uses a meringue base made from heated egg whites and granulated sugar. This fundamental difference results in a buttercream that is:
- Significantly Less Sweet: The sugar is fully dissolved into the egg whites, creating a smooth, stable meringue that requires less sugar overall compared to American buttercream, where raw powdered sugar can often lead to an overwhelmingly sweet taste. This characteristic is particularly important for this chocolate variation, as it allows the deep, slightly bitter notes of cocoa powder to truly shine, delivering a more sophisticated and balanced chocolate flavor experience.
- Incredibly Light and Velvety: The process of whipping the egg whites introduces a tremendous amount of air into the frosting, giving it a luxurious, silky-smooth texture. It melts in your mouth without feeling heavy, gritty, or greasy, which can sometimes be an issue with other buttercreams. This delicate mouthfeel is a hallmark of quality SMB.
- Remarkably Stable: Swiss Meringue Buttercream is renowned for its excellent stability, especially in warmer conditions. It holds its shape beautifully for piping intricate designs and doesn’t easily melt or weep, making it an ideal choice for outdoor events, tiered cakes, or desserts that need to sit out at room temperature for an extended period. The cornstarch in this recipe further enhances this stability.
- Versatile for Flavoring: While we’re making a rich chocolate version today using high-quality cocoa powder, the neutral base of SMB is perfect for incorporating a wide variety of flavors. You can easily adapt it with fruit purees, various extracts, or even different types of melted chocolate for endless possibilities.
- Professional Finish: If you’re looking to elevate your homemade desserts with a professional look and taste, SMB is your secret weapon. Its smooth, pliable consistency makes it a dream to work with for frosting cakes and cupcakes, allowing for flawless finishes and elegant decorations that are sure to impress.
This chocolate variation specifically leverages the power of cocoa powder, which provides a more intense, pure chocolate flavor compared to solely relying on melted chocolate. While melted chocolate can be added for an extra boost, cocoa powder is key to that deep, authentic chocolate taste without potentially altering the buttercream’s beloved texture. The result is a deeply satisfying, rich chocolate experience without the excessive sweetness often found in other frostings.
The Essential First Step: Expertly Separating Your Egg Whites
The cornerstone of this incredibly light and airy frosting is its base, which is crafted by whipping egg whites instead of the traditional method of creaming powdered sugar and butter. This delicate foundation is what gives Swiss Meringue Buttercream its signature ethereal texture and unparalleled stability. Therefore, the process of separating your eggs is a critical first step that demands precision and care.
You’ll need to separate the egg whites from the yolks with extreme caution. Even the slightest speck of egg yolk—which contains a significant amount of fat—getting into the whites will compromise their ability to whip properly. Instead of transforming into a fluffy, voluminous meringue, they will remain soupy and flat, failing to hold any air. This is because fat interferes with the proteins in the egg whites, stopping them from forming the strong bonds needed to trap air and create structure.
Remember this crucial rule: Any grease or fat, not just egg yolk, can prevent your egg whites from whipping successfully. This includes residual oils from previous baking projects on your mixing bowl or whisk. Think of it like trying to inflate a balloon while simultaneously squeezing it tightly with your hand – the air simply has nowhere to go. That’s precisely the inhibitory effect that fat has on your delicate meringue mixture!
To ensure a completely fat-free environment, I always take a moment to thoroughly wipe down my mixing bowl (preferably a metal or glass bowl) and whisk attachment. A simple yet effective trick I use is to rub the bowl and whisk with a cut lemon half or a paper towel dampened with a splash of white vinegar. The acidity helps to cut through and remove any residual grease that might cling to the surfaces, providing a pristine canvas for your egg whites to perform their magic.
When it comes to separating the eggs themselves, I find it easiest and least risky to do so while they are still cold. Cold egg yolks are firmer and less likely to break, making separation much cleaner and reducing the chance of yolk contamination. Once separated, I then allow the egg whites to come to room temperature for about 30 minutes before proceeding with the recipe. Room temperature egg whites whip up faster and achieve greater volume than cold ones, ensuring a truly lofty and stable meringue.
Step-by-Step Guide to Crafting Your Dreamy Chocolate Swiss Meringue Buttercream
Phase 1: Melting the Sugar for a Silky Meringue Base
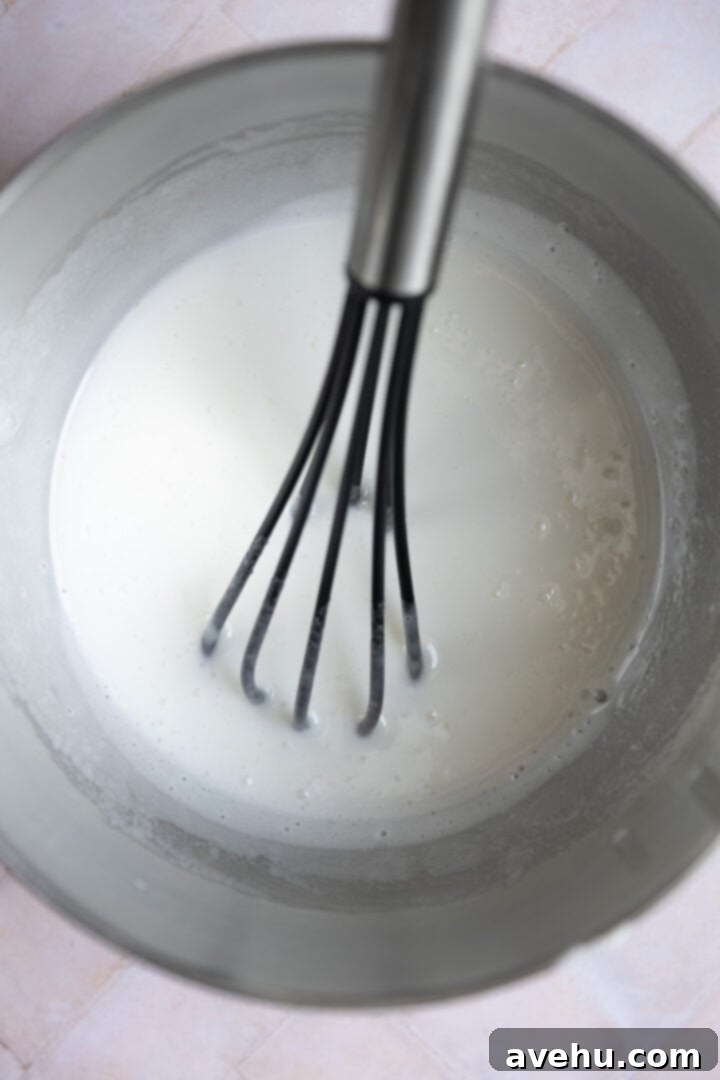
The primary objective during this initial heating phase is to completely dissolve all the granulated sugar into the egg whites. This process is essential for achieving a smooth, non-gritty buttercream texture later on. It can take approximately 10-12 minutes of constant whisking over the simmering water. Consistent agitation is key here; it prevents the egg whites from scrambling due to direct heat and helps the sugar crystals melt evenly into the mixture. While a candy thermometer can be a useful tool (aim for around 150°F or 65°C), you don’t absolutely need one if you don’t have it on hand.
The most reliable way to check for completely dissolved sugar is with a simple finger test: carefully dip your clean finger into the warm mixture and rub a small amount between your thumb and forefinger. If it feels perfectly smooth, without any gritty sugar crystals, then you’ve achieved your goal. If you still detect any graininess, continue whisking over the heat until the mixture is entirely smooth. This ensures a silky, stable meringue foundation for your luxurious buttercream.
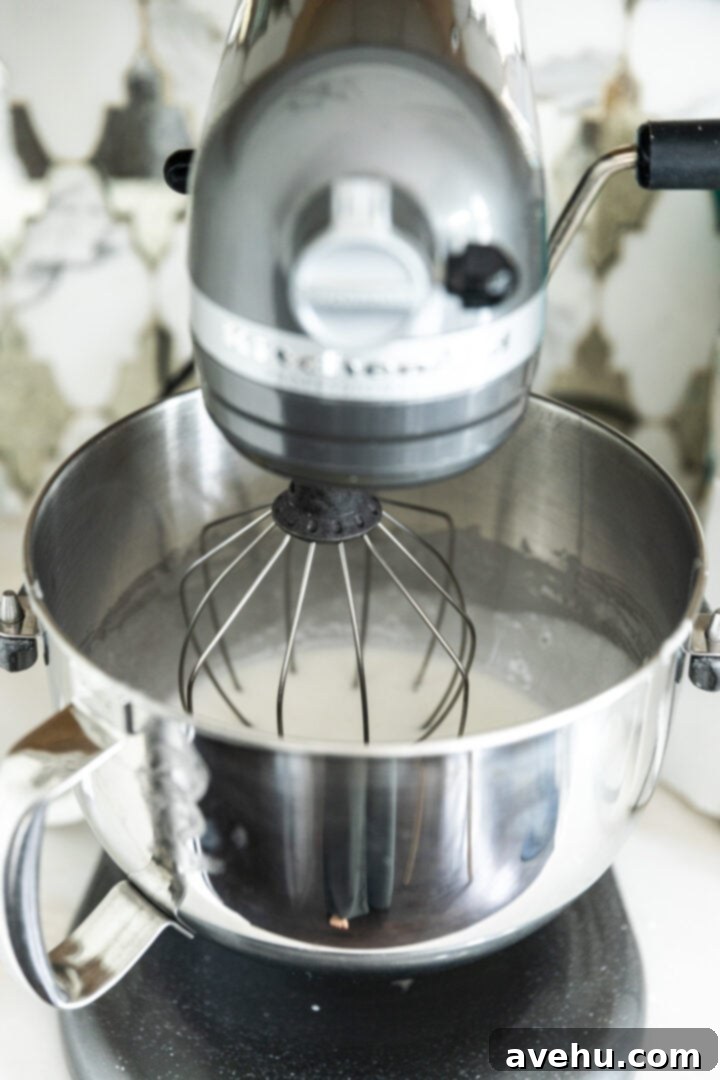
Phase 2: Achieving Stiff Peaks and Perfect Cooling for Butter Incorporation
The next critical stage involves whipping the heated egg white and sugar mixture into a stable, glossy meringue and, just as importantly, cooling it down. It’s absolutely essential that the meringue is fully cooled before you begin incorporating the butter. If the meringue is still warm, the butter will melt instantly upon contact, resulting in a soupy, broken, and unusable buttercream. You’ll know the meringue is ready when two distinct conditions are met:
- The bottom of your mixing bowl no longer feels warm to the touch. It should feel cool or at least at room temperature. This is a crucial physical indicator that the temperature is right.
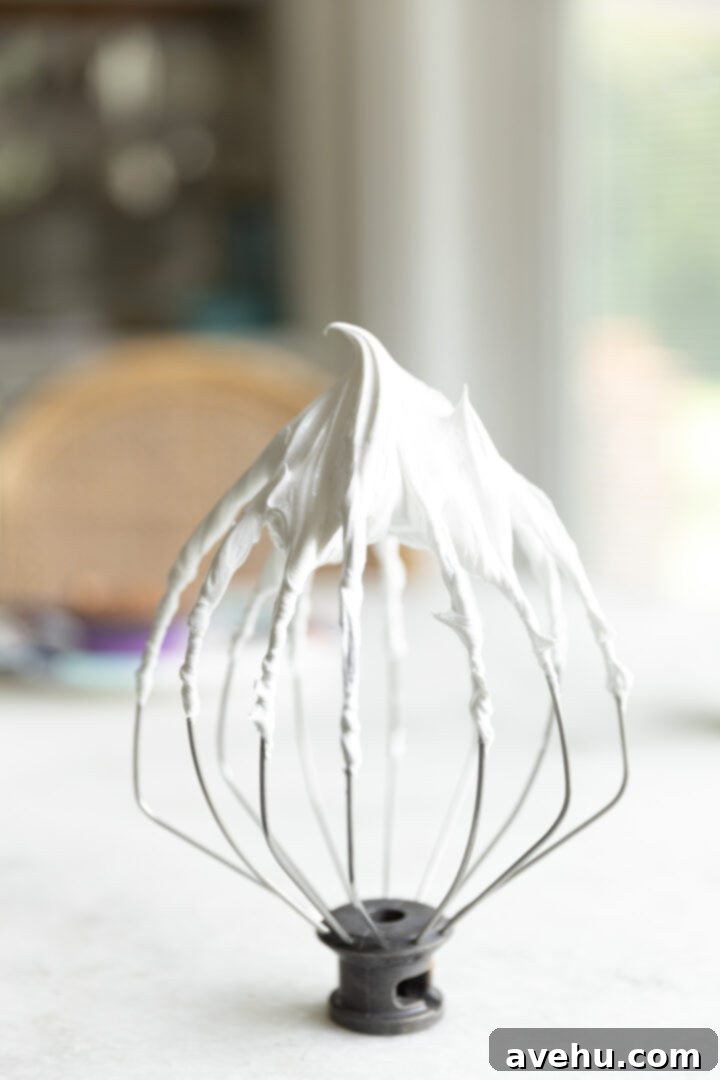
- The meringue itself has transformed into glossy, voluminous stiff peaks. When you lift the whisk attachment, the meringue should hold its shape firmly, standing tall and proud, with the peak perhaps curling slightly at the very tip (a “soft peak” might flop over, while a “stiff peak” maintains its structure).
This whipping and cooling process usually takes between 10-15 minutes in a stand mixer. Don’t rush it! The stability of your final buttercream largely depends on this step.
Troubleshooting Your Swiss Meringue Buttercream: Common Issues and Easy Fixes!
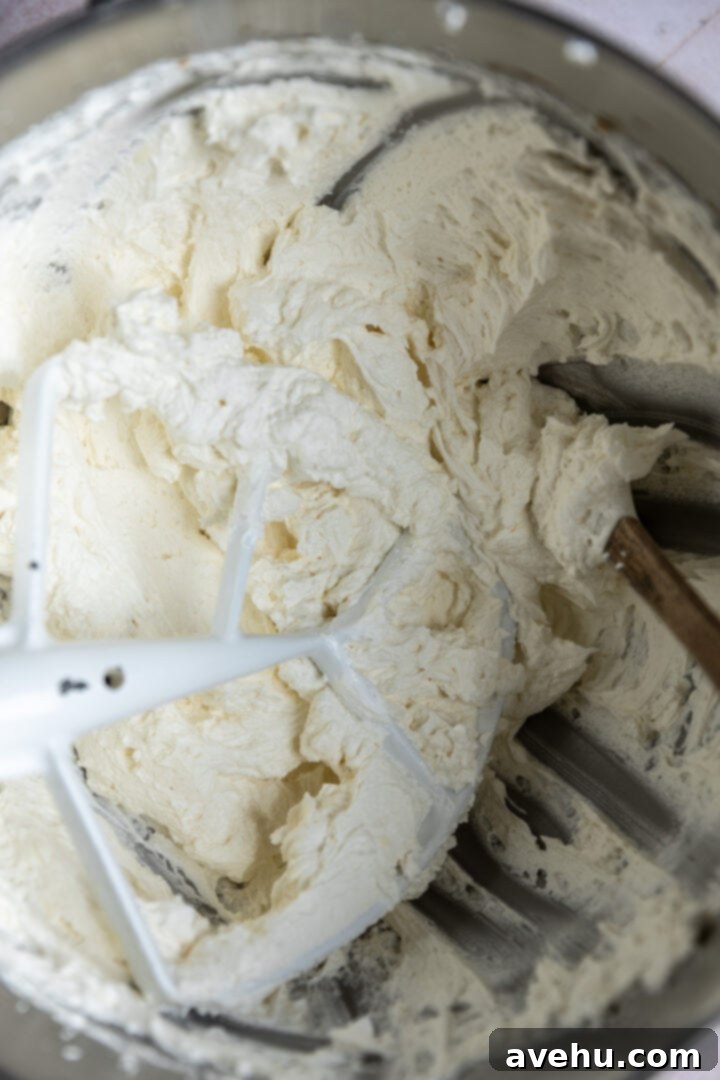
This stage, where you incorporate the butter into the meringue, is often where some bakers might encounter a temporary hurdle. However, I want to reassure you – it’s completely normal for Swiss Meringue Buttercream to look “broken” or curdled during this process, and these issues are almost always easy to fix! Patience is truly your best tool here; trust the process.
- If your buttercream looks curdled, lumpy, or like cottage cheese: This is a very common occurrence and often causes new bakers to panic. It typically means your butter was still a little too cold when you added it, or perhaps the meringue wasn’t quite cool enough, causing the butter to seize slightly. The solution is simple: keep mixing! Continue to beat the buttercream on medium-high speed with the paddle attachment. As the friction from the mixing warms the butter slightly, it will eventually smooth out and come together into a creamy, luscious consistency. This might take another 5-10 minutes (or even longer, sometimes up to 15-20 minutes in extreme cases), so resist the urge to stop. Just let the mixer do its work.
- If your buttercream looks soupy or liquidy: This usually indicates that the butter was too warm, or, more commonly, the meringue itself wasn’t sufficiently cooled down before the butter was added. Don’t throw it out! To remedy this, simply place the entire mixing bowl (with the contents and the paddle attachment still inside) into the refrigerator for a short period – typically 10-15 minutes. The goal is to chill it just enough to firm up the butter without making it rock hard. Be careful not to let it get too cold, as then you might switch to the “curdled” problem. After chilling, return the bowl to the stand mixer and re-whip on medium-high speed. It should firm up and emulsify beautifully as it whips. You might need to repeat the chilling and re-whipping once or twice.
The key takeaway for troubleshooting Swiss Meringue Buttercream is almost always to either *keep mixing* or *adjust the temperature* (chill or slightly warm). This type of buttercream is remarkably resilient, and these common issues are almost always reversible with a little patience and understanding of the underlying principles. Trust in the process, and you will be rewarded with perfect buttercream!
Enhancing Stability and Shelf Life of Your Buttercream
The addition of cornstarch in this recipe plays a crucial role in providing extra stability to this exquisite chocolate buttercream. Cornstarch acts as a thickening agent and helps to absorb any excess moisture, contributing to a more robust and resilient structure that holds up exceptionally well. This inherent stability is one of the many reasons why Swiss Meringue Buttercream is so highly favored by professional bakers and home baking enthusiasts alike.
For those looking for even greater resilience, especially if your dessert will be displayed in a very warm environment, or if your piping designs demand exceptionally crisp and defined edges, you can enhance the stability further. After you’ve fully incorporated the cocoa powder and vanilla extract into your buttercream, consider adding 2 ounces of melted and slightly cooled dark chocolate (around 70% cocoa solids for the best flavor balance). Ensure the melted chocolate is not hot, but rather just warm enough to be fluid. This additional step will not only boost the chocolate intensity but also add a further structural element to the buttercream, making it even more robust.
However, it’s important to note that for most indoor uses or shaded outdoor settings, this extra step isn’t strictly necessary, as this core recipe already produces a chocolate Swiss meringue buttercream that holds up remarkably well in heat and maintains its beautiful piped shape without sagging or melting. Its natural stability makes it a reliable choice for any dessert project.
Creative Ways to Use Your Luxurious Chocolate Swiss Meringue Buttercream
Now that you’ve mastered the art of making this luxurious chocolate buttercream, the possibilities for its use are endless! Its smooth texture, rich flavor, and robust stability make it a versatile choice for a wide array of desserts, transforming simple bakes into elegant masterpieces. Here are some inspiring ideas to get you started:
- Layer Cakes: This buttercream is absolutely perfect for filling, crumb coating, and decorating grand layer cakes. It spreads beautifully for smooth, professional-looking finishes and holds sharp edges remarkably well. Imagine it on a classic chocolate cake, a vibrant red velvet cake, a delicate vanilla bean cake, or even a robust espresso-flavored cake. Consider piping it onto these 6-inch chocolate cakes for an impressive yet manageable dessert.
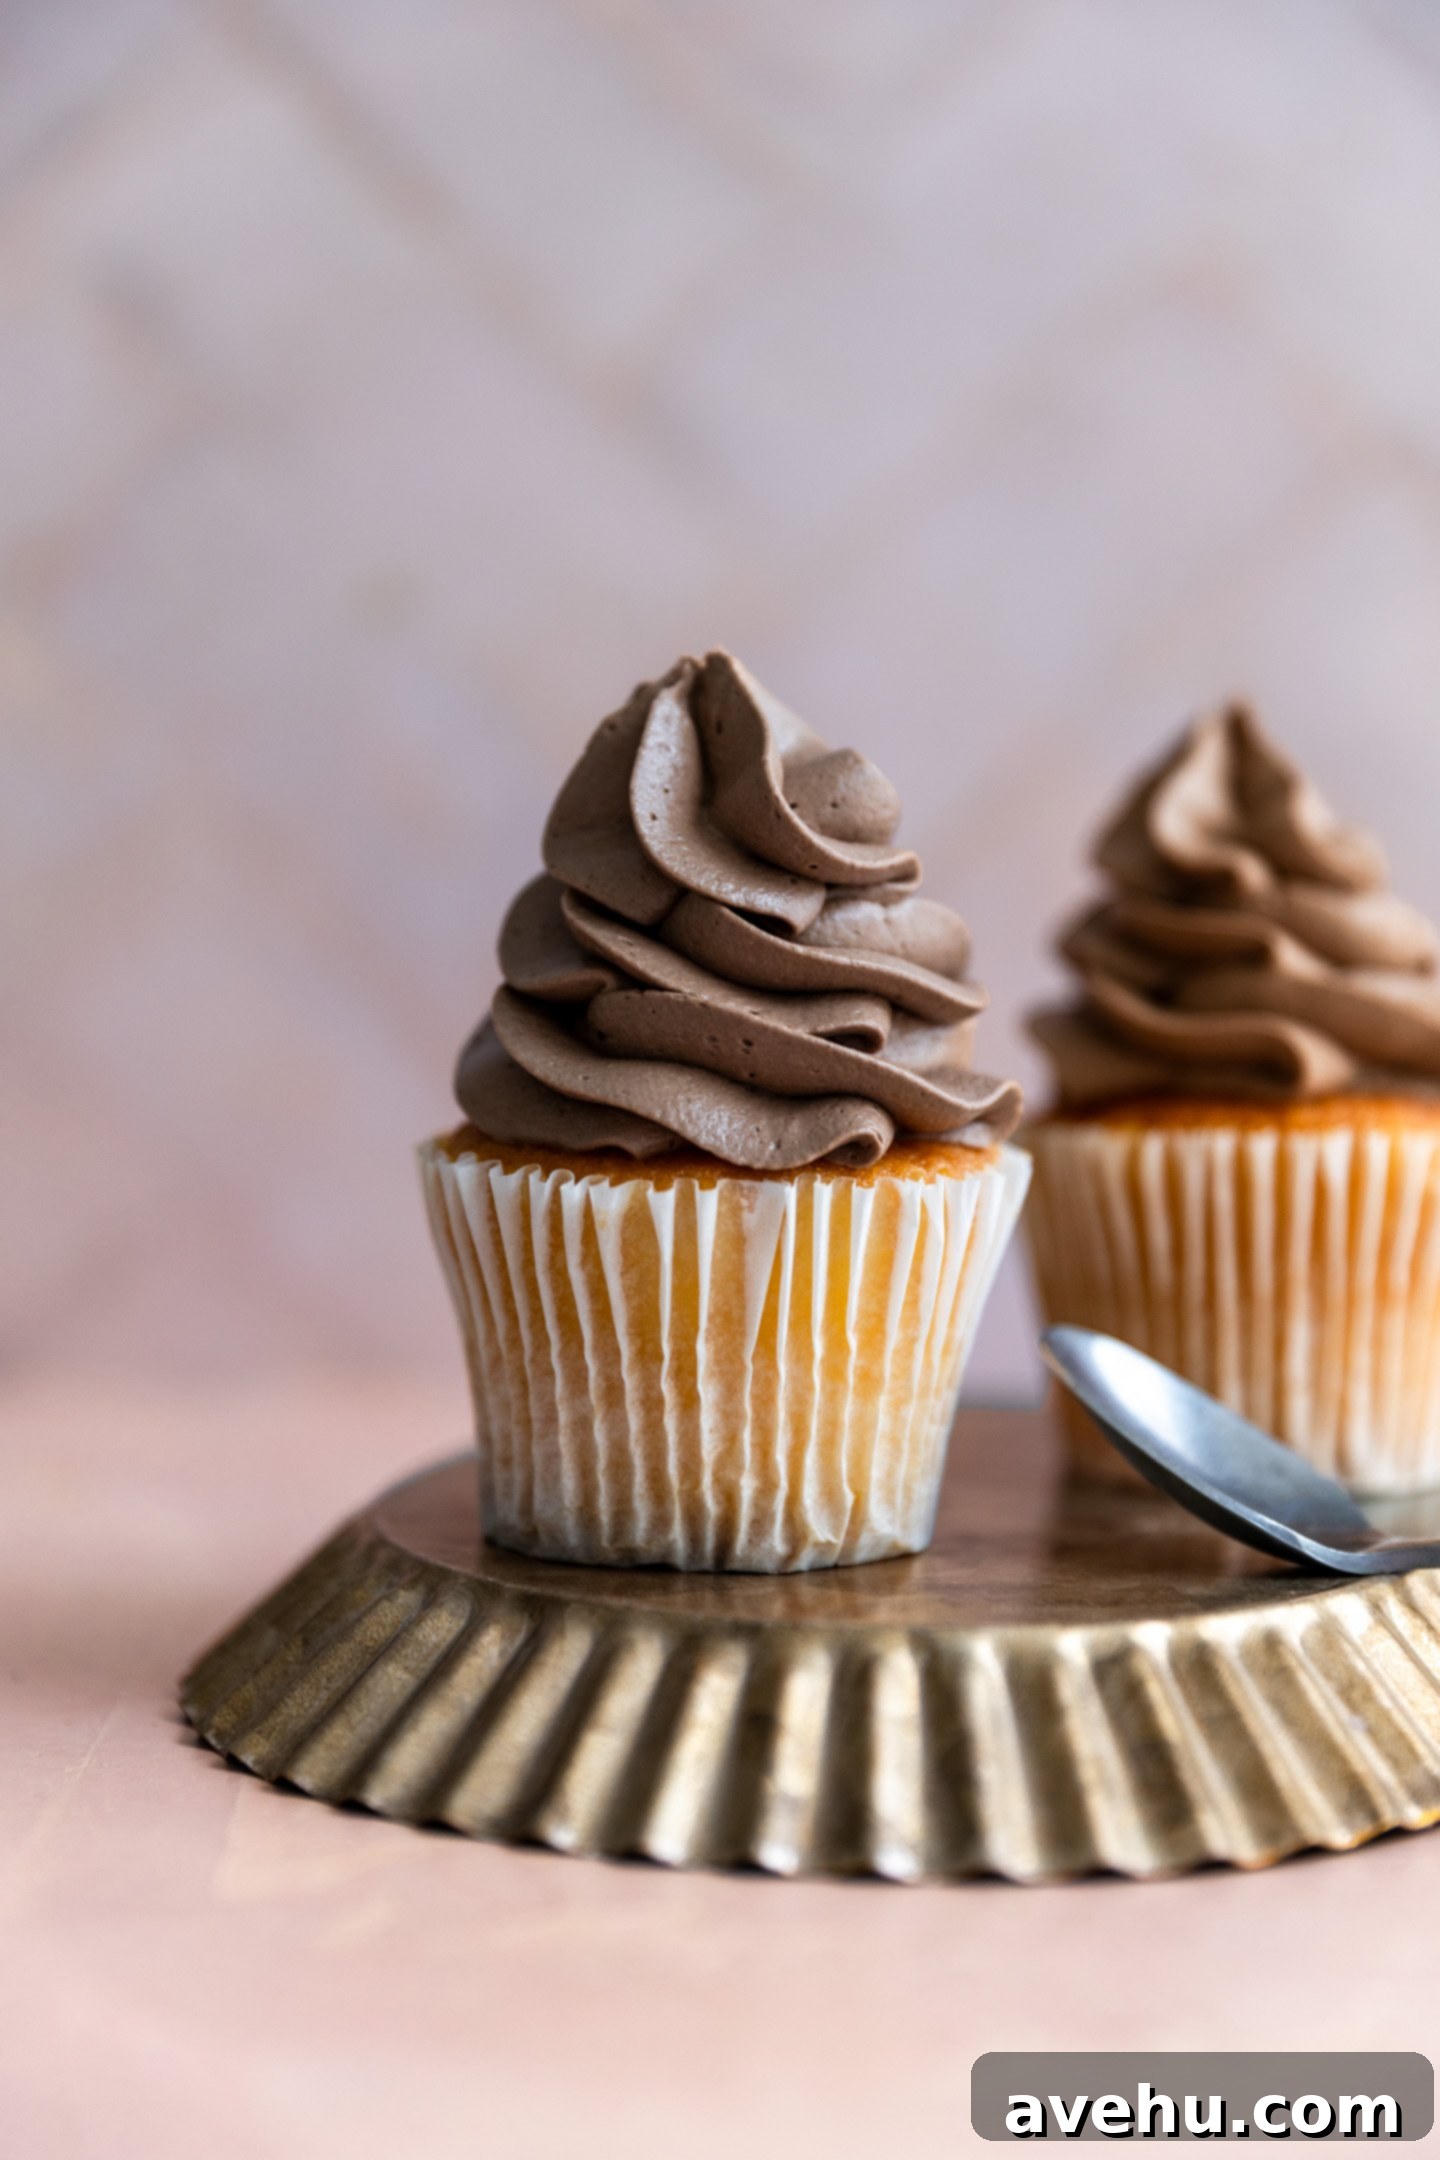
- Cupcakes: Elevate your cupcakes by creating stunning swirls, intricate rosettes, or elegant designs. Its light and fluffy consistency ensures that even a generous amount of frosting won’t overwhelm the cupcake itself, offering a perfect balance of cake and creamy topping. It’s an ideal complement for these chocolate strawberry cupcakes, adding a new layer of deliciousness.
- Dessert Fillings: Use it as a decadent and stable filling for delicate macarons, fluffy whoopie pies, tender sandwich cookies, or even cream puffs and éclairs. Its stability prevents oozing and keeps your treats neat and appealing.
- Brownies & Bars: A thick, luscious layer of this chocolate Swiss meringue buttercream on top of fudgy brownies, chewy blondies, or crispy cookie bars instantly turns a simple baked good into an extraordinary dessert that feels gourmet.
- Trifles & Parfaits: Layer it with cake crumbs, fresh berries or other fruits, and perhaps some chocolate shavings in elegant glasses for beautiful and delicious individual dessert shots or trifles.
- Piping Practice: Because it’s so stable and forgiving, it’s also excellent for practicing your piping skills before tackling a showstopper cake.
No matter how you choose to use it, this chocolate Swiss meringue buttercream promises to add a touch of professional elegance and incredible flavor to all your baking endeavors, making every bite a memorable experience!
Pro Storing Hack: Keep Your Chocolate Buttercream Fresh for Longer
One of the great advantages of Swiss Meringue Buttercream is its excellent shelf life and how wonderfully it stores. If you find yourself with leftover frosting (which is always a good problem to have, signaling successful baking!), storing it correctly ensures you can enjoy its silky texture and rich flavor for days or even weeks to come without any compromise.
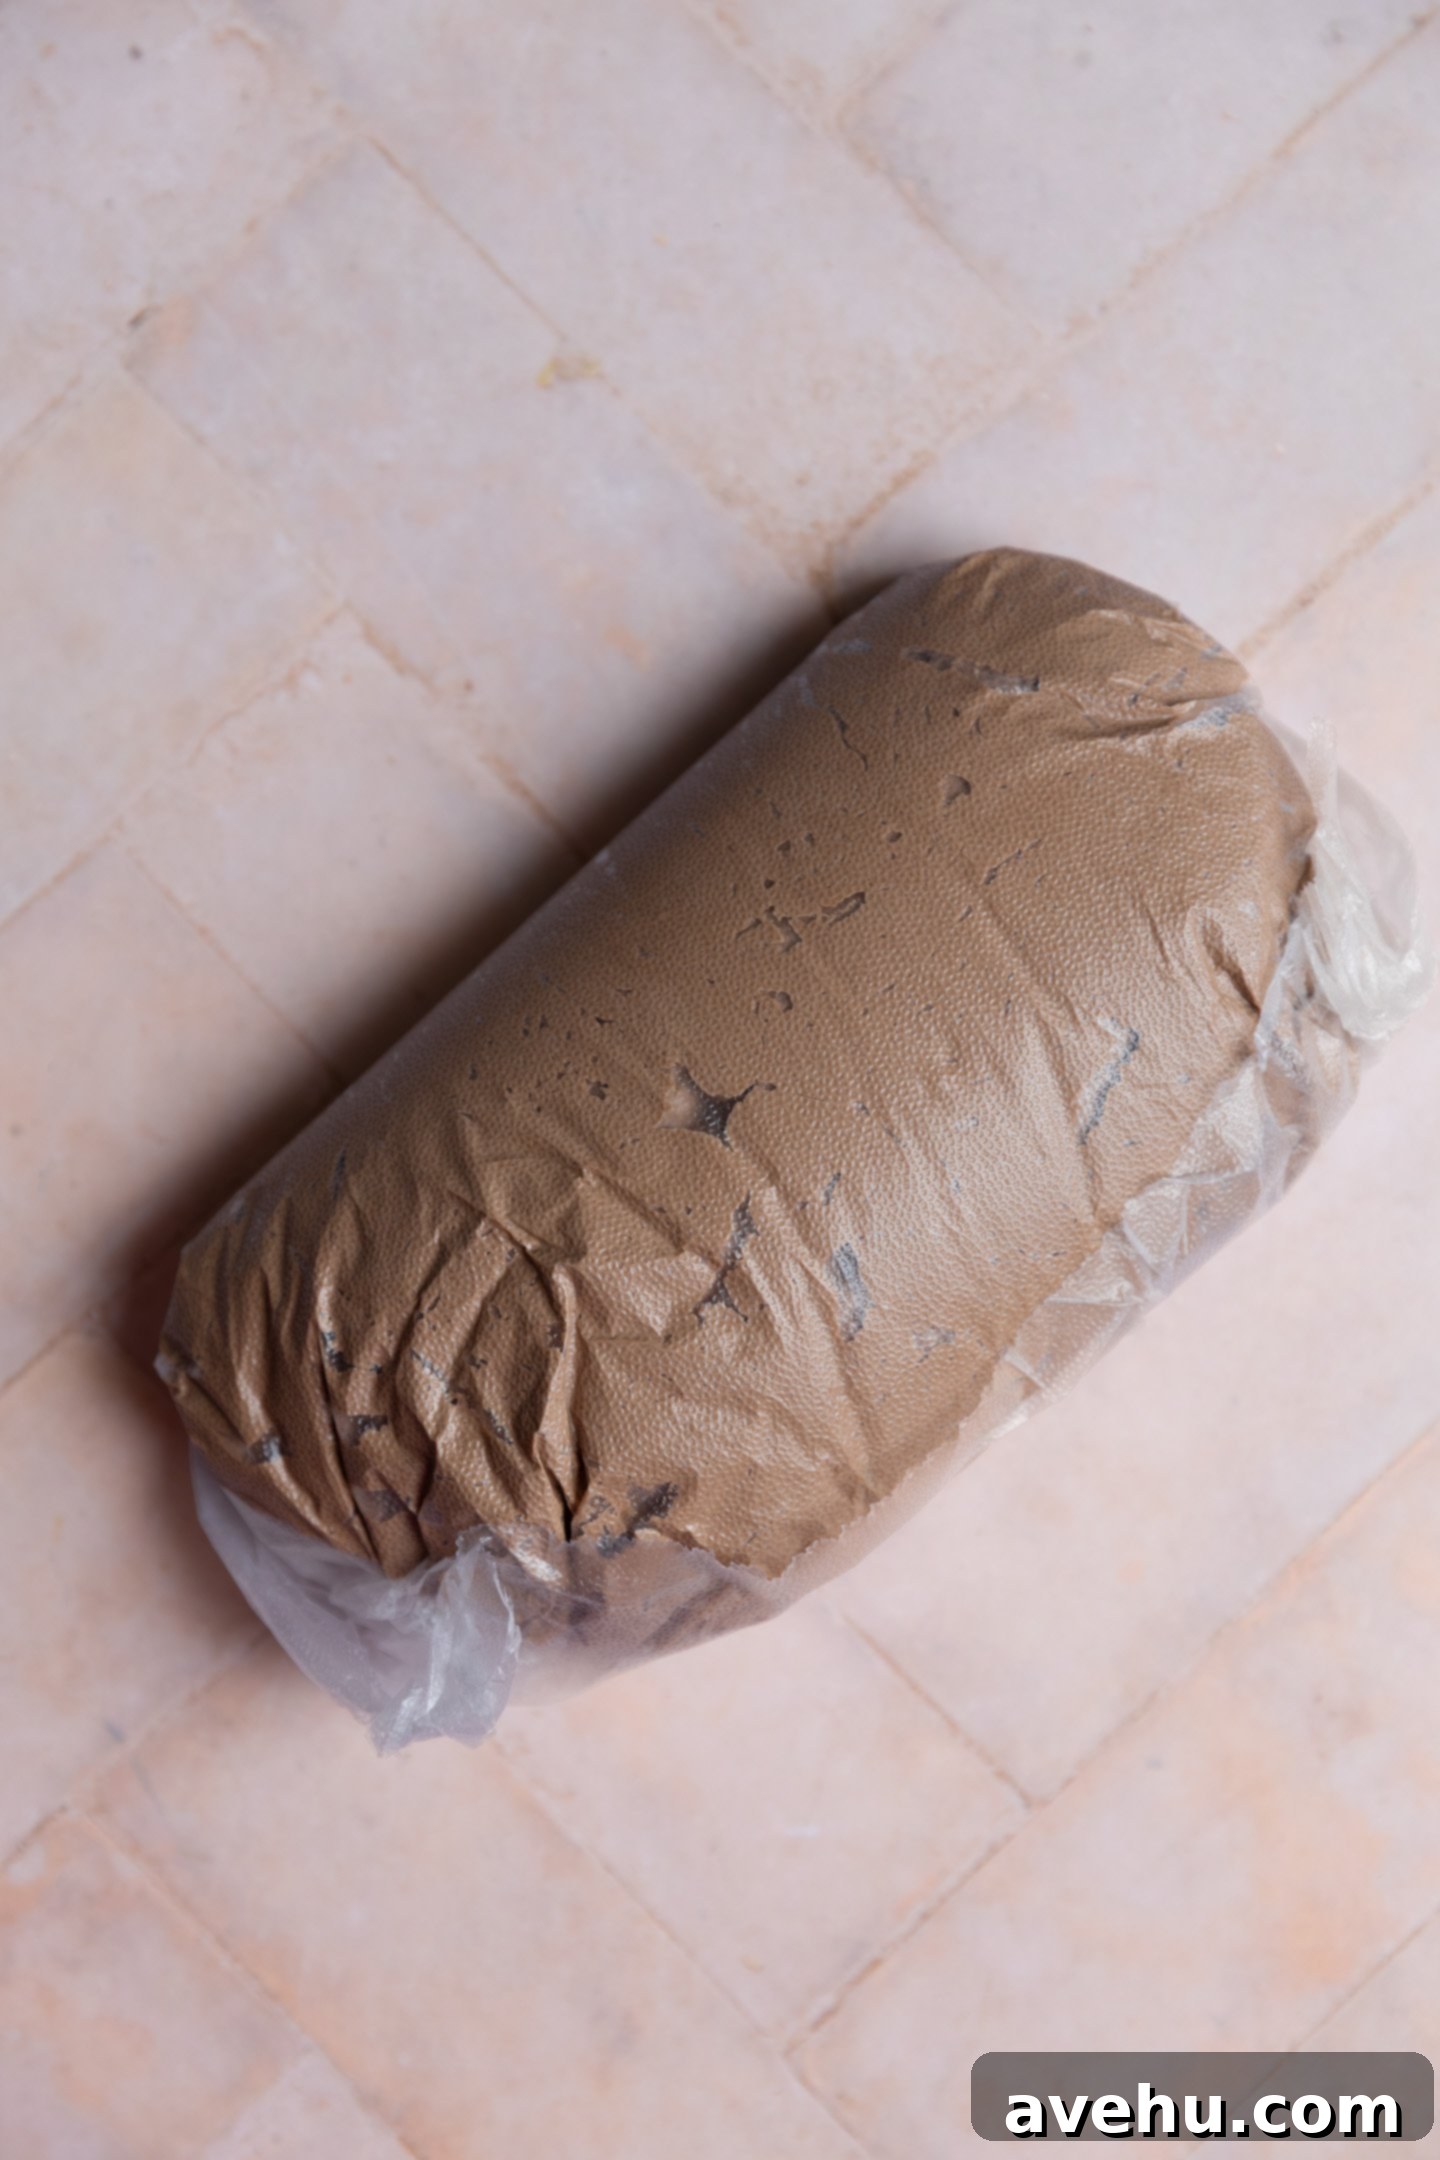
My favorite storing hack is to scoop the leftover buttercream onto a piece of plastic wrap. Gently gather the edges of the plastic wrap tightly around the buttercream, pushing out any excess air as you form it into a neat, compact package. This method is crucial as it prevents air exposure, which can cause the buttercream to develop a crust, dry out, or even absorb unwanted odors from your refrigerator.
- Refrigerator Storage: Tightly wrapped as described, your chocolate Swiss meringue buttercream will stay wonderfully fresh in the refrigerator for up to 5-7 days. For best results, place the wrapped buttercream in an airtight container as an extra layer of protection.
- Freezer Storage: For longer preservation, which is ideal for future baking projects, simply pop the plastic-wrapped package into an additional airtight, freezer-safe container or a heavy-duty freezer bag. It can be safely frozen for up to 1-2 months. When freezing, label with the date so you know its freshness window.
Reactivating Stored Buttercream to its Perfect Consistency
When you’re ready to use your stored buttercream, the reactivation process is straightforward. If frozen, transfer it from the freezer to the refrigerator to thaw overnight. If refrigerated, simply take it out and let it come to room temperature on your counter for about an hour or two. You’ll likely notice that it appears curdled, separated, or quite stiff – do not fret! This is perfectly normal for butter-based frostings that have been chilled.
Once it has softened sufficiently, place the buttercream back into your stand mixer fitted with the paddle attachment. Begin mixing on low speed to gently break it up, then gradually increase to medium-high speed. Continue mixing until it becomes completely smooth, creamy, and beautifully re-emulsified. It will transform back into its glorious, pipeable consistency. If, after whipping, it still feels too stiff, you can warm a small portion (about a quarter cup) in the microwave for 5-10 seconds, then add it back to the bowl and continue mixing. This warmth will help the rest of the buttercream soften. Conversely, if it seems too soft or soupy, chill the entire bowl in the refrigerator for 5-10 minutes, then re-whip until it reaches the desired consistency. Your stored buttercream will be just as delightful as when it was freshly made, ready to adorn your next delicious creation!
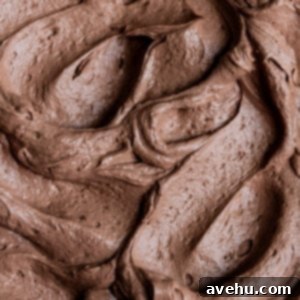
Chocolate Swiss Meringue Buttercream with Cocoa Powder
Pin
Review
SaveSaved!
Ingredients
- 5 egg whites, room temperature -large- about 150g
- 2 cups granulated sugar, 400g
- 1 tbsp corn starch
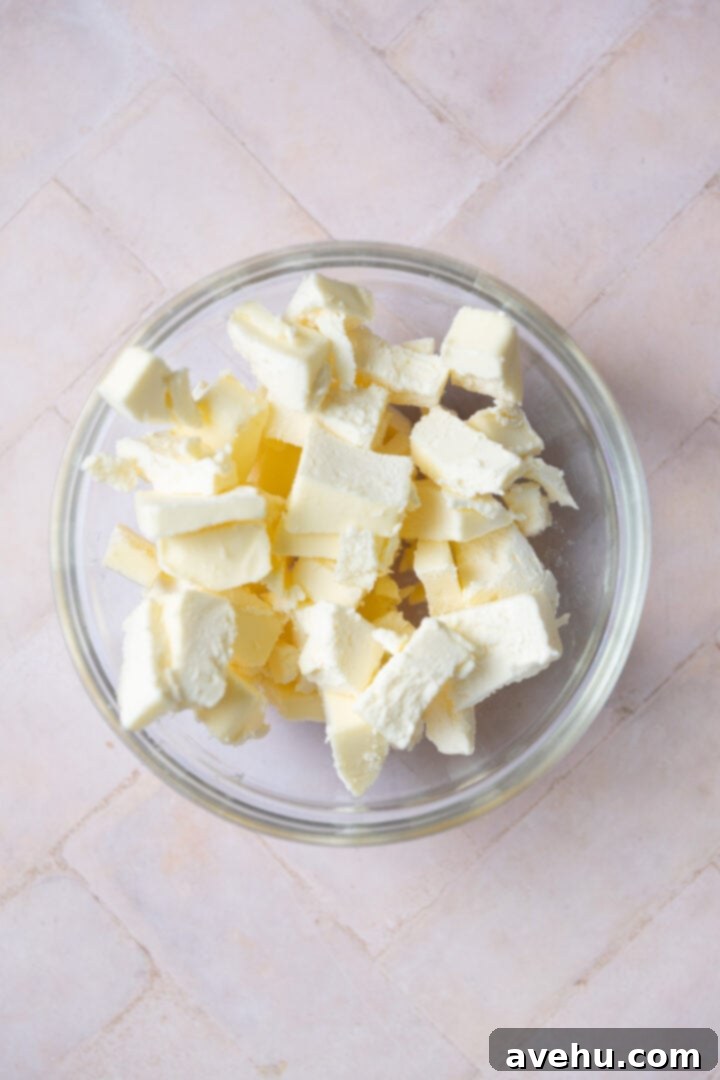
- 1.5 cups unsalted butter, cold but pliable- 3 sticks(340g), diced small
- 2 tsp vanilla extract
- 1/2 cup
cocoa powder
- 1/4 tsp kosher salt
Instructions
-
Wipe down your mixing bowl and attachments (whisk and paddle) with white vinegar or a half lemon to ensure they are completely degreased. This is a crucial step for successful meringue formation.
-
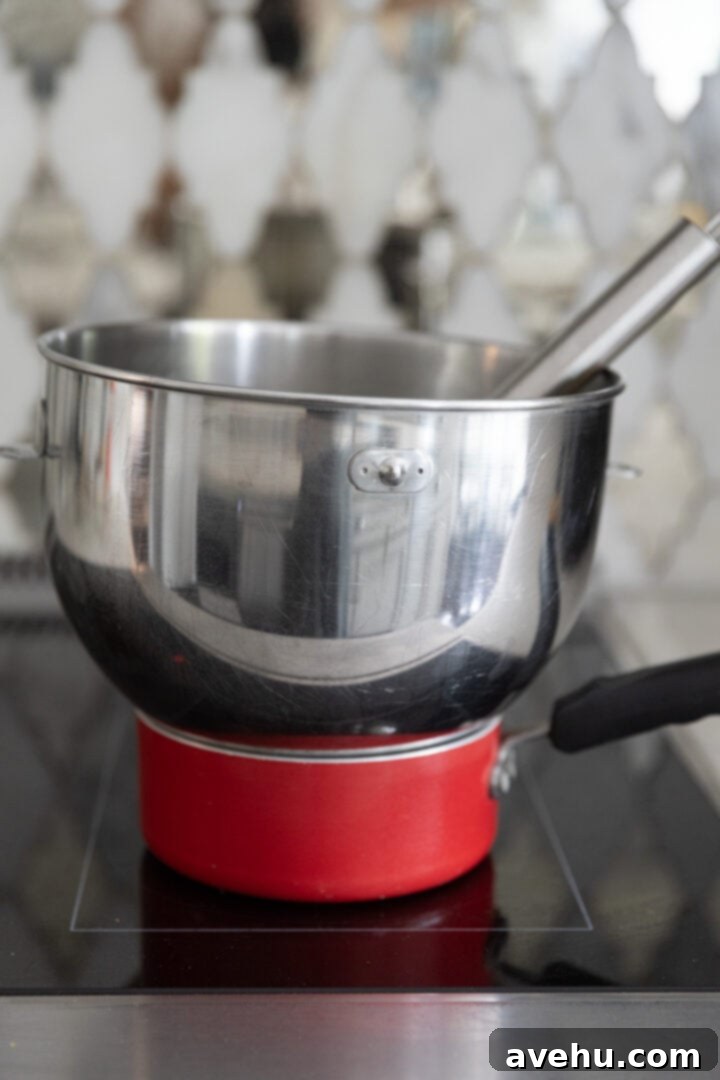
Prepare your double boiler: heat a small pot with 1-2 inches of water and bring to a gentle simmer. In your impeccably clean mixing bowl, combine 5 large room temperature egg whites, 2 cups of granulated sugar, and 1 tbsp cornstarch. Place the mixing bowl directly over the simmering water, ensuring the bottom of the bowl does not touch the water.
-
Whisk the mixture continuously over the simmering water. Initially, it will appear thick and gluey, but as it heats, it will thin out and become more fluid. Continue whisking for approximately 10-12 minutes, or until all the sugar crystals have completely dissolved. Test by carefully rubbing a small amount between your fingers; it should feel absolutely smooth, not grainy.
-
Remove the bowl from the heat and immediately transfer it to your stand mixer fitted with the whisk attachment. Beat the meringue on medium speed for 10–15 minutes. This step is crucial for cooling down the meringue to room temperature and developing stiff, glossy peaks. The bottom of the bowl should feel cool to the touch, and the meringue should hold firm, defined peaks when the whisk is lifted.
-
Once the meringue is fully cooled and has stiff peaks, switch the attachment to the paddle. With the mixer running on medium-high speed, gradually add the diced, cold but pliable unsalted butter, one tablespoon at a time. Ensure each piece of butter is fully incorporated into the meringue before adding the next. Continue until all the butter has been added and the mixture transforms into a smooth, creamy buttercream. Don’t worry if it looks curdled or soupy initially; just keep mixing, and it will come together.
-
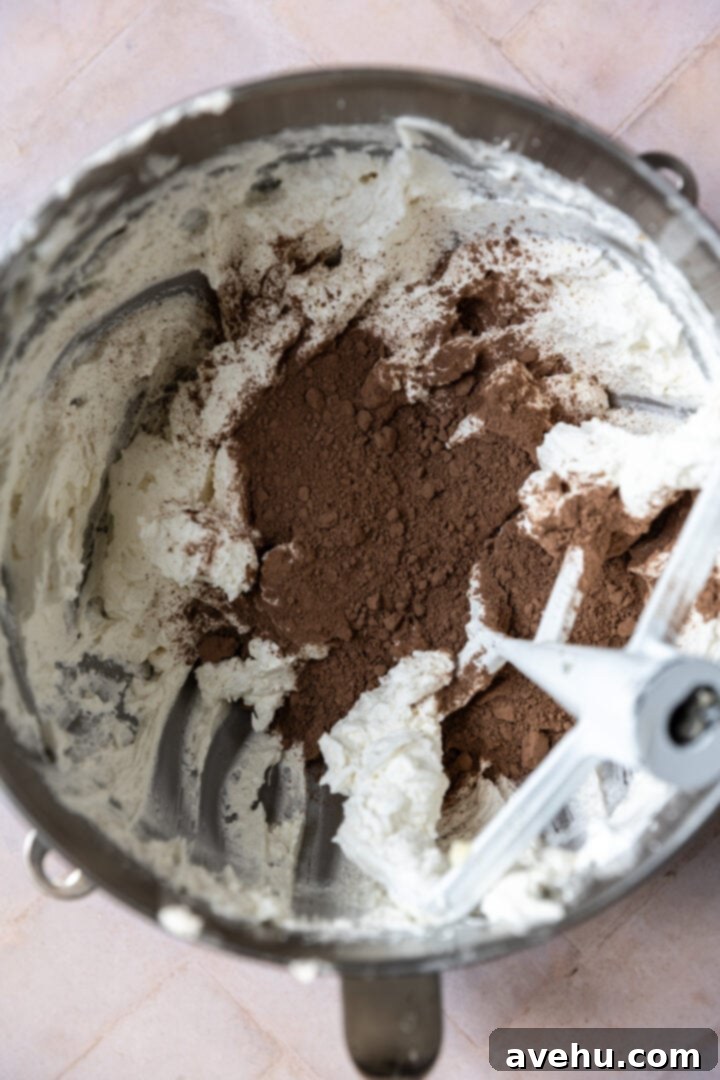
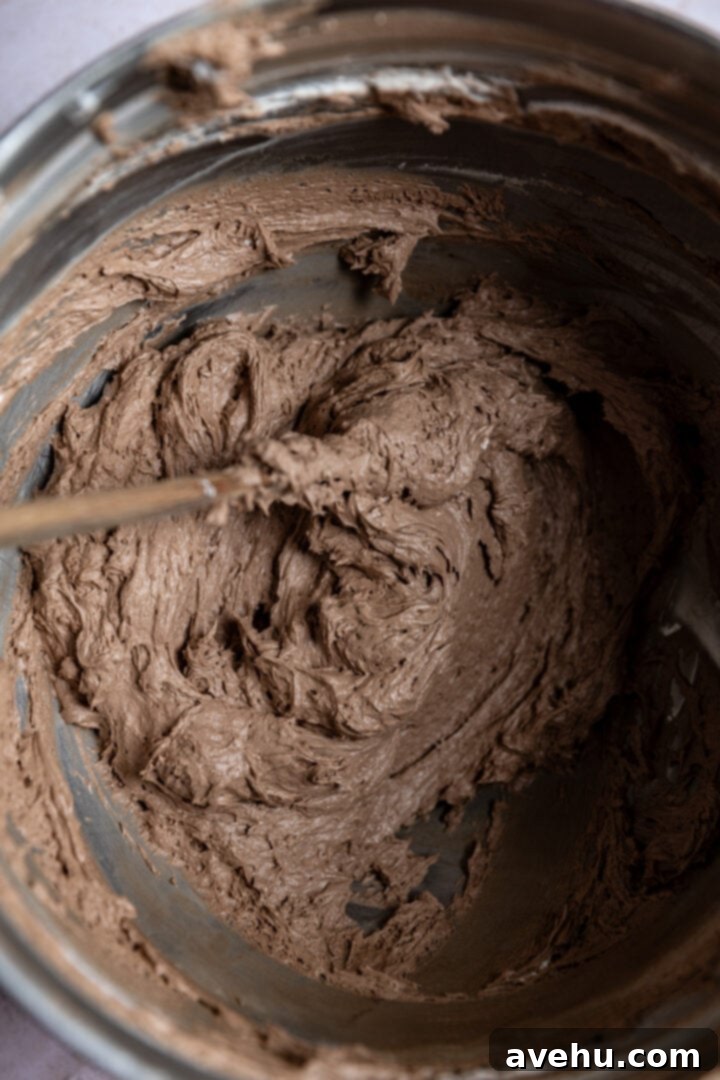
Finally, add the 2 tsp vanilla extract, 1/2 cup sifted cocoa powder, and 1/4 tsp kosher salt to the buttercream. Mix on medium-high speed for about 15-30 seconds, just until everything is well combined and the buttercream is uniformly chocolate in color and silky smooth. And that’s it – your perfect Chocolate Swiss Meringue Buttercream is ready to use!
