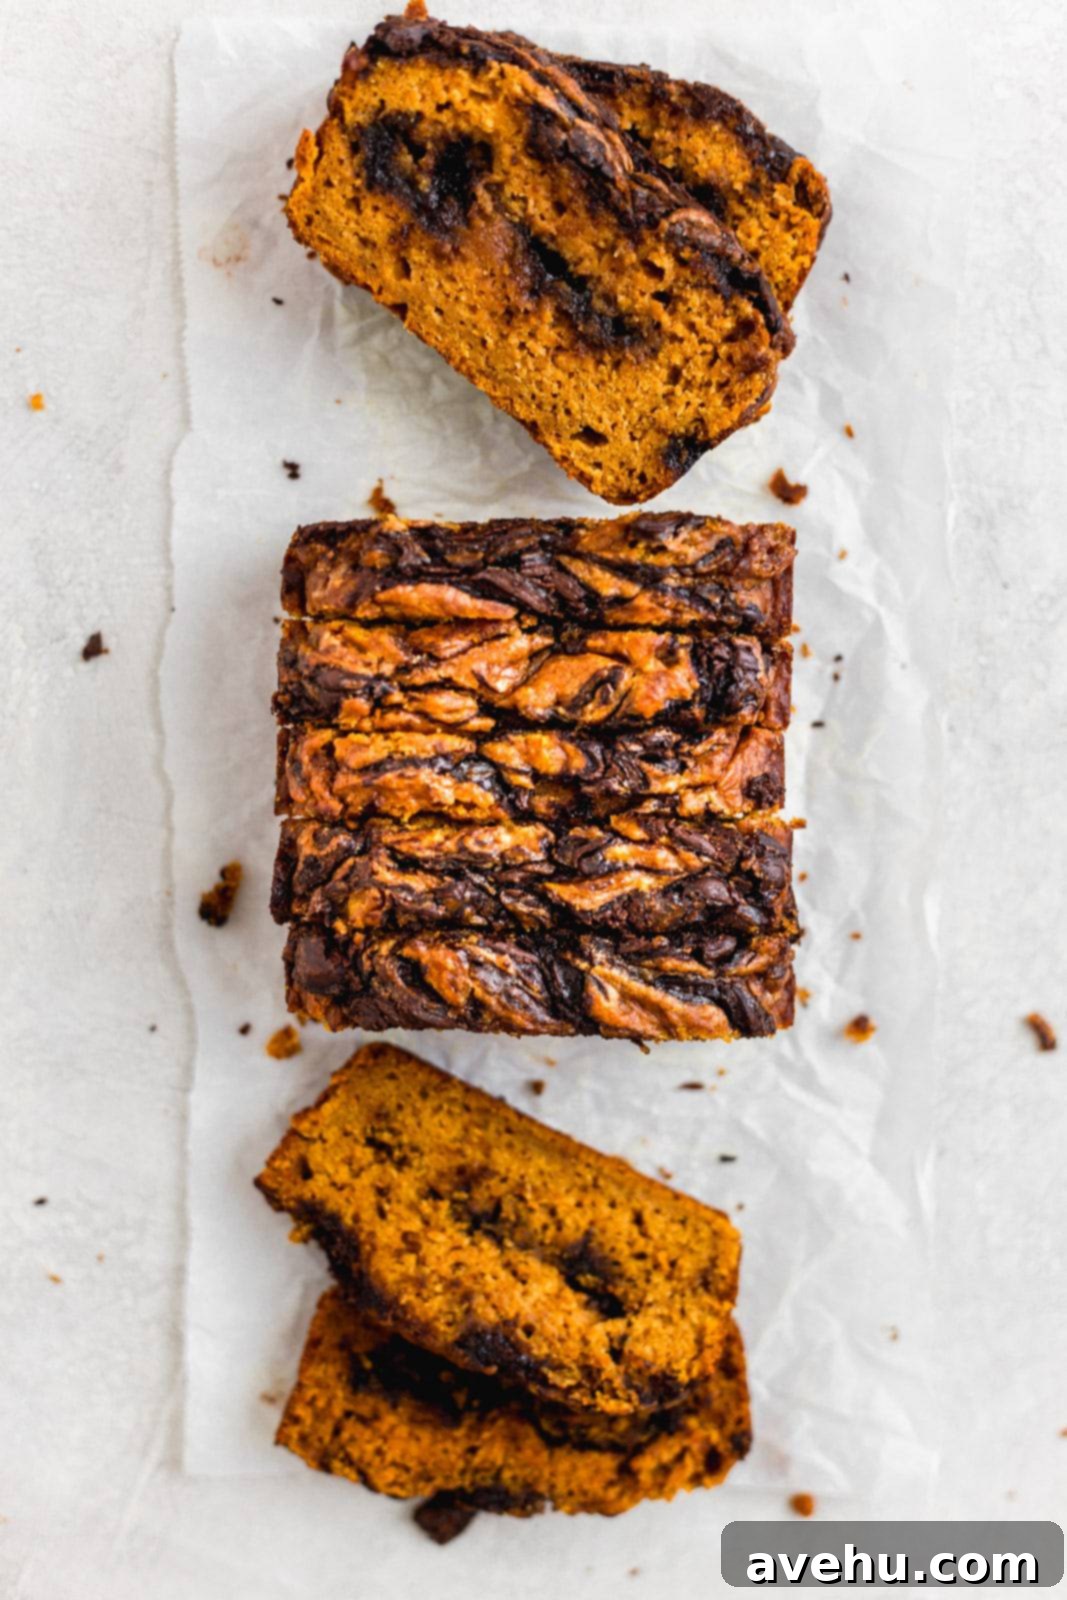
The Ultimate Moist Chocolate Swirl Pumpkin Bread (A Deliciously Nut-Free Fall Favorite!)
As the leaves begin to turn and the crisp autumn air fills our kitchens with the scent of spices, there’s one treat that consistently captures the essence of fall: pumpkin bread. But not just any pumpkin bread – we’re talking about an irresistibly moist, fluffy, and flavor-packed pumpkin bread, elevated with a decadent chocolate swirl. And for those of you who’ve often felt left out of the popular “chocolate swirl” recipes due to nut allergies, this one’s for you. We understand the frustration, and we’ve got a fantastic solution!
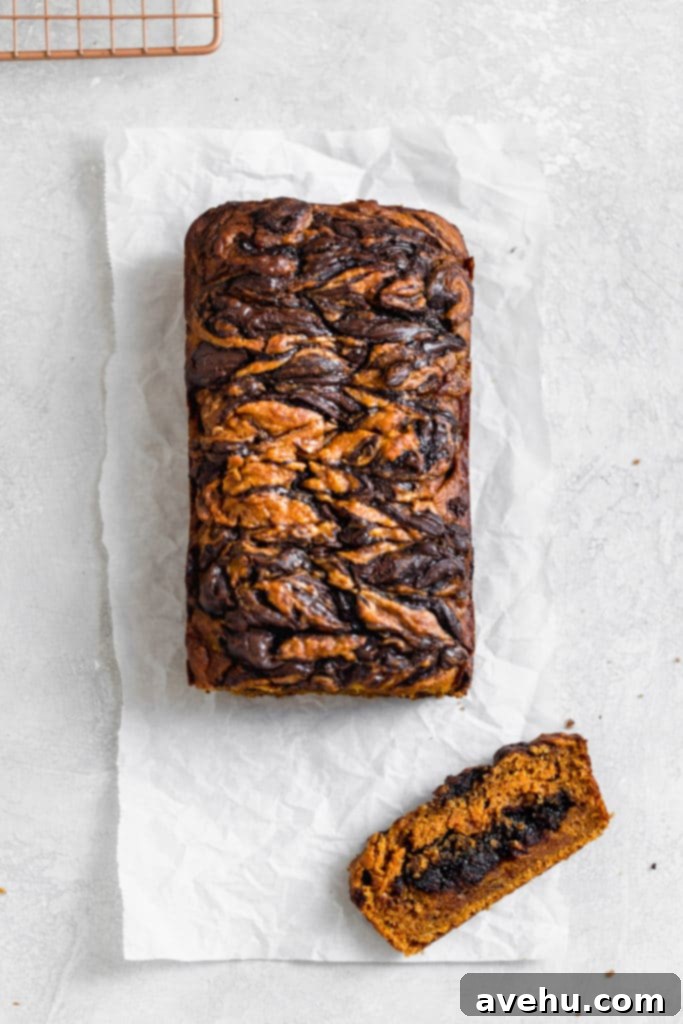
A Delicious Nut-Free Chocolate Swirl Pumpkin Bread for Everyone
If you’ve ever scrolled through social media, admiring those gorgeous Nutella-swirled desserts and felt a pang of disappointment because of a nut allergy, you are not alone. It’s incredibly frustrating to see such tempting recipes that are simply off-limits. The rich, hazelnut-chocolate spread is a staple for many, but for those with nut allergies, it presents a significant barrier to enjoying these delightful creations. We believe everyone deserves to indulge in delicious baked goods, and that includes enjoying the magic of a chocolate swirl in their favorite pumpkin loaf.
The good news? The world of nut-free chocolate spreads has expanded, offering fantastic alternatives that deliver all the chocolatey goodness without the allergen worry. I’ve discovered some incredible nut-free chocolate spreads that are perfect for this recipe. Whether you need a kosher option or simply a safe, delicious alternative, there are many products out there one that will allow you to create this super moist (yes, we said it!) pumpkin chocolate bread. Now, you too can be a proud member of the chocolate swirl everything club!
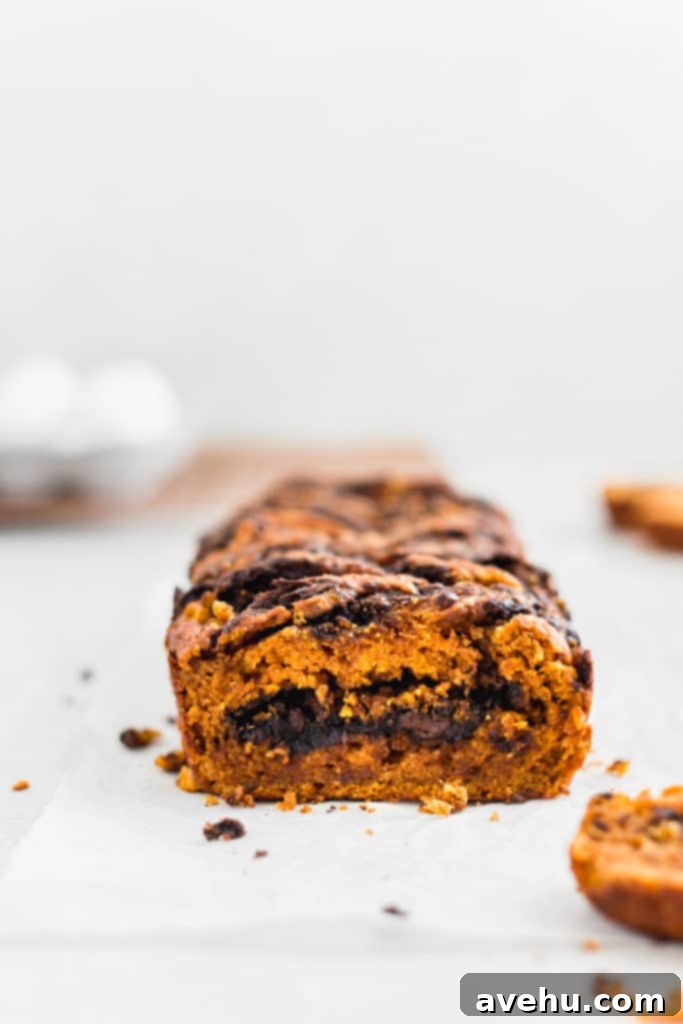
Crafting Your Perfect Moist Pumpkin Chocolate Bread
Making this delightful pumpkin chocolate bread is surprisingly simple, but a few key details will ensure your loaf is perfectly moist, tender, and beautifully marbled. Let’s dive into the process and some expert tips.
Choosing Your Pumpkin: Puree vs. Pie Filling
When baking with pumpkin, the type you choose makes a significant difference. For this recipe, it’s crucial to use canned pureed pumpkin, not pumpkin pie filling. Why? Pumpkin pie filling comes pre-mixed with all the traditional pumpkin pie spices (cinnamon, nutmeg, ginger, cloves, allspice) and often contains added sugars. While convenient for pies, these additions can overpower the delicate balance of flavors in our bread and make it overly sweet or spiced. By using pure pumpkin puree, we have complete control over the spices and sweetness, allowing us to achieve the perfect flavor profile for our pumpkin chocolate bread. This ensures a balanced, rich pumpkin taste that harmonizes wonderfully with the chocolate swirl.
Mastering the Perfect Texture: Avoiding Dense Bread
Baking with pumpkin puree can be a bit of a balancing act. Its high moisture content can sometimes lead to baked goods that are too dense, heavy, and lack that desirable fluffy bread-like texture. My initial attempts at this recipe faced this exact challenge – the bread was incredibly moist, but also a bit too compact and not as light as I envisioned. Through careful experimentation, I fine-tuned the ingredient ratios to achieve a loaf that is both super moist AND wonderfully fluffy.
The secret lies in a few tweaks: adjusting the number of eggs, switching from baking powder to baking soda, and incorporating a touch of oil. Eggs provide structure and richness, but too many can lead to a rubbery texture when combined with pumpkin’s moisture. Baking soda, when activated by an acidic ingredient (like the natural acidity in pumpkin puree or brown sugar), provides a gentler lift compared to baking powder, resulting in a softer crumb. Finally, a good quality oil contributes to the bread’s tenderness and keeps it moist for longer, preventing it from drying out.
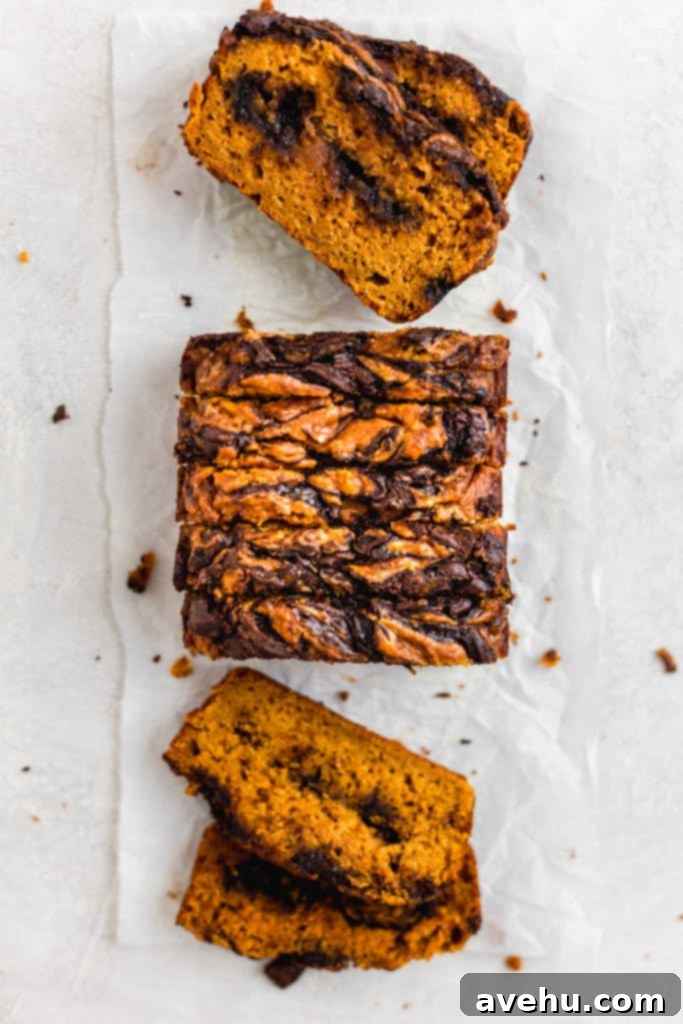
The Simple Mixing Method
This recipe truly is straightforward. You’ll start by combining all your wet ingredients (pumpkin puree, eggs, vanilla extract, and oil) in one bowl. In a separate, larger bowl, you’ll whisk together the dry ingredients (brown sugar, flour, baking soda, salt, and cinnamon). The crucial step here is to pour the wet mixture into the dry ingredients and mix *just until combined*. Overmixing can develop the gluten in the flour too much, leading to a tough, dense bread. A few gentle stirs are all it takes to bring the batter together for that perfect, tender crumb.
Creating the (Optional but Highly Recommended) Chocolate Swirl
While this pumpkin bread is absolutely delicious on its own, adding a chocolate swirl takes it to an entirely new level. Chocolate truly does make everything better, doesn’t it? This optional step is where the magic happens, turning a simple pumpkin loaf into a visually stunning and incredibly flavorful treat.
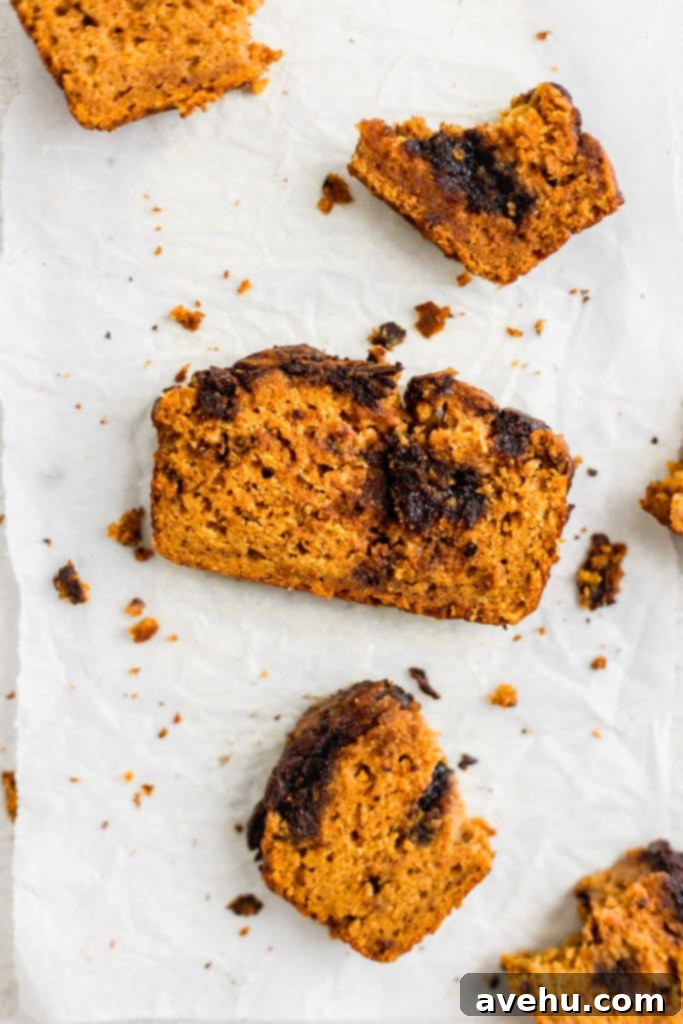
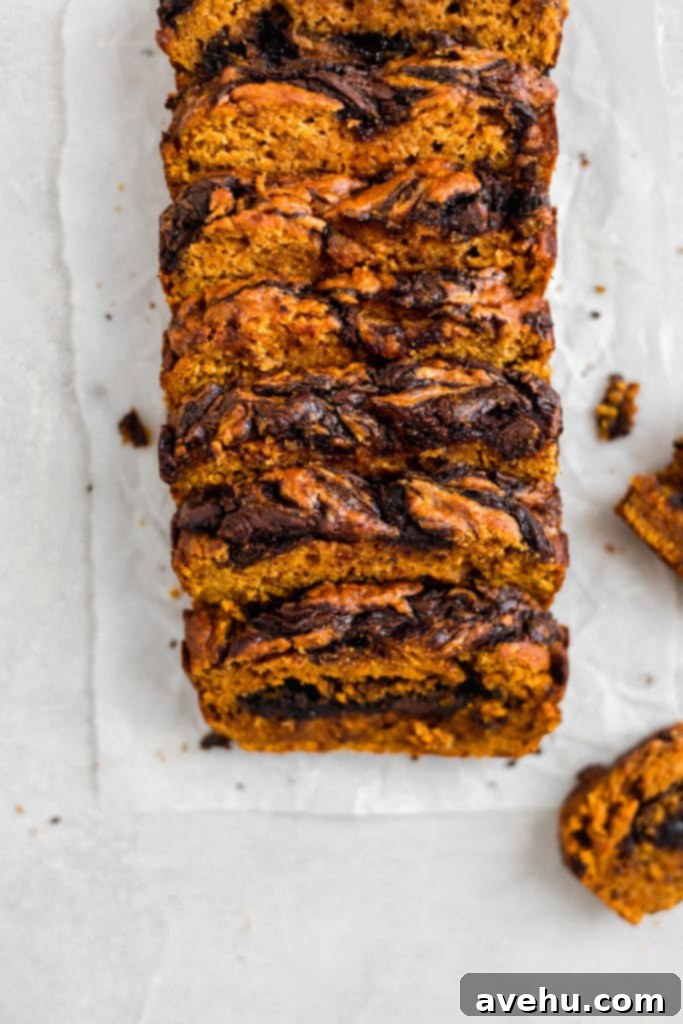
To create the swirl, simply pour half of your pumpkin bread batter into your prepared loaf pan. Then, drop small teaspoon-fulls of your chosen nut-free chocolate spread evenly over the surface of the batter. Don’t worry about perfection here; the beauty of a swirl is its organic, unique pattern. Once the chocolate dots are in place, take a skewer, a butter knife, or even a toothpick and gently drag it through the chocolate and batter, connecting the dots and creating beautiful swirls. There’s no exact science to this – you can go lengthwise, then crosswise, or create abstract patterns. The goal is to distribute the chocolate throughout the batter without fully mixing it in. After you’ve created your first layer of swirls, pour the remaining pumpkin batter over the top and repeat the chocolate dollop and swirling process. This layering technique ensures chocolatey goodness in every slice!
Tips for Keeping Your Pumpkin Bread Moist and Fresh
To enjoy your delicious pumpkin chocolate bread for as long as possible, proper storage is key. Here are a few simple tips:
- Airtight Storage: Once the bread has completely cooled, wrap it tightly in plastic wrap or aluminum foil. Alternatively, store it in an airtight container at room temperature for up to 3-4 days. This prevents it from drying out and keeps it wonderfully moist.
- Freezing for Later: This pumpkin bread freezes beautifully! To freeze, wrap the cooled loaf (either whole or sliced) tightly in plastic wrap, then an additional layer of aluminum foil. It can be frozen for up to 2-3 months. Thaw at room temperature or gently warm slices in the microwave or oven for a fresh-baked experience.
- Don’t Overbake: One of the biggest culprits of dry bread is overbaking. Keep an eye on your loaf in the oven. It’s ready when the edges begin to pull away slightly from the pan and a wooden skewer or toothpick inserted into the center comes out with moist crumbs, but no wet batter. The top should be firm, not jiggly.
This chocolate swirl pumpkin bread is more than just a recipe; it’s an invitation to enjoy the comforting flavors of fall, made accessible and utterly delicious for everyone. Whether it’s for a cozy breakfast, an afternoon snack, or a simple dessert, this loaf is sure to become a cherished part of your autumn baking traditions.
For more delightful pumpkin recipes, be sure to check these out:
- Pumpkin Bars with Chocolate Chips
- Chewy Maple Pumpkin Cookies
- Big Batch of Pumpkin Pie
We hope you’ll give this recipe a try and experience the joy of a perfectly moist, fluffy, and chocolate-swirled pumpkin bread. It’s simple to make, incredibly satisfying, and designed with everyone in mind!
You guys! This post contains an affiliate link which means that if you purchase something from one of those links, I make a little money honey, at no extra cost to you. Thanks for supporting my blog!
Moist Pumpkin Bread- With Chocolate!
Pin
Review
SaveSaved!
Ingredients
- Baking spray
1+1/4 cup pumpkin puree (not pumpkin pie filling)
2 large eggs
1 teaspoon vanilla extract
1/2 cup vegetable oil (or other neutral oil)
1 cup packed light brown sugar
1 1/2 cups all-purpose flour
1/2 teaspoon baking soda
1/2 teaspoon fine sea salt
1/4 teaspoon ground cinnamon
18 teaspoons (approx. 6 tablespoons) nut-free chocolate spread, separated (optional)
Instructions
-
1. Preheat your oven to 350° F (175° C). Prepare a standard loaf pan by spraying it generously with baking spray or lining it with parchment paper, leaving an overhang on the sides to easily lift the bread out later.
-
2. In a medium-sized mixing bowl, combine the pumpkin puree, eggs, vanilla extract, and oil. Whisk these wet ingredients together until they are well combined and smooth.
-
3. In a separate, larger bowl, combine the dry ingredients: brown sugar, all-purpose flour, baking soda, salt, and ground cinnamon. Whisk them lightly for about 30 seconds to ensure they are evenly distributed.
-
4. Pour the wet ingredients mixture into the bowl with the dry ingredients. Mix gently with a spoon or spatula *just until combined*. Be careful not to overmix the batter; a few lumps are perfectly fine and will help ensure a tender bread. Overmixing develops gluten, which can lead to a tough and dense loaf.
-
5. If adding the chocolate swirl: Pour approximately half of the pumpkin bread batter into the prepared loaf pan. Carefully drop 9 teaspoons of the nut-free chocolate spread evenly over the surface of the batter.
-
6. Take a skewer, a thin knife, or a toothpick and gently drag it through the chocolate dots, swirling them into the pumpkin batter. You don’t need a specific pattern; just create a marble effect.
-
7. Spoon the remaining half of the pumpkin batter over the swirled chocolate layer. Repeat the process by dropping the remaining 9 teaspoons of chocolate spread on top of the batter and swirling it in as before.
-
8. Bake for 30-40 minutes, or until the edges of the bread start to pull away from the sides of the pan and the top is firm and springs back when gently pressed. A wooden skewer or toothpick inserted into the center should come out with moist crumbs, not wet batter. Baking times can vary, so start checking at 30 minutes.
-
9. Once baked, remove the loaf from the oven and let it cool in the pan for about 10-15 minutes before carefully lifting it out onto a wire rack to cool completely. Slicing the bread while it’s still warm is tempting, but allowing it to cool fully will give it the best texture and prevent it from crumbling.
