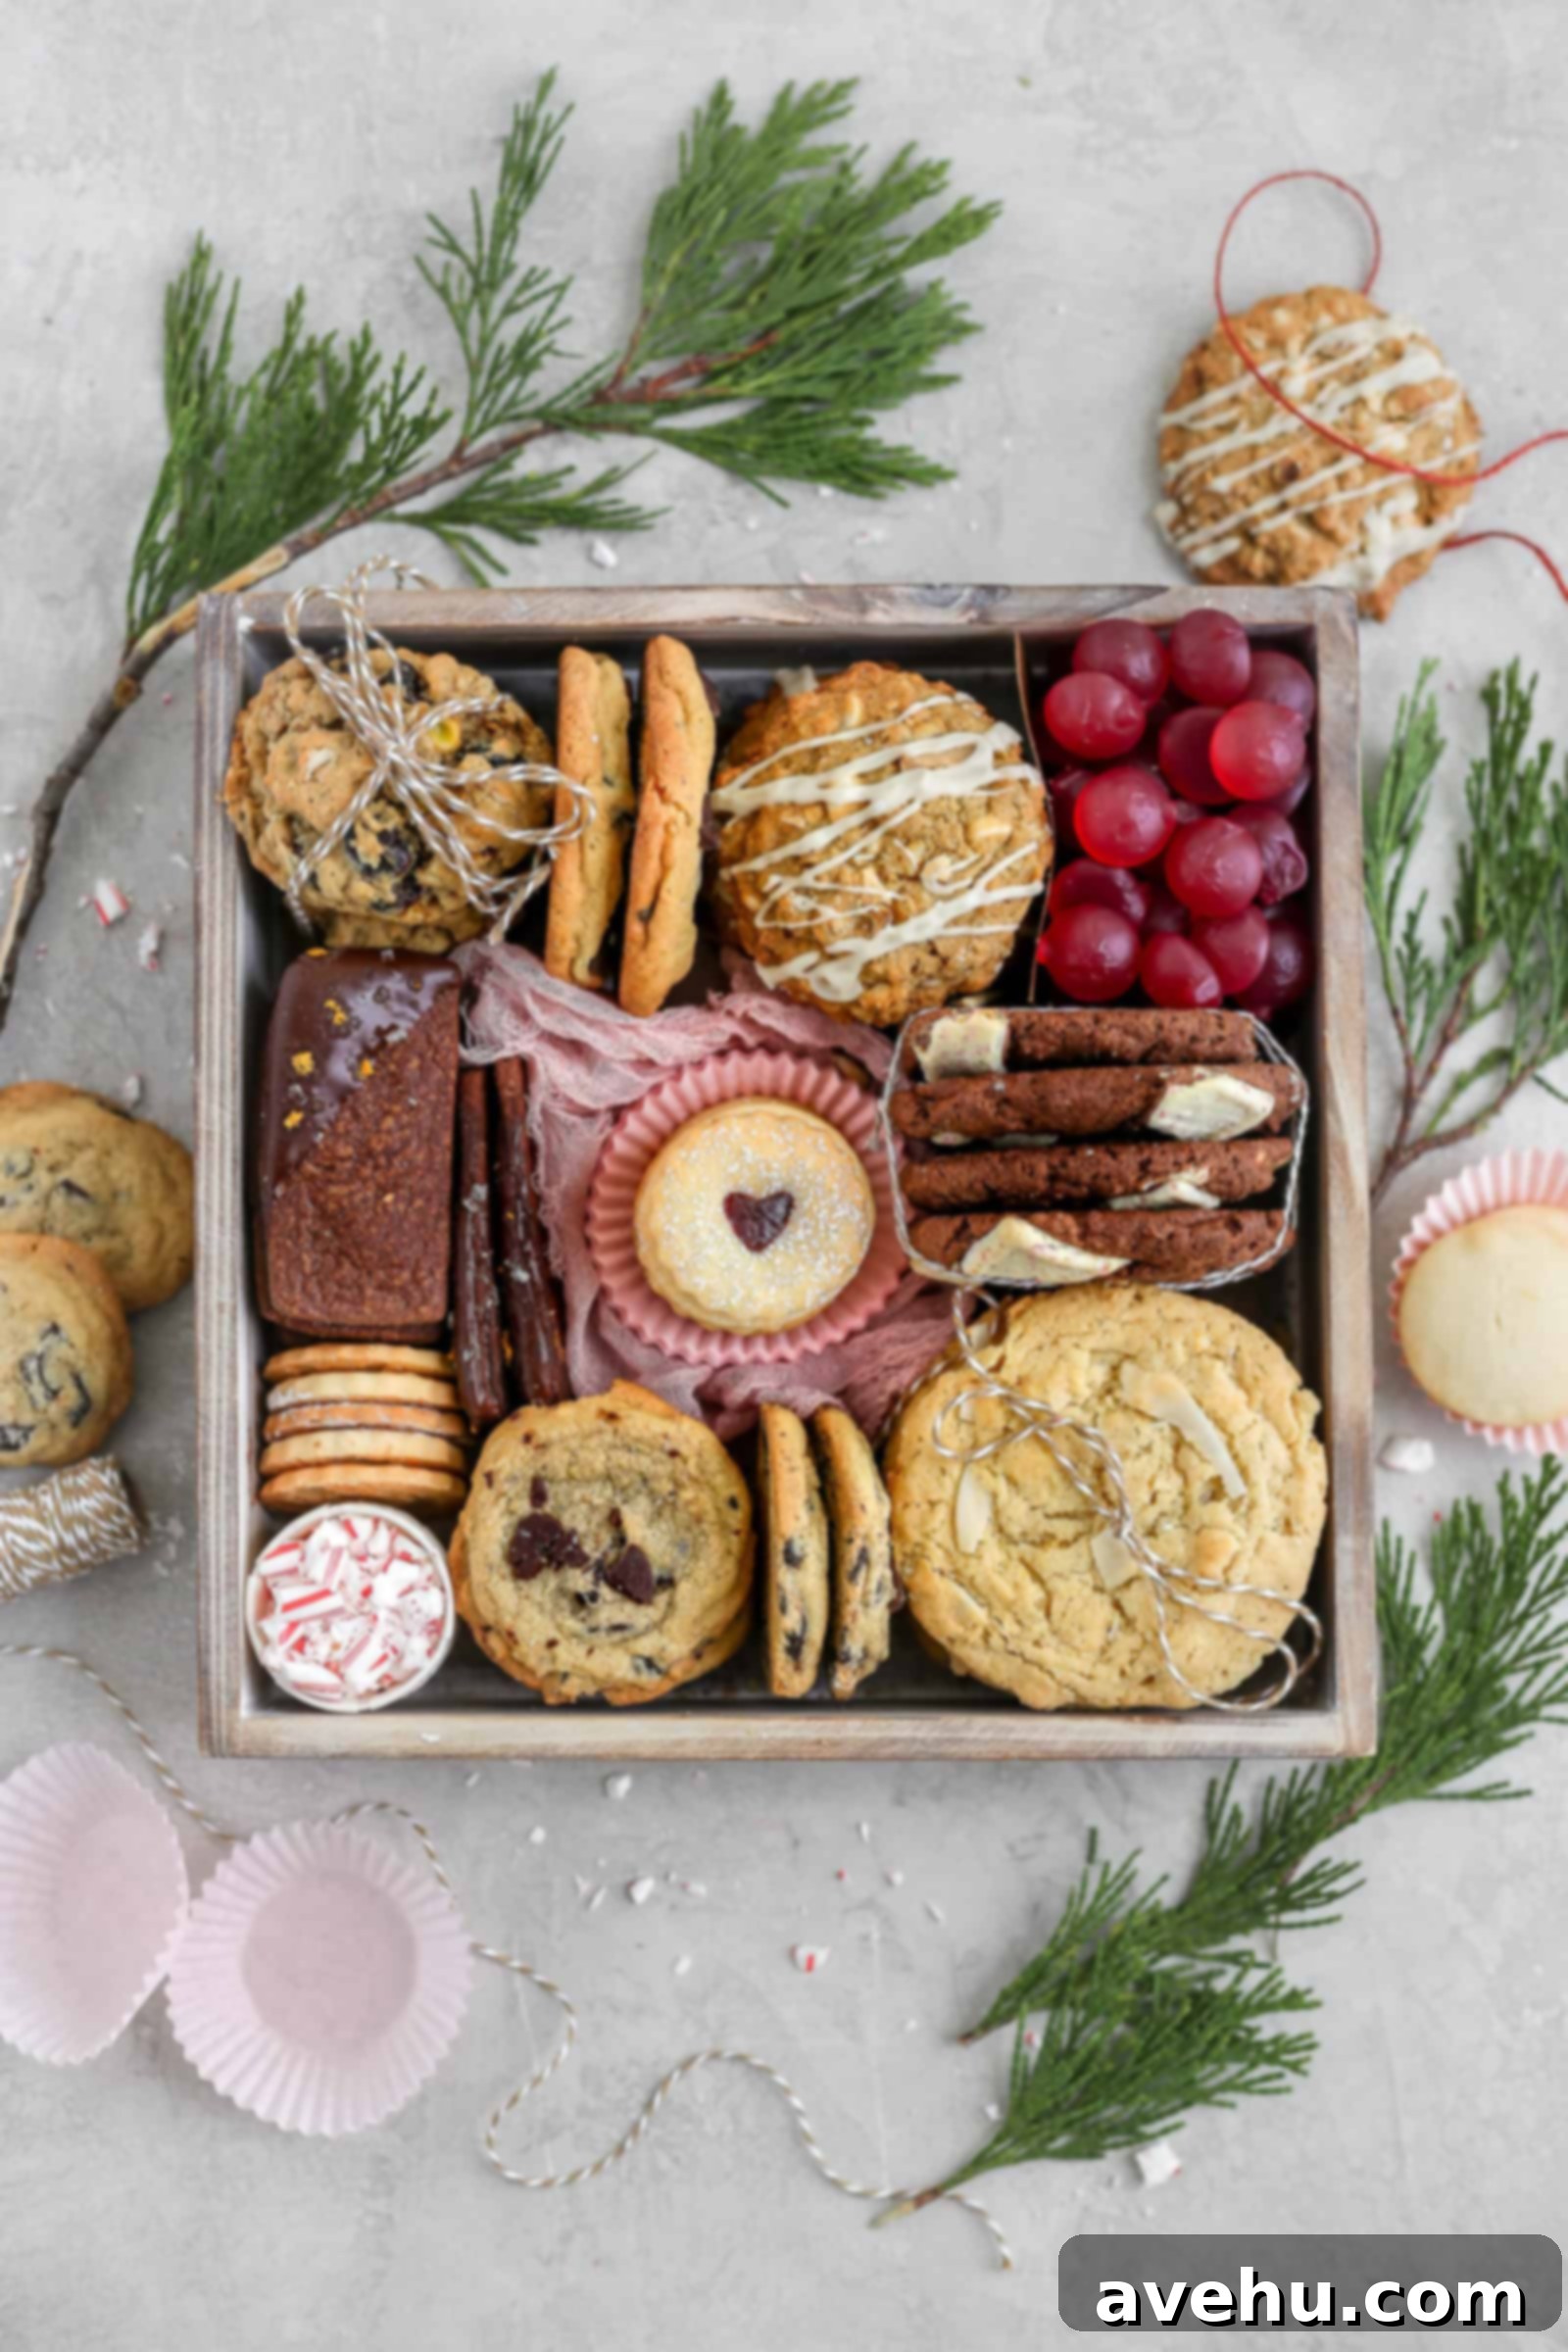
The Ultimate Guide to Crafting a Stunning DIY Cookie Gift Box
Imagine the delight on your loved ones’ faces as they receive a beautifully curated cookie gift box. This isn’t just a gift; it’s an experience, a thoughtful gesture, and a delectable assortment of treats designed to bring joy. Whether you’re looking for the perfect hostess gift, a heartfelt thank-you, or a special holiday surprise, a homemade (or thoughtfully assembled store-bought) cookie gift box is an unparalleled choice that truly comes from the heart.
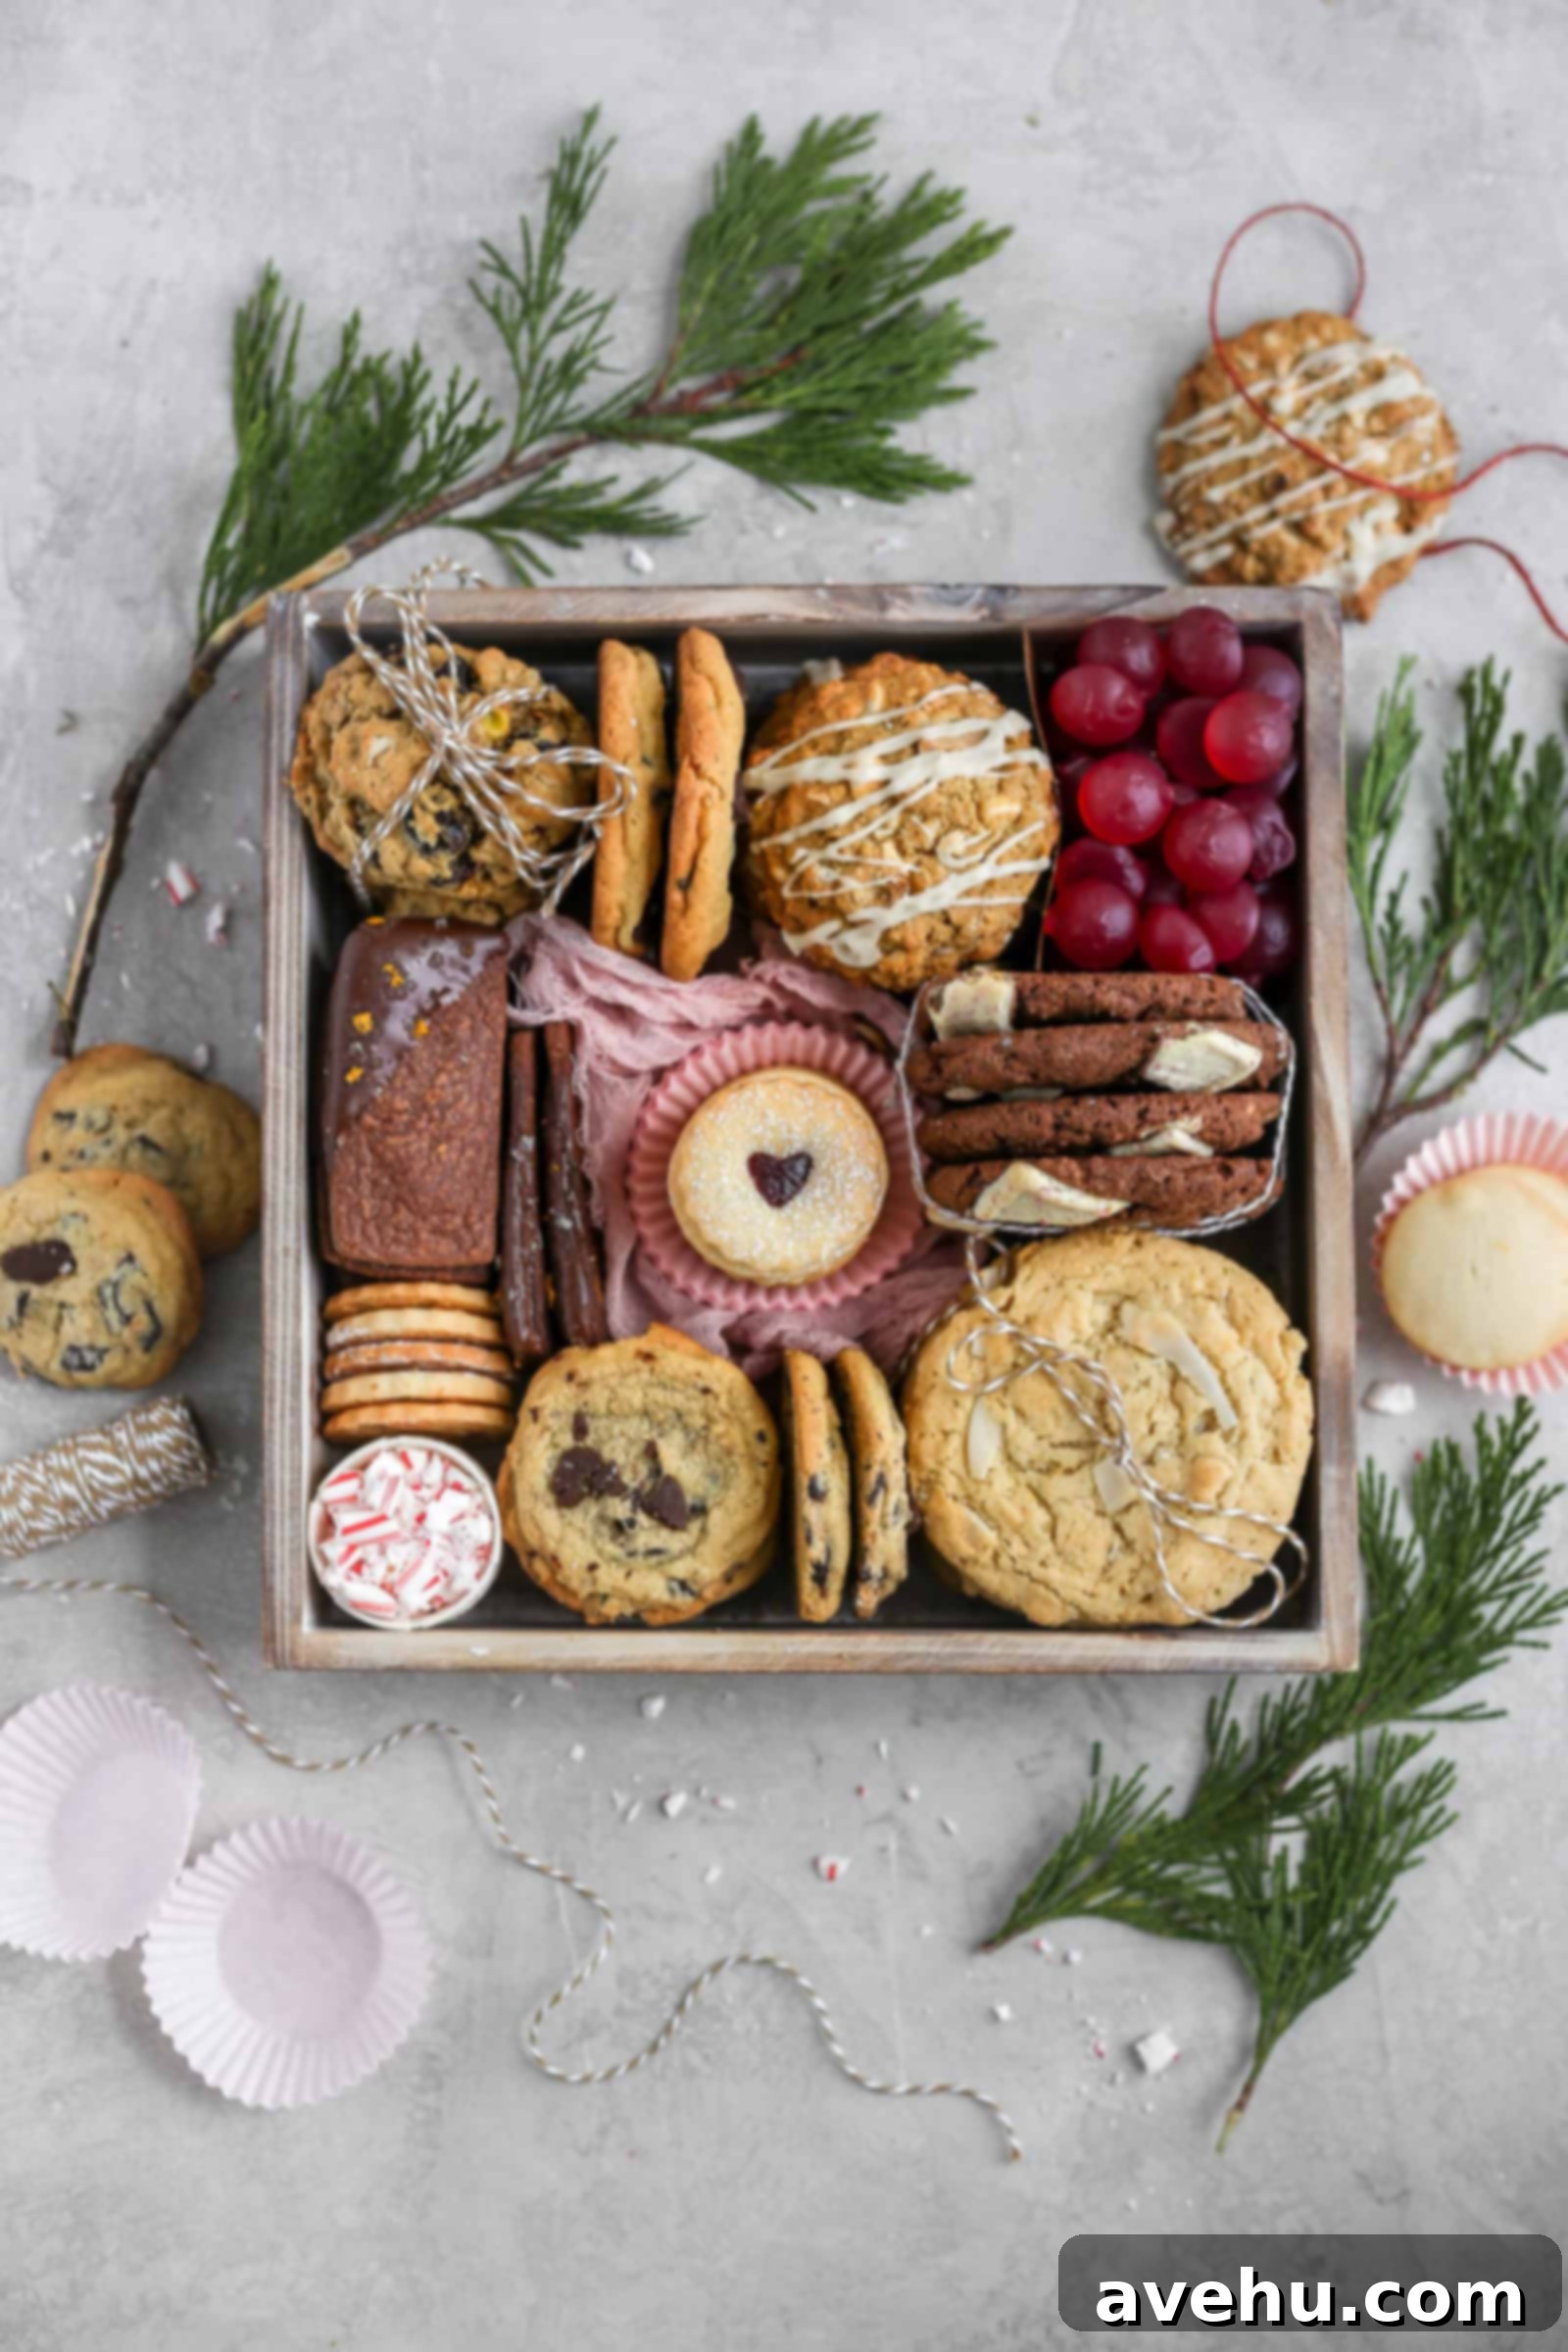
Picture this: a festive box brimming with an array of different holiday-themed cookies and other delightful treats, all arranged with care and precision. Wouldn’t that fill you with immense joy? I know it would certainly make my day! While these delectable assortments are particularly popular during the festive holiday season, there’s absolutely no reason to limit this wonderful gift idea to just December. People enjoy cookies all year round, making a custom cookie gift box a perfect present for any occasion, from birthdays and anniversaries to simple gestures of appreciation.
The beauty of a cookie gift box lies in its versatility and the personal touch it offers. It’s an opportunity to showcase your baking skills, your creativity in presentation, and your understanding of the recipient’s tastes. It transcends a simple store-bought item, offering a memorable and heartwarming experience that speaks volumes about your affection. Let’s dive into how you can create your very own ultimate cookie gift box that will undoubtedly impress and delight everyone fortunate enough to receive one.
Selecting Your Sweet Treats: The Heart of Your Cookie Gift Box
The foundation of any exceptional cookie gift box is, naturally, the cookies themselves! When it comes to choosing what goes inside, you have complete freedom. You can opt for a selection of your finest homemade creations, or, if time is a constraint, a carefully chosen assortment of high-quality store-bought cookies can be equally impressive. There’s no shame in utilizing delicious pre-made options, especially when you re-package them beautifully; it’s the thought and presentation that truly count.
Curating the Perfect Cookie Assortment
To create a truly dynamic and irresistible cookie gift box, consider these key recommendations when making your cookie selections:
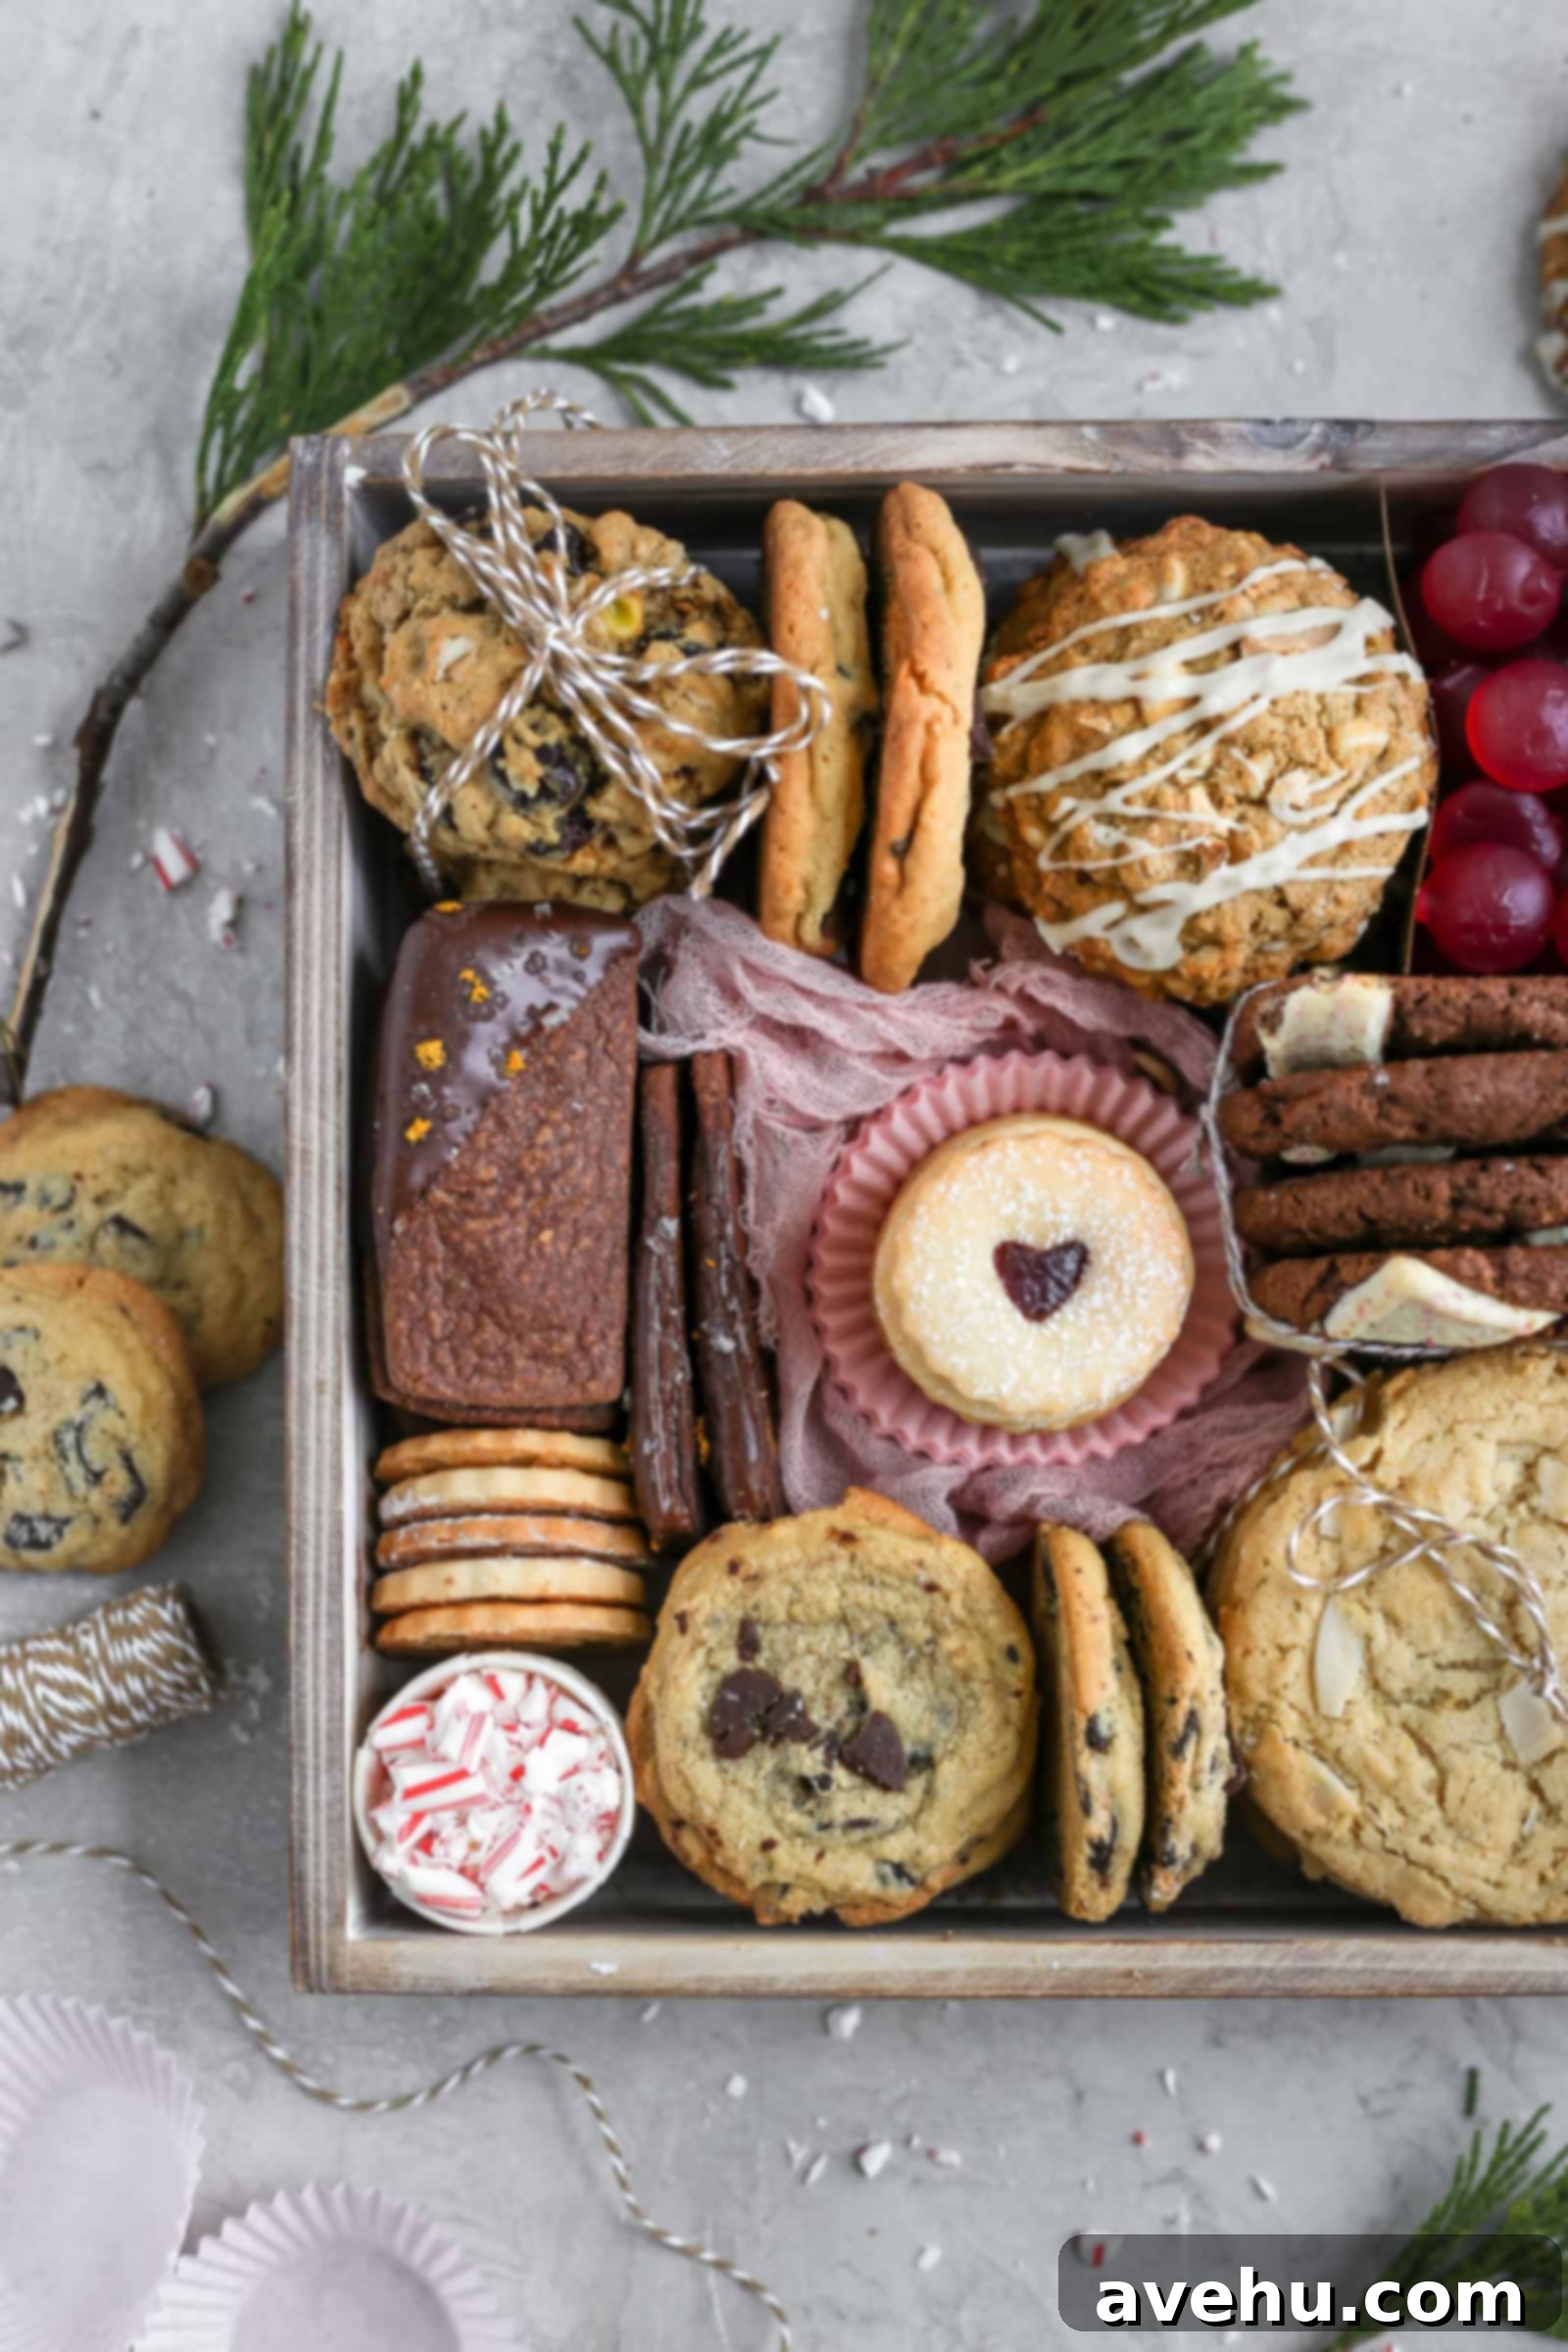
- Variety in Shapes and Sizes: A visually appealing box should offer a medley of forms. Think beyond the classic round cookie. Include elegant rectangular shortbreads, whimsical cut-out shapes like these stunning raspberry lemon linzer cookies, and comforting, substantial rounds such as these salted caramel chocolate chip cookies. This variation in shape and size adds depth and excitement, making each bite an exploration.
- A Symphony of Flavors: Variety isn’t just about looks; it’s about taste. Offer a range of flavors to cater to different preferences and ensure an exciting tasting experience. Include chocolatey delights, fruity notes, nutty textures, and perhaps a spiced option. This keeps the recipient intrigued and ensures there’s something for everyone to adore.
- Diverse Textures: Beyond flavor, consider texture. Include chewy cookies, crisp shortbreads, melt-in-your-mouth confections, and perhaps something with a satisfying crunch. The contrast in textures makes the box more engaging and enjoyable.
- Thoughtful Color Palette: Pay attention to the colors of your cookies. A mix of light and dark, vibrant and subtle hues can make your box look incredibly inviting and professional.
- Incorporate Complementary Treats: While cookies are the main stars, adding small candies, chocolates, or other bite-sized delights can break up the space visually and offer an extra layer of indulgence. These can be festive gummies, gourmet caramels, or even small chocolate-covered pretzels.
Ensuring Peak Freshness: Tips for Long-Lasting Deliciousness
The best cookie gift box is one where every cookie tastes as fresh as if it just came out of the oven. Thoughtful planning can help you achieve this:
Baking and Freezing Strategies:
- Start Early: Don’t try to bake everything at the last minute. Many cookie doughs can be prepared days or even weeks in advance and frozen. This allows you to bake a fresh batch closer to your gifting day.
- Freezing Dough: Roll out and cut cookie doughs (like shortbread or sugar cookies) and freeze them on baking sheets before transferring to airtight containers or freezer bags. You can also scoop drop cookie doughs and freeze individual balls. Bake directly from frozen, adding a few extra minutes to the baking time.
- Freezing Baked Cookies: Many baked cookies, especially those without delicate icing, can be frozen. Once completely cooled, layer them in airtight containers with parchment paper between layers. Thaw at room temperature.
- Bake on Gifting Day (or Day Before): For optimal freshness, aim to bake your cookies on the day you plan to assemble and give the gift box, or the day before at the absolute earliest. This ensures the best texture and flavor.
- Airtight Storage: Once baked and fully cooled, store different cookie types in separate airtight containers until assembly time. This prevents flavors from mingling and keeps them fresh.
My Favorite Cookie Recipes for a Gift Box (2018 Selection):
For inspiration, here are some of the delectable cookie recipes I included in my cookie gift box back in 2018. These tried-and-true recipes offer a fantastic balance of flavors and textures perfect for gifting:
- Salted Caramel Chocolate Chip Cookies
- Chocolate Orange Shortbread Cookies
- Chunky Cherry Pistachio Oatmeal Cookies
- Raspberry Lemon Linzer Cookies
- Chewy White Chocolate Oatmeal Cookies
- Double Chocolate Peppermint Cookies
To add an extra touch of festivity and variety, I also included some crushed peppermint candies and a few delightful Trader Joe’s Christmas gummies. These small additions elevate the overall appeal and offer a playful contrast to the cookies.
Crafting the Perfect Presentation: How to Decorate a Cookie Gift Box
Once your cookies are baked and ready, the next step is to make your gift box truly shine. The presentation is almost as important as the treats themselves, as it sets the tone and builds anticipation.
Choosing Your Vessel: The Perfect Box
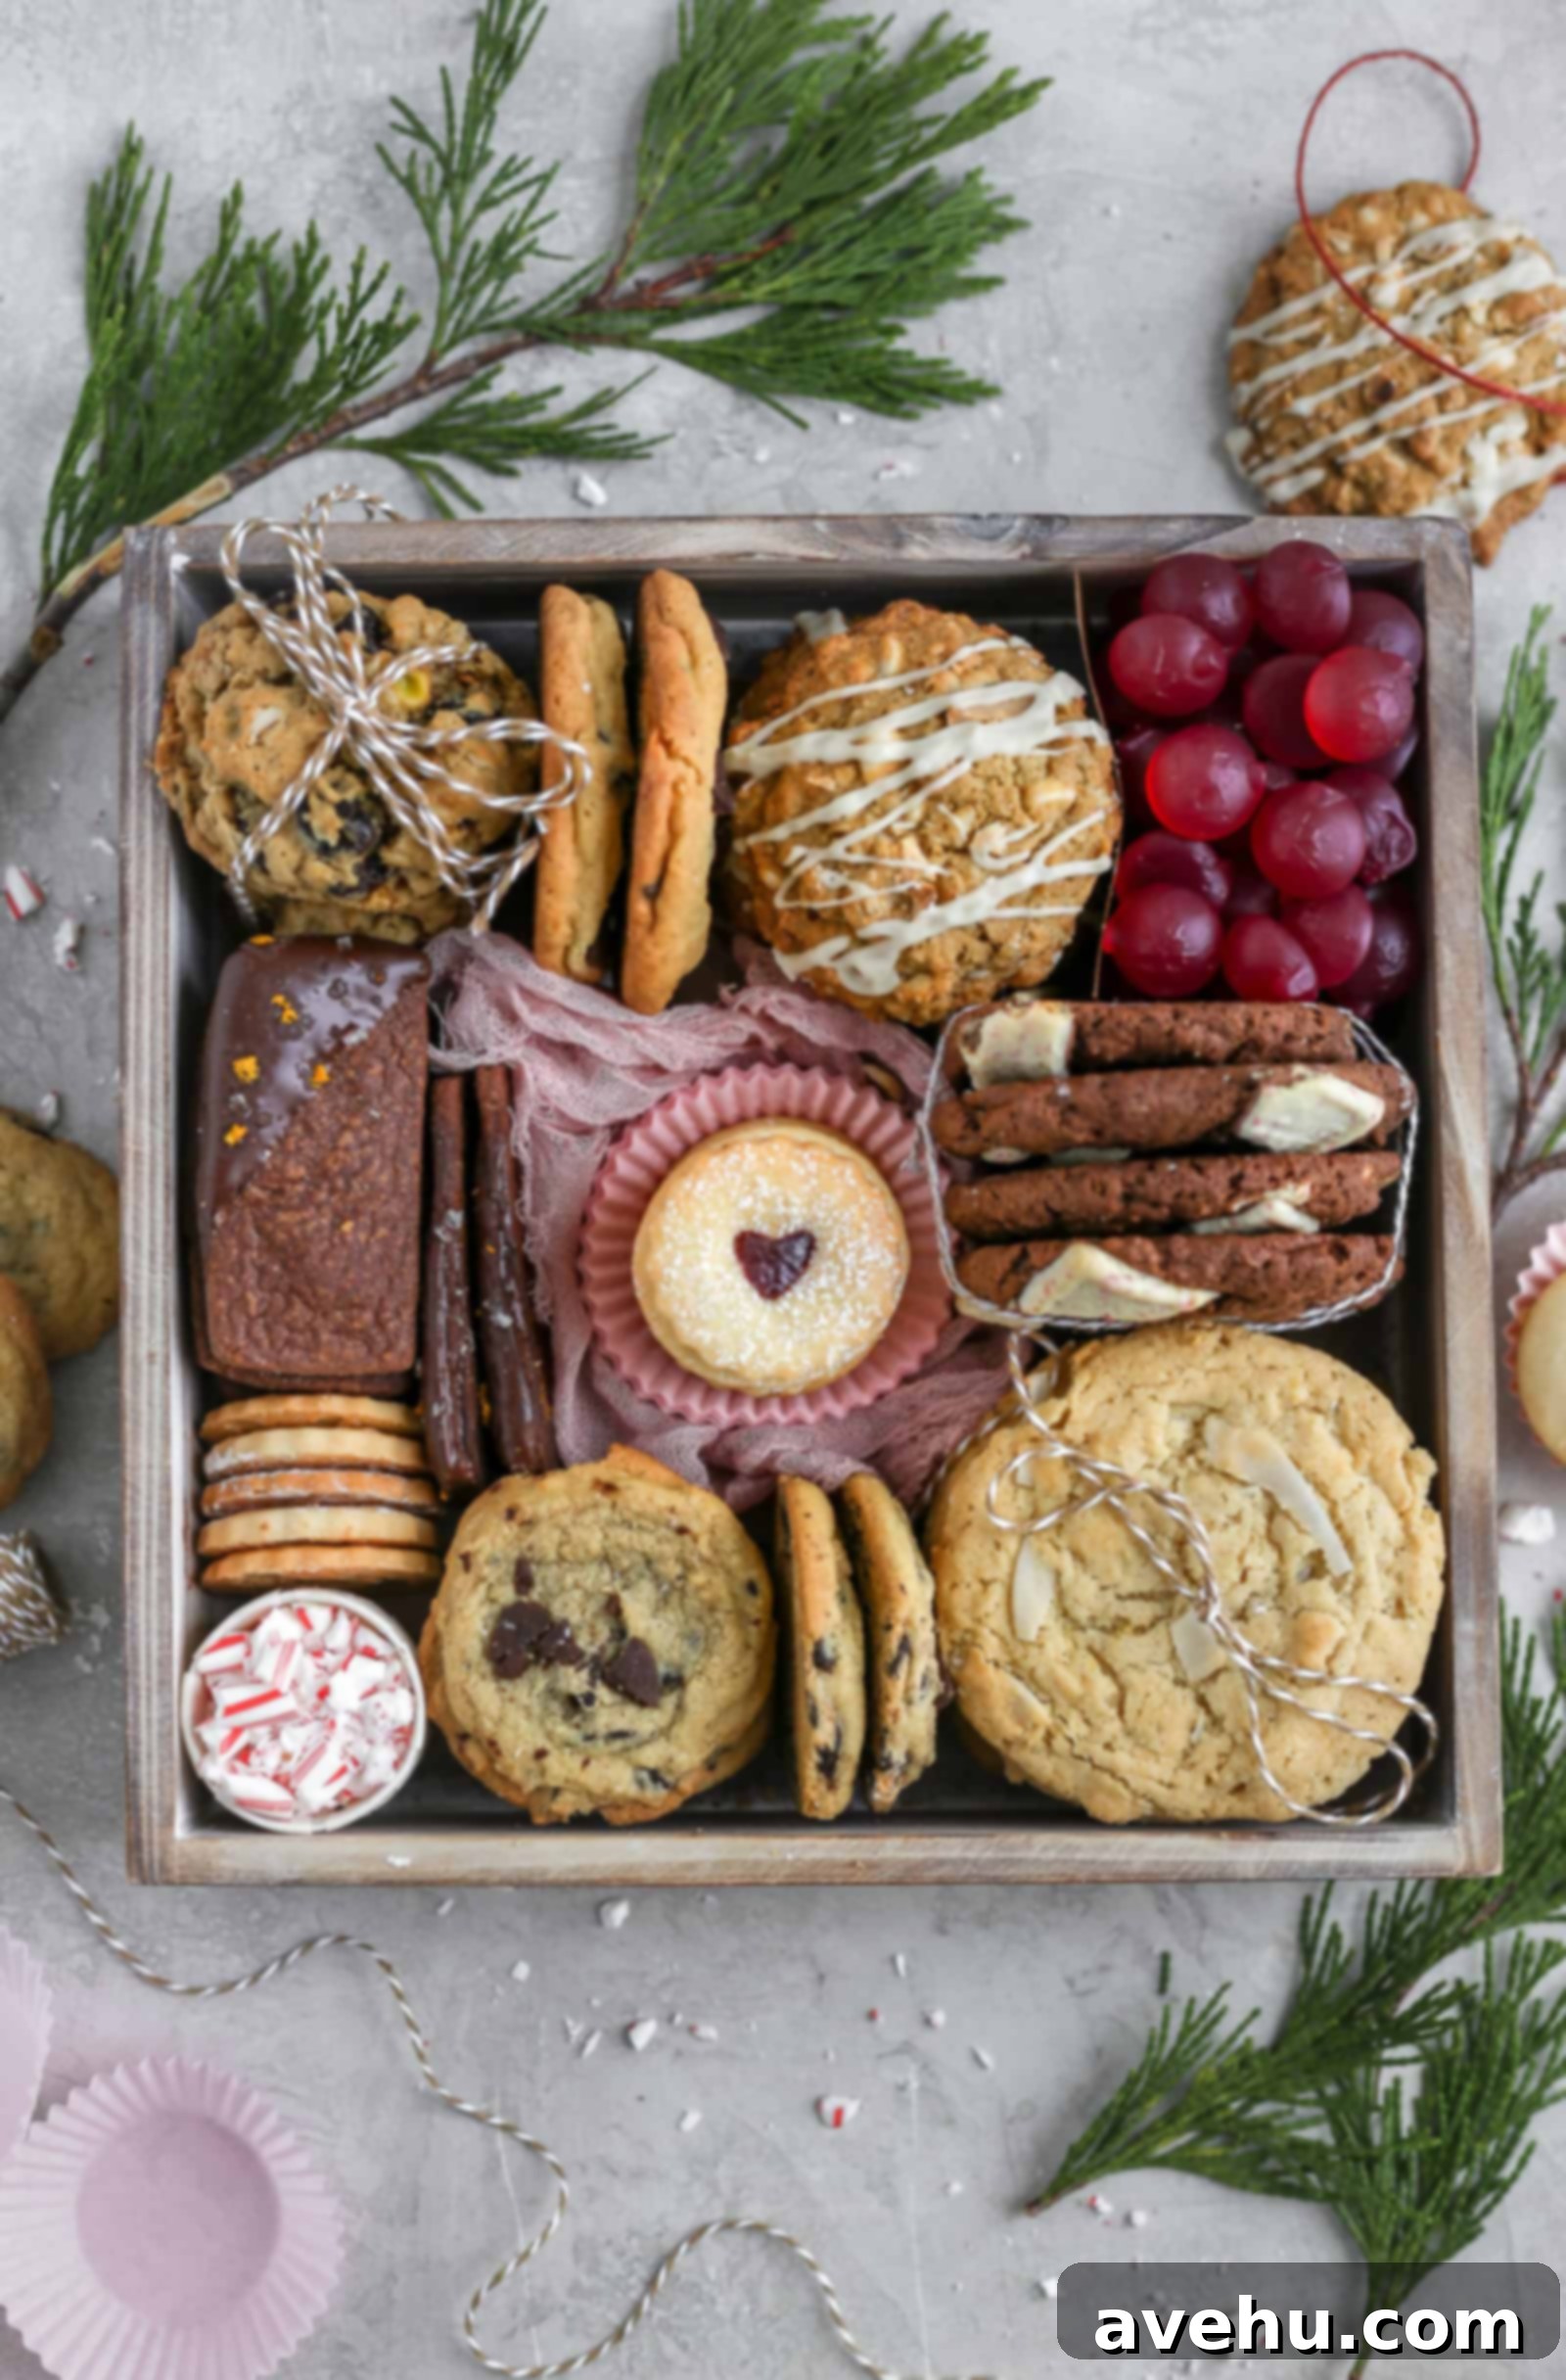
First and foremost, you need a suitable container for all your delicious creations. While readily available disposable options from Amazon or local craft stores are convenient, if you’re aiming for something truly special and reusable, consider investing in a sturdier, more decorative box or tray. I personally found a lovely, durable box at my local Michaels store for this project, though finding specific items online can sometimes be a challenge.
When selecting your box, look for a large, shallow tray or box. A lid isn’t always necessary, especially if you plan to wrap the entire gift in cellophane. The shallow depth is crucial for showcasing your cookies without hiding them. Consider materials like sturdy cardboard, tin, or even a beautiful wooden box for an elevated touch. Once you have your main container, gather some fun ribbons, a few small decorative napkins, and perhaps some tissue or crinkle paper to cushion and elevate your treats.
The Art of Assembly: Arranging Your Cookie Masterpiece
This is arguably the most enjoyable part – watching your vision come to life as all the elements come together. The goal is to create a visually dynamic and utterly captivating display that hints at the deliciousness within.
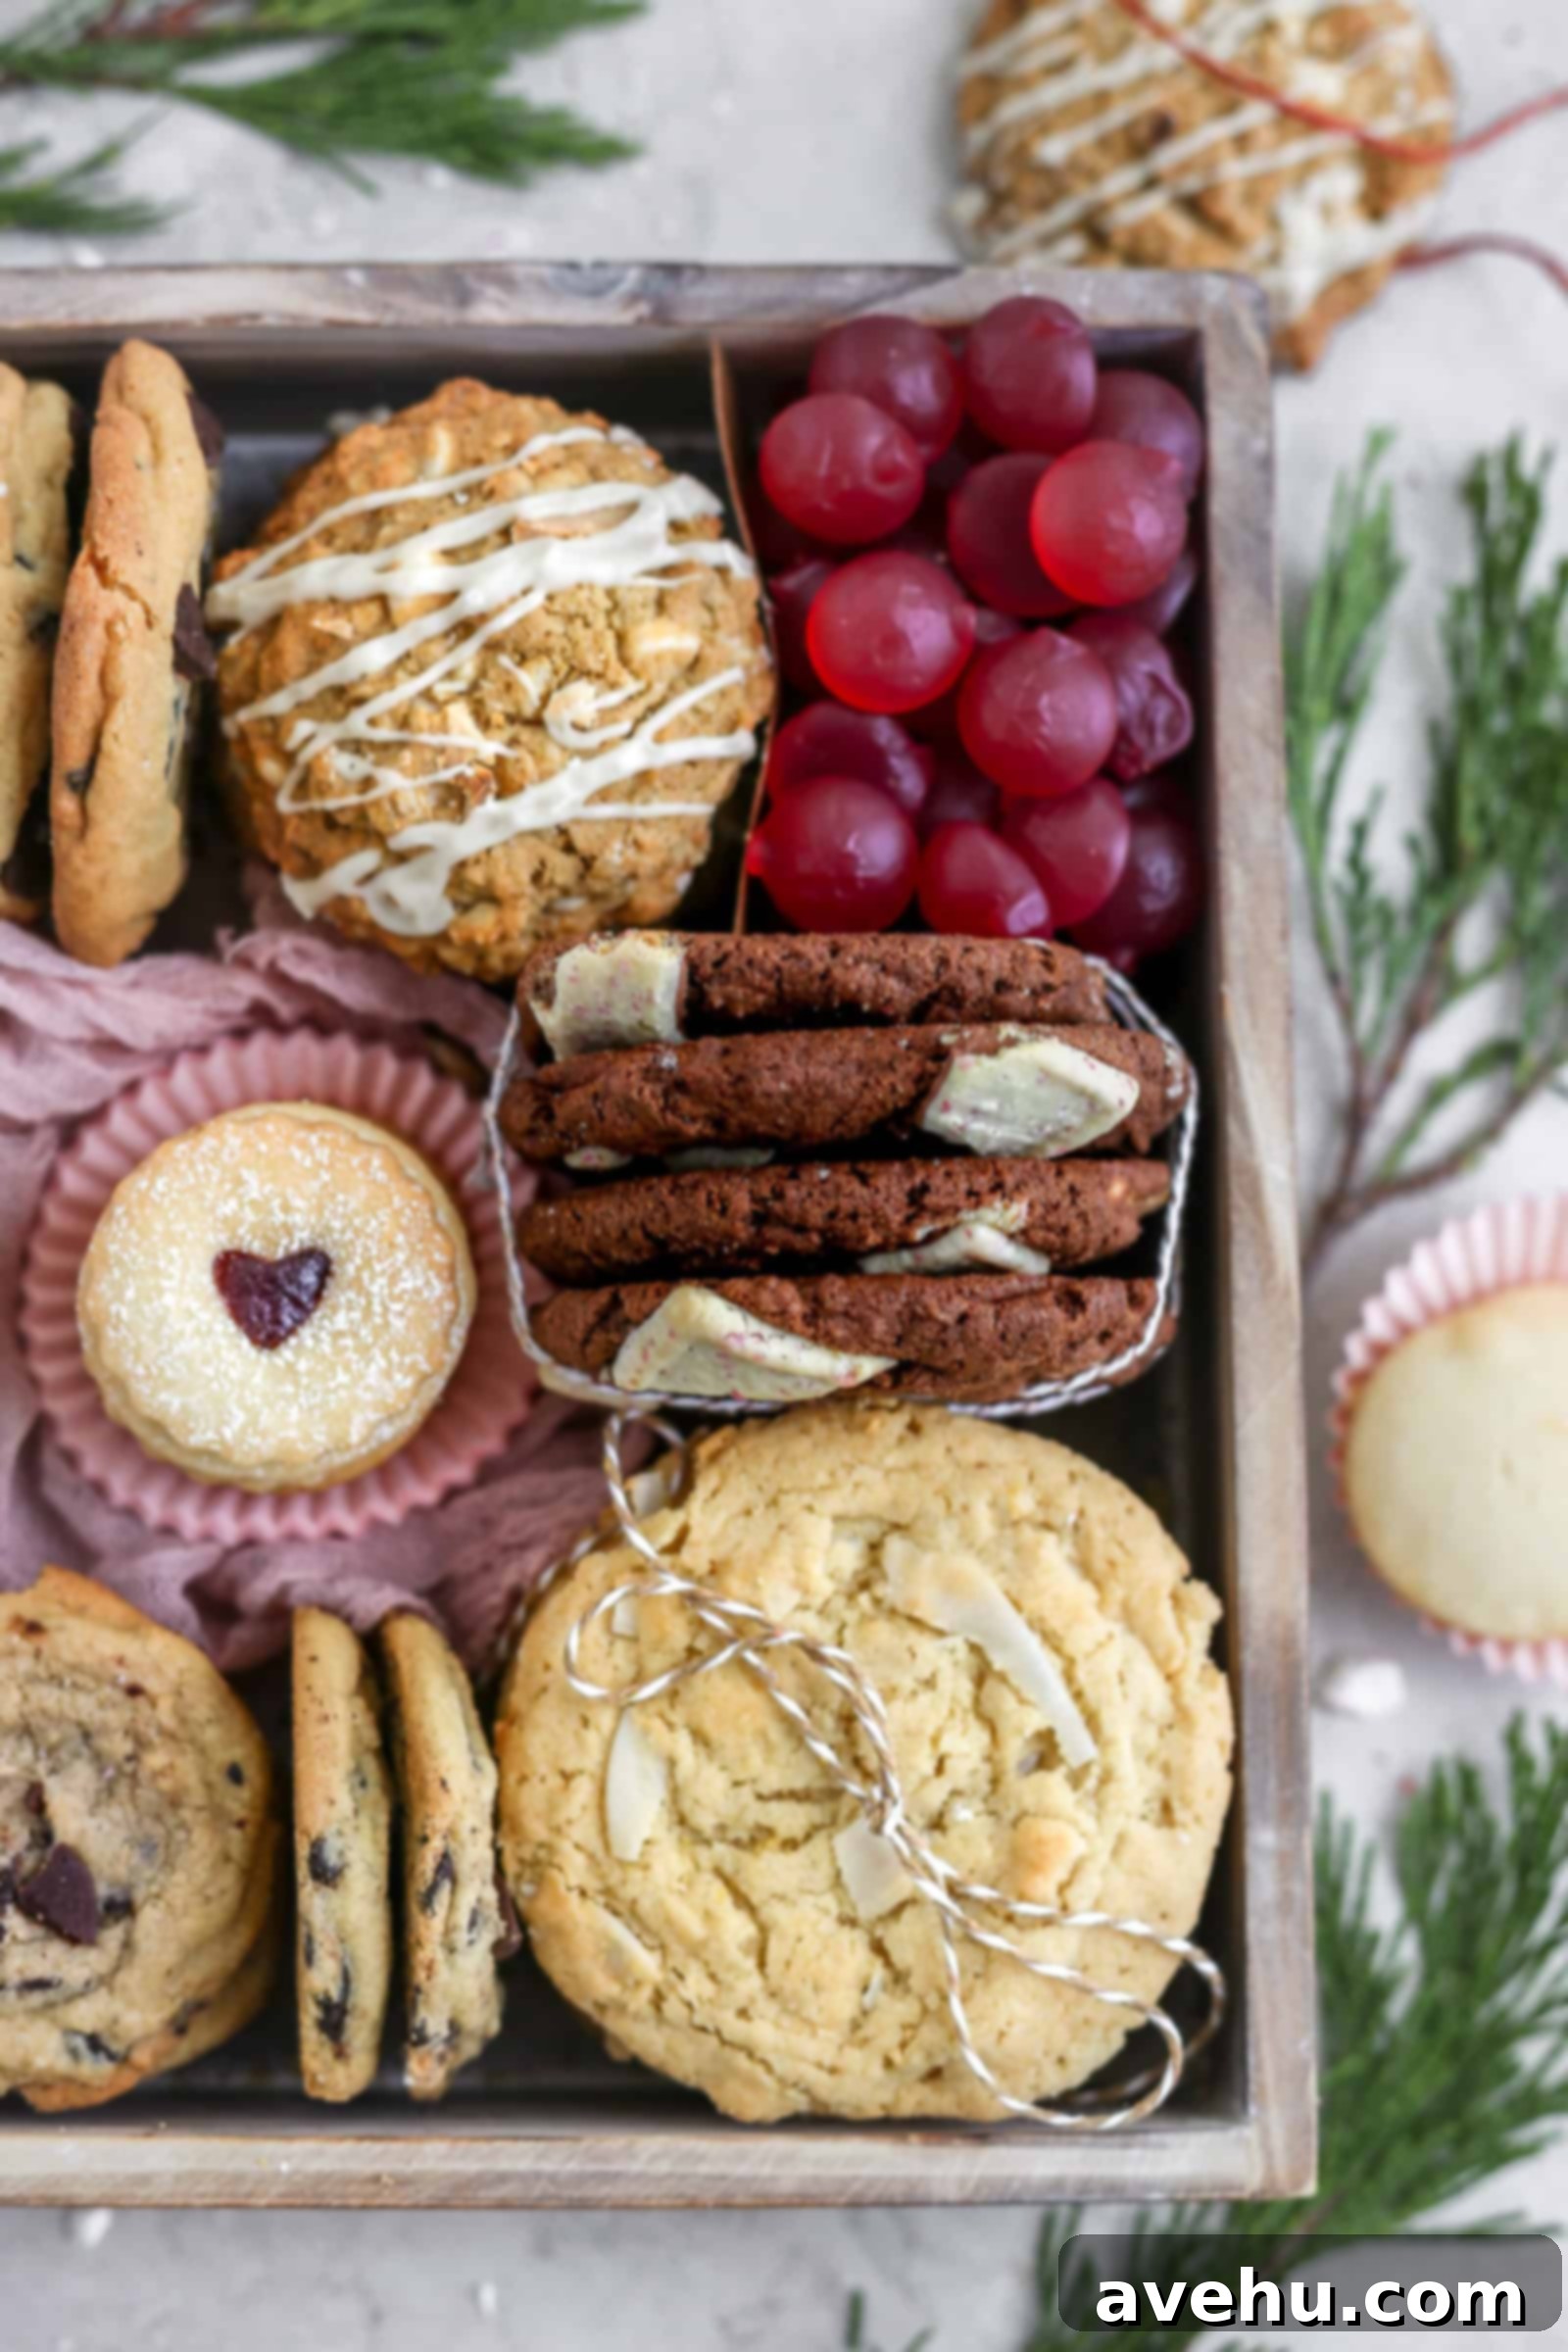
As I mentioned, visual appeal is paramount. This means thoughtfully sectioning, stacking, and layering your cookies in creative ways. Use small napkins, festive cupcake liners, or elegant ribbons to create visual breaks and add dimension.
Step-by-Step Assembly Guide:
- Start with a Base Layer: Line the bottom of your chosen box with parchment paper, tissue paper, or a generous layer of crinkle paper. This adds cushioning, color, and helps prevent cookies from shifting.
- Anchor the Corners: Begin by placing your larger, more robust cookies or groups of cookies in the corners of the box. This establishes a structural framework for your arrangement.
- Create a Focal Point: Next, place a particularly beautiful or unique cookie in the center of your box. For my box, the vibrant raspberry linzer cookie served as the perfect eye-catching centerpiece.
- Fill in the Gaps Creatively: This is where your imagination can truly flourish. There’s no single “right” way to do this, so experiment and have fun!
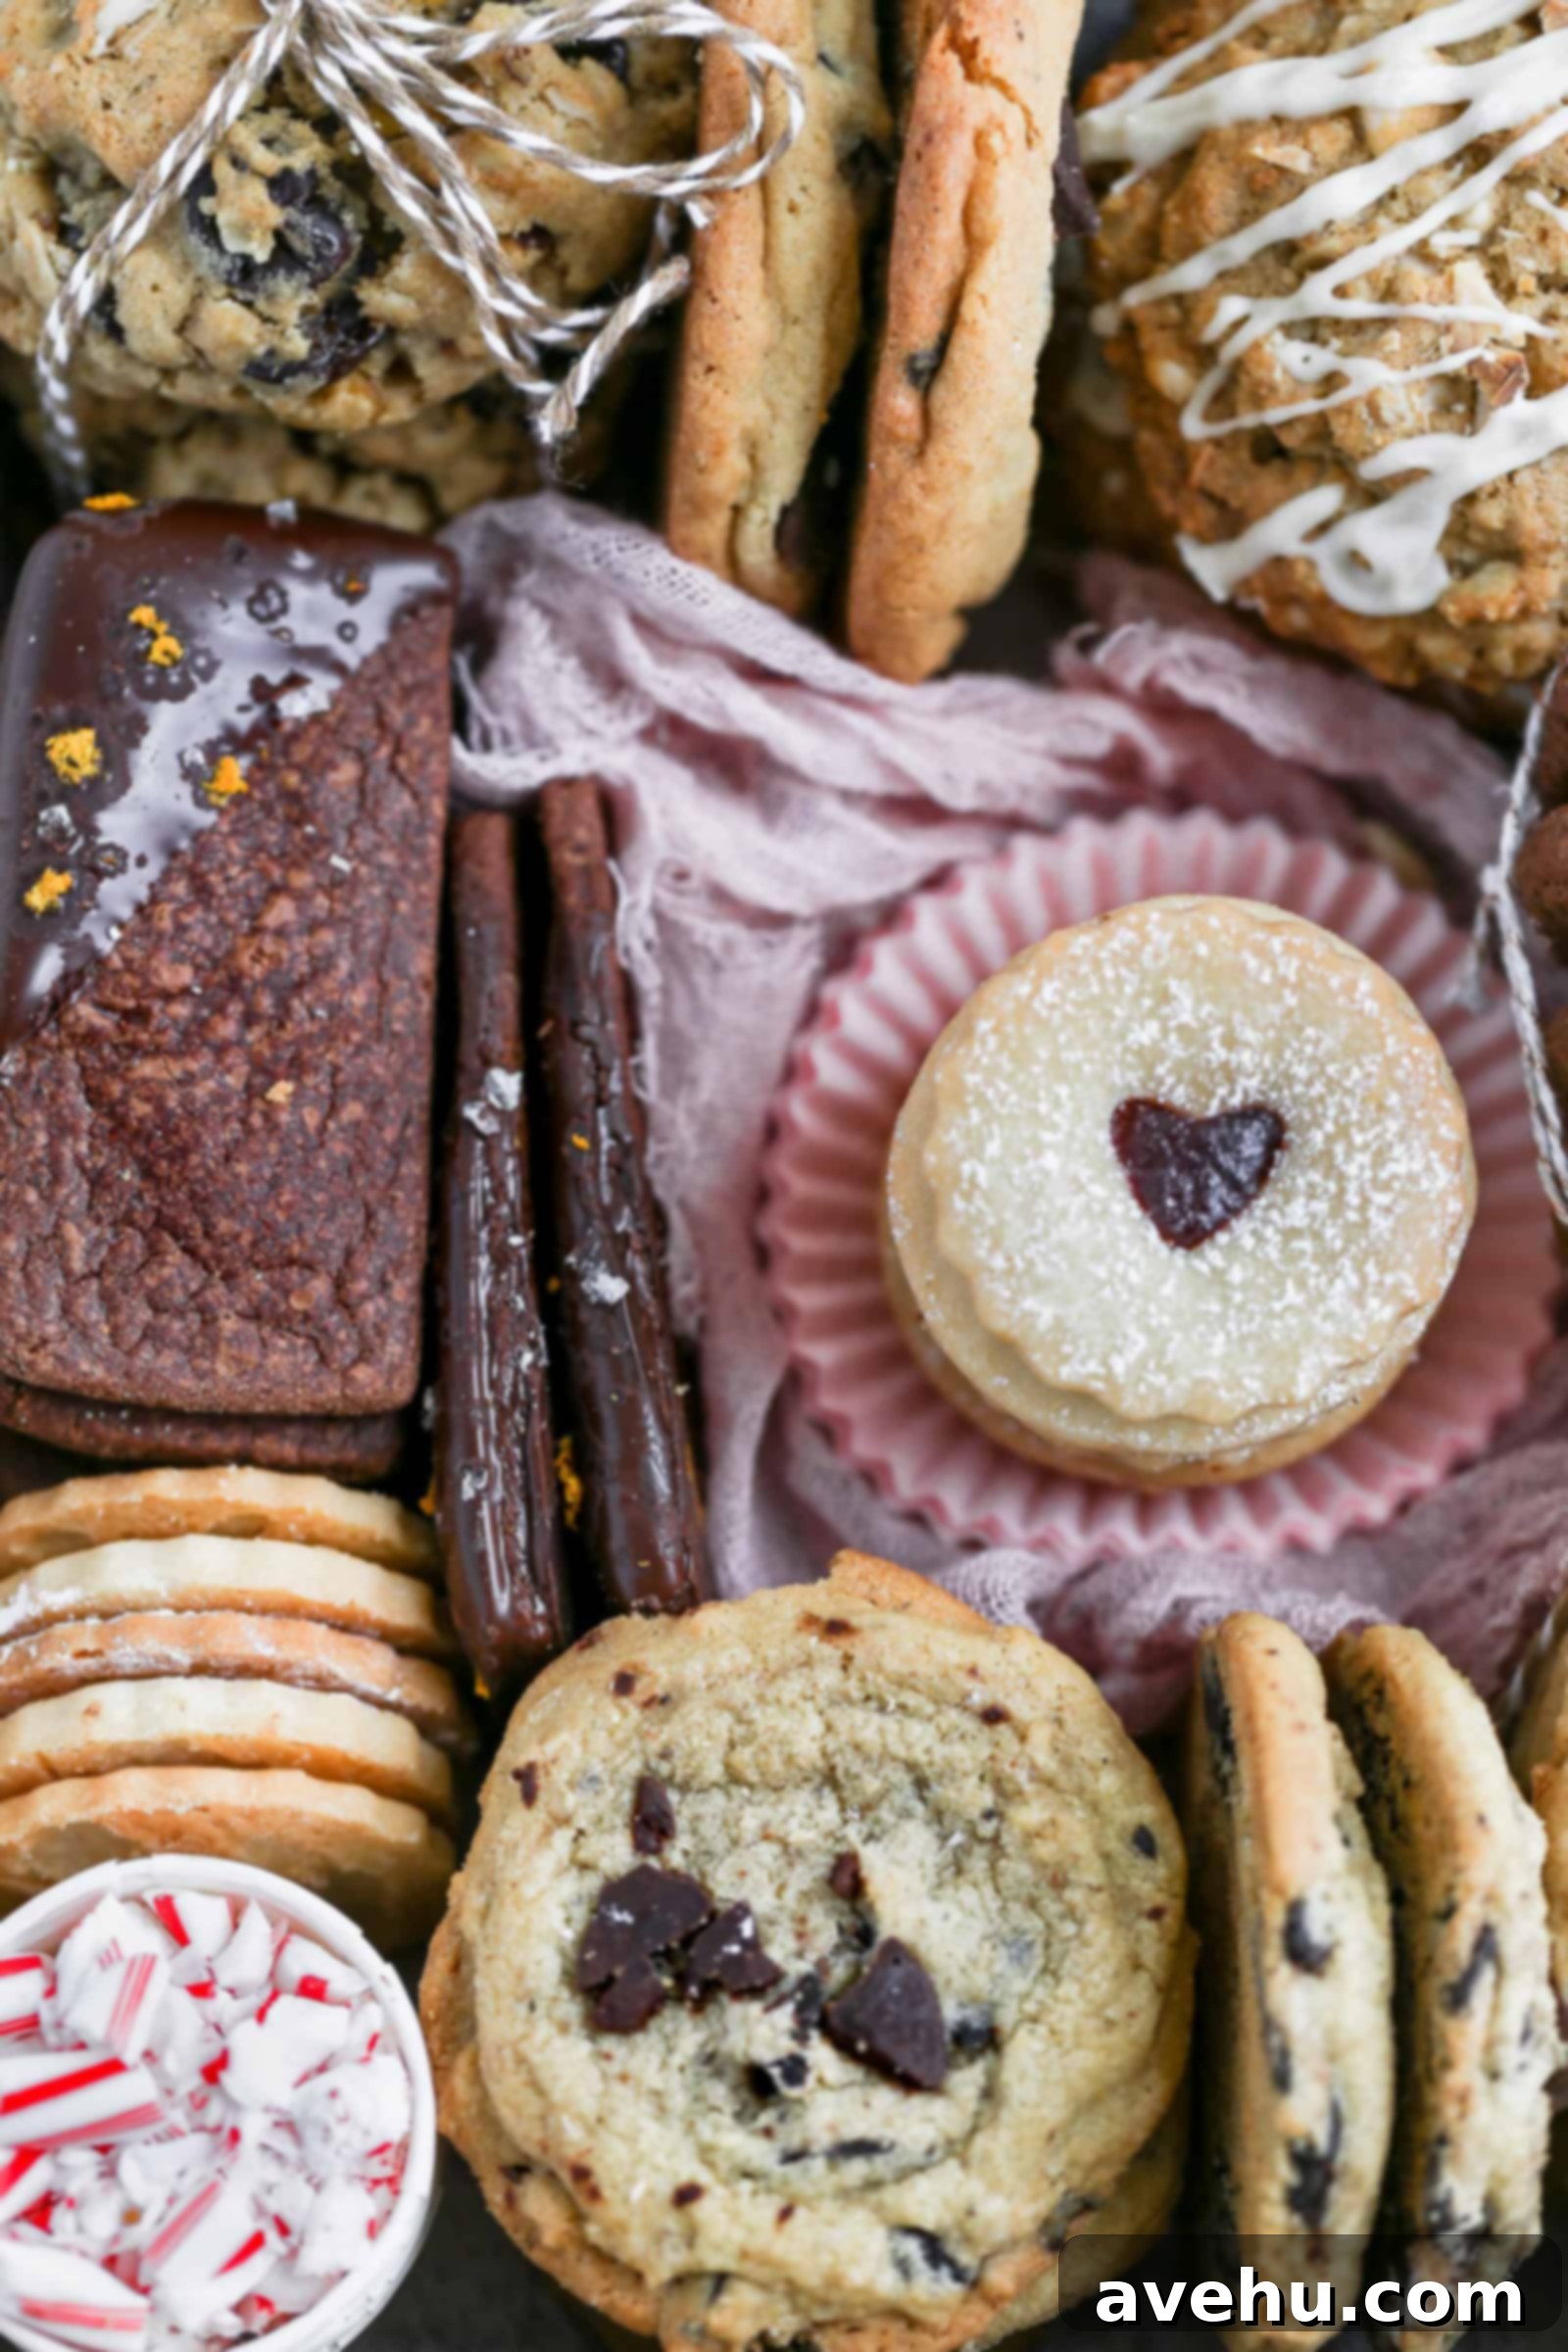
Creative Ideas for Visual Impact:
- Stacked & Tied: Stack a few cookies of the same kind, tie them together with a colorful ribbon, and then place them either standing upright or on their side to add varying heights and textures.
- Cupcake Liner Charm: Use decorative cupcake liners (especially pretty colored ones like pink!) as individual holders for smaller, delicate cookies. This not only adds visual appeal but also prevents them from crumbling or sticking to other treats.
- Mini Containers for Loose Treats: For candies, sprinkles, or crushed peppermint, use small, sturdy containers. I often stack a few small containers to reach the same height as the cookies, creating a seamless and organized look for these smaller elements.
- DIY Dividers: If you need to create clear sections for different types of treats or candies, cut a piece of heavy cardstock or a thin cardboard envelope to fashion a simple partition. This is especially useful for containing items like gummies or loose candies.
- Layering with Napkins: Fold beautiful festive napkins and place them strategically under or between groups of cookies to add color, texture, and a touch of elegance.
- Garnish with Freshness: For a holiday box, consider tucking in a small sprig of fresh rosemary, holly, or a few cinnamon sticks for a natural, aromatic touch.
- Personalized Touches: Add a handwritten note, a small gift tag, or even a custom sticker to make the box uniquely yours.
Once you’ve filled every space and arranged everything to your satisfaction, step back and admire your handiwork. Isn’t it just gorgeous?
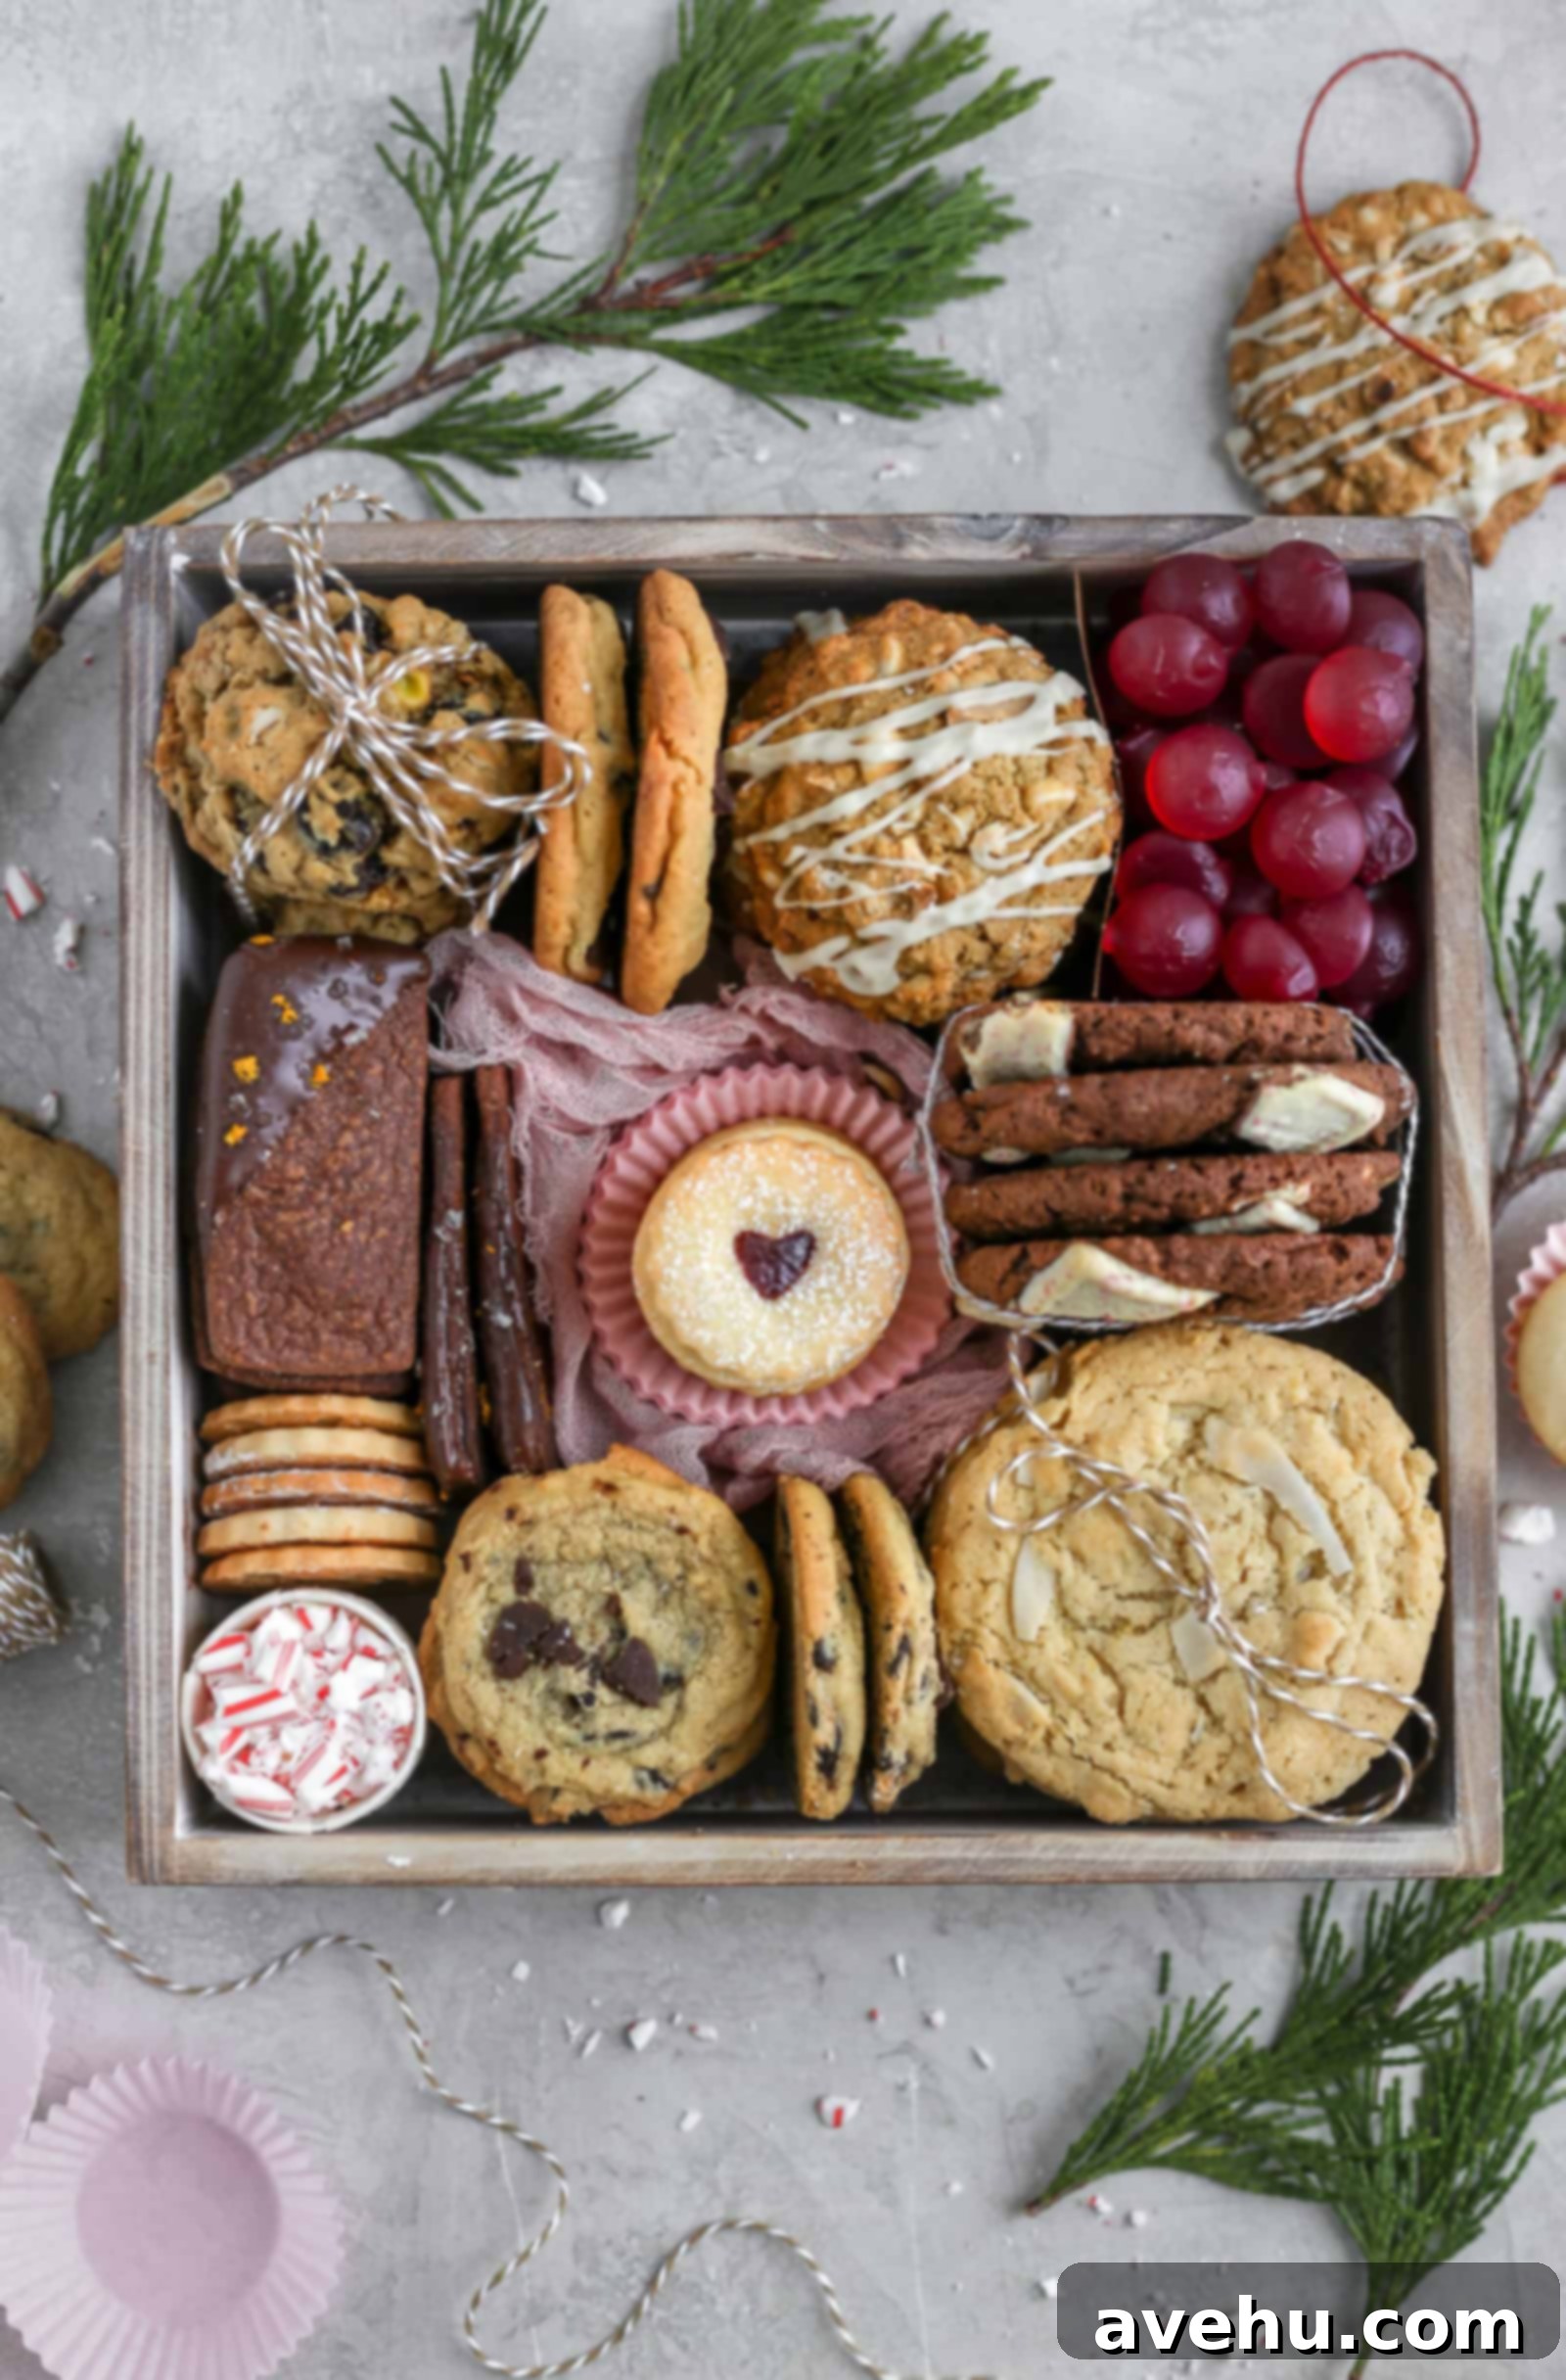
It’s always a little bittersweet to part with something you’ve poured so much love and creativity into, but the joy of knowing it will be deeply appreciated by the recipient makes it all worthwhile. A gift as special and personalized as a homemade cookie box truly speaks volumes.
Happy cookie box gifting, and happy holidays, my friends!
More Cookie Box Inspiration!
Creating cookie boxes has become a beloved tradition for me. Each year offers new themes, new recipes, and new ways to delight. Here’s a peek at some of my past creations, proving that the possibilities are truly endless:
My Cookie Box from December 2019. This box focused on a mix of classic and unique flavors, playing with different cookie sizes and textures to create a cohesive yet diverse offering. The presentation included festive ribbons and a simple, elegant layout that highlighted each cookie’s individual beauty. (Image placeholder in original – no image to display here).
My Cookie Box from December 2020. This particular year, I decided to add a playful and decidedly adult twist by including mini bottles of alcohol – because why not! It was a fun and unexpected addition that truly elevated the gift-giving experience. The recipes I included in this spirited collection were:
- Gingersnap Cookies
- Eggnog Snickerdoodles
- Cranberry Orange Shortbread
- Lemon Shortbread
- Coffee Cookies
- Gingerbread Biscotti
Each of these cookie boxes tells a story and provides endless inspiration for your next gifting endeavor. Remember, the most important ingredient is always the love and care you put into it.
Print
How to Create the Ultimate Cookie Box
Materials
To Assemble the Ultimate Cookie Box
- 1 large but appropriately shallow decorative box or sturdy tray Choose a box that suits the occasion and recipient’s style.
- Parchment paper, festive tissue paper, or colorful crinkle paper For lining the box and cushioning cookies, any coordinating color works well.
- At least 6-8 distinct cookie recipes (various types) A mix of homemade delights and/or high-quality store-bought selections. Aim for diversity in flavor, shape, and texture.
- Assorted ribbons Different widths, colors, and textures to tie cookie stacks and add decorative flair.
- Elegant or festive napkins For layering, creating sections, and adding visual interest.
- Decorative cupcake liners or small paper cups Ideal for housing smaller or more delicate cookies, and for adding dimension.
- Optional additional treats such as gourmet candies, chocolates, nuts, or small non-edible decorative elements like sprigs of fresh rosemary or candy canes.
Instructions
-
Prepare Your Box Base: Begin by lining the chosen box or tin with a generous layer of parchment paper, festive tissue paper, or crinkle paper. This provides a soft bed for your cookies, adds a pop of color, and helps fill any empty spaces, creating a lush foundation for your sweet assortment.
-
Arrange Initial Cookie Groupings: Strategically group your cookies together – perhaps stacking 2-3 of the same kind – and secure them with a pretty ribbon if desired. Start by placing these bundled cookies into the corners of your box, ensuring they are either standing upright for height or gently laid on their side. Once the corners are set, select a particularly eye-catching cookie or a vibrant stack to be the central focal point of your box, placing it prominently in the middle.
-
Fill and Add Dimension: Now, get creative and fill in the remaining gaps with your diverse selection of cookies, candies, and other treats. Utilize decorative elements such as small, pretty napkins or colorful cupcake liners as individual bases or layering tools to add dimension and visual separation between different cookie types. These not only look appealing but also help to prevent cookies from touching and preserve their individual freshness.
-
Refine and Personalize: Continue arranging, rearranging, and tucking in small treats until you are absolutely delighted with the overall aesthetic. Don’t be afraid to let your imagination guide you; there’s truly no wrong way to create a beautiful cookie box. Add a handwritten note or a small decorative tag for a personal touch, then prepare your magnificent creation for gifting!
Video Tutorial
Notes for the Perfect Cookie Box
For transporting or delivering your beautifully assembled cookie box as a gift, consider wrapping the entire box snugly in clear cellophane. Secure it with a charming ribbon and a personalized gift tag to complete the elegant presentation. This not only protects the contents but also adds an extra layer of anticipation for the lucky recipient.
