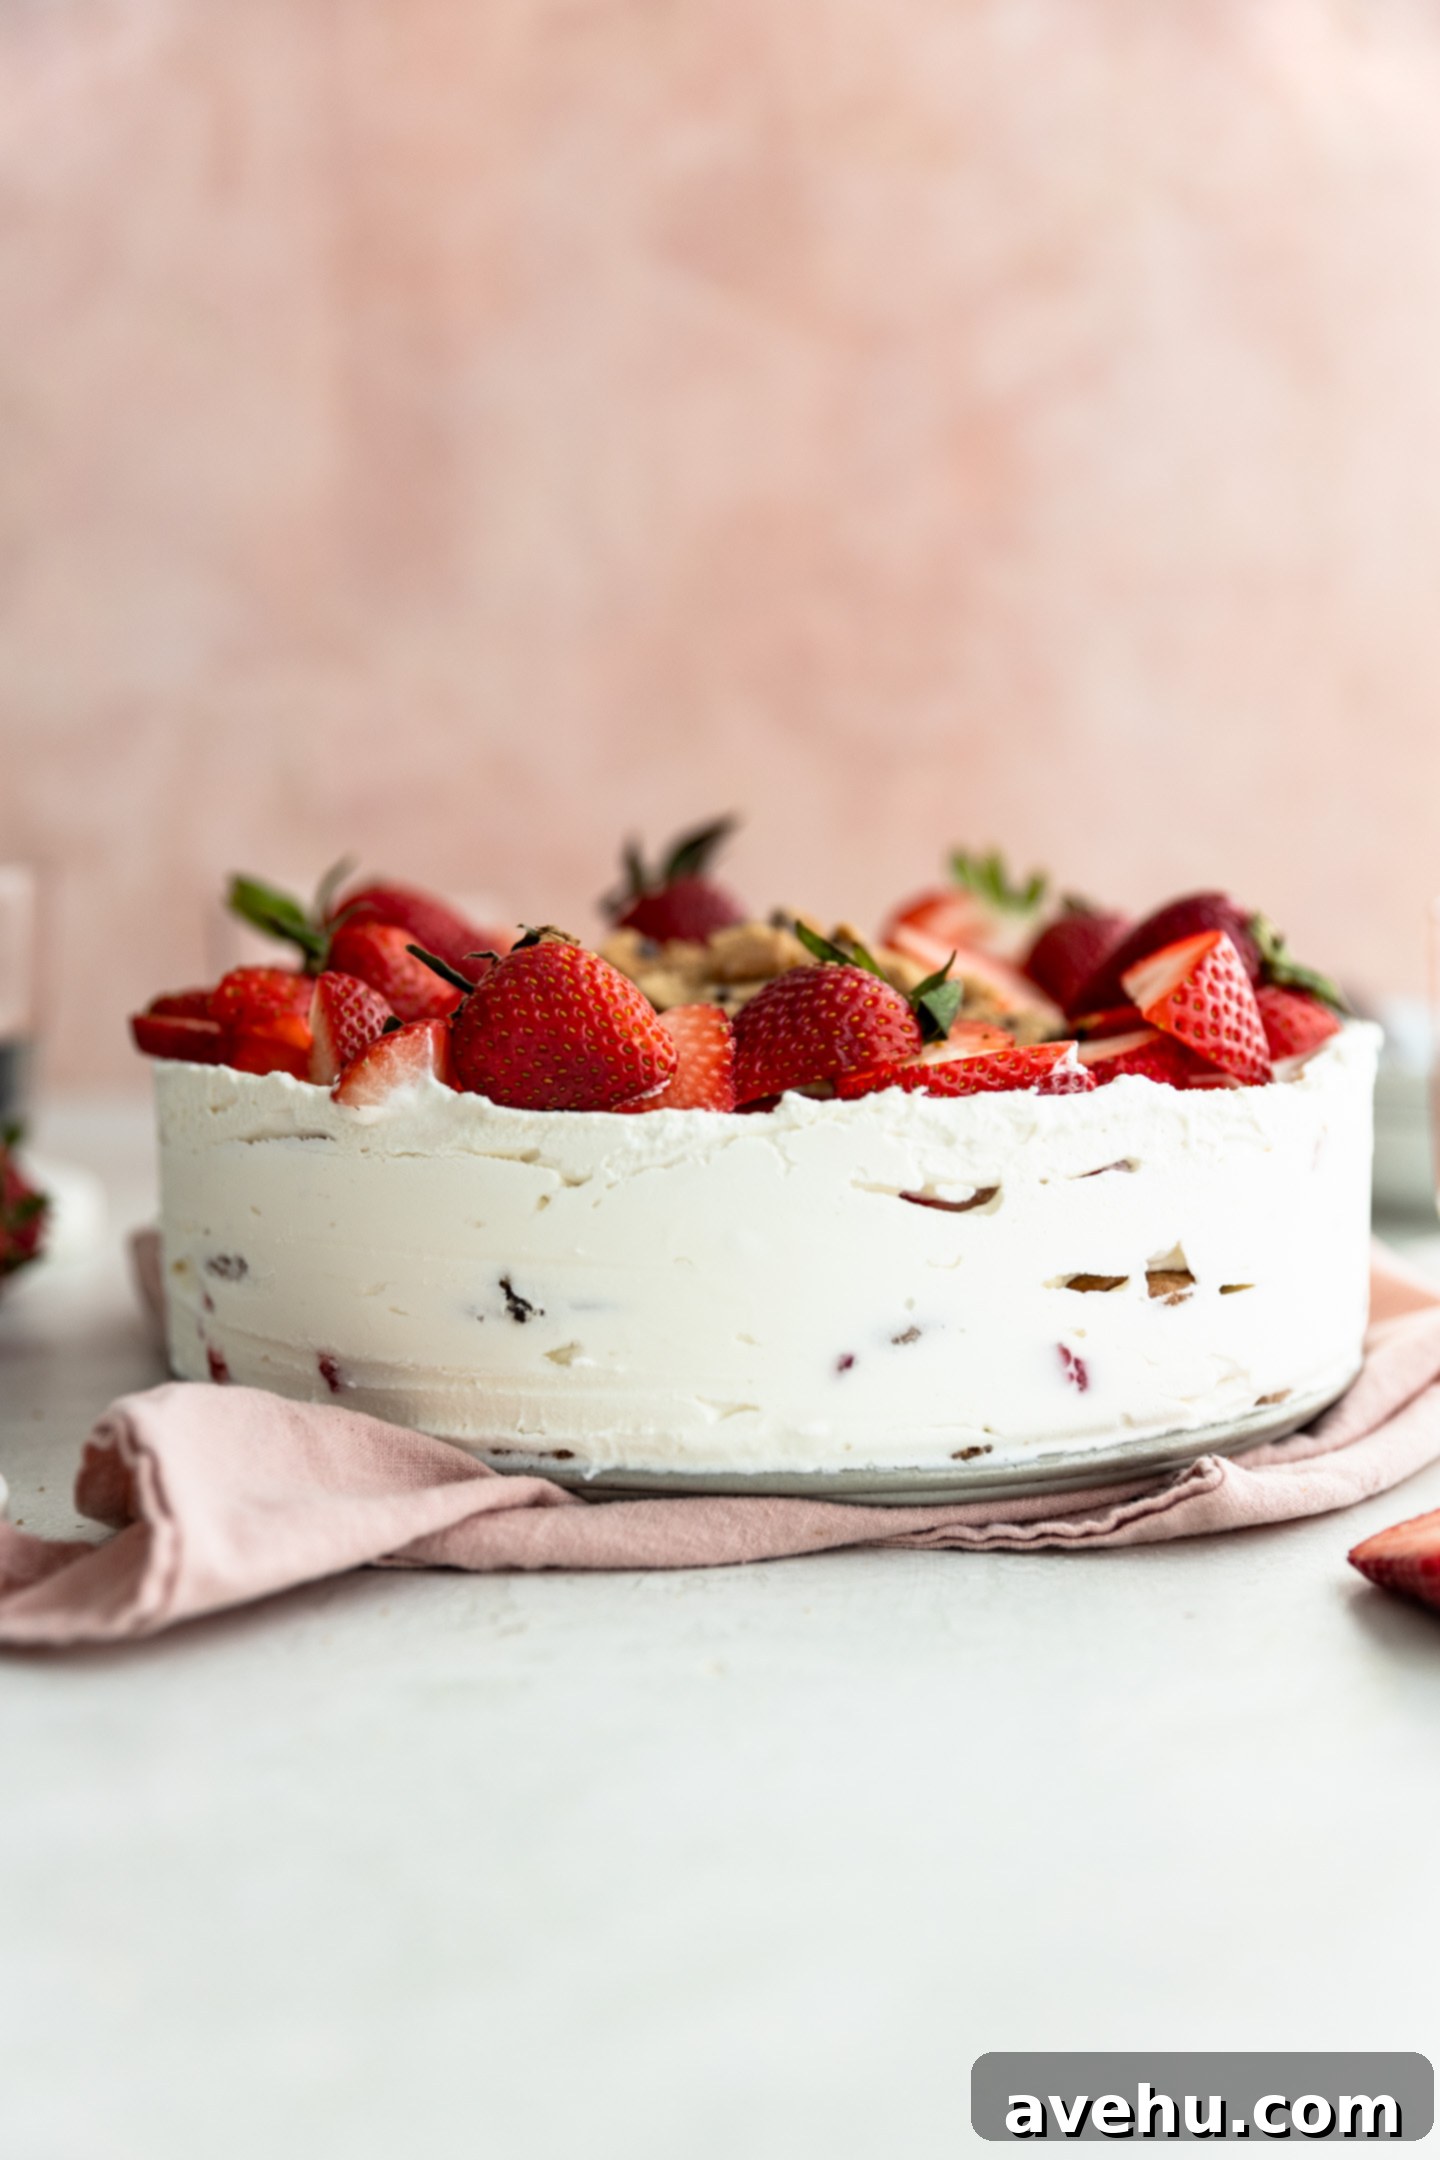
Easy No-Bake Strawberry Icebox Cake: Your Perfect Summer Chocolate & Fruit Dessert
When the sun is blazing and the kitchen heat is the last thing you want, a refreshing no-bake dessert is a true lifesaver. This incredible Strawberry Icebox Cake is not just any no-bake treat; it’s a vibrant celebration of summer flavors, combining juicy, fresh strawberries, delicate chocolate chip cookies, and rich, sweet whipped cream. Best of all, it requires absolutely no oven time and comes together in just about 15 minutes of active preparation. This makes it the ultimate stress-free dessert for entertaining, family gatherings, or simply a delightful indulgence on a hot afternoon. With minimal ingredients and a straightforward assembly process, it’s so remarkably easy that even your kids can take the lead in making it, turning dessert prep into a fun family activity!
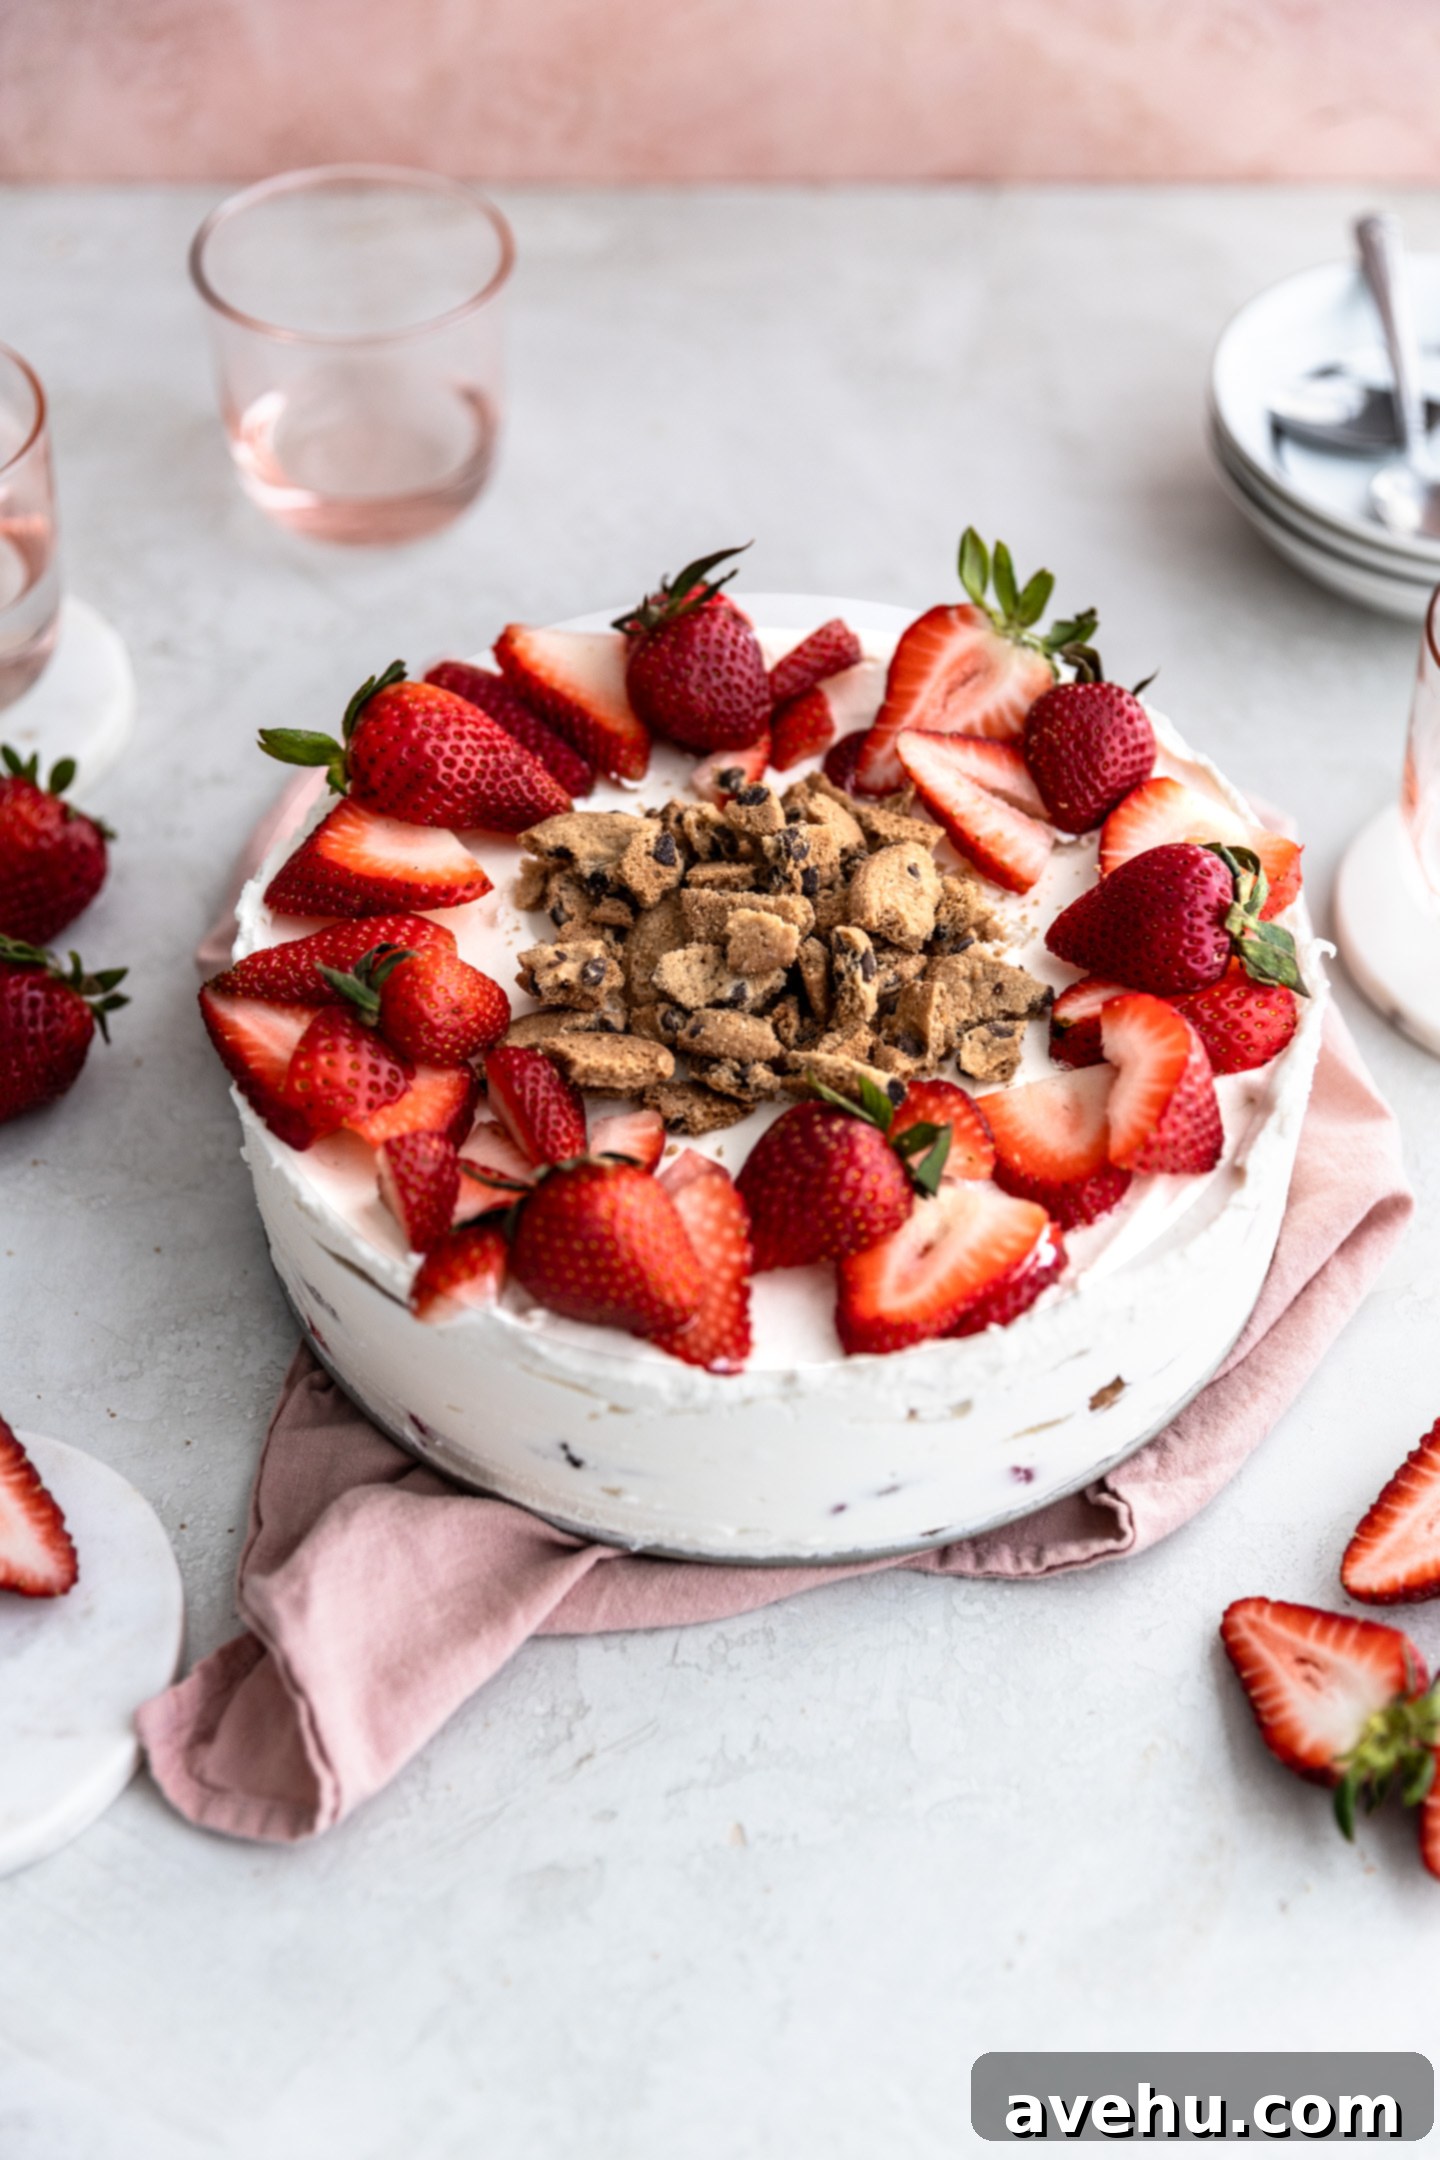
Escaping the sweltering summer heat often means avoiding the oven at all costs. This is where the magic of an icebox cake truly shines. Instead of baking, you let your freezer do all the heavy lifting, creating a chilled, creamy, and utterly delicious dessert that’s perfectly suited for warm weather. Much like my beloved Chocolate Icebox Cake, I find that shaping this no-bake wonder in a round springform pan, rather than a traditional rectangular dish, offers both practical and aesthetic advantages.
Using a springform pan significantly simplifies the unmolding process. Once the cake is perfectly set, releasing the sides of the pan is a breeze, revealing a beautifully layered dessert. The round shape also enhances its visual appeal, with tantalizing glimpses of vibrant strawberries and crisp cookie edges peeking out from the creamy layers. Furthermore, slicing into a round icebox cake is just as easy and satisfying as cutting into any conventional cake, making serving effortless.
Why Fresh Strawberries Make This Cake Unforgettable
Transforming a classic icebox cake into a strawberry version during peak season is simply a stroke of genius. Summer blesses us with an abundance of fresh, incredibly juicy, and perfectly ripe strawberries, making them the star ingredient of this delightful dessert. You’ll need a full pound of thinly sliced fresh strawberries to build the exquisite layers within the cake. If you envision a show-stopping presentation, consider adding a little extra to your grocery list for a beautiful garnish that elevates the cake’s visual appeal and fresh flavor.
The natural sweetness and slight tartness of fresh strawberries cut through the richness of the whipped cream and complement the chocolate cookies beautifully. Using seasonal produce ensures the most vibrant flavor and a truly authentic taste that store-bought, out-of-season berries simply can’t match. It’s not just a dessert; it’s a taste of summer itself in every bite, offering a refreshing contrast to heavier baked goods.
The Secret to Success: Thin Chocolate Chip Cookies
To differentiate this recipe from other typical icebox cake variations that often use graham crackers, I opted for thin chocolate chip cookies as the primary cookie base. The combination of chocolate chip cookies, fresh strawberries, and sweetened whipped cream is, in my professional opinion as a baker, an absolute winner. It introduces a delightful textural contrast and a flavor profile that’s simply irresistible. While graham crackers are a classic, the subtle crunch and distinct chocolate notes of thin chocolate chip cookies add an extra layer of decadence that truly makes this cake stand out.
As a professional baker, I appreciate experimenting with classic recipes to introduce a fresh perspective and exciting twists. This choice of cookies is a prime example, shaking things up a bit and creating a more sophisticated, yet still incredibly accessible, dessert experience. The thinness of the cookies is crucial for the cake’s overall texture, allowing them to soften just enough to be easily sliced, while still retaining a pleasing bite. This thoughtful selection ensures that every spoonful is perfectly balanced, never too tough or too soft, just melt-in-your-mouth delicious.
More Strawberry Delights
If you find yourself with an abundance of fresh strawberries, perhaps after a trip to the local berry farm, don’t let them go to waste! Beyond this fantastic icebox cake, there are many other ways to enjoy this versatile fruit. I often rotate between these other delightful strawberry recipes: strawberry-filled cupcakes, or classic strawberry cupcakes. For an extra special touch, crown them with a luscious strawberry cream cheese frosting for another winning dessert that’s sure to impress any sweet tooth. These options are perfect for capturing the essence of fresh strawberries in various forms of baked goodness.
Essential Ingredients for Your Strawberry Icebox Cake
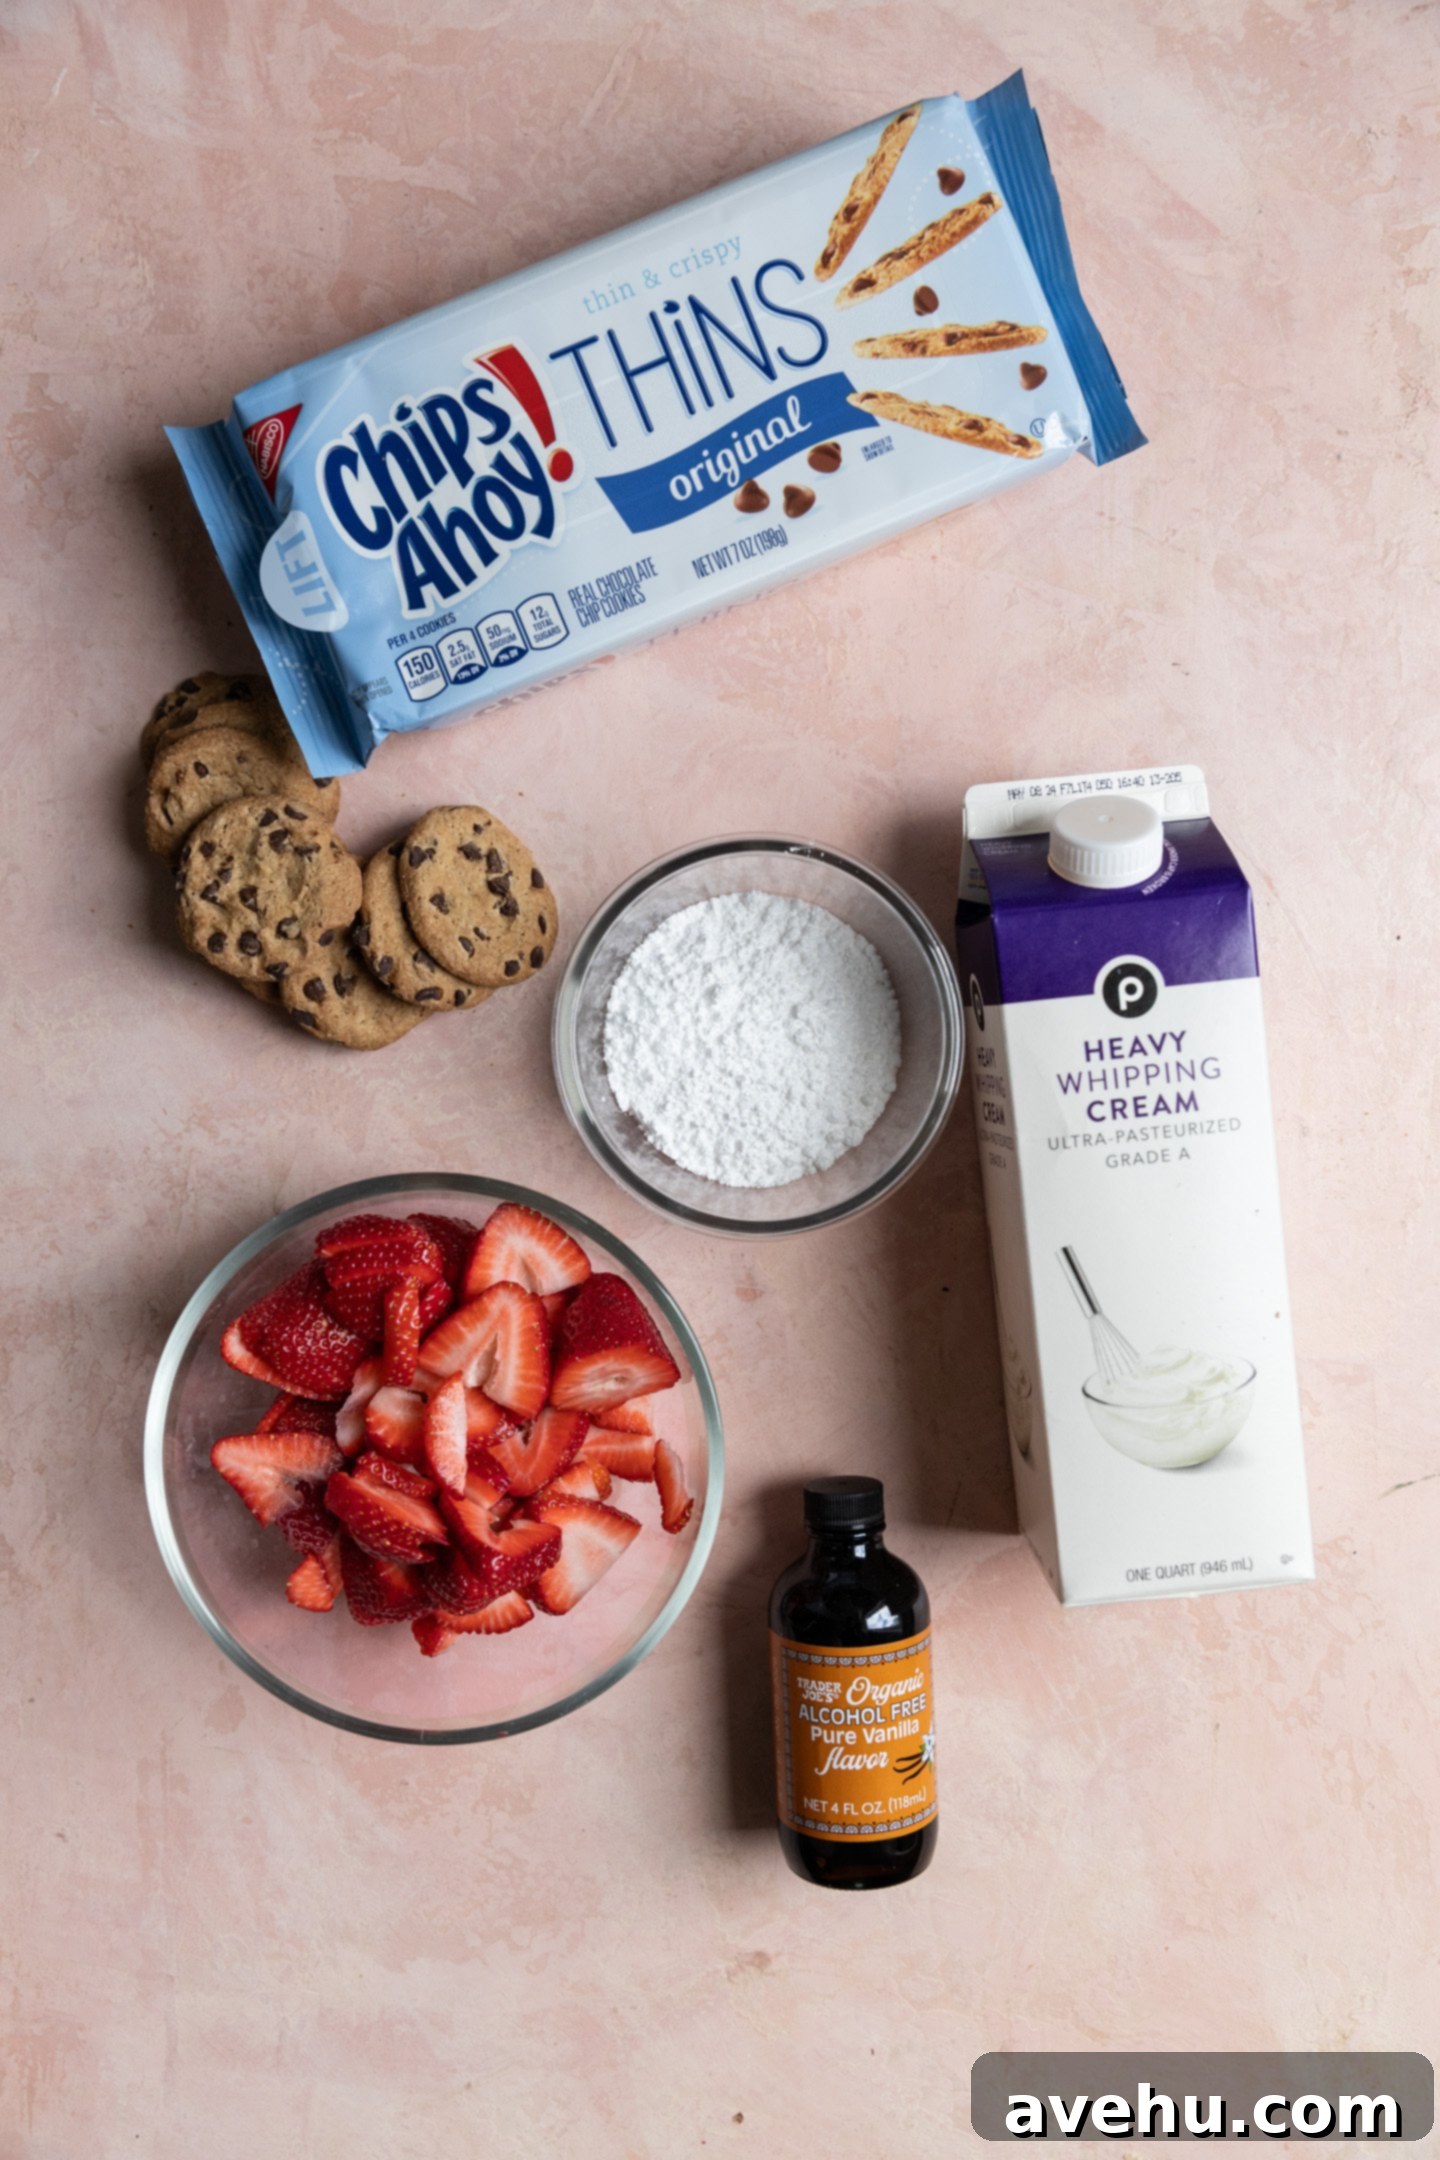
One of the many charms of this sensational dessert is its simplicity, requiring just five core ingredients. Each plays a vital role in creating the perfect balance of flavor and texture, making for an effortless shopping list:
- Fresh Strawberries: The undisputed star of the show! It’s highly recommended to use fresh, ripe strawberries for their superior flavor, texture, and vibrant color. While I haven’t specifically tested this recipe with frozen strawberries, fresh berries will undoubtedly yield a much better and more refreshing result. They provide the juiciness and natural sweetness that defines this cake, especially when in season.
- Thin Chocolate Chip Cookies: This is a crucial element for the cake’s structure and bite. I personally had great success using Chip’s Ahoy Thins, as their wafer-like crispness softens beautifully when layered with cream, transforming into a tender, cake-like texture without becoming mushy or dense. The chocolate notes also add a wonderful complementary flavor to the strawberries.
- Heavy Whipping Cream: The foundation of our dreamy, light, and airy whipped cream layers. It’s absolutely essential to use heavy whipping cream (sometimes simply labeled as “heavy cream”) and not half-and-half or any lighter cream alternative. Heavy whipping cream contains the necessary fat content to whip up into stiff, stable peaks that hold the cake together and create a luxurious mouthfeel.
- Powdered Sugar: Also known as confectioners’ sugar or icing sugar, this finely milled sugar dissolves instantly and smoothly into the heavy cream, creating a silky, sweet, and lump-free whipped topping. Using granulated sugar can make your whipped cream gritty, so powdered sugar is the best choice here for that professional finish.
- Vanilla Extract: A splash of pure vanilla extract is a secret weapon that enhances the overall sweetness and adds a warm, aromatic depth to the whipped cream. It beautifully complements both the bright, fresh strawberries and the rich chocolate from the cookies, tying all the flavors together harmoniously.
The Importance of Thin Cookies in Icebox Cakes
The choice of cookie is not just a preference; it’s a critical component for the structural integrity and enjoyable texture of any icebox cake, especially this strawberry variation. The primary reason you need a thin cookie is to ensure that the cake is easy to cut and pleasant to bite into once it has thoroughly chilled and set in the freezer. Thinner cookies soften beautifully when they absorb moisture from the whipped cream, transforming into a tender, cake-like layer that’s easy to slice through.
If you were to use a standard, regular-sized chocolate chip cookie, or a particularly thick and dense variety, you would encounter significant challenges. These cookies simply won’t soften sufficiently, even after extended chilling, remaining too hard. This results in a cake that is incredibly difficult to slice cleanly, often leading to crumbling layers rather than neat, elegant portions. Furthermore, biting into a frozen cake made with thick, unyielding cookies can be an unpleasant, jaw-straining experience, making the dessert less enjoyable overall.
This is precisely why I wholeheartedly recommend and personally use Chips Ahoy Thins. Their delicate, wafer-like construction is perfectly suited for this application. They absorb moisture just enough to become tender, yet still maintain a slight, satisfying textural integrity that contrasts wonderfully with the creamy layers and fresh fruit. While you certainly *could* use graham crackers for an icebox cake, their rectangular shape can be more challenging to arrange neatly in a round springform pan, often requiring them to be broken into smaller, uneven pieces. This can compromise the visual appeal and evenness of your layers, which is why the round, thin cookies are such a superior choice for this particular cake.
Time Commitment and Effort Level: Surprisingly Easy!
This Strawberry Icebox Cake is designed with convenience in mind, making it an ideal choice for busy schedules or when you simply want to minimize effort without sacrificing flavor. The active assembly time for this recipe is remarkably brief, typically taking only about 15 minutes from start to finish. This speedy preparation is one of its most appealing features, allowing you to quickly create an impressive dessert without breaking a sweat or spending hours in the kitchen.
However, it’s crucial to remember that while assembly is quick, the cake does require a minimum of 4 hours in the freezer to set properly. This chilling time is not negotiable; it allows the cookies to soften as they absorb moisture from the whipped cream, and all the layers to meld together into a cohesive, sliceable cake with a delightful texture. For the absolute best results and a firmer texture that’s easier to handle, I highly recommend making this cake a day in advance or letting it chill overnight. The good news is that this dessert is incredibly forgiving and can be prepared several days ahead of time, offering fantastic flexibility for meal planning or entertaining. Just cover it well with plastic wrap, and it will be perfectly ready when you need it – a true make-ahead champion!
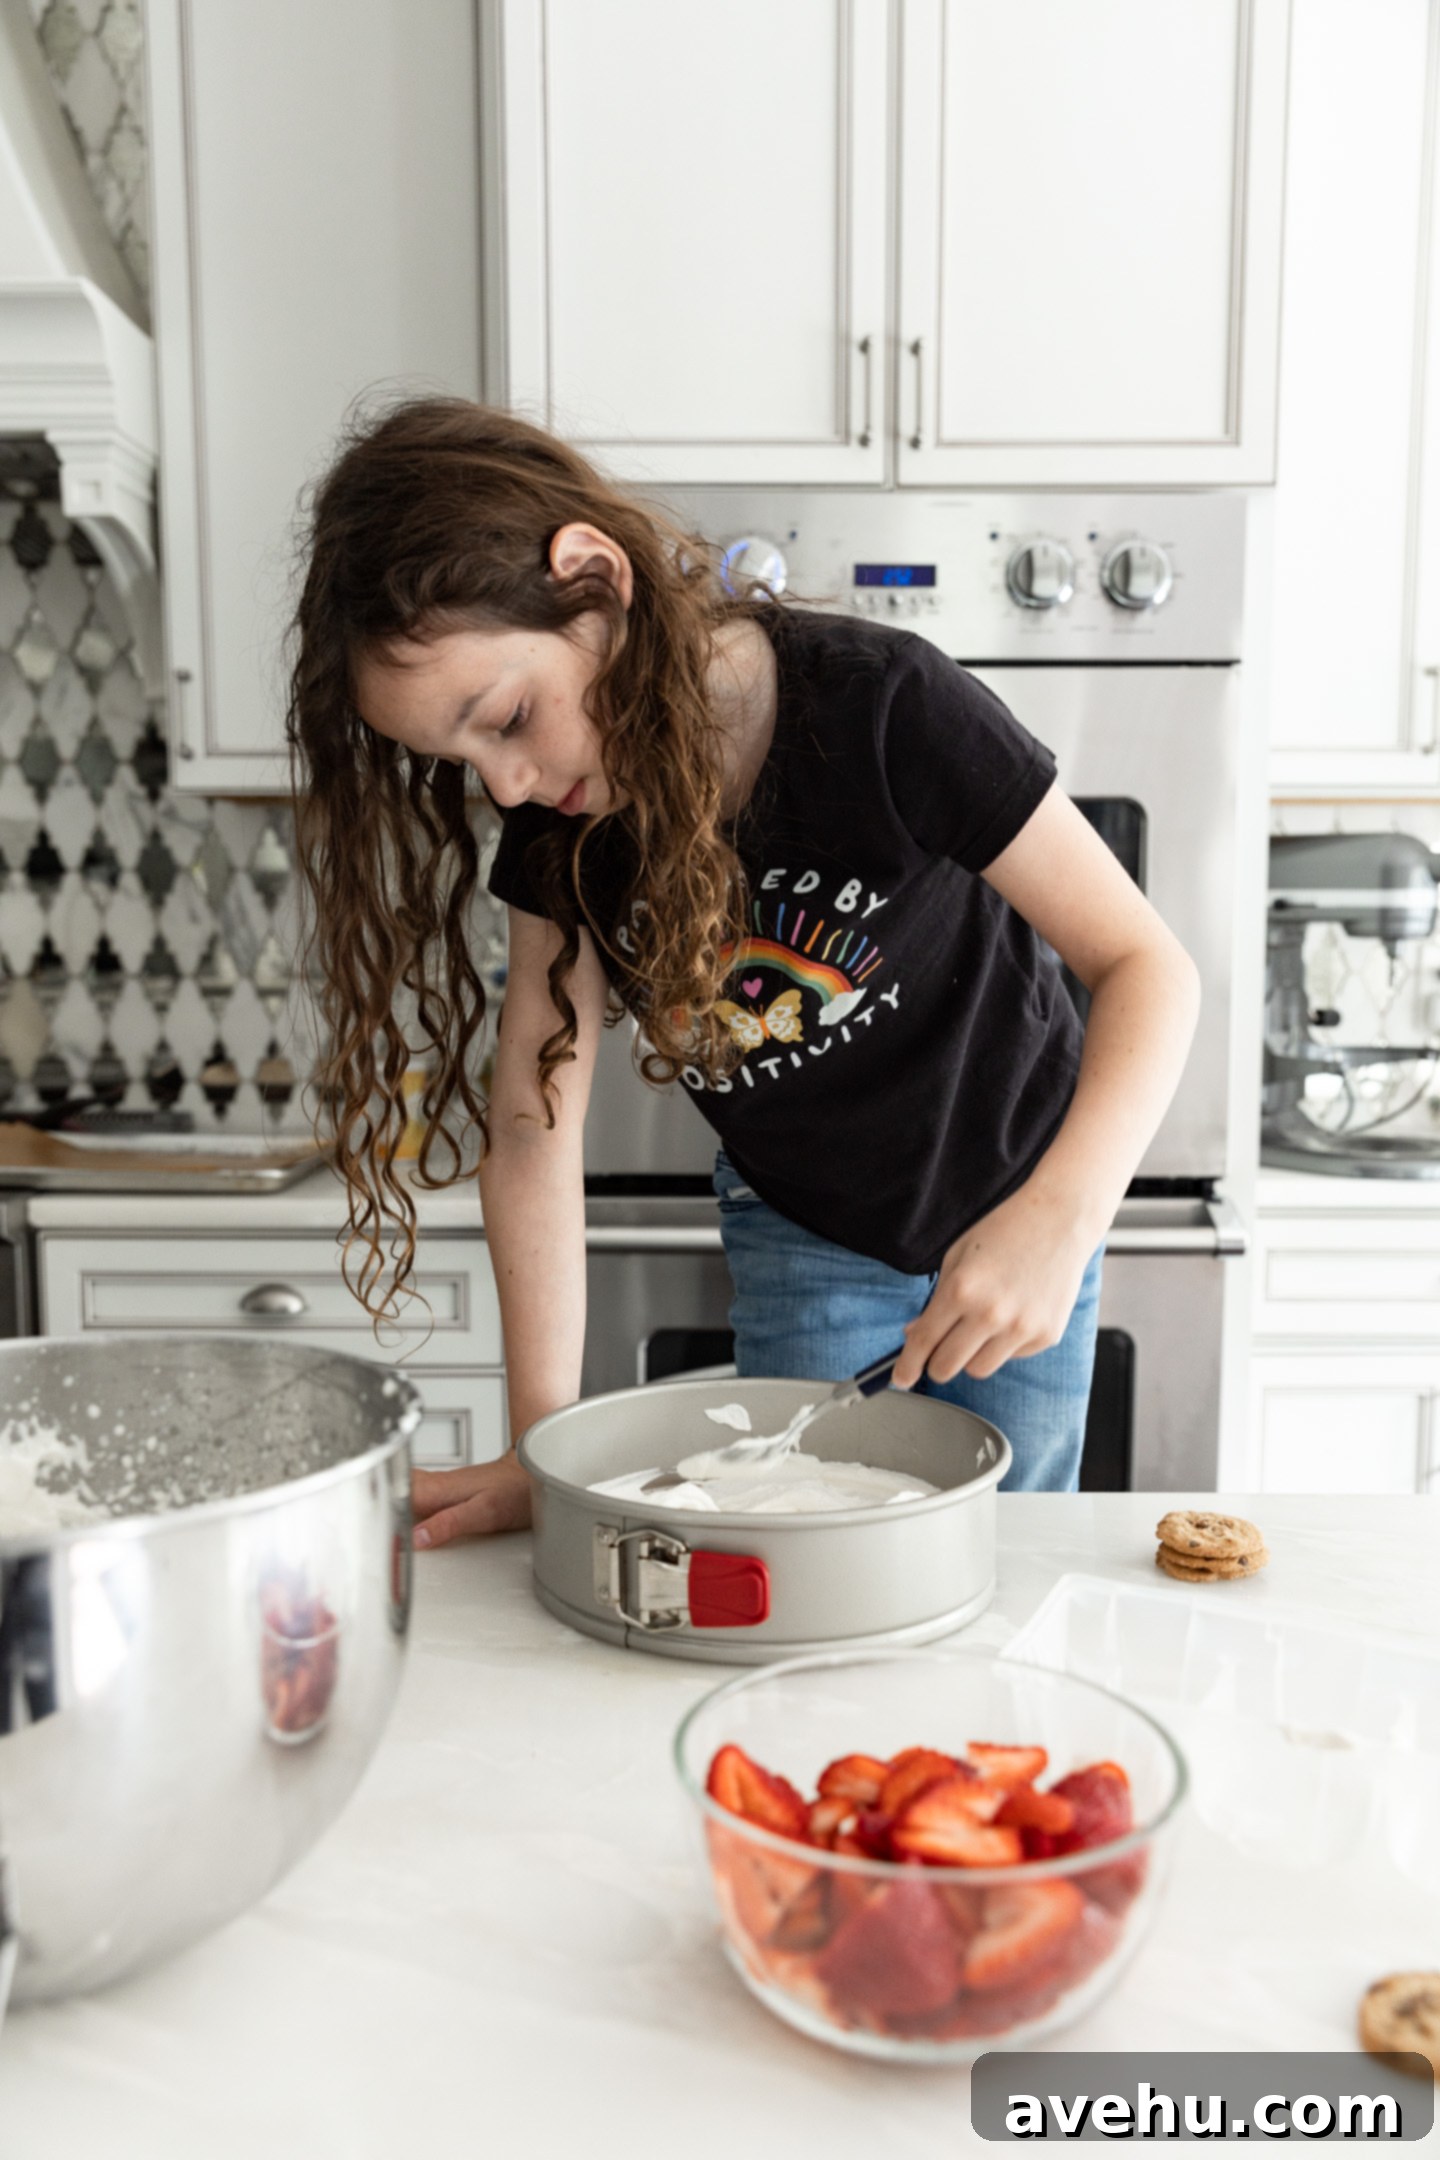
Beyond its quick prep, this recipe is genuinely simple and wonderfully kid-friendly. The layering process is intuitive and fun, making it an excellent activity for little helpers in the kitchen. Children often love arranging the cookies and strawberries, and spreading the cream (with a little guidance). The only step that might require adult supervision, depending on the child’s age and experience, is the whipping of the cream in a stand mixer or with a hand mixer, primarily to ensure proper technique and prevent over-whipping. This truly is a dessert that brings families together in the kitchen!
How to Assemble Your No-Bake Strawberry Icebox Cake
Creating this stunning dessert is a straightforward process, broken down into two main parts: preparing your ingredients and then layering them with care. Follow these simple steps for a perfect icebox cake every time, ensuring each layer contributes to the final delicious harmony.
Step 1: Prepare the Strawberries
Begin by washing a full pound of fresh strawberries thoroughly under cool running water. It’s essential to gently pat them completely dry with paper towels or a clean kitchen towel to remove any excess moisture. This step is crucial because too much water can dilute the whipped cream or make the layers soggy. Once thoroughly dry, thinly slice each strawberry. Aim for uniform slices, as this will help them lay flat and create neat, even layers in your cake. A sharp paring knife works best for this. Set these vibrant slices aside; they are ready to be layered into your masterpiece.
Step 2: Master the Whipped Cream
The heart of your icebox cake is the luscious, homemade whipped cream. For the best results, ensure your heavy whipping cream, mixing bowl, and whisk attachment are all very cold. In the clean, cold bowl of either a hand mixer or a stand mixer fitted with the whisk attachment, combine the 4 cups of heavy whipping cream, 3/4 cup of powdered sugar, and 2 teaspoons of vanilla extract. Start mixing on a low speed to gently incorporate the powdered sugar without creating a messy cloud. Once the sugar is mostly dissolved and the mixture begins to thicken slightly, gradually increase the speed to medium-high.
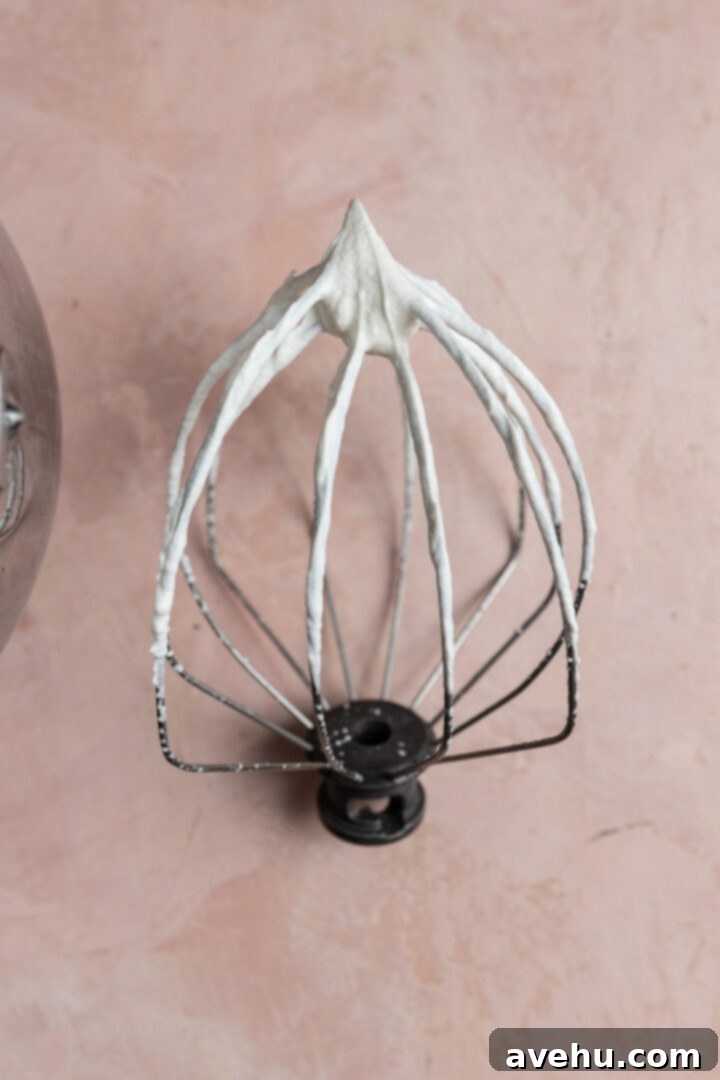
Whip the mixture until stiff peaks form. You’ll know the whipped cream is perfectly ready when you can lift the beater upside down, and the cream holds its shape firmly without drooping or collapsing. Be vigilant during this stage, as the process can happen quite quickly, often within 1-2 minutes depending on the power and efficiency of your mixer. It’s important to watch out not to over-whip, as this can lead to a grainy texture or even curdling. A slightly under-whipped cream is often better than an over-whipped one for ease of spreading.
Step 3: Layering the Cake
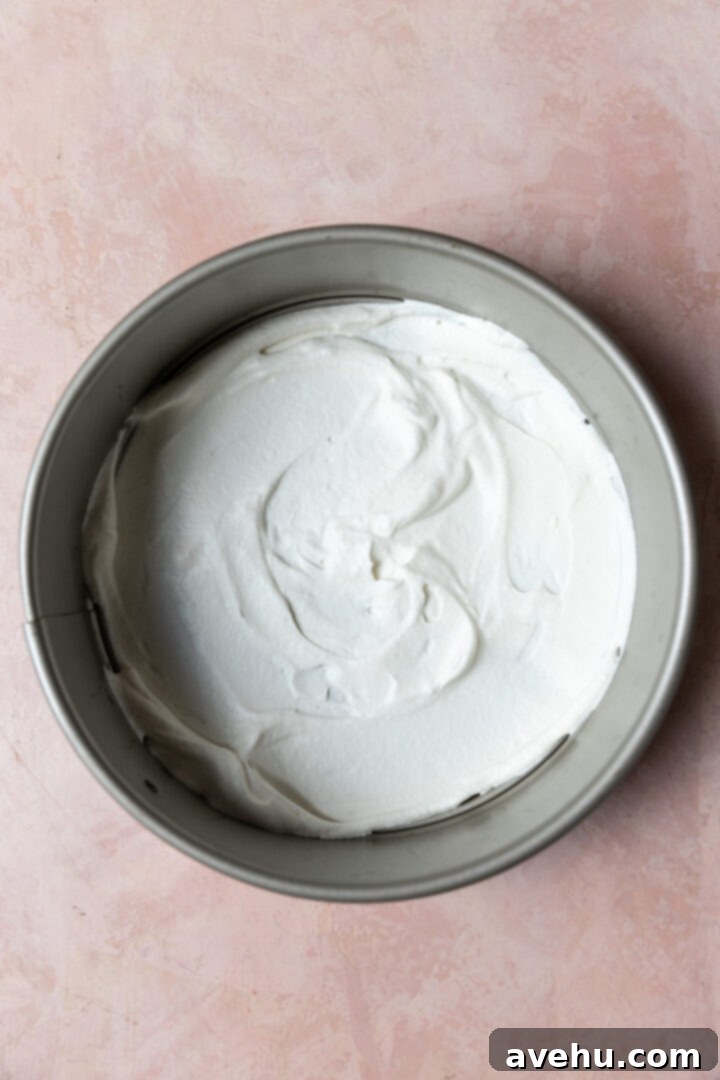
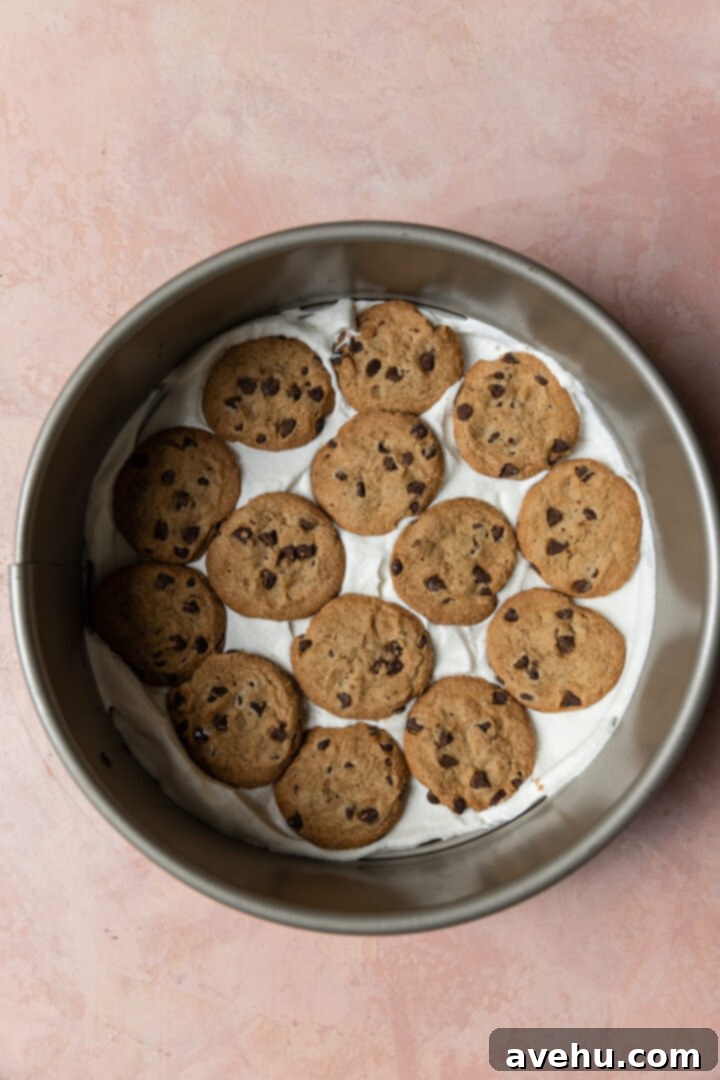
Now comes the fun part: assembling your delicious icebox cake! Start by spreading a thin, even layer of your freshly whipped cream across the bottom of an 8 or 9-inch springform pan. This layer acts as an essential “glue” and cushion for your first layer of cookies. Next, meticulously arrange about 14 thin chocolate chip cookies directly on top of the cream. You’ll want to gently push the cookies outwards to touch the sides of the pan, fitting them snugly to cover the entire base. Don’t worry if there are small gaps between the cookies; the whipped cream in the next layer will expertly fill these in, ensuring a solid structure.
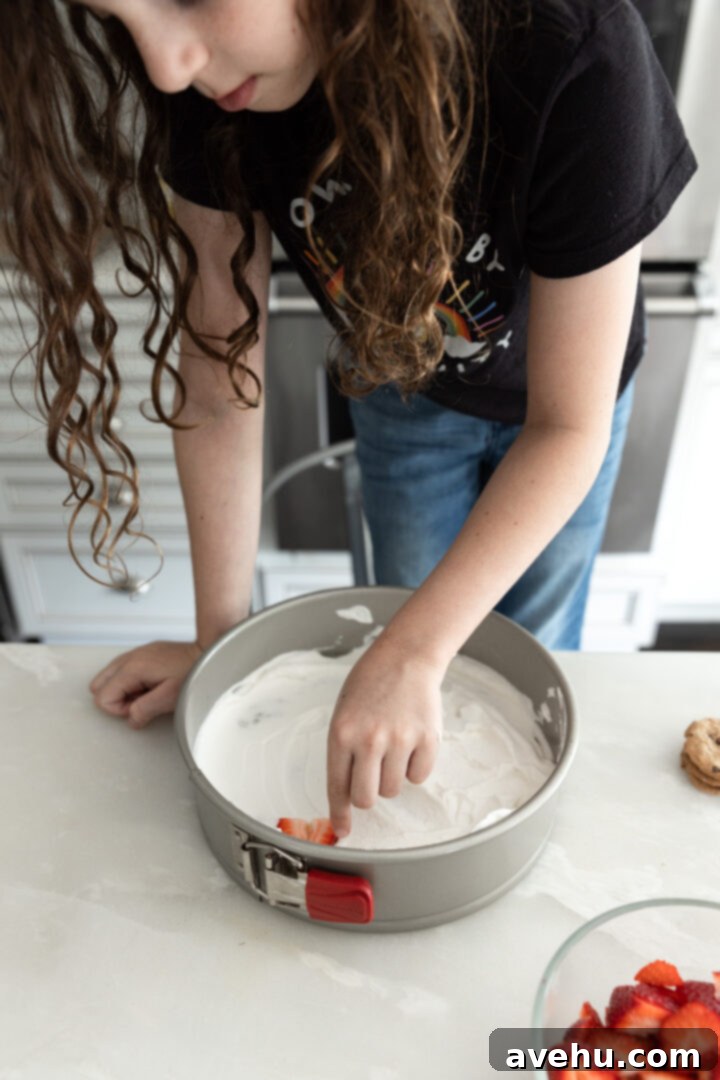
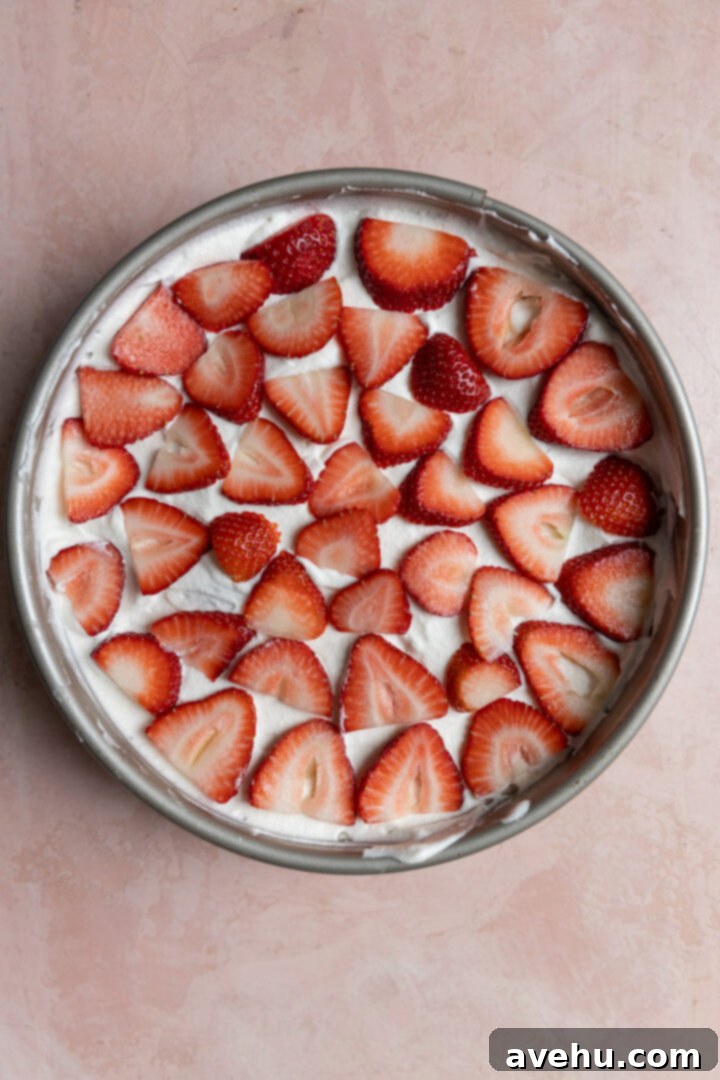
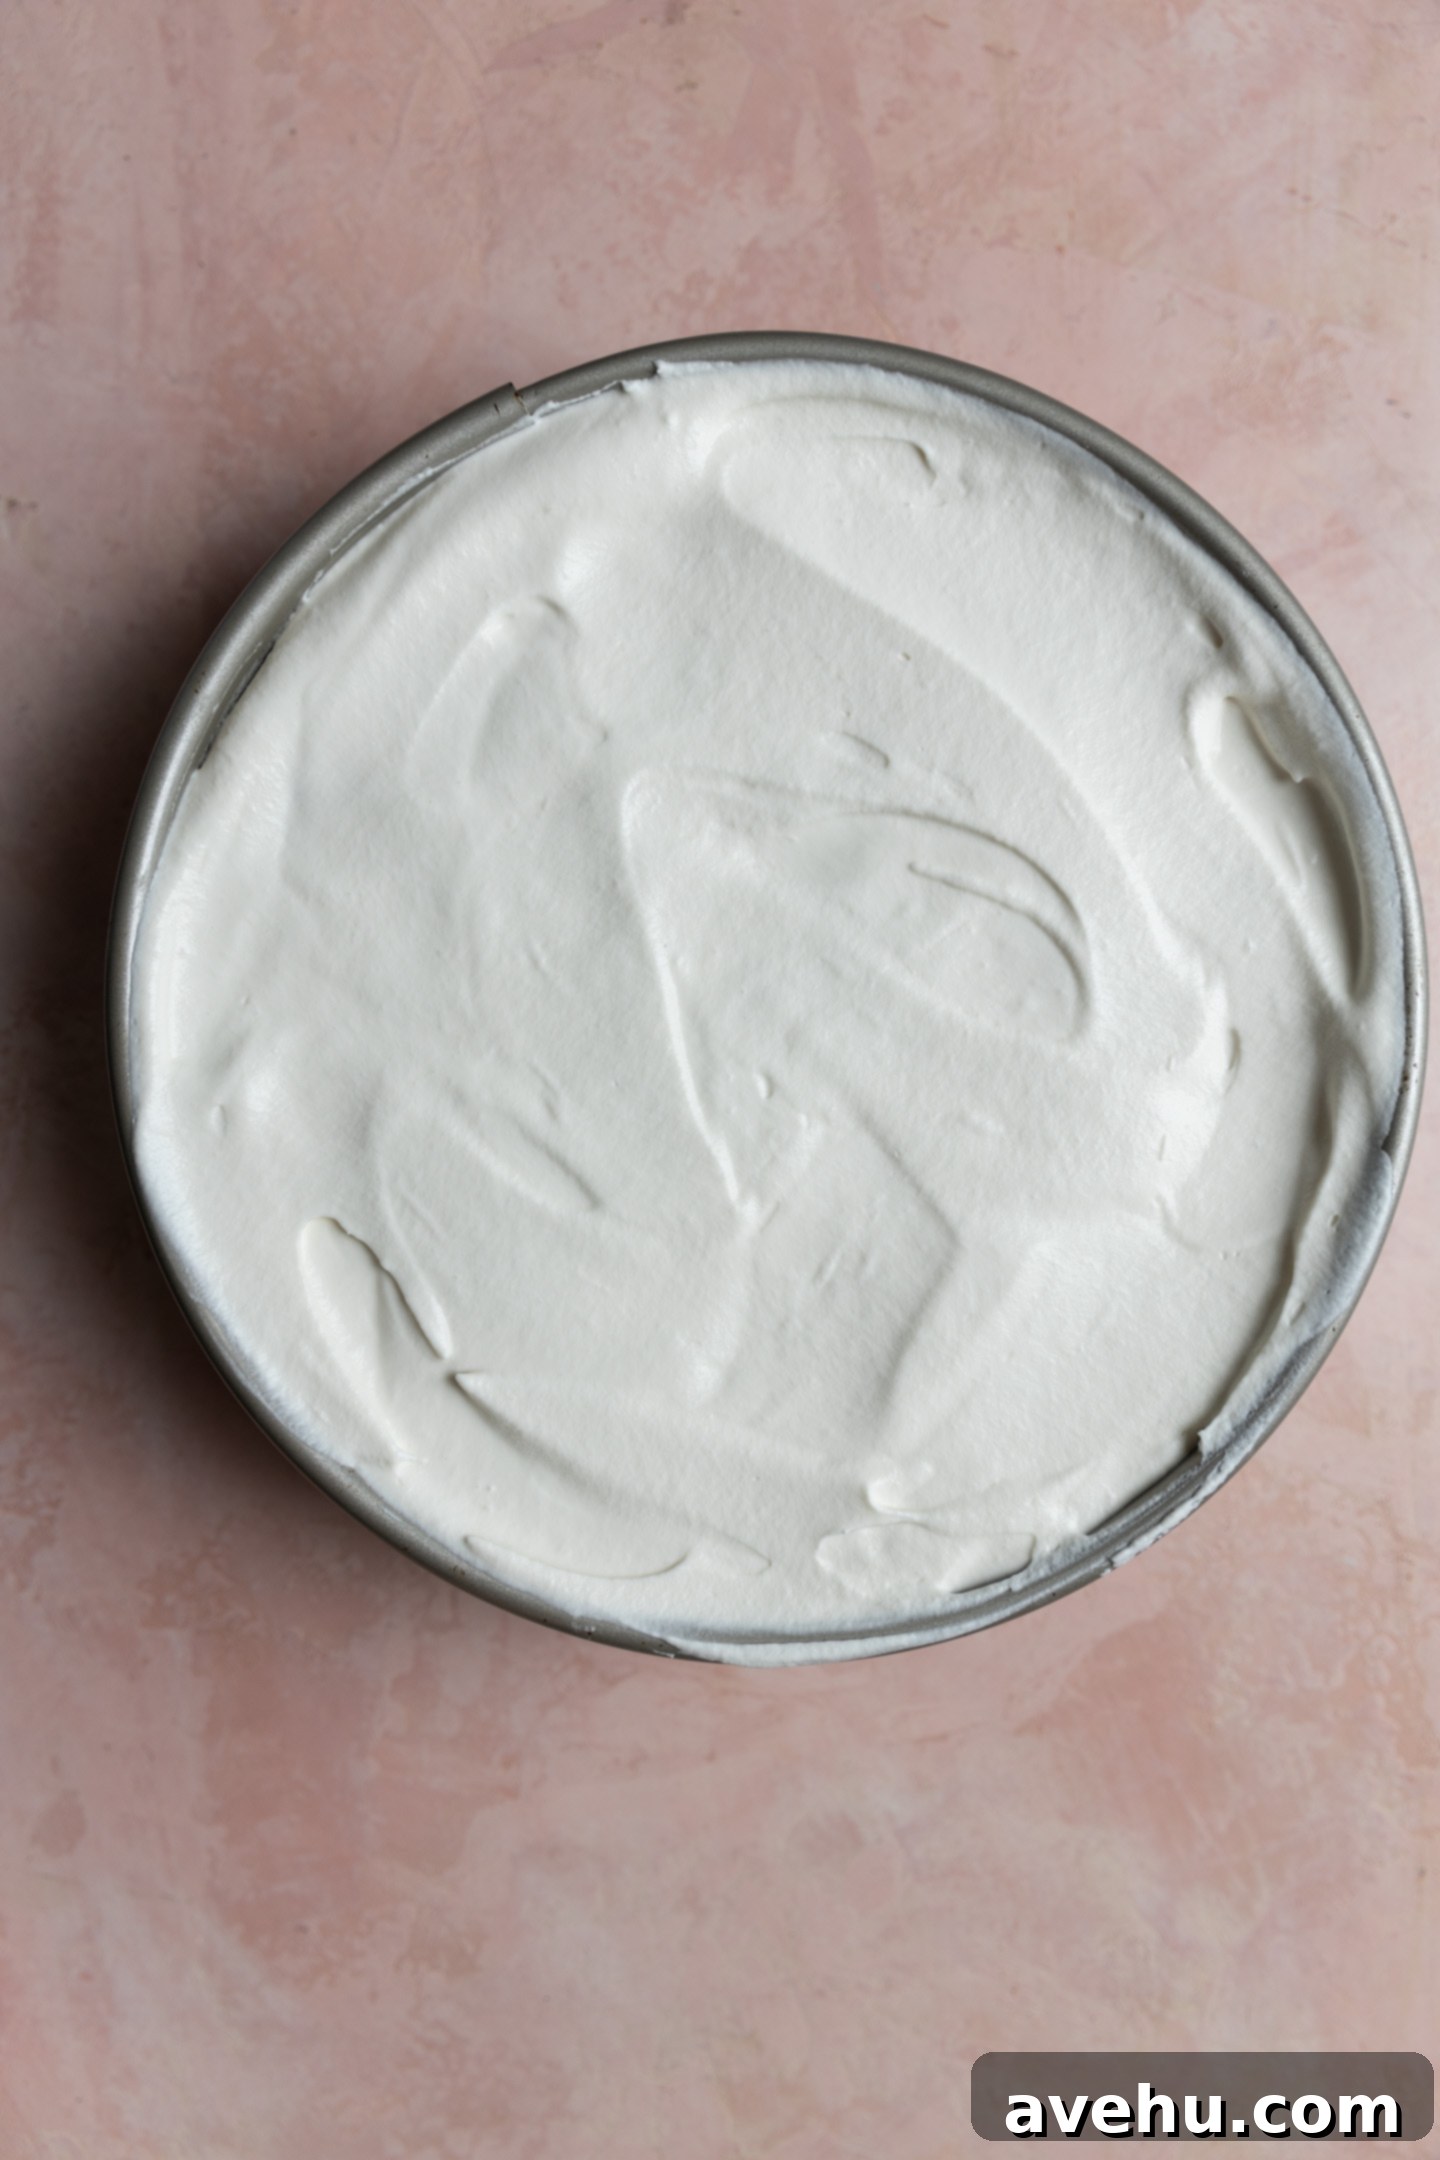
Once your cookie layer is neatly in place, gently spread another generous layer of whipped cream over the cookies, ensuring every cookie is completely covered. Aim for an even thickness to maintain balance in each slice. On top of this cream layer, carefully arrange a layer of your thinly sliced fresh strawberries. Try to place them evenly to distribute the fruit throughout the cake, perhaps concentrating some along the outer edge for a beautiful visual effect when served. Continue this alternating pattern: a layer of whipped cream, then a layer of cookies, followed by another layer of whipped cream, and then a layer of strawberries. Repeat until you’ve used most of your ingredients, making sure to finish with a final, smooth layer of whipped cream on top. This top layer will be the perfect canvas for your garnishes!
The Critical Chilling Phase: Letting the Freezer Do Its Work
Once your beautiful strawberry icebox cake is fully assembled in its springform pan, the hard work is done. Now, it’s time to let the freezer work its magic, transforming individual layers into a cohesive, sliceable dessert. This chilling period is not just for cooling; it’s absolutely essential for allowing the cookies to soften as they absorb moisture from the whipped cream, creating that characteristic cake-like texture that makes icebox cakes so special. To protect your cake during its crucial rest, gently cover the pan with plastic wrap, ensuring it’s sealed well to prevent any freezer burn, ice crystal formation, or absorption of other freezer odors.
Remember, a minimum of 4 hours of chilling time is absolutely necessary for the cake to properly set and firm up. This duration allows all the flavors to meld beautifully and the structure to become stable enough for easy, clean slicing. While 4 hours will certainly get the job done, I’ve consistently found that the cake tastes even better and has a more ideal, perfectly soft yet firm texture if left in the freezer overnight. The great news is that this dessert is incredibly robust and can be made up to a week in advance! This makes it a perfect make-ahead option for parties, potlucks, or busy periods, significantly reducing last-minute stress. Simply take it out of the freezer when you’re ready to serve, and enjoy the convenience of a delicious dessert already prepared and waiting.
Serving Your Perfect Strawberry Icebox Cake
The moment has arrived to unveil and enjoy your stunning no-bake creation! To ensure a smooth and effortless serving experience, it’s best to remove the icebox cake from the freezer approximately 5-10 minutes before you plan to slice and serve it. This brief time at room temperature allows the cake to slightly soften, making it significantly easier to cut into neat, elegant portions without crushing the layers.
Before attempting to unlock the springform pan, grab a thin, sharp knife or an offset spatula. Carefully run it around the inner edges of the pan, between the cake and the metal sides. This crucial step helps to gently loosen any part of the cake that might have frozen and adhered to the pan. The cold temperature can cause the cake to stick firmly, so don’t force the pan open before you’ve completed this loosening process. Once you’ve successfully freed the edges all around, simply unlatch and remove the springform pan collar, revealing your beautifully layered dessert in all its glory.
For an extra touch of visual appeal and an added burst of fresh flavor, garnish the top of your cake generously just before serving. A vibrant scattering of fresh strawberry slices, perhaps some whole berries artfully placed, and a sprinkle of gently crushed thin chocolate chip cookies will add a delightful textural contrast and reinforce the delicious flavors within. Each slice offers a harmonious blend of creamy, fruity, and slightly crunchy textures, making every bite a pure delight and a perfect finish to any meal.
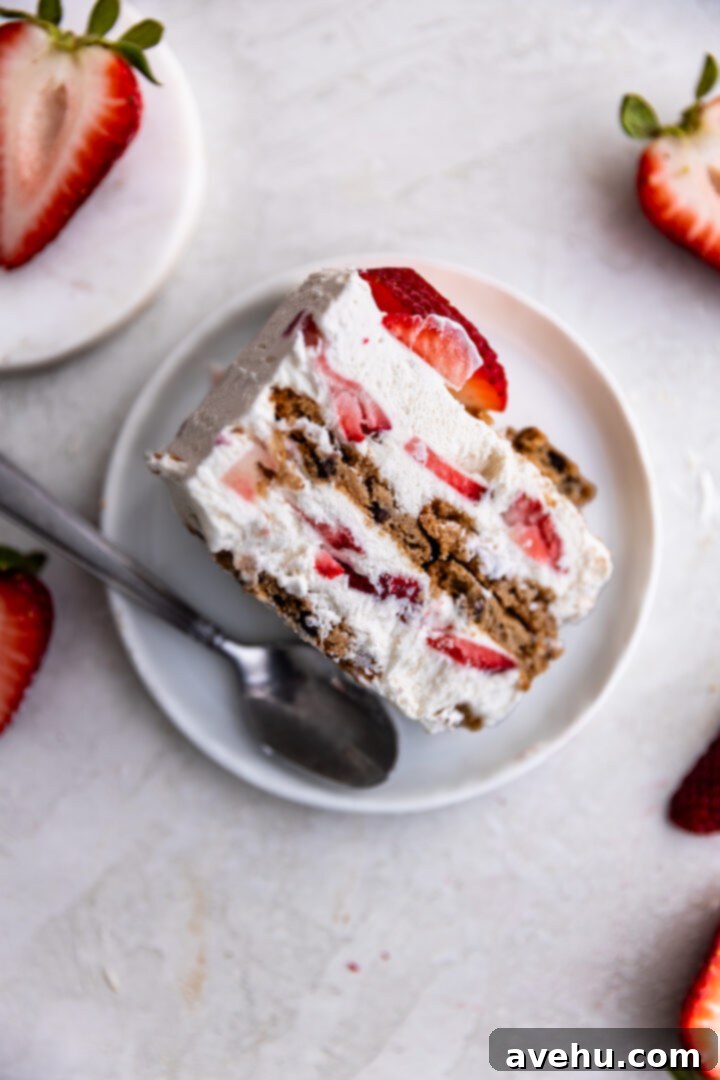
This generously sized cake is designed to feed a crowd, comfortably serving approximately 10-12 people. Depending on how you slice your portions – from modest slivers to hearty wedges – you might even stretch it to accommodate up to 15 guests! Given how incredibly easy and universally loved this dessert is, with its fresh fruit and creamy layers, you might even consider making two – just in case you have extra hungry guests or simply want some delicious leftovers for yourself to enjoy throughout the week!
Troubleshooting: What to Do If Your Whipped Cream Curdles
Even seasoned bakers occasionally face the challenge of over-whipped cream that appears curdled or chunky. It’s a common mishap, but don’t despair – it’s a fixable situation! If you accidentally push your heavy cream past the point of stiff peaks and it starts to look separated or lumpy, showing signs of turning into butter, there’s an incredibly easy trick to bring it back to its smooth, luscious state without having to discard it and start over. This simple rescue technique can save your dessert!
The solution is surprisingly simple: take 1-2 teaspoons of very cold, unwhipped heavy cream (make sure it’s liquid cream, not whipped) and gently pour it directly into the curdled cream. Then, using a clean whisk, begin to slowly hand-mix the mixture. Continue whisking gently and patiently for about a minute. You’ll be amazed as the curdled cream gradually smooths out and becomes beautifully silky and homogenous again, returning to the perfect consistency for your icebox cake. The key here is to use your hand and a whisk, completely avoiding the powerful mixer, as the gentle, controlled motion is what coaxes the cream back to life. This trick works wonders and saves you from wasting valuable ingredients and precious time!
Clever Tips for the “Lazy” Baker (or Anyone Short on Time!)
While this Strawberry Icebox Cake is already incredibly simple and demands minimal effort, there are always ways to make life even easier, especially when time is tight, or you just want a truly minimal-effort dessert. These clever shortcuts can help you get this delightful treat on the table with even less fuss:
- Delegate to Your Kids: This is truly a child-friendly recipe perfect for involving little hands in the kitchen! My 8-year-old proudly assembled this cake almost entirely by herself, with only minimal supervision required during the whipping cream stage. Empowering kids in the kitchen not only makes dessert prep easier for you but also fosters valuable culinary skills, boosts confidence, and creates wonderful family memories that will last a lifetime.
- Opt for Store-Bought Whipped Topping: While I personally prefer the fresh taste and superior texture of homemade whipped cream, you absolutely can use a pre-made whipped topping like Cool Whip as a convenient substitute. You’ll typically need about two standard tubs to get the right amount for this recipe. Just be aware that the flavor and texture will be slightly different from scratch-made cream, but it will still be delicious, hold up well, and save you a step.
- Use a Disposable Pan for Easy Cleanup: If the thought of washing dishes after enjoying your dessert deters you from making it, consider assembling your icebox cake in a disposable aluminum round pan. This is a fantastic hack for parties, picnics, potlucks, or when you just want a truly fuss-free experience. Simply prepare, serve directly from the pan, discard the pan when finished, and enjoy your evening without the added burden of cleanup!

Super Easy Strawberry Icebox Cake
Pin
Review
SaveSaved!
Ingredients
- 1 lb fresh strawberries , washed, dried, sliced thin
- 4 cups heavy whipping cream
- 3/4 cup powdered sugar
- 2 tsp vanilla extract
- 1 1/2 packages Chips Ahoy Thins , about 56 cookies (SEE COOKIE NOTES)
- extra berries for garnish
Instructions
-
Wash and dry the strawberries well. Slice them thinly and set aside.
-
With a hand mixer or in the bowl of a stand mixer fitted with the whip attachment, add in the 4 cups heavy whipping cream, 3/4 cup powdered sugar, and 2 tsp vanilla extract. Start on low-medium speed, them move up to high when the powdered sugar has dissolved.
-
Whip until stiff peaks form- this could be as fast as 1 minute so watch out not to let the cream curdle. You’ll know its ready when you flip the whip over and the cream can stand on its own.
-
Spread a thin layer of cream in the bottom of a springform pan. Layer 14 cookies on top of the cream, pushing them to touch the sides of the pan to allow them all to fit.
-
Slather on another layer of whipped cream and this time top it with sliced strawberries.
-
Continue alternating whipped cream with chocolate chip cookies and strawberries. Finishing with a topping of whipped cream.
-
Cover with plastic wrap and place in the freezer for a minimum of 4 hours. Overnight is best. You can make 1 week ahead.
-
Take the cake out 5-10 minutes before you plan to serve it. Use a knife or offset spatula along the edges of the pan to release it.
-
Top with more fresh berries and crushed up cookies.
Notes
It is crucial to use a thin cookie for this recipe, otherwise it will be too hard to cut and bite into the cake after chilling. I highly recommend Chips Ahoy Thins, as they were absolutely perfect! Plan to buy about 1 1/2 packages to ensure you have enough cookies.
