Indulge in Heavenly Red Velvet Cheesecake Cupcakes: Your Ultimate Recipe for a Decadent Dessert
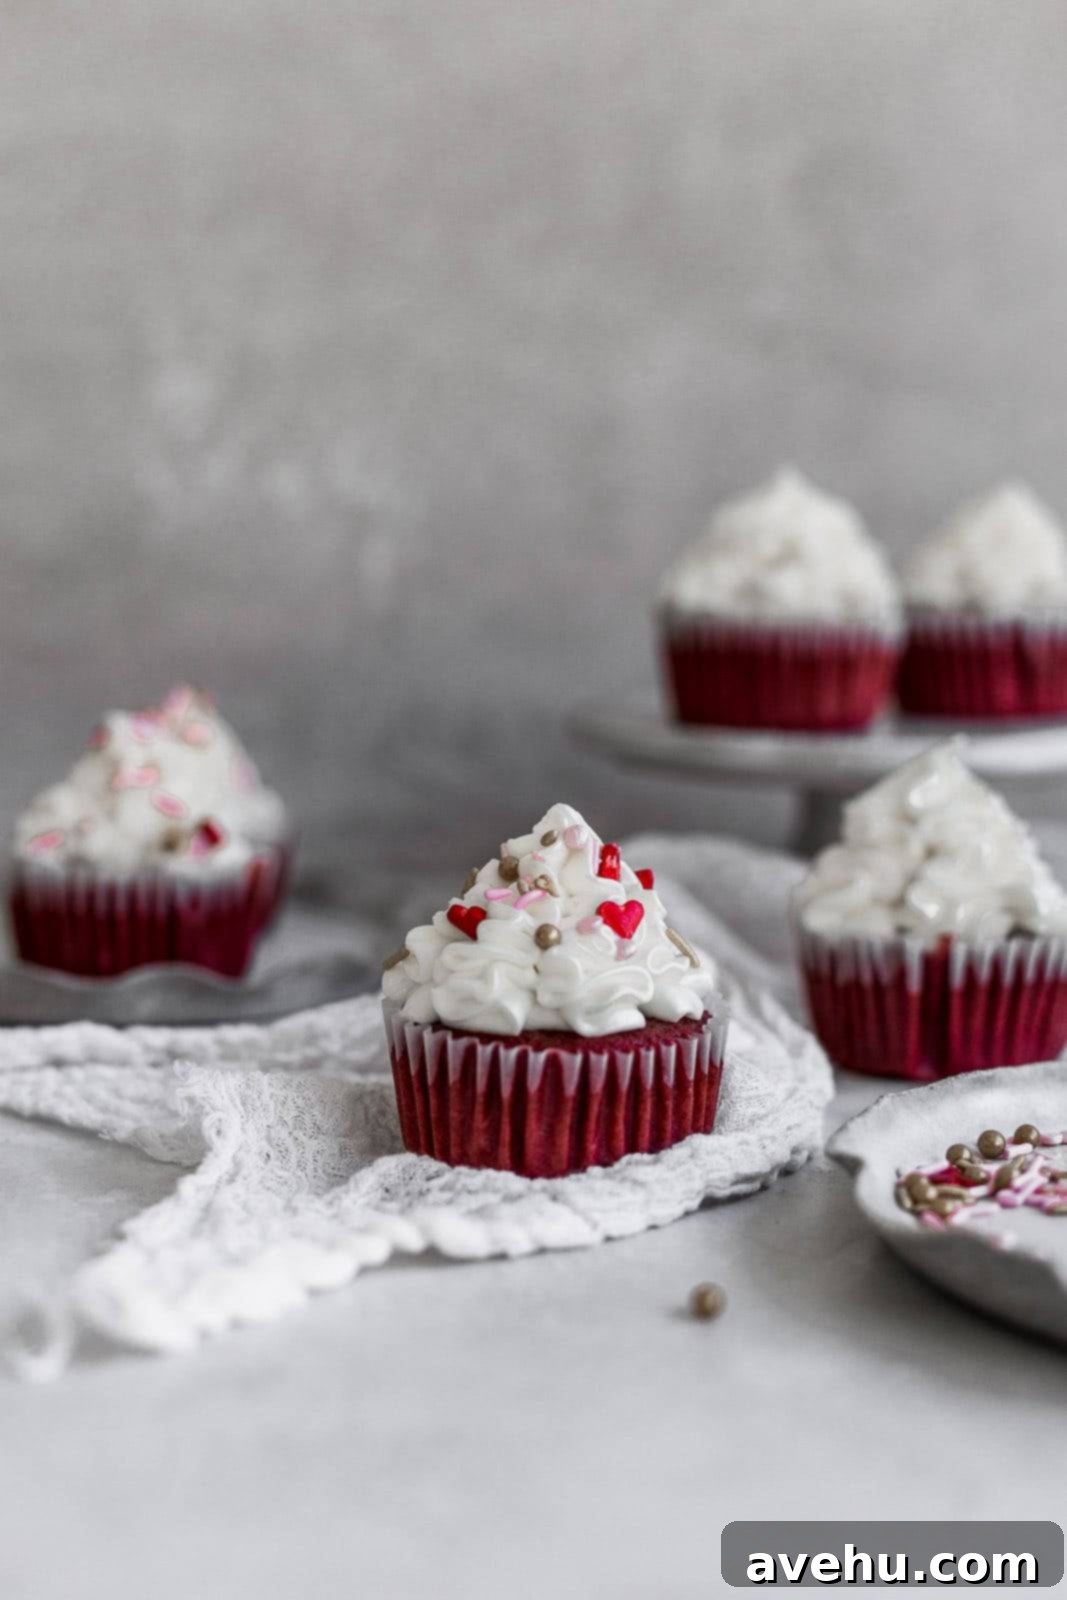
Prepare to be enchanted by these exquisite red velvet cheesecake cupcakes! Each delightful treat features a velvety, moist red velvet cupcake base, generously stuffed with a creamy cheesecake filling, and crowned with a luscious, pipeable cream cheese frosting. They are surprisingly quick and easy to make, transforming them into the perfect, show-stopping dessert for Valentine’s Day, special occasions, or simply when you crave something truly extraordinary.
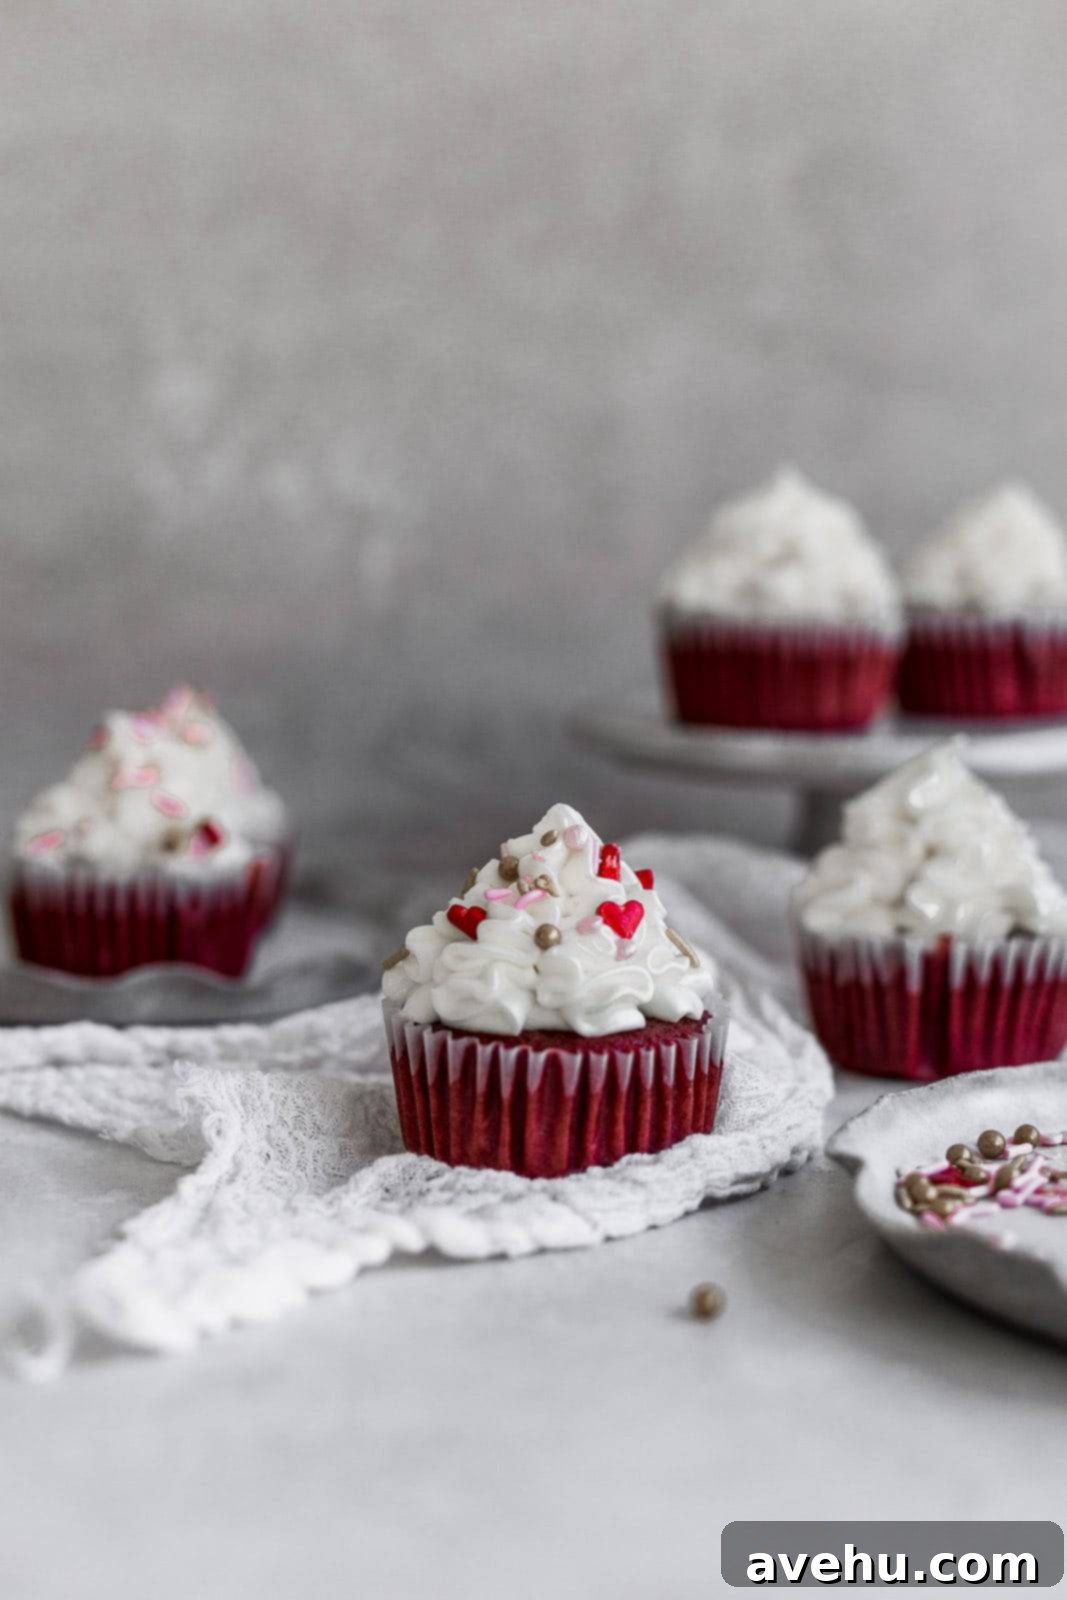
Adorned with delicate sprinkles and a beautifully piped swirl of our signature cream cheese frosting, this Red Velvet Cheesecake Cupcake recipe offers an irresistible surprise: a rich, creamy cheesecake filling hidden within its vibrant red crumb. It’s the perfect fusion of two beloved desserts, creating an unforgettable taste experience that balances the subtle tang of cheesecake with the classic cocoa notes of red velvet.
For many, the allure of red velvet cake remains a delightful enigma. Is it primarily chocolate? Is it vanilla-based? What gives it that distinctive red hue, and what makes its flavor profile so uniquely special? After extensive (and deliciously challenging!) research and taste-testing, we’ve uncovered the fascinating secrets behind this iconic dessert.
What is Red Velvet Cake? Unraveling the Mystery
To address the age-old question of whether red velvet is chocolate or vanilla, the definitive answer is: it’s a harmonious blend of both! Authentic red velvet cake recipes invariably include a touch of cocoa powder and a generous splash of vanilla extract, contributing to its complex and wonderfully balanced flavor. However, what truly sets red velvet apart from other cakes is its unique combination of ingredients: buttermilk and vinegar.
When buttermilk and vinegar interact within the red velvet cake batter, a magical chemical reaction occurs. Historically, this reaction was responsible for enhancing the reddish undertones naturally present in early, non-Dutch processed cocoa powders, giving the cake its characteristic “red velvet” appearance. Today, to achieve the vivid, saturated red color we’ve come to associate with red velvet, most recipes, including ours, call for the addition of red food coloring. While not strictly necessary for taste, it certainly contributes to the cake’s iconic and festive visual appeal, making these red velvet cheesecake cupcakes a feast for both the eyes and the palate.
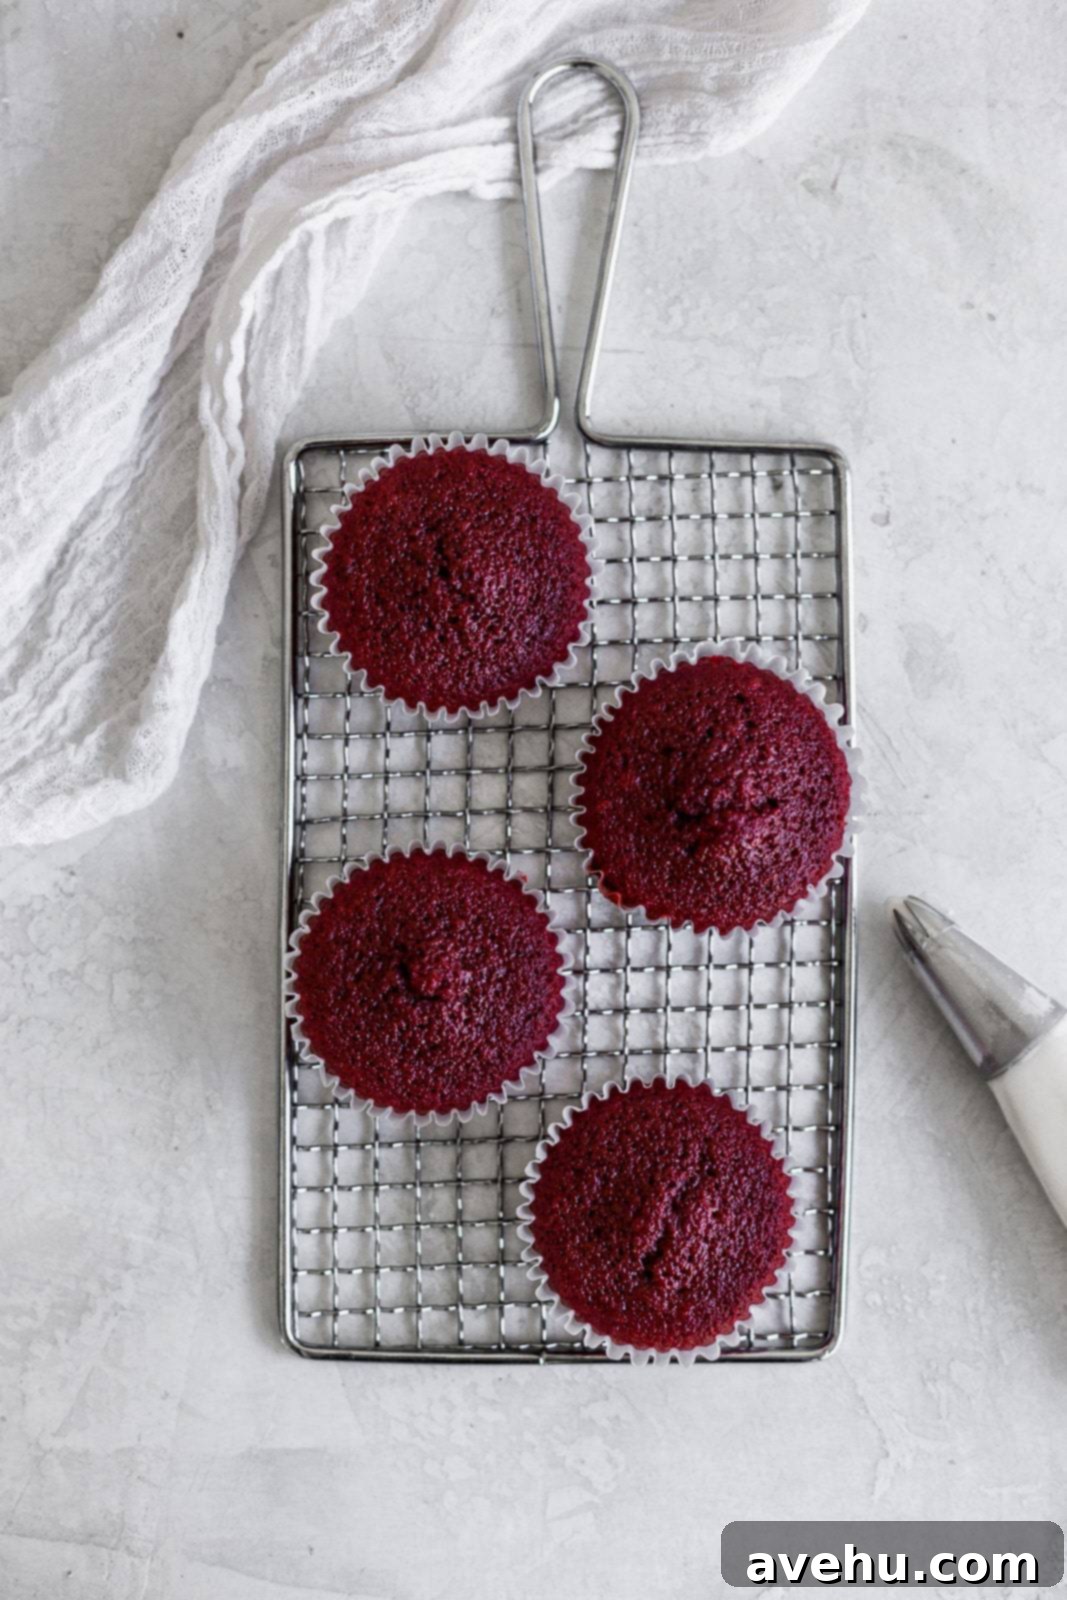
With Valentine’s Day just around the corner, my thoughts naturally drifted towards creating something special with a red velvet theme. But instead of a traditional cake, I envisioned a dessert that was a little more playful, a little more surprising. That’s how these cheesecake-filled red velvet cupcakes came to be – a delightful twist that adds an extra layer of richness and an unexpected creamy center to every bite. They are sure to be a hit at any gathering or a wonderfully romantic treat for two.
Essential Ingredients for Your Red Velvet Cheesecake Cupcakes
Crafting these extraordinary cupcakes requires a few key ingredients, each playing a crucial role in achieving the perfect flavor and texture. For the best results, ensure all your dairy and eggs are at room temperature before you begin. This allows them to combine more smoothly, resulting in a lighter, fluffier cupcake and a perfectly creamy filling and frosting.
For the Moist Red Velvet Cupcake Batter:
- All-purpose flour: The structural foundation of our cupcakes.
- Cocoa powder: Provides the subtle chocolatey essence that defines red velvet.
- Kosher salt: Balances the sweetness and enhances all the flavors.
- Baking soda: Works with the acidic buttermilk and vinegar to create a tender crumb.
- Vegetable or canola oil: Contributes to the cupcakes’ moistness and tender texture.
- White granulated sugar: Sweetens the cupcakes and aids in browning.
- Eggs: Provide structure, richness, and help bind the ingredients.
- Vanilla extract: Essential for that classic, aromatic vanilla flavor.
- Red food coloring: For that iconic, vibrant red hue. Gel food coloring often yields the best results.
- Buttermilk: Reacts with baking soda for lift and tender crumb, also adds a slight tang.
- White vinegar: Amplifies the leavening reaction and brightens the red color.
For the Creamy Cheesecake Filling:
- Cream cheese: The star of the filling, ensure it’s softened for a smooth mixture.
- Sour cream: Adds moisture, tang, and contributes to the cheesecake’s velvety texture.
- White granulated sugar: Sweetens the rich cream cheese.
- All-purpose flour: Helps to stabilize the filling during baking, preventing it from sinking.
- Kosher salt: A pinch enhances the overall flavor profile of the cheesecake.
For the Decadent Cream Cheese Frosting:
- More cream cheese: The base for our irresistibly tangy and sweet frosting, softened.
- Butter: Adds richness and helps create a stable, pipeable frosting, also softened.
- Confectioner’s sugar (powdered sugar): Provides sweetness and a smooth, fine texture.
- Vanilla extract: A must-have for classic cream cheese frosting flavor.
Crafting Your Red Velvet Cheesecake Cupcakes: A Step-by-Step Guide
Making these red velvet cheesecake cupcakes is a straightforward process, but a few tips can ensure professional-level results. First and foremost, having all your ingredients at room temperature is crucial. Cold cream cheese, butter, and eggs are notoriously difficult to incorporate smoothly, leading to lumpy batters and frosting. Trust me, I’ve learned this the hard way!
You can prepare this recipe using either a hand mixer or a stand mixer. Start by combining your dry ingredients: flour, cocoa powder, salt, and baking soda. Whisk them thoroughly in a medium-sized bowl to ensure everything is evenly distributed. This prevents pockets of leavening agents or salt in your finished cupcakes.
Next, in a separate large bowl or the bowl of your stand mixer, add the vegetable oil and granulated sugar. Whisk or mix these two ingredients for about two minutes until the mixture turns pale yellow and becomes frothy. This step is important for dissolving the sugar and incorporating air. Then, one at a time, beat in the eggs until fully combined. Follow with the vanilla extract and a generous tablespoon of red food coloring. Mix well until the color is vibrant and uniform throughout the mixture.
Now, it’s time to alternate adding the dry ingredients with the buttermilk. Begin by adding about one-third of the dry mixture, mixing on low speed until just combined. Then add half of the buttermilk, mixing gently. Repeat with another third of the dry ingredients, followed by the remaining buttermilk, and finally, the last portion of dry ingredients. Be careful not to overmix; overmixing can lead to tough cupcakes. Finish by stirring in that crucial bit of white vinegar. The batter should be wonderfully smooth and boast a rich, deep red color!
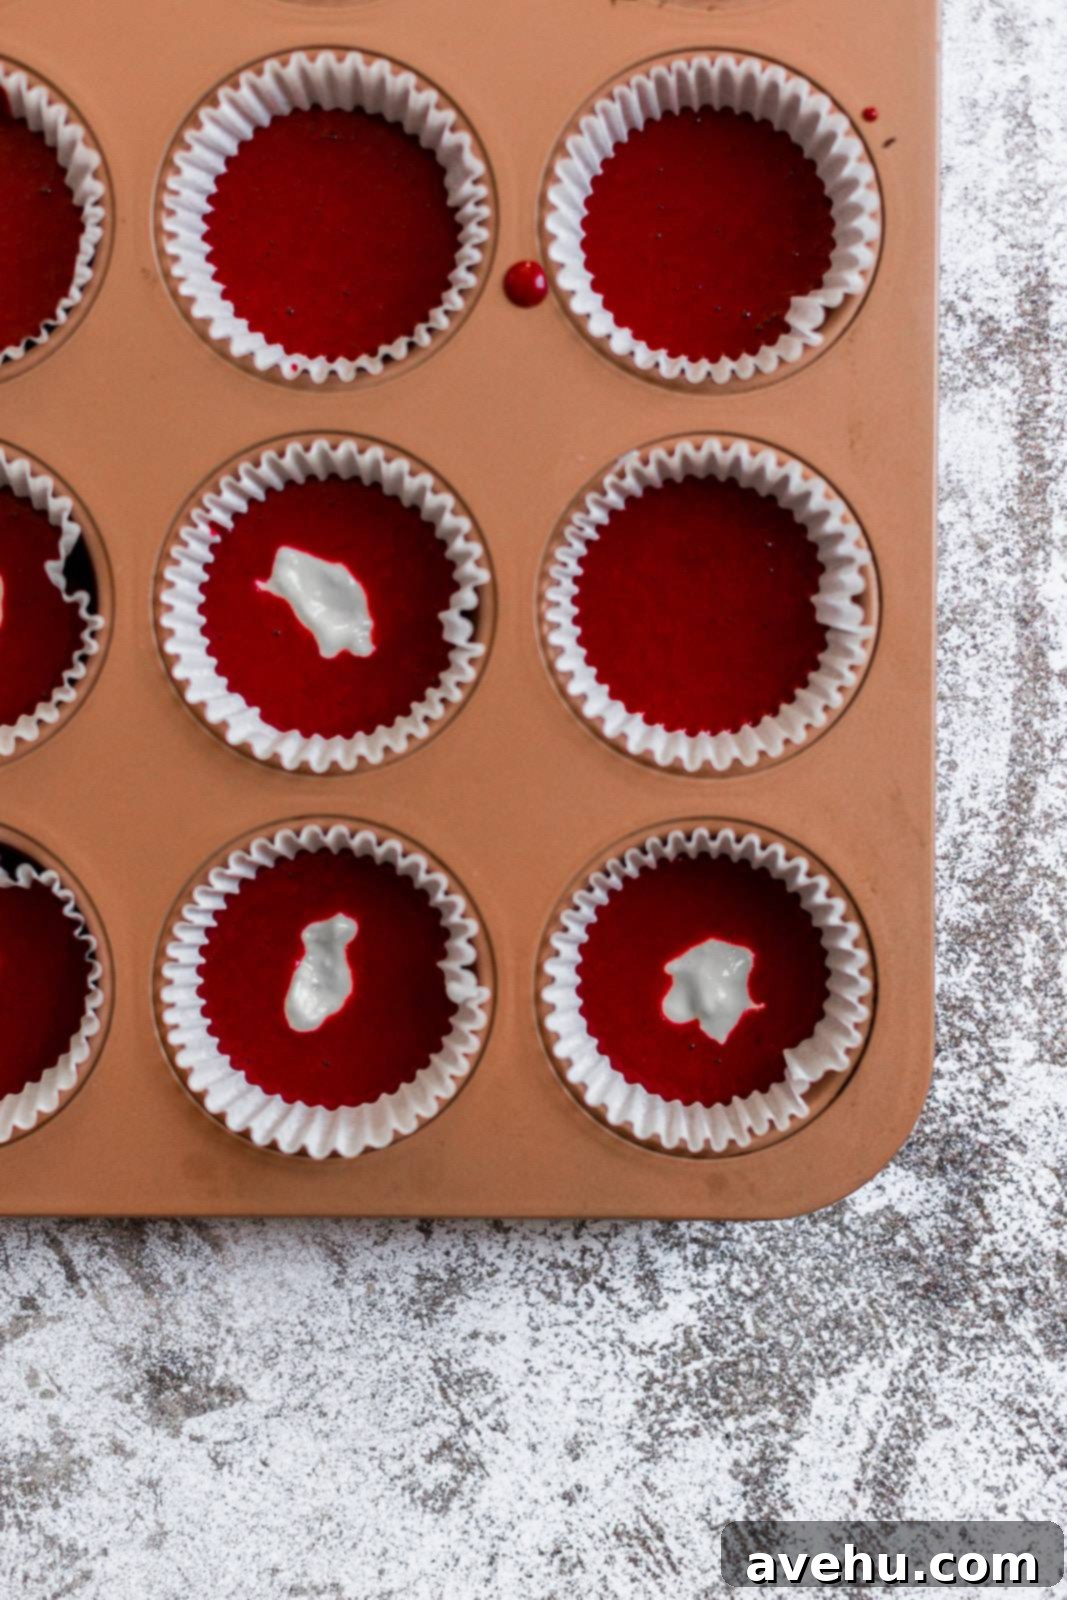
Line two cupcake pans with a total of 18 cupcake liners. Fill each liner about halfway with the red velvet batter. A tablespoon is a helpful tool for this step, ensuring consistent portions. Set these aside while you prepare the irresistible cheesecake filling.
Creating the Creamy Cheesecake Filling
The cheesecake filling is wonderfully simple to prepare. In a small bowl, combine the softened cream cheese, sour cream, granulated sugar, all-purpose flour, and kosher salt. Mix these ingredients until they are just combined. Don’t worry if the mixture has a few small lumps; they will melt and smooth out beautifully during baking, creating a perfectly creamy center for your red velvet cheesecake cupcakes.
Assembling Your Layered Cupcakes
Now for the fun part – assembling these beauties! Take about ½ teaspoon of the cheesecake filling and carefully place a dollop (I just love that word!) right on top and in the center of the cupcake batter in each liner. Try your best to keep the filling in the middle; this ensures the red velvet cake bakes evenly around it, creating a lovely, defined cheesecake core. If some filling gets to the side, don’t fret – they’ll still taste amazing, even if the appearance isn’t quite as uniform.
Once the cheesecake dollop is in place, gently cover it with a little more red velvet batter. You only need enough batter to completely conceal the filling. This ensures the cheesecake remains a delightful surprise within the cupcake, and it prevents the filling from baking unevenly or drying out.
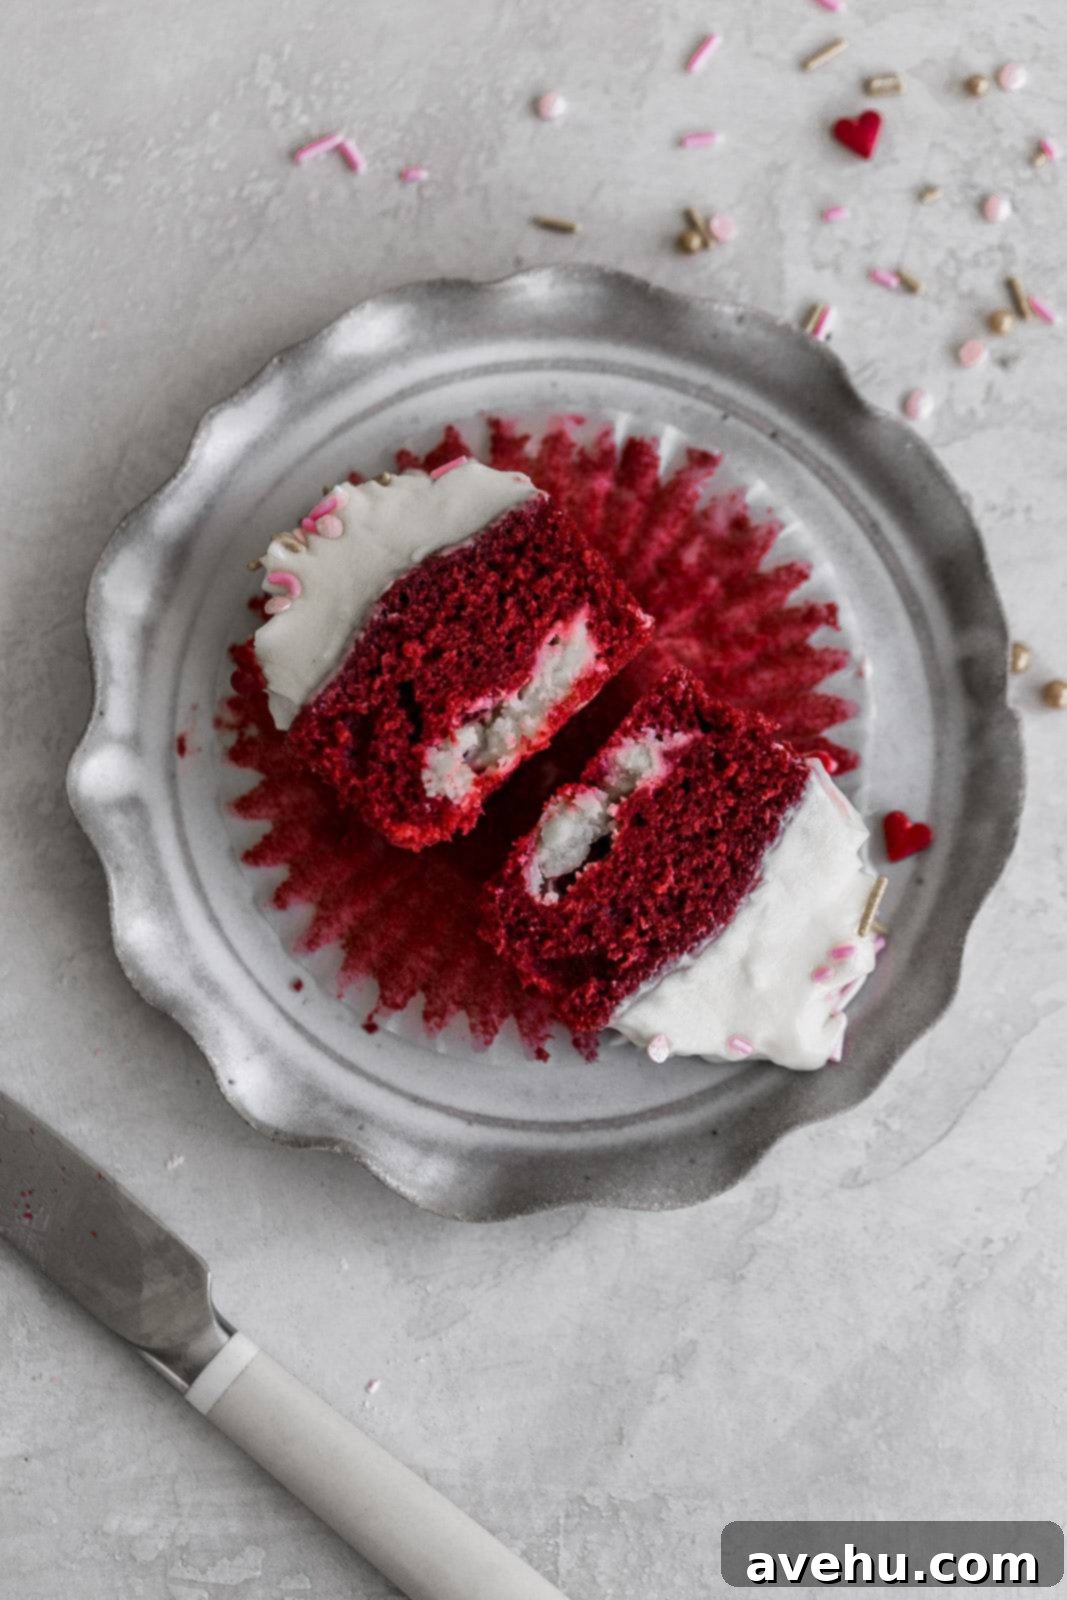
Bake your assembled red velvet cheesecake cupcakes in a preheated oven at 350°F (175°C) for approximately 16-18 minutes. The cupcakes are ready when the tops spring back lightly when touched, and a wooden skewer inserted into the red velvet portion (avoiding the cheesecake center) comes out clean. While your cupcakes are baking to perfection, you can begin preparing the crowning glory: the irresistible cream cheese frosting.
Whipping Up the Perfect Cream Cheese Frosting
For the best cream cheese frosting, a mixer is essential. In the bowl of your stand mixer (or using a hand mixer), combine the softened cream cheese, softened butter, and confectioner’s sugar. Start mixing on the lowest speed to prevent a “sugar cloud” from engulfing your kitchen – a lesson many bakers learn through experience! Gradually increase the speed as the sugar incorporates. Add the vanilla extract and continue to beat on medium-high speed until the frosting becomes light, fluffy, and smooth. Don’t forget to scrape down the sides of the bowl periodically to ensure all ingredients are thoroughly combined.
Unlike many frosting recipes that call for milk or half-and-half to thin them out, we intentionally omit these liquids here. This is a crucial step for achieving a pipeable cream cheese frosting. Because cream cheese is the main component and has a tendency to soften, creating a stable frosting can be tricky. But with a few key tips, you can achieve beautiful, defined swirls every time.
Expert Tips for Perfectly Pipeable Cream Cheese Frosting:
Achieving a frosting that holds its shape beautifully for piping requires a bit of care. Follow these guidelines to ensure your cream cheese frosting is firm enough for intricate designs:
- Refrigerate the frosting after you make it: Chilling the frosting for at least 30 minutes helps it firm up significantly, making it much easier to pipe.
- Pipe it when it’s cold: Work with cold frosting. If it starts to get too soft while piping, return it to the fridge for a few minutes.
- To retain the shape, refrigerate the cupcakes until it’s time to serve: Once frosted, keep your red velvet cheesecake cupcakes chilled. This is especially important if you live in a warm climate or if the cupcakes will be sitting out for a while.
- Utilize the right piping tip: For those classic, elegant swirls, a Wilton 1M star tip is an excellent choice and was used for these cupcakes.
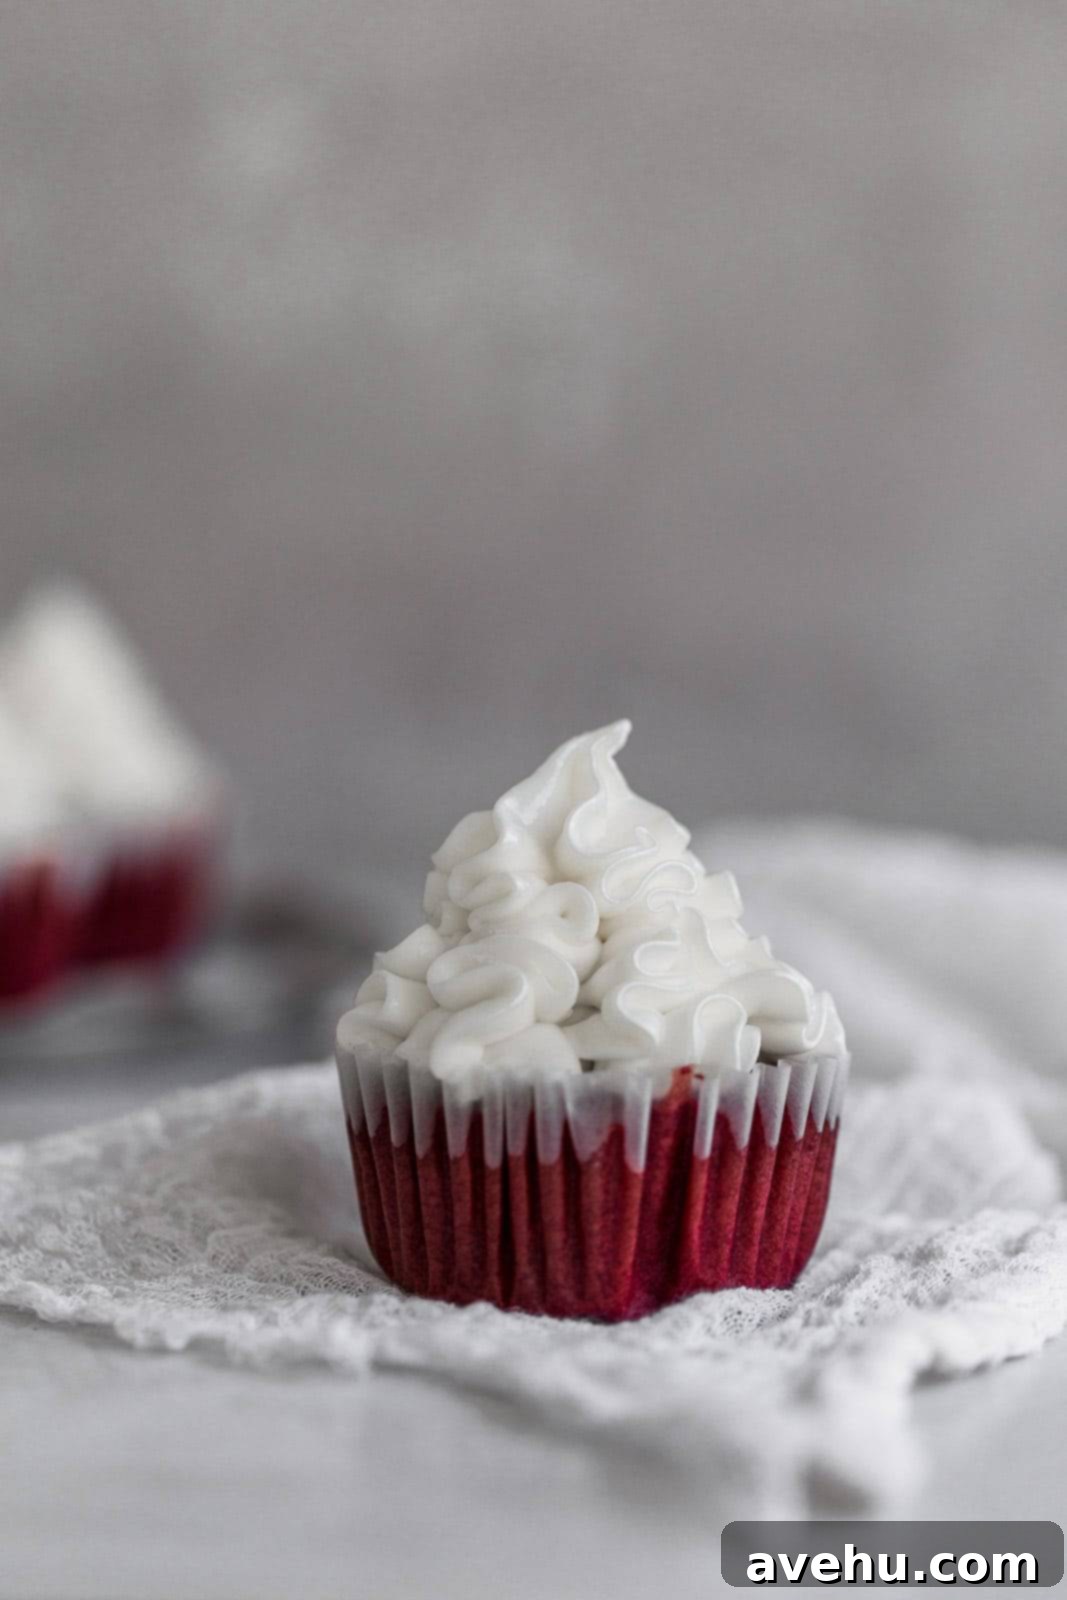
Creative Cupcake Decorating Ideas
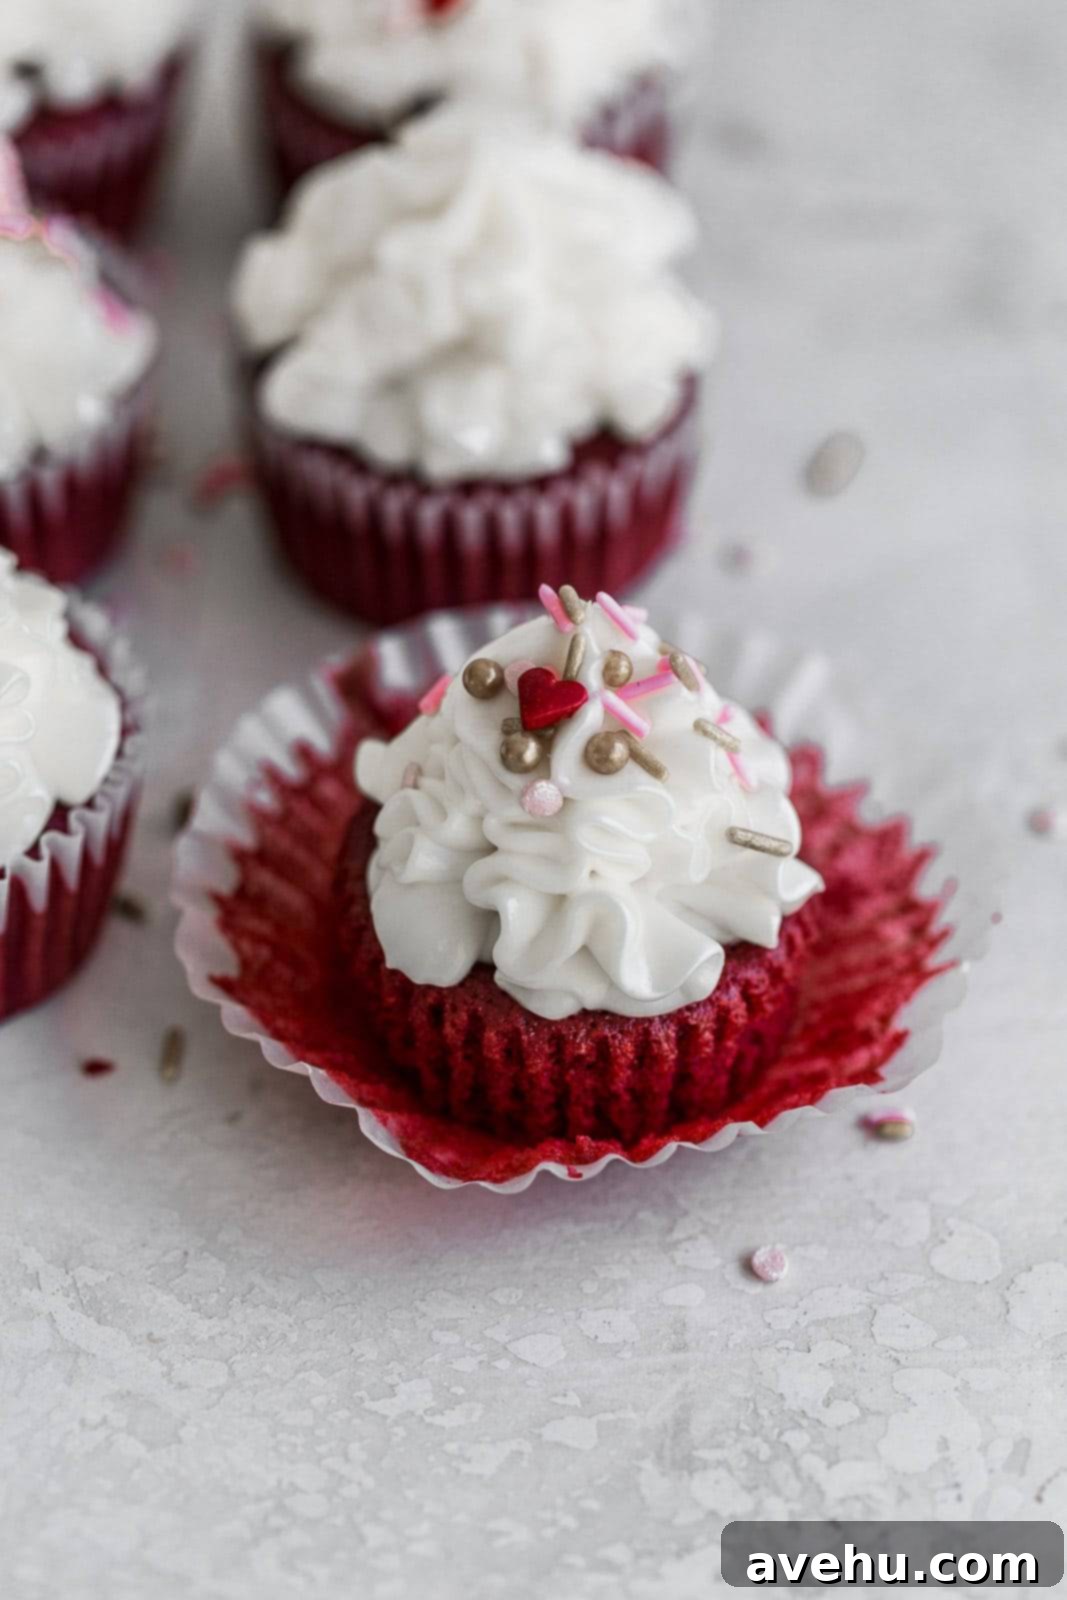
Once your red velvet cheesecake cupcakes are cooled and frosted, the decorating possibilities are endless! Here are a few ideas to get you started:
- Simple Spread and Dip: If piping isn’t your forte or you’re short on time, simply spread a generous dollop of frosting onto each cupcake with an offset spatula. Then, gently dip the frosted top into a bowl of your favorite sprinkles for a quick and festive finish.
- Crumb Topping: For an authentic red velvet look, crumble one of the cupcakes (or use a bit of leftover cake if you have some) and sprinkle the red crumbs over the cream cheese frosting. This provides a lovely textural contrast and a classic aesthetic.
- Vary Your Tips and Sprinkles: Experiment with different piping tips for varied designs – a round tip for smooth domes, or a smaller star tip for more intricate patterns. Finish with a variety of sprinkles, from classic nonpareils to elegant edible glitter or even chocolate shavings for added sophistication.
- Fresh Berries: For a fresh touch, garnish with a single raspberry or a few small red currants, especially fitting for Valentine’s Day.
Making Ahead and Storing Your Delicious Cupcakes
These red velvet cheesecake cupcakes are wonderfully accommodating and can be prepared ahead of time, making them ideal for parties or busy schedules. You can bake the cupcakes completely one or two days in advance. Alternatively, you can make the cupcakes and the cream cheese frosting separately ahead of time, storing them appropriately, and then assemble and pipe the frosting on the day you plan to serve them.
Store frosted red velvet cheesecake cupcakes in an airtight container in the refrigerator for up to 3 days. While they are best enjoyed at room temperature (allowing the frosting to soften slightly), the frosting will hold its shape better if kept chilled. If left out at room temperature for an extended period, the frosting might soften and lose some of its pristine piped shape, but it won’t completely melt unless exposed to extreme heat or direct sunlight. So, as long as they’re not left outdoors on a hot day, they should remain delightful and delicious.
While our cream cheese frosting is absolutely perfect for these cupcakes, don’t hesitate to experiment if you’re in the mood for something different! You could try a classic American buttercream frosting, which is renowned for its pipeability and smooth texture. Or perhaps a rich chocolate buttercream would tantalize your taste buds. For a unique twist, consider a decadent white chocolate buttercream. Any of these options would beautifully complement the rich red velvet and creamy cheesecake filling of these extraordinary cupcakes!
Moist Red Velvet Cheesecake Cupcakes with Buttermilk
Pin
Review
SaveSaved!
Ingredients
Cupcakes:
- 1 ¼ cups (156.25 g) all purpose flour
- 1 ½ tablespoons (1.5 tablespoons) cocoa powder
- ½ teaspoon (0.5 teaspoon) kosher salt
- ½ teaspoon (0.5 teaspoon) baking soda
- ½ cup (118.29 ml) vegetable or canola oil
- 1 cup (200 g) granulated sugar
- 2 (2) eggs, large
- 2 tablespoons (2 tablespoons) vanilla extract
- 1 tablespoon (1 tablespoon) red food coloring
- ½ cup (120 g) buttermilk
- 1 teaspoon (1 teaspoon) white vinegar
Cream Cheese Filling
- ½ cup (113.5 g) or 4 oz cream cheese, softened
- ¼ cup (57.5 g) sour cream
- ¼ cup (50 g) granulated sugar
- ½ tablespoon (0.5 tablespoon) all purpose flour
- ¼ teaspoon (0.25 teaspoon) kosher salt
Cream Cheese Frosting
- 1 8 oz (255.15 g) package cream cheese, softened
- ½ cup (113.5 g) butter, softened
- 3 cups (546 g) confectioner sugar
- ½ teaspoon (0.5 teaspoon) vanilla extract
Instructions
-
Preheat the oven to 350° F (175°C) and line two cupcake tins with 18 cupcake liners. This ensures they are ready when your batter is prepared.
-
In a medium-sized bowl, thoroughly combine the flour, cocoa powder, salt, and baking soda. Whisk them well to ensure all dry ingredients are evenly distributed, preventing lumps in the final batter.
-
In a large mixing bowl, or the bowl of a stand mixer, add the vegetable oil and granulated sugar. Whisk or mix on low speed for about 30 seconds until the mixture is light, pale yellow, and frothy. This step helps dissolve the sugar.
-
Add the eggs one at a time, mixing well after each addition until fully incorporated and the mixture is light and fluffy. Then, add the vanilla extract and red food coloring, mixing until the color is evenly combined and vibrant.
-
Next, alternate adding the dry ingredients with the buttermilk. Begin by adding about one-third of the dry ingredients, mixing on low until just combined. Follow with half of the buttermilk, mixing gently. Repeat, ending with the remaining dry ingredients. Be careful not to overmix the batter.
-
Finally, stir in the white vinegar until evenly combined. This reacts with the baking soda and buttermilk for an extra tender crumb. Fill the cupcake liners up halfway with this beautifully red batter. A tablespoon can be very useful for consistent filling.
-
Set the cupcake tins aside and proceed to make the creamy cheesecake filling.
-
In a small bowl, combine the softened cream cheese, sour cream, sugar, flour, and salt. Mix until just combined; a few small lumps are perfectly fine. Place about ½ teaspoon of this filling into the center of each partially filled cupcake liner. Then, gently spoon a little extra red velvet batter over the filling, just enough to cover it completely.
-
Bake the cupcakes for 16-18 minutes. They are done when the tops are springy to the touch, no longer jiggle, and a toothpick inserted into the cake portion (not the filling) comes out clean. Allow them to cool completely before frosting.
-
While the cupcakes cool, prepare the cream cheese frosting. In the bowl of a stand mixer, combine the softened cream cheese, butter, and confectioner’s sugar. Start the mixer on low speed, gradually increasing it as the sugar incorporates to avoid a dusty mess. Scrape down the sides of the bowl as needed to ensure even mixing.
-
Add in the vanilla extract and beat on medium to high speed until the frosting is wonderfully light, fluffy, and smooth. If it’s too soft for piping, chill it in the refrigerator for 20-30 minutes.
-
Once the cupcakes are completely cool and the frosting is firm enough, pipe the frosting onto each cupcake. For best results and to maintain their beautiful shape, store the frosted cupcakes in the fridge until ready to serve!
Notes
Option to Omit Cheesecake Filling: If you prefer classic red velvet cupcakes, you can easily leave out the cheesecake filling. In this case, simply fill your cupcake liners two-thirds of the way full with the red velvet batter and bake as directed.
