Irresistibly Smooth & Safe Edible Cookie Dough Frosting: The Ultimate Guide
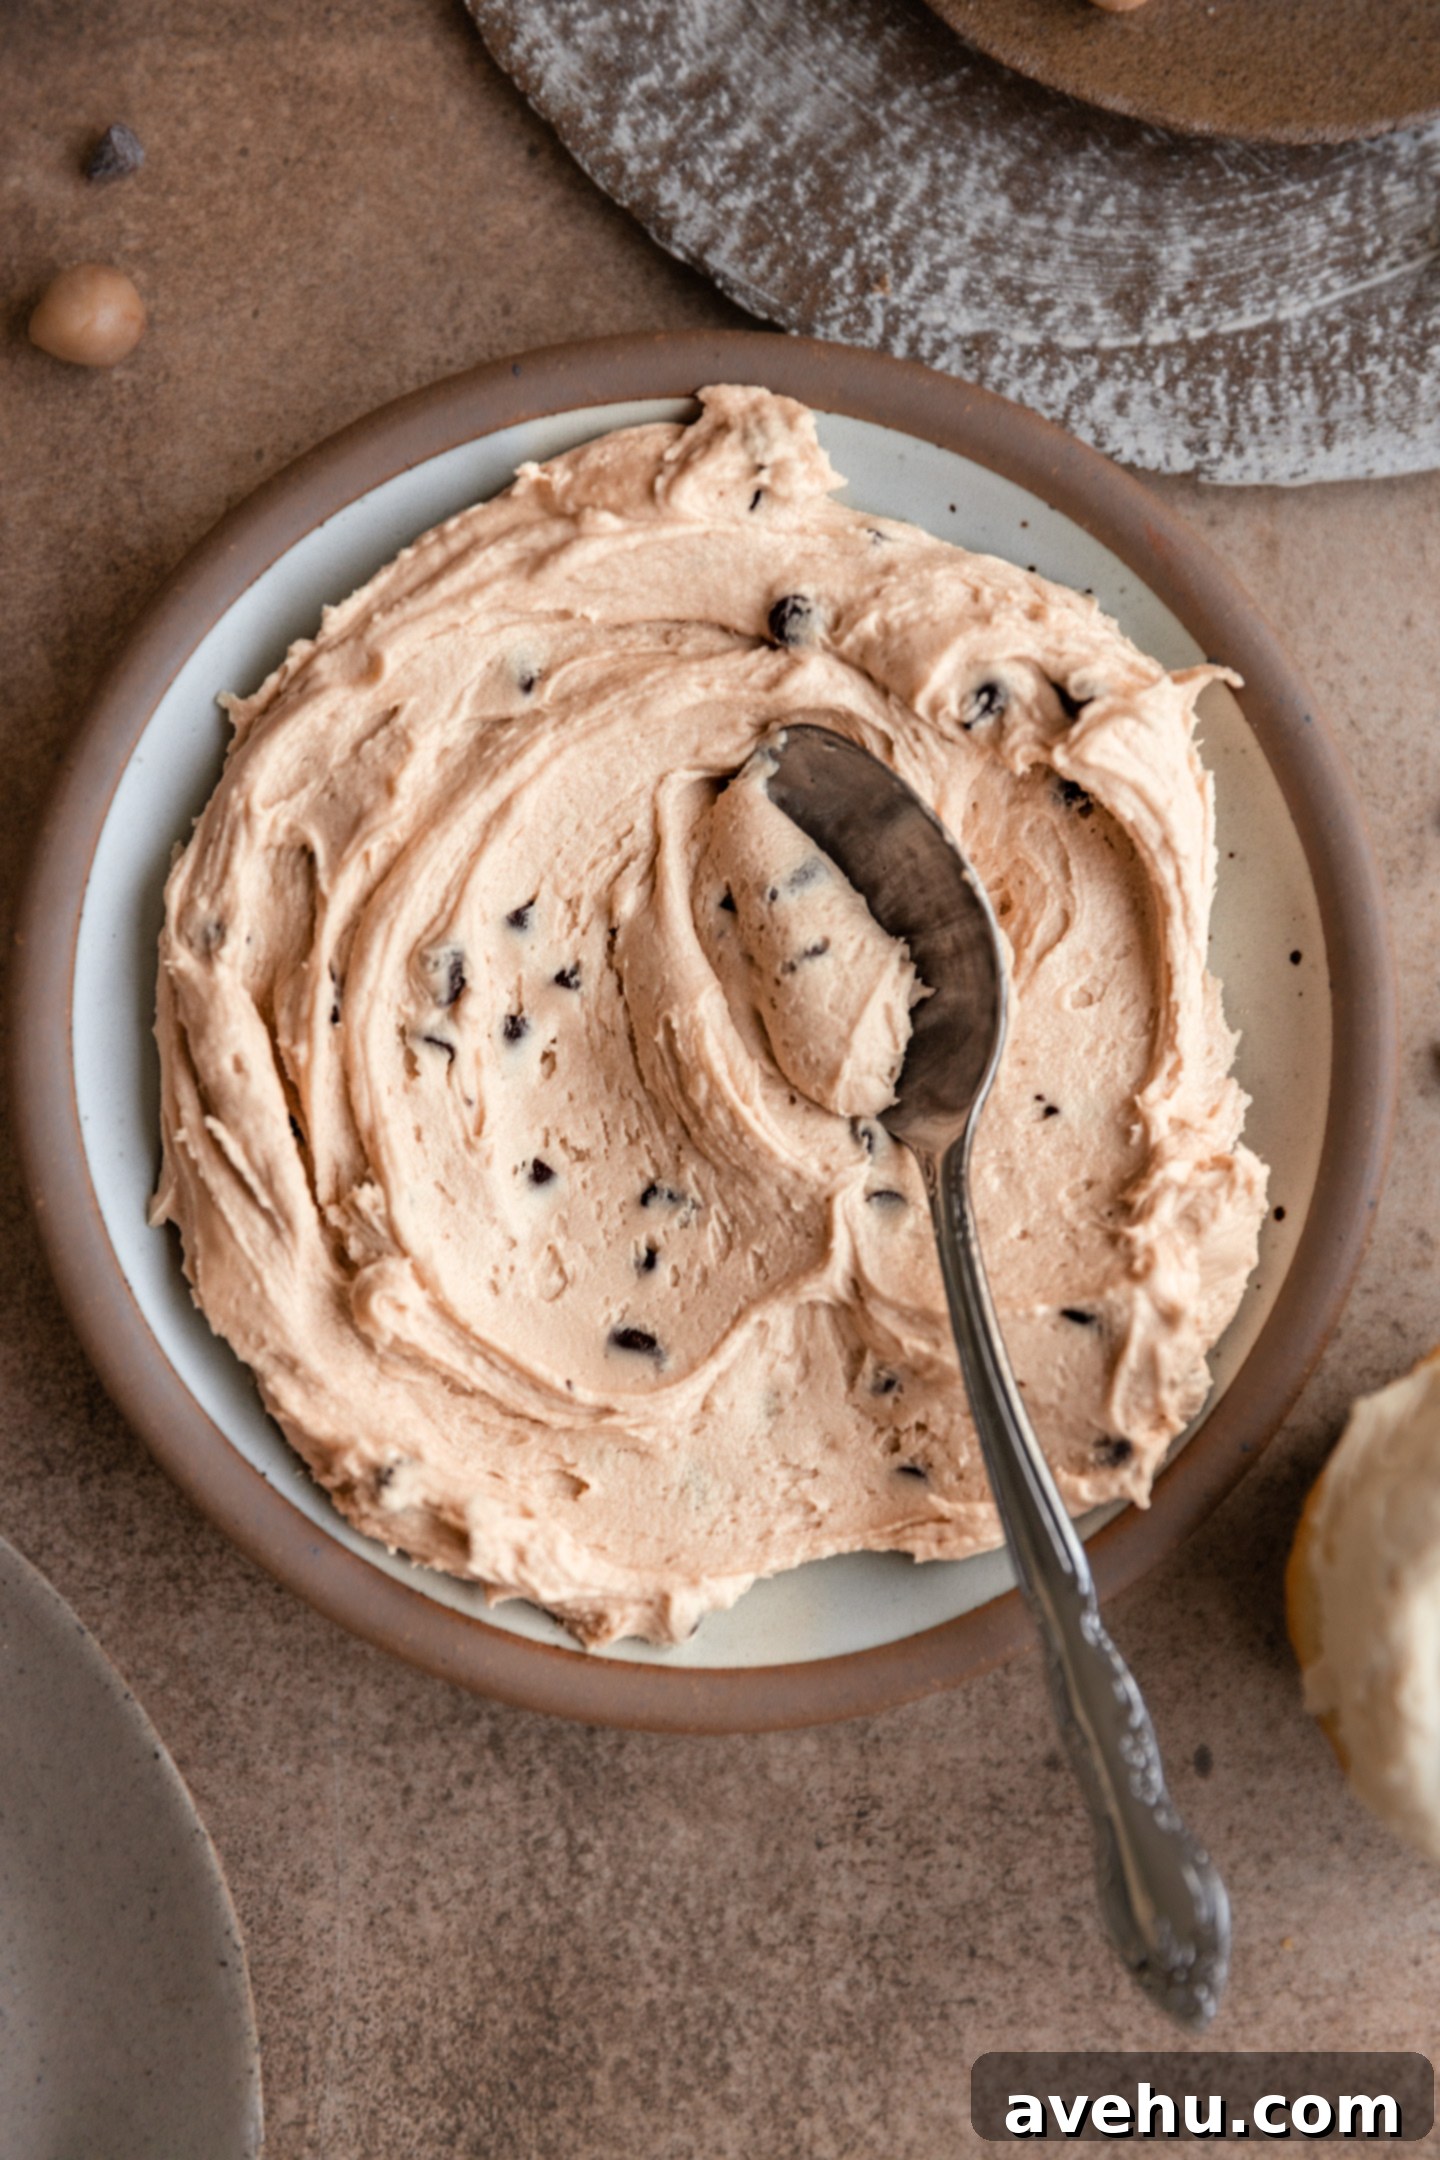
Prepare to fall in love with this incredible cookie dough frosting! It’s a game-changer for anyone who adores the rich, buttery flavor of raw cookie dough but wants to enjoy it safely. Crafted with carefully heat-treated flour and completely free of eggs, this frosting offers all the nostalgic goodness you crave without any worries. Imagine the luxurious, creamy texture of a classic buttercream, perfectly infused with that unmistakable cookie dough essence, and studded with delightful mini chocolate chips. This isn’t just any topping; it’s the ideal crowning glory for everything from cookie dough cupcakes to brownies and cakes, transforming any dessert into an extraordinary experience.
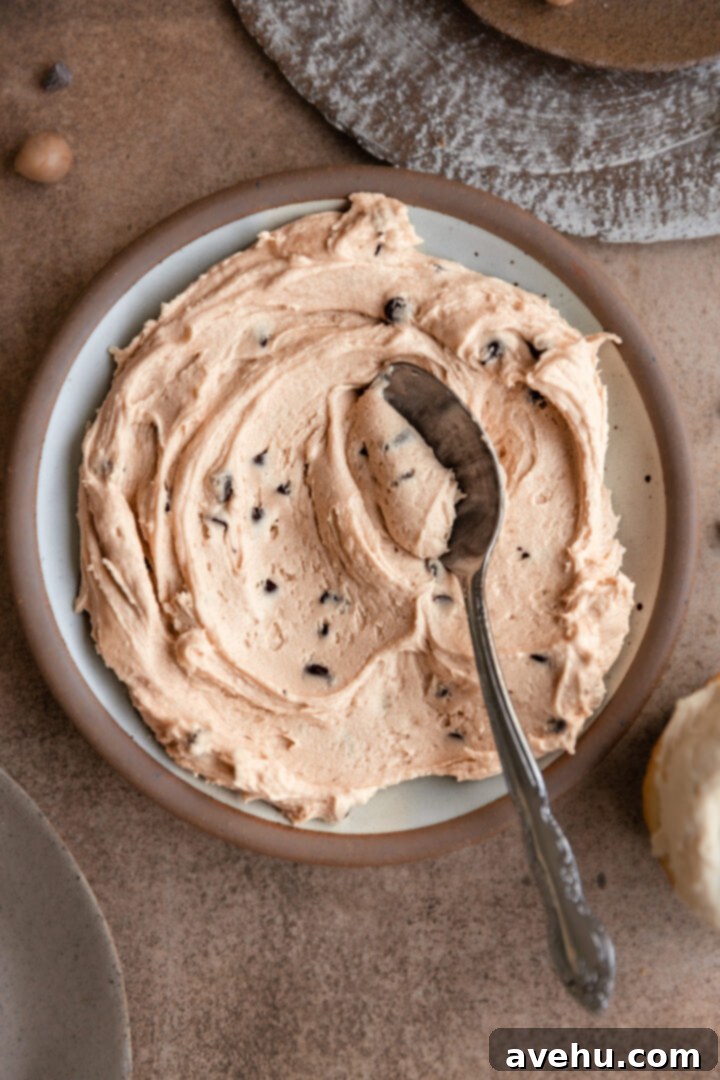
When I set out to develop this recipe, my primary goal was to create a cookie dough frosting that stood out from the rest. I focused on two critical elements to ensure it delivered an unparalleled dessert experience:
- An Exceptionally Smooth, Creamy, and Non-Grainy Base: The texture had to be absolutely perfect, melting in your mouth rather than feeling gritty.
- Authentic, Irresistible Cookie Dough Flavor: It needed to taste exactly like your favorite raw cookie dough, rich and comforting.
Many cookie dough frosting recipes rely on brown sugar to achieve that signature flavor, which is a fantastic idea in theory. However, simply adding granulated brown sugar directly into the frosting often leads to an unpleasantly grainy texture. This grit can detract significantly from the enjoyment of what should be a wonderfully decadent treat.
As a professionally trained baker, I’m committed to achieving the smoothest possible frostings. That’s why, for this recipe, I took a different approach. Instead of incorporating raw brown sugar, I decided to melt it down with a bit of water first, transforming it into a smooth, flavorful syrup. This extra step is the secret to a velvety, grain-free frosting base that truly elevates the cookie dough experience.
While this technique adds a few minutes to the preparation time compared to some of my quicker, 5-minute frostings like caramel frosting, coffee frosting, or classic vanilla buttercream, the need to cool the brown sugar syrup is absolutely worth it. The resulting smooth consistency and authentic flavor are unmatched!
For the ultimate cookie dough enthusiast, this frosting is a dream come true. It pairs perfectly with homemade cookie dough cupcakes or offers a delightful contrast when generously spread over rich chocolate fudge cupcakes. The best part? You don’t need to whip up an actual batch of cookie dough to enjoy this fantastic flavor. The process is surprisingly straightforward, and I’m excited to guide you through each simple step!
Why You’ll Love This Edible Cookie Dough Frosting
This isn’t just another frosting recipe; it’s designed to deliver maximum flavor and safety with minimal fuss. Here’s why this cookie dough frosting will quickly become your new favorite:
- Completely Safe to Eat: No raw eggs, and the flour is heat-treated, eliminating any concerns about consuming raw ingredients.
- Unbelievably Smooth Texture: Say goodbye to grainy frostings! Our special method for melting brown sugar ensures a silky, delightful mouthfeel every time.
- Authentic Cookie Dough Flavor: The combination of heat-treated flour, brown sugar, and butter perfectly mimics the beloved taste of raw cookie dough.
- Easy to Make: Despite the professional results, the steps are simple and approachable for home bakers of all skill levels.
- Versatile for All Your Desserts: While perfect for cupcakes, this frosting is also amazing on cakes, brownies, or even enjoyed straight from the bowl!
- Studded with Mini Chocolate Chips: These tiny morsels add the quintessential cookie dough aesthetic and a burst of chocolate in every bite.
The Essential Step: Heat Treating the Flour
Adding flour to frosting might seem unconventional at first, but it’s a crucial component for two main reasons. Firstly, it provides that authentic, slightly doughy consistency and helps to bulk up the frosting, contributing to its thick, pipeable texture. Secondly, and most importantly, it’s a critical safety measure.
Raw flour, like raw eggs, can sometimes contain harmful bacteria such as E. coli or salmonella. Since this frosting is designed to be eaten raw, it’s absolutely essential to heat treat the flour beforehand. This simple process eliminates any potential risks, making your delicious cookie dough frosting entirely safe to enjoy.
Heat treating flour is quick, easy, and can be done in one of two convenient ways:
- Oven Method: Spread the flour evenly on a baking sheet lined with parchment paper. Bake it in a preheated oven at 350° F (175° C) for approximately 5 minutes. This ensures the flour reaches a safe temperature. After baking, allow the flour to cool completely before using.
- Microwave Method: Place the flour in a microwave-safe bowl. Microwave on high for 30 seconds, then stir thoroughly. Microwave for another 30 seconds, stirring again. This short bursts of heat are usually sufficient. Again, let the flour cool down completely before incorporating it into your recipe.
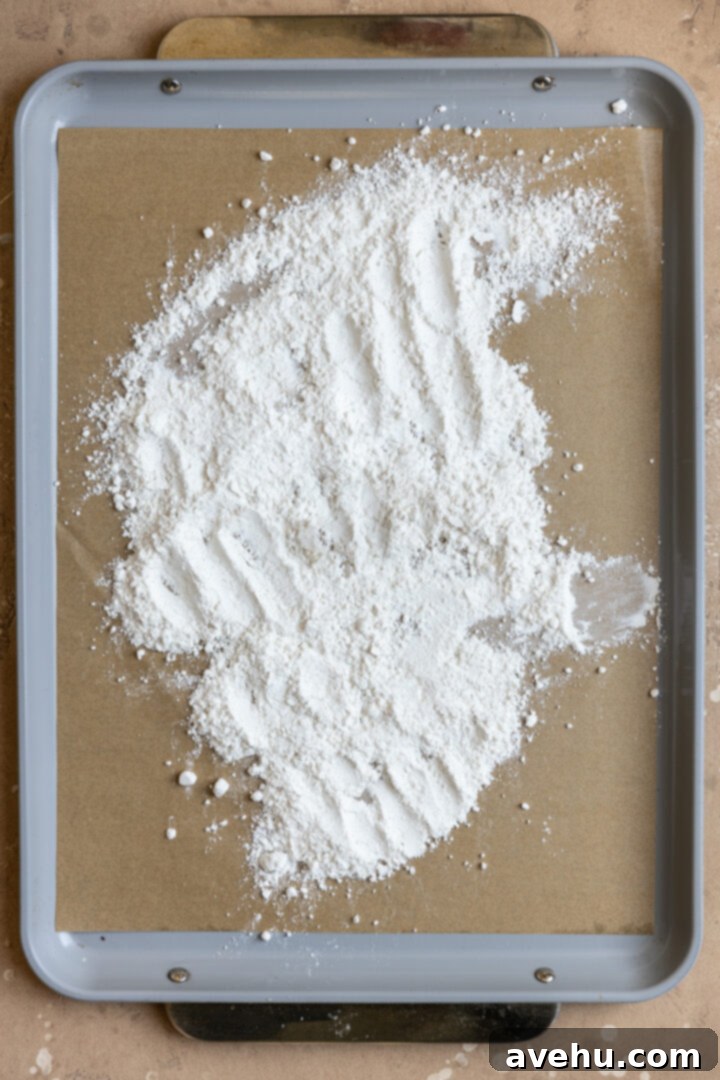
In both scenarios, allowing the flour to cool completely is paramount. This isn’t just about safety; it’s also about maintaining the integrity of your frosting. I learned this the hard way myself! The first time I made a similar cookie dough recipe, I was impatient and didn’t wait for the flour to cool properly. The residual heat from the flour ended up melting all the mini chocolate chips, resulting in a marbled, unattractive, and somewhat weird-textured cookie dough. So, take my advice:
Cool the flour! Don’t make the same mistake I did. Patience truly pays off for perfect results.
The Secret to Smoothness: Melting the Brown Sugar
As I emphasized earlier, achieving a smooth, grain-free frosting base is non-negotiable for a truly enjoyable edible cookie dough experience. The key to this velvety texture lies in melting the brown sugar. I recommend tackling this step while your flour is in the oven or cooling, so both components can be ready around the same time.
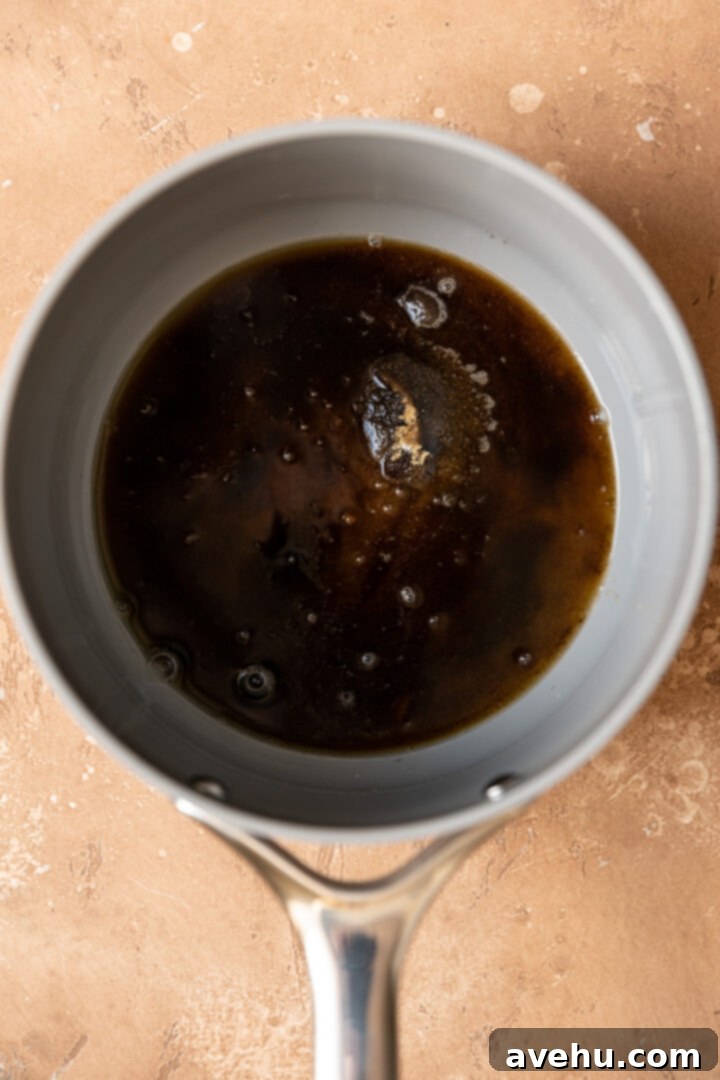
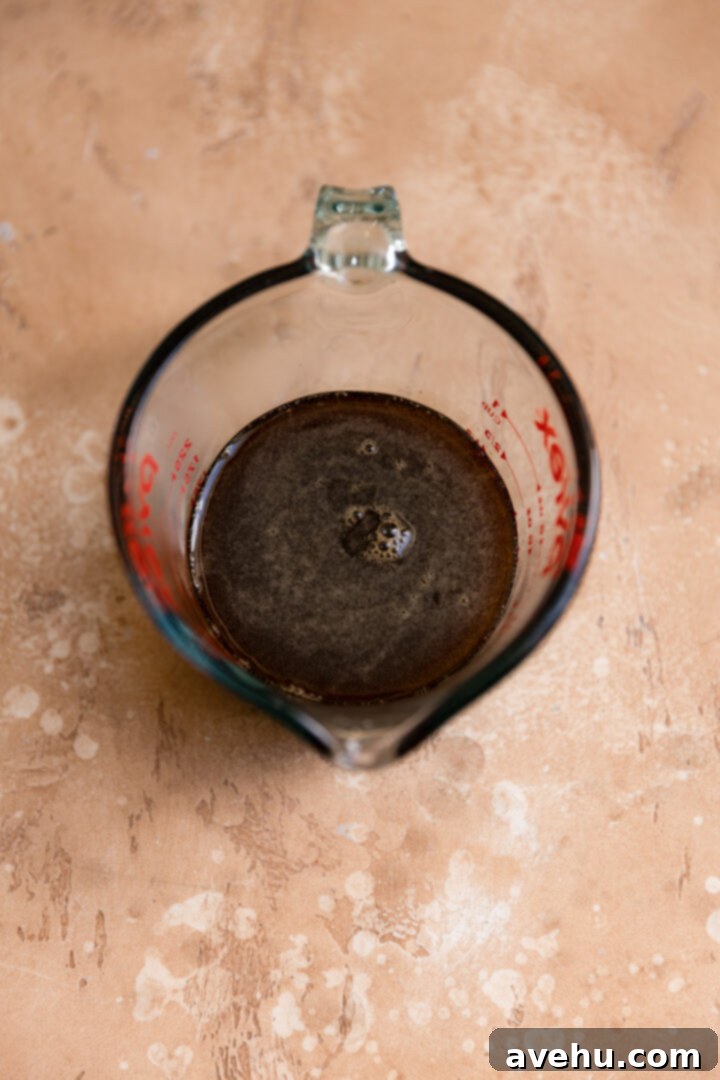
To prepare your brown sugar syrup, combine the specified amount of brown sugar and water in a small saucepan. Place it over medium-high heat and bring the mixture to a gentle boil. Once boiling, reduce the heat to low and stir continuously until all the sugar crystals have completely dissolved and you have a smooth, homogeneous syrup. You can test for graininess by carefully taking a small amount of the syrup on a spoon (ensure it’s cool enough not to burn!) and rubbing it between your fingers. If you still feel any grit, continue to simmer and stir for another minute or two until it’s perfectly smooth. Then, set it aside to cool completely.
Cooling is key! Just like with the flour, ensure the brown sugar syrup is at room temperature or even slightly cool before adding it to your frosting base. Introducing warm syrup can melt the butter and ruin the texture of your frosting.
Assembling the Irresistible Cookie Dough Frosting
Now that your heat-treated flour and melted brown sugar syrup are cooled and ready, it’s time to bring everything together to create this spectacular frosting. The initial steps will feel familiar if you’ve made my other homemade frosting recipes, but with a few unique twists that make this cookie dough version so special.
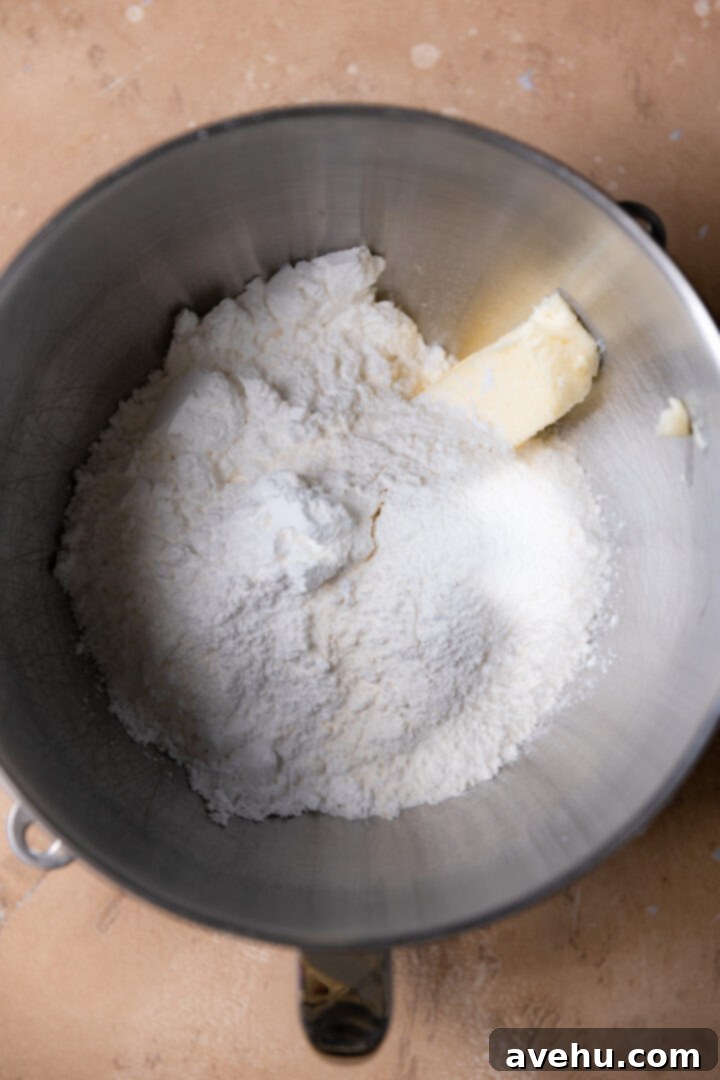
Begin by adding your softened unsalted butter and powdered sugar to the bowl of a stand mixer fitted with the paddle attachment. Start mixing on a low speed to incorporate the ingredients, gradually increasing to medium speed. Continue mixing for about 2 minutes. At this stage, the mixture might look dry and crumbly, and it won’t have come together as a smooth frosting yet – this is perfectly normal and expected!
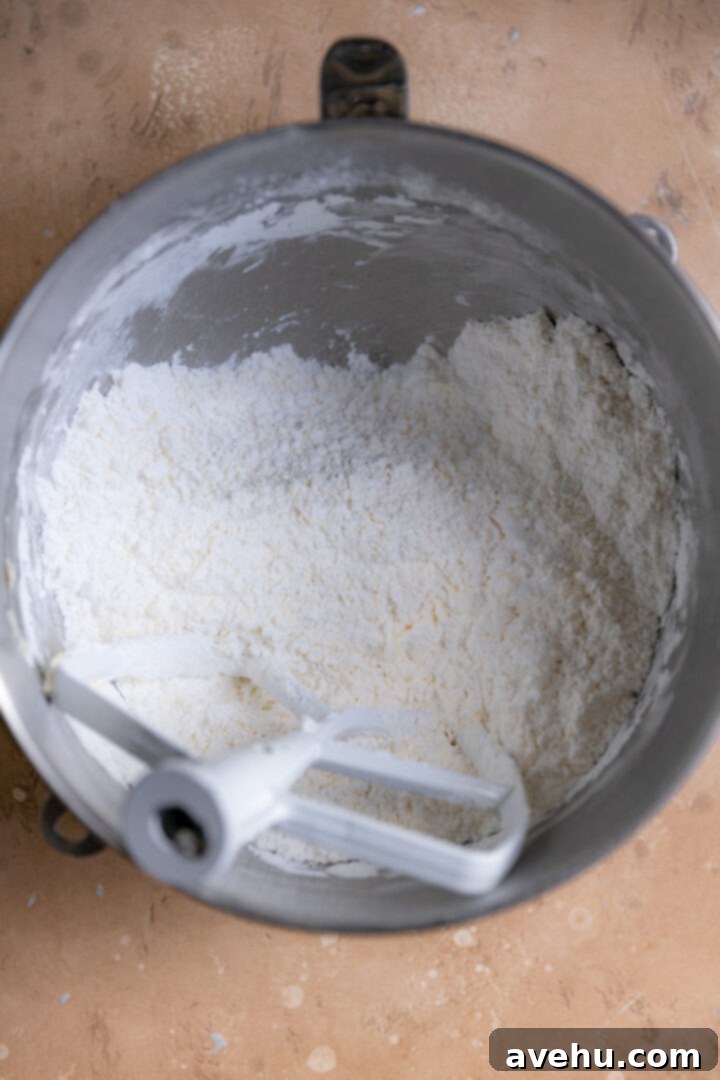
Next, add the cooled, heat-treated flour to the butter and sugar mixture. Mix again on low speed until the flour is thoroughly incorporated. The texture will likely still be crumbly, but make sure there are no dry pockets of flour remaining.
With the mixer running on low, slowly and gradually pour in the cooled brown sugar syrup. This is where the magic starts to happen! As the syrup combines with the butter and sugar, the mixture will begin to transform, taking on the familiar appearance and consistency of frosting. After the syrup is fully integrated, add the heavy cream (or half-and-half) and a pinch of kosher salt. The cream helps to loosen the frosting slightly, adding a delightful creaminess and contributing to a lighter, fluffier texture. Once all ingredients are in, increase the mixer speed to medium-high and beat for a full minute. This vigorous mixing incorporates air, making your cookie dough frosting wonderfully light and airy.
Finally, it’s time for the stars of the show – the chocolate chips! I highly recommend using mini chocolate chips for this recipe. Their smaller size ensures they blend seamlessly into the frosting, making it significantly easier to spread evenly onto cupcakes or cake. If you only have regular-sized chocolate chips on hand, I suggest chopping them into smaller pieces before adding them to avoid clogs if you plan to pipe, and to ensure a smoother application.
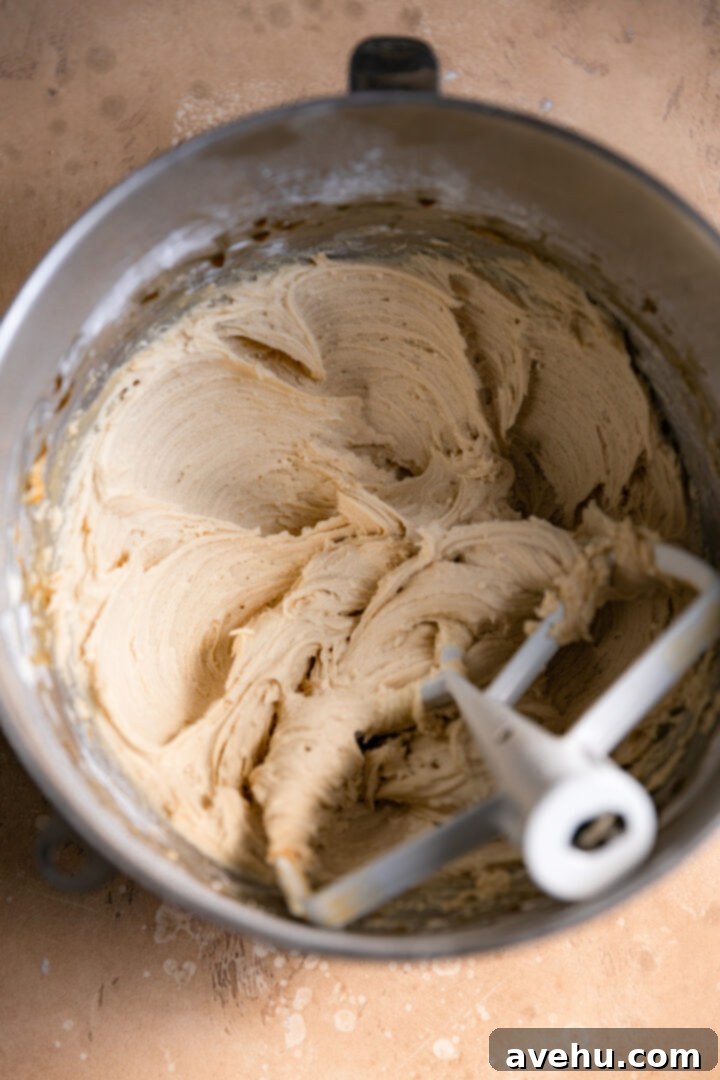
Decorating with Cookie Dough Frosting
Once your cookie dough frosting is perfectly whipped and has the ideal consistency, you’re ready to decorate! Its rich texture and delightful flavor make it perfect for a variety of applications.
If your heart is set on piping this frosting onto cupcakes or a cake, there’s a crucial tip to remember: use a very wide, open round tip. A personal favorite from my days working at a custom cake bakery is the Ateco 809 tip. The reason for this specific tip choice is simple: the mini chocolate chips, while small, can easily clog narrower or more intricately shaped piping tips. Using a wide-open round tip ensures a smooth, uninterrupted flow of frosting, making your decorating process stress-free and enjoyable.
Attempting to use a smaller or star-shaped tip will almost certainly result in the chocolate chips getting stuck, leading to frustrating blockages and a messy decorating experience. So, save yourself the hassle and opt for a generous opening!
If piping isn’t your preferred method, or if you don’t have the right tips, this frosting is equally delicious and easy to apply with an offset spatula. Simply dollop a generous amount onto your cupcake or cake and spread it out for a rustic yet appealing look. You can also get creative by topping your frosted treats with a few extra mini chocolate chips, a sprinkle of edible glitter, or even a tiny piece of actual edible cookie dough for an extra flourish.
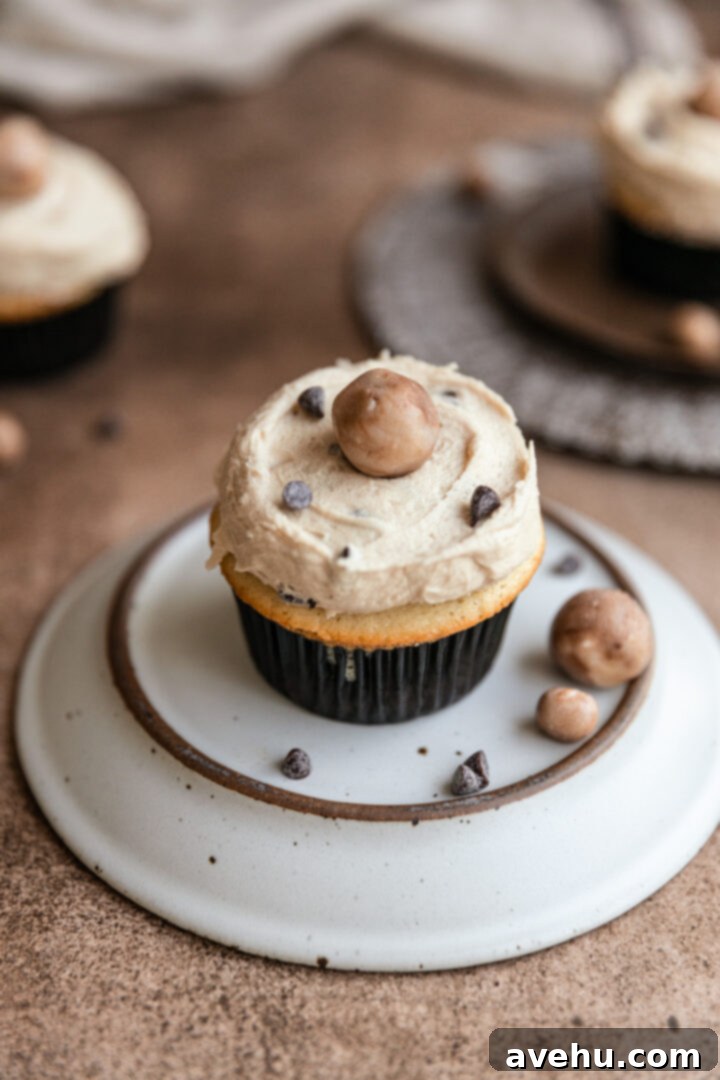
Storage Guidelines for Your Cookie Dough Frosting
One of the fantastic benefits of this edible cookie dough frosting, because it contains no eggs and uses heat-treated flour, is its excellent stability and storage versatility. Unlike many other buttercreams, it doesn’t strictly require refrigeration for short-term storage, which is a huge convenience.
To store your cookie dough frosting at room temperature, simply transfer it to an airtight container. This prevents it from drying out or absorbing any ambient odors. Alternatively, you can place the frosting directly onto a piece of plastic wrap, pressing out any air bubbles, and wrap it up tightly. Ensure there is no exposure to air, which can cause the frosting to form a crust. Stored this way, it will remain fresh and delicious for up to 2-3 days.
For longer storage, or if your kitchen runs particularly warm, refrigeration is an option. Place the frosting in an airtight container and store it in the refrigerator for up to a week. When you’re ready to use it, allow it to come back to room temperature. It may become quite firm in the fridge, so you might need to re-whip it slightly in your stand mixer on low speed for a minute or two, possibly adding another teaspoon of heavy cream to restore its original fluffy and spreadable consistency.
This frosting also freezes beautifully! For extended storage (up to 2-3 months), place it in a freezer-safe, airtight container. When thawing, transfer it to the refrigerator overnight, then let it come to room temperature before re-whipping as described for refrigerated frosting. This ensures it’s perfectly smooth and ready to adorn your next batch of baked goods.

Easy Edible Cookie Dough Frosting (Smooth & Safe!)
Pin
Review
SaveSaved!
Ingredients
- 1 cup all purpose flour
- 3/4 cup brown sugar
- 1/4 cup water
- 1 1/4 cup unsalted butter, softened
- 3 cup powdered sugar
- 1 tbsp Heavy cream, or half n half
- 1 pinch kosher salt
- 3/4 cup mini chocolate chips
Instructions
Prepare the Base
-
 Preheat oven to 350°F (175°C). Spread 1 cup all-purpose flour thinly over a parchment-lined baking sheet and bake for 5 minutes. Alternatively, place flour in a microwave-safe bowl, microwave on high for 30 seconds, stir, then microwave for another 30 seconds. In both cases, allow flour to cool completely to room temperature.
 -
 In a small saucepan, combine 3/4 cup brown sugar and 1/4 cup water. Bring to a boil over medium-high heat. Reduce heat to low and simmer for 3-4 minutes, stirring until the sugar is completely melted and the syrup is smooth (test for grit between cool fingers). Set aside to cool completely.
Whip the Frosting
-
 Meanwhile, begin the frosting base. Add 1 1/4 cups softened unsalted butter and 3 cups powdered sugar to the bowl of a stand mixer fitted with the paddle attachment. Mix on low-medium speed for 2 minutes. The mixture will still be dry and crumbly; it won’t come together yet, and that’s expected.
 -
Add the cooled, heat-treated flour to the butter and sugar mixture. Mix on low speed until well incorporated and no dry streaks of flour remain.
-
 With the mixer running on low speed, slowly and steadily pour in the cooled brown sugar syrup. Once combined, add 1 tbsp heavy cream and the pinch of kosher salt. Increase mixer speed to high and beat for 1 minute to achieve maximum fluffiness and a smooth consistency.
 -
 Using a spatula, gently fold in the 3/4 cup mini chocolate chips until evenly distributed. Your perfectly smooth and safe edible cookie dough frosting is now ready to be frosted over cookie dough cupcakes, cakes, or any dessert of your choice!
Notes
Perfect Pairings: What to Frost with Edible Cookie Dough Goodness
This edible cookie dough frosting is incredibly versatile and can elevate almost any dessert. While it’s famously fantastic on cupcakes, don’t limit yourself! Here are some creative and delicious ways to use this smooth, chocolate chip-studded treat:
- Cookie Dough Cupcakes: The classic pairing! A chocolate or vanilla cupcake topped with this frosting is a dream.
- Chocolate Fudge Cupcakes: The rich chocolate base provides a perfect contrast to the sweet, doughy frosting.
- Brownies: Spread a generous layer over cooled brownies for an extra layer of decadence.
- Cakes: Use it to frost a birthday cake, sheet cake, or even a mini layer cake. It’s especially good with vanilla, chocolate, or yellow cake.
- Sandwich Cookies: Pipe a dollop between two soft-baked chocolate chip cookies or sugar cookies for an epic sandwich treat.
- Whoopie Pies: Use it as the creamy filling for homemade whoopie pies.
- Edible Cookie Dough Bites: Roll some of this frosting into small balls and dip them in melted chocolate for a quick truffle-like treat.
- Graham Crackers: A simple, nostalgic snack that gets a major upgrade with a smear of this frosting.
- Just a Spoon: Seriously, sometimes the best way to enjoy it is straight from the bowl!
Troubleshooting Common Cookie Dough Frosting Issues
Even with the best recipes, sometimes things don’t go exactly as planned. Here are some common issues you might encounter with cookie dough frosting and how to fix them:
- Frosting is Too Thin: If your frosting is too runny, it’s likely due to too much liquid or butter that was too soft. Try adding another 1/4 cup of powdered sugar and mixing until incorporated. If it’s still too thin, you can refrigerate the frosting for 15-20 minutes to firm up the butter, then re-whip.
- Frosting is Too Thick/Stiff: This usually means you need more liquid. Add heavy cream (or milk) one teaspoon at a time, mixing well after each addition, until it reaches your desired consistency.
- Frosting is Grainy: This is almost always caused by brown sugar that hasn’t fully dissolved. Unfortunately, once the frosting is made, it’s hard to completely eliminate the graininess. This is why the step of melting the brown sugar into a smooth syrup and testing it is so critical. Ensure your brown sugar syrup is perfectly smooth *before* adding it to the butter mixture.
- Chocolate Chips Melted: This happens if your flour or brown sugar syrup wasn’t fully cooled before being added. Always ensure both are at room temperature. If they’ve melted, the frosting is still safe to eat, but the aesthetic might be different.
- Butter Separated/Curdled: This can happen if your butter was too cold or too warm, or if you added liquids too quickly. Sometimes, continuing to beat the frosting on medium-high speed for several minutes can bring it back together. If it looks very curdled, try warming a small portion of the frosting (about 1/4 cup) in the microwave for 10-15 seconds until barely melted, then slowly pour it back into the main batch while the mixer is running.
Delicious Variations to Try
Once you’ve mastered the classic edible cookie dough frosting, feel free to get creative with these exciting variations:
- White Chocolate Chip Cookie Dough: Swap out the mini semi-sweet chocolate chips for white chocolate chips for a sweeter, creamier profile.
- Peanut Butter Chip Cookie Dough: Add mini peanut butter chips along with (or instead of) the chocolate chips for a nutty twist.
- Brown Butter Cookie Dough: Brown your butter before letting it cool and softening for an extra depth of nutty, caramelized flavor. This adds a little extra prep time but is incredibly rewarding.
- Espresso/Coffee Infused: Add 1/2 teaspoon of espresso powder or instant coffee granules to the brown sugar syrup while it’s melting to enhance the chocolate flavor and add a subtle coffee note.
- Nutty Cookie Dough: Finely chop a small amount of toasted pecans or walnuts and fold them in with the chocolate chips for added crunch and flavor (ensure no allergies!).
- Mint Chocolate Chip: Add a few drops of peppermint extract along with the vanilla, and use mint chocolate chips for a refreshing take.
- Vanilla Bean: For a more gourmet touch, substitute vanilla extract with 1 teaspoon of vanilla bean paste, which will also add beautiful flecks of vanilla bean.
Frequently Asked Questions (FAQs)
Is raw flour really dangerous?
Yes, raw flour can sometimes contain harmful bacteria like E. coli, which can cause foodborne illness. Heat treating the flour, as described in this recipe, is a simple and effective way to eliminate these risks, making your edible cookie dough frosting completely safe to consume.
Can I use regular-sized chocolate chips instead of mini ones?
While you can, mini chocolate chips are highly recommended because they blend much more smoothly into the frosting, making it easier to spread and pipe. If you only have regular chips, you might want to chop them finely before adding them to prevent clogging if you’re piping.
How long does this frosting last?
Stored in an airtight container at room temperature, it will last 2-3 days. In the refrigerator, it can last up to a week. For longer storage, it can be frozen for 2-3 months. Always ensure it’s properly sealed to prevent drying out.
Can I make this frosting dairy-free?
Yes, you can! Use a good quality dairy-free butter substitute (like Miyoko’s Kitchen Cultured Vegan Butter) and a dairy-free cream or plant-based milk (like almond or oat milk) for the heavy cream. Ensure all other ingredients are dairy-free as well.
Do I have to use a stand mixer?
A stand mixer is ideal for achieving the fluffiest, smoothest results, but you can certainly use an electric hand mixer. Just be prepared to mix for a little longer, ensuring all ingredients are well combined and the frosting is airy.
Can I add vanilla extract?
Absolutely! A teaspoon of vanilla extract (or vanilla bean paste for a more intense flavor) can be added along with the heavy cream for an extra layer of classic cookie dough aroma and taste.
My frosting is too yellow, how can I make it look more like traditional cookie dough?
The color will naturally come from the brown sugar. If you find it too yellow, you can add a tiny drop of brown or beige food coloring gel (just a toothpick’s worth!) to adjust the shade, but this is entirely optional.
Final Thoughts
This edible cookie dough frosting recipe truly brings the joy of raw cookie dough into a safe, smooth, and utterly delicious form. By taking a few extra, simple steps like heat-treating the flour and melting the brown sugar, you unlock a world of velvety texture and authentic flavor that’s perfect for enhancing a wide array of baked goods. Whether you’re a seasoned baker or just starting, this guide provides all the tips and tricks you need to create a batch of frosting that will impress everyone who tastes it. So, grab your ingredients, follow these steps, and get ready to indulge in the best cookie dough frosting you’ve ever had!
