The Ultimate Homemade Red Velvet Bundt Cake with Perfect Cream Cheese Frosting
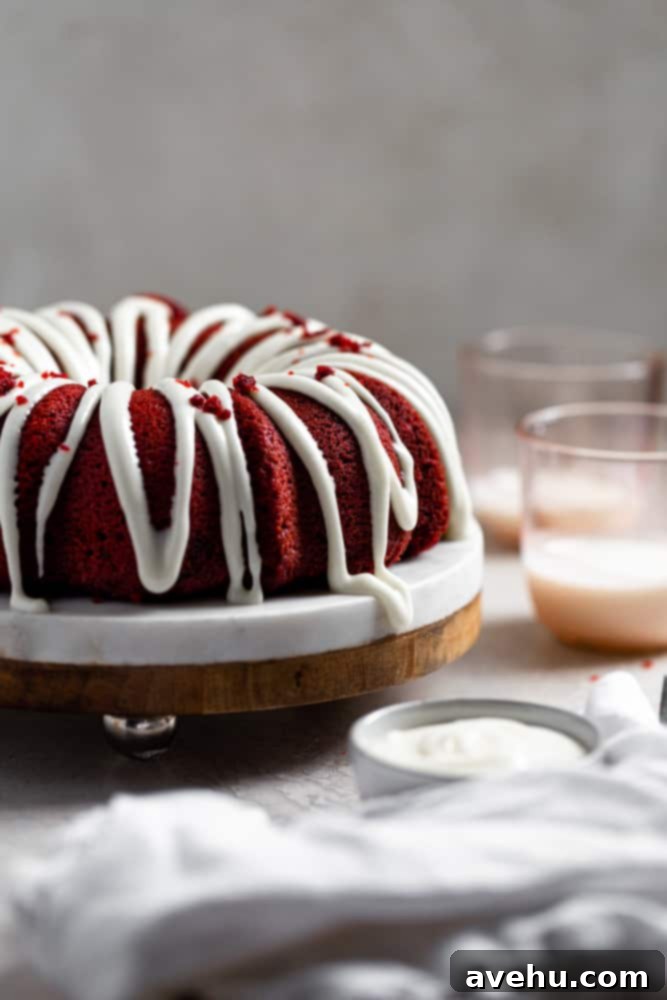
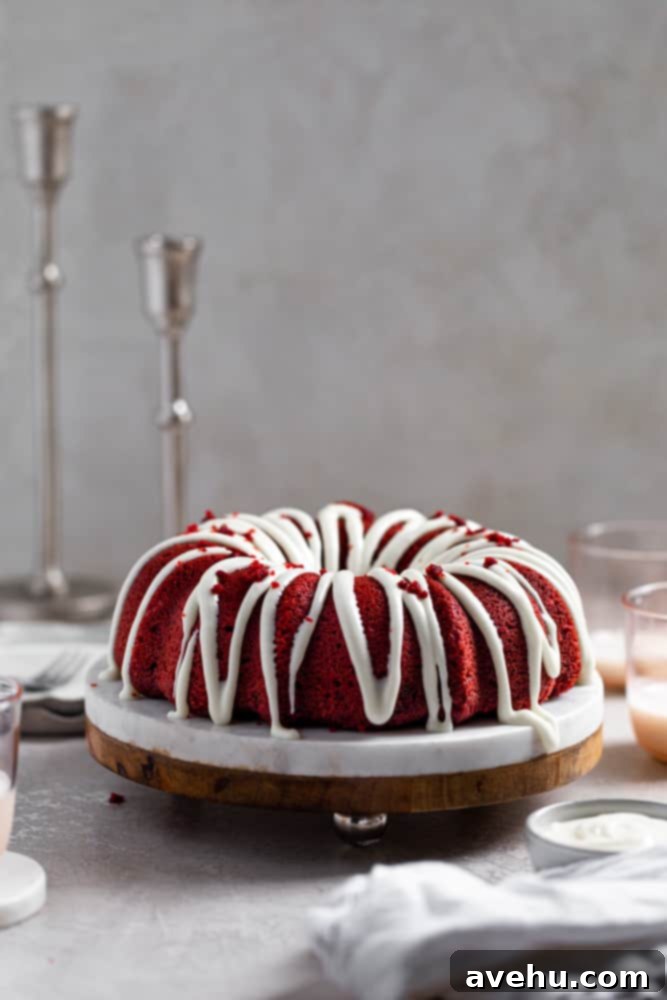
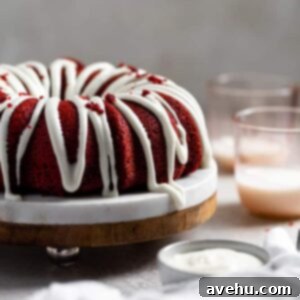
Unlock the secret to baking an absolutely stunning, perfectly fluffy, and incredibly moist red velvet bundt cake right in your own kitchen! This exceptional recipe stands out by achieving its vibrant color with half the amount of red food coloring typically found in other recipes, all while maintaining that iconic rich hue. Crowned with a luxurious, silky smooth cream cheese frosting, this homemade red velvet bundt cake truly is a showstopper, elevating every slice to a blissful experience. Prepare to impress your family and friends with a dessert that’s as delightful to look at as it is to eat!
Why This Red Velvet Bundt Cake Stands Above the Rest
As a trained pastry chef, I understand the delicate balance required for truly exceptional baked goods. This particular red velvet bundt cake recipe underwent a rigorous testing process – a total of six iterations – until I achieved absolute perfection. Bundt cakes, with their inherent elegance and straightforward preparation, are a personal favorite. However, mastering the ingredient ratios for optimal flavor, texture, and rise can be quite challenging.
Let me assure you, every moment of development was entirely worth it! The result is a cake that is remarkably fluffy and moist, without any hint of being oily. Each bite offers a delightful texture and the quintessential red velvet flavor, especially when paired with the luscious cream cheese icing generously drizzled over the top. This isn’t just a cake; it’s a testament to patience and a passion for baking, designed to deliver that irresistible, classic red velvet taste you crave.
This red velvet bundt cake is truly exceptional, rivaling (and perhaps even surpassing!) the popularity of my beloved classic vanilla bundt cake and my rich chocolate bundt cake. Its classic flavor profile is beautifully complemented by my all-time favorite cream cheese frosting. If you prefer a lighter touch, you might consider this delicate cream cheese glaze for a thinner frosting layer. And for those moments when you’re short on ingredients, I even have a fantastic recipe for cream cheese frosting without powdered sugar!
This exquisite homemade red velvet bundt cake is perfectly suited for any special occasion, from celebrating Valentine’s Day with loved ones to adding a touch of elegance to holiday gatherings or simply satisfying a sweet craving. If you’re a devoted fan of red velvet, don’t stop here! Explore my other delightful red velvet creations, including these decadent red velvet brownies, charming red velvet cake mix cookies, or the luxurious red velvet cheesecake!
The Essential Ingredients for Your Red Velvet Bundt Cake
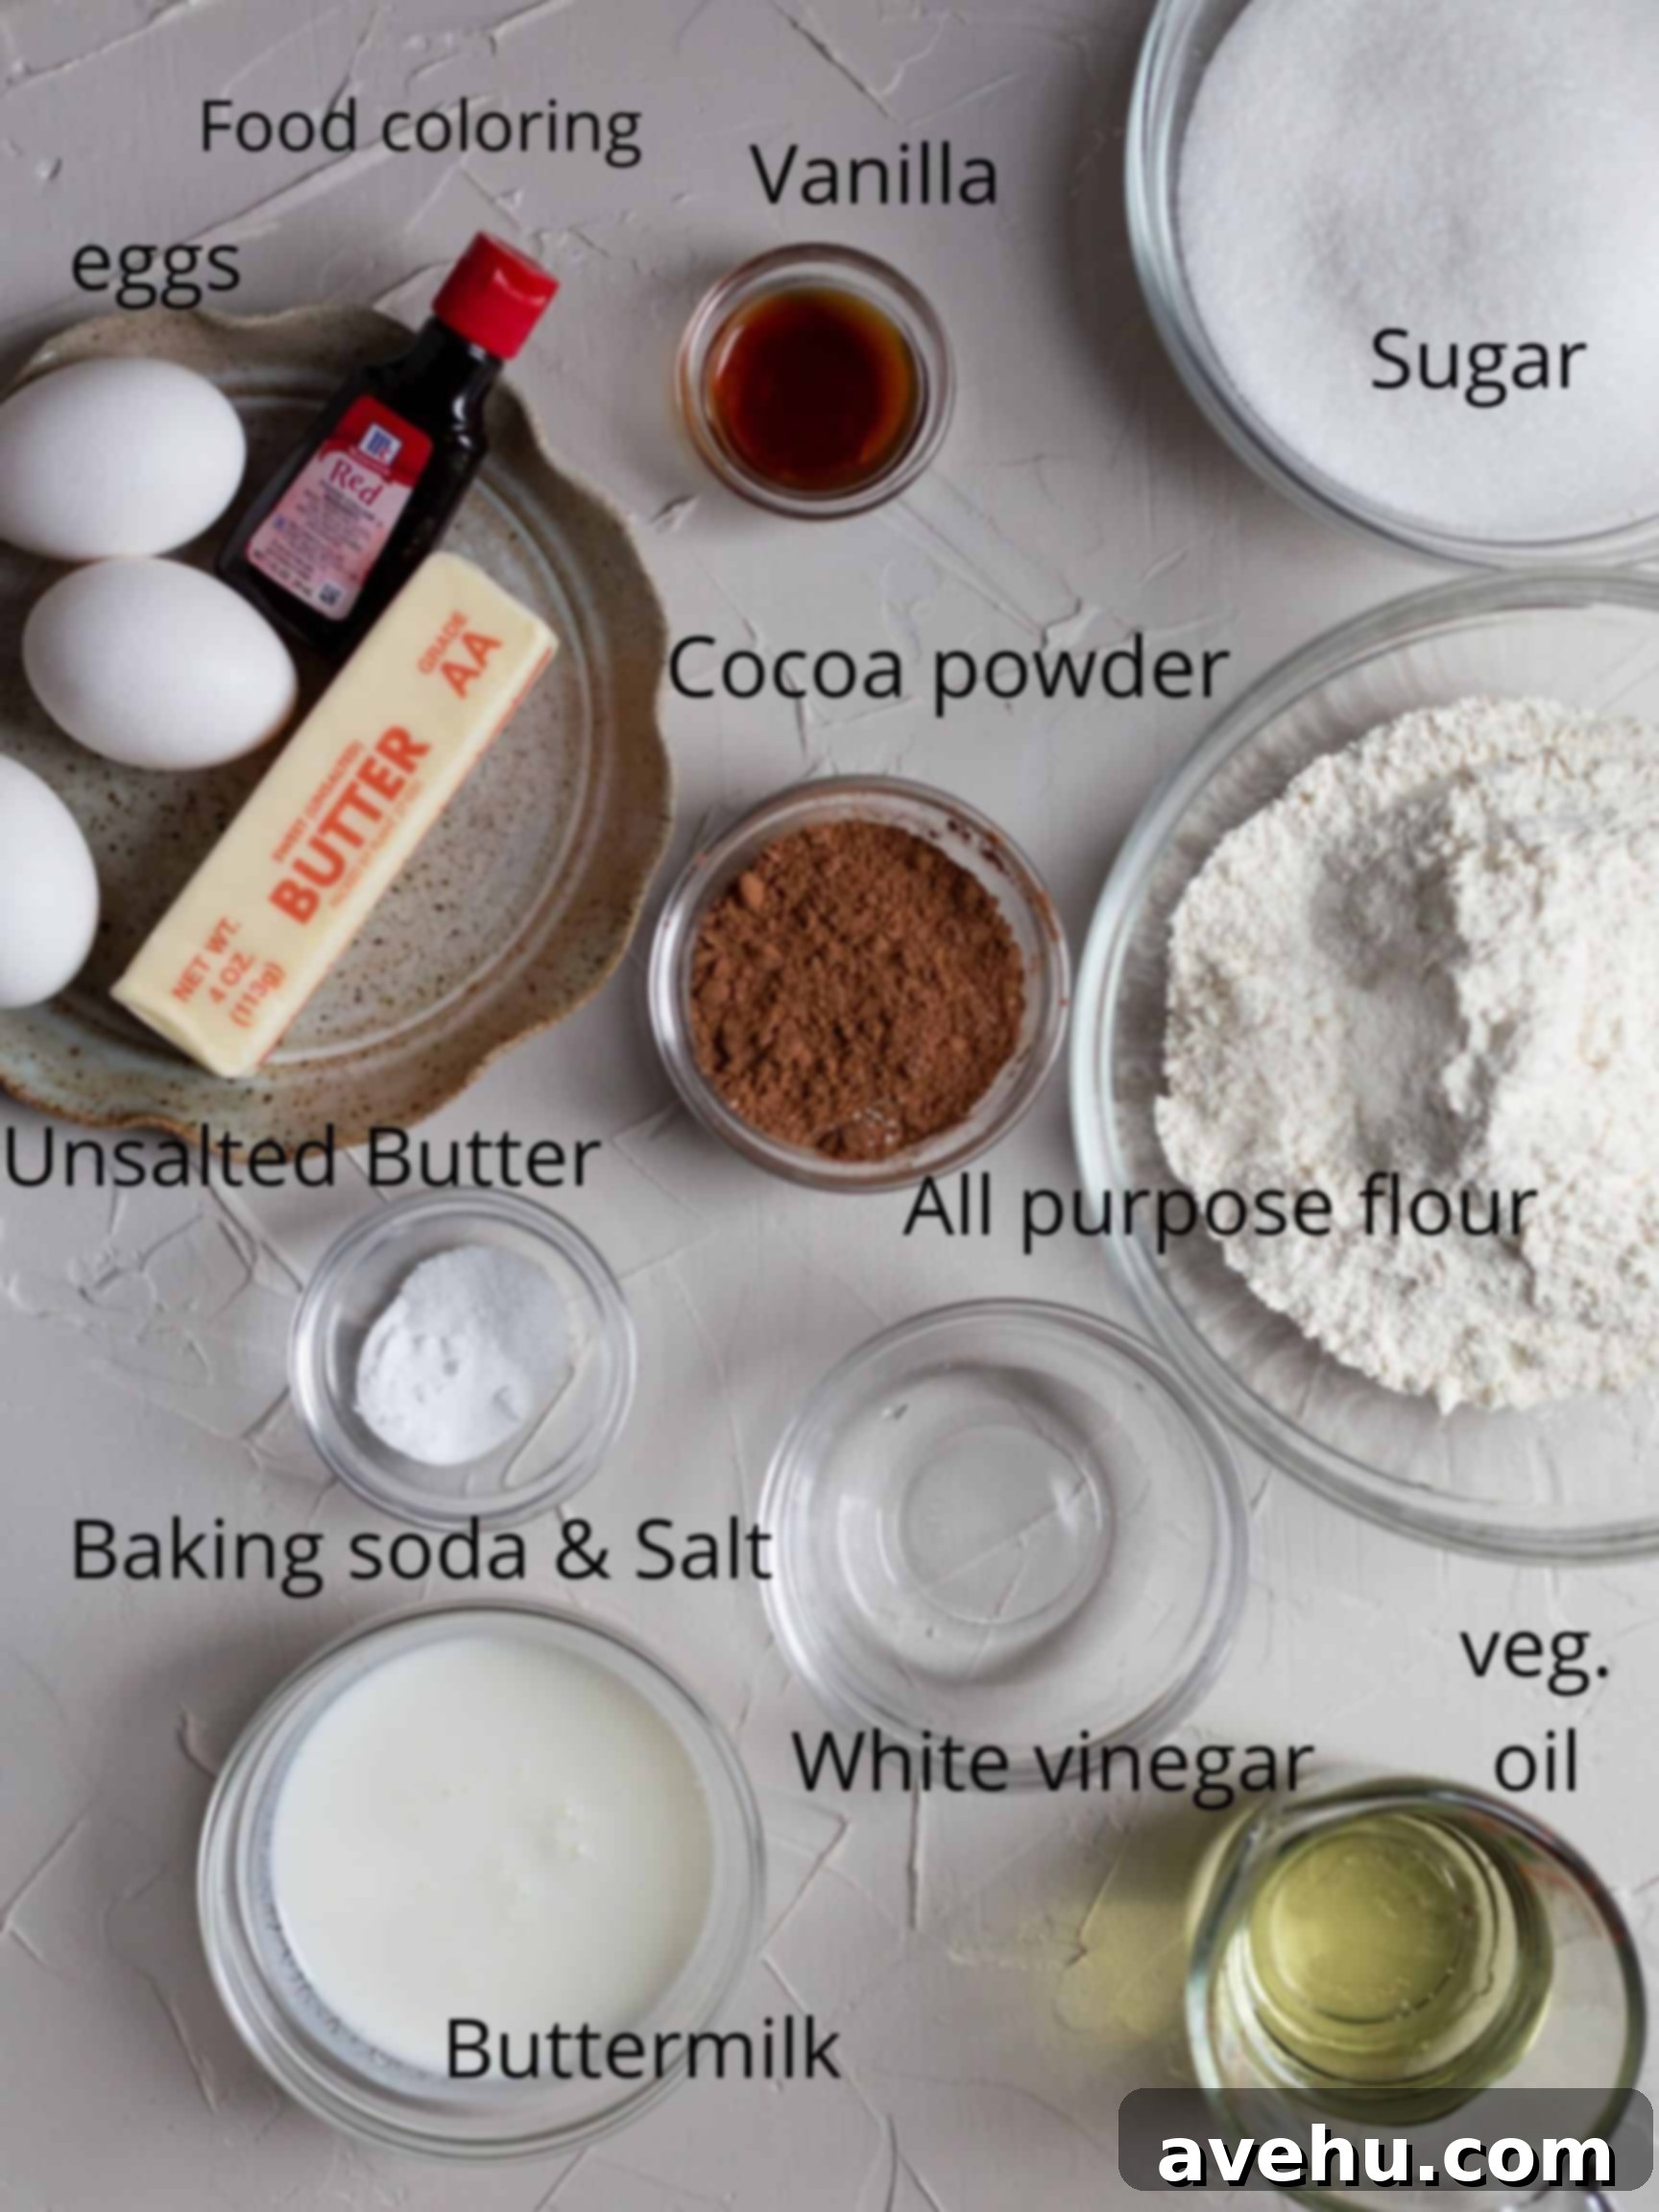
Crafting the perfect red velvet bundt cake begins with selecting the right ingredients and understanding their roles. Each component contributes to the cake’s signature taste, texture, and iconic color. Here’s a detailed look at what you’ll need for both the cake and its luscious cream cheese topping:
For the Cake:
- Unsalted Butter: While not a ‘special’ ingredient, its proper use is crucial. Ensure your butter is at room temperature to cream effectively with sugar, creating air pockets for a light and fluffy cake. If you’ve forgotten to soften it, check out my helpful post on how to soften butter quickly.
- Granulated Sugar: Beyond sweetness, sugar plays a vital role in keeping the cake moist and tender, and contributes to its golden-brown crust.
- Vegetable Oil: The addition of vegetable oil alongside butter ensures an incredibly moist cake that stays soft for longer, preventing it from drying out over time.
- Large Eggs: Always use room temperature eggs. They emulsify better with other ingredients, creating a smoother batter and a more uniform cake texture. Eggs also add richness and contribute to the cake’s structure.
- Vanilla Extract: A staple in most baked goods, vanilla extract deepens the overall flavor profile, adding warmth and complexity to the red velvet taste.
- White Vinegar: Don’t worry, you won’t taste it! White vinegar is a crucial element that reacts with the baking soda and buttermilk. This chemical reaction is what helps to ‘bloom’ the cocoa powder, intensifying its reddish-brown notes and creating a more vibrant, traditional red velvet color. It also aids in leavening, contributing to the cake’s tender crumb.
- Red Food Coloring: While optional for flavor, it’s essential for the iconic red hue. I prefer a water-based food coloring as it imparts a strong color without the potential bitter aftertaste that gel food colorings can sometimes have when used in larger quantities. This recipe uses half the usual amount without compromising on color.
- All-Purpose Flour: The structural backbone of the cake, providing body and shape.
- Unsweetened Cocoa Powder: A classic red velvet cake uses a small amount of cocoa powder. This provides a subtle chocolate flavor and, more importantly, interacts with the acidic ingredients to enhance the red color.
- Baking Soda: This powerful leavening agent reacts with the acids in buttermilk, vinegar, and cocoa powder, creating carbon dioxide bubbles that make the cake light and airy. It’s key to the ‘velvet’ texture.
- Kosher Salt: A pinch of salt is vital for balancing and enhancing all the sweet flavors, making the cake taste richer and more nuanced.
- Buttermilk: This is a non-negotiable ingredient for authentic red velvet cake. Buttermilk provides that distinctive tangy flavor and its acidity is crucial for activating the baking soda, resulting in a tender, moist crumb. I strongly advise against substituting it with regular milk. If you don’t have buttermilk on hand, don’t fret – you can easily make your own!
For the Cream Cheese Frosting:
- Cream Cheese: Softened at room temperature is key for a smooth, lump-free frosting. If you’re short on time, learn how to soften cream cheese quickly.
- Unsalted Butter: Like cream cheese, softened butter is essential for achieving a creamy, well-combined frosting. Refer to the butter softening guide if needed.
- Confectioners’ Sugar (Powdered Sugar): This provides the sweetness and structure for the frosting, ensuring a smooth texture.
- Milk or Heavy Cream: A small amount is used to thin out the frosting, allowing you to achieve your desired consistency – from a thick glaze to a pipeable consistency.
- Vanilla Extract: Enhances the rich, tangy flavor of the cream cheese frosting, making it an irresistible complement to the red velvet cake.
Step-by-Step Guide: How to Make a Fluffy Red Velvet Bundt Cake
For the best baking experience, start by measuring all your ingredients and organizing your workspace. Cleaning as you go will also make the process much smoother! Before you begin, I highly recommend reviewing this essential post on how to bake and perfectly release a bundt cake from its pan to ensure a flawless result.
- Prepare Your Pan and Oven: Begin by preheating your oven to 350°F (175°C). Next, and this is crucial, heavily grease a 10-cup bundt pan with a nonstick baking spray. I personally love Baker’s Joy for its reliability. If you don’t have it, any good quality baking spray will work, but be sure to dust it thoroughly with a light coating of flour afterward to prevent sticking.
- Cream the Wet Ingredients: In the bowl of an electric mixer (either a hand mixer or a stand mixer fitted with the paddle attachment), combine the softened unsalted butter and granulated sugar. Cream them together on low to medium speed until the mixture becomes light, pale, and fluffy, typically about 1 minute. Gradually add the vegetable oil and beat for another 30 seconds until fully incorporated. Incorporate the eggs one at a time, mixing on low-medium speed until each is just combined before adding the next. Finally, stir in the vanilla extract, white vinegar, and red food coloring. Continue mixing until the batter achieves a uniform, vibrant red color. While the mixer works its magic, measure out your buttermilk into a separate measuring cup and set it aside.
- Combine the Dry Ingredients: In a medium-sized bowl, whisk together the all-purpose flour, cocoa powder, baking soda, and kosher salt until well combined. This ensures even distribution of the leavening agents and flavorings.
- Gently Mix Wet and Dry: With the electric mixer on its lowest speed, begin to alternate adding the dry flour mixture and the buttermilk to the wet ingredients. Start with one-third of the dry ingredients, mix briefly until just combined (about 30 seconds), then add half of the buttermilk. Once that’s incorporated, add the next third of the dry ingredients, followed by the remaining buttermilk. Finish by adding the final one-third of the dry ingredients. Mix only until no streaks of flour remain. Be careful not to overmix, as this can lead to a dense, tough cake.
- Fill and Bake: Pour the beautifully red cake batter evenly into your thoroughly prepared bundt pan. Use a small spoon or spatula to gently smooth out the top surface. Place the bundt pan in the preheated oven and bake for approximately 55-60 minutes. You’ll know the cake is done when it’s visibly puffed up, and the edges begin to slightly pull away from the sides of the pan. For an extra check, insert a toothpick into the center of the cake; if it comes out clean, your cake is ready!
- Cooling the Cake: Allow the cake to cool in the bundt pan for 10-15 minutes on a wire rack. This brief cooling period helps the cake firm up slightly, making it less prone to breaking when inverted. After this time, carefully place a wire rack over the bundt pan, grip both firmly, and confidently flip the cake onto the rack. Gently lift off the bundt pan. Allow the cake to cool completely on the wire rack before applying any frosting.
How to Easily Make Your Own Buttermilk at Home
If you don’t have a carton of buttermilk on hand, there’s no need to run to the store! You can easily make a homemade substitute in minutes, ensuring your red velvet cake still gets that essential tangy flavor and tender crumb.
To create your own buttermilk, measure 1 cup of any type of milk (whole milk works best for richness). Remove one tablespoon of milk, and replace it with 1 tablespoon of either fresh lemon juice or white vinegar. Give it a gentle stir and then let the mixture sit undisturbed for 5-10 minutes. You’ll notice it will curdle slightly and thicken, indicating that you now have a perfect homemade buttermilk substitute ready to use!
Choosing the Best Red Food Coloring for Your Cake
Achieving that iconic, vibrant red in your red velvet cake often requires a good amount of food coloring. From my five years of experience running a custom cake shop, I’ve experimented with countless options! For this recipe, I highly recommend using a water-based red food coloring. I typically use about 1 ¼ to 1 ½ tablespoons, which is less than many recipes call for, yet it delivers a fantastic color without compromising the cake’s texture or flavor. My preference for water-based over gel coloring stems from the fact that gel colorings can sometimes impart a subtle, bitter taste if too much is added, which we definitely want to avoid in our delicious cake!
Cooling Your Bundt Cake for a Flawless Finish
Proper cooling is just as important as baking when it comes to a bundt cake. Patience is key for a beautiful, intact cake!
Once your red velvet bundt cake is out of the oven, resist the urge to immediately flip it. It needs about 10-15 minutes to cool in the pan on a wire rack. This allows the cake to slightly firm up and pull away from the pan’s intricate crevices naturally. After this initial cooling period, carefully place a wire rack directly over the bundt pan. Using your thumbs to secure the rack and your other fingers to hold the bundt pan, confidently flip the entire assembly. The cake should release cleanly onto the wire rack. Allow it to cool completely before applying the cream cheese frosting. Attempting to frost a warm cake will only result in melted, messy frosting.
Crafting the Perfect Silky Cream Cheese Frosting
No red velvet bundt cake is complete without its signature, tangy cream cheese frosting! This recipe yields a frosting that’s perfectly balanced between a pipeable consistency and a rich glaze.
- Prepare for Frosting: First, ensure you’ve thoroughly washed and dried the bowl and paddle attachment of your stand or hand mixer. Room temperature cream cheese and butter are essential for a smooth, lump-free frosting.
- Cream Ingredients: In your mixer bowl, combine the softened cream cheese and softened unsalted butter. Begin mixing on low speed, then gradually increase to medium. Cream these ingredients together until they are smooth, thick, and perfectly creamy.
- Add Sugar and Vanilla: Stop the mixer and add the confectioners’ sugar. Start mixing on the lowest speed to prevent the sugar from flying out of the bowl and creating a mess! Once the sugar is incorporated and the mixture is combined, add the vanilla extract and 1 teaspoon of milk or heavy cream. Increase the speed to medium-high and beat until the frosting becomes wonderfully fluffy and light.
- Adjusting Consistency: The beauty of this recipe is its versatility. The frosting as is will be a lovely consistency – not firm enough to hold intricate piped shapes, but thicker than a thin drizzle. If you desire a thicker frosting for piping designs, add an additional ½ cup of confectioners’ sugar and use only half the recommended milk/cream. For a thinner, more pourable glaze, gradually add a little more milk or heavy cream, a teaspoon at a time, until your desired drizzly consistency is achieved.
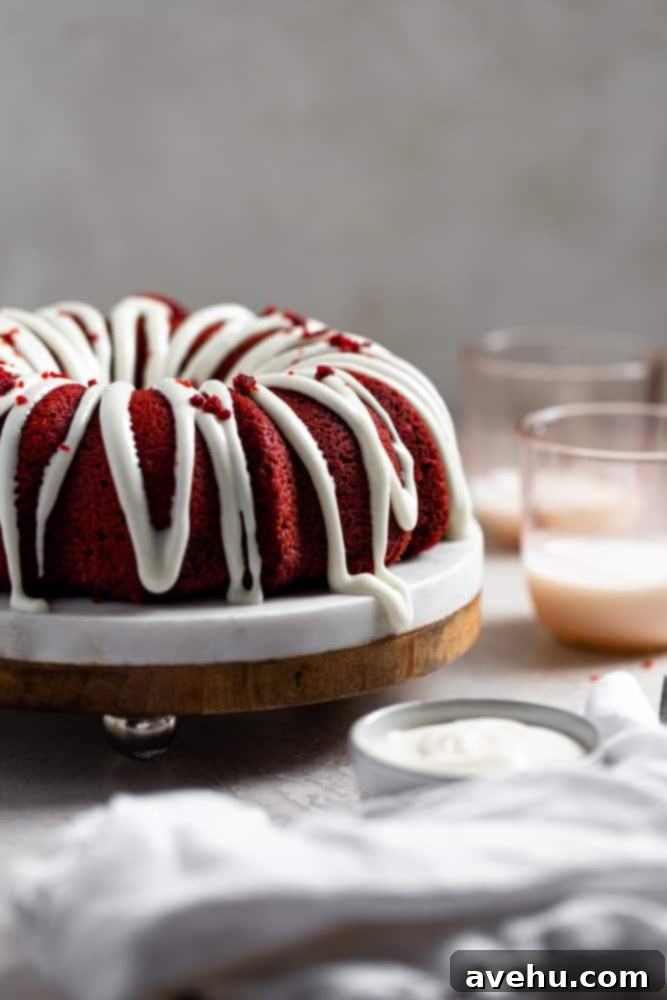
- Frosting Your Cake: For an elegant finish, I like to transfer the frosting into a large zip-top sandwich bag. Snip a small corner off the bag, then pipe the frosting in decorative lines over the completely cooled bundt cake.
Expert Recipe Tips for Your Best Red Velvet Bundt Cake Yet
- Room Temperature Ingredients are Key: For both the cake batter and the frosting, ensure all cold ingredients like butter, eggs, and cream cheese are at room temperature. This promotes smooth mixing, better emulsification, and a lump-free, evenly textured end product.
- Accurate Flour Measurement: For the most precise results, especially with flour, I highly recommend using a kitchen scale to measure by weight. Volumetric measuring cups can often pack too much flour, leading to a dry cake.
- Don’t Overmix: After adding the flour mixture, mix the batter only until just combined. Overmixing develops the gluten in the flour too much, which can result in a tough, dense cake.
- Thoroughly Grease Your Bundt Pan: This cannot be stressed enough! A well-greased and floured bundt pan is your best friend for a clean release. Don’t skimp on the baking spray, especially in all the intricate crevices of your pan.
- Decorate with Crumbs: For a classic and charming red velvet look, crumble a small piece of the cake (or trim a bit from the bottom) and sprinkle the red crumbs over the cream cheese frosting after drizzling. This adds visual appeal and reinforces the red velvet theme.
- Oven Temperature Matters: Ensure your oven is accurately preheated to the specified temperature. An oven thermometer can be a valuable tool to check for accuracy, as oven temperatures can vary.

The Ultimate Homemade Red Velvet Bundt Cake
Pin
Review
SaveSaved!
Ingredients
For the cake
- 1 cup (227 g) unsalted butter, softened
- 2 cups (400 g) granulated sugar
- 1/4 cup (54.5 g) vegetable oil
- 3 (3) eggs, large
- 1 tbsp (1 tbsp) vanilla extract
- 1 tsp (1 tsp) white vinegar
- 1 1/4 tbsp (1.25 tbsp) red food coloring, water based
- 2 1/2 cup (312.5 g) flour
- 1/4 cup (21.5 g) cocoa, powder
- 1/2 tsp (0.5 tsp) baking soda
- 1/2 tsp (0.5 tsp) kosher salt
- 3/4 cup (180 g) buttermilk
For the cream cheese frosting
- 1 cup (227 g) cream cheese, 8 oz bar, softened
- 1/2 cup (113.5 g) unsalted butter, softened
- 3 1/2 cups (420 g) confectioners sugar
- 1 tsp (1 tsp) vanilla extract
- 1 tsp (1 tsp) heavy cream, or milk
Equipment
-
Stand mixer
-
Bundt pan
Instructions
-
Preheat the oven to 350° F (175°C).
-
In the bowl of a hand or stand mixer fitted with the paddle attachment, add the 1 cup unsalted butter and 2 cups of sugar. Mix on low-medium speed until the mixture is light, pale, and fluffy, which should take about 1 minute. Slowly add in the 1/4 cup vegetable oil and continue mixing until fully combined, approximately 30 seconds.
-
Add in the 3 large eggs one at a time on low speed, mixing just until each egg is fully incorporated before adding the next. Once mixed, add the 1 tbsp vanilla extract, 1 teaspoon white vinegar, and 1 ¼ tbsp red food coloring. Mix until all the ingredients are combined and the batter has a uniform red color. Scrape down the sides of the bowl with a spatula to ensure all the food coloring is thoroughly mixed in.
-
In a medium-sized bowl or on a large piece of parchment paper, combine the 2 ½ cups all-purpose flour, ¼ cup cocoa powder, ½ tsp baking soda, and ½ tsp kosher salt. Whisk these dry ingredients together to ensure they are well distributed.
-
In a measuring cup, measure out 3/4 cup buttermilk and set it aside.
-
Turn the mixer to low speed. Slowly add in approximately one-third of the dry mixture. Mix for about 30 seconds, then add one-half of the buttermilk. When the buttermilk is combined, add the next one-third of the dry ingredients, followed by the last half of the buttermilk. Finish by incorporating the last one-third of the flour mixture. Mix only until just combined and no dry streaks remain. Avoid overmixing.
-
Heavily spray a 10-cup bundt pan with baking spray (and dust with flour if not using a spray with flour). Pour the red velvet batter into the prepared bundt pan and gently smooth the top with a small spoon or spatula. Bake for 55-60 minutes. The cake is done when the sides begin to pull away from the edges of the pan, or when a toothpick inserted into the center comes out clean.
-
Allow the cake to cool in the bundt pan for ten minutes on a wire rack. Then, carefully invert the cake onto the wire rack to cool completely.
Cream Cheese Frosting
-
You will need to wash and dry your hand or stand mixer bowl and paddle attachment for this step. In the clean mixer bowl, combine the 1 cup softened cream cheese and ½ cup softened unsalted butter. Mix on medium speed until the mixture is thick, creamy, and smooth.
-
Stop the mixer and add the 3 ½ cups confectioners’ sugar. Beat on the lowest speed until the sugar is fully incorporated and the mixture is combined (this prevents a sugar cloud!). Then, add the 1 tsp vanilla extract and 1 tsp milk or heavy cream. Increase the speed to medium-high and beat for several minutes until the frosting is super fluffy and light.
-
Once the red velvet bundt cake is completely cool, transfer the cream cheese frosting into a zip-top sandwich bag. Snip off a small corner and drizzle the frosting decoratively over the cooled cake.
Notes
Variations: This versatile recipe can also be baked in two 8-inch round cake pans. If using round pans, adjust the baking time to approximately 30-35 minutes per pan, or until a toothpick comes out clean. Alternatively, transform this batter into delicious red velvet cupcakes by baking them for about 18 minutes.
Storing Your Red Velvet Bundt Cake
To maintain its freshness and moisture, store this red velvet bundt cake on the counter in an airtight container for up to 5 days. While it can be stored in the refrigerator, be aware that chilling can sometimes cause cakes to dry out slightly faster.
Freezing Instructions: If you wish to freeze the cake, ensure it is completely cooled. Double wrap the entire cake tightly in plastic wrap, then wrap it again in aluminum foil. This will help prevent freezer burn. It can be frozen for up to 3 months. Thaw overnight in the refrigerator before serving.
Please let me know if you make this recipe! Your star ratings and comments below are incredibly helpful and greatly appreciated. Thank you!
