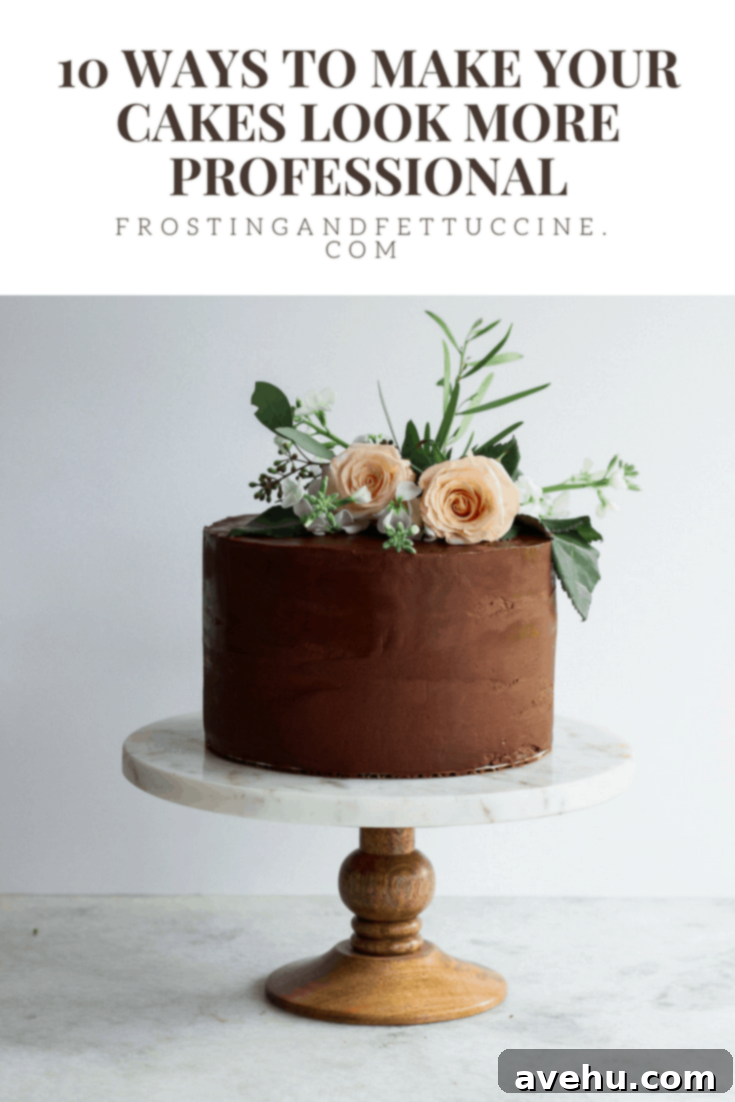
Mastering Professional Cake Frosting: Your Ultimate Step-by-Step Guide for Beginners
Ever dreamed of creating those stunning, bakery-worthy cakes right in your own kitchen? Whether you’re a complete novice or have struggled with uneven frosting and messy finishes, this comprehensive guide is for you! Learn how to frost a cake like a seasoned professional, from start to finish, with these 10 easy-to-follow steps. Yes, even if you’re a beginner, achieving those smooth, elegant, and beautifully decorated cakes is entirely within your reach.
We’ve all admired those exquisite cakes online and in patisserie windows.
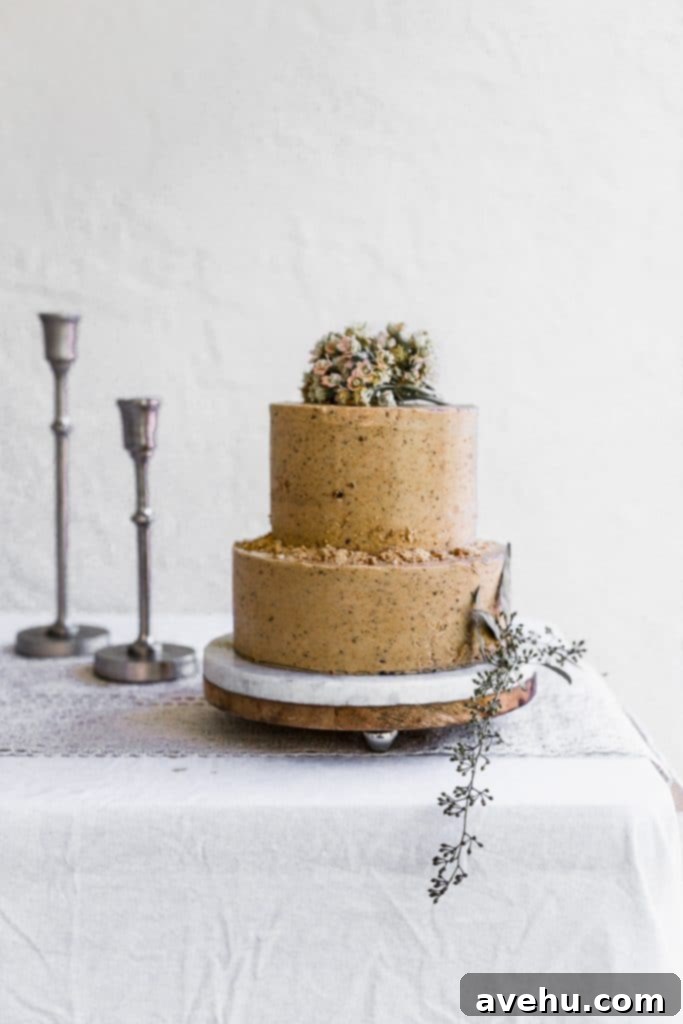
You know the ones – with flawless, even frosting, perfectly straight edges, and sprinkles placed with artistic precision. It’s natural to wonder how bakers achieve such perfection. For years, I found myself in the same boat, wishing my homemade cakes could look as impressive as those masterpieces. But after years of dedicated practice, formal pastry training, and a decade of hands-on cake decorating experience, I’ve cracked the code. Now, I’m thrilled to share my top tips and tricks to elevate your cakes from homemade to truly professional-looking.
Transform Your Cakes: Secrets to a Professional Finish
Early in my cake decorating journey, I was captivated by the endless possibilities of cake artistry. I puzzled over how to stack layers securely, how frosting always appeared so impeccably smooth, and most frustratingly, why my own cakes never matched the elegant creations I saw. It was a journey of trial and error, but one that ultimately led me to master the techniques I now use daily.
Today, with a solid pastry education and a decade of practical experience, I’m here to distill that knowledge for you. Whether you’re considering starting a cake business, pursuing cake decorating as a beloved hobby, or simply want to impress your family and friends with stunning desserts, these foundational techniques will guide you. These are the essential starting points for making your cakes look undeniably more professional and polished.
Disclaimer: While it’s certainly possible to create beautiful cakes with minimal specialized equipment (and we’ll touch on that later!), your decorating process will be significantly smoother and more efficient if you have a few key tools. These tools are game-changers for achieving that professional, pristine look:
- An offset spatula like this. This versatile tool is essential for spreading frosting evenly and smoothly across large surfaces.
- A bench scraper like this. Crucial for achieving razor-sharp edges and flawlessly smooth sides.
- A cake turntable like this. This allows for effortless rotation, making it much easier to apply frosting evenly to all sides of your cake.
Ready to embark on your cake decorating adventure? Let’s learn how to frost a cake like a pro!
Step 1: Achieving Height – Bake Your Cake into 3 Layers
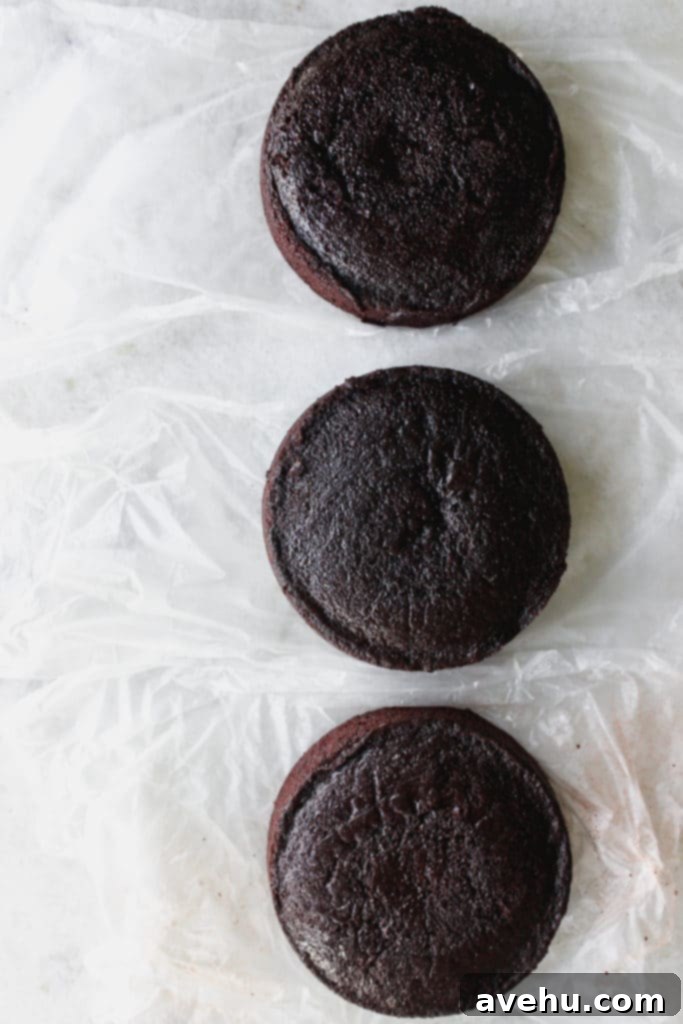
A common mistake beginners make is baking layer cakes in only two pans, resulting in two layers. The secret to those impressive, professional-looking cakes is often their height! When I first started, my cakes never looked as grand as the ones in magazines because they simply weren’t tall enough.
To achieve that desirable height, you might need to adjust your recipe. Depending on the specific cake recipe you’re using, this often means doubling the ingredients to produce enough batter for three substantial layers. A taller cake inherently looks more professional and celebratory, so don’t shy away from doubling your recipe!
In my professional practice, I consistently use three cake layers per tier. When assembled with buttercream, these layers typically combine to create a beautiful tier that stands approximately 5 to 5.5 inches tall. For example, a single cake with three layers would constitute one tier, reaching a total height of about 5 inches. It’s important to clarify: a cake “tier” is a completed section of a cake (often made of multiple layers), while “layers” refer to the individual baked cake discs. No, layers and tiers are not the same thing.
Step 2: Leveling Your Cake Layers for a Stable Foundation
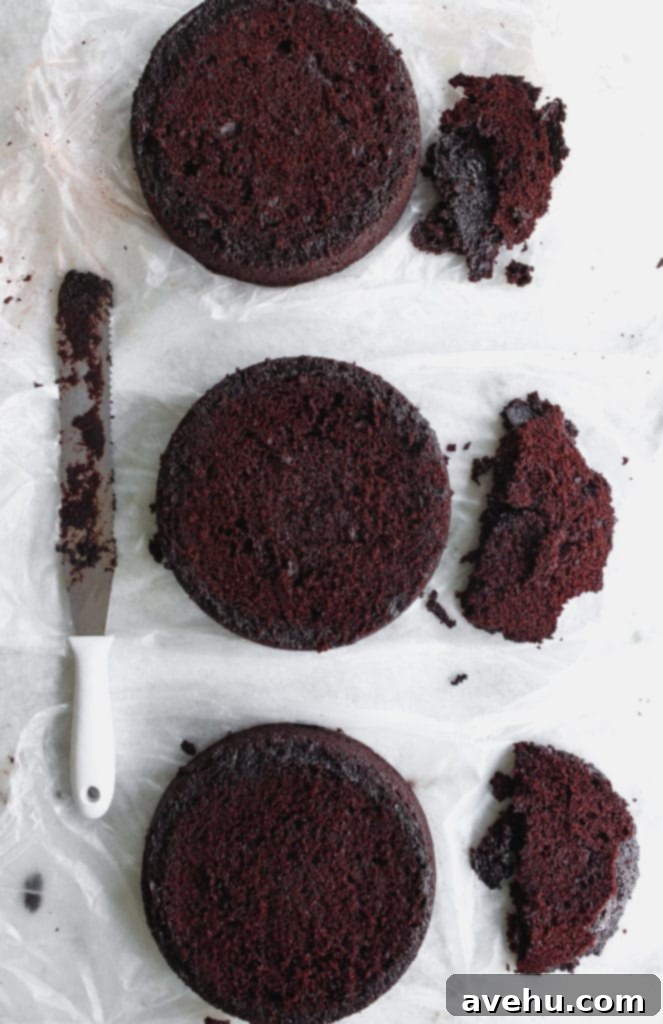
A perfectly flat cake layer is infinitely easier to stack and frost evenly than one with a rounded, domed top. Leveling your cakes is a critical step for ensuring a stable structure and a neat final appearance.
To level your cakes, use a sharp, long, serrated knife. Position the blade flat against the cake, starting at the lowest part of the dome. With a gentle push and pull motion, similar to slicing a bagel flat, carefully cut through the cake. The key is to maintain the blade at a consistent level throughout the entire cut to prevent the layer from becoming lopsided. Take your time, and don’t rush this step.
A fantastic trick for achieving a perfectly level cut, especially if your cake has baked higher than the pan, is to leave the cooled cake in its pan. Then, place the flat side of your knife blade directly on top of the pan’s rim and use it as a guide to slice off the dome. This ensures a clean, straight cut every time.
Optional, but highly recommended: Reward your hard work by indulging in the delicious cake tops, or share them with eager helpers!
Step 3: The Importance of Cake Boards
Cake boards are indispensable tools that will simplify your cake decorating life, particularly if you plan to transport your finished masterpiece. While you can certainly decorate a cake directly on the serving stand, using cake boards offers invaluable stability and flexibility.
For a standard single-tier cake, I always recommend using two cake boards. The first board should be the same size as your cake and will sit directly underneath the bottom cake layer. This provides a solid base for the cake itself. The second board, which should be at least 2 inches larger in diameter than your cake, is placed underneath the first. This larger board serves as a practical foundation for decorating, allowing you to easily handle, turn, and move the cake without accidentally damaging the delicate bottom edges or frosting.
Step 4: Secure Your First Layer – The Frosting Dab Technique
By now, you should have three beautifully leveled cake layers. It’s time to assemble them securely.
Begin by taking a small amount of frosting, about a teaspoon, and spreading it thinly in the very center of your larger cake board. This dab of frosting acts like a glue, preventing your cake from sliding around.
Next, center your smaller cake board directly on top of the frosted spot on the larger board, pressing it gently to secure.
Place another small dollop of frosting on the center of this smaller cake board. Use your offset spatula to spread this second dab more evenly across the board – an offset spatula truly works wonders for this, ensuring a thin, consistent layer.
Now, carefully place your thickest cake layer down onto the smaller cake board, pressing gently to secure it. (Let’s be honest, even with our best efforts, cake layers might not be perfectly identical in thickness.)
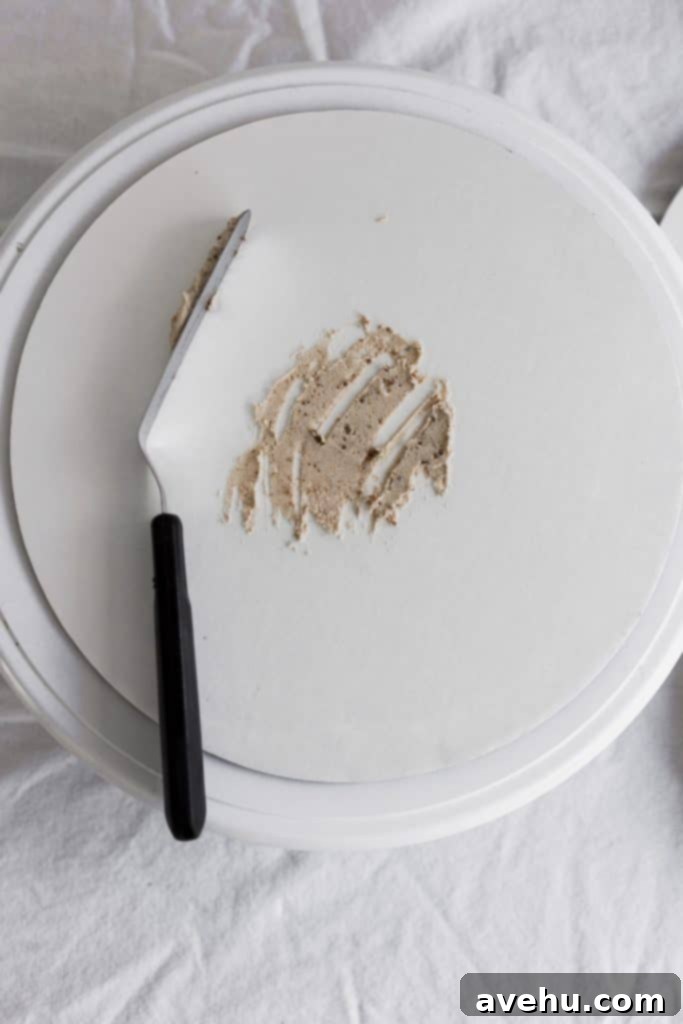
Tada! You’ve just performed a little cake magic – your cake is now securely anchored and won’t slip and slide while you’re stacking and icing it. This simple trick is essential for maintaining stability throughout the decorating process.
Step 5: Filling and Stacking Your Cake Layers
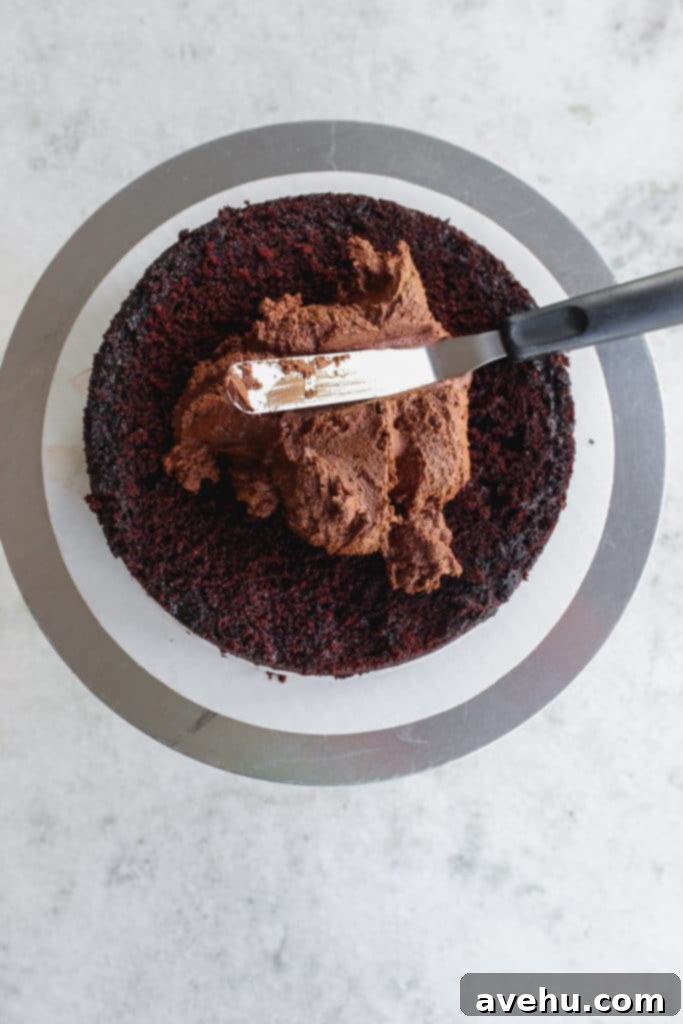
While filling and stacking are distinct actions, they are best performed in tandem. With your first cake layer securely in place on the cake board, it’s time to add your delicious frosting or buttercream.
Some bakers prefer using a piping bag to ensure perfectly even amounts of frosting between layers. This is a great technique if you’re looking for absolute precision. However, I often opt for efficiency and forgo the extra tool and cleanup. Instead, I simply use my trusty offset spatula.
Scoop up a generous amount of frosting, starting with roughly 1/3 cup (you can eyeball this amount based on your desired filling thickness), and place it directly in the center of your first cake layer. Using your offset spatula or a standard knife, gently work the frosting from the middle outwards, spreading it evenly across the entire surface. Be sure to stop about 1/2 inch from the edges of the cake. This small gap is intentional and will be filled in during the crumb coat stage, preventing excess frosting from bulging out.
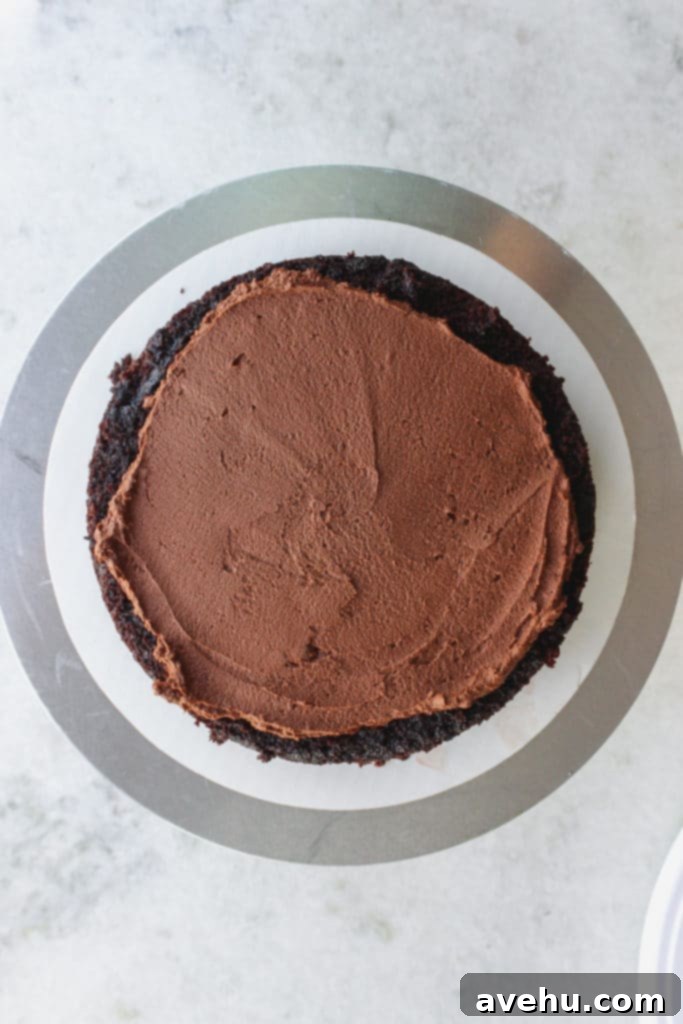
Now, here’s a crucial tip for achieving a truly level cake: take your next cake layer and **flip it upside down**. This means the perfectly flat bottom of the baked cake will now become the top of the layer you’re placing. This ingenious method helps to create an incredibly even and stable overall shape for your cake, as the original bottom (now top) is naturally flatter than the part that was cut. Repeat these steps for your final cake layer, ensuring each layer is filled and placed inverted.
P.S. If you’re working with a cake turntable, perform all these steps on it, gently rotating the cake as you frost. If you don’t have one, any sturdy cake stand that fits your cake will do.
Once all your layers are stacked, take a moment to look at your cake from eye level. Check for any visible unevenness. If you spot a tilt, you can gently press down on the higher side of the cake to try and level it. Alternatively, carefully lift the edge of the uneven cake layer and add a tiny bit more buttercream underneath to build it up and even it out. This attention to detail now will save you headaches later.
Step 6: The Quick Freeze for Crumb Control
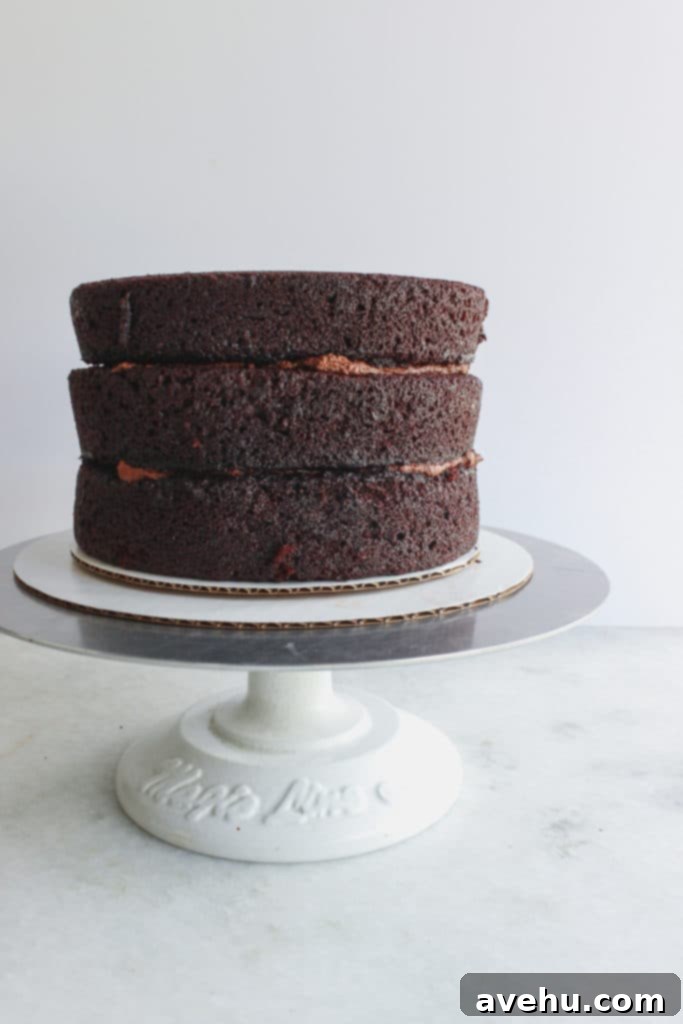
Congratulations, you now have a beautifully stacked cake! The next vital step for a pristine finish is a quick chill. Carefully transfer your stacked cake into the freezer for approximately 15 minutes.
This brief freezing period works wonders by firming up both the cake and the buttercream filling. This solidification is key because it significantly minimizes the amount of loose crumbs that will be dislodged and mix into your frosting when you begin applying your initial layers of icing. A firm cake is a clean canvas! This is where your cake boards prove especially useful for easy handling and placement in the freezer. If you’re not using boards, make sure you clear enough space in your freezer to accommodate your impressive cake construction.
Step 7: The Essential Crumb Coat
A crumb coat is a thin, initial layer of frosting applied over your entire cake. Its primary purpose is to “trap” and seal in any loose crumbs from the cake, preventing them from mixing into your final, visible layer of buttercream. This ensures that your top coat will be impeccably smooth, flawless, and completely crumb-free, making all the difference in achieving a professional look.
This step can be a bit more challenging without a cake turntable, which is why I highly recommend investing in one. However, it’s still achievable with patience. Using the back of your offset spatula, scoop up a small amount of frosting. Starting from the bottom, apply a thin layer to the side of your cake, gently turning the cake with your other hand as you go (this is where the turntable makes it seamless!). Spread the frosting as evenly as possible from the bottom to the top of the cake.

Important Tip: As you work, scrape any frosting that has accumulated crumbs off the back of your spatula into a separate bowl or onto the rim of your main buttercream bowl. Never dip a crumb-filled spatula back into your clean bowl of frosting; this defeats the entire purpose of the crumb coat. Once the sides are coated, add a small dollop of frosting to the top and gently spread it out with your spatula. Use your bench scraper held vertically against the cake board to lightly smooth the sides, spinning the turntable for an even finish.
Don’t worry if you can still see faint glimpses of the cake layers or if the coat isn’t perfectly smooth – the goal here is simply to seal in those crumbs. Once coated, place the cake back in the freezer for another 5 minutes to firm up the crumb coat.
Step 8: Applying Your Flawless Final Frosting Coat
This is where your cake truly begins to shine! The final frosting coat, often called the top coat, follows the same basic principles as the crumb coat, but with a more generous application of frosting. Your objective now is to completely cover the cake, ensuring no cake layers or crumbs show through whatsoever. Aim for a smooth, even, and beautiful surface that forms the perfect foundation for any decoration.
-
Frost the Sides First: Begin by applying a substantial amount of buttercream to the sides of the cake. Using your offset spatula, start from the bottom edge and work your way up, applying steady, even pressure. Continuously rotate your cake (if using a turntable) or gently turn it by hand, spreading the frosting around the entire circumference. Build up the frosting until the entire side is generously covered and relatively smooth.
-
Smooth the Sides with a Bench Scraper: Once the sides are sufficiently covered, switch from your offset spatula to your bench scraper. This tool is indispensable for achieving those coveted sharp edges and perfectly smooth sides. Hold the bench scraper vertically, ensuring your wrist is straight, and the long edge of the scraper is flush against the side of the cake, gently touching the cake board. Spin the turntable (or slowly rotate the cake) while holding the scraper steady. This action will scrape away excess frosting and fill in any gaps, creating a beautifully uniform and smooth surface. Don’t be afraid to apply a little more frosting in any areas that look thin or uneven; simply add a small amount and smooth again with the scraper.
-
Frost the Top: After the sides are pristine, apply a generous amount of frosting to the top of the cake. Use your offset spatula to spread it evenly across the surface, extending just slightly beyond the edges. The goal is to have a flat top with a slight “lip” of frosting hanging over the sides.

Achieving Perfectly Straight Edges: The “Airplane” Method
Now, you might notice that after smoothing the sides, the frosting at the top edge forms a slightly raised lip. Then, when you try to smooth the top, this lip often gets pushed around, creating an uneven border. This is a common challenge, but there’s a professional technique to conquer it: the “AIRPLANE” method.
Allow me to explain this culinary school trick in detail. Begin where you have those slightly raised frosting edges along the top perimeter of your cake. Hold your offset spatula with a hand on each end, keeping the blade flat and straight. Now, imagine your spatula is an airplane coming in for a smooth landing. Starting from just outside the cake’s edge, angle your spatula downwards slightly, then gently glide it inwards towards the center of the cake, parallel to the top surface. The motion should be a graceful swoop, pressing down gently as you move from the outer edge to the inner circle.
I know it sounds a little unconventional, but this sweeping “airplane” action is incredibly effective. The key is to keep the spatula consistently flat and straight throughout the movement. You’re essentially coming down onto the frosting at a slight angle, then “landing” your spatula flat on the cake’s top surface as you reach the center. This motion cleanly removes the excess frosting lip and pushes the remaining frosting to create a crisp, sharp edge.
Stop when your spatula reaches the middle of the cake, lift it, clean off any excess frosting, and repeat this process around the entire circumference of the cake until all edges are perfectly sharp and smooth. There you have it – the “Airplane” technique for flawless edges!
Step 9: Smoothing Out Imperfections with the Water Spray Method
Even after applying your final coat and perfecting the edges, you might still encounter tiny cracks, stubborn air bubbles, or annoying little bumps that just won’t smooth out. This is where a surprisingly simple yet incredibly effective trick comes into play:
Insert a clean spray bottle filled with water.
You heard me right! Fill a spray bottle (one that is ONLY used for food purposes to ensure hygiene) with clean, room-temperature water. Now, lightly spray your cake. I’m not talking about drenching it; rather, a fine, gentle mist over the entire surface. Immediately after spraying, take your offset spatula or bench scraper and gently smooth over those tricky spots. The light layer of water acts as a lubricant, allowing your tools to glide effortlessly over the buttercream, melting away minor imperfections and creating an incredibly smooth, polished finish.
This is an instant fix for a truly flawless surface.
Just a crucial warning about this technique: you must use this trick as the absolute final step before moving on to decoration. Do NOT use it and then decide your cake needs more frosting, as adding fresh buttercream on top of a water-sprayed surface will not yield good results; the new frosting won’t adhere properly, and you risk a messy finish. This method is strictly for final smoothing and should be used only at the very end of your frosting process.
In my own kitchen, once I’ve applied the final coat, I often give my cake a light, all-over mist with water. Then, I take my bench scraper and give it one last whirl around the sides, followed by a final swipe across the top with my offset spatula. This ensures every surface is impeccably smooth and ready for its grand reveal.
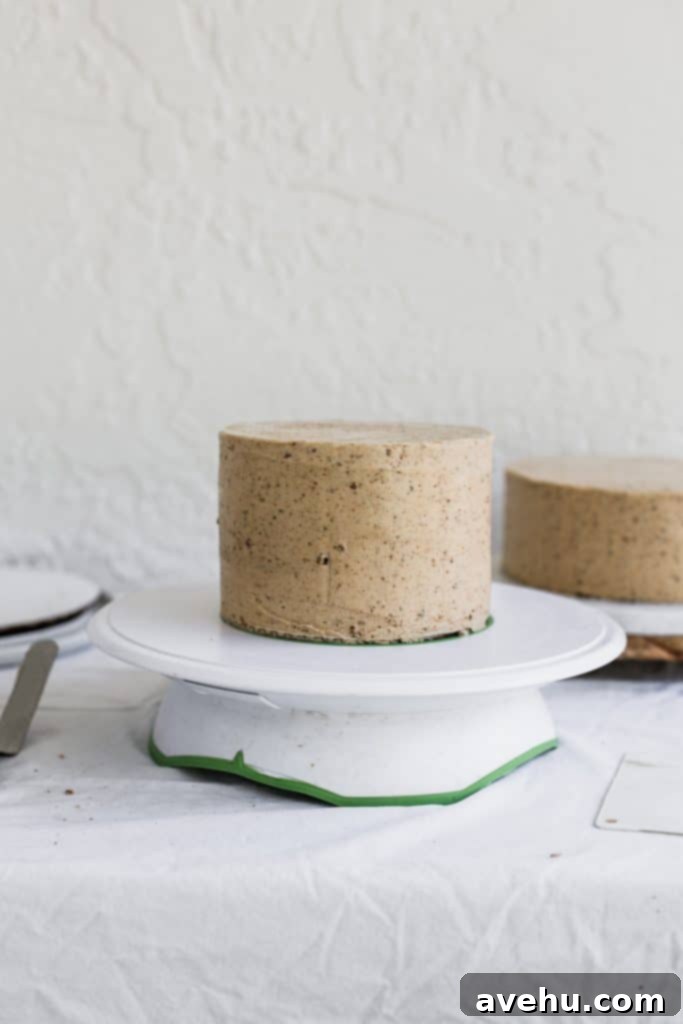
Another important consideration: spray very lightly when working with buttercream that contains food coloring. Excessive spraying can cause the color to streak or drip, leading to an undesirable bleed effect on your beautiful cake.
Step 10: Unleash Your Creativity – Cake Decorating Ideas
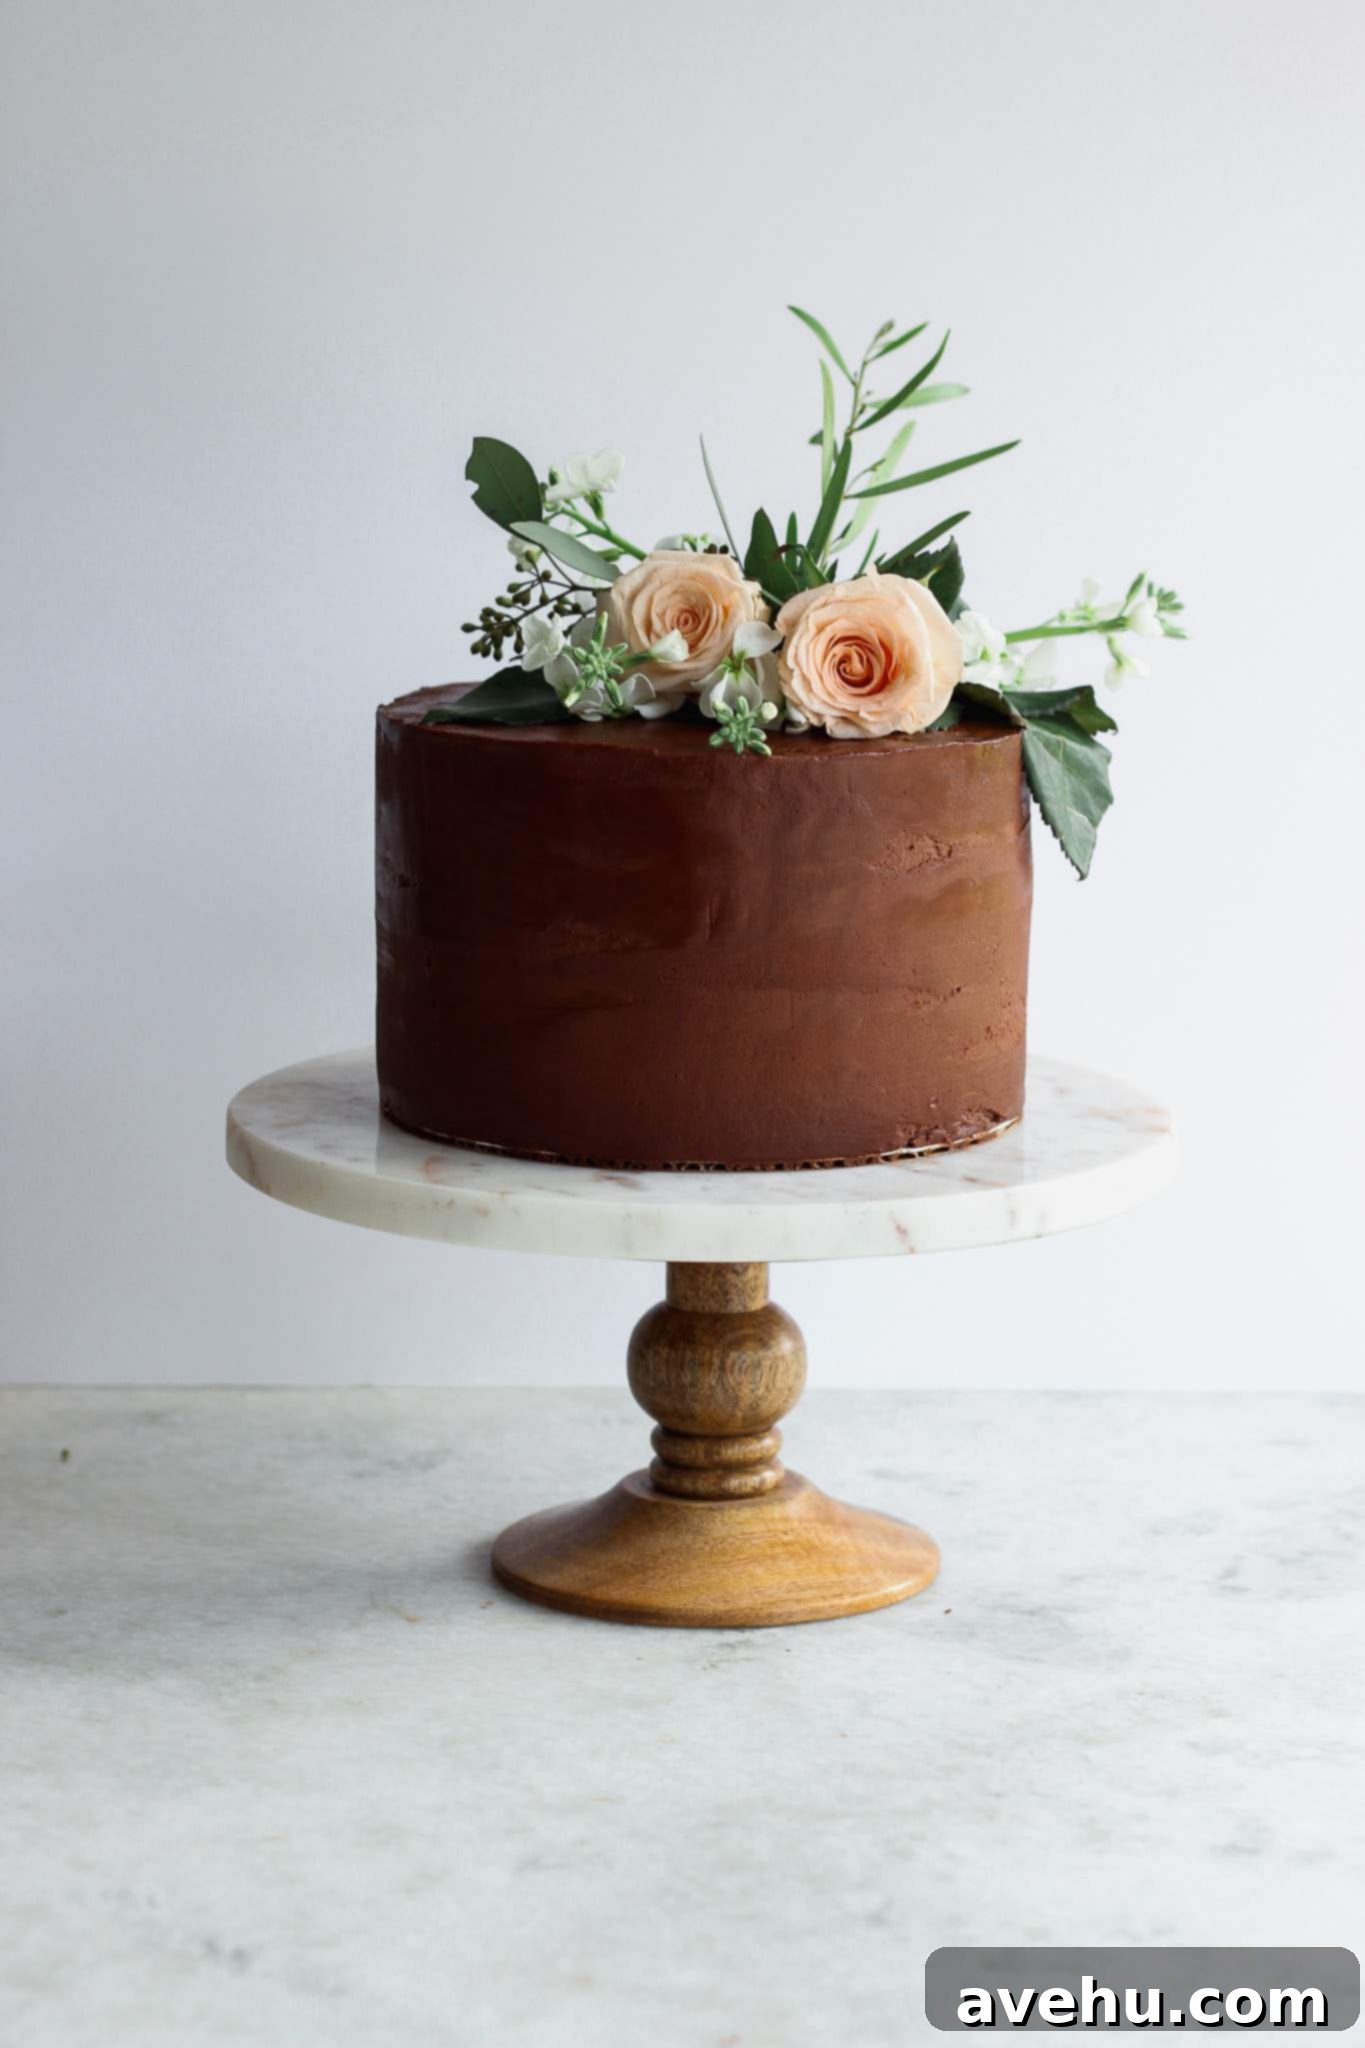
Now for the most exciting part – decorating your beautifully frosted cake! With a smooth, professional canvas, your options are limitless. Here are some of my favorite, easy, and impactful cake decorating ideas to get you started:
- Sprinkle Magic: Don’t be shy with sprinkles! Generously throw them onto the top and sides of your cake. Literally, toss them – the joyous randomness is part of their charm. Just remember, this needs to be done immediately after applying your final frosting coat, while the buttercream is still soft and sticky. If you wait for the frosting to crust, the sprinkles won’t adhere properly.
- Elegant Cake Toppers: A simple yet sophisticated cake topper can instantly elevate your creation. Options like this “Treat Yo Self” design add personality and a celebratory touch without requiring intricate piping skills.
- Textured Borders: Create beautiful borders by pressing nuts, crushed pretzels, or small candies along the bottom edge and/or sides of the cake. This adds texture, visual interest, and a delightful crunch.
- Fresh Flower Adornments: Fresh flowers can transform a simple cake into an elegant masterpiece. Ensure you know how to safely prepare and place edible or food-safe flowers. Read my detailed tutorial on how to decorate a cake with flowers safely here!
- Gourmet Salt Sprinkles: For chocolate or caramel cakes, a light dusting of fancy sea salt or flaky salt can enhance the flavor profile and add a touch of gourmet sophistication.
- Playful Cookie Patterns: Arrange cookies in a fun, repeating pattern on top of your cake. This is an easy way to add a creative and delicious element.
- Decadent Drizzles: Elevate your cake with store-bought or homemade sauces like caramel, chocolate ganache, or fruit coulis. Drizzle them artistically over the top and down the sides for a luscious finish.
Decorating Without Specialized Tools: Get Creative!
Perhaps you’re reading this and thinking, “But what if I don’t have any of those fancy tools you mentioned?” No worries at all! Necessity is the mother of invention, and you can still create beautiful cakes using everyday kitchen items:
- Spatulas and Knives: You can apply frosting onto a cake using a flat regular kitchen spatula, a butter knife, or even the back of a spoon. The technique is similar – scoop, spread from the center, and work your way out.
- Rustic Designs: After applying frosting as best you can with your improvised tools, run the tines of a fork or the back of a spoon over the frosting to create charming rustic patterns, swirls, or textured designs. This can look intentionally stylish!
- Strategic Decorations: When in doubt, cover it up! Utilize your chosen decorations strategically. A dense application of sprinkles, a border of nuts, or a large cake topper can effectively hide any minor frosting imperfections.
Well, there you have it! A comprehensive guide to achieving professional-looking cakes.
Remember, there’s truly no single “right” or “wrong” way to bake and decorate cakes. These are simply the methods and techniques I’ve refined over years of practice. Most importantly, don’t be too hard on yourself. Perfection comes with practice, and often, the small flaws we notice are completely invisible to others. So, relax, enjoy the process, and have fun creating!
HAPPY CAKING EVERYONE!!
You might like these additional decorating tutorials too:
- How to stack a two tier cake
- How to create the ultimate cookie gift box
- Pull apart football cupcake cake
- How to decorate a cake with flowers
This post contains affiliate links. That means if you purchase something from one of these links, I make a small commission at no extra cost to you. Thanks for your help in supporting my blog!

Print
How to frost and decorate a cake
Equipment
-
Cake turn table
-
bench scraper
-
Offset spatula
-
cake boards
-
clean spray bottle
Materials
- 3 layers Cake any flavor
- 4 cups buttercream any flavor
- Cake decorations
Instructions
Fill and Stack
-
Level off the tops of a cake with a long serrated knife or a cake leveler. Smear a small amount of buttercream on a cake board that is 2 inches larger than your cake. Press a cake board that is the same size of your cake on top. Smear a small amount of buttercream on that cake board and press the first cake layer down. Place the whole thing on a cake turntable.
-
Fill the cake layer with buttercream by placing about 1/4 cup in the middle of the cake and spreading outwards on the cake, using the offset spatula.
-
Take the next cake layer and flip it over so that the top now become the bottom. Place the cut side down next to the buttercream so that you now have a flat top cake. Repeat the process of filling and stacking the next layer. Freeze for 15 minutes.
Crumb Coat
-
Using the back of your offset spatula, scoop up about 1/4 cup buttercream and apply it to the sides of the cake, starting from the bottom leading up to the top, spinning as you go to distribute the frosting as evenly as you can. Don’t worry about it being perfect, it doesnt have to cover the whole cake, its ok if some peeks through. Stick it back in the freezer for another 5 minutes to seal in the crumbs.
Final Coat
-
This is the same step as a crumb coat, just with more frosting. You want to completely cover the cake so none of the cake shows through. Repeat the process of adding more buttercream and spinning as you go to add all around. Once the cake is mostly covered switch to a bench scraper to even it out as best you can. Add more frosting as you see fit.
Smoothing the Edges
-
Fill a clean food safe spray bottle with water and lightly spray your cake. Smooth out any cracks or bumps with your offset spatula and bench scraper.
Decorate!
-
Decorate the cake with flowers, candy, sprinkles, a cake topper, or anything else you like. The cake is a blank canvas and ready for anything!
Notes
Don’t heavily spray your cake as it can make the buttercream drip, all you need is a light spray!
