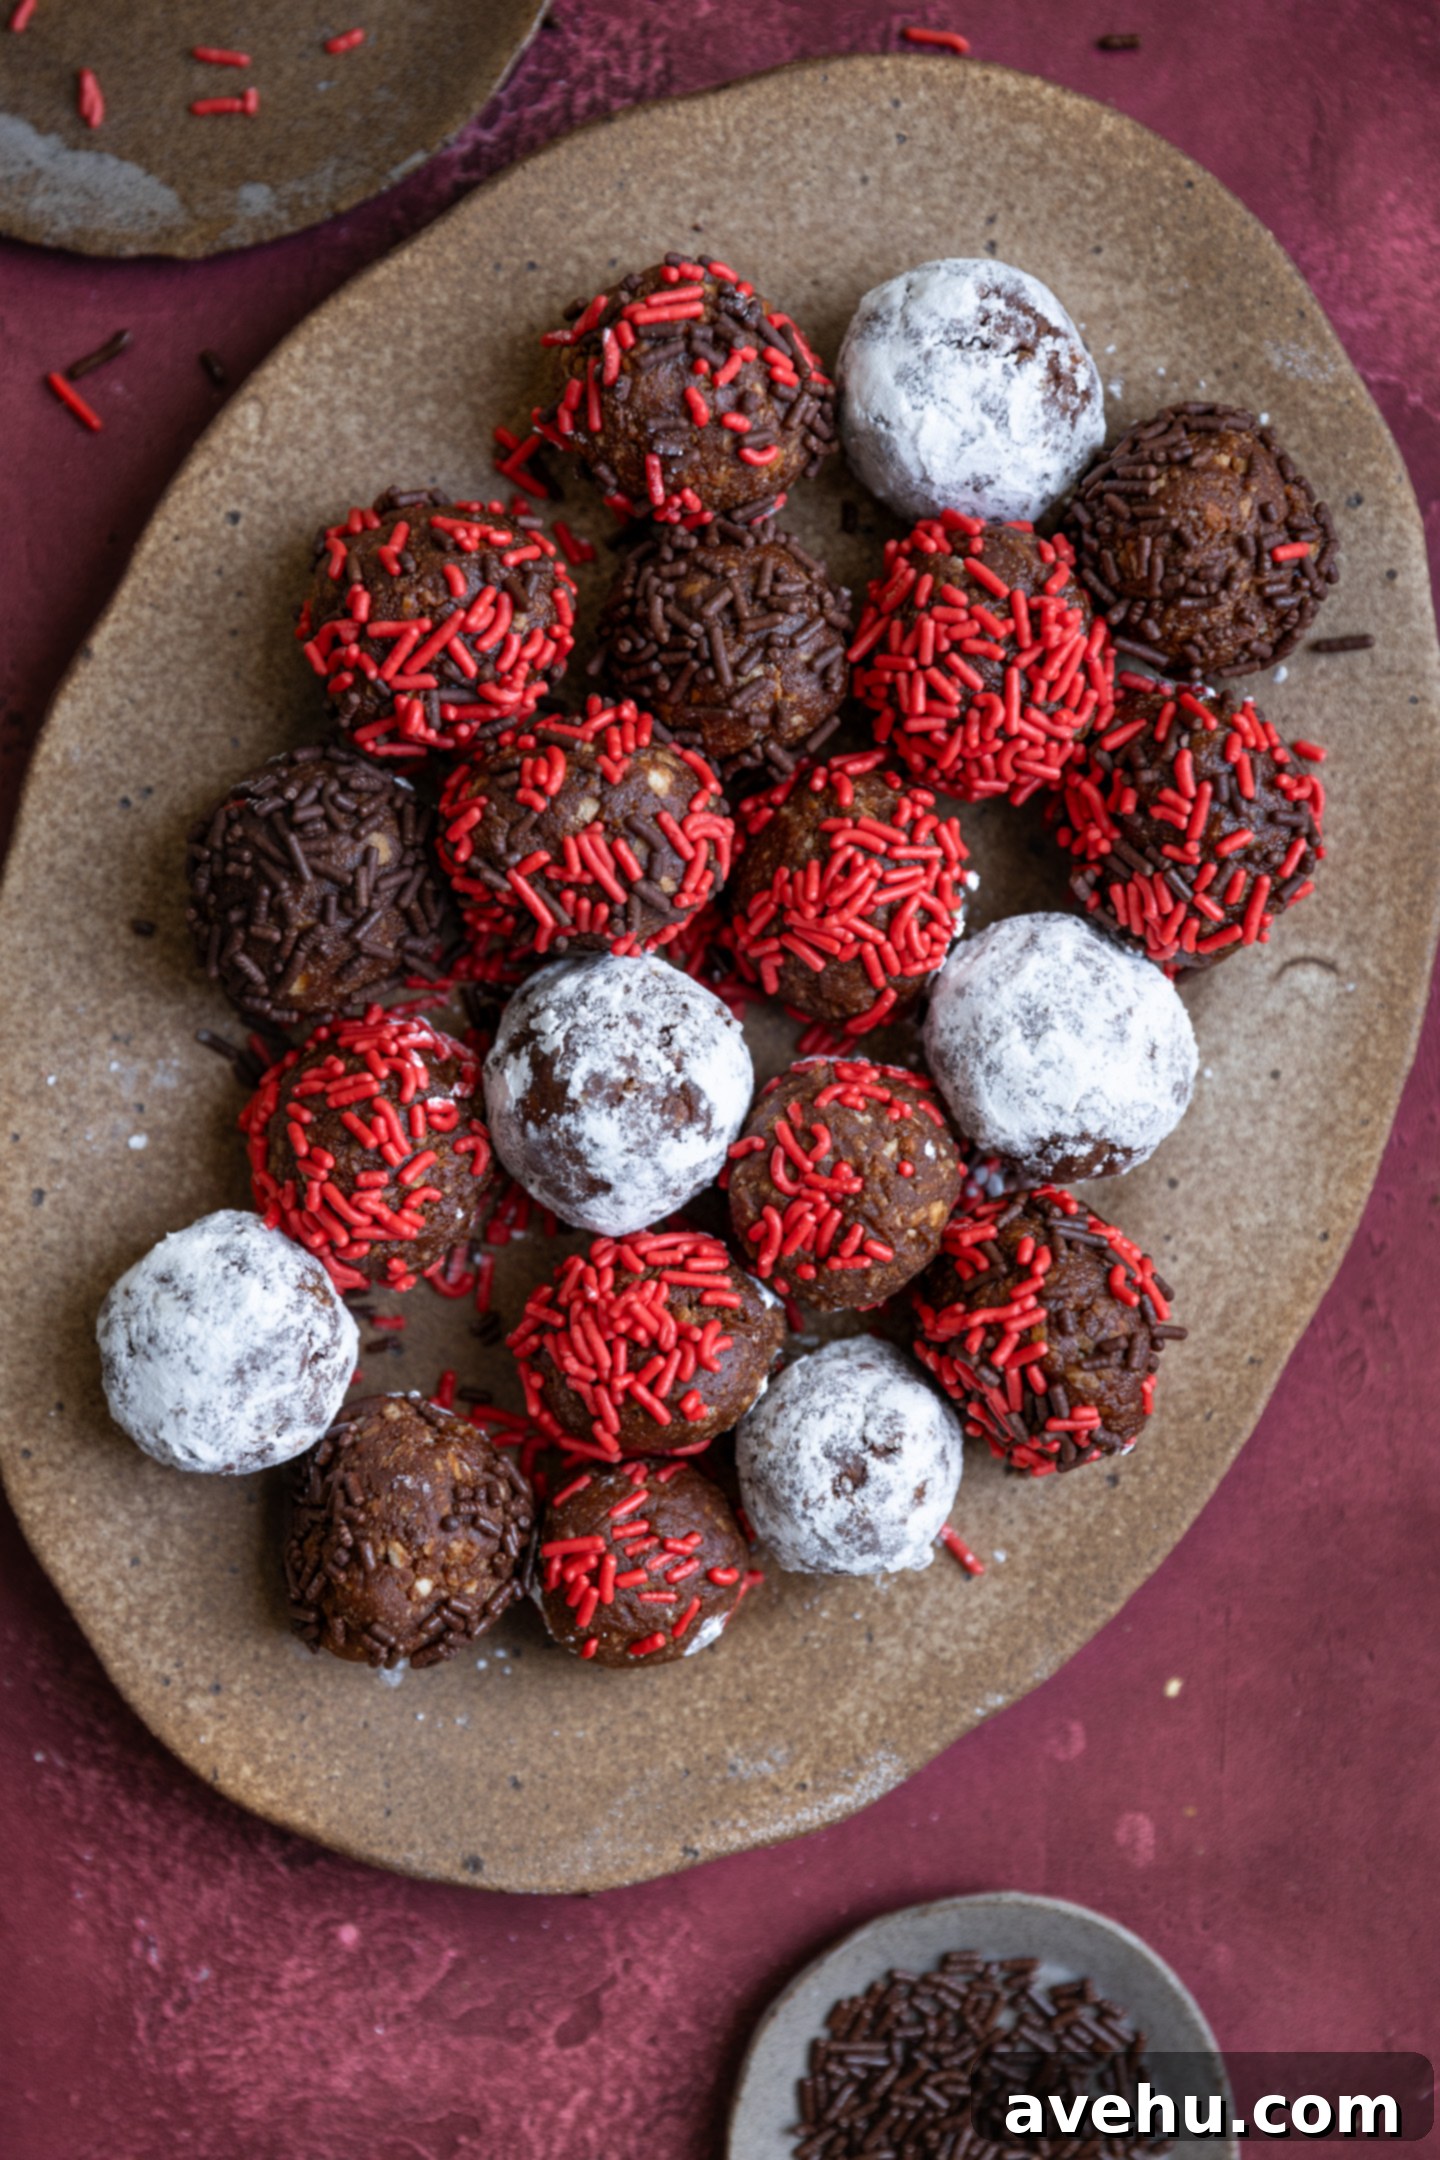
Easy No-Bake Rum Balls: Your Ultimate Holiday Treat & Gifting Guide
Get ready to discover the secret to the easiest, most delicious holiday treat that requires absolutely no baking: Rum Balls! These classic confections are a staple for festive gatherings, loved for their rich flavor, chewy texture, and incredible simplicity. Perfect for busy holiday seasons, this no-nut recipe uses readily available ingredients like vanilla wafer cookies, powdered sugar, rich cocoa powder, and a generous splash of rum. And if you’re looking for a family-friendly option, a non-alcoholic version is just as simple to create. Whip up a batch in under 30 minutes, and you’ll have a stunning addition to your dessert table or a delightful homemade gift for friends and family. The best part? They can be made well in advance, freeing up your precious holiday time – truly a festive miracle!
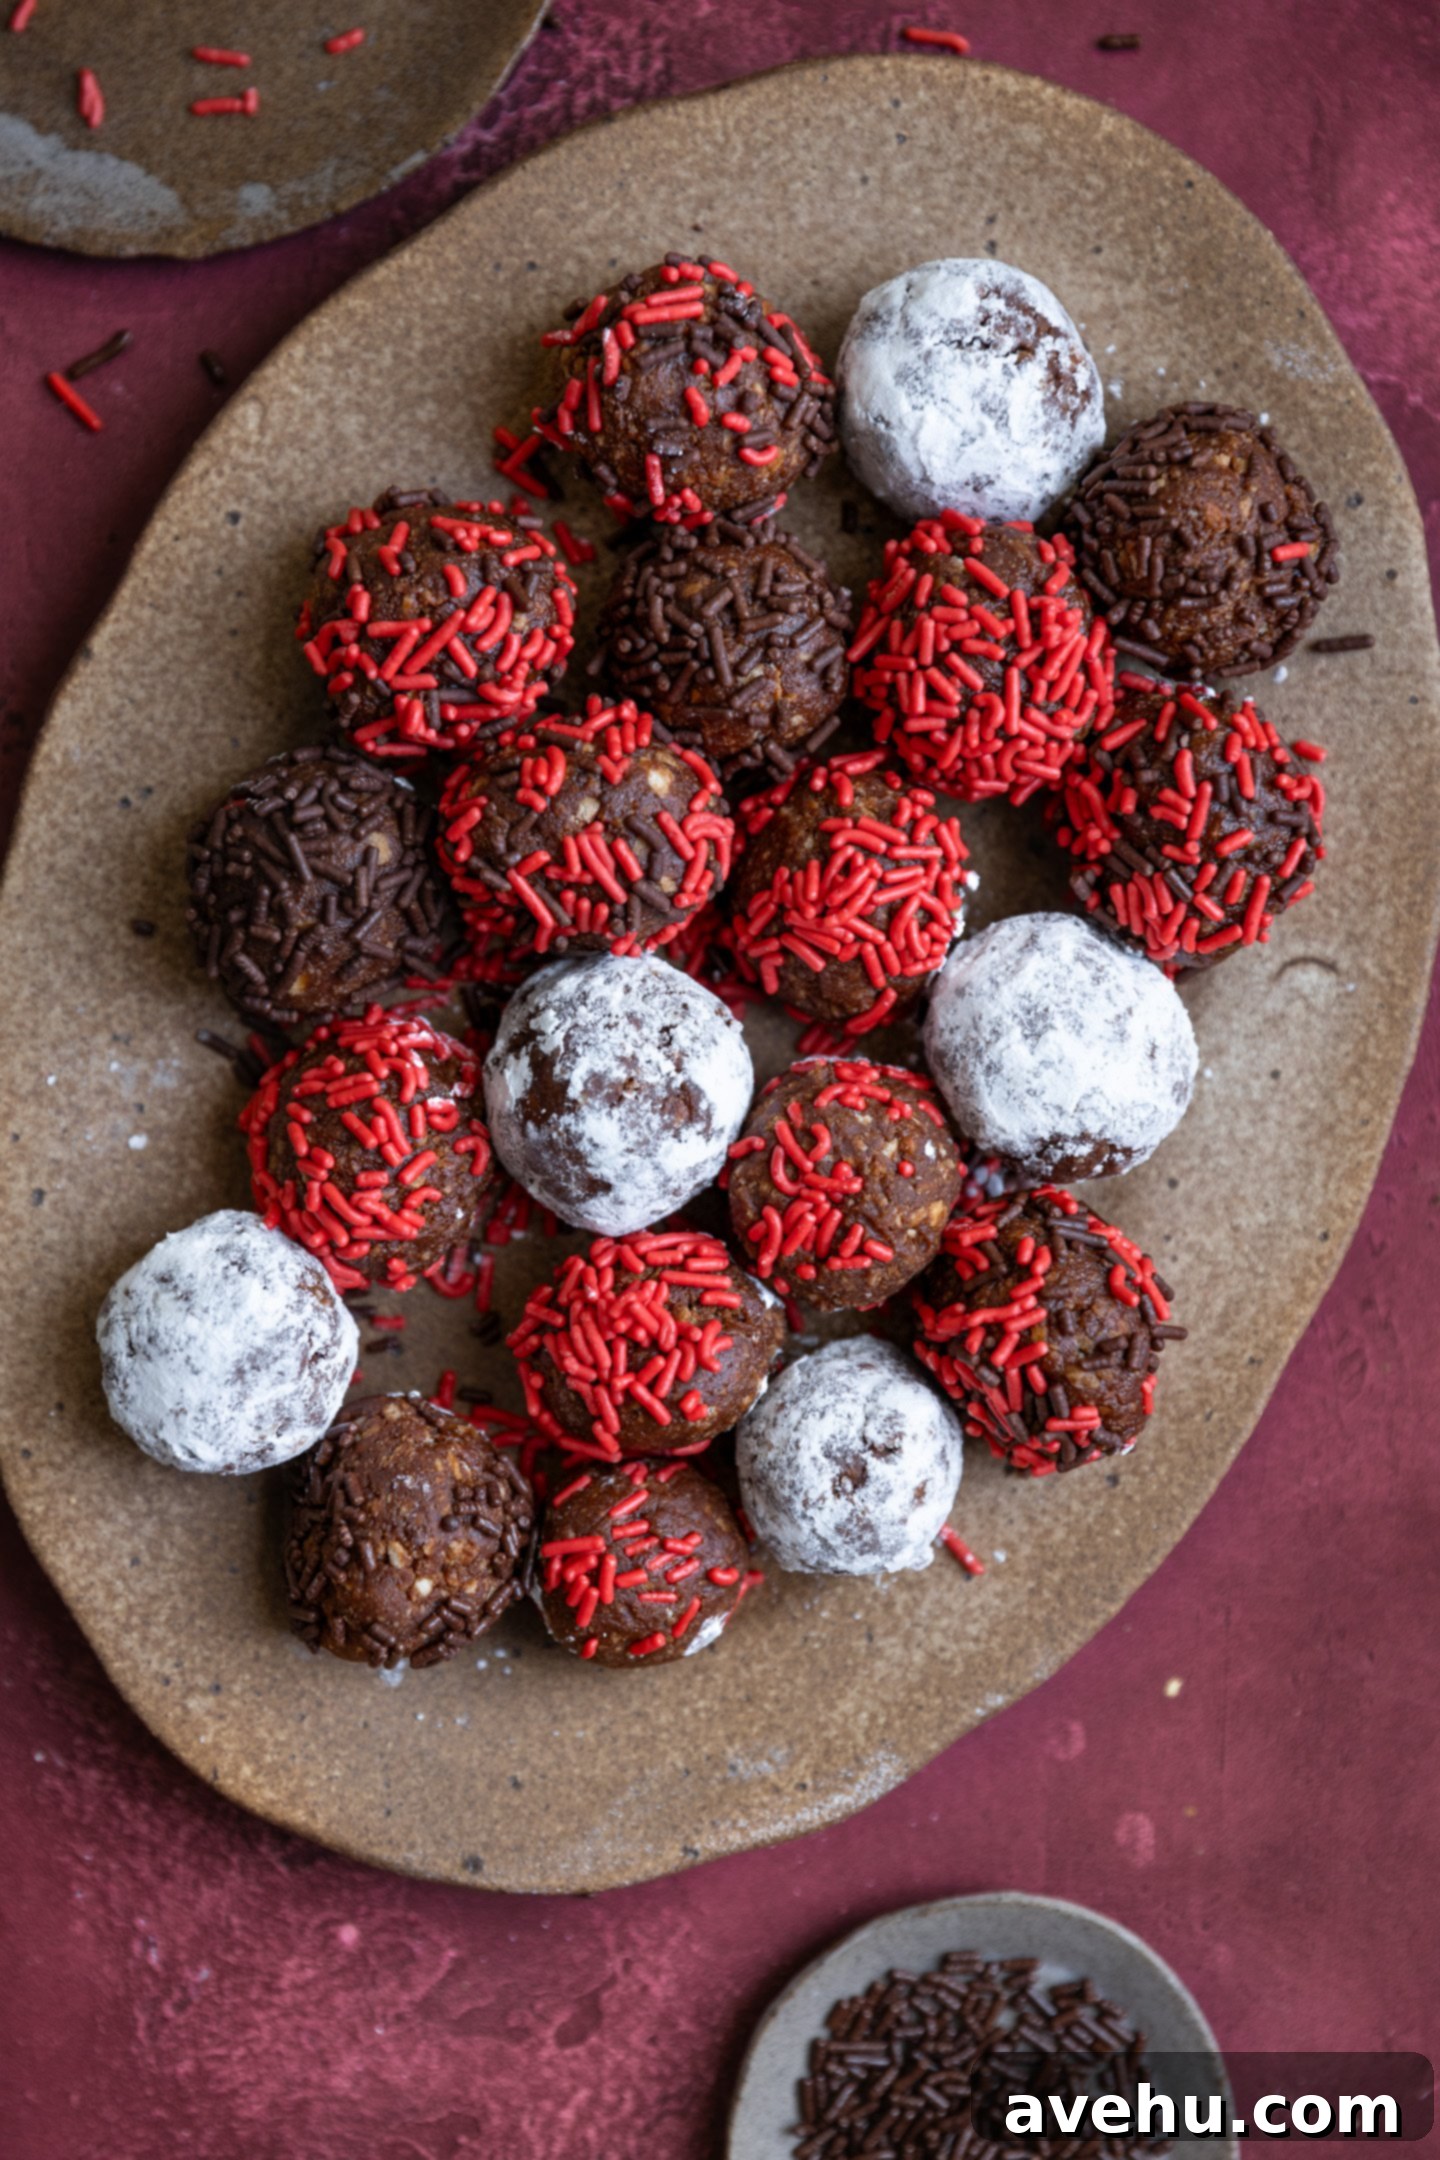
Boozy, charming, no-bake, and utterly delicious? Yes, please! These rum balls are undeniably one of the simplest and most satisfying Christmas or holiday desserts you can prepare. Forget about heating up the oven or spending hours in the kitchen. All you truly need for this fantastic recipe is a reliable food processor and a handful of common pantry ingredients, and you can create an impressive, gourmet-looking treat in under 30 minutes. Imagine the joy of serving these moist, flavorful, and perfectly boozy spheres at your next holiday party, or watch your loved ones’ faces light up as they receive a beautifully packaged box of homemade rum balls.
There are so many wonderful reasons to fall in love with this easy rum ball recipe. Let’s count the ways:
- Endless Customization: While we love classic vanilla wafers, this recipe is incredibly adaptable. Can’t find Nilla wafers? No problem! Experiment with other crunchy cookies like oatmeal cookies for a chewier texture, Biscoff cookies for a spiced note, graham crackers, ginger snaps, or even shortbread. The key is to use a dry, crisp cookie as your base, ensuring the perfect crumb texture and moisture absorption.
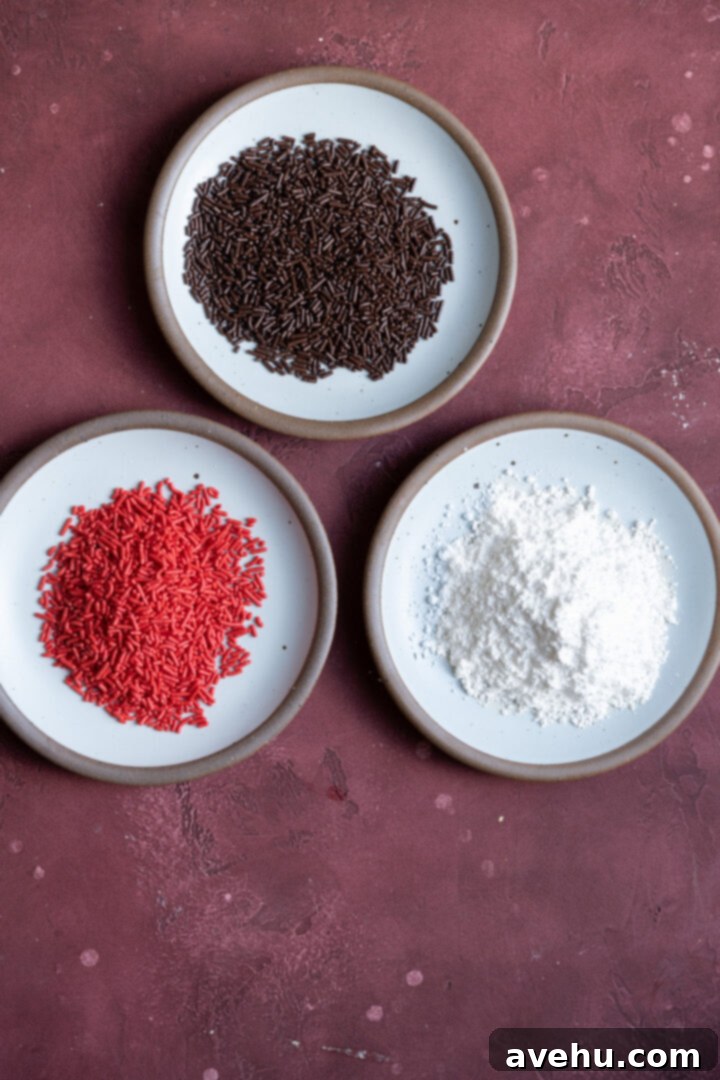
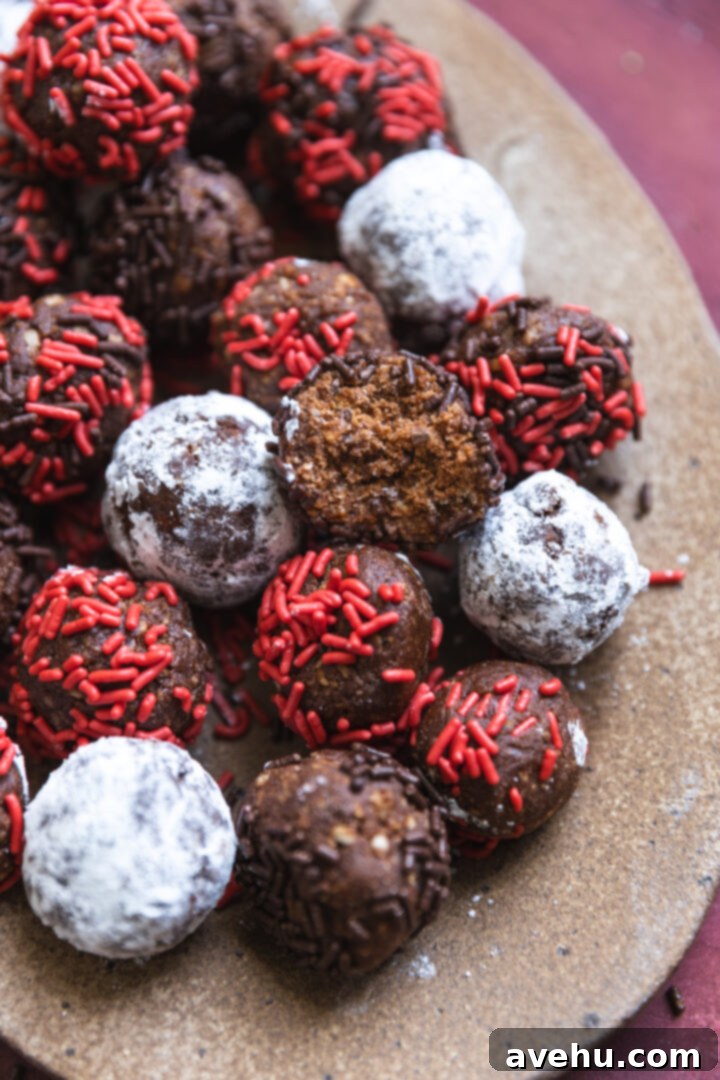
- Creative Topping Possibilities: This is where you can truly let your festive spirit shine! Roll your rum balls in an assortment of toppings to create a vibrant and varied display. Popular choices include colorful sprinkles (holiday-themed ones are a hit!), shredded coconut for a tropical twist, extra powdered sugar for a classic snowball look, finely chopped nuts (if allergies aren’t a concern), crushed peppermint candy, or even a dusting of extra cocoa powder. The possibilities are only limited by your imagination!
- Perfect Homemade Holiday Gifts: These no-bake rum balls are an ideal candidate for thoughtful, homemade holiday gifts. Package them in charming boxes, festive tins, or elegant cellophane bags tied with a ribbon. They’re a personal touch that shows you care, and they travel well, making them great for neighbors, teachers, or distant relatives.
- High Yield & Scalability: This recipe generously yields approximately two dozen rum balls, which is perfect for most gatherings. However, it’s incredibly easy to double or even triple the batch if you’re hosting a larger party or planning to give many gifts. You can also make smaller rum balls for a higher count, allowing everyone to enjoy a bite-sized treat.
- Effortless Make-Ahead Dessert: The holiday season is notoriously hectic. This recipe is a lifesaver because rum balls taste even better the day after they’re made, as the flavors have more time to meld and deepen. Prepare them days or even weeks in advance and store them, saving you precious time when you have a million other things on your to-do list.
- Fun & Safe Family Activity: Once the rum balls are mixed and formed, rolling them in toppings can be a delightful and interactive activity for kids. With the food processor blade safely removed, children can enjoy helping out in the kitchen, adding their personal touch to these festive treats. For younger children or a completely alcohol-free experience, simply make the non-alcoholic version.
As a busy mom and a professionally trained pastry chef, I absolutely adore finding fun and engaging kitchen activities that keep my kids entertained while producing delicious results. While this recipe traditionally includes rum, the quantity is carefully balanced, making them safe for adults and, in moderation, generally fine for older kids, as much of the alcohol content can evaporate over time or is minimal per serving. For peace of mind with younger children, the non-alcoholic alternative is fantastic.
Perhaps the most celebrated aspect of these rum balls, beyond their irresistible chewy, moist, and flavorful profile, is their no-bake nature. This is a game-changer during the holidays! No baking means your oven remains completely free for other essential holiday preparations. Imagine baking up classic holiday cookies like these fluffy snowball cookies (which only require 15 minutes of bake time!), effortlessly making a batch of no-chill cut-out sugar cookies, or preparing rich Eggnog Snickerdoodle cookies, all while your rum balls are chilling to perfection in the fridge. This recipe simplifies your holiday baking schedule without compromising on flavor or festivity.
Ready to create these decadent, boozy delights? Grab your trusty food processor, gather your simple ingredients, and let’s get to (no) baking!
Essential Ingredients & Equipment for Perfect Rum Balls
Before you dive in, let’s talk about what you’ll need to make these incredible rum balls. The star piece of equipment here is definitely a food processor. A stand mixer, while great for many baking tasks, simply won’t achieve the finely ground, cohesive dough required for this recipe. You need that powerful blade to really grind the cookies and mix the ingredients thoroughly. While a high-speed blender *might* work in a pinch, I highly recommend a food processor for consistent results. Consider it an investment in stress-free holiday treats!
Here’s a detailed look at the ingredients that bring these festive rum balls to life:
- Cookies: The foundation of our rum balls! I’ve used classic Nilla wafers (vanilla wafer cookies) because they have a mild flavor that complements the rum and cocoa beautifully, and they create a perfect, crumbly base. However, feel free to experiment with other crunchy, dry cookies. Oatmeal cookies will lend a heartier texture, Biscoff cookies add a delightful spiced flavor, graham crackers offer a subtle sweetness, or even ginger snaps for a bolder, spicier rum ball. The crucial factor is that they must be crunchy and not too moist; otherwise, your rum balls won’t achieve that ideal chewy-yet-firm texture.
- Powdered Sugar: Also known as confectioners’ sugar, this fine sugar helps bind the ingredients, adds sweetness, and contributes to the smooth, dense texture of the rum balls. It’s also often used as a beautiful, snowy coating.
- Cocoa Powder: Unsweetened cocoa powder provides the rich, chocolatey depth that perfectly balances the sweetness and the warmth of the rum. Choose a good quality cocoa powder for the best flavor.
- Light Corn Syrup: This acts as a crucial binding agent, helping to hold the cookie crumbs and other ingredients together, giving the rum balls their characteristic moist and chewy consistency. If you don’t have corn syrup, honey is an excellent substitute, adding its own subtle floral notes.
- Rum: The star of the show! I typically use a good quality light rum like Bacardi for a clean, classic rum flavor. However, don’t hesitate to get creative with flavored rums. Coconut rum adds a tropical twist, spiced rum can enhance the holiday feel, or even a dark rum for a more intense, molasses-like depth. The alcohol itself helps in preserving the rum balls and develops flavor over time.
- Toppings: This is your chance to personalize your rum balls!
- Sprinkles: Festive and fun, especially holiday-themed ones.
- Shredded Coconut: Adds texture and a delightful tropical aroma.
- Powdered Sugar: For a classic, elegant “snowball” appearance.
- Crushed Cookies: Use extra cookie crumbs for a uniform look.
- Finely Chopped Nuts: Almonds, pecans, or walnuts (if no allergy concerns) provide extra crunch and flavor.
- Melted Chocolate & Drizzle: For an extra layer of decadence.
- Cocoa Powder: A simple, sophisticated finish.
- Crushed Peppermint: For a minty, seasonal kick.
A Note on Nut-Free Rum Balls
While many traditional rum ball recipes include ground nuts in the dough, I’ve specifically crafted this recipe to be nut-free due to common allergies and dietary restrictions. Rest assured, you won’t miss the nuts! The vanilla wafer cookies provide a satisfying crunch that mimics the texture often contributed by nuts. Plus, if you opt for crunchy toppings like sprinkles or crushed cookies, you’ll still get that delightful textural contrast. This ensures everyone can safely enjoy these festive treats.
How to Make Easy No-Bake Rum Balls: Step-by-Step Guide
Making these rum balls is incredibly straightforward, but following the correct sequence ensures perfect results every time. (For the full, printable recipe card with precise measurements, please refer to the bottom of this article.)
Step 1: Prepare the Cookie Base
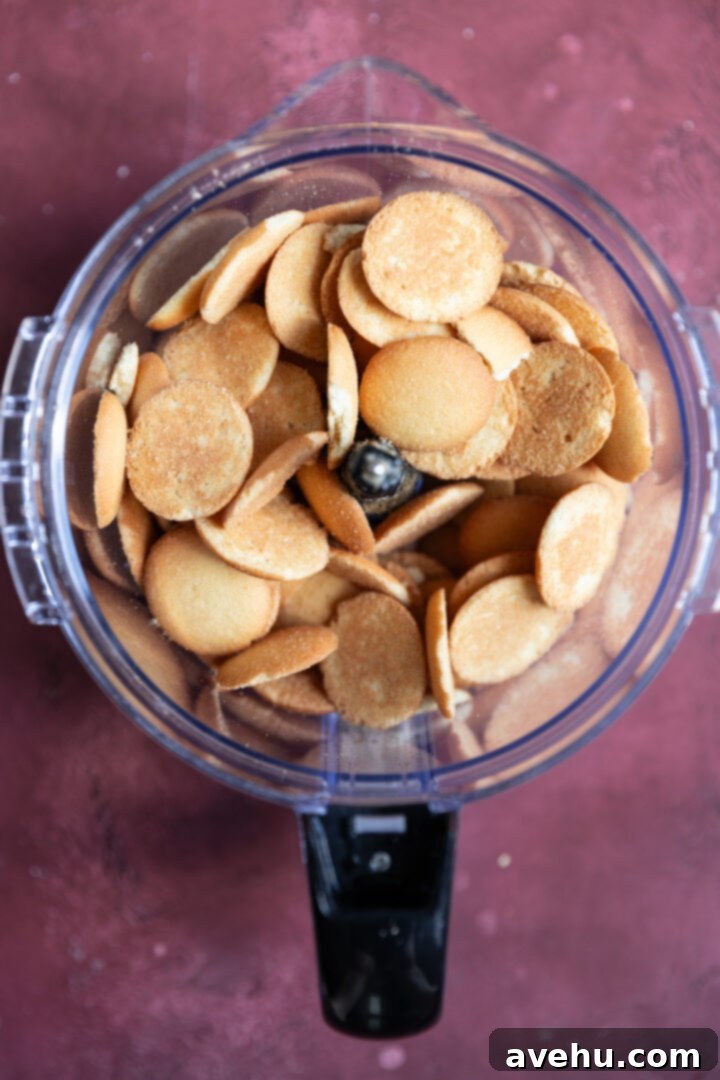
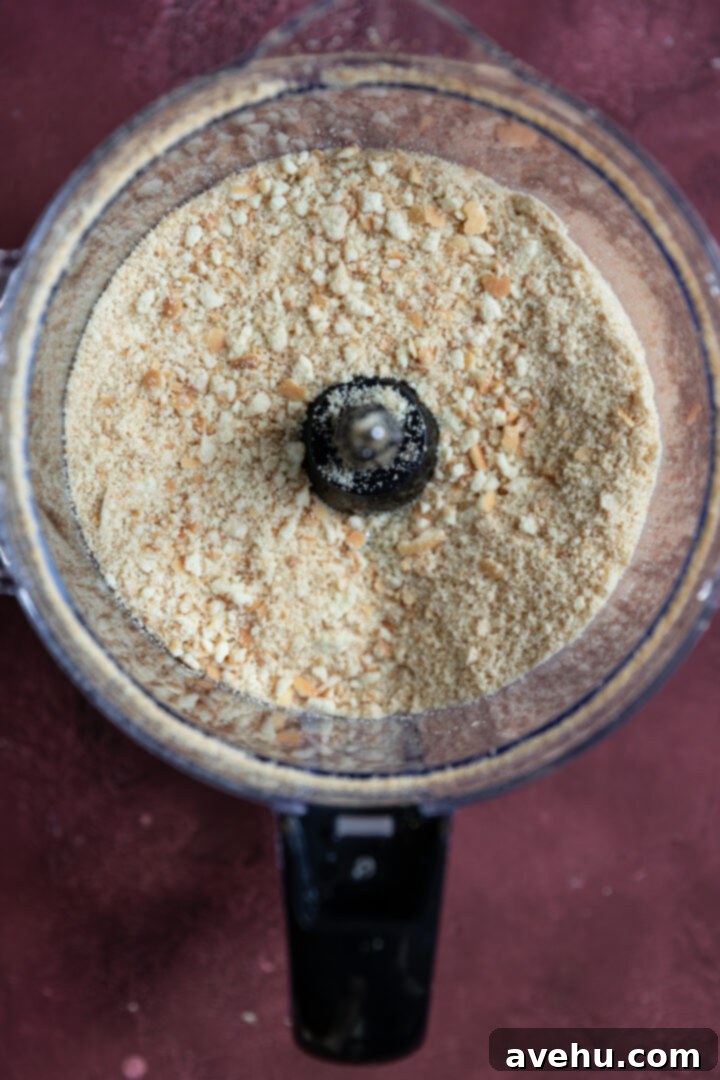
First, ensure the blade attachment is securely in place in your food processor bowl – a common oversight, as I learned the hard way! Add your 11 ounces of vanilla wafer cookies (or your chosen crunchy cookie) to the food processor. Pulse the cookies repeatedly until they transform into coarse, uniform crumbs. You want a texture that resembles fine sand or breadcrumbs, without any large chunks. This forms the essential base for your rum balls. The images below illustrate the ideal crumb consistency.
Step 2: Combine Dry Ingredients
Once your cookies are perfectly crumbed, add the powdered sugar and cocoa powder to the food processor bowl. Pulse again for a few seconds until these dry ingredients are thoroughly combined with the cookie crumbs. The mixture should still be crumbly but take on a more uniform, sandy texture with a dark brown hue from the cocoa. Ensure there are no pockets of unmixed powdered sugar or cocoa.
Step 3: Incorporate Wet Ingredients to Form Dough
Now it’s time to bring the mixture together into a cohesive dough. Add the light corn syrup (or honey) and the rum to the food processor. Pulse in short bursts. Initially, the mixture might look like wet crumbs, but as you continue to pulse, it will start to clump together and form a thick, sticky dough. This usually takes a minute or two. The dough should be firm enough to hold its shape when pressed between your fingers, but still moist and pliable. If it’s too dry, add a tiny bit more rum or corn syrup; if too wet, a tablespoon of extra cookie crumbs or powdered sugar can help.
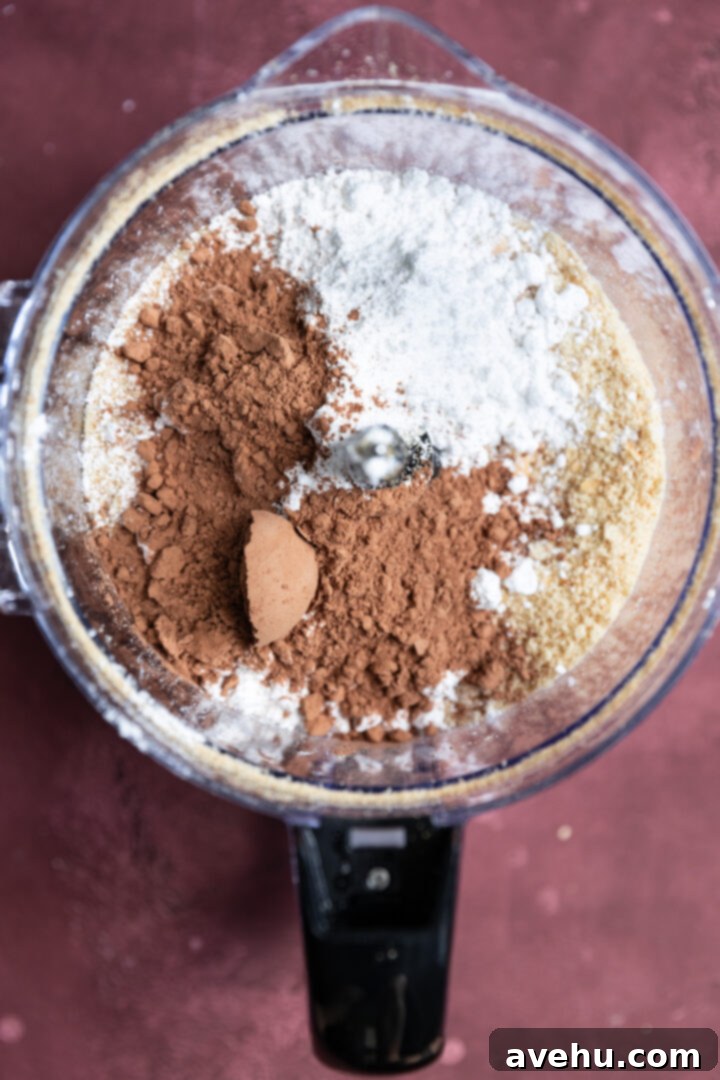
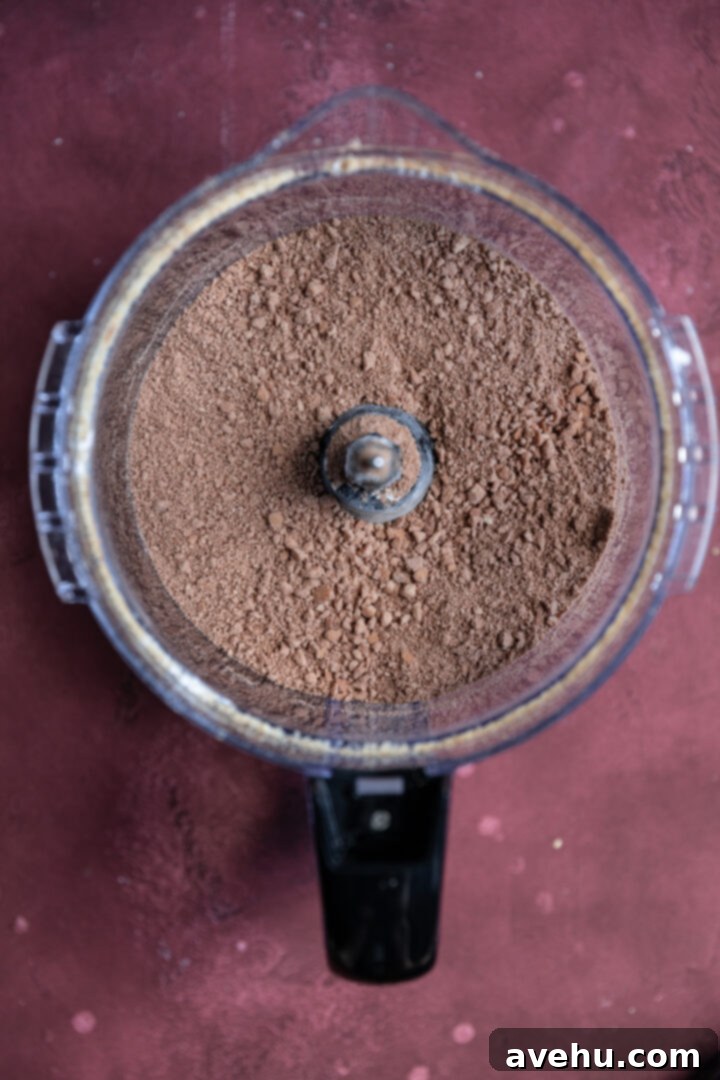
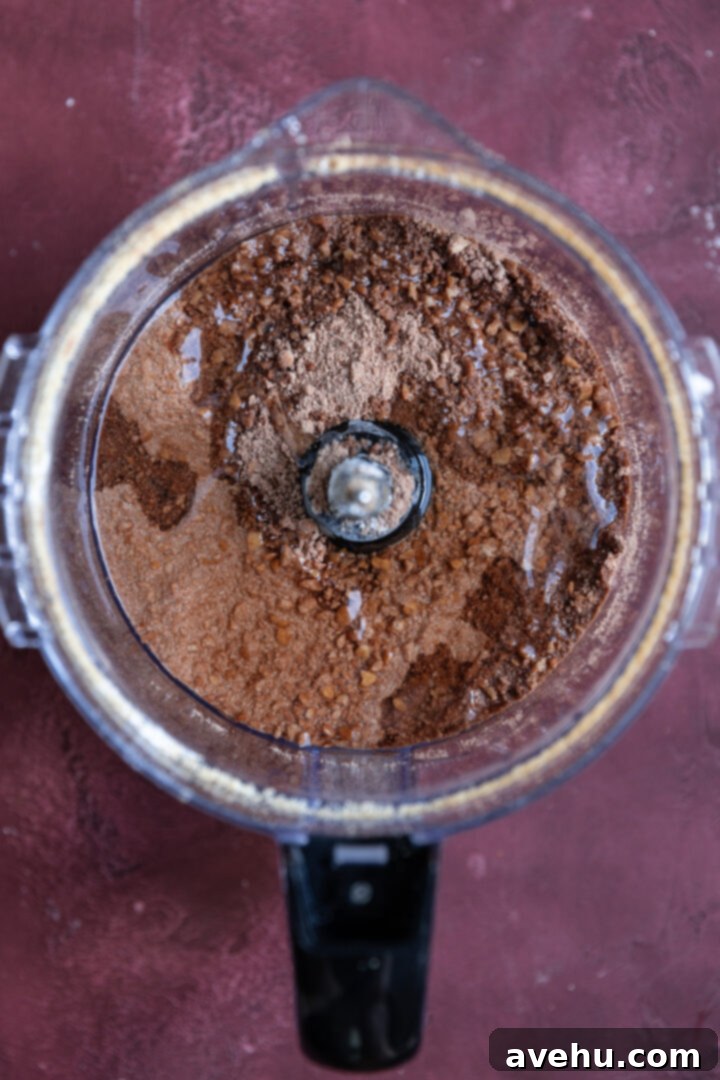
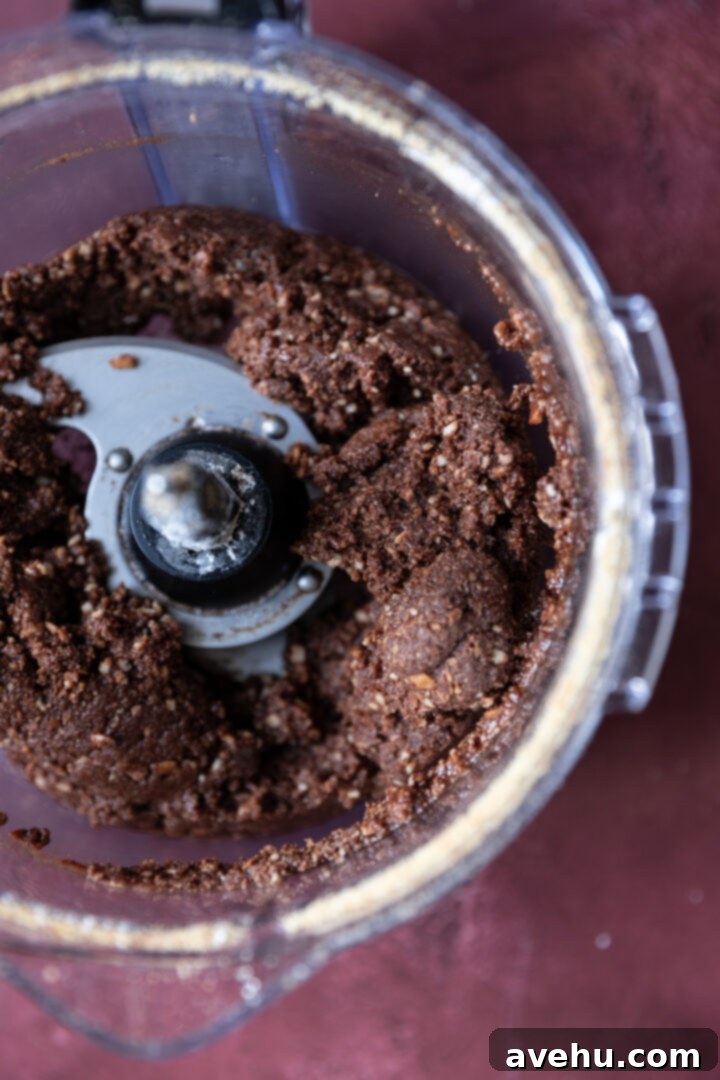
Step 4: Scoop, Roll, and Coat
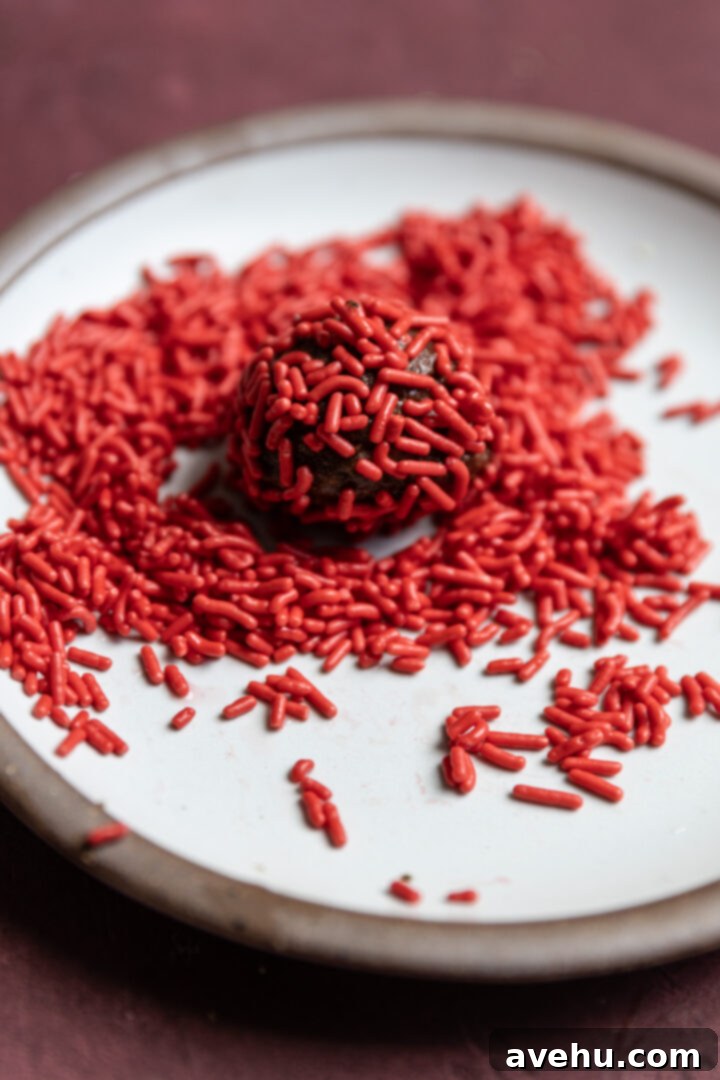
Once your rum ball dough is ready, it’s time for the fun part! Using a small cookie scoop (a 1 tbsp size is ideal for uniform rum balls) or a standard kitchen tablespoon, scoop out portions of the dough. To prevent sticking and achieve a perfectly smooth ball, slightly dampen your hands with water before rolling each portion into a neat sphere, roughly the size of a small meatball. Immediately after forming each ball, roll it generously in your chosen topping. Repeat this process until all the dough is used up.
And that’s it – you’re done! Seriously, could making festive treats be any easier?
Avoiding Common Pitfalls: Tips for Rum Ball Success
Even the simplest recipes can have their quirks! I’ve certainly had my share of kitchen mishaps while developing this recipe, so let me share some common issues and how to avoid them, ensuring your rum balls turn out perfectly on the first try.
The Importance of Ingredient Order: Aside from the memorable incident of forgetting the food processor blade (a rookie mistake, believe me!), my initial attempts involved trying to shortcut the process by dumping all the ingredients into the food processor at once. This, I can confirm, was a terrible idea. The result was a soupy, unmanageable, pourable oozy mess that was impossible to scoop or shape. I quickly learned that the key to achieving the perfect rum ball consistency lies in the order of adding ingredients:
- Grind the cookies first: This creates a fine, uniform crumb that forms the structural base.
- Add powdered sugar and cocoa powder: These dry ingredients need to be evenly distributed within the cookie crumbs before any liquid is introduced.
- Finally, add the wet ingredients (corn syrup and rum): This allows the liquid to slowly bind the dry mixture into a thick, pliable dough without making it too wet or chunky.
While I usually love finding clever shortcuts, this is one instance where following the specific steps really makes all the difference. Trust the process for superior rum balls!
Tips for Topping Adhesion
Another minor challenge I encountered was getting certain toppings, particularly sprinkles, to stick as well as I wanted. Powdered sugar usually adheres beautifully, but sprinkles can be a bit more stubborn. Here’s a simple trick to ensure your toppings cling perfectly:
Just slightly wet your hands with a tiny bit of water *before* rolling each ball. The subtle moisture on your hands will create a slightly tacky surface on the rum ball dough, allowing the sprinkles, shredded coconut, or finely chopped nuts to adhere much more effectively. Roll the freshly formed, slightly damp ball immediately in your chosen topping, applying a gentle pressure to ensure an even and secure coating. This small step makes a big difference in presentation!
Making Non-Alcoholic Rum Balls for All Ages
If you’re hosting a family-friendly gathering or simply prefer to avoid alcohol, these rum balls can easily be adapted into a delightful non-alcoholic version. The key is to substitute the rum with rum extract. Rum extract is highly concentrated, so you’ll need significantly less than actual rum. Start with about 1/2 to 1 tablespoon of rum extract, depending on how strong you want the “rum” flavor to be. Remember, a little goes a long way!
Since rum extract doesn’t provide the same liquid volume as rum, you’ll need to compensate for the lost moisture. Add approximately 1/4 cup of water or, for an extra layer of complementary flavor, use orange juice or even apple juice. These liquids will ensure your non-alcoholic rum balls maintain the same moist, chewy texture as their boozy counterparts. This simple swap makes these festive treats accessible and enjoyable for everyone!
Storing & Freezing Your No-Bake Rum Balls
One of the many advantages of these easy rum balls is their excellent shelf life and freezer-friendliness, making them the ultimate make-ahead holiday dessert!
Storing: Rum balls actually benefit from a little time to sit. They taste even better a day or two after preparation because the flavors have a chance to meld and deepen. I personally love eating them chilled, so I prefer to store them in the refrigerator. Simply place them in an airtight container, and they will keep beautifully for up to 5 days. For short-term storage, they can also be kept on the counter in an airtight container, especially if you prefer them at room temperature.
Freezing: These rum balls freeze exceptionally well, allowing you to prepare them weeks or even months in advance of the holiday rush. If you plan to freeze them, I highly recommend doing so *before* rolling them in their final toppings. When toppings like sprinkles or shredded coconut defrost, they can become soggy, messy, or simply fall off, compromising the aesthetic. Instead:
- Form the rum balls as directed, but skip the topping step.
- Arrange the untoppled balls in a single layer on a parchment-lined baking sheet and flash freeze them for about 1-2 hours, or until firm.
- Once firm, transfer the frozen rum balls to a freezer-safe zip-top bag or an airtight container, squeezing out as much air as possible to prevent freezer burn.
- They can be frozen for up to 2 months.
Defrosting & Re-topping: To defrost, simply transfer the frozen rum balls to the refrigerator overnight, or leave them on the counter for a few hours. Once defrosted, if they feel a little dry or you want to ensure toppings stick perfectly, lightly dampen your hands with a tiny bit of water and gently re-roll each ball slightly. Then, immediately roll them in your topping of choice. They’ll look and taste as fresh as if they were just made!
Serving & Gifting Your Festive Rum Balls
These delicious rum balls aren’t just easy to make; they’re also incredibly versatile when it comes to serving and gifting, adding a touch of homemade elegance to any occasion.
Serving Ideas: To create an attractive and varied display, I suggest choosing at least three different toppings. This adds visual interest and offers different flavor experiences. You can arrange them artfully on a large platter, mixing the different toppings for a dynamic presentation. Alternatively, for a more individual and elegant touch, place each rum ball into mini cupcake liners. These liners are not only pretty but also make them easier to pick up and serve, especially at parties.
Gifting Ideas: Homemade rum balls make for wonderfully personal and appreciated holiday gifts. Here are a few ways to package them:
- Small Cookie Boxes: Fill a small cookie box with an assortment of your beautifully topped rum balls. Tie the box with a festive ribbon and attach a small, handwritten tag.
- Glass Jars: Layer different colored rum balls in a clean glass jar. This creates a stunning visual gift. Tie a ribbon around the neck of the jar, perhaps with a sprig of fresh evergreen or a cinnamon stick, and a personalized note.
- Cellophane Bags: For a simpler but still elegant presentation, place a few rum balls in small cellophane bags, tie them with a twist tie or ribbon, and add a decorative tag.
- Gift Baskets: Incorporate rum balls into a larger holiday gift basket alongside other homemade treats, gourmet coffee, or specialty teas.
However you choose to present them, these easy no-bake rum balls are sure to be a cherished part of your holiday celebrations!
Easy No-Bake Rum Balls for Holiday Gifting & Entertaining
Pin
Review
SaveSaved!
Ingredients
- 11 oz Vanilla wafer cookies, (1 box) I use Nilla, but feel free to use oatmeal, Biscoff, or any other crunchy cookie for variety.
- 3/4 cup powdered sugar
- 3 tbsp cocoa powder
- 3 tbsp light corn syrup
- 1/3 cup Rum, (e.g., Bacardi white rum, or a flavored rum like coconut. For non-alcoholic, use 1/2-1 tbsp rum extract + 1/4 cup water/orange juice.)
- Toppings, e.g., Sprinkles, shredded coconut, extra powdered sugar, crushed cookies, finely chopped nuts (if desired and no allergies).
Equipment
-
1 Food Processor
-
1 Small Cookie Scoop (1 tbsp)
Instructions
-
To the bowl of a food processor fitted with the blade, add the 11 oz vanilla wafers (or preferred crunchy cookies) and pulse until a coarse, sand-like crumb mixture forms. Ensure no large chunks remain.
-
Add the 3/4 cup powdered sugar and 3 tbsp cocoa powder. Pulse again until the dry ingredients are thoroughly combined with the cookie crumbs, creating a uniform, sandy texture.
-
Next, add the 3 tbsp light corn syrup and 1/3 cup rum (or non-alcoholic alternative). Pulse again in short bursts until a thick, cohesive dough comes together and holds its shape.
-
Using a 1 tbsp cookie scoop, portion out the dough. Lightly dampen your hands with water and roll each portion into a smooth ball. Immediately roll the ball in your chosen topping until fully coated. Repeat for all dough.
-
Serve your rum balls immediately, or for enhanced flavor and firmness, place them in the fridge overnight. Store in an airtight container at room temperature or in the refrigerator for up to 5 days. For longer storage, see freezing instructions above.
