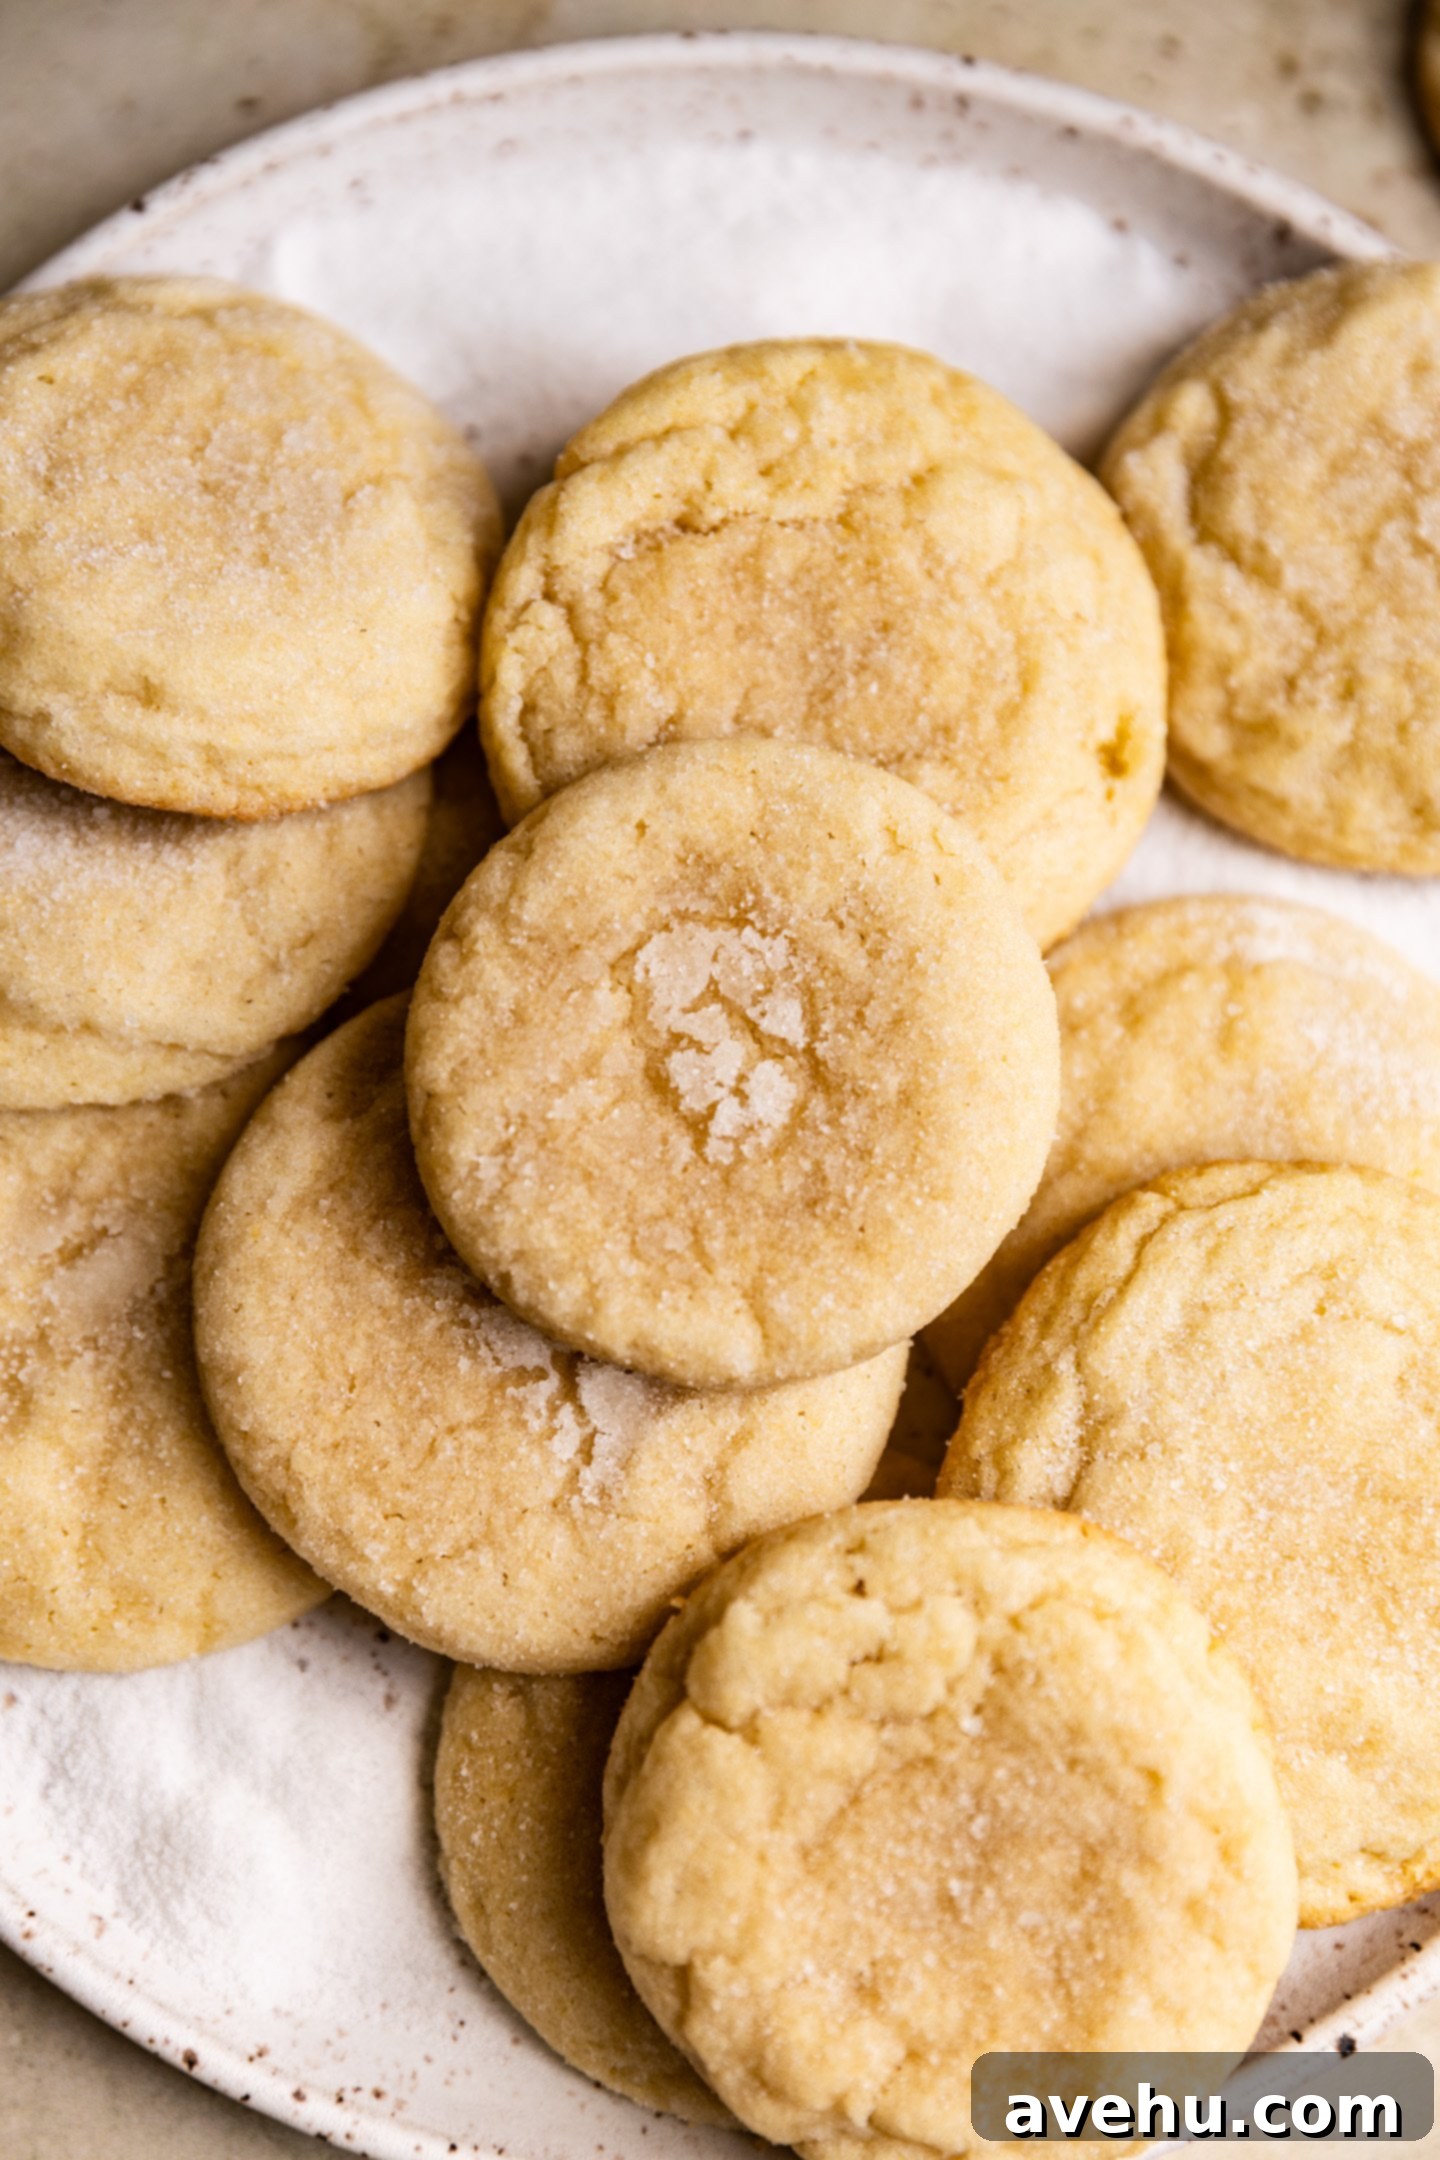
Effortless & Irresistibly Chewy Sugar Cookies: Your 20-Minute No-Chill Recipe
Imagine sinking your teeth into a perfectly soft, wonderfully chewy sugar cookie with a hint of sweet vanilla – all ready in less than 20 minutes from start to finish. Sound too good to be true? Not with this revolutionary recipe! Forget the hassle of waiting for butter to soften, pulling out a heavy stand mixer, or enduring endless chill times. These incredible homemade vanilla sugar cookies are designed for ultimate simplicity, made in just one bowl with zero chill time. This means you can whip up a batch of buttery, delectable cookies in approximately 5-6 minutes of active prep, making them the ideal treat for spontaneous cravings, last-minute holiday gatherings, or simply when you need a little sweet indulgence without the fuss.
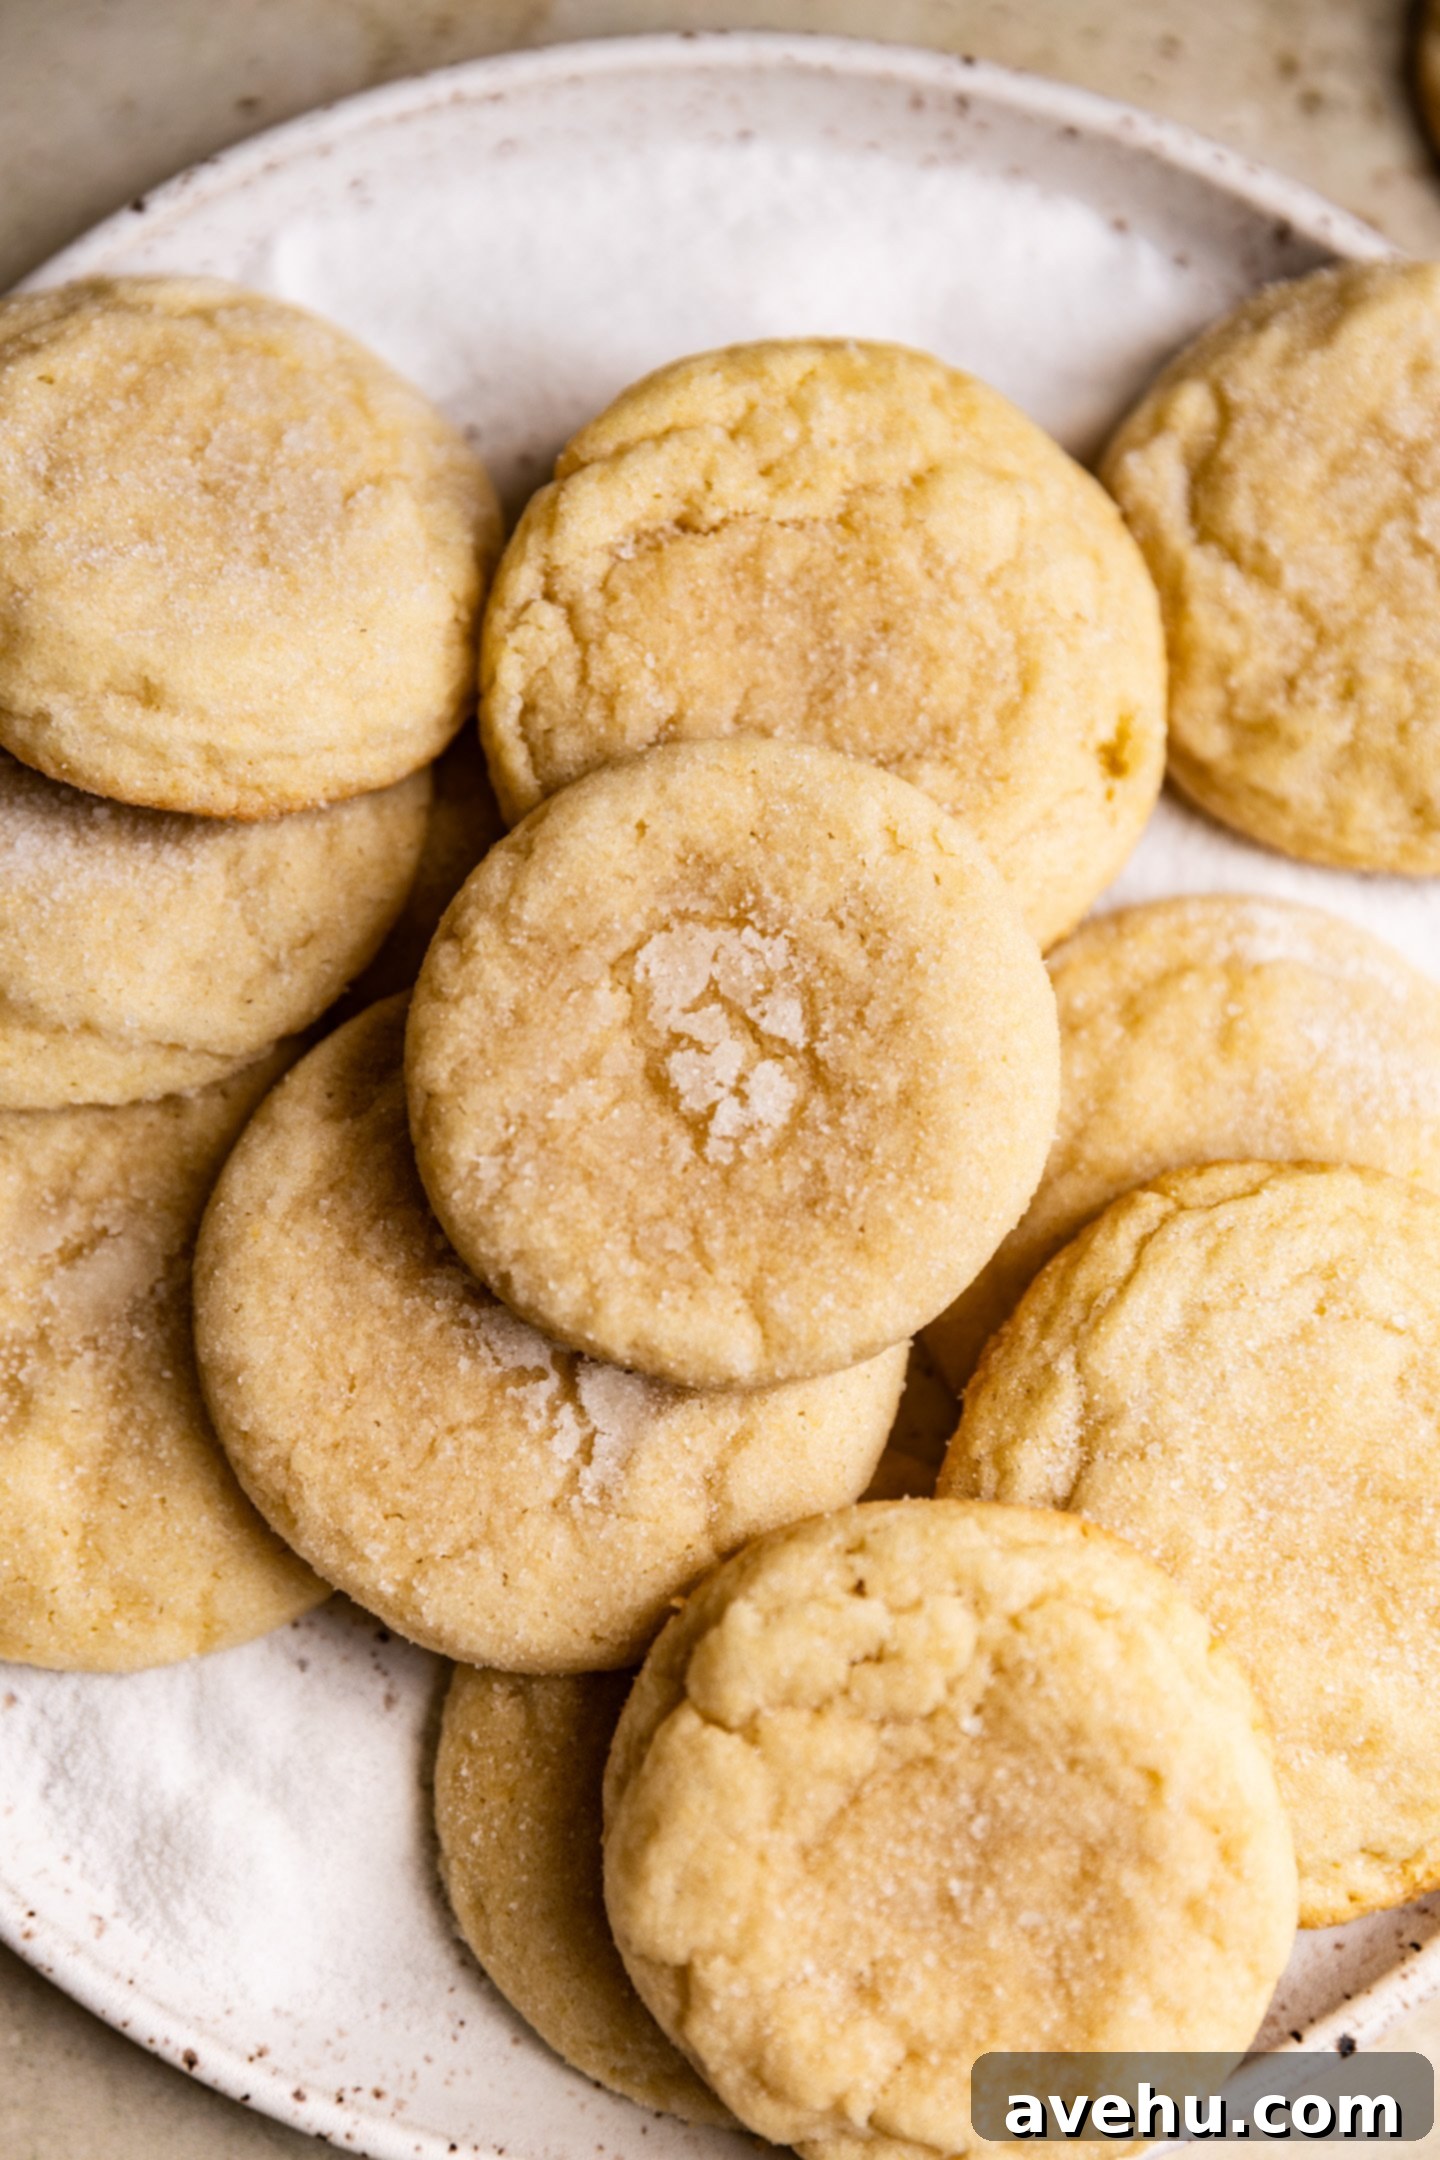
Why This is Your New Favorite Sugar Cookie Recipe
The holiday season, or any busy week, can be hectic enough without spending hours in the kitchen baking. As a trained pastry chef, I’ve experimented with countless cookie recipes, always seeking ways to simplify baking without ever compromising on flavor or texture. This recipe stands out as the ultimate solution for anyone craving exceptional sugar cookies with minimal effort. Here’s what truly sets these chewy sugar cookies apart from traditional recipes:
- No Softened Butter Needed: Most classic sugar cookie recipes insist on softened butter, a step that alone can add hours to your baking process if you forget to take it out in advance. Our secret? Melted butter! This not only eliminates waiting time but also contributes directly to the soft, gooey, chewy texture we adore.
- One Bowl, No Mixer Required: Say goodbye to elaborate cleanup and bulky equipment. This entire recipe comes together beautifully in a single bowl using just a whisk. It’s perfect for small kitchens, quick baking sessions, or when you simply don’t want to deal with a mountain of dishes.
- Zero Chill Time: This is a true game-changer! Traditional sugar cookie dough often requires chilling for an hour or more to prevent spreading. With this recipe, you mix, scoop, and bake immediately, getting those warm, fresh cookies into your hands even faster.
- Lightning-Fast Prep: From gathering your ingredients to forming the dough balls, you’ll be done with active prep in approximately 5-6 minutes. This incredible efficiency makes homemade cookies a realistic option even on your busiest days.
- Quick Baking: Each batch bakes in a mere 10 minutes, meaning you can have a full plate of delicious cookies in under 20 minutes from the moment you decide to bake.
These are the kind of sugar cookies that are delightfully soft and chewy, rolled in granulated sugar, and infused with a comforting hint of vanilla. If you’re looking for a roll-out and decorate type of sugar cookie, which offers a different experience, I recommend trying my no-chill cut-out sugar cookies for another fantastic option!
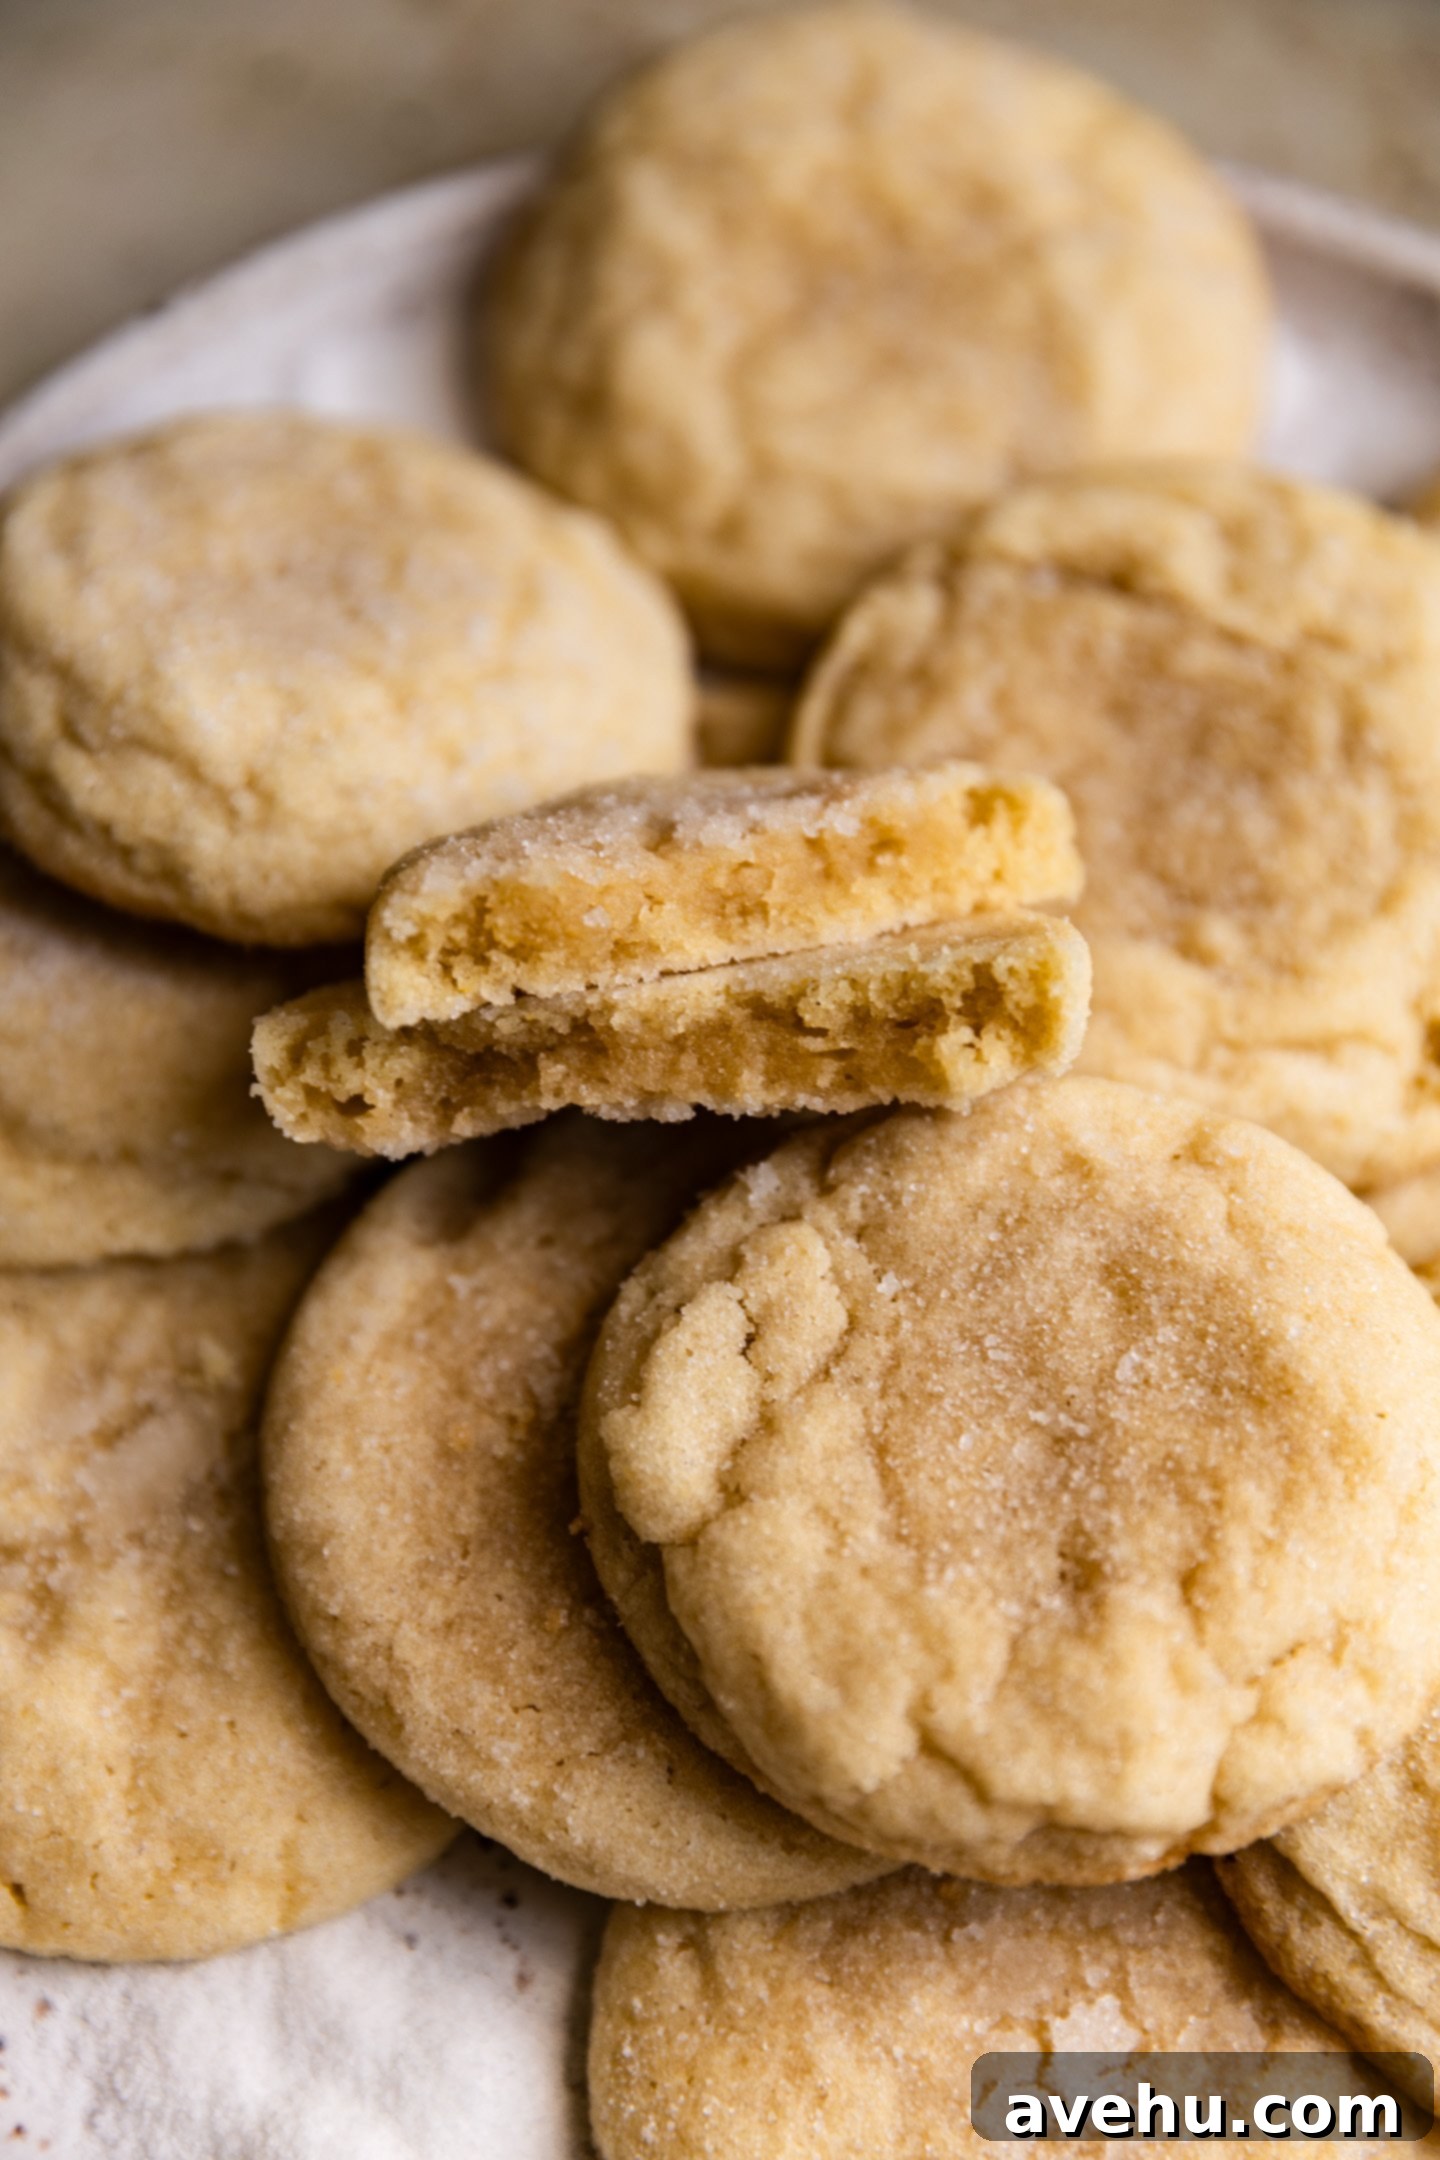
The result is a cookie with slightly crispy, sugar-coated edges that give way to an incredibly soft, gooey center. Every bite is an explosion of buttery vanilla goodness, making these cookies an absolute delight to eat and share. I even put this recipe through five rounds of rigorous testing to ensure its perfection, experimenting with delightful variations like cinnamon sugar cookies and lemon sugar cookies, all proving the versatility and robust nature of this simple base.
While these cookies are undeniably perfect for holiday cookie platters – alongside festive favorites like gingersnap cookies, chocolate brownie cookies (another 20-minute wonder!), and eggnog snickerdoodle cookies – they are equally fantastic for any occasion that calls for a quick, homemade sweet treat. If you have 15-20 minutes right now, let me show you how to make these amazing sugar cookies that will change your baking life!
Essential Ingredients for Your Perfect Sugar Cookies
These cookies rely on very simple pantry baking staples, making them accessible to almost everyone. Here’s a closer look at the key ingredients and why they are chosen for this specific recipe:
- Unsalted Butter: We use melted butter here, which is crucial for achieving that wonderfully gooey, chewy texture, distinct from the cake-like result often associated with creaming softened butter. Using unsalted butter allows you to control the exact amount of salt in your cookies, ensuring a perfectly balanced flavor.
- Granulated Sugar: Beyond providing essential sweetness, sugar helps create those delightful slightly crispy edges when the cookies are rolled in it.
- Large Egg & Egg Yolk: The whole egg adds structure and moisture, while the extra egg yolk is a secret weapon for richness, enhanced tenderness, and an even chewier consistency without making the cookies dense. Discarding the white helps maintain the desired texture profile.
- Vanilla Extract: High-quality vanilla is absolutely essential for the classic, comforting, and aromatic flavor of sugar cookies. Don’t skimp on this ingredient – pure vanilla extract makes a noticeable difference.
- All-Purpose Flour: The backbone of our cookie structure. Ensure it’s measured accurately, preferably by weight, to maintain the correct dough consistency.
- Baking Soda: This is our sole leavening agent. After extensive testing, I found that baking powder resulted in a cookie that was too airy and cake-like. Baking soda, when combined with the slight acidity that naturally develops, promotes spreading and chewiness, giving us that ideal soft center.
- Corn Starch: A magical ingredient for softness and moisture! Corn starch tenderizes the dough, prevents it from drying out, and contributes significantly to the melt-in-your-mouth texture that makes these cookies so addictive. Do not omit this ingredient.
- Kosher Salt: A pinch of salt is vital for balancing the sweetness and enhancing all the other flavors. It elevates the overall taste profile of the cookie, preventing it from tasting flat.
Understanding the role of each ingredient will help you appreciate the simplicity and effectiveness of this recipe. The melted butter and the specific combination of baking soda with corn starch are particularly important for achieving the signature soft and chewy outcome, distinguishing these from other sugar cookie variations.
Step-by-Step Guide to Baking Your Chewy Sugar Cookies
Follow these straightforward steps to create a batch of the most delicious, quick, and easy sugar cookies you’ve ever made. Remember, the key to success here is following the instructions carefully, especially regarding ingredient measurements and technique.
1. Prepare Your Baking Station
Start by preheating your oven to 350°F (175°C). Line two large baking sheets with parchment paper. This recipe yields approximately 26 cookies, so you’ll need to reuse the sheets. Parchment paper is crucial for preventing sticking and ensuring even baking, as well as making cleanup a breeze.
2. Craft the Perfect Dough in One Bowl
In a medium, microwave-safe bowl, melt the unsalted butter. Heat it in 30-second intervals, stirring in between, until it’s completely liquid. Be careful not to overheat it to the point of browning, unless you desire a browned butter flavor (which is a delicious variation for another time!).
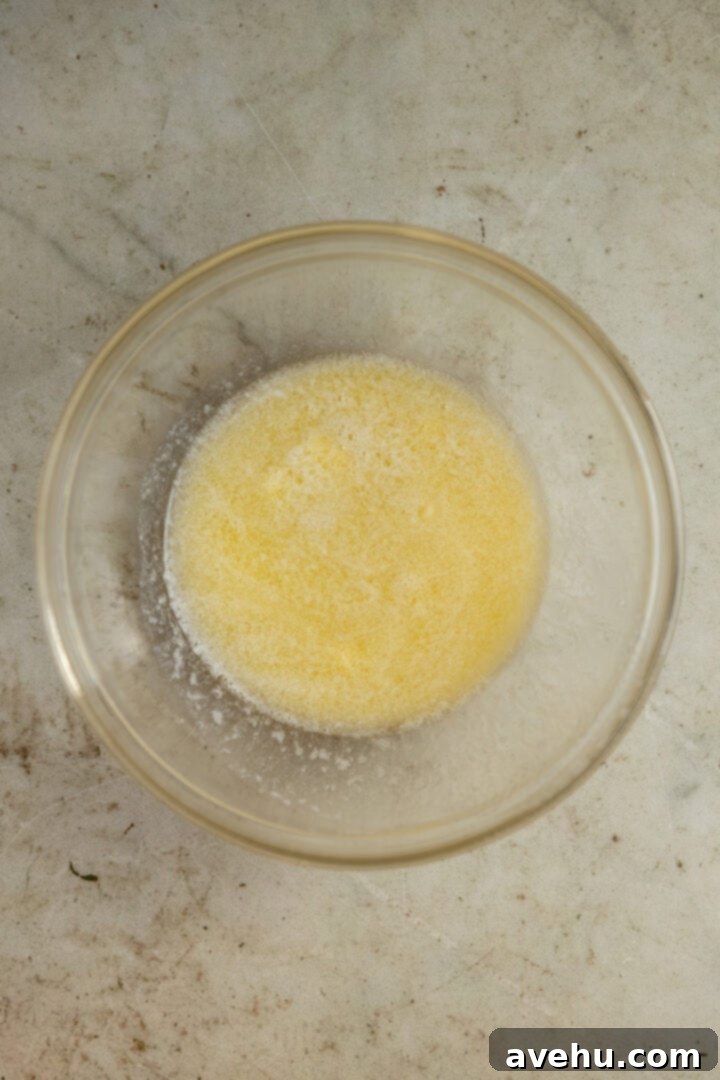
Once the butter is melted, add the granulated sugar to the same bowl. Whisk vigorously for about 30 seconds to 1 minute until the sugar is fully incorporated and the mixture is smooth. This step is important for dissolving some of the sugar and creating a unified base.
Next, add the large egg, the extra egg yolk, and the vanilla extract. Continue whisking for another 30 seconds to 1 minute. You’ll notice the mixture becoming slightly lighter in color and a bit airy – this minor aeration, even without a mixer, contributes to the cookies’ light chewiness.

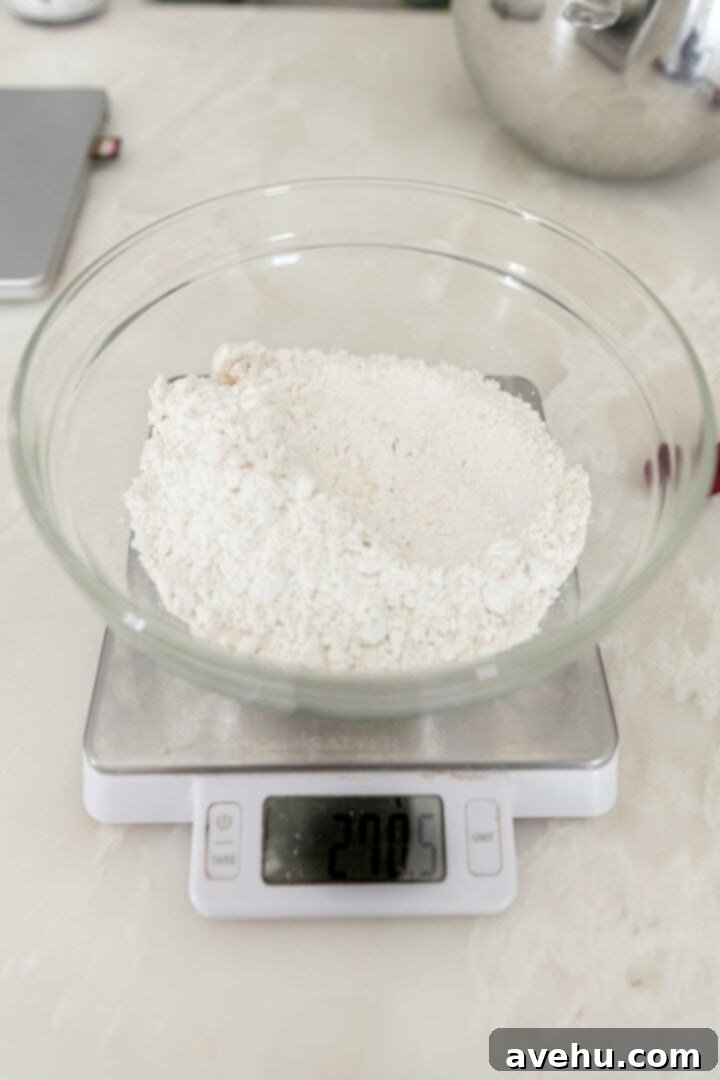
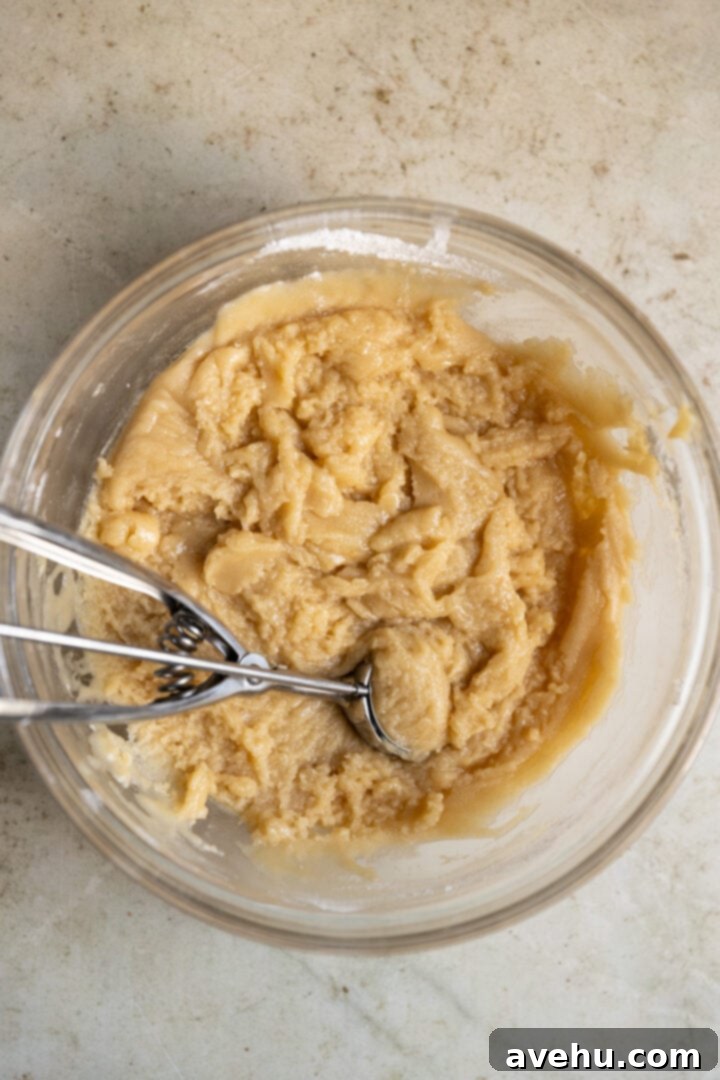
Finally, add the dry ingredients: all-purpose flour, corn starch, baking soda, and kosher salt. Gently whisk until just combined. Be careful not to overmix the dough, as this can develop the gluten in the flour and lead to tougher cookies. The dough might appear slightly loose, but don’t worry, this is normal for a melted butter dough. It will firm up slightly as it cools and bakes.
3. Scoop, Roll, and Sugar-Coat
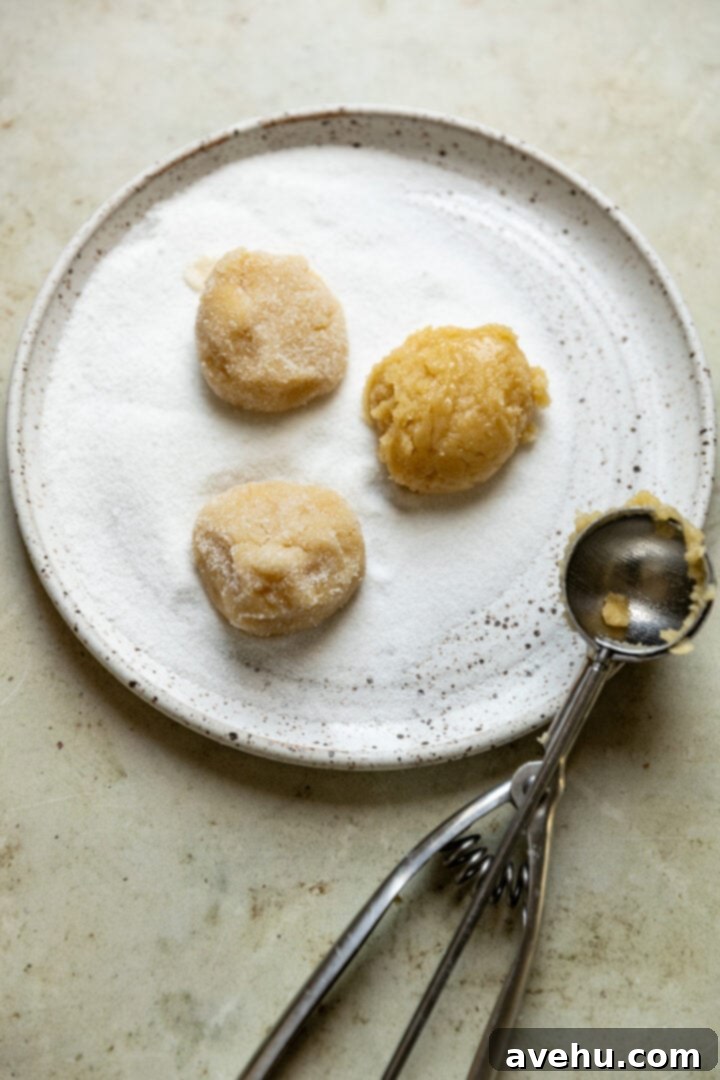
Pour about 1/4 cup of granulated sugar into a shallow bowl or plate with a raised edge. Using a 1 tablespoon cookie scoop (essential for consistent size and baking!), scoop out portions of the dough. Roll each dough ball thoroughly in the sugar until it’s evenly coated. Shape it into a neat ball and place it onto your prepared parchment-lined baking sheet. Leave adequate space between each cookie – about 2 inches – as they will spread during baking.
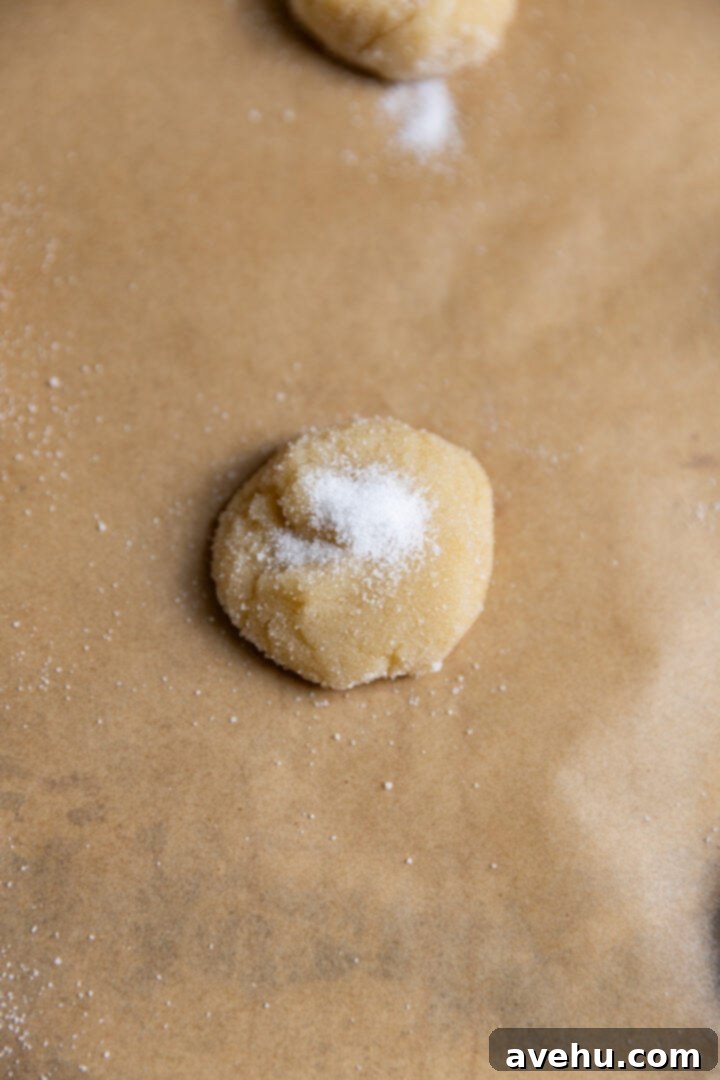
Pro Tip for Extra Sparkle: After all the dough balls are placed on the baking sheet, lightly sprinkle a tiny bit more granulated sugar on top of each one. This extra dusting helps the sugar adhere better and provides a beautiful, sugary crunch on the surface of the baked cookies, preventing it from completely melting into the cookie during baking.
4. Bake to Perfection & The “Scoot” Trick
Bake the cookies for exactly 10 minutes. The edges should be set and lightly golden, while the centers still look very soft, almost underbaked. This slightly underbaked appearance is key to achieving their ultimate chewy texture.
Immediately upon removing them from the oven, perform the “cookie scoot” trick. Take a round cookie cutter that is slightly larger than your baked cookies. Place it around each hot cookie and gently swirl your hand in a fast circular motion. This technique pushes the edges of the warm cookies inward, creating perfectly round cookies and further enhancing their soft, chewy interior. This must be done while the cookies are still piping hot!
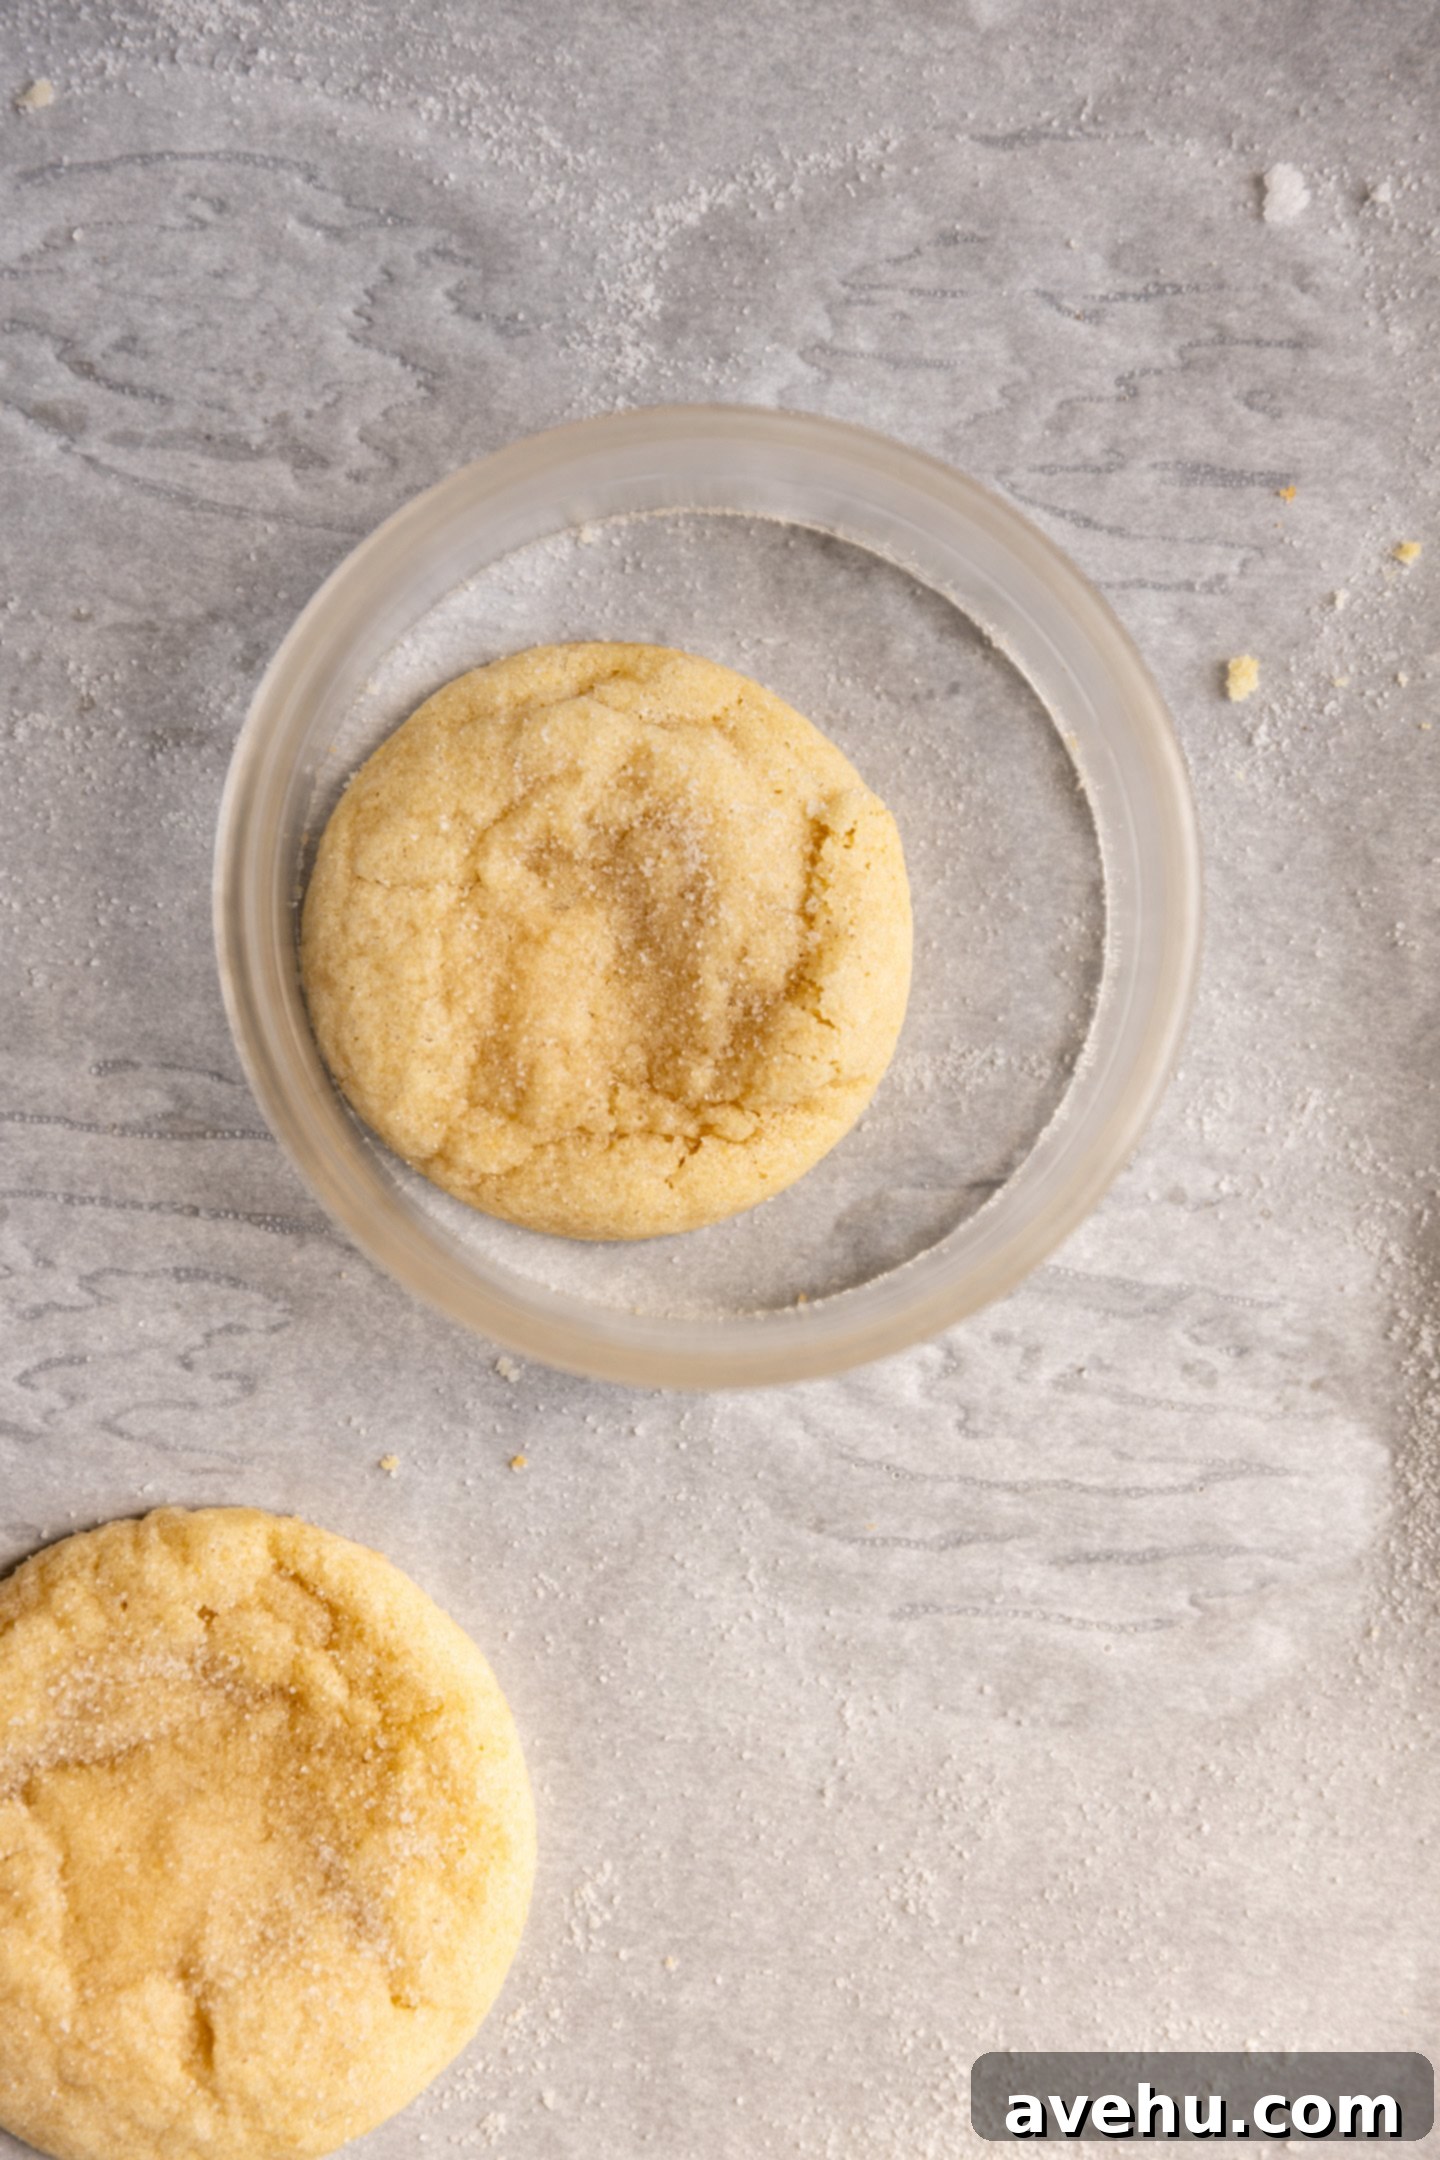
Then, for an extra touch of sweetness and sparkle, lightly sprinkle more granulated sugar on top of each cookie while they are still warm. Let them cool on the baking sheet for a few minutes before transferring them to a wire rack to cool completely. This resting period allows them to set up properly without breaking apart.
Expert Tips for Sugar Cookie Perfection
While this recipe is incredibly simple, a few professional tips can elevate your baking experience and ensure perfect results every time:
- Measure Accurately with a Scale: Precision in baking is paramount. While cup measurements are provided, I highly recommend using a kitchen scale for the most accurate results, especially for flour and sugar. Weighing ingredients eliminates variations that can occur with volume measurements, ensuring consistent texture and spread. Plus, it often means less cleanup, as you can place your mixing bowl directly on the scale and add ingredients one by one. You can see the measurements in grams in the recipe card below to do this too!
- Don’t Overmix the Dough: Once you add the dry ingredients, mix just until no streaks of flour remain. Overmixing develops the gluten in the flour, which can lead to tough, dense cookies instead of gloriously soft and chewy ones.
- Utilize a Cookie Scoop: A 1 tablespoon cookie scoop is invaluable for creating uniformly sized cookies. Uniformity ensures even baking across the entire batch, preventing some cookies from being overdone while others are underbaked. It’s important to note this is not the same as an ice cream scoop, which is typically about 3 tablespoons and would be too big for this recipe.
- Trust the Process for Dough Texture: Right when you mix the dough together it might look like it’s not holding well, or appears a bit looser than traditional cookie doughs. This is perfectly normal and expected, as the butter was melted and still warm. As the butter cools slightly, the dough will firm up enough to be scooped and rolled. The slight warmth from the melted butter also helps the sugar coating adhere beautifully.
- Resist Overbaking: For the ultimate soft and chewy texture, resist the urge to overbake. The cookies might look slightly underdone in the center when you pull them out, but they will continue to cook and set as they cool on the hot baking sheet. This ensures a perfectly soft interior, rather than a hard or crumbly one.
- The “Scoot” is Essential: Don’t skip the immediate “cookie scoot” after baking! This quick trick makes a huge difference in achieving perfectly round, appealing cookies, and it also contributes to their tender crumb. It’s a professional baker’s secret for perfect presentation and texture.
Delicious Variations and Customizations
This base recipe for chewy sugar cookies is wonderfully versatile, serving as a perfect canvas for various flavor additions and festive decorations. While the classic vanilla is undeniably delightful, feel free to get creative:
- Citrus Zest: For a bright, zesty flavor, add 1-2 teaspoons of finely grated lemon, orange, or lime zest to the wet ingredients along with the vanilla extract. This will give your cookies a refreshing tang and aroma.
- Spices: As mentioned, these cookies are fantastic with spices! Add 1-2 teaspoons of ground cinnamon (as in my cinnamon sugar cookie recipe), nutmeg, or even a hint of cardamom to the dry ingredients for a warm, aromatic twist, especially perfect for the holidays.
- Almond Extract: Substitute half of the vanilla extract with almond extract for a distinct, nutty flavor profile. Almond sugar cookies are a beloved classic for a reason!
- Sprinkles: For a festive touch, mix in 1/4 to 1/2 cup of your favorite colorful sprinkles into the dough during the final mixing step, or gently press them onto the dough balls before rolling in sugar.
- Dips and Glazes: While delicious on their own, these cookies are also excellent when dipped in melted white chocolate or drizzled with a simple vanilla or lemon glaze for an extra layer of indulgence.
Experiment with these ideas to find your new favorite sugar cookie variation and make them uniquely yours!
Serving and Pairing Your Chewy Sugar Cookies
These soft and chewy sugar cookies are a treat any time of day! They’re perfect as a standalone snack, a delightful dessert after a meal, or a comforting accompaniment to your favorite hot beverage. Here are a few ideas:
- Coffee or Tea: Their buttery vanilla flavor pairs beautifully with a warm cup of coffee, espresso, or a soothing herbal tea for a cozy moment.
- Milk: For a quintessential classic comfort experience, serve them alongside a cold glass of milk. It’s an unbeatable combination that appeals to all ages!
- Ice Cream: Crumble them over a scoop of vanilla or coffee ice cream for an instant dessert upgrade, adding delightful texture and flavor.
- Cookie Boxes & Gifts: Their robust yet tender texture makes them excellent for gifting or including in festive holiday cookie boxes. They travel well and maintain their deliciousness, making them perfect for sharing joy.
- Special Occasions: Beyond the holidays, these are ideal for birthdays, potlucks, bake sales, or simply as a homemade gesture of warmth and welcome to friends and family.
However you choose to enjoy them, these perfectly baked sugar cookies are sure to bring a smile to your face and satisfy any sweet tooth.
Storage and Freezing Instructions
One of the many benefits of this recipe is how well these cookies store, allowing you to enjoy them for days or even prepare them ahead of time for future treats.
- Room Temperature: Store the completely cooled cookies in an airtight container at room temperature for up to 3-4 days. To maintain their ultimate softness, you can even place a slice of plain bread in the container with them; the cookies will absorb moisture from the bread, keeping them wonderfully tender.
- Freezing Baked Cookies: These cookies freeze beautifully! Once completely cooled, place them in a single layer on a baking sheet and freeze until solid (about 1-2 hours). Then, transfer the frozen cookies to a freezer-safe zip-top bag or an airtight container, pressing out as much air as possible to prevent freezer burn. They can be frozen for up to 2 months without loss of quality. To enjoy, simply thaw them at room temperature for a few hours. For a warm treat, you can also gently reheat them in a microwave for 10-15 seconds.
- Freezing Dough (Optional): While this recipe boasts no chill time for immediate baking, you can still freeze the unbaked dough balls if you wish to prepare them even further in advance. Scoop and roll the dough balls in sugar as instructed, then place them on a parchment-lined baking sheet and freeze until firm. Transfer to a freezer bag or airtight container. When ready to bake, you can bake them directly from frozen, adding a couple of minutes (2-4 minutes) to the baking time, or let them sit at room temperature for about 15-20 minutes before baking as usual.
Having a stash of these delightful cookies in the freezer is a fantastic way to always be prepared for unexpected guests, spontaneous gatherings, or sudden cookie cravings! No need to wait hours for cookie dough to chill – you’ll have delicious homemade cookies ready in a flash. Enjoy!
20 Minute No Mixer Sugar Cookies
Pin
Review
SaveSaved!
Ingredients
- 1 cup unsalted butter, 227 grams
- 1 cup granulated sugar , 200 grams
- 1 egg, large
- 1 yolk, white discarded
- 2 tsp vanilla extract
- 2 1/2 cup all-purpose flour, 300 grams
- 1 tsp corn starch
- 3/4 tsp baking soda
- 1/4 tsp kosher salt
- 1/4 cup granulated sugar, for rolling the cookies
Instructions
-
Preheat the oven to 350° F (175°C) and line 2 baking sheets with parchment paper. You’ll need to reuse them to make all 26 cookies.
-
In a medium sized microwaveable safe bowl, melt the 1 cup of butter for 30 seconds at a time until completely melted. Add the 1 cup of sugar and mix with a whisk to combine well.
-
Add in the 1 egg, 1 egg yolk, and the 2 tsp vanilla extract and mix for 30 seconds to one minute to combine well and create some air.
-
Add in the 2 1/2 cups flour, 1 tsp corn starch, 3/4 tsp baking soda, 1/4 tsp kosher salt. Whisk gently until just combined, being careful not to overmix.
-
Prepare a shallow bowl with 1/4 cup of granulated sugar ( you can eyeball this). Scoop the cookie dough with a 1 tbsp cookie scoop and roll well in the sugar. Repeat with the cookie dough to place 8 cookies per sheet, leaving space between them. Remember the pro tip to sprinkle a little more sugar on top of each dough ball on the sheet for extra sparkle!
-
Bake for 10 minutes. Immediately after removing them from the oven, perform the “cookie scoot” trick using a larger round cookie cutter, then sprinkle with more sugar. Cool on the baking sheet for a few minutes before transferring to a wire rack to cool completely and enjoy!
Notes
The measurements in grams are based on 1 cup of flour = 120g
Frequently Asked Questions (FAQs)
Q: Can I use cold butter instead of melted butter?
A: No, for this specific recipe, melted butter is crucial. It contributes to the unique soft and chewy texture and eliminates the need for chilling. Using cold butter would significantly alter the dough consistency and the final cookie texture, likely resulting in a more cake-like or crumbly cookie.
Q: Why do you use baking soda instead of baking powder?
A: Through extensive testing, I found that baking powder resulted in a cookie that was too airy and cake-like. Baking soda reacts differently, promoting more spread and contributing to the desired chewy texture that we are aiming for in these cookies. It’s important not to substitute baking powder for baking soda in this recipe.
Q: My dough seems a bit loose, is that normal?
A: Yes, it is perfectly normal for the dough to seem a bit loose, especially right after mixing. This is due to the melted butter being warm. As the butter cools slightly, the dough will firm up enough to be scooped and rolled without issue. The slight warmth also helps the sugar adhere better to the dough.
Q: Can I skip the corn starch?
A: I highly recommend against skipping the corn starch. It plays a vital role in keeping the cookies incredibly soft and moist, preventing them from drying out and becoming brittle. It’s a key ingredient for achieving that signature melt-in-your-mouth texture that makes these cookies so addictive.
Q: How do I prevent my cookies from spreading too much?
A: Ensuring accurate measurements (especially of flour and butter, preferably by weight), not overmixing the dough, and having your oven preheated to the correct temperature (350°F is important!) will help prevent excessive spreading. The no-chill aspect of this recipe has been carefully balanced to minimize spreading while retaining chewiness, so exact adherence to the recipe steps is key.
