Ultimate Bakery-Style Triple Lemon Muffins: Zesty, Moist, and Irresistibly Delicious
Prepare to discover your new favorite baked delight! These extraordinary triple lemon muffins are crafted to perfection, delivering an unparalleled citrus explosion with every bite. Inspired by classic bakery treats, these muffins feature lemon infused into every layer: a bright, zesty batter, a delightful crunchy streusel topping, and a shimmering, glossy lemon glaze. What sets them apart is their incredible moisture, maintained perfectly even into day two (if they manage to last that long!). With their signature towering domed tops and a generous scattering of crunchy streusel, these homemade muffins don’t just look like they came from a professional bakery—they taste even better, and you’ll be amazed at how simple they are to create in your own kitchen.

The Quest for Intense Lemon Flavor: Why Triple Lemon?
When I set out to create this recipe, my primary goal was to maximize the lemon experience. I pondered, “How can I infuse as much vibrant lemon flavor into a single muffin as humanly possible?” The answer wasn’t just to make a standard lemon muffin; it was to elevate it to a triple lemon sensation. This means incorporating lemon into three distinct, yet complementary, components of the muffin.
We’re truly going the extra mile here, my friends, and I assure you, the effort is 100% worth it. The first layer of lemon comes directly in the muffin batter, enhanced by both fresh lemon zest and a hint of lemon extract. The second layer is a fragrant, crunchy streusel topping, generously studded with even more lemon zest. Finally, the third lemon element is a simple, yet utterly delicious, glossy lemon glaze, drizzled over the cooled muffins. This layered approach ensures that every single bite is bursting with an incredible, bright citrus punch, making these truly exceptional lemon muffins.
For the foundational muffin base, I meticulously adapted a recipe for my basic plain muffins, a recipe I rigorously tested five times to guarantee absolute perfection. I then supercharged it with an ample amount of lemon zest and a touch of lemon extract to ensure that distinct lemon flavor permeated throughout. The streusel, a crucial component for that bakery-style crunch, drew inspiration from the delicious topping of my coffee cake muffins, but with a lemony twist.
As a trained pastry chef, I have a high bar for any recipe I create. I don’t stop testing until I’m confident that every element not only meets but exceeds professional standards. These triple lemon streusel muffins absolutely hit the mark, offering a perfectly balanced texture and an explosion of fresh citrus flavor.
The texture of these muffins is truly noteworthy: rich, dense, yet wonderfully moist and soft. Even on the second day, they maintain their tender crumb without drying out, a testament to the carefully selected ingredients. Their vibrant, punchy flavor is achieved through a powerful combination of abundant lemon zest and pure lemon extract. While you can opt to use only lemon juice, it simply won’t deliver the same depth and intensity of flavor that zest and extract provide. This dedication to maximizing lemon flavor can be applied to other citrusy treats, like lemon poppy seed muffins or raspberry lemon muffins.
Crowned with a crunchy streusel that boasts even more lemon zest, and then finished with a smooth, creamy lemon drizzle, each muffin is like a ray of sunshine in every bite, perfect for brightening even the cloudiest of days. Are you ready to elevate your muffin-baking skills and delight your taste buds? Let’s get started!
The Power of Lemon Zest: Unlocking the Zestiest Muffins on the Block
Lemon zest is undoubtedly the star ingredient in this recipe, acting as the primary source of that bright, fresh lemon flavor. To ensure maximum impact, you’ll need 3-4 fresh lemons specifically for their zest. Interestingly, you’ll only require the juice from one of these lemons to create the vibrant glaze, allowing you to save the remaining zested lemons for other culinary uses. Just be sure to utilize the juice within a day or two to prevent the lemons from hardening and drying out.
For optimal results, the best tool for zesting a lemon is a microplane zester. This handy tool allows you to finely grate only the bright yellow outer layer, avoiding the bitter white pith beneath. A professional tip: always zest your lemons directly over the bowl containing the sugar for your recipe. This technique ensures that all the precious essential oils—which are where the majority of the lemon flavor resides—are captured and infused directly into the sugar, rather than being lost during transfer between bowls. This simple step makes a significant difference in the overall flavor profile of your muffins.
Unlocking Unbeatable Moisture: The Secret to a Tender Crumb
The secret to creating incredibly moist muffins, ones that remain perfectly tender long after baking, lies in a carefully calibrated combination of key ingredients. This particular recipe masterfully employs two distinct types of fat: butter, which delivers rich, classic flavor, and a neutral oil (like vegetable oil), which contributes to an exceptionally softer and more delicate crumb. Beyond fats, the recipe is enriched with the luxurious creaminess of whole milk and Greek yogurt.
While Greek yogurt isn’t technically a fat, its thick, velvety texture and slight tang work in perfect harmony with the milk to ensure these muffins achieve and maintain an unparalleled level of moisture. This combination prevents them from becoming dry or crumbly, guaranteeing a delightful experience even on day two. If Greek yogurt isn’t available, you can easily substitute sour cream, which provides a similar moisture-boosting and tenderizing effect.
During the extensive development of this base recipe, I experimented with countless ratios of these ingredients. My goal was to find that sweet spot—the ideal balance that would produce the perfectly moist and tender texture I envisioned. The precise proportions in this final version truly deliver, ensuring that the blend of butter, oil, Greek yogurt, and whole milk consistently results in deliciously moist muffins, batch after batch, and impressively, even on the second day after baking.
Step-by-Step Baking Guide: Creating Your Bakery Masterpiece
Preparing the Zesty Streusel
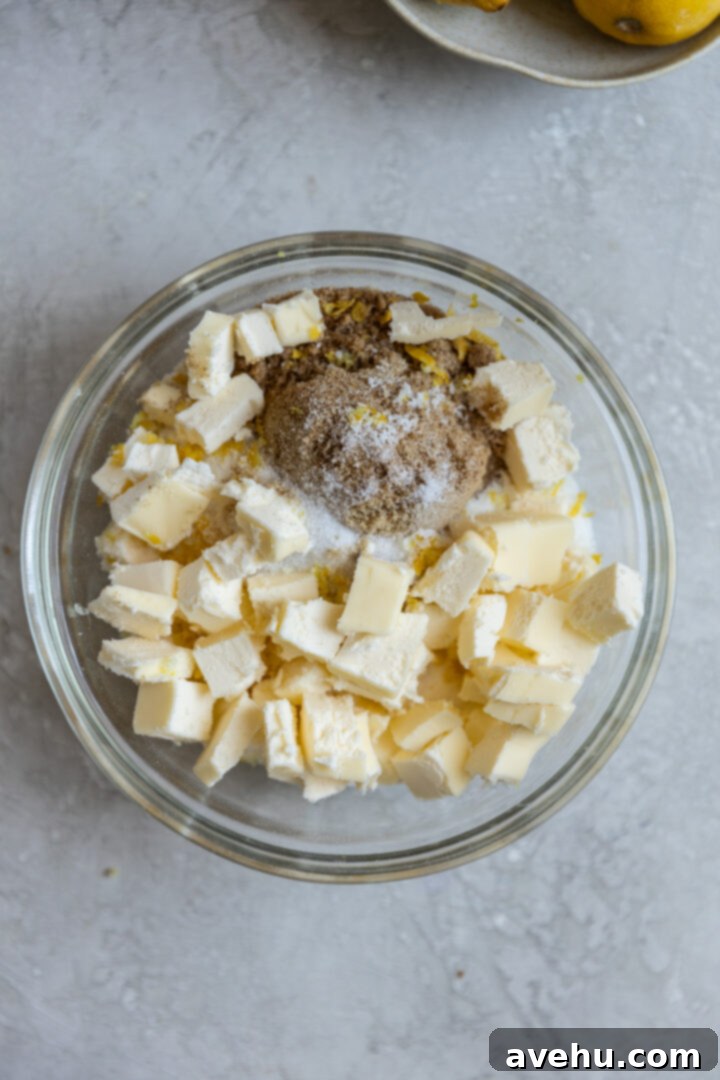
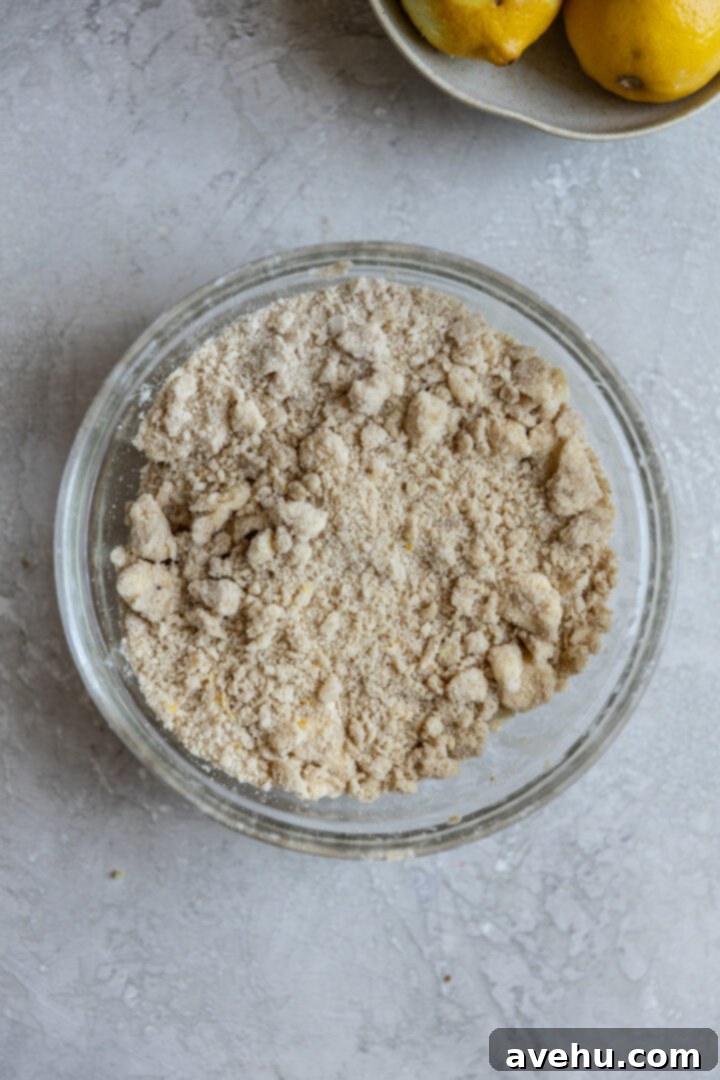
Begin your muffin-making journey by preparing the lemon streusel. In a small bowl, combine all-purpose flour, both brown sugar and white granulated sugar, a generous half teaspoon of lemon zest, and a pinch of kosher salt. To this dry mixture, add cold, diced unsalted butter. Using your fingertips, gently pinch the butter into the dry ingredients. Continue this process until the mixture resembles coarse crumbs, with some pieces being about the size of small peas. This method helps maintain the butter’s cold temperature, which is crucial for achieving that wonderfully crumbly streusel texture.
Once your streusel is perfectly crumbly, place the bowl in the refrigerator to chill while you proceed with making the muffin batter. Keeping the butter cold ensures the streusel bakes up crisp and delicious, rather than melting too quickly into the muffin tops.
Mixing the Fluffy Muffin Batter
Now, let’s move on to creating the luscious muffin batter. The best part? No electric mixer is required! This recipe is designed for simplicity, utilizing just two bowls, a whisk, and a spatula. This hands-on approach is key to preventing overmixing, which can lead to tough muffins.
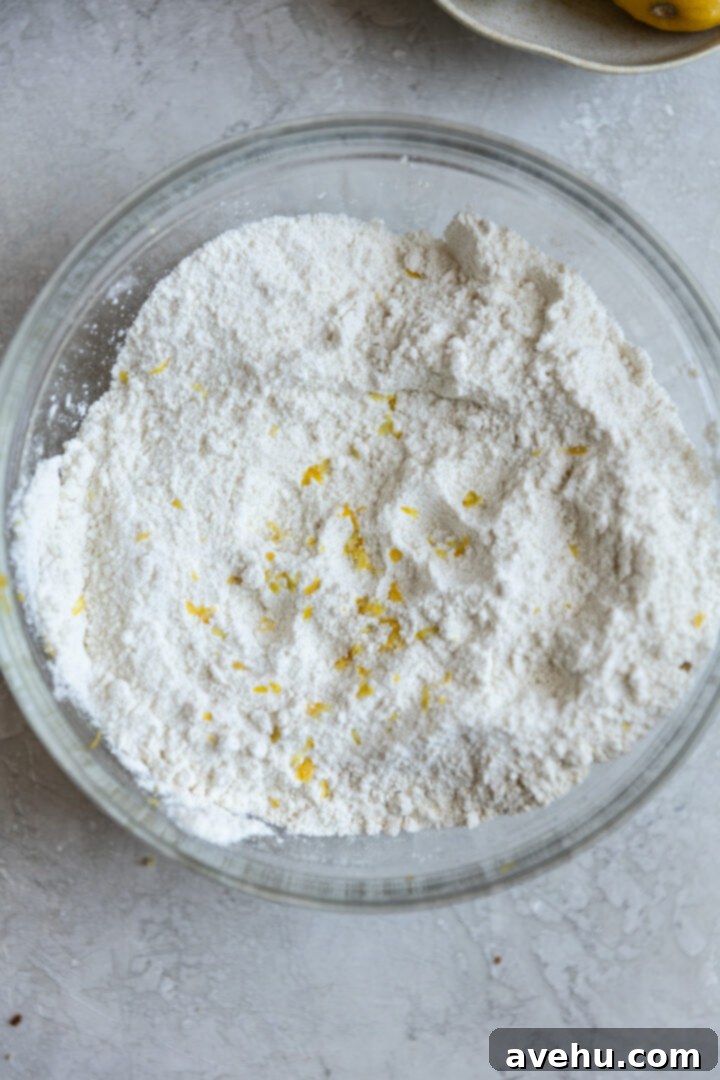
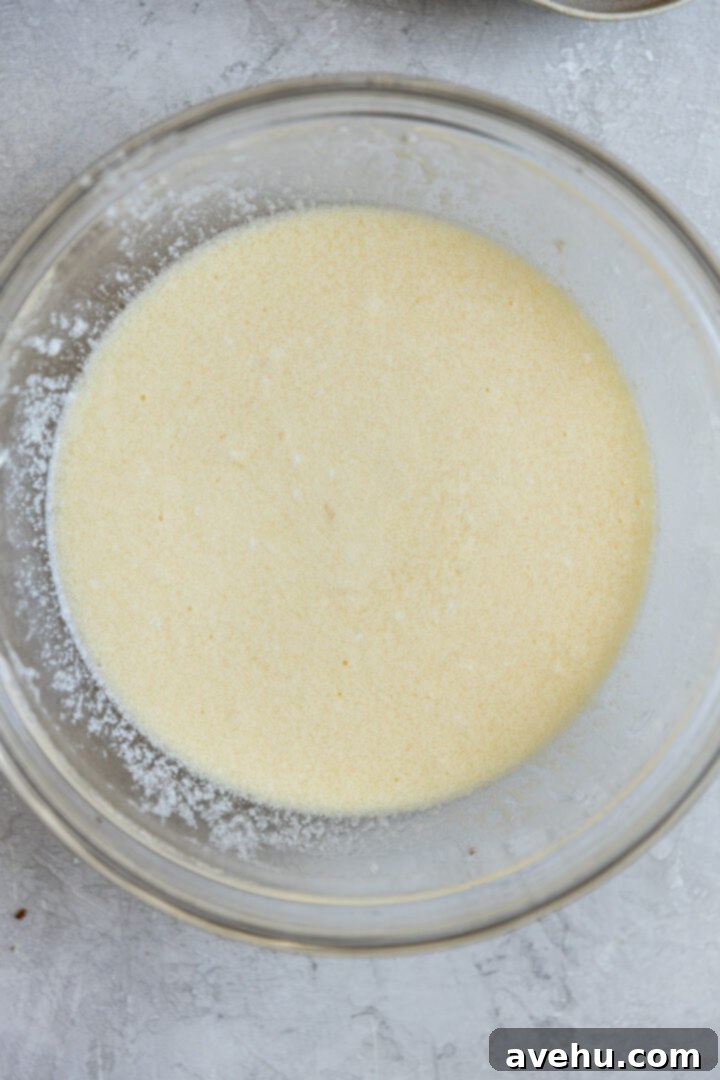
First, gather your dry ingredients in one large bowl. This includes the all-purpose flour, white sugar, a generous two tablespoons of lemon zest, baking powder, baking soda, and kosher salt. Give them a light whisk to combine evenly. In a separate, medium-sized bowl, prepare your wet ingredients: melted unsalted butter, vegetable oil, whole milk, Greek yogurt, large eggs, and lemon extract. Whisk this mixture thoroughly until all components are well integrated and the eggs are fully broken up.
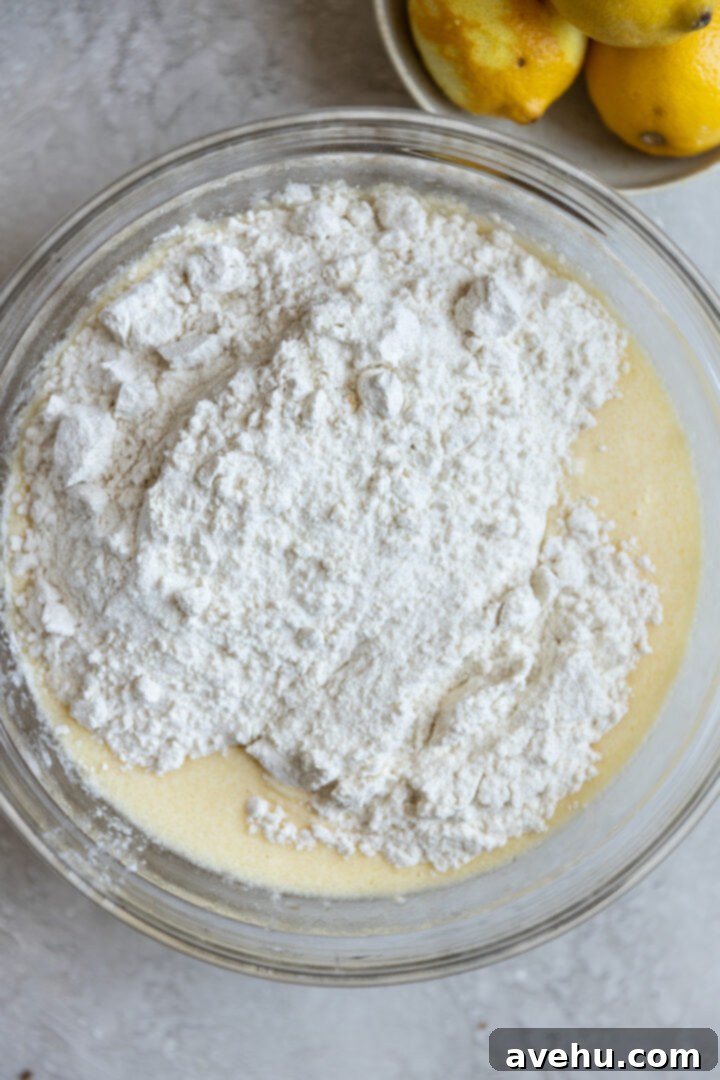
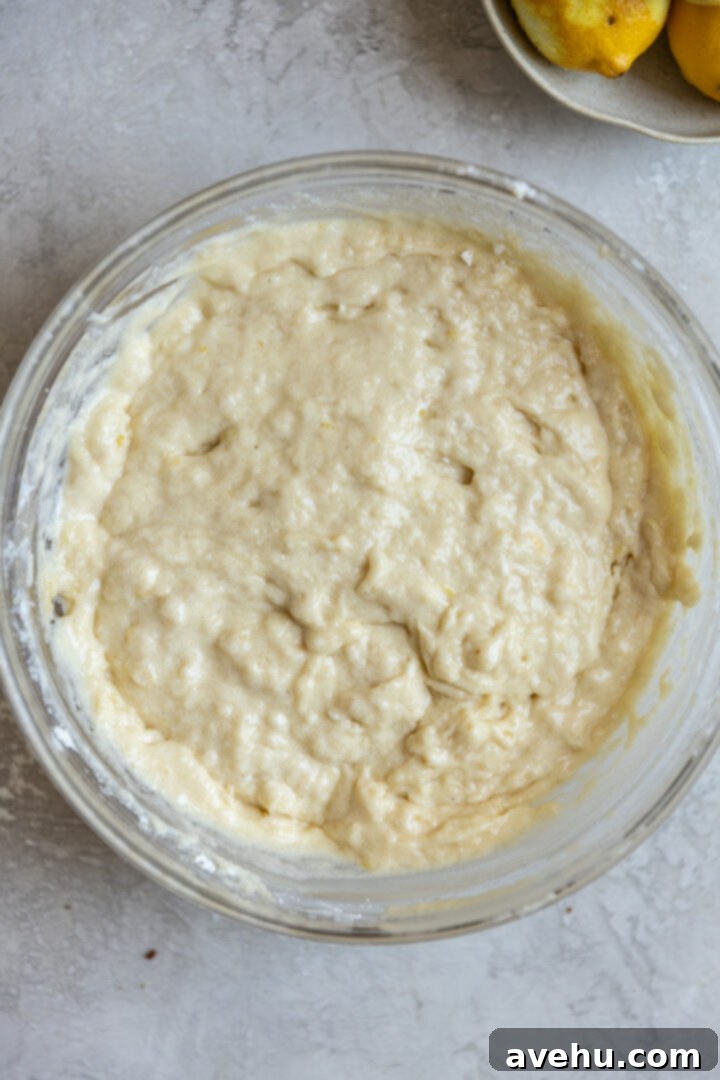
Next, carefully pour the dry ingredients into the wet ingredients. Using a large rubber spatula, gently fold the mixture together. The goal is to mix just until the flour streaks disappear, but the batter should still look notably lumpy. Resist the urge to overmix and achieve a perfectly smooth batter. A lumpy batter is actually desirable for light and fluffy muffins.
It’s crucial that we do not aim for a smooth batter. A thick, lumpy consistency is exactly what we’re looking for to ensure tender, tall-domed muffins!
After mixing, let the muffin batter rest in the bowl for at least 10 minutes. This resting period is a crucial step that allows the flour ample time to fully absorb the moisture from the wet ingredients. This absorption leads to a thicker batter, which in turn contributes to a superior texture and significantly enhances the towering, domed tops that are characteristic of bakery-style muffins. It also gives the leavening agents (baking soda and baking powder) a head start, preparing them to create that perfect rise.
Baking for Perfect Domes
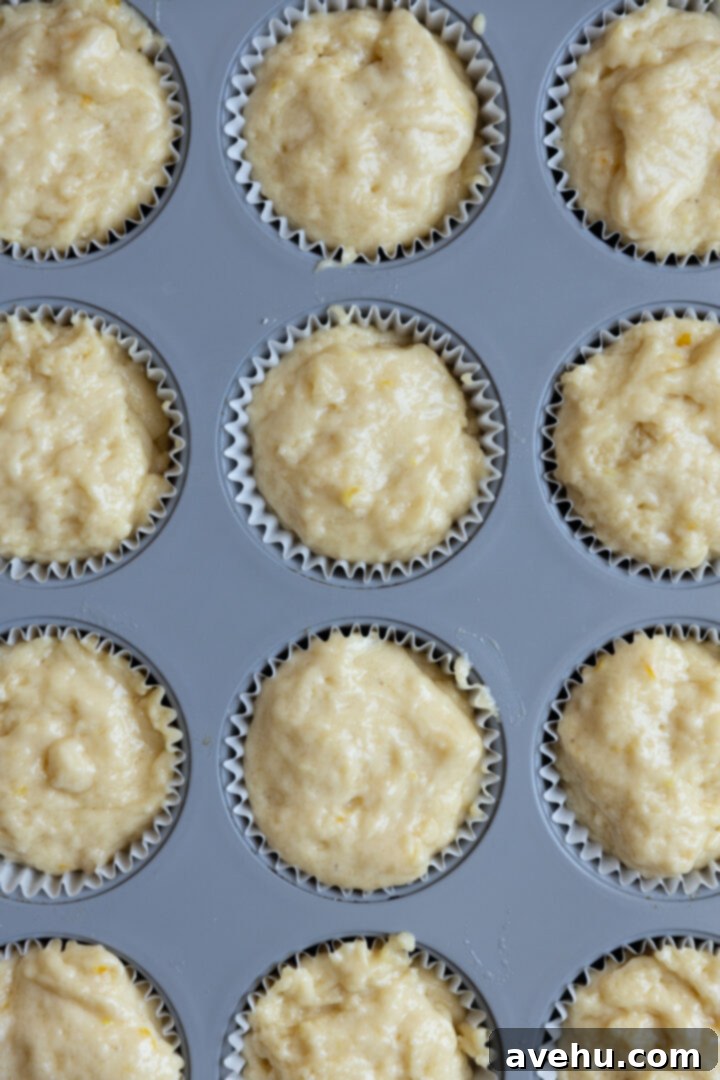
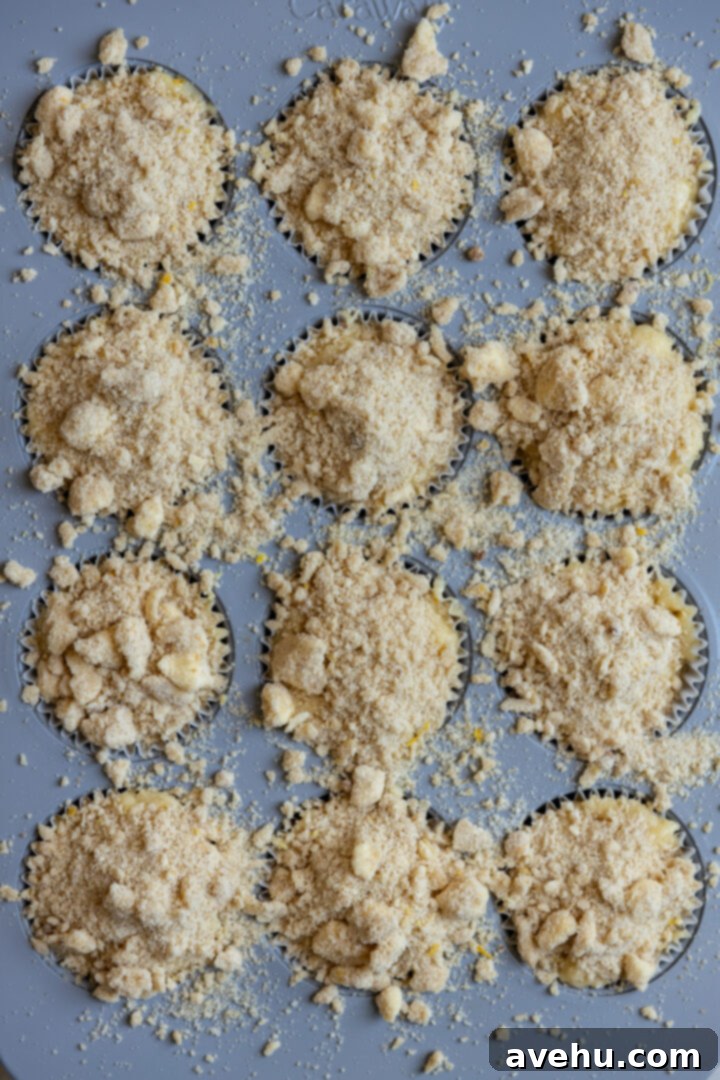
Now it’s time to scoop and bake! Using an ice cream scoop (which ensures consistent sizing and even baking), generously fill each compartment of a lined muffin tin all the way to the top. Don’t be shy – filling them completely helps achieve those impressive, bakery-style domed tops. Next, retrieve your chilled lemon streusel from the fridge and sprinkle a very generous amount over each muffin. It’s absolutely fine if some of the streusel overflows onto the muffin tin itself; this is part of creating that rustic, abundant bakery look.
Baking these muffins involves a clever two-stage temperature approach for optimal rise and texture. Begin by baking them at a high temperature of 425°F for precisely 7 minutes. This initial burst of high heat creates a sudden surge of steam, causing the muffin tops to rise rapidly and form that desirable domed shape and a slight crust. Without opening the oven door (which is crucial to maintain the internal temperature), reduce the oven heat to 350°F and continue baking the muffins for an additional 13-15 minutes, or until a wooden skewer inserted into the center of a muffin comes out clean. The lower temperature allows the muffins to bake through evenly without burning the tops.
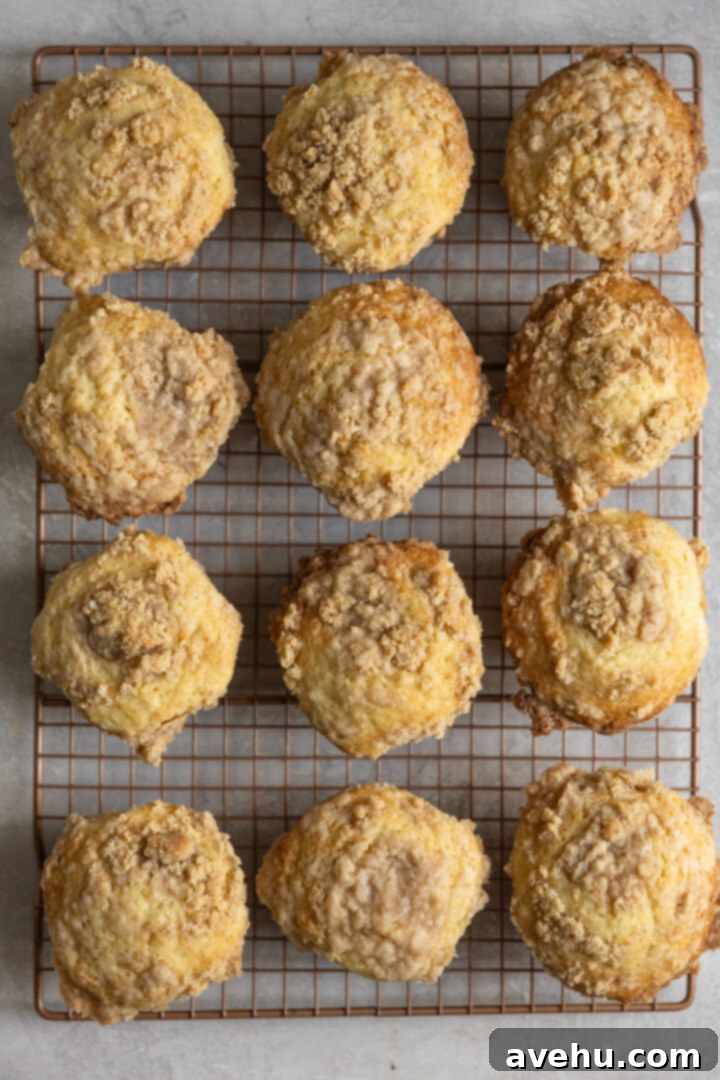
The Grand Finale: Cooling and Glazing Your Lemon Muffins
Once your beautifully domed lemon streusel muffins are out of the oven, allow them to cool in the muffin pan for about 10 minutes. This brief cooling period in the pan helps them to set and prevents them from crumbling when you transfer them. After 10 minutes, carefully remove the muffins from the tin and transfer them to a wire rack to cool completely. For a truly professional finish and easier cleanup, place a sheet tray lined with parchment paper underneath the wire rack of muffins. This catches any drips when you apply the glaze, making for a super easy cleanup.
While the muffins are cooling, prepare the incredibly simple yet impactful lemon glaze. In a small bowl, combine powdered sugar, freshly squeezed lemon juice, a hint of lemon zest, and a touch of milk. Whisk these ingredients together until the glaze is perfectly smooth and has a pourable, yet thick, consistency. If it’s too thick, add a tiny bit more milk; if too thin, a bit more powdered sugar.

Once the muffins are completely cooled (this step is non-negotiable for a perfect glaze!), use a spoon to generously drizzle the lemon glaze over each one. For an extra pop of color and intensified aroma, you can optionally top them with even more fresh lemon zest immediately after glazing. The glaze will set beautifully, adding another layer of irresistible lemon flavor and a professional touch.
Remember this golden rule: ensure your muffins are entirely cooled before you apply the glaze. If they are even slightly warm, the icing will simply melt and absorb into the muffins, rather than forming that attractive, glossy coating you desire.
Achieving Authentic Bakery-Style Muffins: Expert Tips and Tricks
To truly replicate that coveted “bakery-style” look and texture in your homemade muffins, there are several simple yet incredibly effective tips and tricks you should follow. These techniques, often employed by professional bakers, make a significant difference in the final outcome, transforming your muffins from good to utterly magnificent.
- Filling to the Top of the Muffin Tin: This might seem counterintuitive if you’re used to filling cupcake liners only two-thirds full, but it’s absolutely crucial for achieving those signature tall, domed tops. By generously filling each muffin cup right to the brim, you provide ample batter for it to rise and bake over the rim of the tin. This expansive rise creates that distinct, craggy ridge where the dome meets the base, a hallmark of true bakery muffins. If you underfill the cups, your muffins will likely bake up flatter and resemble cupcakes rather than magnificent, towering muffins.
- Initial High Heat Temperature: The baking process begins with a short burst of high heat (425°F for 7 minutes) before lowering it. This isn’t just a random step; it’s a strategic technique. The sudden high temperature causes the batter to rise rapidly and sets the exterior quickly, helping to “lock in” the domed shape. This rapid initial expansion creates that beautiful, rounded top. Once the dome has formed, reducing the temperature to 350°F allows the muffins to continue baking through to the center gently and evenly, ensuring they are cooked perfectly without drying out or burning the outside.
- Letting the Batter Rest: This often-overlooked step is a game-changer for muffin texture and height. Allowing the batter to rest for 10-20 minutes after mixing gives the flour sufficient time to fully absorb the moisture from the wet ingredients. This absorption leads to a thicker, more viscous batter. A thicker batter provides a sturdier structure, which helps the muffins rise higher and maintain their domed shape during baking. Furthermore, resting the batter allows the gluten to relax, resulting in a more tender crumb, and gives the chemical leavening agents (baking soda and baking powder) more time to activate and create gas bubbles, contributing to an even better rise.
- Don’t Over-Mix: This is arguably the most critical rule for achieving light and fluffy muffins. Muffin batter can easily be overmixed, which develops the gluten in the flour excessively. Overdeveloped gluten leads to a tough, dense, and chewy muffin, rather than the desired light and tender texture. This is precisely why we recommend mixing muffins by hand with a spatula, rather than using an electric mixer, which can easily overwork the batter. Remember, you want a lumpy batter with a few streaks of flour still visible, not a perfectly smooth one!
Incorporate these simple yet powerful tips into all your muffin-making endeavors, and soon your friends and family will be convinced you’re running a professional bakery right from your home kitchen!
Storing and Freezing: Keeping Your Lemon Muffins Fresh
To maintain the delightful freshness of your triple lemon muffins, store them in an airtight container at room temperature. They are at their absolute best within the first two days after baking, offering peak moisture and flavor. However, their deliciousness can certainly extend a bit longer if kept properly sealed.
If you’ve baked a large batch or simply want to enjoy these sunny treats at a later date, freezing them is an excellent option. To freeze, first allow the muffins to cool completely. Then, individually wrap each muffin tightly in aluminum foil. This individual wrapping helps prevent freezer burn and preserves their flavor and texture. Once wrapped, place the foil-wrapped muffins into a large, freezer-safe zip-top bag, ensuring as much air as possible is removed before sealing. Stored this way, your lemon muffins will remain fresh and delicious in the freezer for up to three months. When you’re ready to enjoy one, simply thaw it at room temperature or warm it briefly in the microwave or oven for a freshly baked experience.

Bakery Style Triple Lemon Muffins
Pin
Review
SaveSaved!
Ingredients
For the Zesty Streusel
- 1/2 cup all purpose flour, 60g
- 1/4 cup brown sugar, 48g
- 2 tbsp granulated sugar
- ½ tsp lemon zest, from 3-4 lemons for the entire recipe
- 1/8 tsp kosher salt
- 1/4 cup unsalted butter, cold, diced small
For the Lemon Muffins
- 3 cups all purpose flour, 360g
- 1 cup white granulated sugar, 200g
- 2 tbsp lemon zest
- 3 tsp baking powder
- 1 tsp baking soda
- 1/2 tsp kosher salt
- 4 tbsp unsalted butter, melted
- 1/2 cup vegetable oil, or other neutral oil of choice
- 1/2 cup whole milk, or other milk of choice
- 1/2 cup Greek yogurt, or sour cream
- 3 large eggs
- 1/2 tsp lemon extract
For the Glossy Lemon Glaze
- 1 batch lemon glaze
Instructions
Step 1: Make the Streusel
-
In a small bowl, combine the 1/2 cup all-purpose flour, 1/4 cup brown sugar, 2 tbsp granulated sugar, ½ tsp lemon zest, 1/8 tsp salt, and ¼ cup cold, diced unsalted butter.
-
Using your fingers, gently pinch the butter into the mixture until small clumps, about the size of a pea, form. Place this bowl in the fridge to chill while you prepare the muffin batter.
Step 2: Prepare the Muffins
-
Preheat your oven to 425°F (220°C) and line a 12-cup muffin tin with paper liners.
-
In a large bowl, whisk together the 3 cups all-purpose flour, 1 cup white granulated sugar, 2 tbsp lemon zest, 3 tsp baking powder, 1 tsp baking soda, and 1/2 tsp kosher salt. Set aside.
-
In a second medium bowl, melt the 4 tbsp unsalted butter (about 30 seconds in the microwave). To this, add the 1/2 cup vegetable oil, 1/2 cup whole milk, 1/2 cup Greek yogurt (or sour cream), 3 large eggs, and 1/2 tsp lemon extract. Whisk thoroughly until well combined.
-
Pour all the dry ingredients into the wet ingredients. Using a large spatula, gently fold the mixture until the flour is just incorporated and no large dry streaks remain. The batter should still be lumpy – avoid overmixing for tender muffins. Let the batter rest for 10 minutes.
-
Using an ice cream scoop for accuracy, scoop the batter into the prepared muffin tin liners, filling them all the way to the top.
-
Generously sprinkle the chilled streusel on top of each muffin. Don’t worry if some falls onto the muffin tin, this contributes to the bakery-style look.
-
Bake at 425°F (220°C) for 7 minutes. Without opening the oven door, reduce the temperature to 350°F (175°C) and continue to bake for another 13-15 minutes, or until a wooden skewer comes out clean.
-
Remove the muffins from the oven and let them cool in the tin for 5-10 minutes. Then, transfer them to a wire rack to cool completely.
Step 3: Glaze the Muffins
-
Once the muffins are completely cool, prepare the lemon glaze according to its recipe.
-
Line a sheet tray with parchment paper and set the wire rack of muffins on top. Drizzle the lemon glaze generously over the cooled muffins. Serve and enjoy!
Notes
