The Ultimate Fluffy Yellow Cake with Decadent 5-Minute Chocolate Frosting
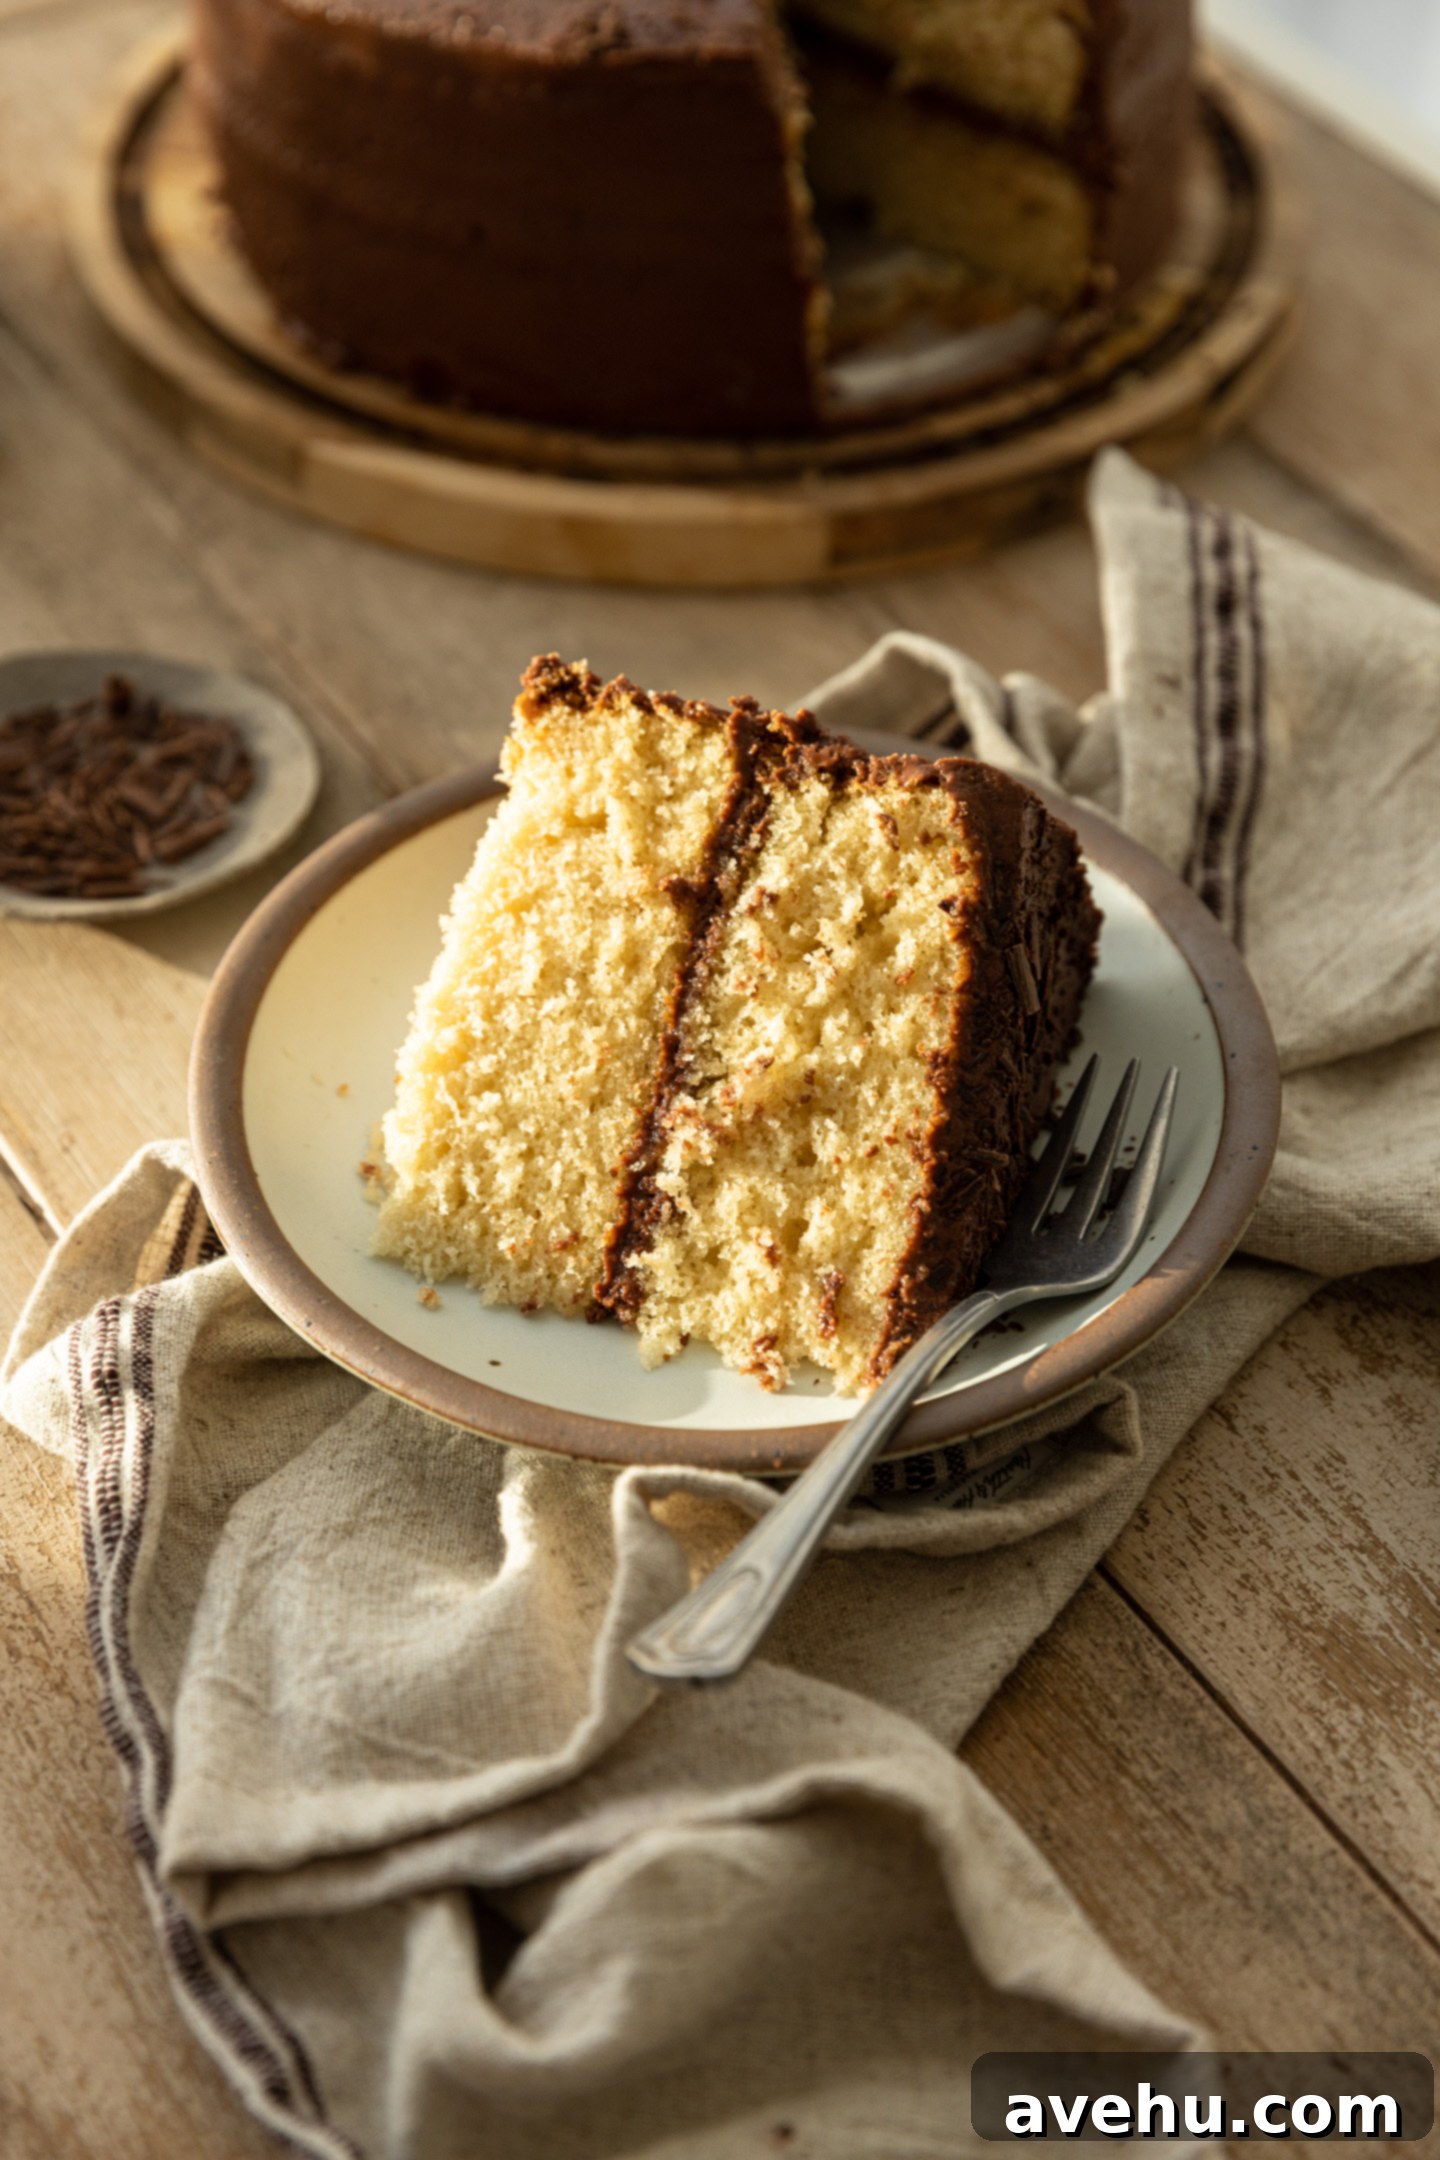
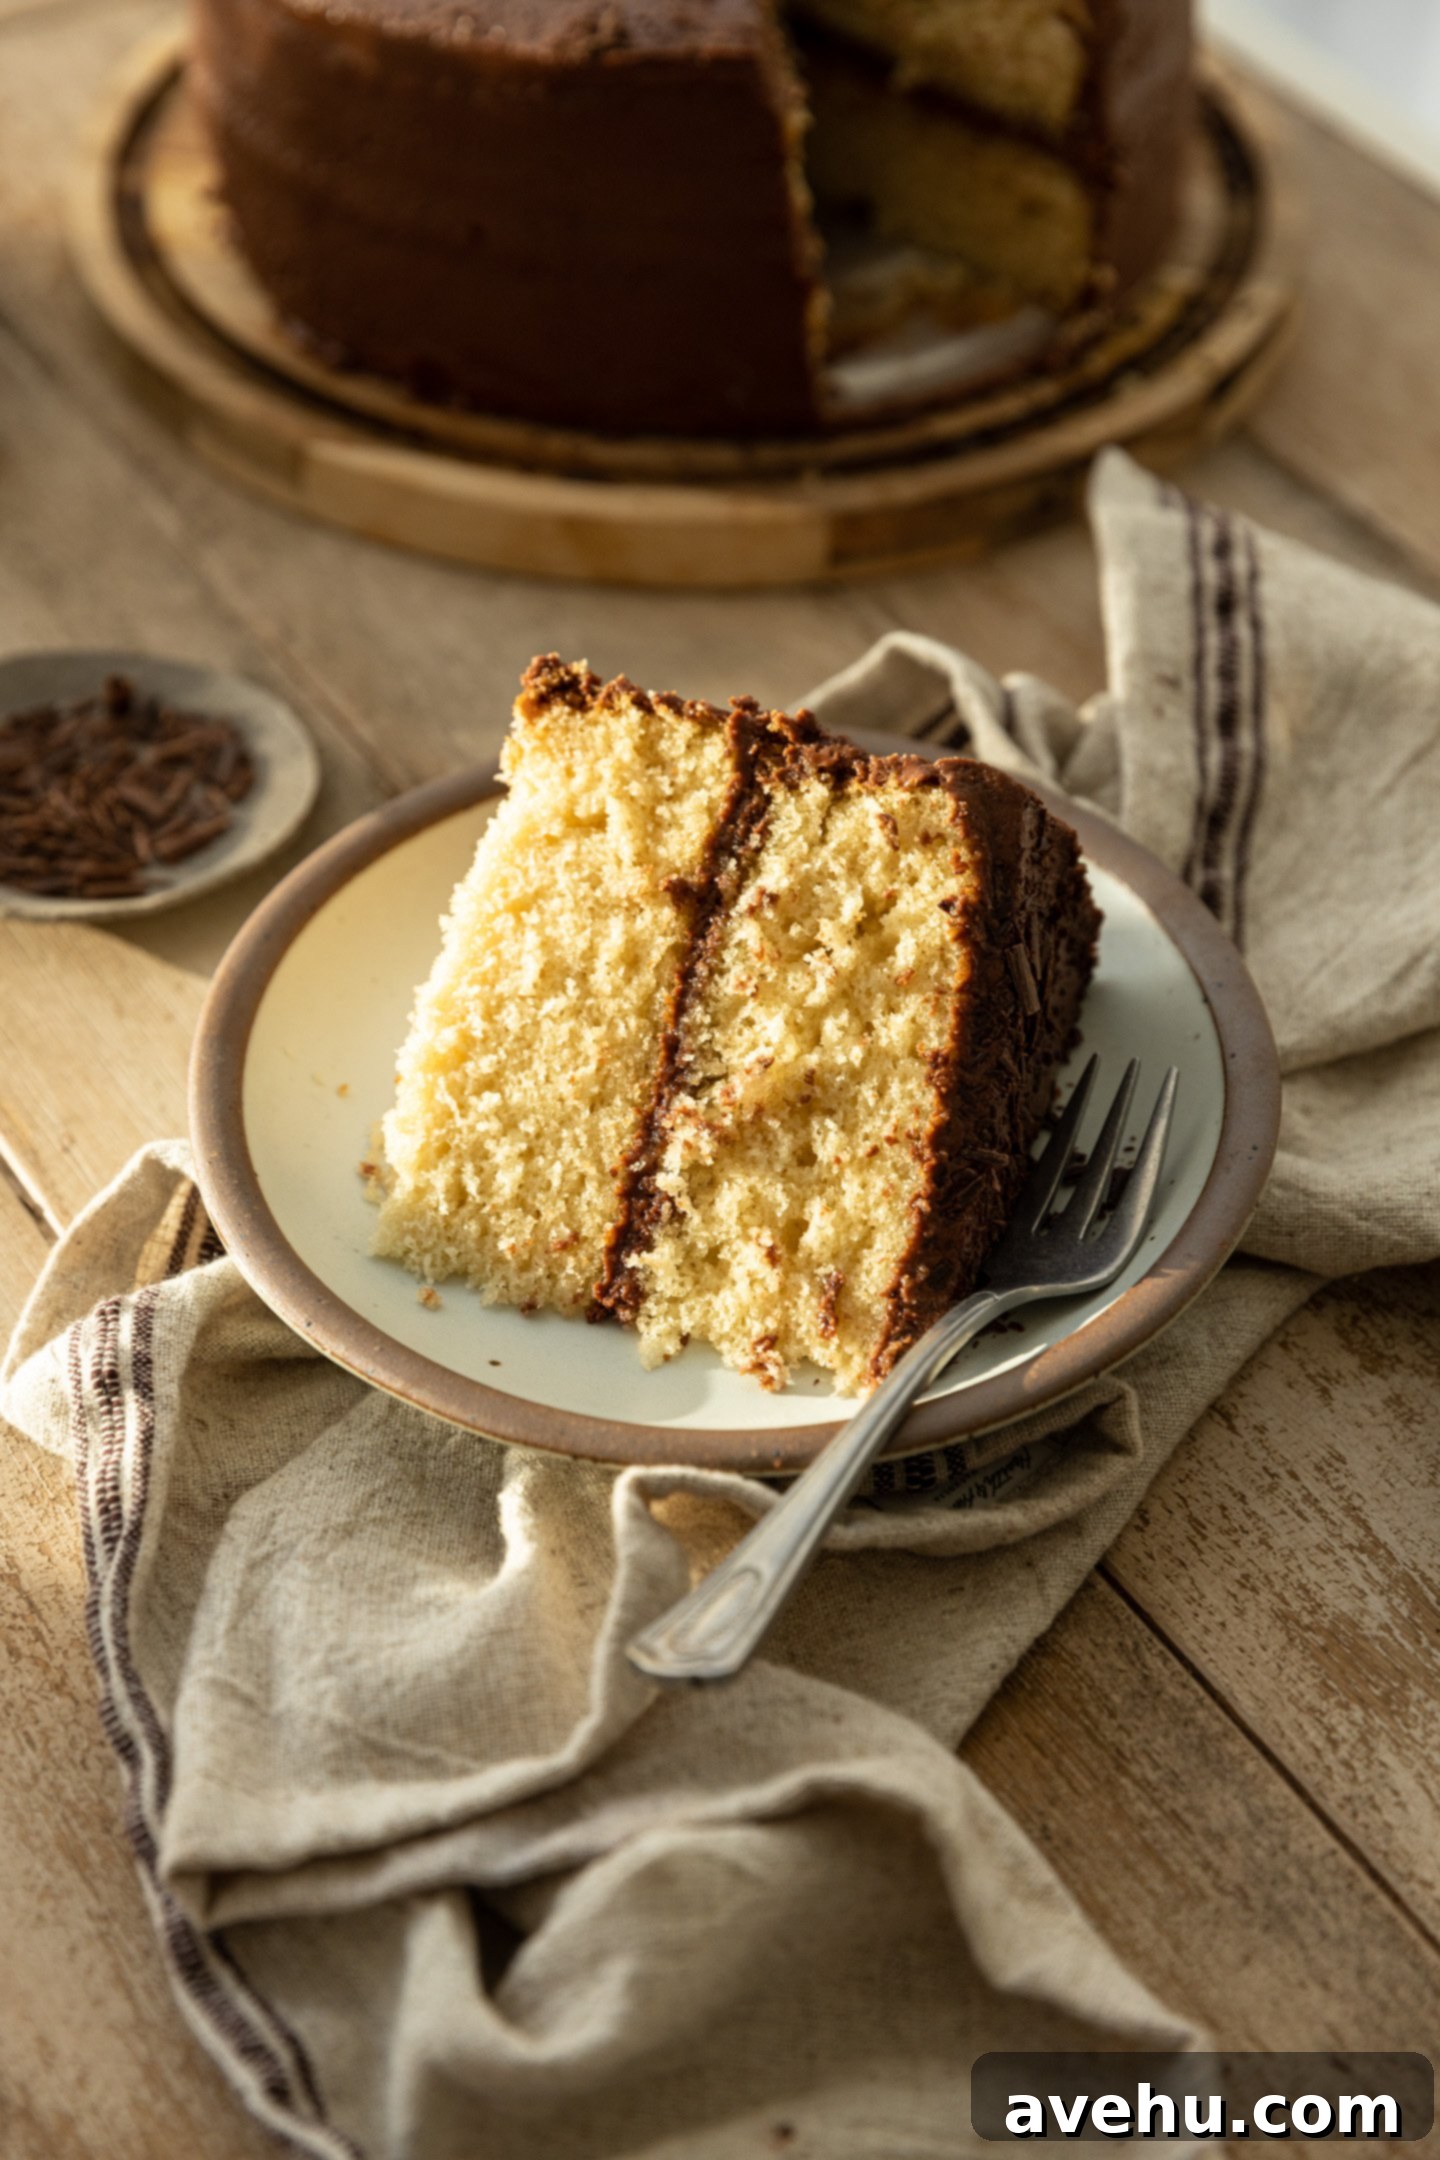
Prepare to fall in love with this incredible yellow cake! It’s famously light, irresistibly fluffy, and surprisingly simple to bake, making it a perfect dessert for any occasion. The cake boasts that classic vibrant yellow hue, thanks to a thoughtful addition of extra egg yolks, and is infused with a delightful hint of vanilla. But the magic doesn’t stop there. Paired with this tender cake is a truly decadent chocolate frosting that comes together in just 5 minutes! Spread this rich, creamy frosting generously over every inch of the cake for a show-stopping treat that will have everyone asking for a second slice.
Why This Yellow Cake Recipe is Simply Irresistible
Let’s dive straight into what makes this yellow cake recipe truly outstanding and a guaranteed crowd-pleaser. It’s not just any yellow cake; it’s *the* yellow cake you’ll want to bake again and again.
Fluffy, Moist, and Perfectly Tender
When we say fluffy, we mean an ethereal, cloud-like texture that practically melts in your mouth. This cake boasts an incredibly tender crumb, yet it possesses enough structure to hold up beautifully, even when slathered with a generous layer of frosting and stacked into impressive layers. It’s a delicate balance of light and airy that maintains its integrity, ensuring each slice is perfect. This exquisite texture is achieved through careful ingredient selection and precise baking techniques that we’ll cover in detail.
The unique combination of ingredients, including additional egg yolks and buttermilk, contributes to both the classic yellow color and a remarkably moist and tender texture that distinguishes this cake from others. It’s the kind of cake that evokes warm, nostalgic feelings with every bite.
Versatile Sizing for Any Occasion
One of the best features of this recipe is its incredible adaptability. Whether you’re planning an intimate family gathering or a grand celebration, this yellow cake recipe can be easily adjusted to suit your needs. You can bake it in two 9-inch round pans, as demonstrated here, to create an elegant, classic layer cake perfect for birthdays or dinner parties. For a more sophisticated presentation with more layers and a slightly taller stature, consider using three smaller 6-inch pans. Or, if you need a straightforward dessert for a larger crowd, simply bake it in a 9×13 inch sheet pan. The recipe is designed to be forgiving, allowing you to achieve delicious results no matter the pan size, though baking times will vary slightly.
As a professionally trained baker, I truly appreciate classic recipes that offer such versatility and deliciousness. This cake is a testament to how traditional baking can be both simple and spectacular!
The Decadent 5-Minute Chocolate Frosting
While the yellow cake is a star in its own right, the accompanying chocolate frosting is equally remarkable. This rich, smooth, and deeply chocolatey buttercream comes together in a mere 5 minutes, making cake assembly a breeze. Its robust chocolate flavor provides a perfect contrast to the light vanilla notes of the yellow cake, creating a harmonious and utterly satisfying dessert experience. This simple yet luxurious frosting elevates the entire cake, turning it into an irresistible treat that everyone will adore.
Beyond the Classic Frosting: Delicious Alternatives
While my go-to choice is the classic chocolate buttercream mentioned above, the beauty of this yellow cake is how wonderfully it pairs with a variety of frostings. Don’t hesitate to get creative with your toppings!
For those who prefer a lighter, airier topping, my whipped chocolate frosting is an excellent choice. It features a delightful surprise ingredient that enhances its texture and flavor, making it incredibly delicate and less intensely sweet than a traditional buttercream. This is perfect for a warmer day or when you want the cake’s flavor to shine through even more.
If you’re craving something truly rich and indulgent, consider my chocolate fudge frosting. This dense and deeply flavored frosting is for the serious chocolate lover, offering an intense cocoa experience that creates a beautiful contrast with the yellow cake. Another fantastic rich option is my chocolate ganache frosting, which delivers a glossy finish and an intense, smooth chocolate flavor that feels incredibly sophisticated and luxurious.
The Secret to a Light Crumb: Cake Flour Explained
A significant secret to this cake’s incredibly light and fluffy texture lies in the use of cake flour. Cake flour is milled from soft wheat and has a lower protein content compared to all-purpose flour. This lower protein means less gluten development during mixing, which results in a softer, more tender, and finer crumb in baked goods. If you’re truly aiming for that signature light and airy texture in your cakes, cake flour is simply superior.
However, if you don’t have cake flour readily available, don’t despair! You have two excellent options:
- You can substitute with all-purpose flour. Be aware that this will likely result in a slightly denser cake, as all-purpose flour has a higher protein content.
- You can easily make your own cake flour at home! For every 1 cup of all-purpose flour, remove 2 tablespoons of flour and replace them with 2 tablespoons of cornstarch. Then, sift the mixture together thoroughly. This sifting step is crucial as it helps distribute the cornstarch evenly throughout the flour, mimicking the properties of commercial cake flour. The cornstarch inhibits gluten formation, helping to tenderize the final product.
When making your own cake flour, the importance of sifting cannot be overstated. Sift the flour and cornstarch together at least 2-3 times to ensure the cornstarch is completely incorporated. This step guarantees the tenderness and light texture we’re aiming for.
As noted, using only all-purpose flour will make the cake a little more dense. While still delicious, it won’t have that super light, melt-in-your-mouth quality that cake flour provides. Plan accordingly based on your desired cake texture!
Baking Your Perfect Yellow Cake: A Step-by-Step Guide
Crafting this delightful yellow cake is a straightforward process, especially when you follow these steps carefully. Precision in baking often leads to the most delicious results!
Begin by combining all your dry ingredients. In a medium mixing bowl, add the measured cake flour, baking powder, baking soda, and salt. Use a whisk to mix these ingredients thoroughly until they are well combined. This ensures that the leavening agents and salt are evenly distributed throughout the batter, promoting a consistent rise and flavor in your finished cake.
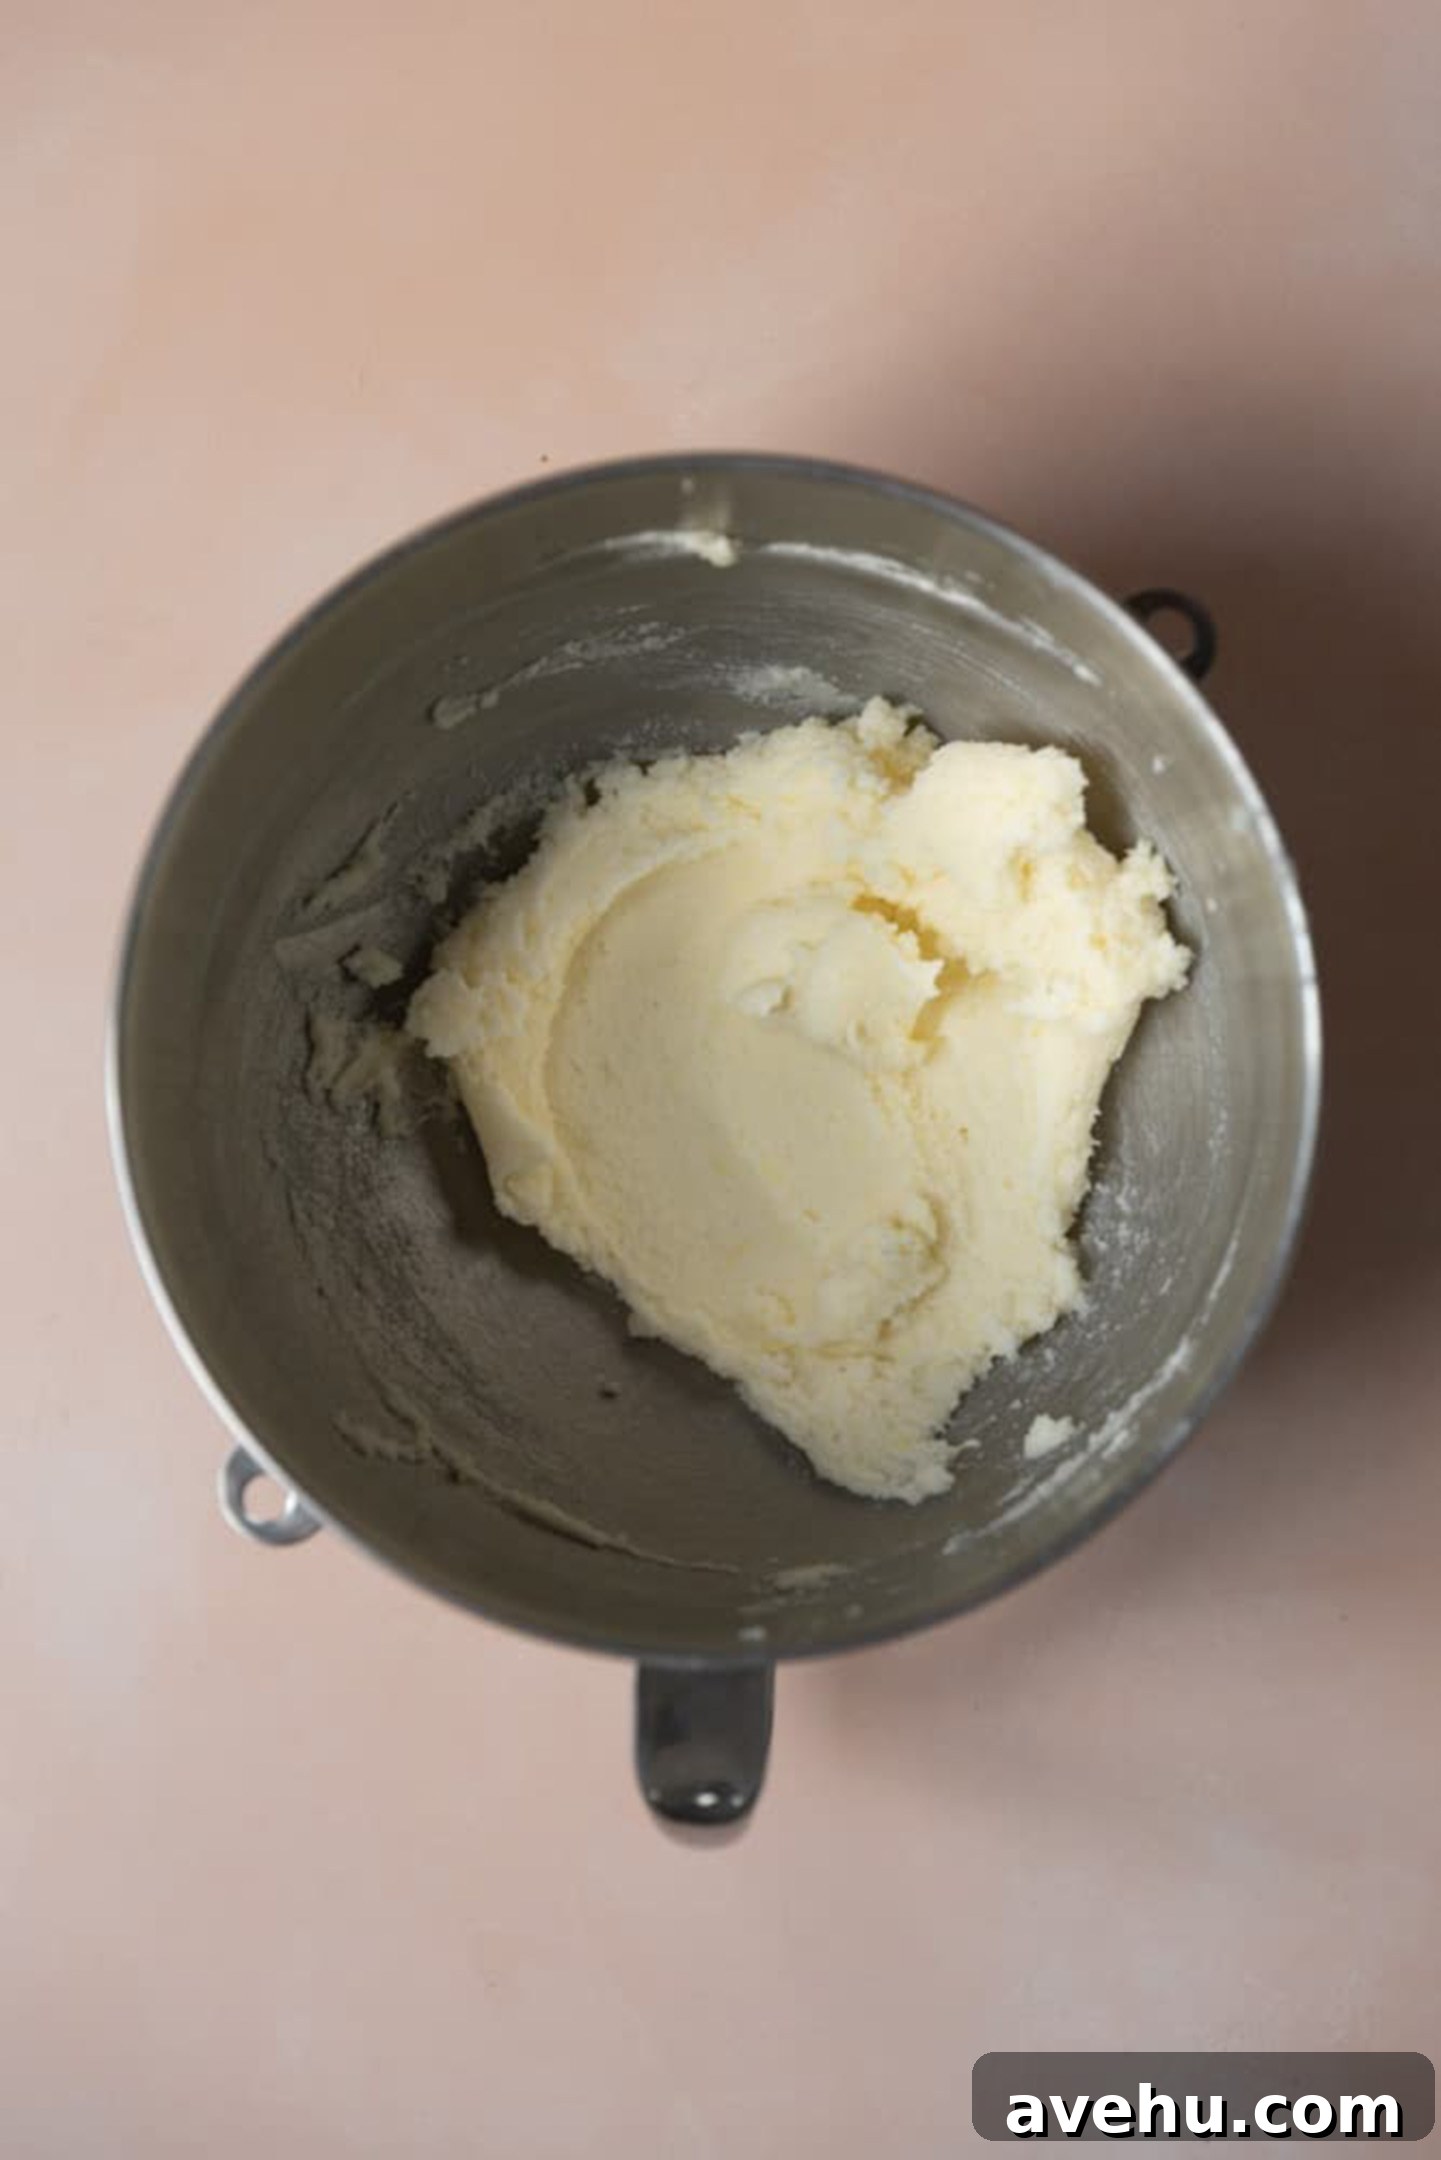
Next, in the bowl of a stand mixer fitted with the paddle attachment (or using a hand mixer), begin by creaming the softened butter on medium speed for about one minute. It should become smooth and slightly lighter in color. After this, scrape down the sides of the bowl to ensure everything is incorporated, then add the granulated sugar. Continue mixing on medium speed for an additional 2 minutes until the butter and sugar mixture is light, pale, and fluffy. This creaming process incorporates air, which is vital for the cake’s tender structure.
Now, it’s time to add the eggs. Incorporate the eggs and the extra egg yolk one at a time, mixing well after each addition until just combined before adding the next. This allows the eggs to emulsify properly with the butter mixture, preventing a curdled appearance. Finally, pour in the vanilla extract and mix for another minute on medium speed, ensuring the vanilla is fully distributed and lends its aromatic essence to the batter.
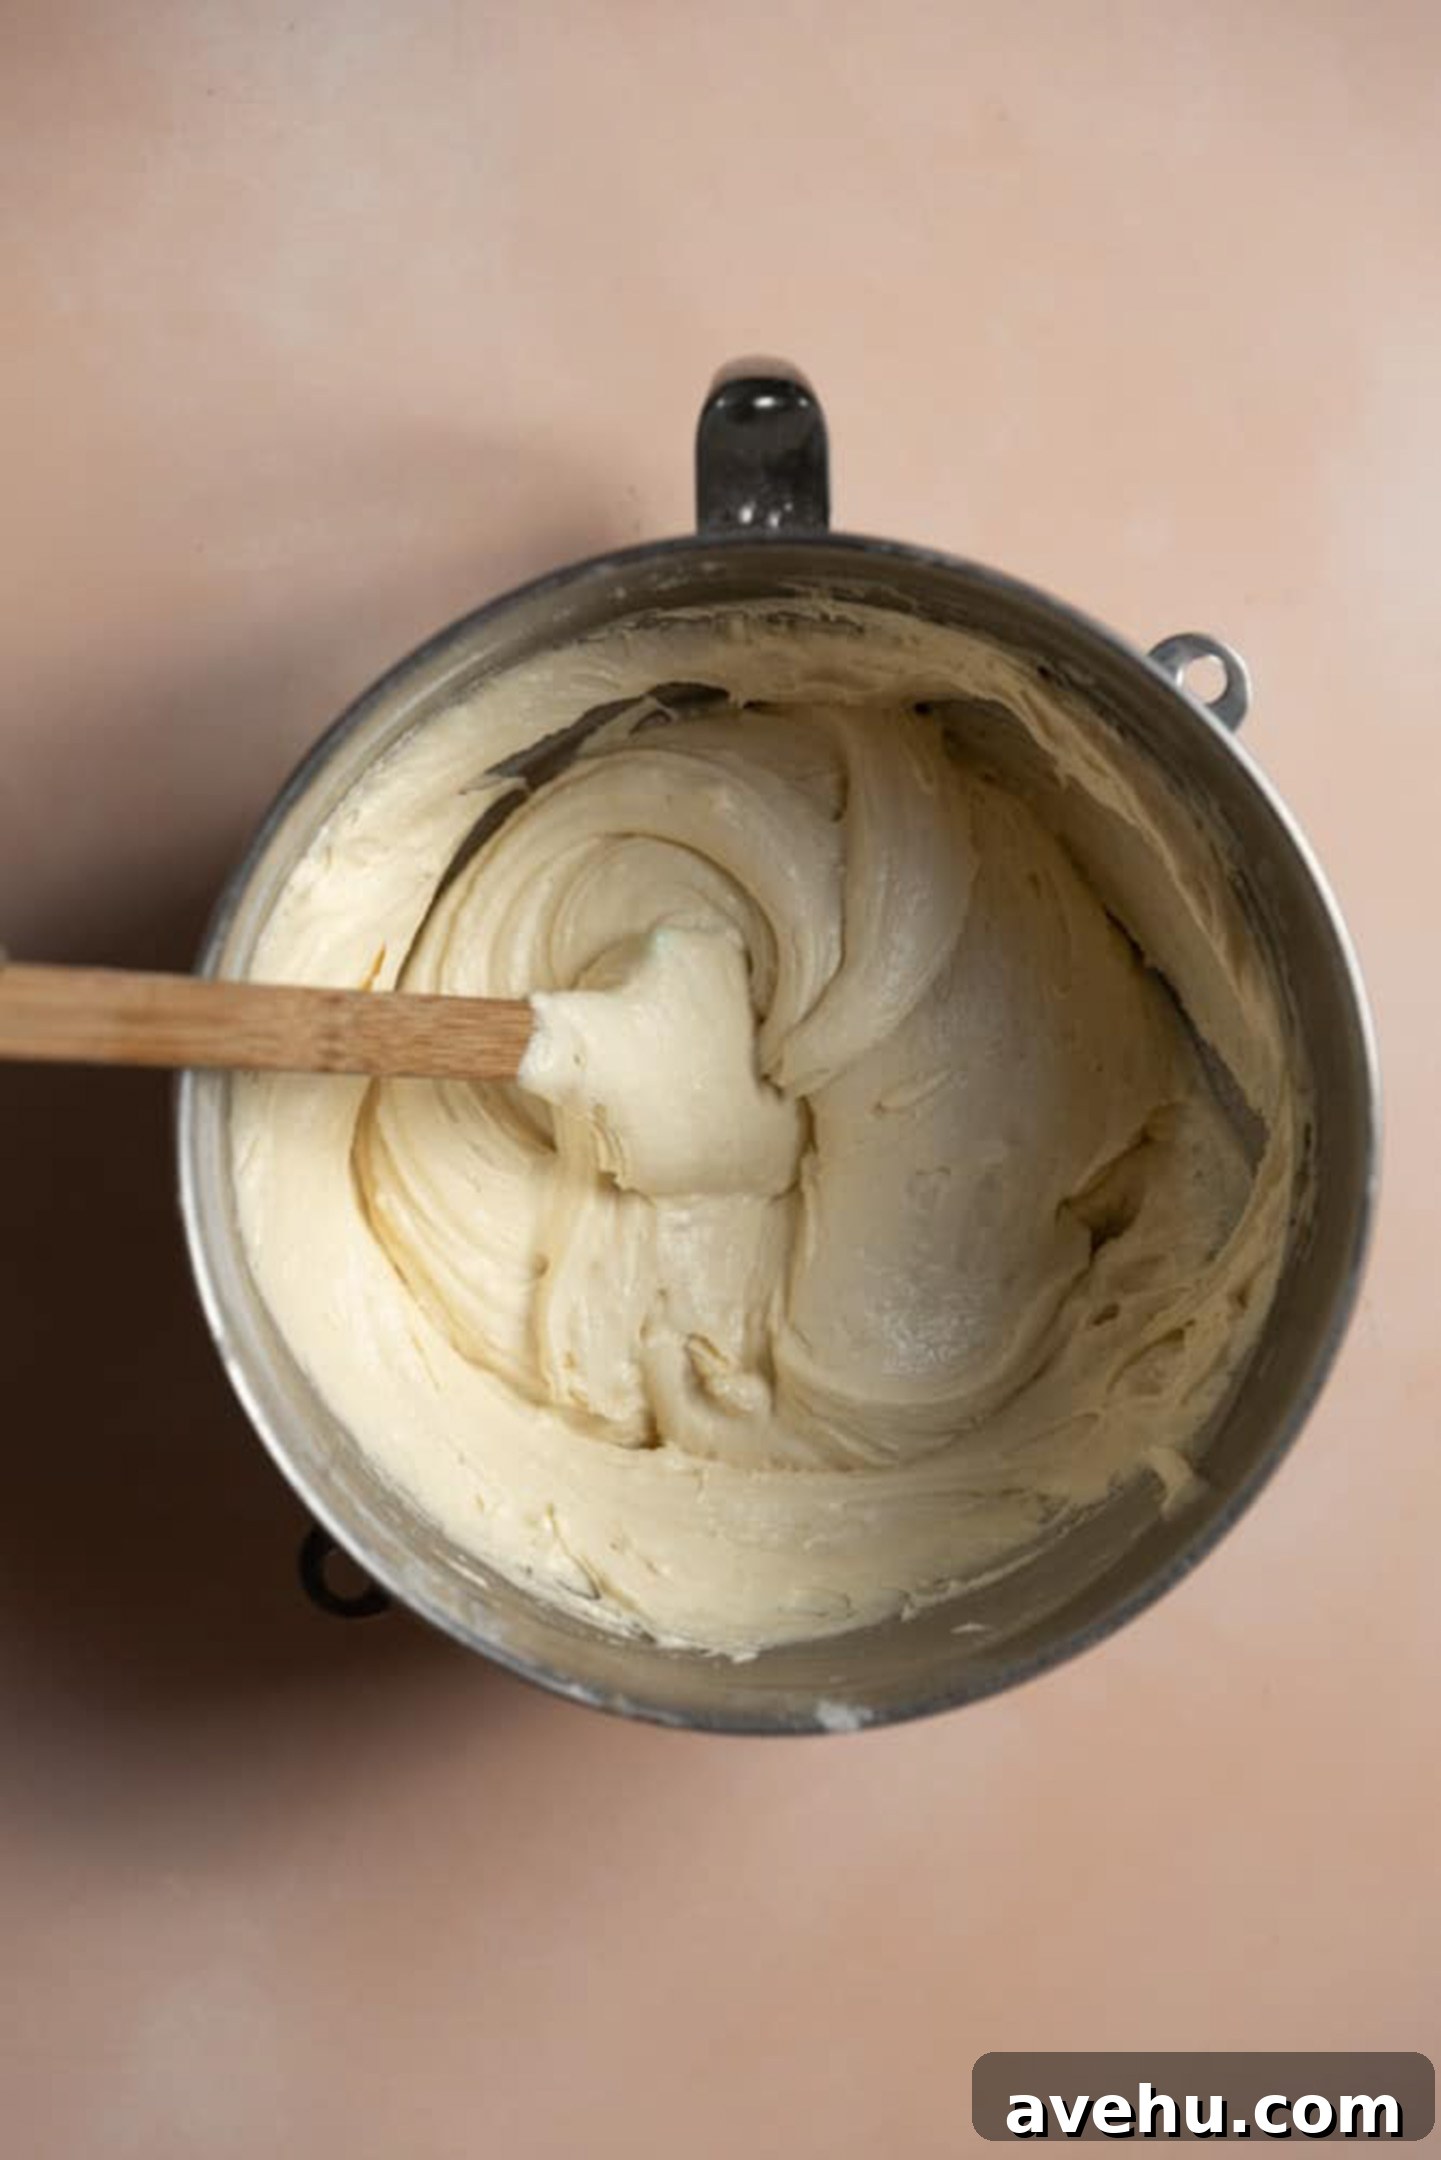
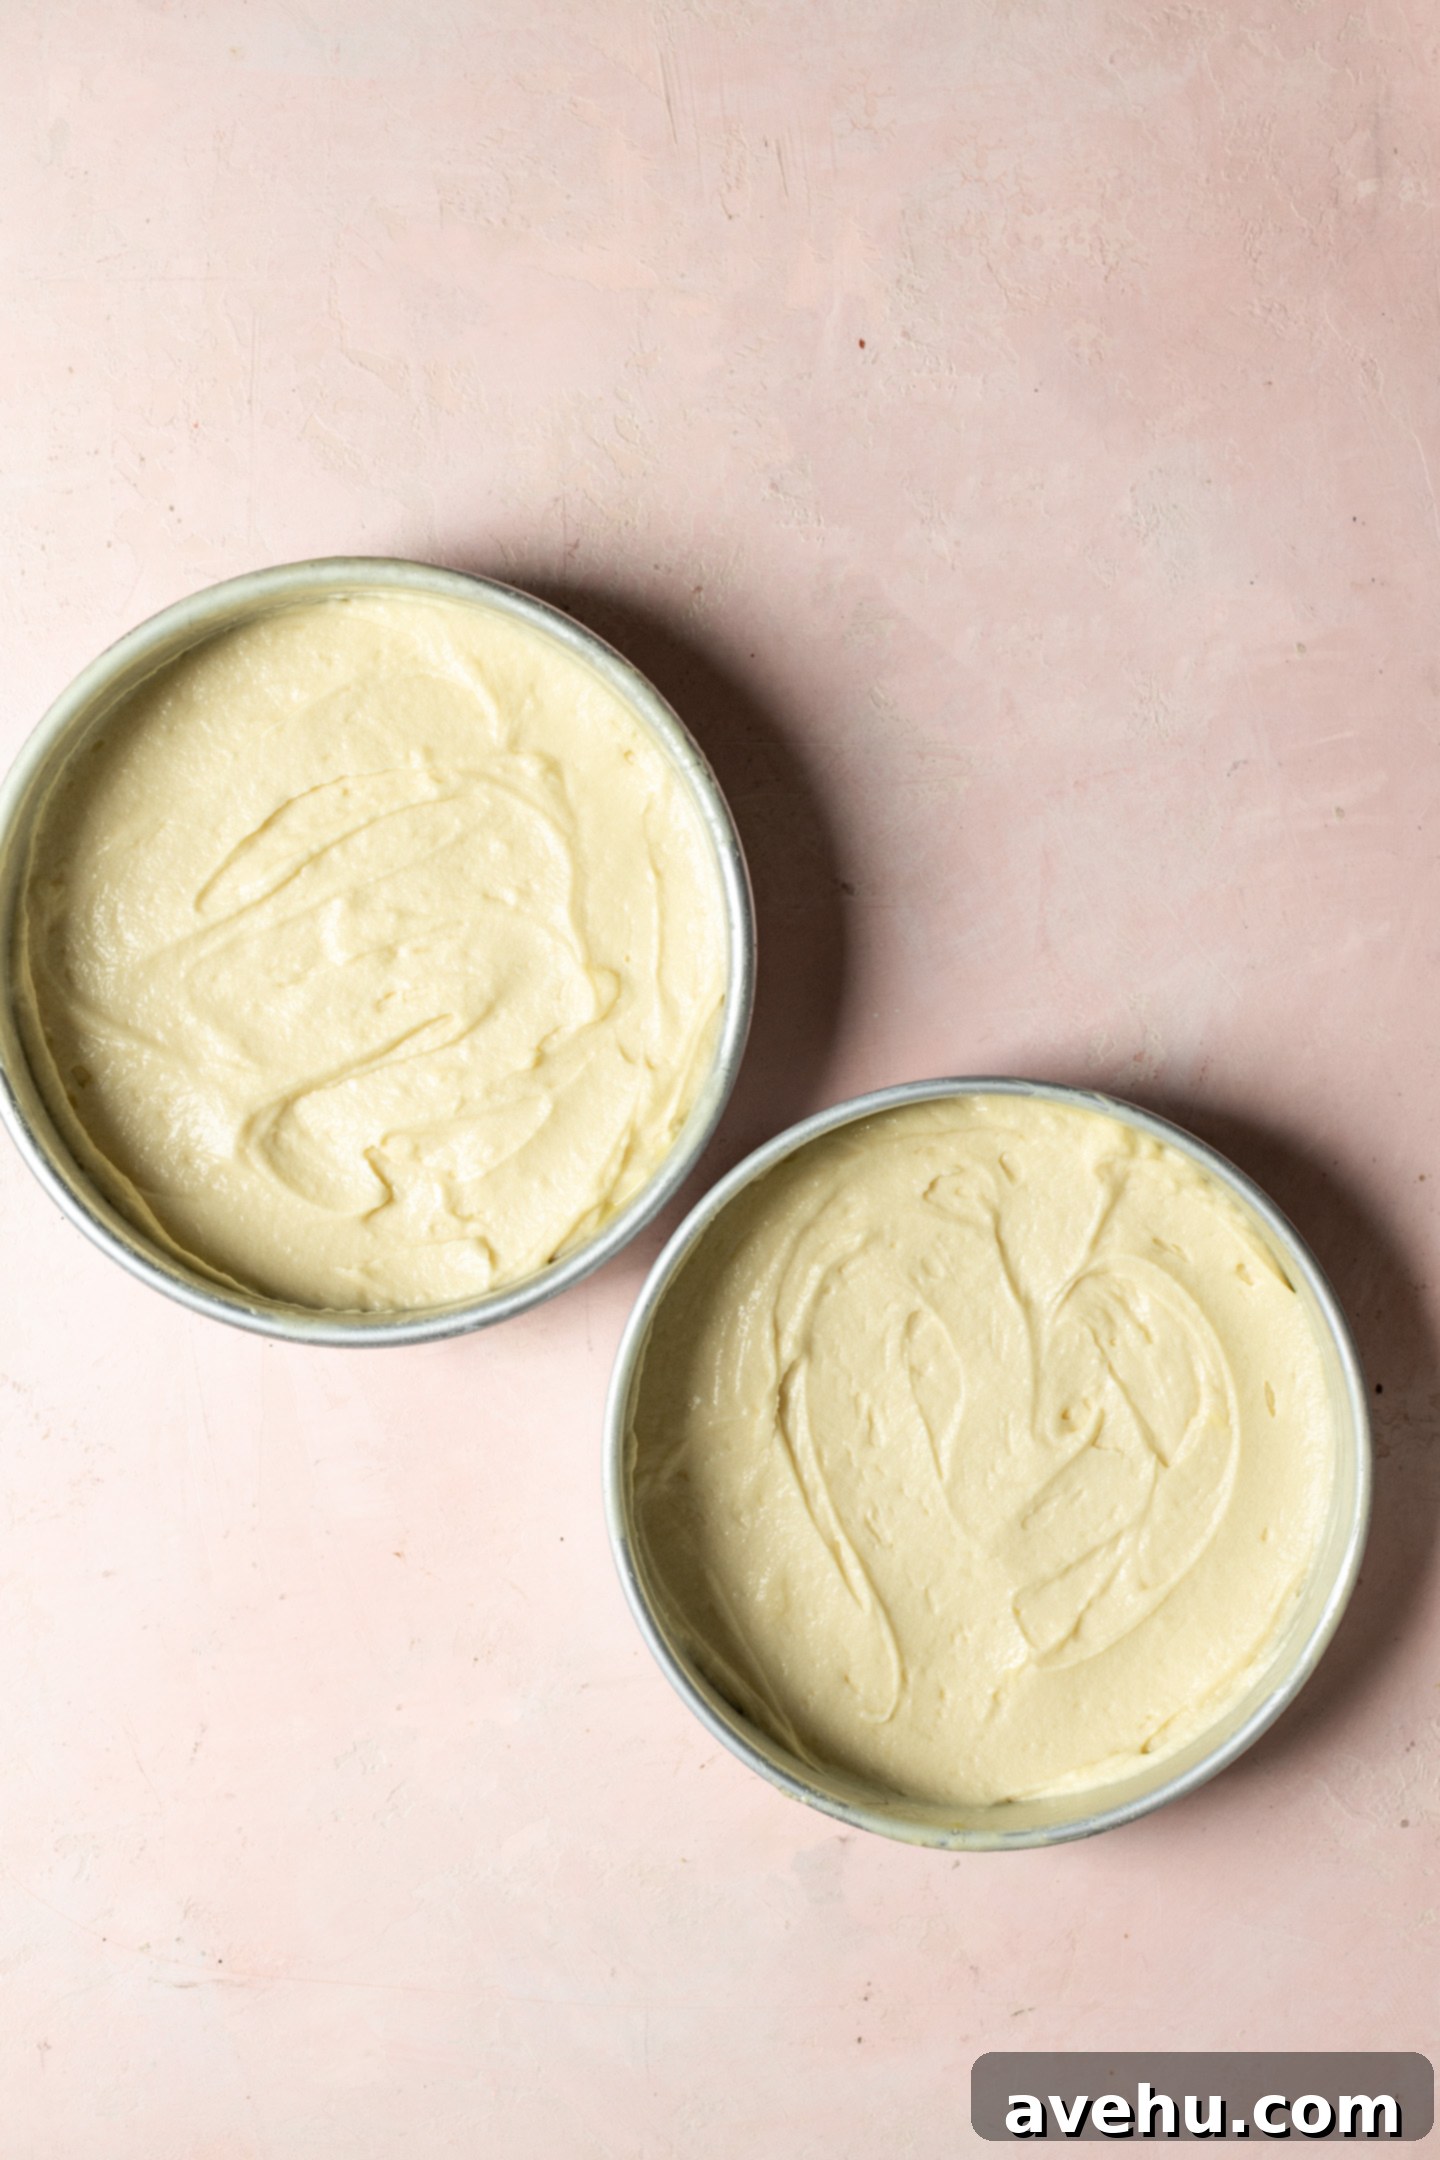
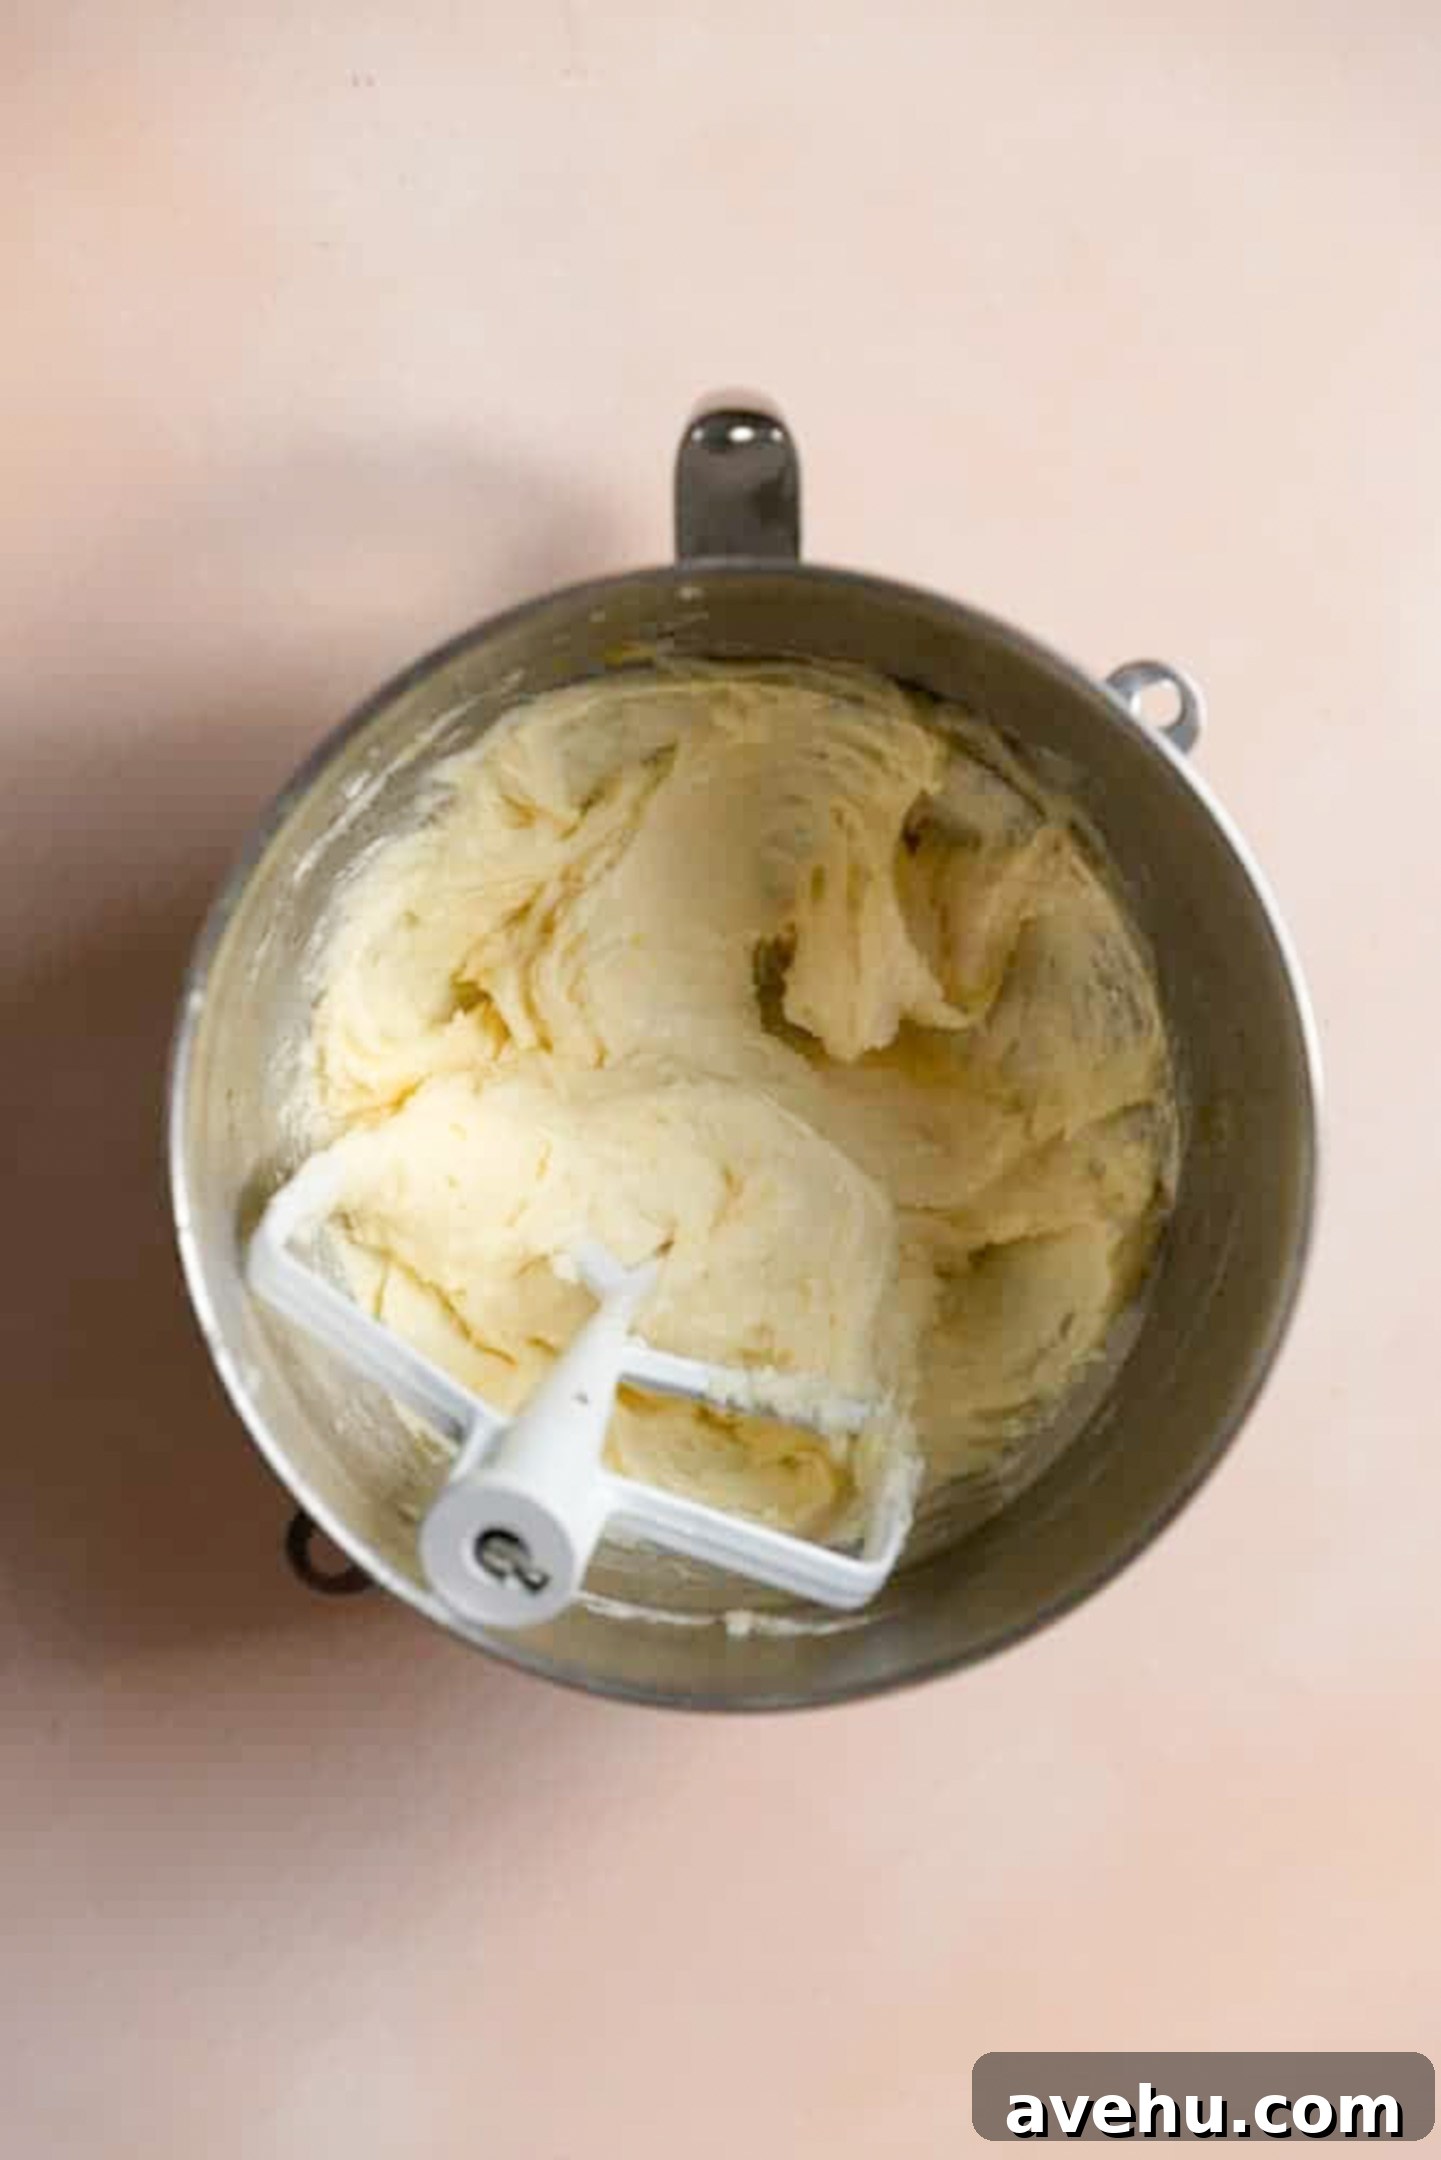
Finally, it’s time to incorporate the dry ingredients and buttermilk. This is a crucial step to maintain the cake’s tenderness. Alternate adding ⅓ of the dry ingredients with half of the buttermilk, beginning and ending with the dry ingredients. Mix on low speed only until just combined after each addition. The key here is to avoid overmixing, which can develop gluten and lead to a tough cake. Stop mixing as soon as no streaks of flour are visible. Pour the batter evenly into your prepared cake pans and bake according to the recipe instructions until golden and springy to the touch.
Assembling and Decorating Your Masterpiece
Once your yellow cake layers have cooled completely, it’s time for the fun part: assembly and decoration! A perfectly leveled cake creates a professional and appealing finish. If your cake layers have domed tops, use a long, serrated knife to carefully level them. Slice off any uneven peaks to create flat surfaces that will stack beautifully. Sometimes, if the cake bakes perfectly, this step isn’t even needed, which saves you time!
To assemble, place your first leveled cake layer onto a serving plate or a cake board. Generously spread a layer of your rich chocolate frosting over the top, extending almost to the edges. This will be the delicious filling between your cake layers. Gently place the second cake layer on top, aligning it carefully. Then, use the remaining frosting to cover the top and sides of the entire cake. An offset spatula is an invaluable tool for achieving smooth, even frosting, especially when paired with a cake turntable for easy rotation. However, a simple butter knife can also do the job with a little patience!
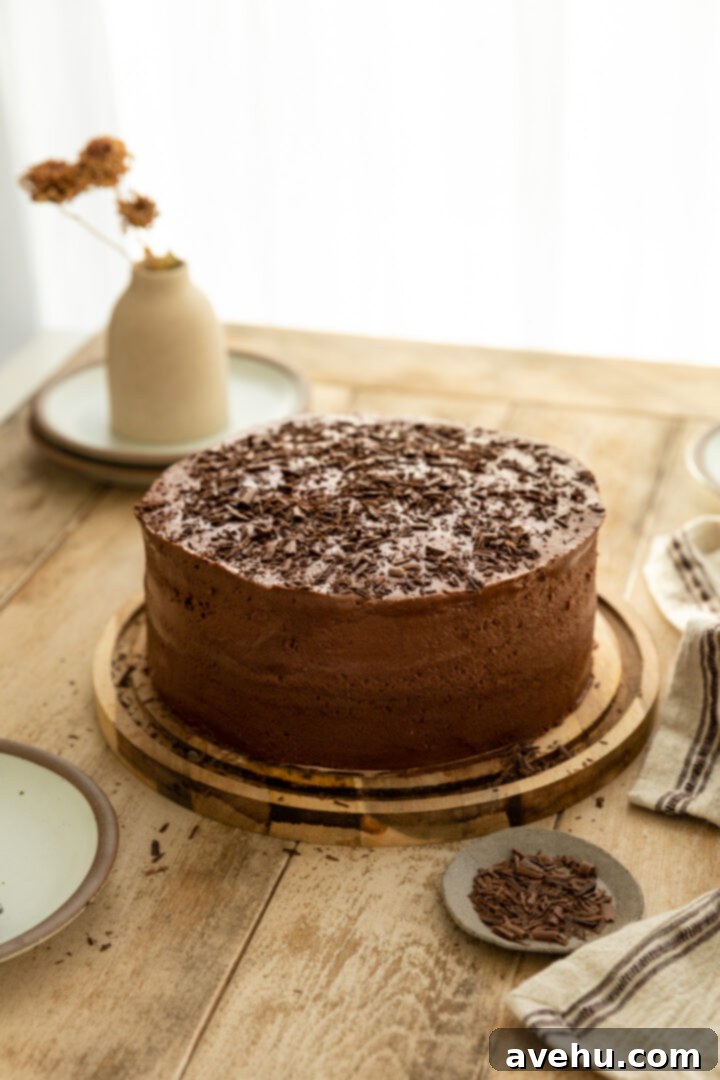
After you’ve frosted your cake to perfection, the decorating possibilities are endless. As I did here, you can adorn it with delicate chocolate shavings, which add both visual appeal and an extra layer of chocolatey goodness. Alternatively, get creative with colorful sprinkles for a festive look, fresh berries for a touch of fruitiness, or chopped nuts for added texture and a nutty flavor. This final touch allows you to personalize your homemade yellow cake and make it truly your own.
Tender Yellow Cake with Chocolate Frosting
Ingredients
- 2 ½ cup cake flour, 298g
- 2 tsp baking powder
- 1/4 tsp baking soda
- ½ tsp kosher salt
- 1 cup unsalted butter, 227g softened
- 1 ½ cup white sugar, 300g
- 3 eggs, large
- 1 egg yolk
- 1 tbsp vanilla extract
- 1 cup buttermilk
Chocolate frosting
- 1 cup unsalted butter, softened at room temperature (227g)
- ⅔ cup unsweetened cocoa powder, (65g)
- 3 cups confectioners sugar, (340 g)
- 1 tsp brewed coffee, (optional)
- 1 tbsp heavy cream, or more if needed
Instructions
- Preheat the oven to 350° F and spray 2, 9” round cake pans or 3, 6” cake pans with baking spray and set aside.
- In a medium size bowl combine the 2 1/2 cup cake flour, 2 tsp baking powder, 1/4 tsp baking soda, and ½ tsp kosher salt. Whisk until combined.
- In the bowl of a hand mixer or stand mixer fitted with the paddle attachment cream the 1 cup butter for 1 minute on medium speed. Scrape down the bowl and add 1 ½ cups sugar.
- Mix on medium speed for 2 minutes until light and fluffy.
- Scrape down the bowl and add the eggs and yolk one at a time mixing in between. Add the 1 tbsp vanilla extract. Mix for 1 minute on medium speed.
- Add in 1/3rd of the dry ingredients, then half of the buttermilk and alternate, starting and ending with the dry ingredients.
- Mix well until combined. Do not overmix.
- Pour evenly into the cake pans. For 9” pans, bake for 30-40 minutes. For 6” pans check after 25-30 minutes. For 9×13, check after 35-40 minutes. The cake is done when the tops are firm and the sides are pulling away from the pan.
Make the chocolate buttercream
- When the cakes are cool, level the tops with a long serrated knife if they aren’t straight enough.
- Place one cake on a cake board or serving tray. Spread chocolate frosting over to fill. Top with the other cake layer and frost all over. An offset spatula is the easiest thing to use but you can use a butter knife too.
