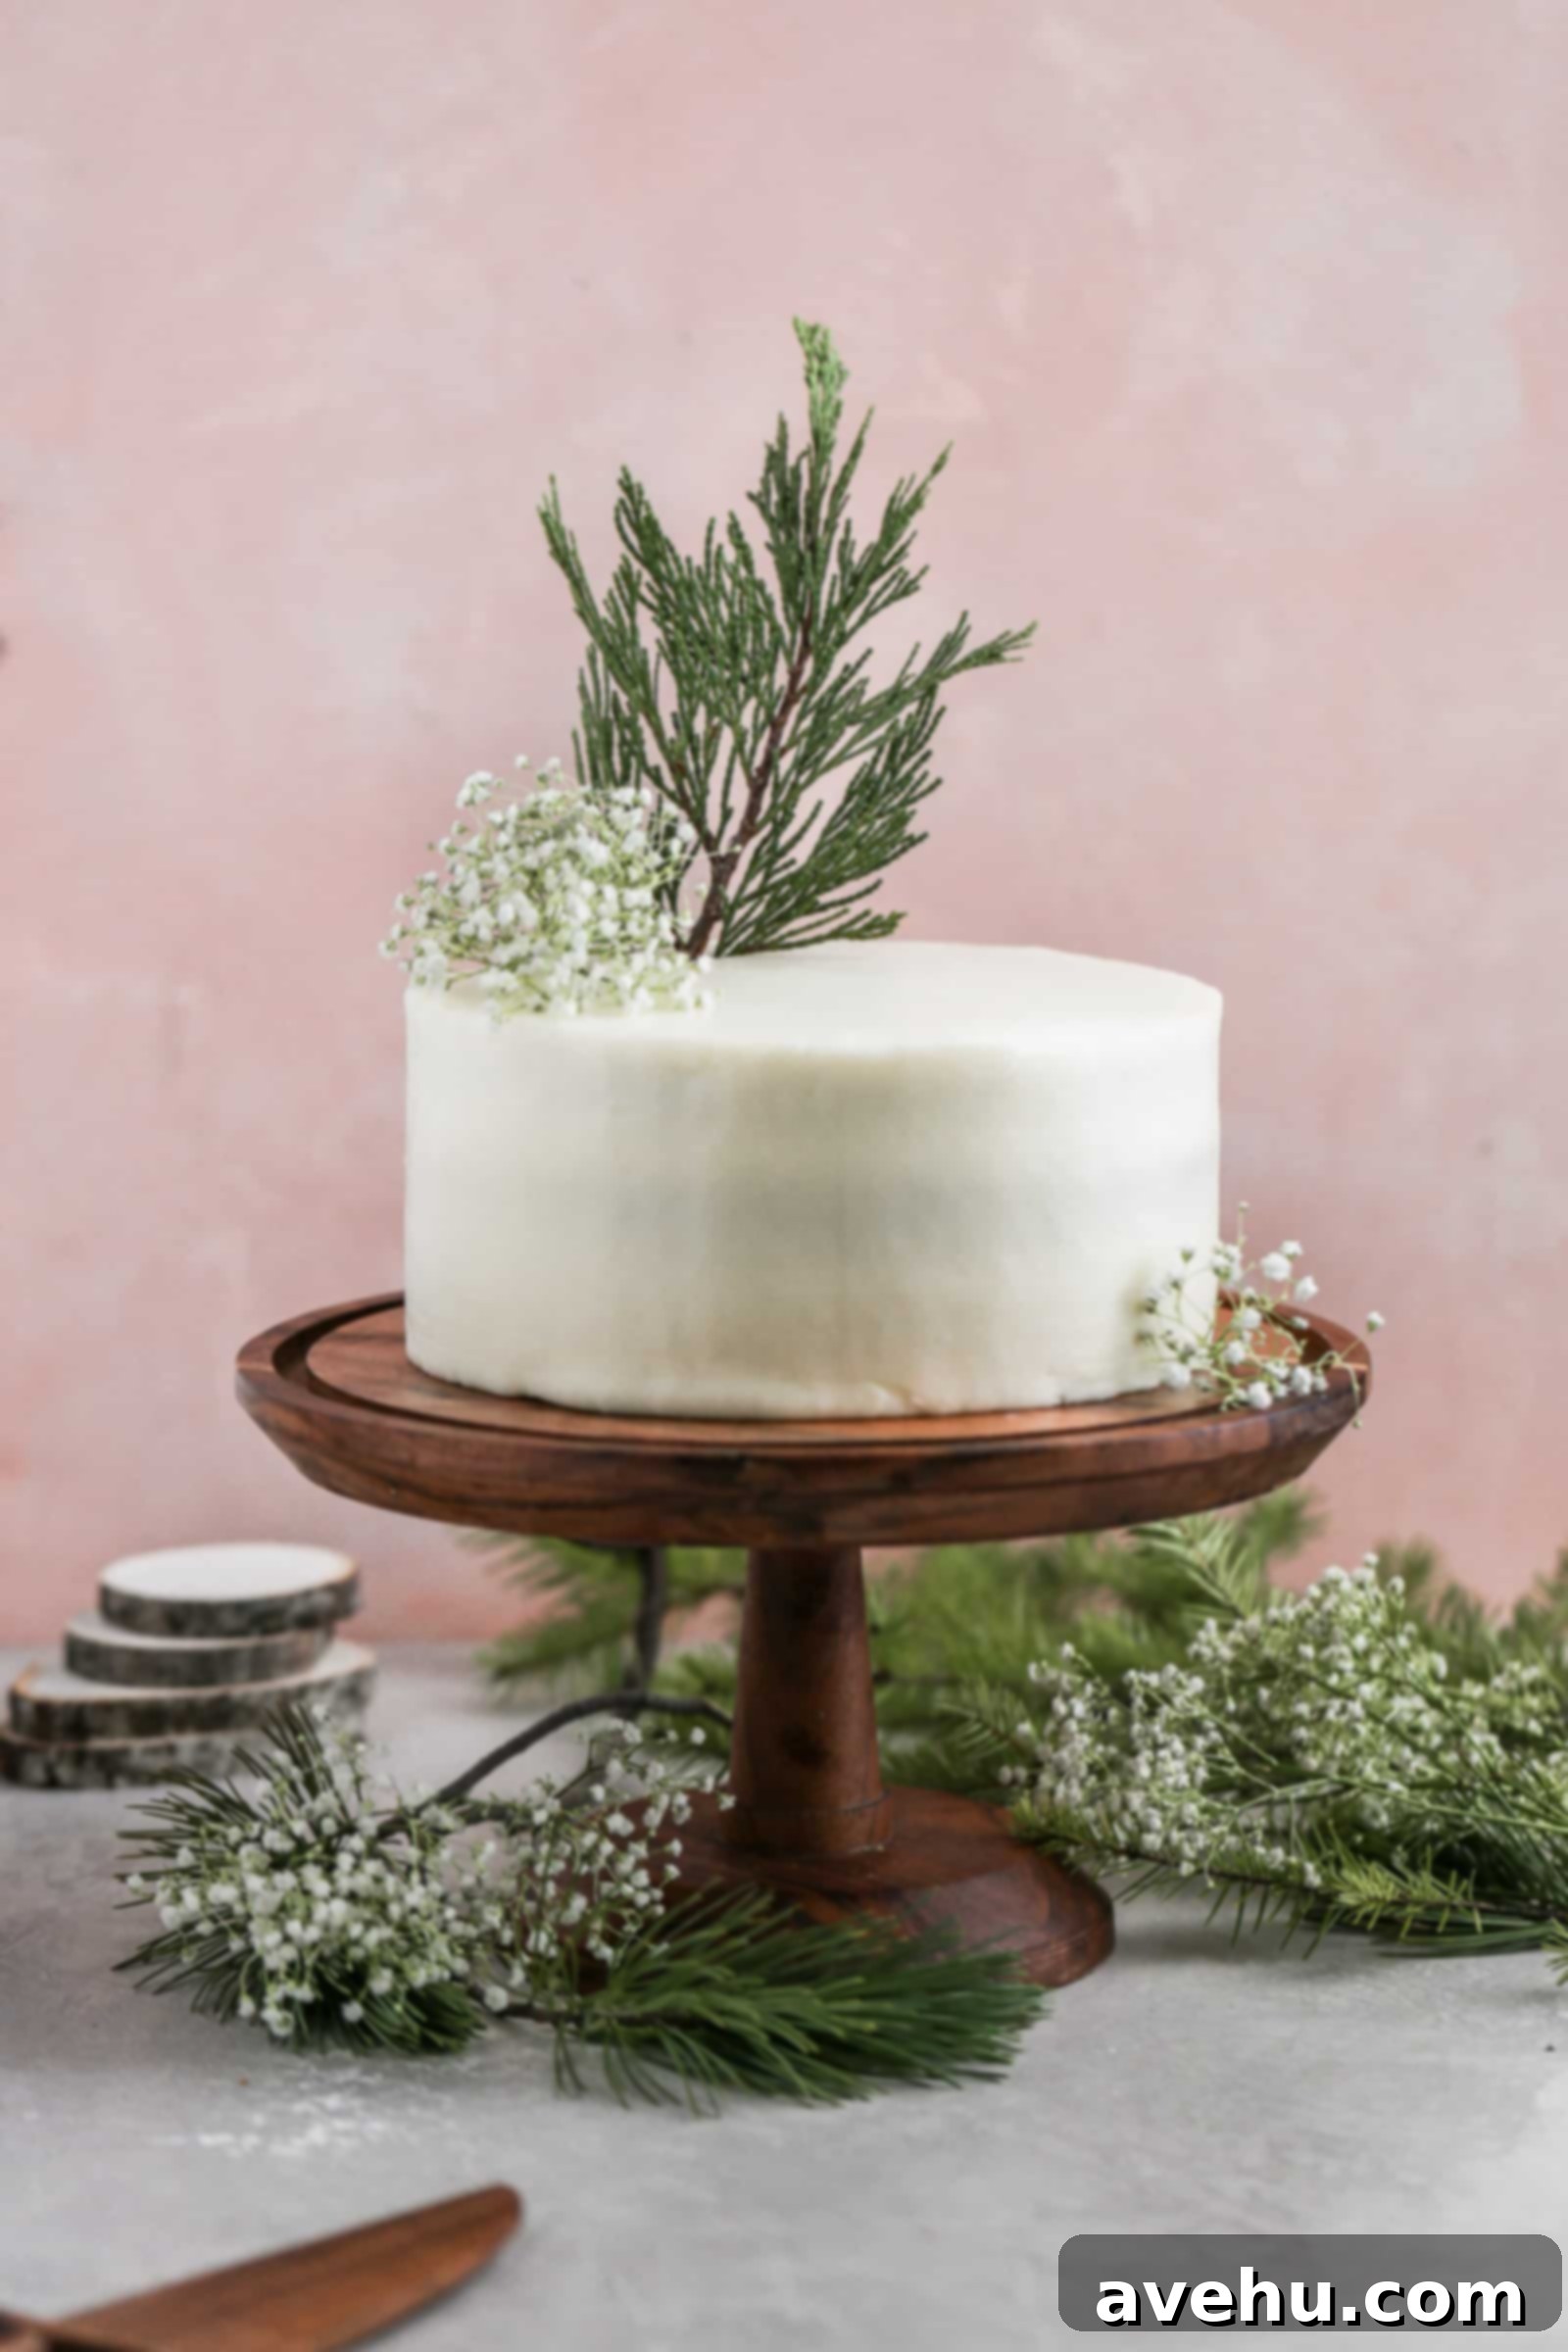
Easy Homemade Red Velvet Cake with Tangy Cream Cheese Frosting
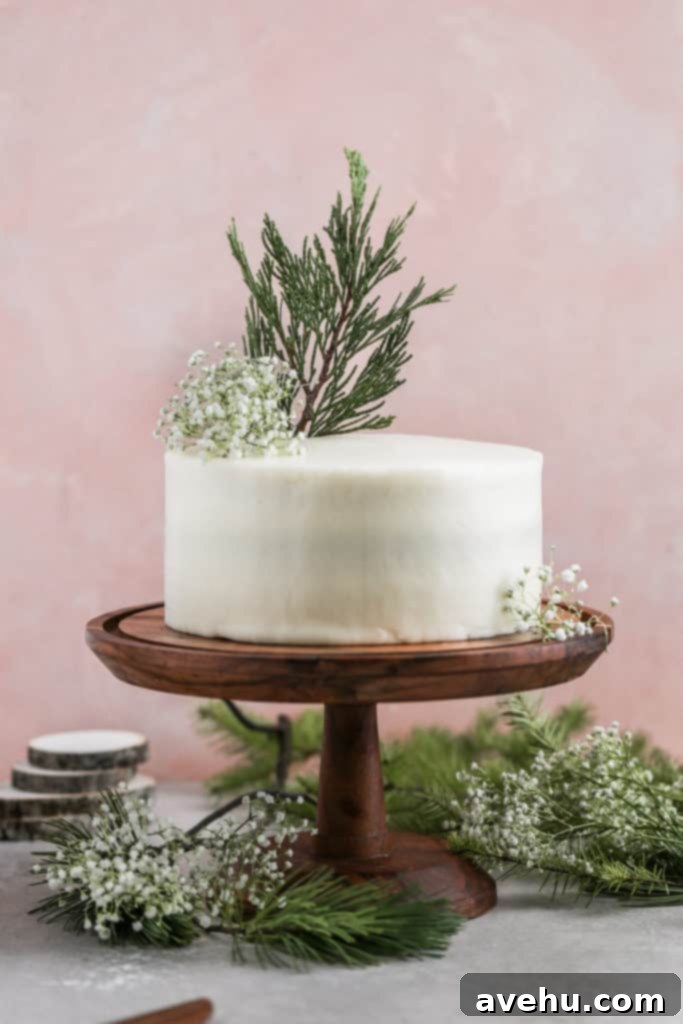
Prepare yourself for a truly irresistible experience with this easy red velvet cake recipe! Featuring a rich, super chocolatey flavor and a perfectly tangy cream cheese frosting, this cake is guaranteed to become your new favorite. Each bite offers a delightful balance of moist, tender cake and creamy, sweet-tart frosting that will keep you coming back for more. It’s a classic dessert that never fails to impress, and with our straightforward instructions, you’ll be whipping up this showstopper in no time.
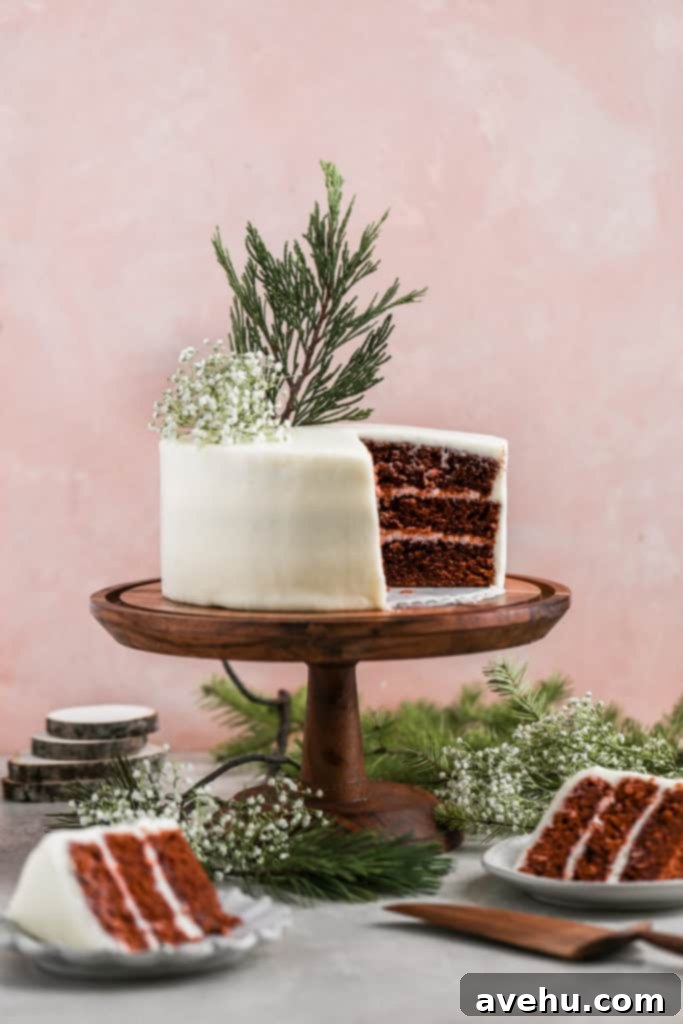
Who can resist the allure of a perfectly baked red velvet cake? Especially when it’s an incredibly easy and intensely chocolatey red velvet cake recipe! Many people mistakenly think red velvet is simply a chocolate cake with red food coloring, but there’s so much more to it. A true red velvet cake boasts a unique blend of flavors and textures, with a subtle cocoa essence that truly shines through.
Our recipe ensures there’s enough cocoa to give you that distinct chocolatey note, creating a cake that is not only visually stunning but also deeply satisfying. This homemade red velvet cake is wonderfully moist, bursting with flavor, and delivers that classic “velvet” texture it’s famous for. Finally, a chocolatey red velvet cake where you can genuinely taste the chocolate without it being overwhelming!
And let’s not forget the star alongside the cake: the luscious cream cheese frosting! This isn’t just any cream cheese frosting; it’s a carefully balanced recipe designed to be tangy, sweet, and surprisingly pipe-able. Cream cheese frosting is notoriously soft, making intricate decorating a challenge. However, we’ve developed a method that yields a frosting firm enough to hold its shape, allowing you to beautifully adorn your cake.
While achieving perfect professional-level piping takes practice, this frosting comes impressively close. Its delightful tanginess beautifully complements the sweet, subtle chocolate flavor of the red velvet cake, creating a harmonious symphony of tastes that will leave you craving another slice. This chocolatey and easy red velvet cake, complete with its divine frosting, is an absolute winner in our culinary handbook!
What Exactly is Red Velvet Cake? More Than Just Red Food Coloring!
The question “Is red velvet cake just chocolate cake in disguise?” is a common one, and we’re thrilled you asked! While it does contain cocoa, a classic red velvet cake stands apart from a traditional chocolate cake due to a few key ingredients and a fascinating chemical reaction.
Authentic red velvet cake recipes traditionally include both cocoa powder and red food coloring, but the magic truly happens with the inclusion of buttermilk and a touch of white vinegar. These acidic ingredients react with the cocoa powder and baking soda, which not only aids in leavening the cake for that characteristic “velvet” texture but also helps to bring out the natural reddish undertones in older, non-Dutched cocoa powders. Historically, this reaction was solely responsible for the cake’s reddish hue.
Today, with more processed cocoa powders, red food coloring is typically added to enhance and intensify the vibrant red color, which might appear more brownish without it. Our recipe calls for a modest two tablespoons of red gel food coloring – roughly half a standard Wilton gel color bottle. Many recipes opt for a whole bottle to achieve an extremely bright red, but we find that a slightly less intense color is more appealing and equally delicious.
While we appreciate a vibrant red, we also believe in keeping the amount of artificial coloring reasonable. Gel food coloring is highly concentrated, so a little goes a long way, but red often requires a bit more to truly pop. If you prefer to omit the food coloring entirely, you absolutely can! The taste will remain exactly the same; you’ll simply have a delicious, subtly brown-hued velvet cake.
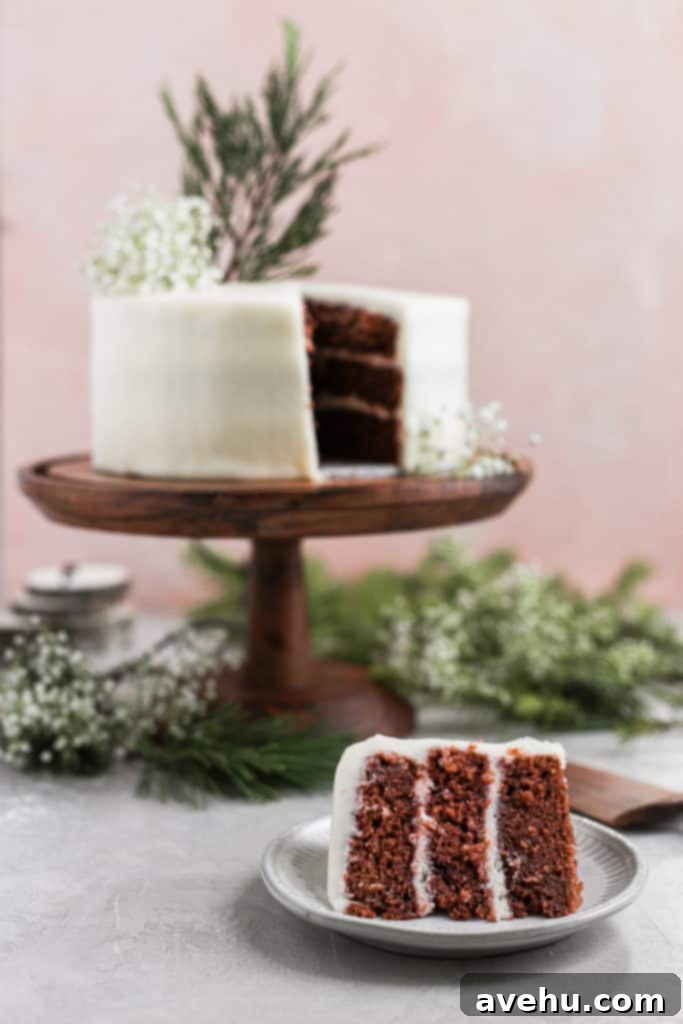
Essential Ingredients for Your Perfect Red Velvet Cake
Crafting this incredible homemade red velvet cake is simpler than you might imagine, requiring a mix of common pantry staples and a few special additions that give it its signature character. For the cake itself, you’ll need the usual suspects like:
- All-purpose flour: Provides the structure for our moist and tender crumb.
- Granulated sugar: Sweetens the cake and contributes to its overall texture.
- Eggs: Act as binders and add richness.
- Vegetable oil: Ensures a beautifully moist cake.
- Kosher salt and baking soda: Essential for flavor balance and leavening.
- Vanilla extract: Enhances all the other flavors.
- Buttermilk: Crucial for the tender crumb, tang, and the classic red velvet reaction.
- White vinegar: Works with the buttermilk to activate the baking soda and deepen the red color.
- Red gel food coloring: To achieve that iconic vibrant red hue.
- Cocoa powder: Provides the subtle yet distinct chocolate flavor that defines red velvet. We recommend a good quality unsweetened cocoa.
The dreamy cream cheese frosting, designed to perfectly complement the cake, is made with just a few simple ingredients:
- Cream cheese: The star ingredient, providing its signature tangy flavor and creamy texture. Ensure it’s full-fat for the best results.
- Confectioners’ sugar (powdered sugar): Sweetens the frosting and helps create a smooth, pipe-able consistency.
- Unsalted butter: Adds richness and helps stabilize the frosting. Make sure it’s softened to room temperature.
- Vanilla extract: A must-have for depth of flavor in any cream cheese frosting.
- A tiny amount of cream or milk: Used to adjust the consistency, ensuring it’s smooth and spreadable without being too thin.
Buttermilk Substitute: When You’re in a Pinch
While fresh, authentic buttermilk is highly recommended for the best flavor and texture in this red velvet cake recipe, we understand it’s not always readily available. If you find yourself without it, you can *technically* create a buttermilk substitute at home. However, please note that for that truly authentic, rich red velvet taste, a store-bought buttermilk is always superior.
To make a quick substitute, measure out 1 1/2 cups of regular milk (whole milk works best). Remove 1 1/2 tablespoons of milk from the cup and replace it with 1 1/2 tablespoons of white vinegar or lemon juice. Stir it gently and let the mixture sit for about 10 minutes. During this time, the milk will curdle slightly and thicken, mimicking the acidity and texture of buttermilk. And voilà! You have a homemade buttermilk substitute ready to use.
This recipe specifically calls for 1 1/2 cups of buttermilk, so a small carton from the store should be just enough, minimizing waste. Using real buttermilk will give you the most consistent results and the deepest, most authentic flavor profile for your homemade red velvet cake.
How to Make This Easy Red Velvet Cake From Scratch
You’ll be amazed at how simple it is to bake this stunning homemade red velvet cake! We’re not exaggerating when we say this recipe is designed for ease. The process is incredibly straightforward, making it perfect for both novice bakers and seasoned pros looking for a reliable, delicious dessert.
The primary steps involve separating your wet and dry ingredients into two different bowls. First, whisk together all your dry ingredients – flour, cocoa powder, salt, and baking soda – in a medium bowl. This ensures they are well combined before being added to the wet ingredients. In a separate, larger mixing bowl, combine your wet ingredients: vegetable oil, granulated sugar, eggs, and egg yolk. Beat these together until the mixture is light, airy, and pale yellow, typically for about one minute. This step incorporates air, which contributes to the cake’s velvet texture.
Next, add the vanilla extract and red food coloring to your wet mixture, mixing until the vibrant color is evenly distributed. Then comes the alternating addition: gradually incorporate the dry ingredients into the wet mixture, alternating with the buttermilk. Start with about one-third of the dry ingredients, mix on low-medium speed until just combined, then add half of the buttermilk. Repeat this process, finishing with the remaining dry ingredients. This method helps prevent overmixing and ensures a smooth batter. Finally, add the white vinegar and mix for another 30 seconds to fully activate the leavening agents.
Once your beautiful red velvet cake batter is ready, divide it evenly between two greased 8-inch round cake pans. We recommend lining the bottoms with parchment paper for easy release. Bake until a toothpick inserted into the center of the cakes comes out clean, indicating they are perfectly cooked.
While your cakes are baking and then cooling, you can prepare the irresistible cream cheese frosting. Simply clean out your mixing bowl (no need for a fresh one!) and add the confectioners’ sugar, softened cream cheese, and butter. Beat on medium speed until the frosting is light and fluffy. Stir in the vanilla extract and a tiny bit of heavy cream or milk, beating again until stiff peaks form. The key to a good cream cheese frosting is not to overbeat it once the cream cheese is incorporated, as this can make it too soft. Once your cakes have completely cooled – this is crucial for preventing a runny frosting! – generously frost your magnificent red velvet creation and prepare to dive into a truly decadent dessert.
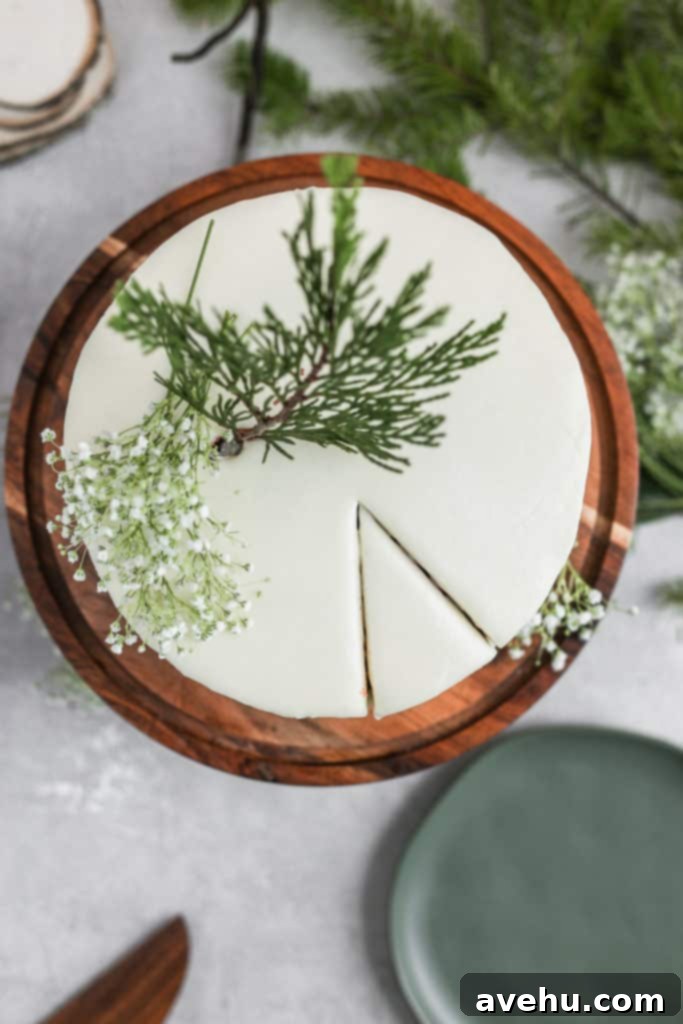
Top Tips for Baking the Best Red Velvet Cake
Achieving a show-stopping homemade red velvet cake with perfect texture and flavor is easy with these expert tips:
- Use Room Temperature Ingredients: For both the cake batter and the cream cheese frosting, ensure your butter, eggs, buttermilk, and cream cheese are at room temperature. This allows them to combine more smoothly and evenly, resulting in a consistent batter and a lump-free, fluffy frosting. Planning ahead by taking them out of the fridge an hour or two before baking makes a big difference.
- Don’t Overmix the Batter: Once you start adding the flour, mix only until the ingredients are just combined. Overmixing can develop the gluten in the flour too much, leading to a tough and dense cake rather than the desired “velvet” texture. A few lumps of flour are better than an overmixed batter.
- Chill Your Cream Cheese Frosting: If you find your cream cheese frosting is a bit too soft, especially if you plan on piping it, pop it into the refrigerator for 15-30 minutes. A slightly chilled frosting will be firmer and much easier to work with, allowing it to hold its shape better for decorating.
- Cool Cakes Completely: This cannot be stressed enough! Always allow your cake layers to cool completely on a wire rack before attempting to frost them. Frosting a warm cake will cause the cream cheese frosting to melt and slide off, creating a messy situation. Patience here is key for a beautiful finish.
- Dairy vs. Non-Dairy Options: While this classic red velvet cake recipe shines with traditional dairy ingredients, you can certainly substitute in a non-dairy milk of your choice for the buttermilk. Be aware that the flavor and texture might be slightly different, and the chemical reaction that enhances the red color might be less pronounced.
- Doubling the Frosting: If you adore a generous, extra-thick layer of cream cheese frosting – and who doesn’t? – this frosting recipe doubles beautifully. Simply scale up all the frosting ingredients proportionately to ensure you have plenty to slather between layers and over the entire cake.
- Alternative Pan Sizes and Layers: This recipe works wonderfully for different configurations. You can easily adapt it to make three layers using 9-inch baking pans. Just remember that thinner layers will bake faster, so start checking for doneness after 25 minutes instead of the standard 30 minutes. If making cupcakes, bake them at 350°F (175°C) for approximately 18-22 minutes, or until a toothpick comes out clean.
- Storing Your Red Velvet Cake: Due to the cream cheese frosting, this cake is best stored in the refrigerator in an airtight container. It will stay fresh and delicious for 3-5 days. For short-term storage (up to a day) in a cooler environment, you can keep it covered on the counter, but refrigeration is recommended for longer periods. You can also freeze individual slices or unfrosted layers for up to 2-3 months. Wrap tightly in plastic wrap and then foil before freezing.

Need More Delicious Cake Recipes?
If you’ve fallen in love with baking, or simply enjoy a good slice of cake, explore some of our other fantastic cake creations:
- Apple Cider Layer Cake with Dairy Free Caramel Buttercream
- Strawberry Basil Cake
- Best Vanilla Cake
- One Bowl Chocolate Cake with Chocolate Buttercream
- Pull Apart Football Cupcake Cake
- Orange Cardamom Cake with Rose Buttercream
Easy Red Velvet Cake Recipe
Pin
Review
SaveSaved!
Ingredients
For the cake
- 2 1/4 cup all purpose flour
- 1/4 cup cocoa powder
- 1 tsp kosher salt
- 1 tsp baking soda
- 1 cup vegetable oil
- 2 cups granulated sugar
- 2 eggs, large
- 1 yolk
- 1 tsp vanilla extract
- 2 tbsp red food coloring, gel
- 1 1/2 cups buttermilk
- 2 tsp white vinegar
For the cream cheese frosting
- 3 1/2 cups confectioners sugar
- 8 ounce cream cheese, room temp
- 1/2 cup unsalted butter, softened
- 1 tsp vanilla extract
- 1 tsp cream
Instructions
Make the cake
-
Preheat your oven to 350° F and spray two 8” pans with baking spray or line the bottoms with parchment paper.
-
In a medium sized bowl whisk together the 2 1/4 cup flour, 1/4 cup cocoa, 1 tsp salt, and 1 tsp baking soda. Set aside. In the bowl of a mixer fitted with the paddle attachment combine the 1 cup oil, 2 cups sugar, 2 eggs, and 1 yolk. Mix on medium speed until light and pale yellow, about 1 minute.
-
Add the 1 tsp vanilla extract and 2 tbsp food coloring and mix again for 30 seconds. Alternate adding the flour mixture with the buttermilk. First add ⅓ the amount of flour to the batter and mix on low- medium speed till combined. Then add in half of the buttermilk. Mix, add in ⅓ more of the flour, mix. Add in the other half of the buttermilk, mix, and then add in the remaining flour mixture.
-
Continuing mixing on low – medium speed until an even batter forms. Add in the 2 tsp white vinegar and mix once more about 30 seconds.
-
Pour the batter into the pans and check for doneness after 30 mins. The cake is done when it starts coming off the sides of the pan or if a toothpick inserted in the middle comes out clean.
Make the cream cheese frosting
-
You will need to clean your mixing bowl. In the bowl of a mixer fitted with the paddle attachment add the 3 1/2 cups confectioners sugar, 8 oz cream cheese, and 1/2 cup butter. Beat on medium speed till fluffy. Add the 1 tsp vanilla extract and 1 tsp heavy cream and mix again till stiff peaks form. When the cake has cooled, fill and frost with the cream cheese icing.
Notes
- If you don’t have buttermilk you can easily make your own. Fill up a measuring cup with 1 cup of milk. Take out one tablespoon and replace it with a tablespoon of lemon juice. Let it sit for 5 minutes. Voila! You now have your own buttermilk.
- This cake is best made dairy but you can sub it with a non dairy milk substitution of your choice.
- The cream cheese frosting doubles well if you want an extra thick layer.
- You can make this into 3 layers and in 9″ baking pans just make sure you check the cakes after 25 minutes instead of 30 minutes.
- You can make this cake into cupcakes, bake them at 350 for 18 minutes!
