Stable & Silky Swiss Meringue Buttercream: Your Ultimate Heat-Resistant Frosting Recipe
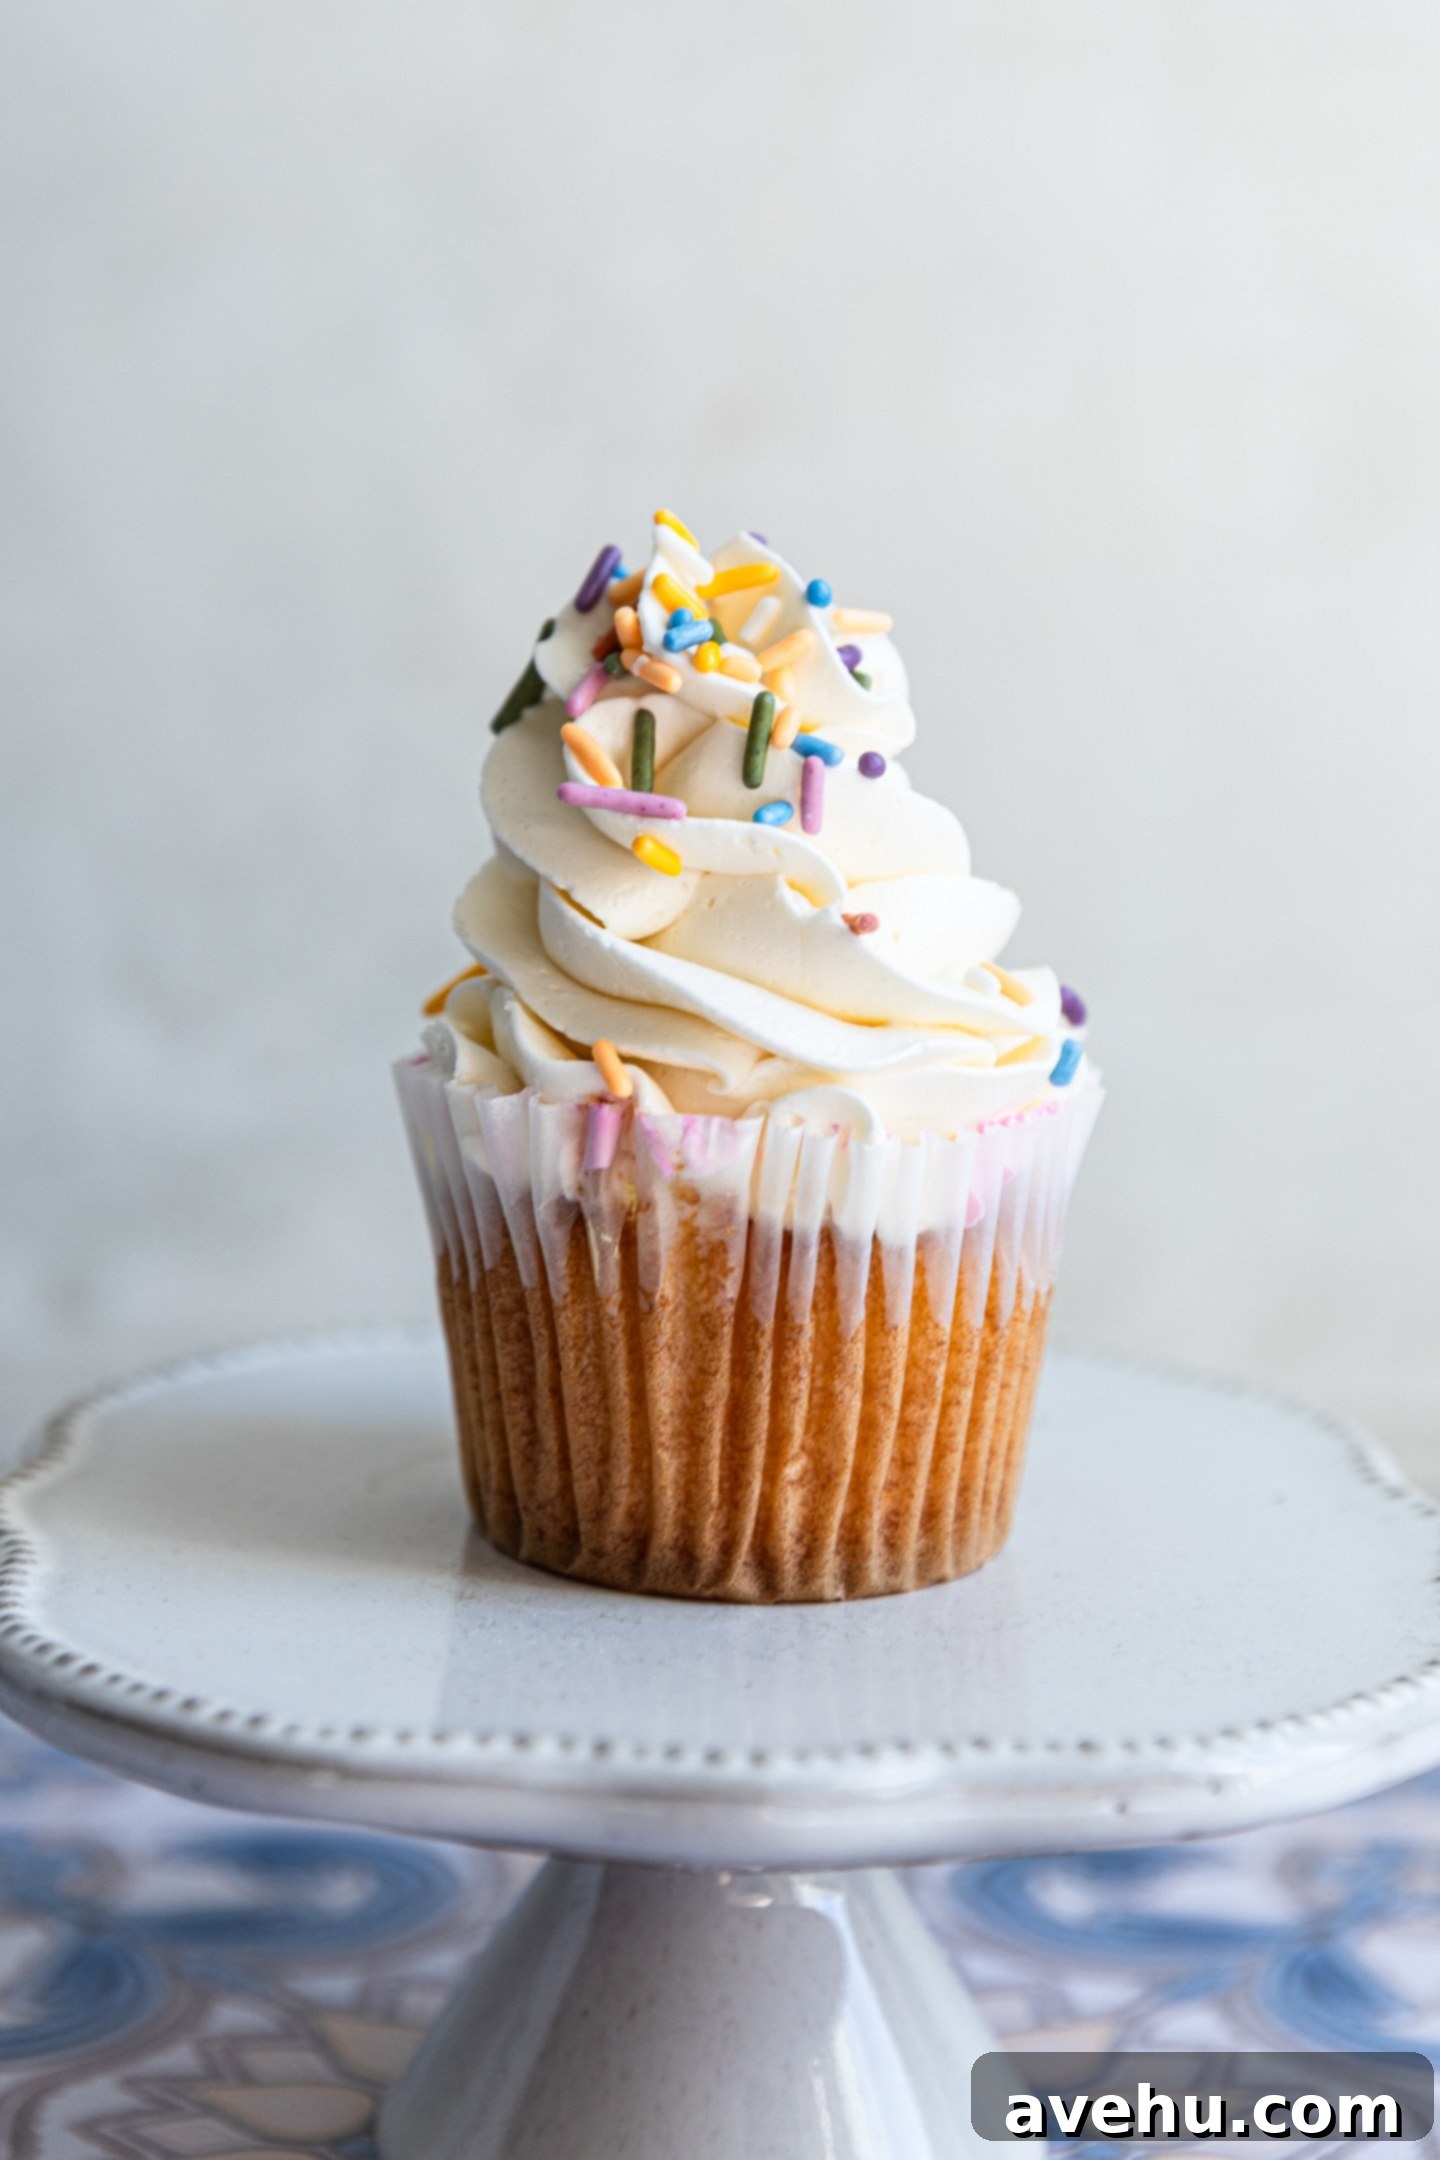
This is the ultimate Swiss Meringue Buttercream (SMBC) recipe you’ll actually rely on – even when the weather is warm and humid. Forget the overly sweet and often unstable traditional American buttercream frosting; this version is exquisitely light, wonderfully silky, and boasts a perfectly balanced sweetness that won’t overwhelm your desserts. What’s more, it’s surprisingly straightforward to make, even if you’ve encountered challenges with meringue in the past. Crafted with just five essential ingredients, this recipe incorporates a clever stability secret that ensures it holds its pristine shape beautifully. I personally put it to the test outside in a sweltering 89°F (31.7°C) Florida heat, and it remained smooth and picture-perfect for over an hour. Whether you’re aiming to elegantly frost a multi-tiered cake or pipe intricate designs onto cupcakes, this is the definitive go-to recipe that promises elegance, ease, and remarkable staying power, making it the perfect choice for any occasion.
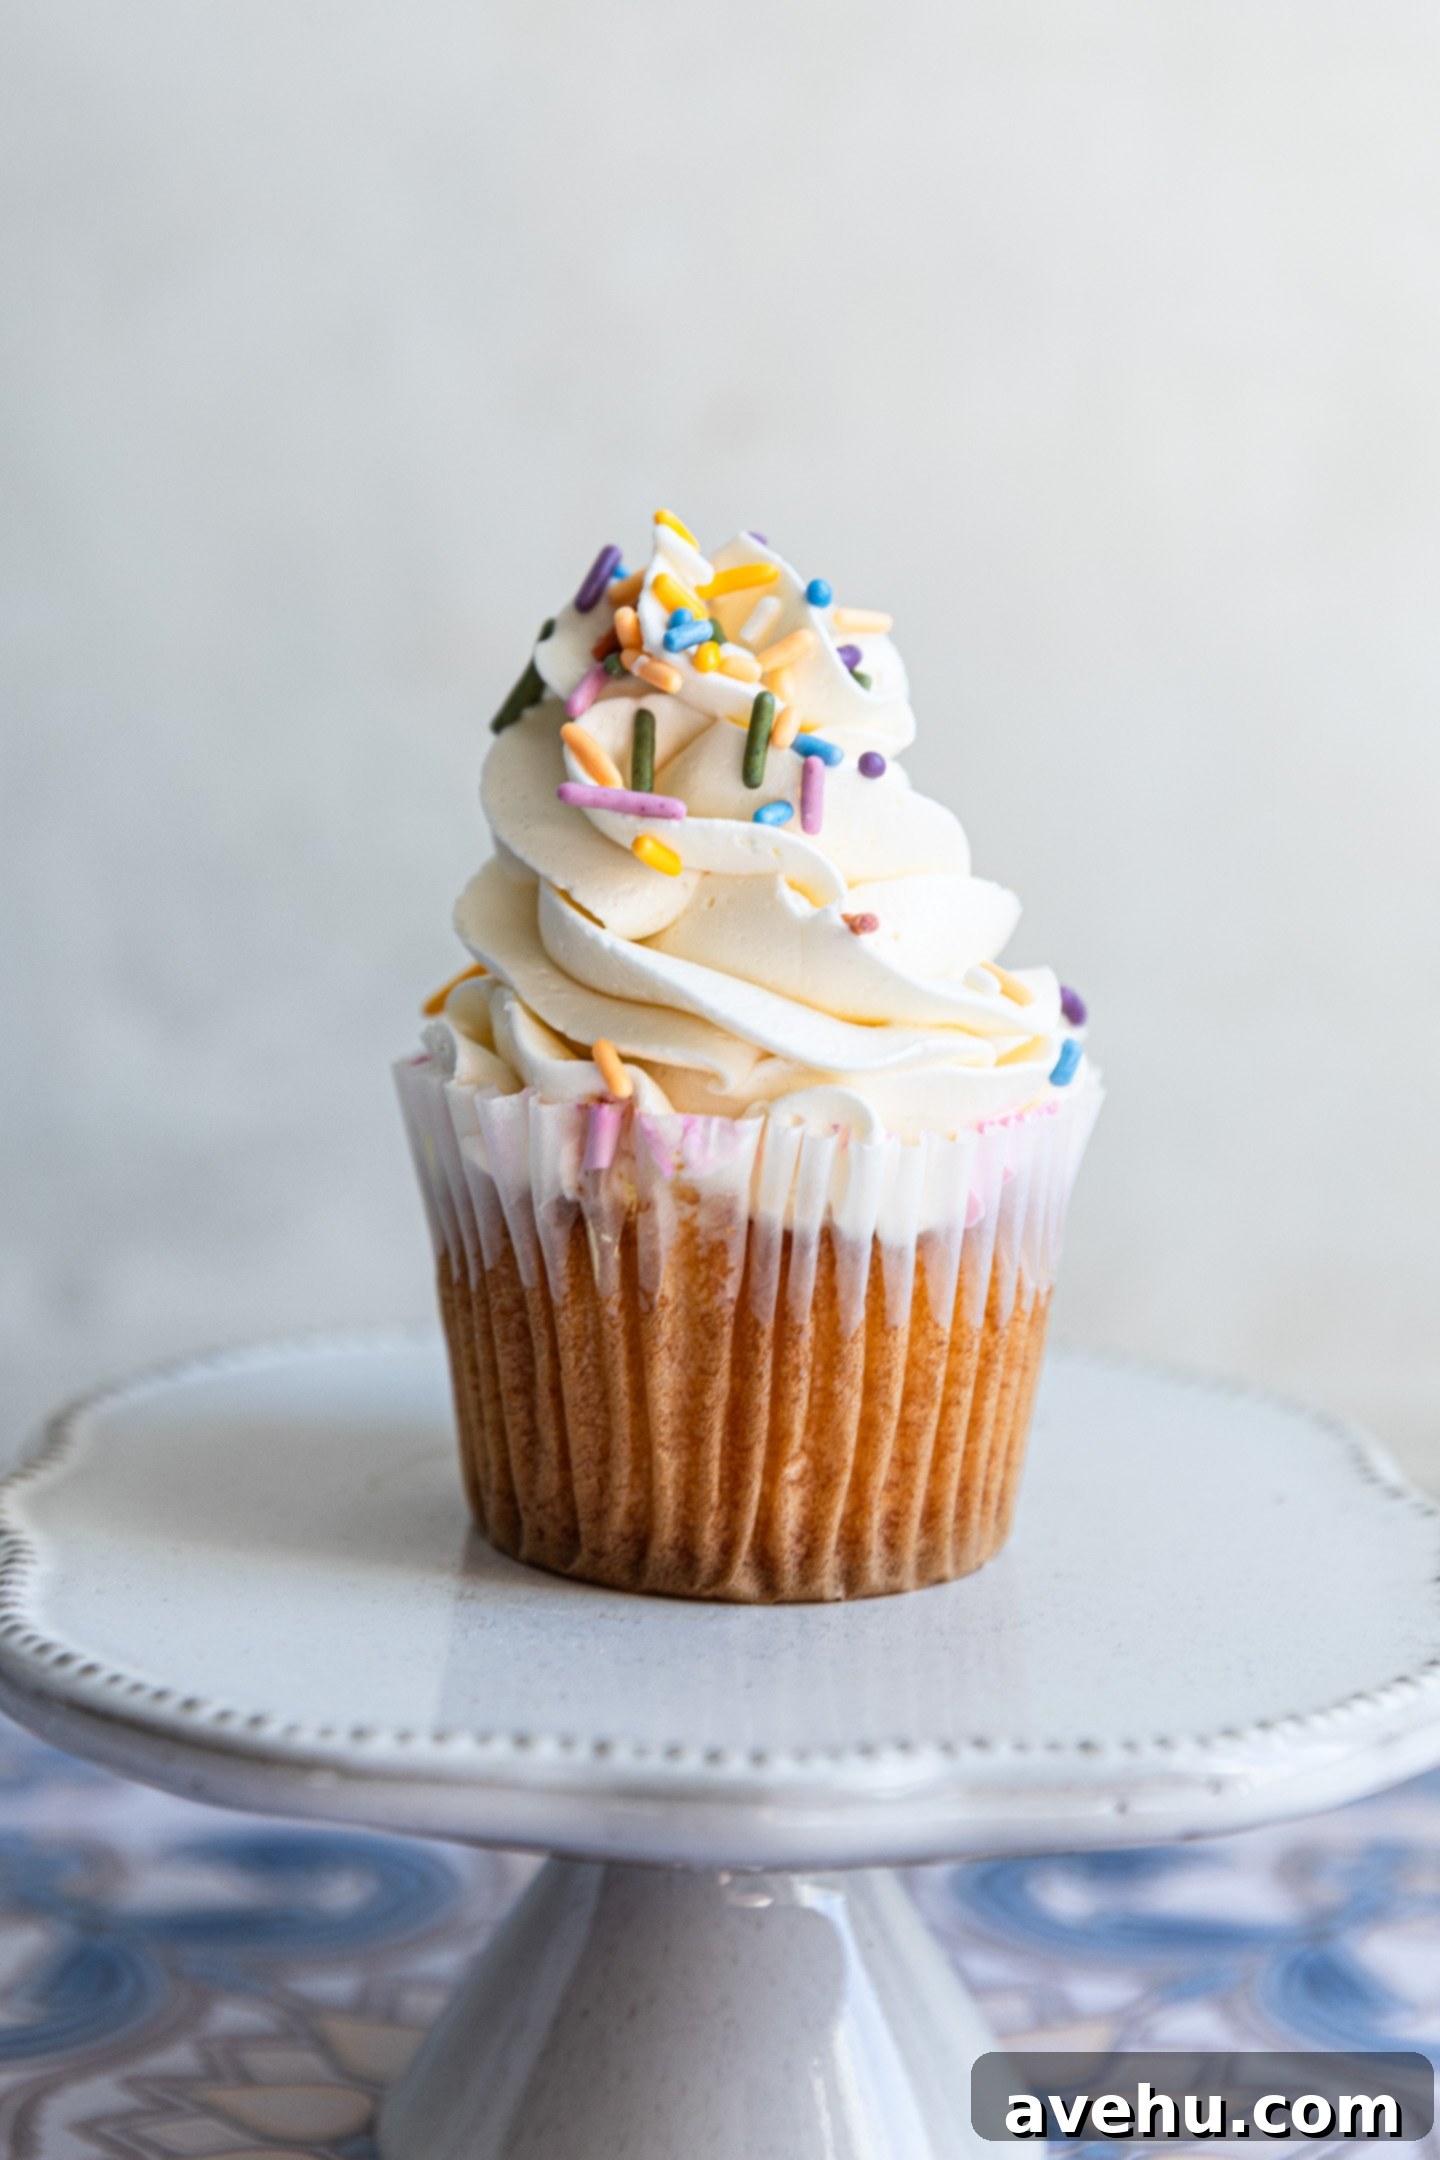
For years, I’ve received countless requests for a frosting that is not only less sweet but also capable of withstanding warm climates. That’s precisely why I’m thrilled to share this definitive Classic Swiss Meringue Buttercream recipe (often abbreviated as SMBC). Unlike its American counterpart, which typically consists of just butter, powdered sugar, and flavoring – and can frankly be overpoweringly sweet – SMBC offers a vastly different experience.
Swiss Meringue Buttercream is created by gently heating egg whites and granulated sugar over a double boiler, then whipping them into a glossy, stable meringue. Once the meringue is perfectly whipped and cooled, softened butter is gradually incorporated, resulting in a frosting that is incredibly light, airy, and exceptionally smooth. It uses significantly less sugar (and no powdered sugar at all!), yielding a flavor that is far more balanced and refined, without compromising on any of its deliciousness. This inherent stability also makes it remarkably resilient, holding up beautifully outdoors even on hot days.
This versatile buttercream is perfect for piping lofty swirls atop white chocolate cupcakes or classic vanilla cupcakes. You can also generously slather it in a rustic style over a decadent chocolate cake, or spoon it artfully over this highly-rated banana cake. The possibilities are endless, and you truly cannot go wrong with this elegant frosting.
As a trained pastry chef and Le Cordon Bleu graduate, my goal is to demystify the process and meticulously explain exactly how to create this incredible frosting. I understand that the idea of heating egg whites or needing a thermometer can feel a little intimidating at first, and perhaps you’ve heard that SMBC is complicated or exclusively for advanced bakers. Let me assure you, it’s far simpler than it sounds, and I’ll walk you through every step to make it perfectly without needing a thermometer, eliminating any stress or guesswork.
Unmatched Heat Stability: My Florida Test
When developing and sharing this recipe, I knew it needed to pass a rigorous heat test. So, I subjected it to an intense South Florida June day, where temperatures soared to a humid 89°F (31.7°C). I am absolutely thrilled to report that after an entire hour spent in the shade outside, this buttercream still looked absolutely fantastic, maintaining its pristine texture and piped details.
See the remarkable results for yourself!
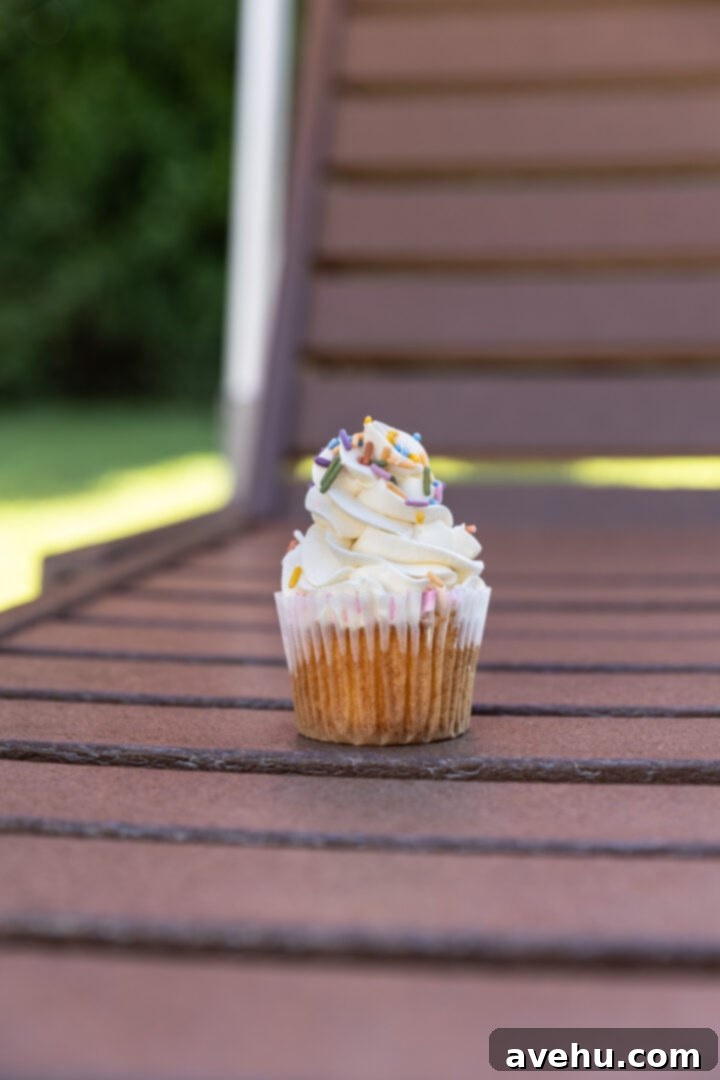

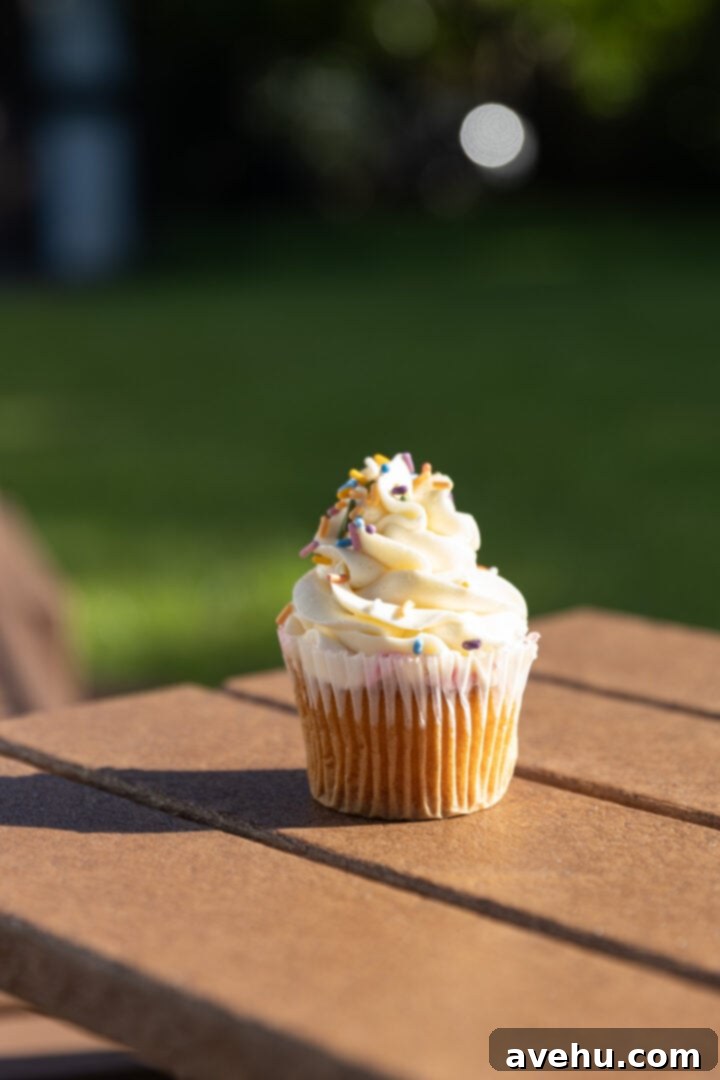
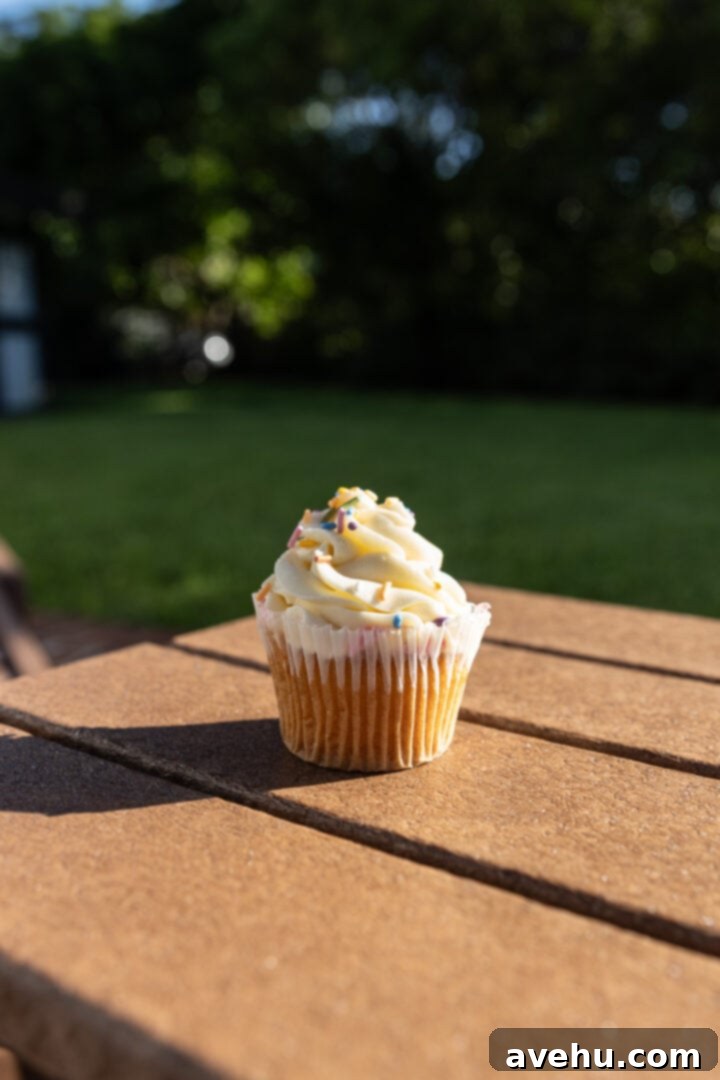
As anticipated, when exposed to direct sun, the buttercream began to show signs of melting after about 15 minutes. This test clearly demonstrates that as long as your frosted creations are kept in the shade, you can confidently expect this SMBC to maintain its structure for several hours – even in temperatures hovering around 90°F (32°C) with significant humidity. This makes it an ideal choice for outdoor gatherings, summer parties, or any event where stability is paramount.
What is the secret behind this remarkable resilience? It’s a combination of a few key techniques and ingredients:
- My Secret Stability Weapon: Cornstarch in the Sugar. Incorporating just 1 tablespoon of cornstarch into the granulated sugar is a game-changer. This small addition significantly boosts the buttercream’s stability in high humidity and warm temperatures, all without altering the delicate flavor or texture. You won’t even detect its presence, but its impact is undeniable. Cornstarch helps absorb excess moisture and creates a more robust structure within the meringue.
- Strategic Reduction in Butter Content. This recipe uses slightly less butter compared to many other Swiss Meringue Buttercream recipes. While butter is essential for richness and silkiness, an excessive amount can make the buttercream overly susceptible to softening in heat. By carefully calibrating the butter quantity, we achieve a perfect balance of flavor, texture, and stability.
- Maintaining Ideal Butter Temperature. The temperature of your butter is absolutely crucial. It should be at room temperature, but specifically, it should still feel cool to the touch and be pliable, not overly soft, greasy, or melty. If the butter is too warm when added, it can quickly cause your SMBC to become soupy and destabilize the entire emulsion. This “cool but pliable” stage is key for proper incorporation and a stable final product.
Getting Started: Preparing Egg Whites and Sugar for Meringue
Before you begin, meticulous preparation of your equipment is vital. Ensure that your mixing bowl (preferably a stand mixer bowl) and whisk attachment are impeccably clean and completely free of any grease or fat residue. Even the slightest speck of oil can prevent the egg whites from whipping up properly into a stable meringue. As a best practice, I recommend wiping down all equipment that will come into contact with the egg whites using a paper towel dampened with white vinegar or half a lemon. This simple step effectively degreases the surfaces, guaranteeing optimal results.

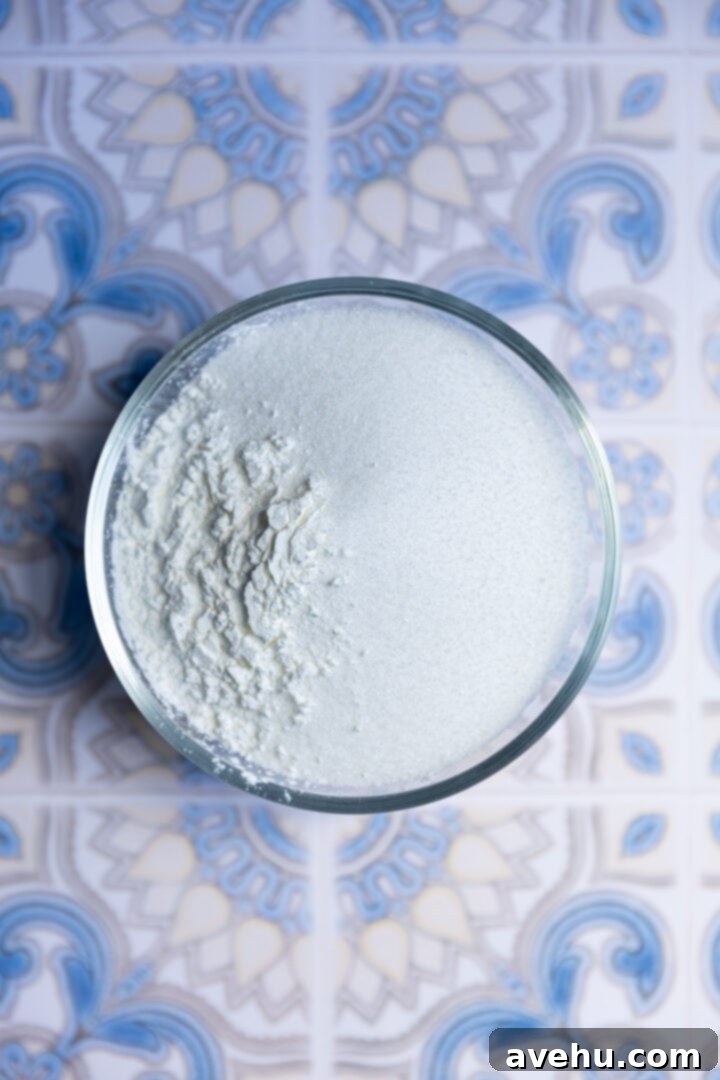
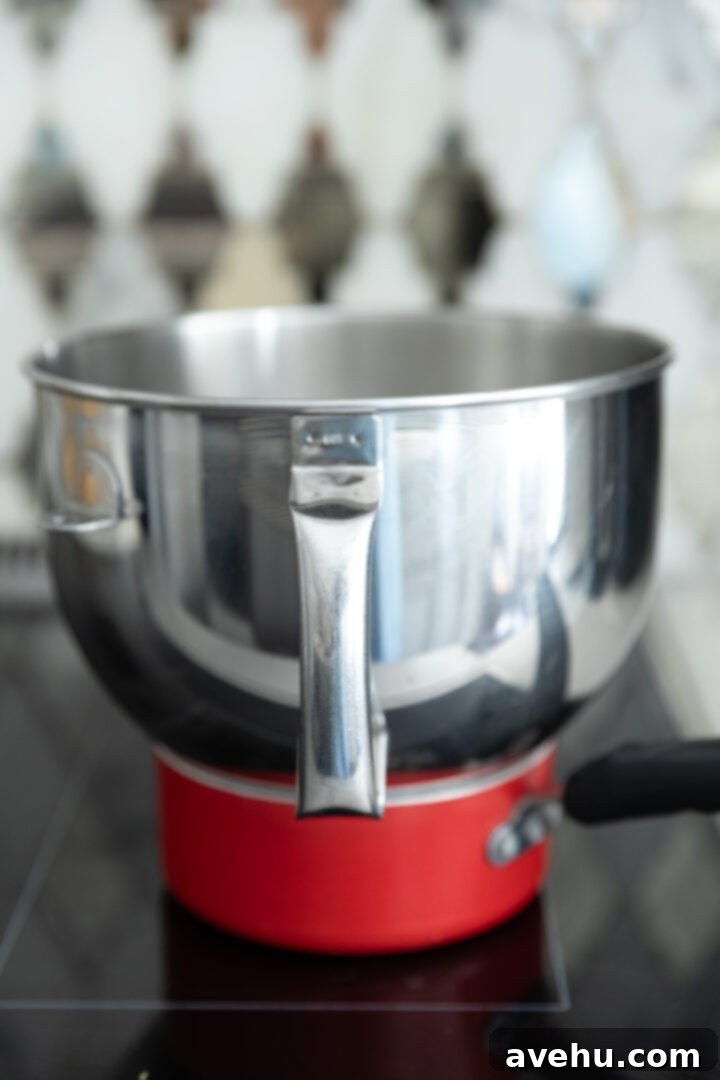
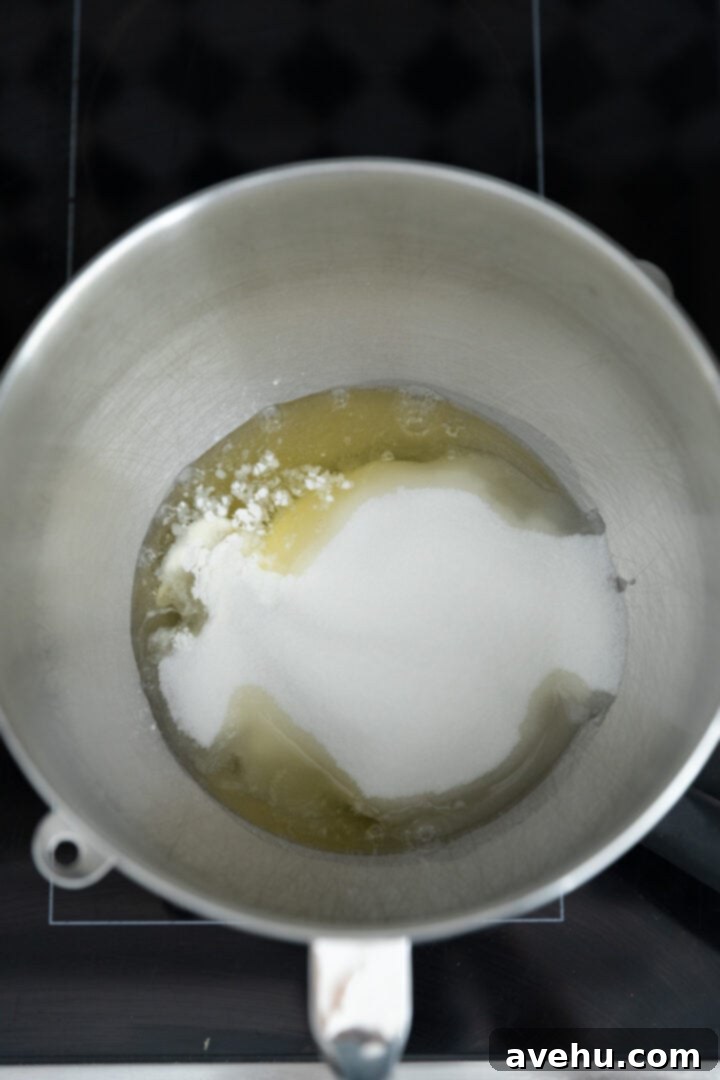
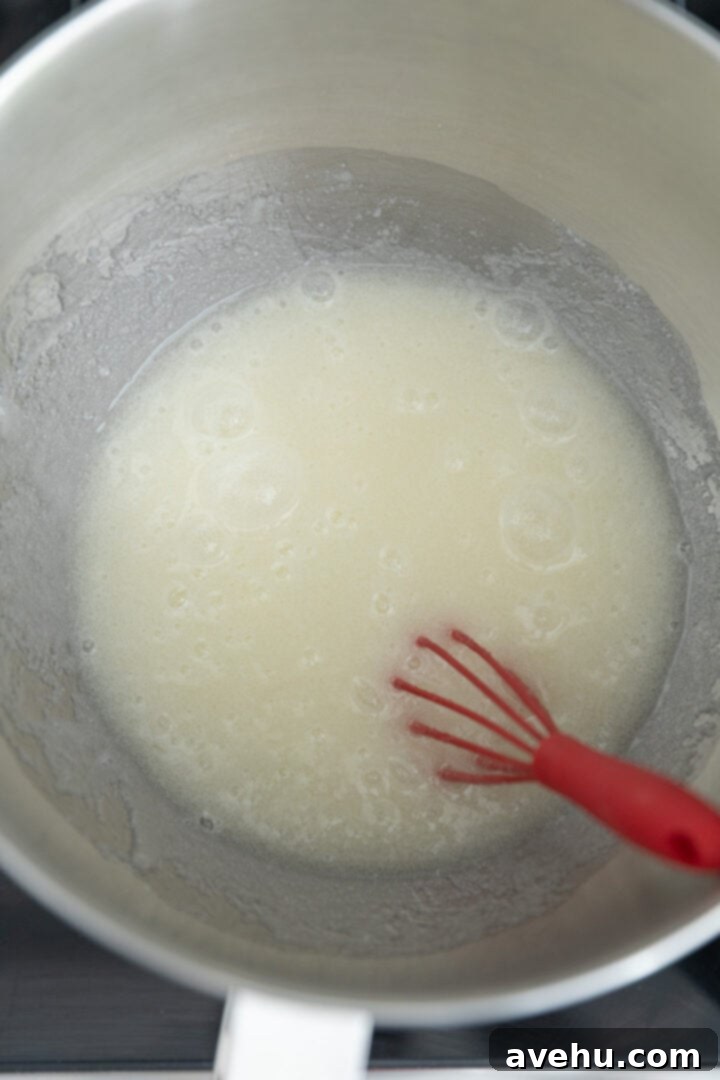
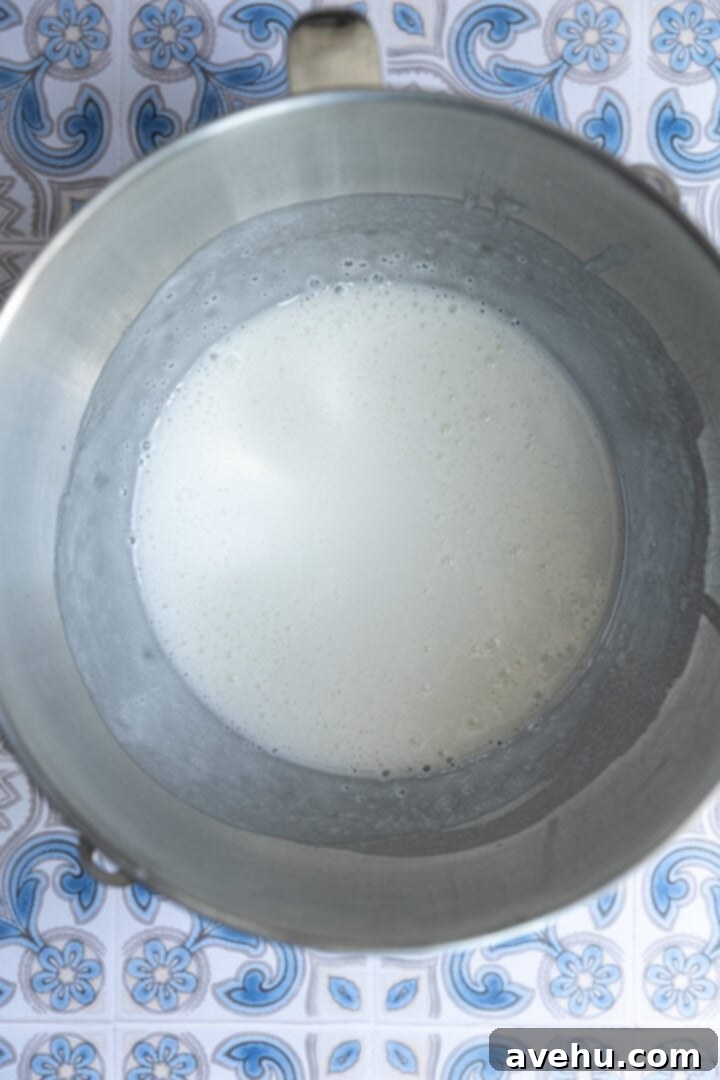
Whipping the Meringue to Perfection
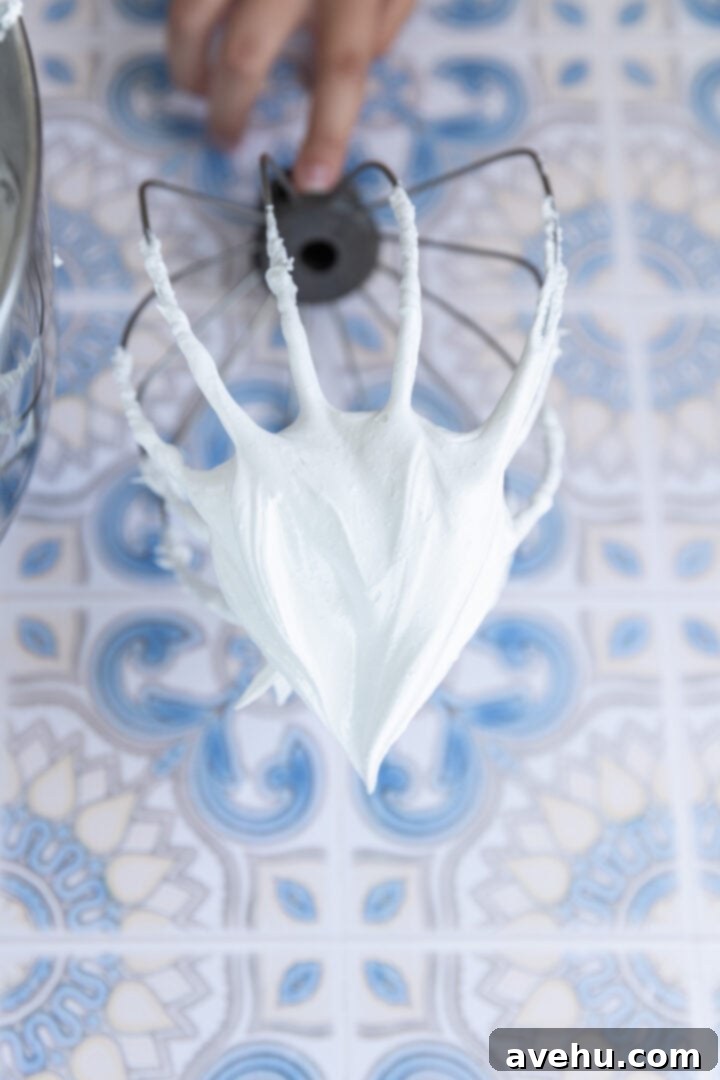
Once all the sugar has completely dissolved and the mixture has transformed from a thick, gluey consistency to a much lighter and thinner liquid, it’s ready for the next crucial step. Carefully remove the bowl from the double boiler and immediately transfer it to your stand mixer, fitted with the whisk attachment. This transition from heating to whipping is where the magic truly happens.
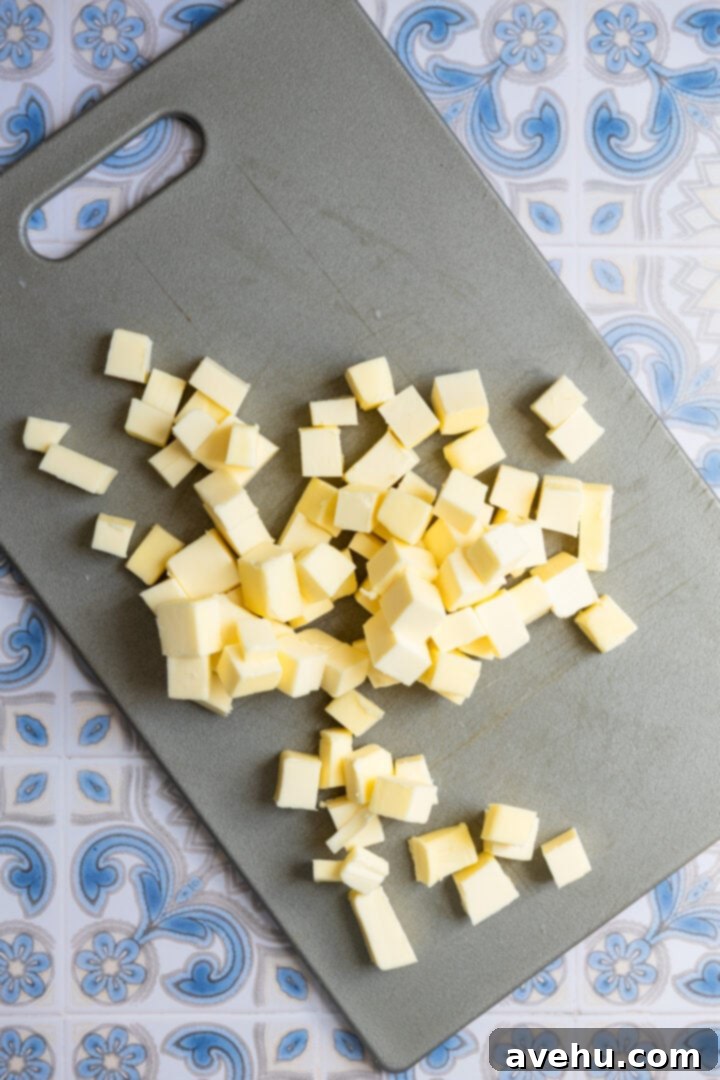
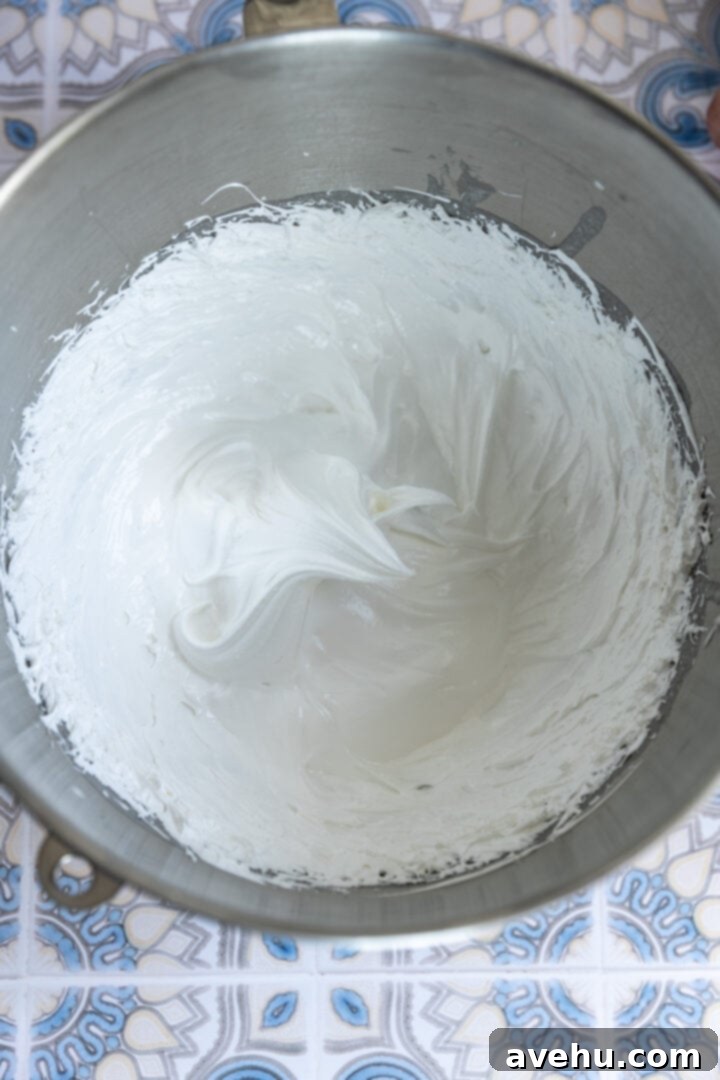
Troubleshooting Common Swiss Meringue Buttercream Issues
Don’t panic if your frosting doesn’t look perfect on the first try – it’s a common experience, and almost every issue with Swiss Meringue Buttercream has a straightforward fix! Understanding what went wrong will help you correct it and learn for next time. Here are the most common troubleshooting scenarios:
Is your frosting looking curdled, chunky, or separated? This is a very common occurrence and usually indicates that your butter was too cold when added, or that the mixture simply needs more whipping time. It’s almost never a sign of “over-whipping.” The cold butter causes the emulsion to break, leading to a lumpy or curdled appearance.
The Fix: Keep whipping! Sometimes, all it needs is a few more minutes on medium-high speed for the butter to soften and properly integrate into the meringue, bringing it back to a smooth consistency. If continued whipping doesn’t resolve it, the butter might be significantly too cold. In this case, carefully place the mixing bowl back over the double boiler (which should still be simmering). Warm the bowl slightly for just 5-10 seconds, rotating it constantly. The aim is to gently warm the mixture just enough for the butter to soften a bit, not to melt it completely, as that would lead to a soupy consistency. Immediately return it to the mixer and continue whipping. You should see it come together beautifully.
Is your frosting soupy, runny, or too liquid? This generally means your buttercream is too warm. This can happen if your meringue wasn’t fully cooled before adding the butter, or if your butter was too soft/melty to begin with (as discussed in the heat stability section).
The Fix: To cool it down and firm it up, place the entire mixing bowl (with the buttercream inside) into the refrigerator for about 10–15 minutes. Be careful not to leave it in for too long, or it will become too hard and difficult to re-whip. After chilling, return the bowl to your stand mixer and re-whip the buttercream on medium-high speed until it comes together into a smooth, stable consistency. The cooling period allows the butter to firm up, enabling it to re-emulsify properly with the meringue when re-whipped.
With these troubleshooting tips, you can confidently tackle any issues and achieve consistently perfect Swiss Meringue Buttercream!


The Swiss Meringue Buttercream I Can’t Stop Making
Ingredients
- 5 egg whites, room temperature -large- about 150g
- 2 cups granulated sugar, 400g
- 1 tbsp corn starch
- 1.5 cups unsalted butter, cold but pliable- 3 sticks(340g), diced small
- 2 tsp vanilla extract
- 1/4 tsp kosher salt
Equipment
- 1 Stand mixer
- 1 Double boiler
Instructions
- To ensure no grease interferes with your meringue, thoroughly wipe down your mixing bowl and all attachments (especially the whisk) with a clean paper towel dampened with white vinegar or half a lemon. This degreasing step is critical for success.
- Prepare a double boiler: Fill a small pot with 1-2 inches of water and bring it to a gentle simmer. In your degreased mixing bowl, combine 5 large room-temperature egg whites, 2 cups of granulated sugar, and 1 tablespoon of cornstarch. Place the mixing bowl securely over the simmering water, making sure the bottom of the bowl does not touch the water.
- Continuously whisk the egg white mixture over the simmering water. Initially, it will appear thick and glue-like. As the sugar begins to dissolve and the mixture warms, it will gradually thin out and become more fluid. Continue whisking constantly for 10-12 minutes. The main goal here is to completely melt the sugar crystals and pasteurize the egg whites. To check for readiness, rub a small amount of the mixture between your thumb and forefinger; it should feel perfectly smooth, with no grittiness at all. If you still feel sugar crystals, keep whisking until it’s entirely smooth. No thermometer is needed for this step!
- Once the mixture is smooth and clear, remove the bowl from the heat. Transfer the bowl to your stand mixer fitted with the whisk attachment. Begin beating on medium-high speed for 10–15 minutes. The meringue will gradually increase in volume, become glossy, and form stiff peaks. It’s crucial that the meringue cools down completely during this whipping process; check by touching the bottom of the bowl – it should feel cool to the touch. This cooling is essential before adding the butter.
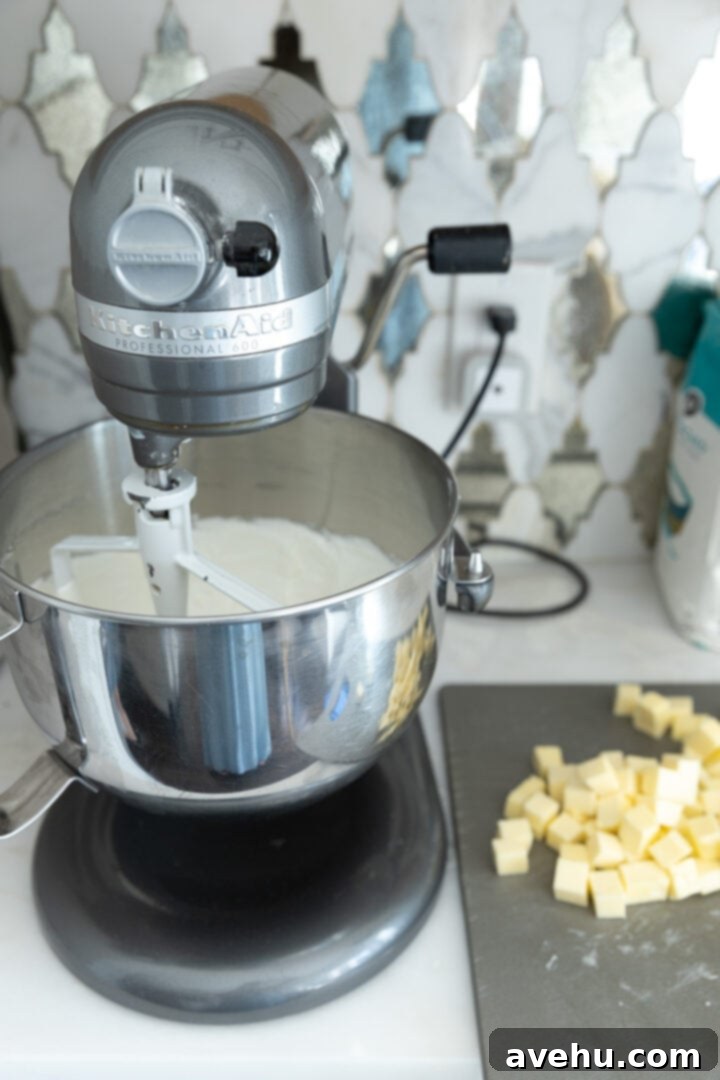
- After achieving stiff peaks and a cool bowl, switch the mixer attachment from the whisk to the paddle. With the mixer running on medium-high speed, gradually add the diced, cool-but-pliable unsalted butter, one tablespoon at a time. Ensure that each piece of butter is fully incorporated into the meringue before adding the next. This slow incorporation prevents the buttercream from curdling. Continue until all the butter has been used and the mixture is smooth and creamy.
- Finally, add the 2 teaspoons of vanilla extract and 1/4 teaspoon of kosher salt. Increase the mixer speed to high and beat for an additional 15 seconds to ensure everything is thoroughly combined and the buttercream is perfectly smooth and airy. And just like that, you’ve successfully created delectable Swiss Meringue Buttercream!
- Now, it’s time to enjoy your perfectly piped or swirled Swiss Meringue Buttercream over delightful desserts like vanilla cupcakes.
