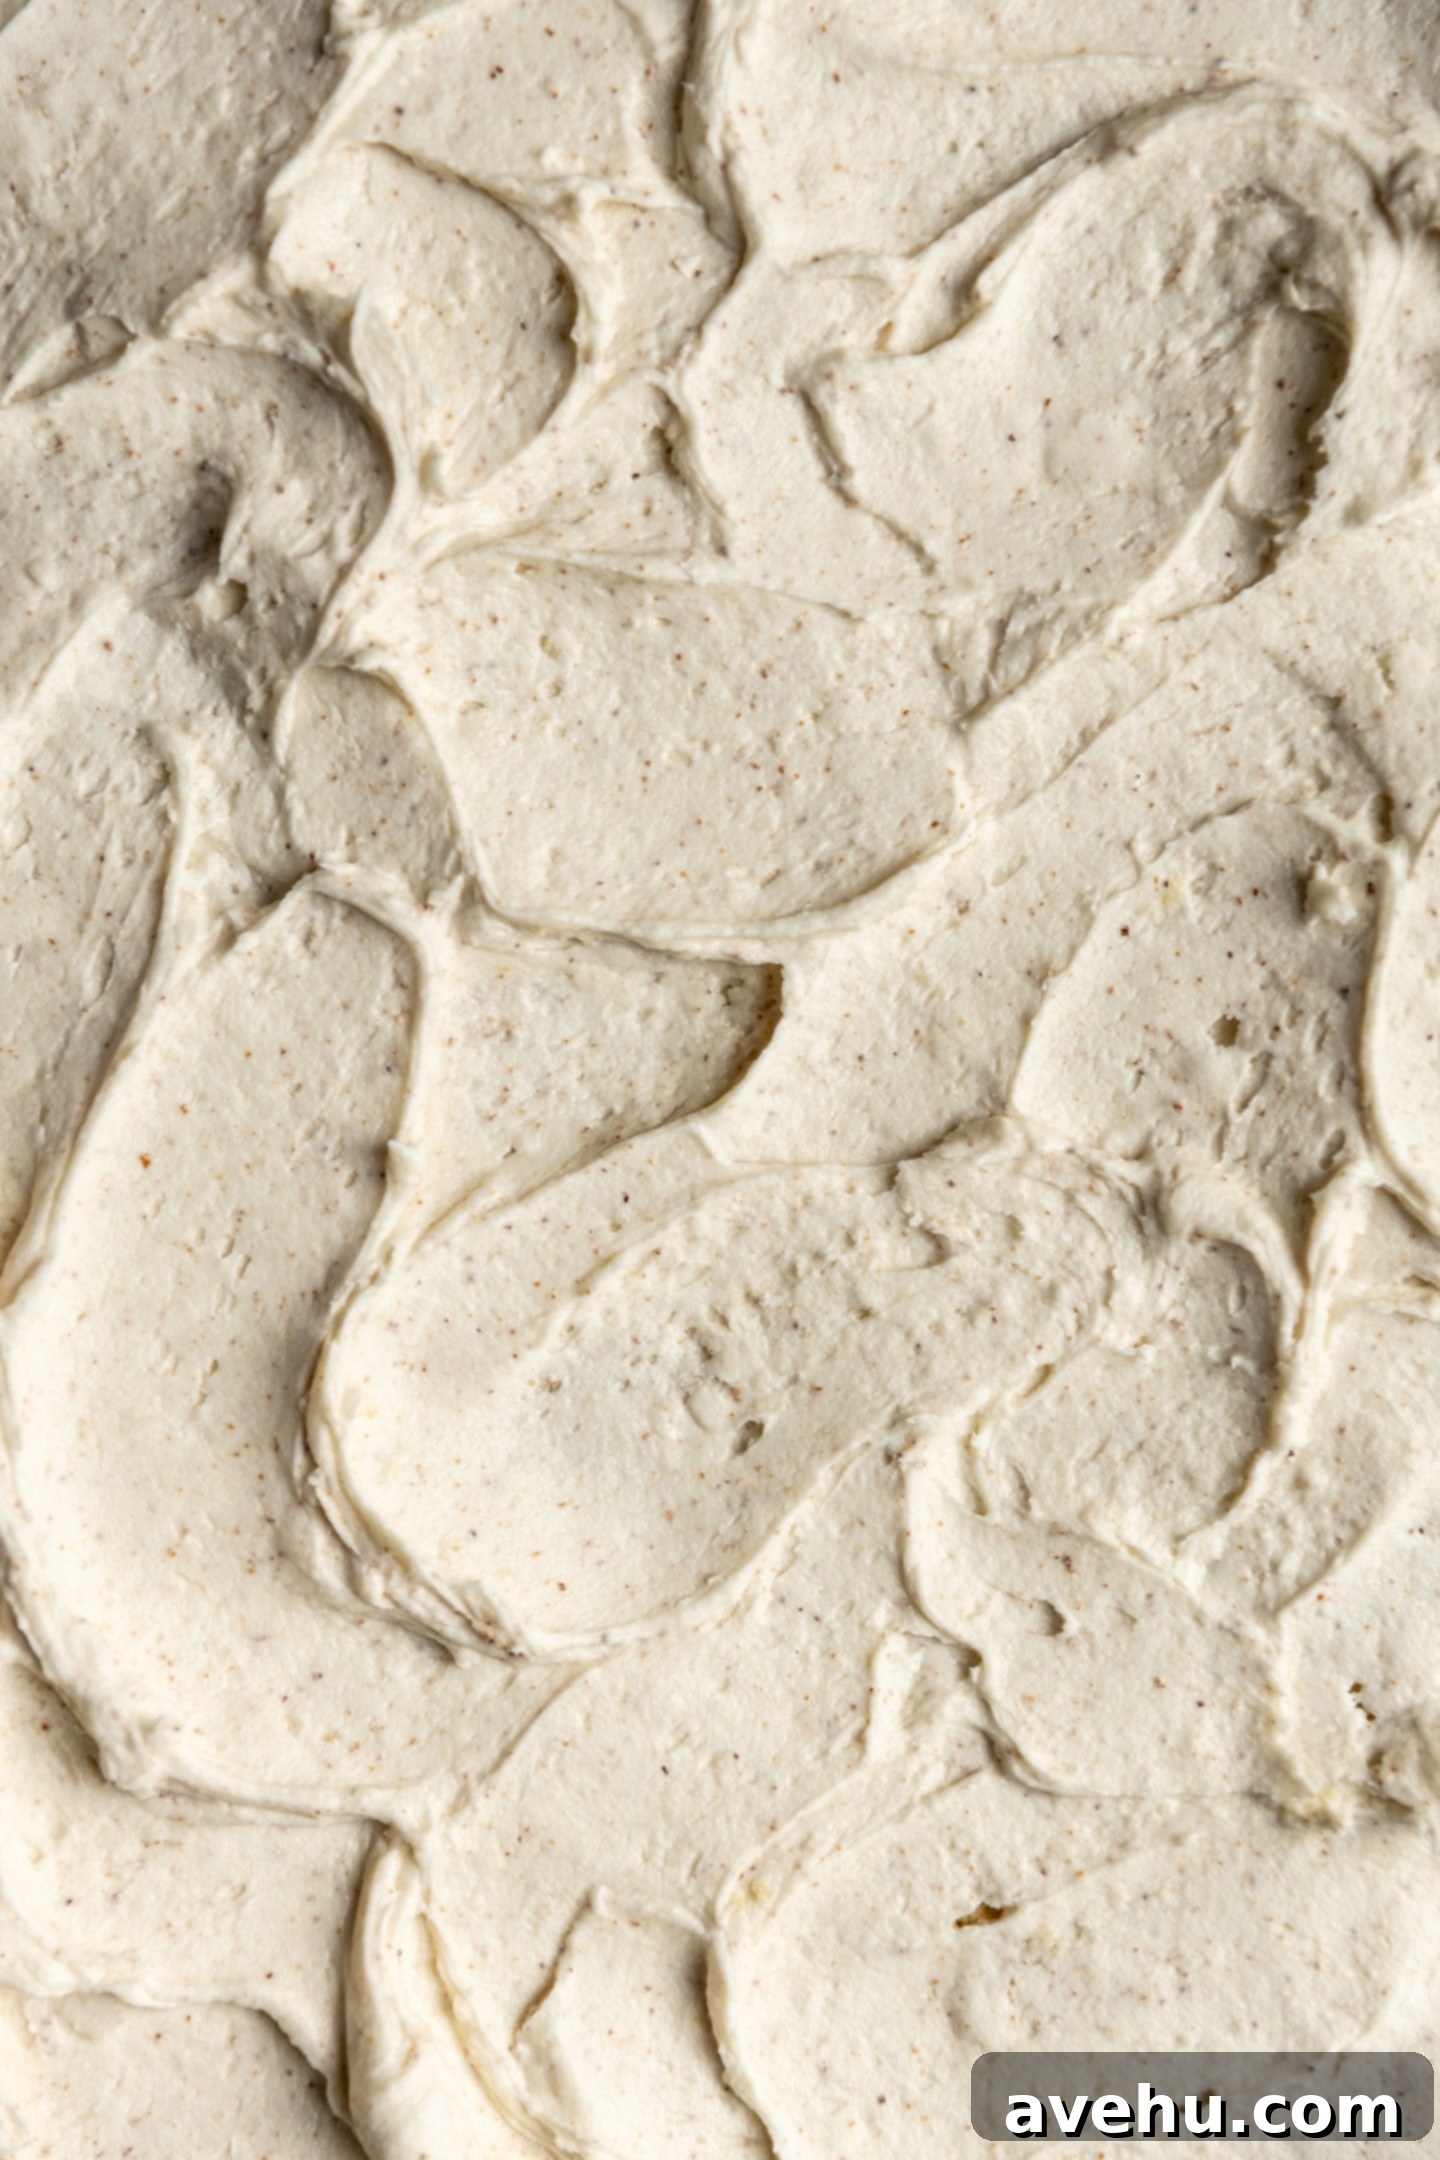
Easy Brown Butter Frosting: Your Go-To Recipe for Nutty, Caramelized Perfection
Prepare to elevate your baking with a frosting that’s nothing short of spectacular: the ultimate brown butter frosting. Brown butter, often referred to as “liquid gold” by bakers, transforms ordinary recipes into extraordinary culinary experiences. Its rich, nutty, and subtly caramelized notes add unparalleled depth and warmth, making everything it touches taste infinitely more sophisticated. And when those complex flavors are infused into a thick, fluffy, and incredibly spreadable buttercream, you get a frosting that truly lives up to its “dreamy” reputation. This simple yet profound recipe will guide you through every step, from perfectly browning your butter to whipping up a batch of the most delicious brown butter buttercream you’ll ever taste.
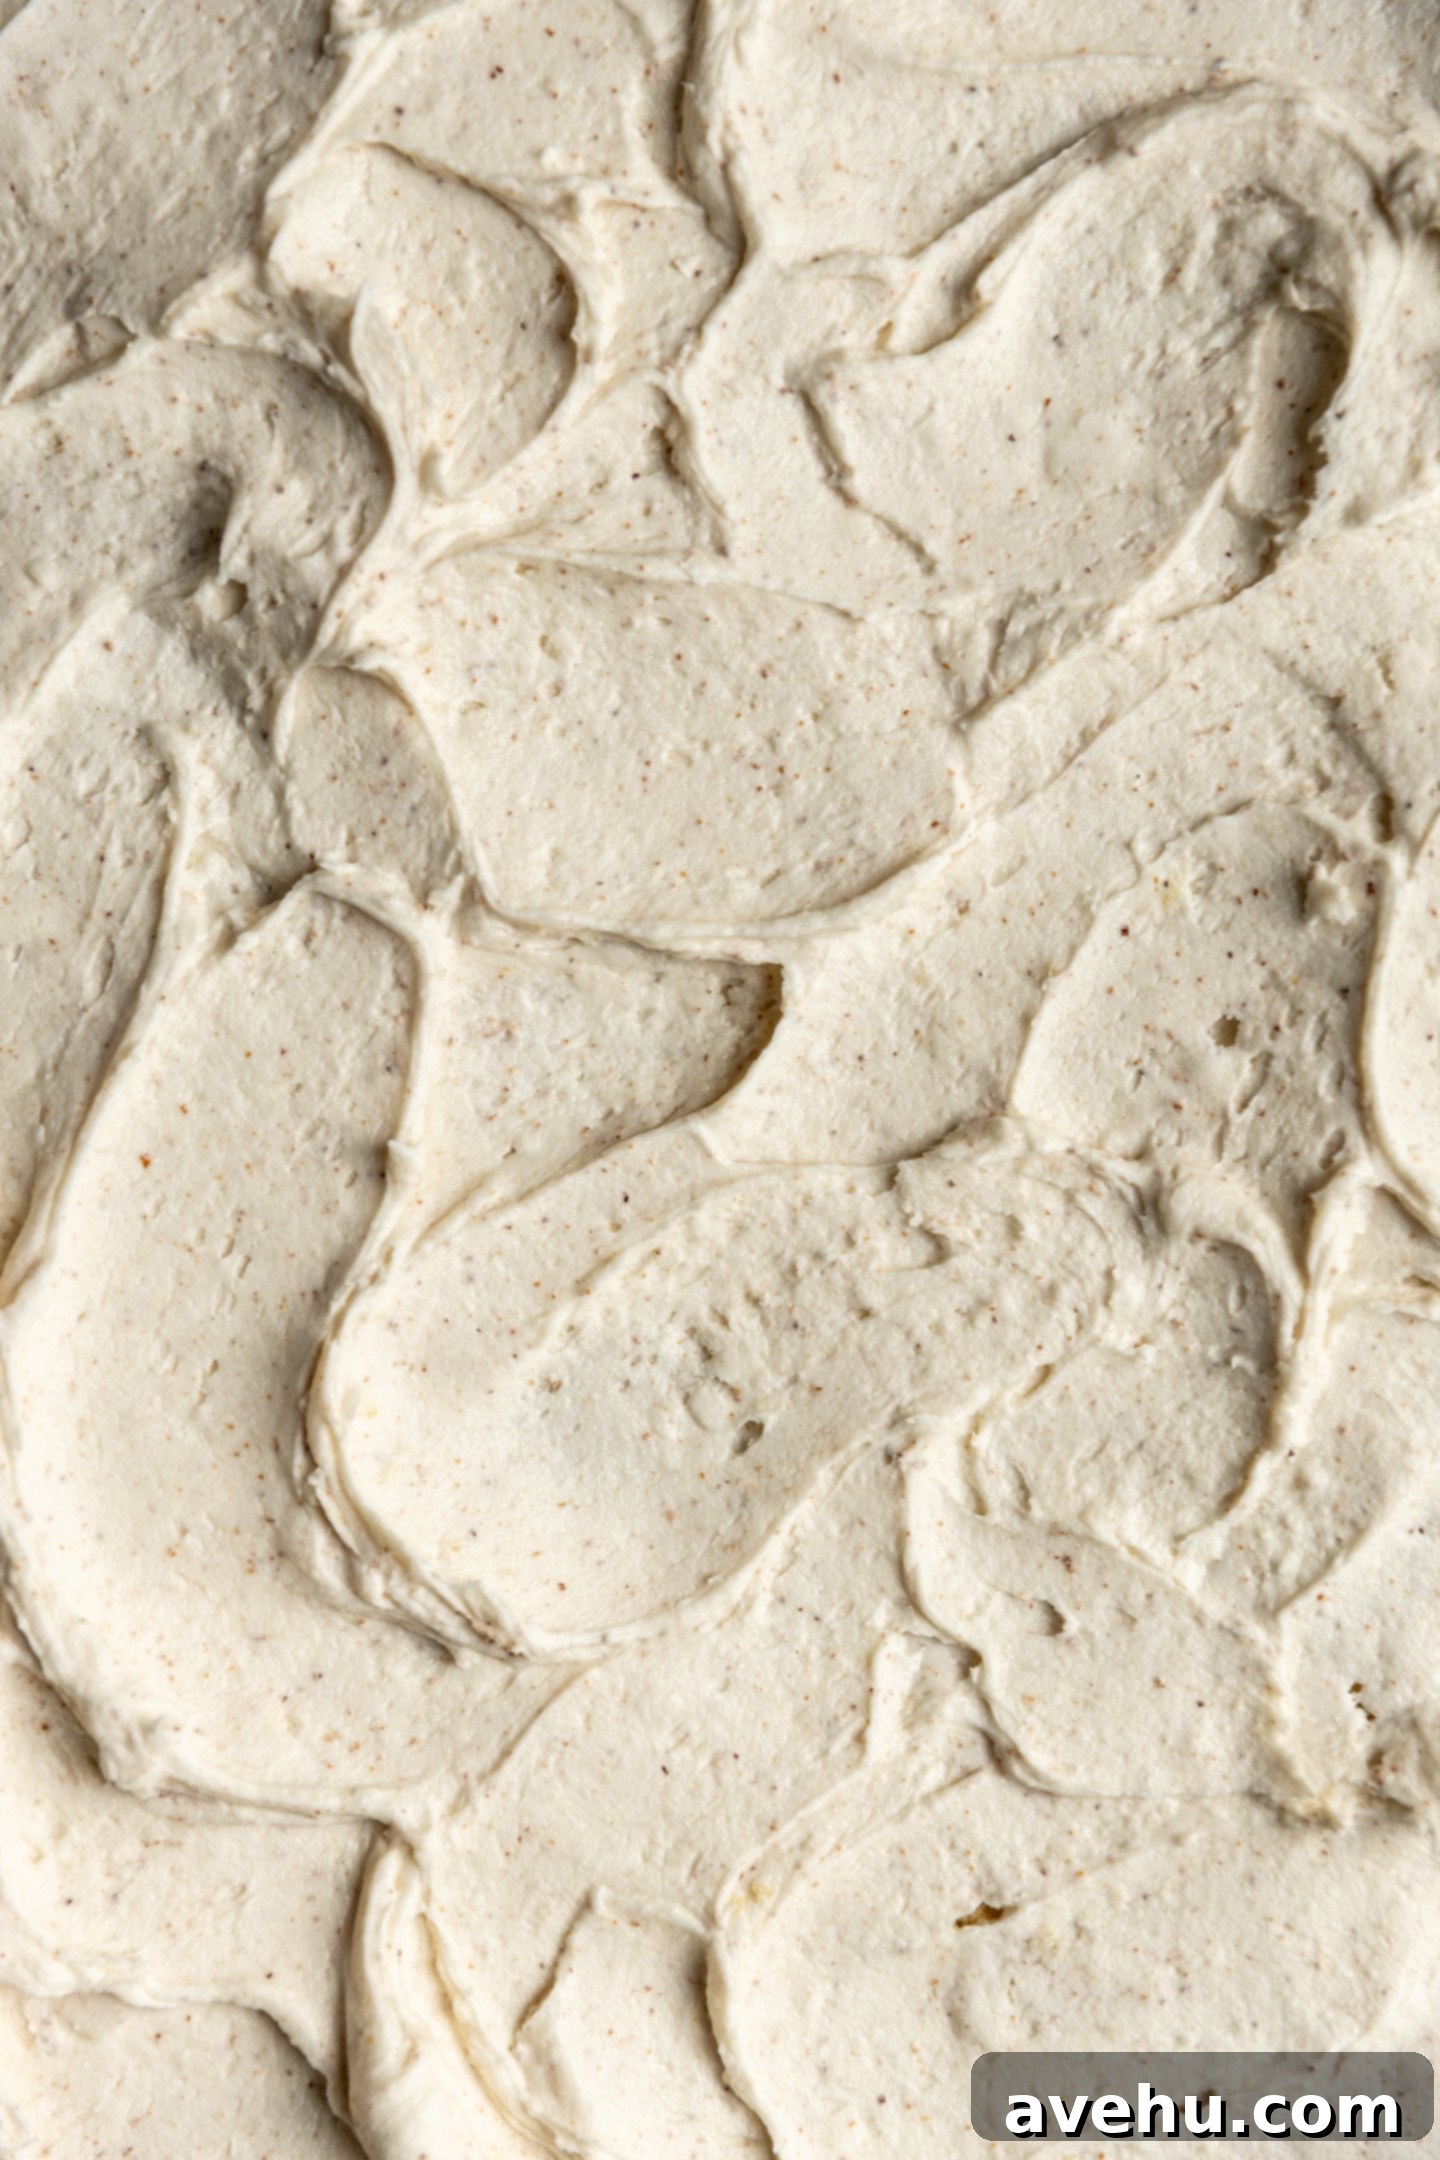
Once you experience the decadent richness of this brown butter frosting, there’s no turning back. It’s truly a game-changer for anyone who loves baking. Imagine a flavor profile where the creamy essence of butter meets the toasted complexity of hazelnuts and the sweet allure of caramel, all harmoniously blended. Those tiny, golden-brown speckles you see in the butter? They aren’t just for show; they’re concentrated bursts of flavor that make this frosting so intensely delicious. While browning butter might sound intimidating, even for a trained pastry chef (and trust me, I’m still wondering why this wasn’t a mandatory lesson in culinary school!), it’s surprisingly straightforward to master. The process is simple: gently heat butter until the water evaporates, and the milk solids, which contain all the magical browning potential, settle and transform into those coveted golden-brown flecks. It’s those flecks that imbue your butter with its characteristic nutty aroma and deep, toasted flavor. Just remember, they can go from perfectly browned to burnt in a flash, so a watchful eye is key!
The Magic Behind Brown Butter: A Flavor Transformation
Brown butter, or “beurre noisette” as it’s known in French cuisine, isn’t just melted butter. It’s butter that has undergone a remarkable chemical reaction called the Maillard reaction, the same process responsible for the delicious crust on roasted meats or the golden hue of toasted bread. As butter heats, its water content evaporates, leaving behind milk solids (proteins and sugars). These solids then begin to caramelize and toast, releasing an incredible array of new aromatic compounds. This process gives brown butter its signature deep, complex flavor profile: nutty, toasted, slightly sweet, and with a pronounced caramel undertone. It’s this profound flavor development that makes brown butter an indispensable secret weapon in both savory and sweet dishes, and especially in this luxurious frosting.
Why This Brown Butter Frosting Will Be Your New Favorite
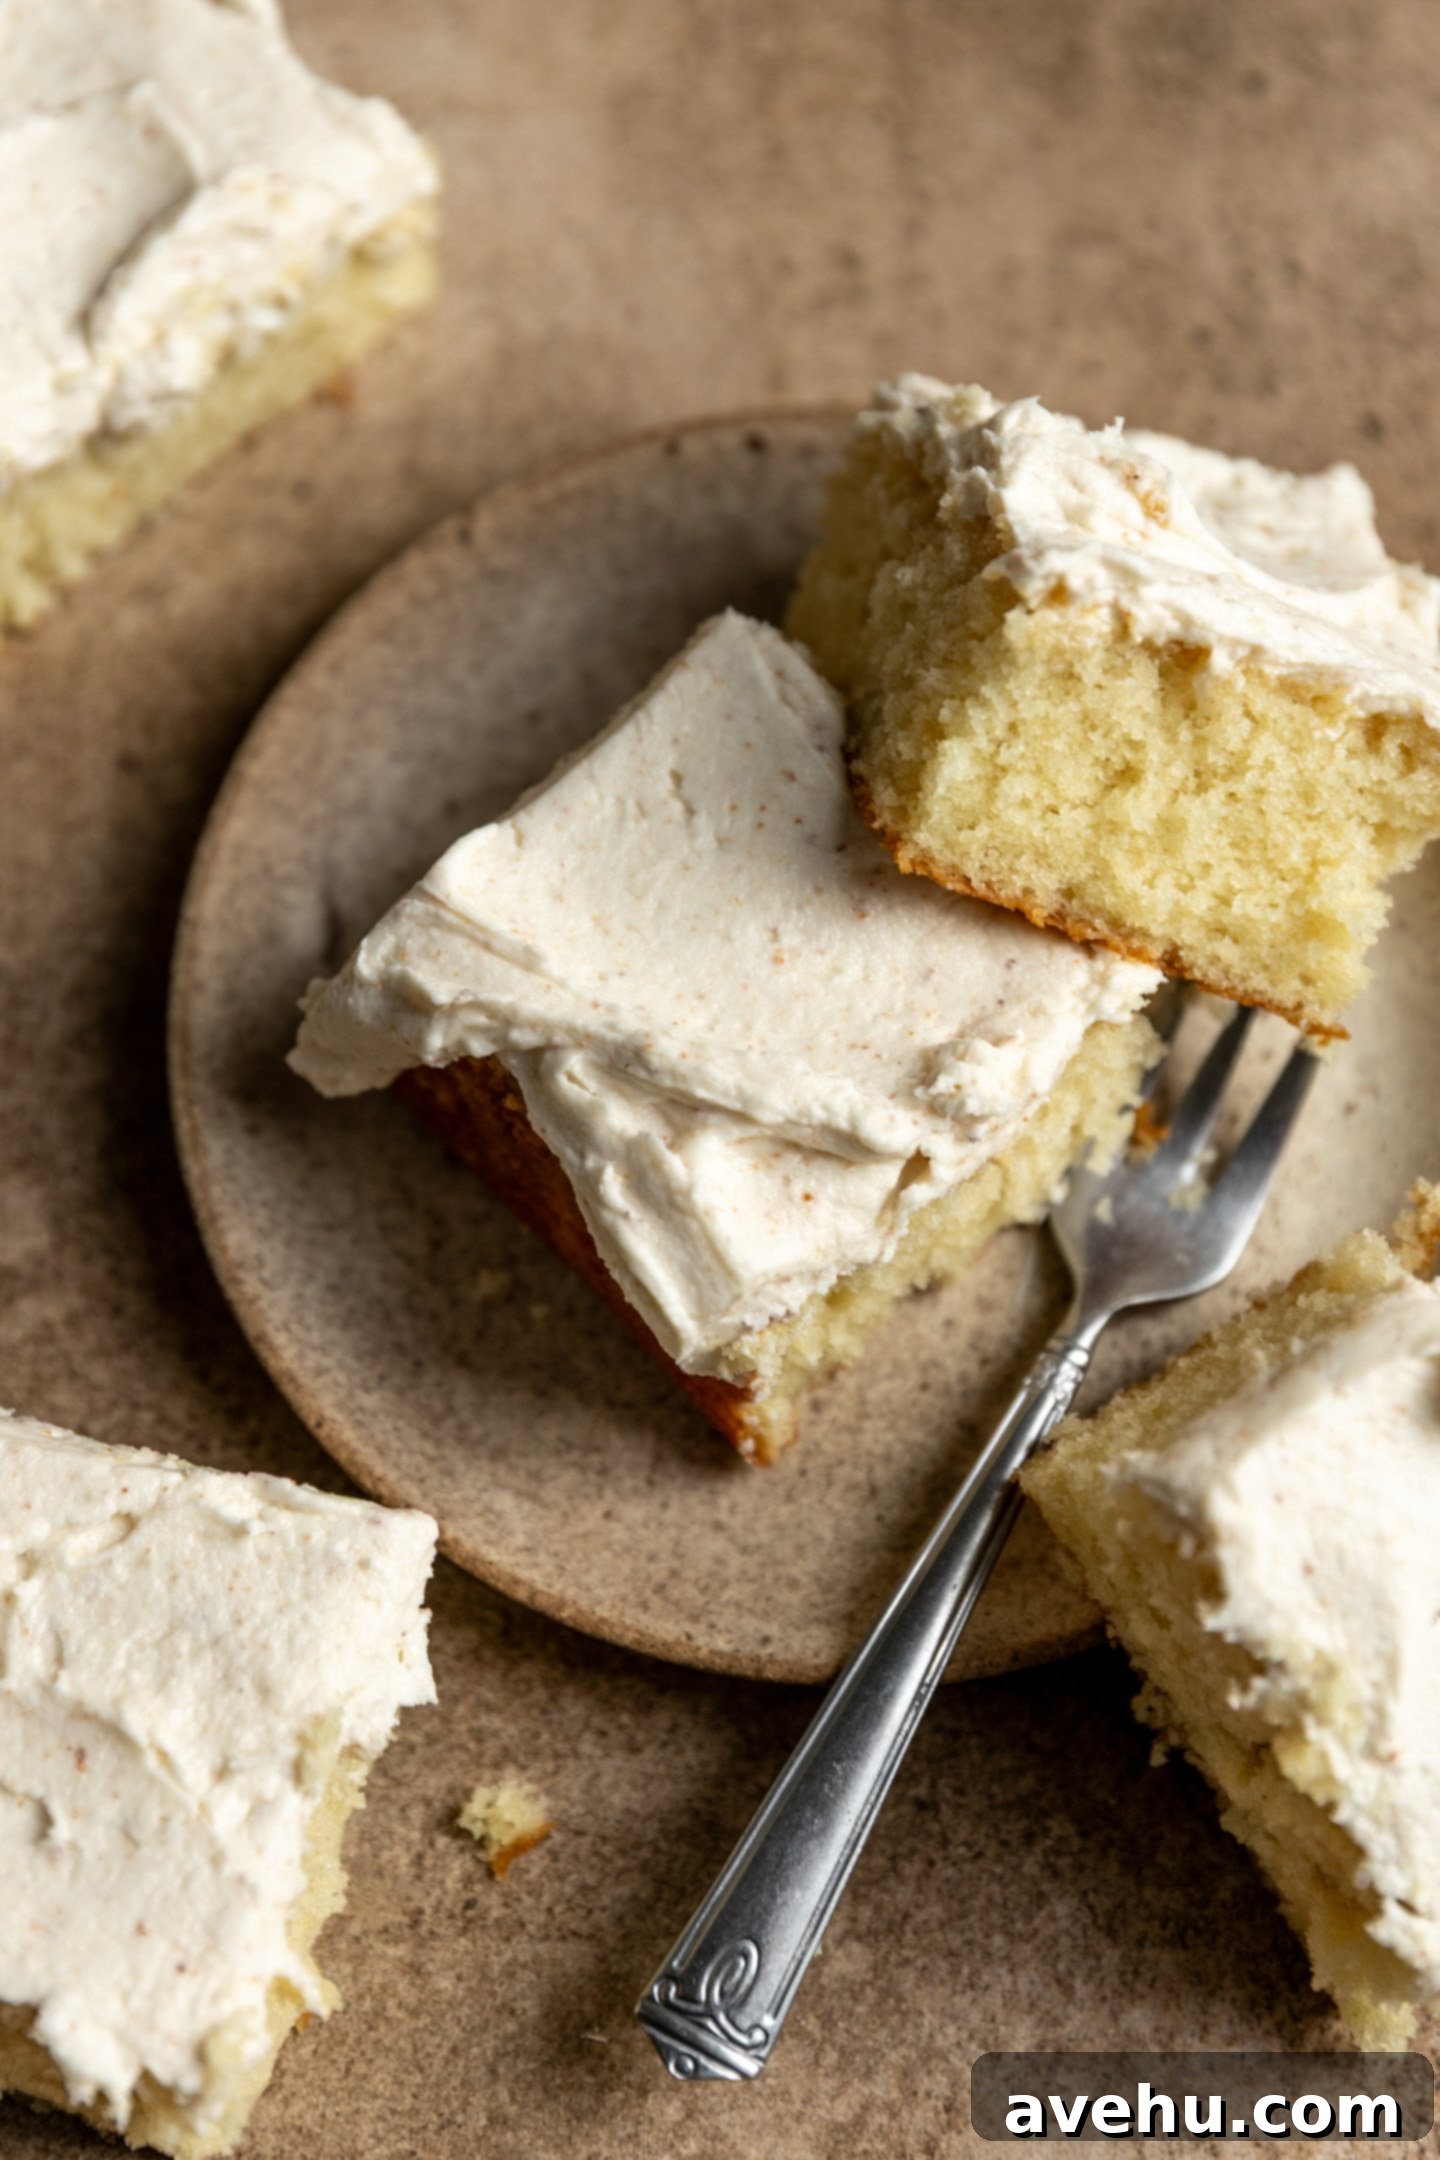
Taking my classic vanilla buttercream frosting recipe as a starting point, I’ve discovered that browning the butter before incorporating it creates an entirely new dimension of taste. This isn’t just buttercream; it’s a revelation. The resulting frosting is not only light and wonderfully fluffy, making it a joy to pipe and spread, but it also carries that incredible nutty, almost caramel-like flavor that pairs exquisitely with a wide range of desserts. Imagine it generously slathered over a moist banana cake for an out-of-this-world experience, piped high on delicate caramel cupcakes, or crowning a classic butter cake. Its versatility knows no bounds, making it perfect for celebration cakes, everyday treats, or simply enjoying by the spoonful (don’t worry, I won’t tell!). This recipe ensures a stable, pipeable frosting that will crust over beautifully, holding its shape and adding a professional finish to all your baked creations.
Let’s dive into the simple steps to create this incredible, flavorful frosting!
Mastering Brown Butter & Crafting Your Dream Frosting
Part 1: Browning the Butter to Perfection
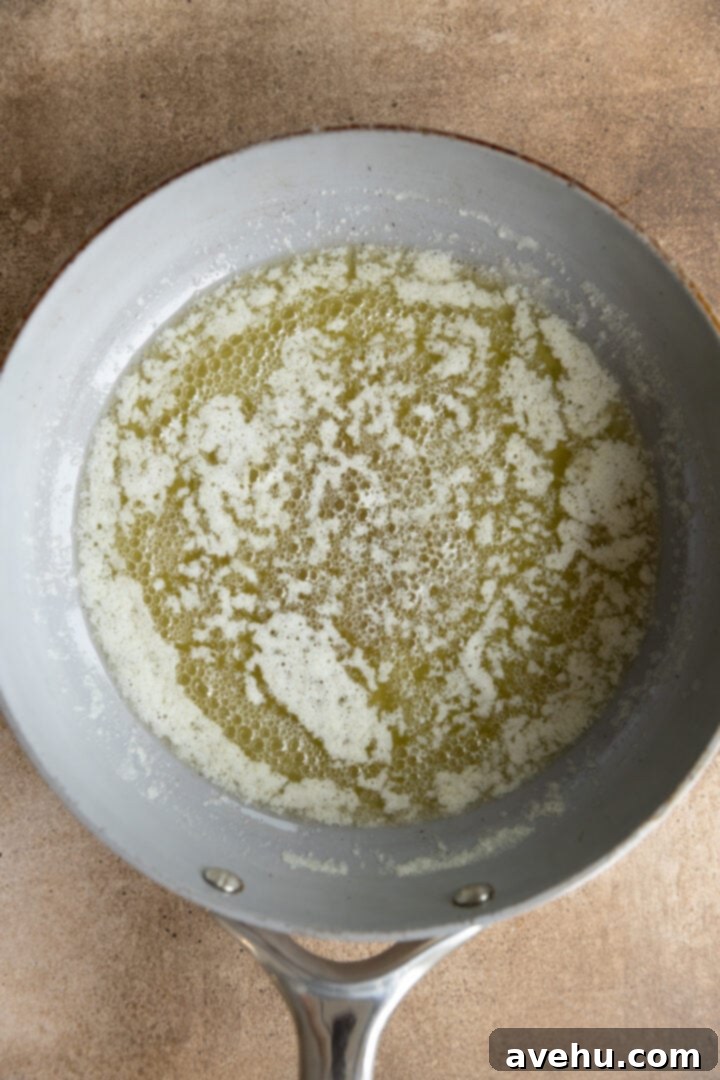
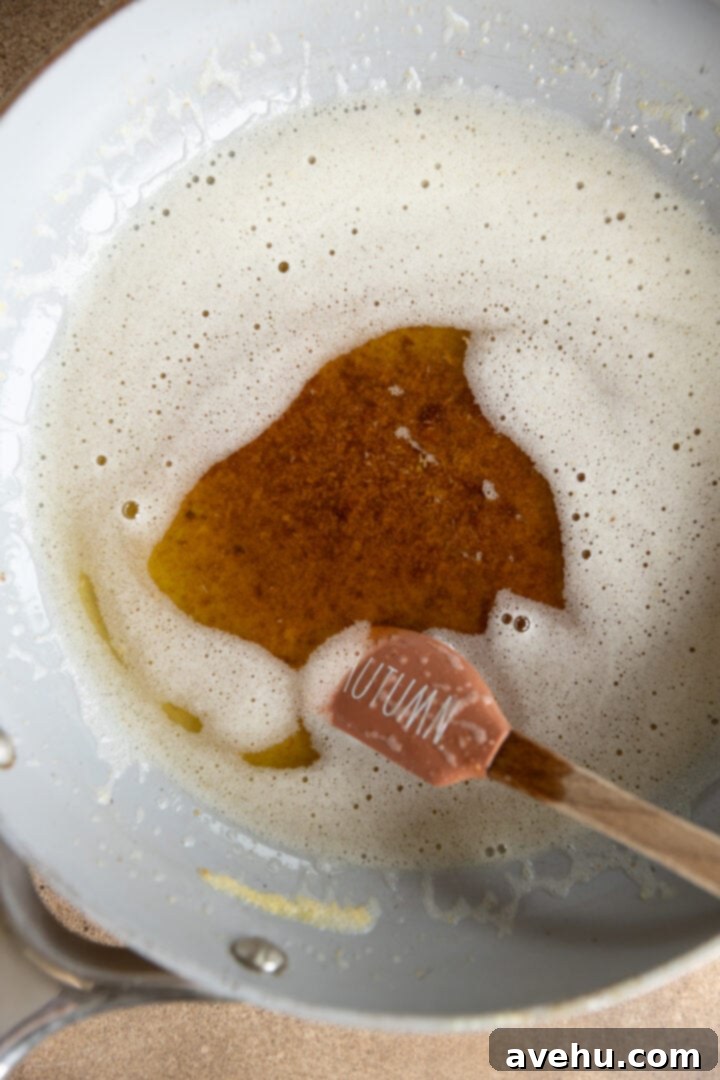
The first crucial step for the best brown butter frosting is perfectly browning the butter. For optimal visibility, it’s always easiest to perform this step in a light-colored saucepan or skillet. This allows you to clearly monitor the color changes as the milk solids transform. If you only have a dark pan, ensure you have excellent lighting, and as the butter begins to smell delightfully nutty, gently tilt the pan towards you to get a clearer view of the browning flecks at the bottom. This vigilance is key to preventing burning, which can happen surprisingly quickly.
Making brown butter:
Part 2: Crafting Your Dream Brown Butter Frosting
With your perfectly browned and softened butter ready, the rest of the frosting process is straightforward. Achieving that ideal light and fluffy texture comes down to proper mixing and gradual incorporation of ingredients. The browned butter provides such an intense and unique flavor that you’ll be surprised by how a simple melting process can yield such complex caramel notes in your frosting. This recipe creates a wonderfully stable frosting that holds its shape beautifully, making it perfect for intricate piping or smooth spreading.
Making the frosting
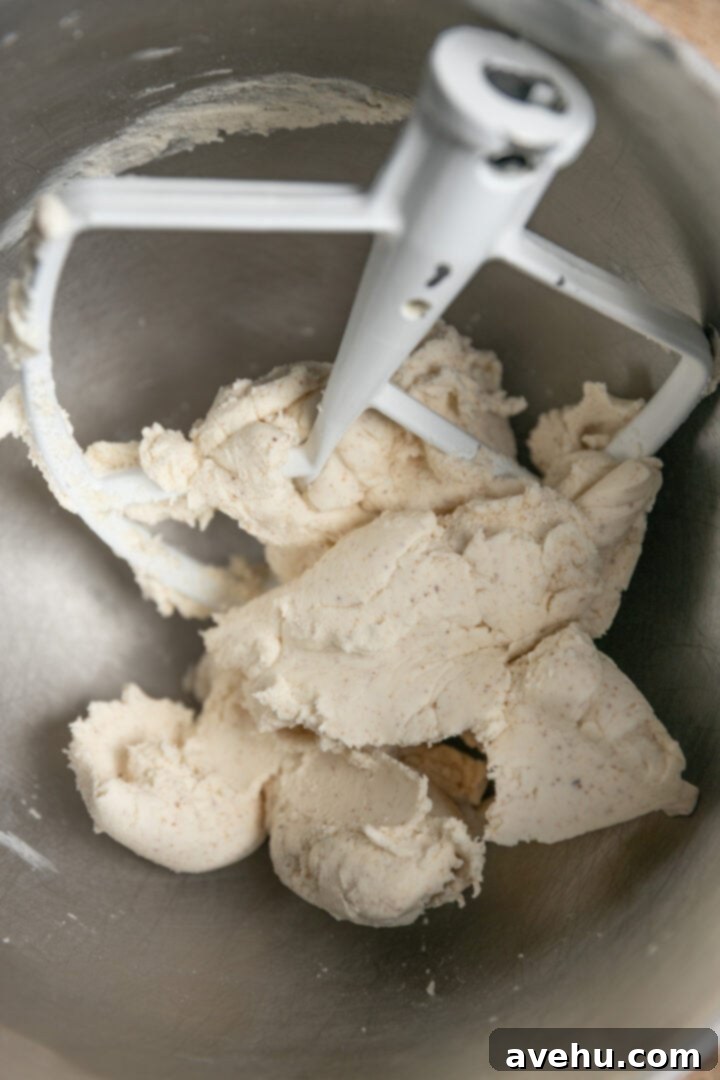
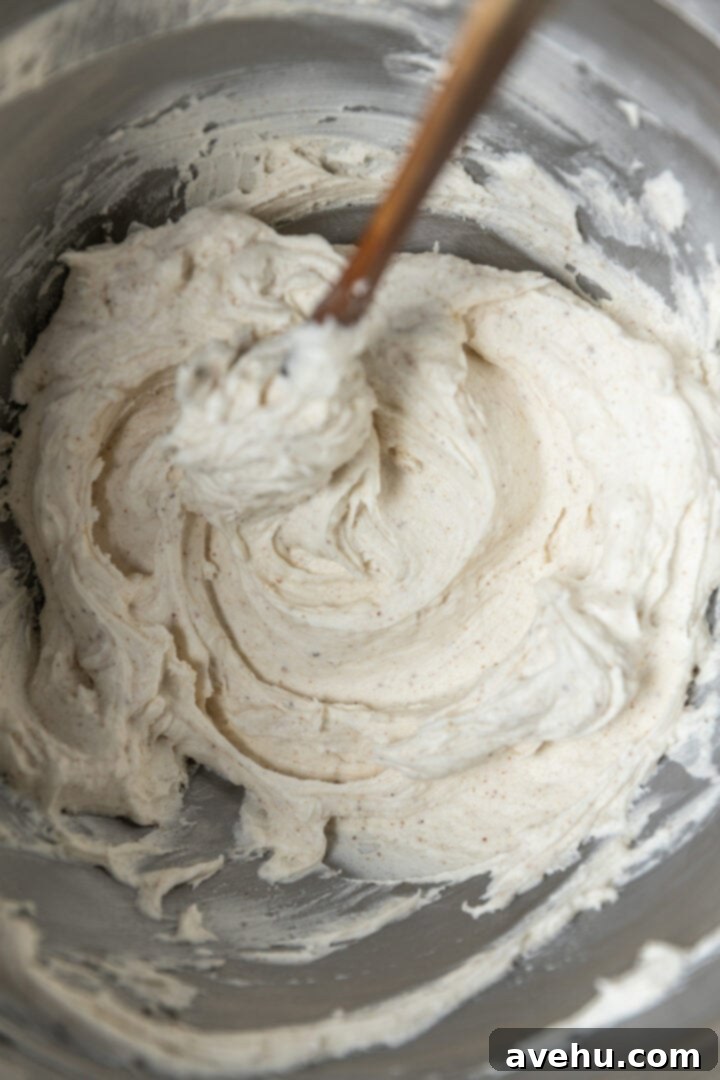
You don’t have to keep the finished frosting in the fridge either if you plan to use it within a day or two. It’s incredibly forgiving – if you prefer a very thick frosting for intricate piping, start with just 1 tablespoon of milk. For a more easily spreadable consistency, which I find perfect for covering cakes, I typically add 2 tablespoons. Adjust the milk gradually, one teaspoon at a time, until you reach your desired texture. This allows for complete control over the final consistency, whether you’re aiming for stiff peaks or a softer, smoother finish.
Tips for Success & Common Questions
- Preventing Burnt Butter: Always use a light-colored pan to easily see the color change. Stir frequently and remove from heat immediately once the milk solids turn amber and smell nutty. If it smells burnt, unfortunately, you’ll need to start over, as that flavor cannot be removed.
- Cooling the Brown Butter: Don’t skip chilling the brown butter! It needs to be solidified but still soft enough to cream with the sugar. If it’s too warm, your frosting will be greasy; too hard, and it won’t cream properly.
- Achieving Perfect Consistency: The amount of milk can be adjusted. For a stiffer frosting ideal for piping detailed decorations, use 1 tablespoon. For easy spreading over cakes, 2 tablespoons is usually perfect. If your frosting is too thin, add a bit more powdered sugar. If it’s too thick, add more milk or cream, a teaspoon at a time.
- Storage for Brown Butter: Brown butter can be made ahead and stored in an airtight container in the refrigerator for up to 2 weeks, or frozen for up several months. Just remember to bring it to room temperature and soften it before making the frosting.
- Storing the Finished Frosting: Leftover brown butter frosting can be stored in an airtight container at room temperature for up to 2 days, or in the refrigerator for up to a week. If refrigerated, let it come to room temperature and re-whip it for a minute or two to restore its fluffy texture before using.
- Versatile Pairings: While divine on butter cake, caramel cupcakes, and banana cake, this frosting also shines on chocolate cake, pumpkin bread, sugar cookies, gingerbread, or even as a filling for whoopie pies.
- Adding a Pinch of Salt: For an extra layer of flavor, consider adding a tiny pinch of sea salt (⅛ teaspoon) to your frosting. This enhances the caramel notes and balances the sweetness.
The Brown Butter Frosting of your Dreams
Pin
Review
SaveSaved!
Ingredients
- 1 cup (227 g) butter, unsalted, softened to room temp
- 3 cups (360 g) powdered sugar
- 1 tsp (1 tsp) vanilla extract
- 1-2 tbsp (1 tbsp) milk
Instructions
-
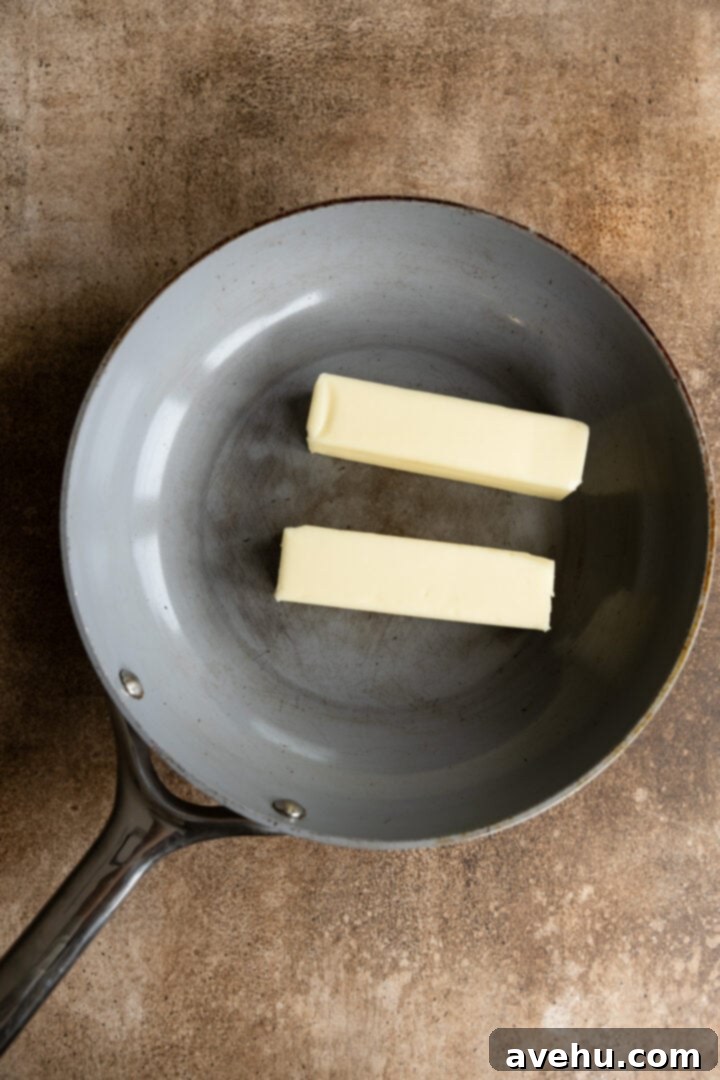
Add 1 cup of unsalted butter (2 sticks) to a light-colored skillet over medium heat. Allow the butter to melt slowly. After about 2 minutes, it will start to foam up. Stir it gently with a spatula every 20 seconds or so to ensure even heating.
-
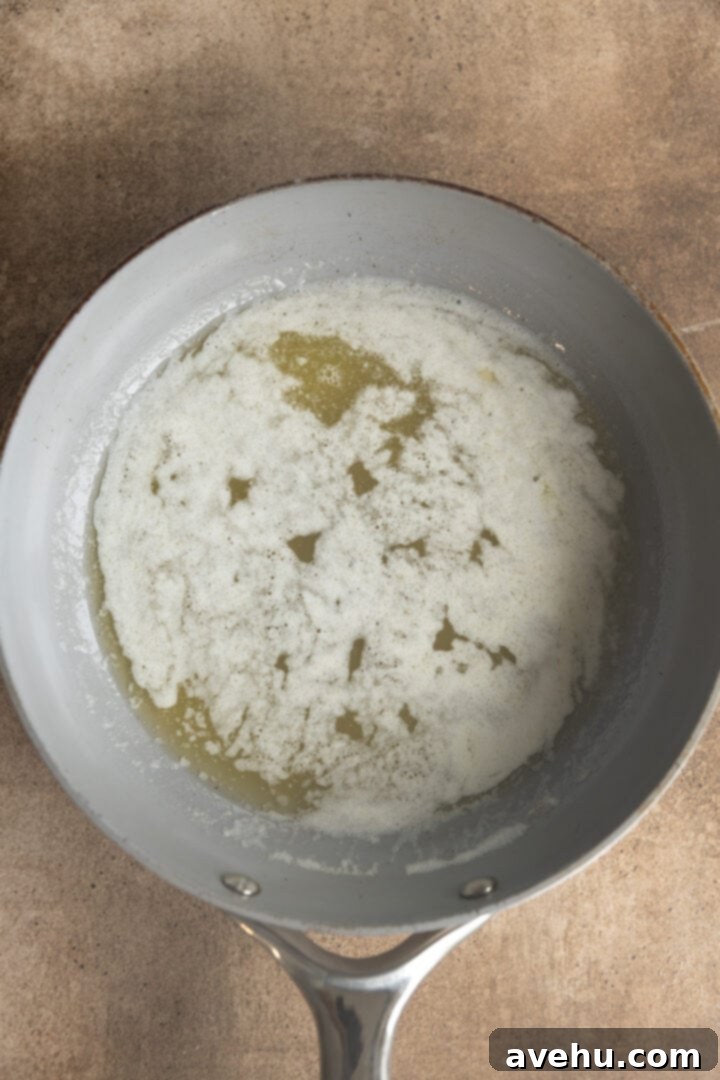
The foam will subside slightly, and you’ll begin to see the milk solids separate and sink to the bottom of the pan. Continue stirring lightly to prevent sticking and ensure uniform browning.
-
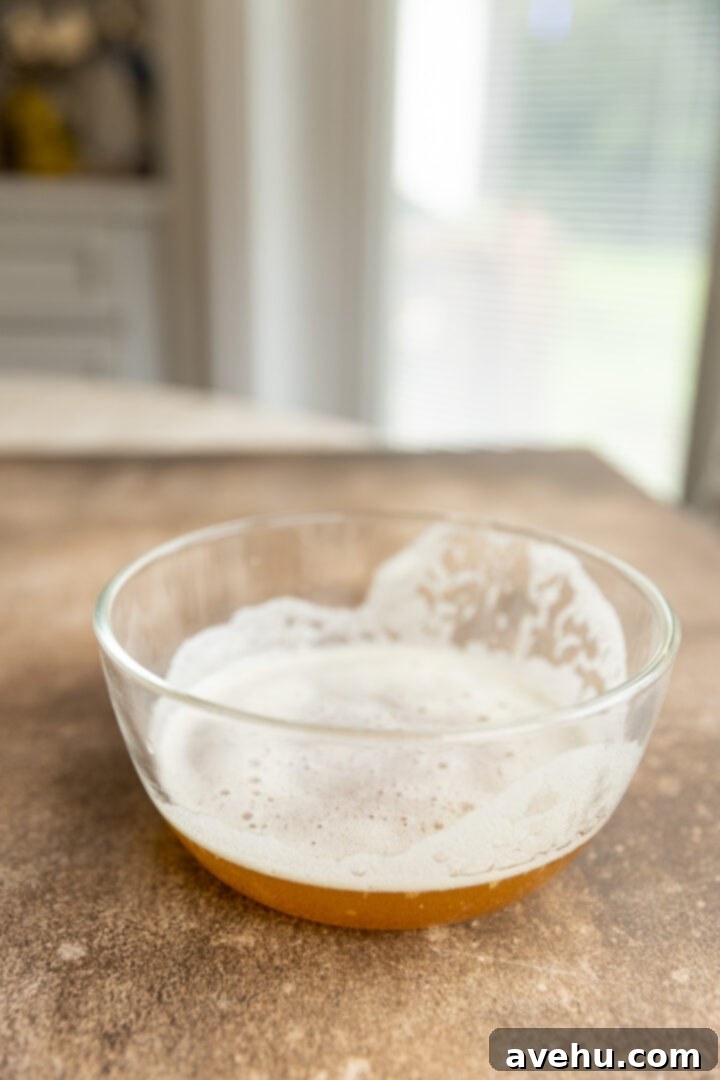
After approximately 5-6 minutes, these milk solids will start to turn a beautiful amber color and release a wonderfully rich, nutty aroma. The moment they reach this amber hue, promptly remove the skillet from the heat and stir once more. Carefully pour the browned butter, including all those flavorful browned bits, into a small heatproof bowl. Chill it in the fridge for about 1 hour, or until it has solidified but remains soft and scoopable, like softened room-temperature butter.
-
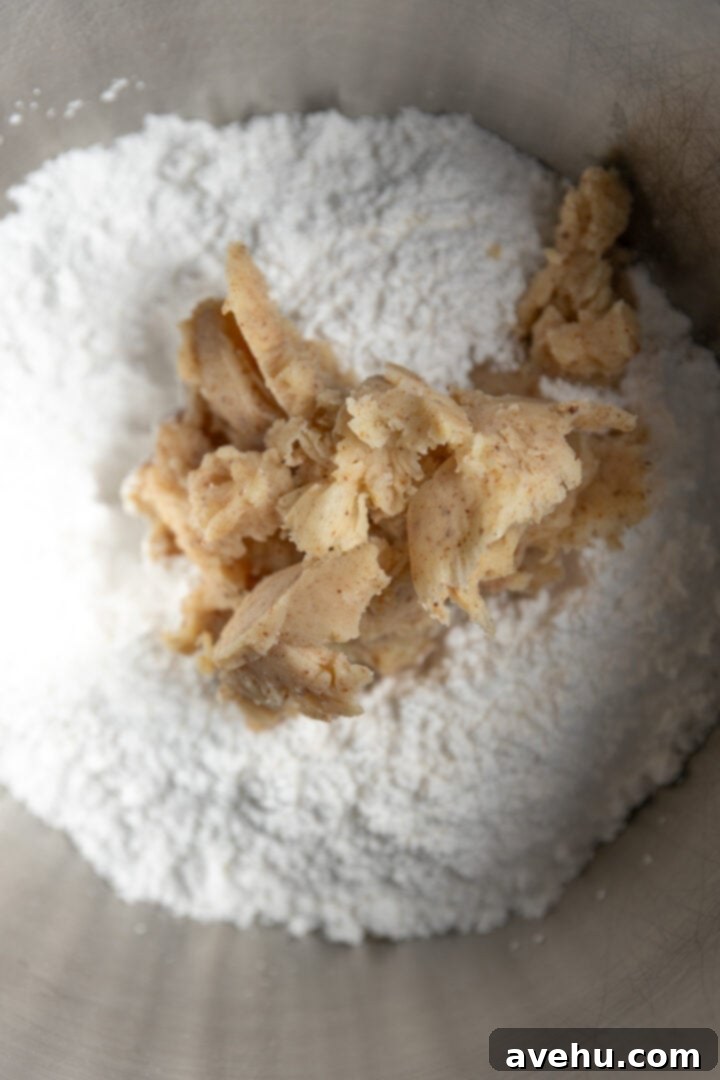
Once the brown butter is softened, add it along with 3 cups of powdered sugar to the bowl of a stand mixer fitted with a paddle attachment. Begin mixing on low speed to prevent the powdered sugar from creating a cloud. Gradually increase to medium speed and cream the butter and sugar together until the mixture clumps and is fully combined, usually about 2 minutes.
-
Reduce the mixer speed to low. Add 1 teaspoon of vanilla extract and 1-2 tablespoons of milk, depending on your desired frosting consistency. For a smooth, easily spreadable frosting, I typically use 2 tablespoons of milk. Mix until the frosting is light, fluffy, and smooth.
-
Your incredible brown butter frosting is now ready! Use it to generously frost your favorite cakes or pipe it beautifully over cupcakes.
Notes
This recipe makes enough frosting to lavishly frost 12 cupcakes, or to fill and frost a 2-layer 9-inch cake, or a 9×13 inch sheet cake.
