Effortless No-Chill Cut-Out Sugar Cookies: Your Quick Guide to Perfectly Shaped Treats
If you, like me, dread the seemingly endless wait for cookie dough to chill, then this revolutionary quick cut-out sugar cookie recipe is precisely what you need! Imagine creating beautiful, perfectly shaped holiday cookies or treats for any special occasion in 30 minutes or less, from start to finish. This innovative recipe bypasses the traditional chilling step entirely, allowing you to bake on a whim without compromising on quality or appearance. What sets these cookies apart is a unique blend of powdered sugar and granulated white sugar, which yields an unparalleled texture—crisp yet tender, almost shortbread-like, but never overly hard. They boast remarkable shape retention, ensuring intricate designs from your favorite cookie cutters come out flawlessly from the oven, without any puffing or spreading. These are truly the perfect canvas for your decorative creativity, especially when adorned with an easy no-meringue-powder royal icing.

During festive periods or for any joyous celebration, I absolutely adore crafting themed and intricately decorated cut-out cookies. Having operated a custom cake and cookie shop for five years, and as a professional baker, I find immense joy in this creative outlet. However, one aspect that has always been a significant deterrent is the mandatory chilling time for cookie dough, often requiring two hours or more before baking can even begin. This lengthy waiting period can stifle spontaneous baking urges and add unnecessary stress to an already busy schedule, especially during the holidays.
It was precisely this frustration that led me to develop this remarkable recipe for super quick and easy NO CHILL cut-out sugar cookies. This recipe is designed to be completed in less than half an hour, transforming your baking experience and making it more accessible and enjoyable than ever before!
These cut-out cookies offer a distinct experience compared to my soft and chewy sugar cookies (which are undeniably amazing in their own right). While those are classic drop cookies traditionally rolled in sugar, this recipe focuses on the crisp, perfectly shaped cookies that are ideal for elaborate decorating. For those who love a chocolate twist, you can even adapt this recipe into a delicious chocolate version with these chocolate sugar cookies, offering even more versatility for your baking endeavors.
To embellish these delightful treats, I frequently turn to my emergency royal icing, a fantastic recipe that doesn’t require meringue powder. This icing provides a crisp finish and is perfect for adding intricate details, making your cookies truly festive and fun. Alternatively, you can opt for my easy cookie icing for a softer bite, or experiment with any kind of homemade frosting or glaze that suits your taste and decorative style.
My secret weapon for achieving the perfect texture in these cookies is powdered sugar. Unlike most conventional recipes that rely solely on granulated sugar, I use a precise 50/50 blend of powdered sugar and regular white sugar. This innovative combination is the key to creating a cookie with an exquisitely fine crumb and a delightful crunch that isn’t excessively hard. The result is a cookie that almost melts in your mouth, reminiscent of a delicate shortbread, yet sturdy enough to hold its shape beautifully. This unique texture elevates the humble sugar cookie to a gourmet level.
So, go ahead! Grab your favorite cookie cutters and prepare to embark on a delightful baking adventure. Let’s get started on creating some truly memorable cookies!
Why These No-Chill Cut-Out Sugar Cookies Stand Out
These cookies aren’t just easy; they embody a host of qualities that make them a baker’s dream:
- Unmatched Ease and Speed: Seriously, they are incredibly simple to make and can be ready for decorating in under 30 minutes, freeing up your time for other holiday preparations or spontaneous baking sessions.
- Exceptional Shape Retention: They hold even the sharpest edges of intricate cookie cutters with remarkable precision. No more distorted shapes or rounded corners after baking!
- No Spreading or Puffing: These cookies maintain their original thickness and shape perfectly in the oven. You won’t find them spreading into each other or puffing up excessively, ensuring your decorations have a flat, even surface.
- Consistent Results: I’ve rigorously tested this recipe multiple times with a variety of cookie cutters, including those with very fine details, and the results are consistently perfect every time.
- Delicious Flavor and Texture: Each bite offers a delightful balance of sweetness and a satisfying crunch, enhanced by a subtle hint of vanilla. The powdered sugar creates a delicate, melt-in-your-mouth quality that’s truly unique.
- Kid-Friendly Baking: This is a fantastic recipe to make with children! The no-chill aspect means they can participate in the fun of rolling and cutting without losing interest during a long waiting period.
The Importance of Softened Butter
You’ve likely come across instructions to use “softened butter” in countless baking recipes, but do you truly know what that means? Achieving the correct consistency for softened butter is far more crucial than many realize, especially for a no-chill cookie recipe like this one. Perfectly softened butter should still feel cool to the touch and only yield a slight indentation when gently pressed with your finger. You should NOT be able to push your entire finger straight through it, nor should it appear greasy or oily. Butter that is too soft (melted or greasy) can cause your cookies to spread excessively in the oven, leading to flattened, undefined shapes. Conversely, butter that is too cold and hard won’t cream properly with the sugars, resulting in a dense, tough cookie. The precise temperature of your butter directly impacts the final texture and structure of your cookies, making it a critical step for success, particularly when skipping the traditional chilling time.
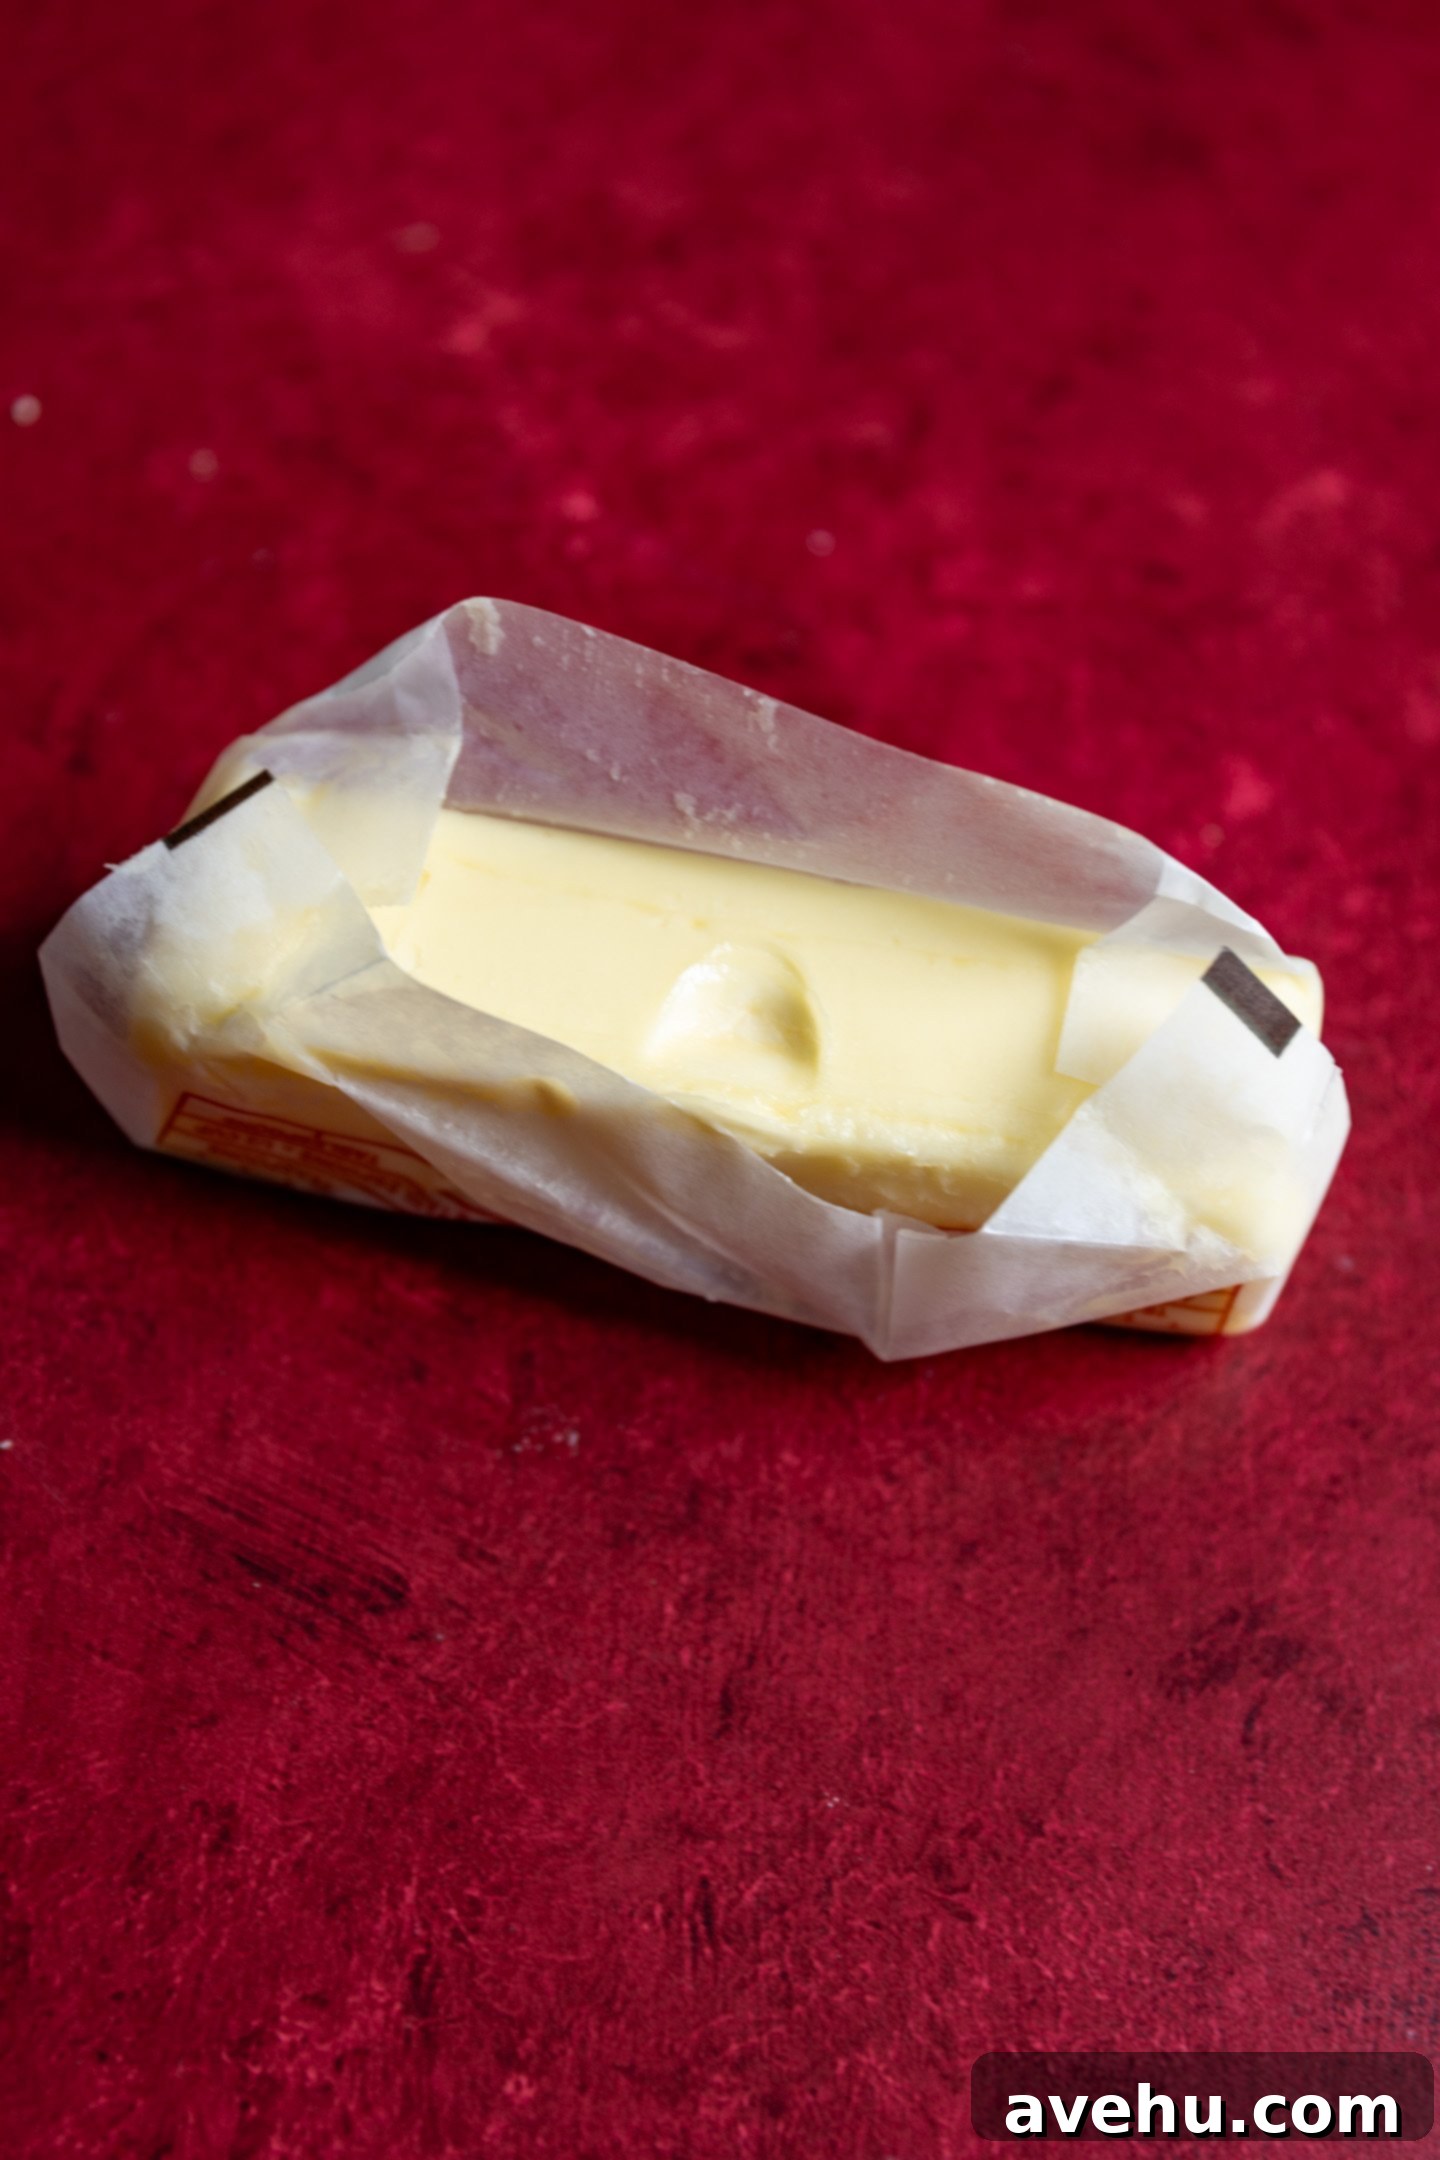
If you find yourself in a pinch and forgot to take your butter out in advance, don’t fret! You can quickly bring it to the ideal consistency by following my guide on how to soften butter quickly.
Other essential ingredients you’ll need for these delightful cookies include:
- Powdered sugar (also known as confectioners’ sugar)
- Granulated white sugar
- Pure vanilla extract
- One large egg
- All-purpose flour
- Baking powder
- Kosher salt
The Magic of Powdered Sugar & Granulated Sugar Blend
This recipe specifically calls for both powdered sugar and granulated sugar, and I strongly advise against making substitutions here. This carefully balanced combination is the secret behind the exceptional texture and workability of the dough. The powdered sugar contributes to a wonderfully tender, almost melt-in-your-mouth quality, making the cookies reminiscent of delicate shortbread. It also aids in creating an incredibly smooth and pliable dough that is far easier to roll out and cut than dough made solely with granulated sugar, which can sometimes be stiff or crumbly. While these cookies are delightfully crunchy, they avoid the common pitfall of being excessively hard, ensuring a pleasant bite every time. For me, achieving the perfect texture is paramount, and this sugar blend delivers just that.
Crafting Your Quick Cut-Out Cookies: A Step-by-Step Guide
Follow these simple instructions to create perfectly shaped, no-chill sugar cookies that are ready for decoration in no time.
1. Prepare for Baking
Begin by preheating your oven to a consistent 350°F (175°C). Line two standard baking sheets with parchment paper. This step is crucial for preventing sticking and ensuring even baking. Set the prepared trays aside as you mix your dough.
2. Cream the Wet Ingredients
In the bowl of a stand mixer (or using a hand mixer) fitted with the paddle attachment, combine the perfectly softened butter, powdered sugar, and granulated sugar. Mix these ingredients on a low to medium speed for approximately 2 minutes. The goal is to achieve a thick, pale, and fluffy paste. Proper creaming incorporates air, which contributes to the cookies’ light texture.
3. Scrape and Incorporate Egg & Vanilla
Stop the mixer and use a rubber spatula to thoroughly scrape down the sides and bottom of the bowl. This ensures all ingredients are fully incorporated. Add the large egg and pure vanilla extract, then mix again on medium speed for another minute until everything is well combined and smooth.
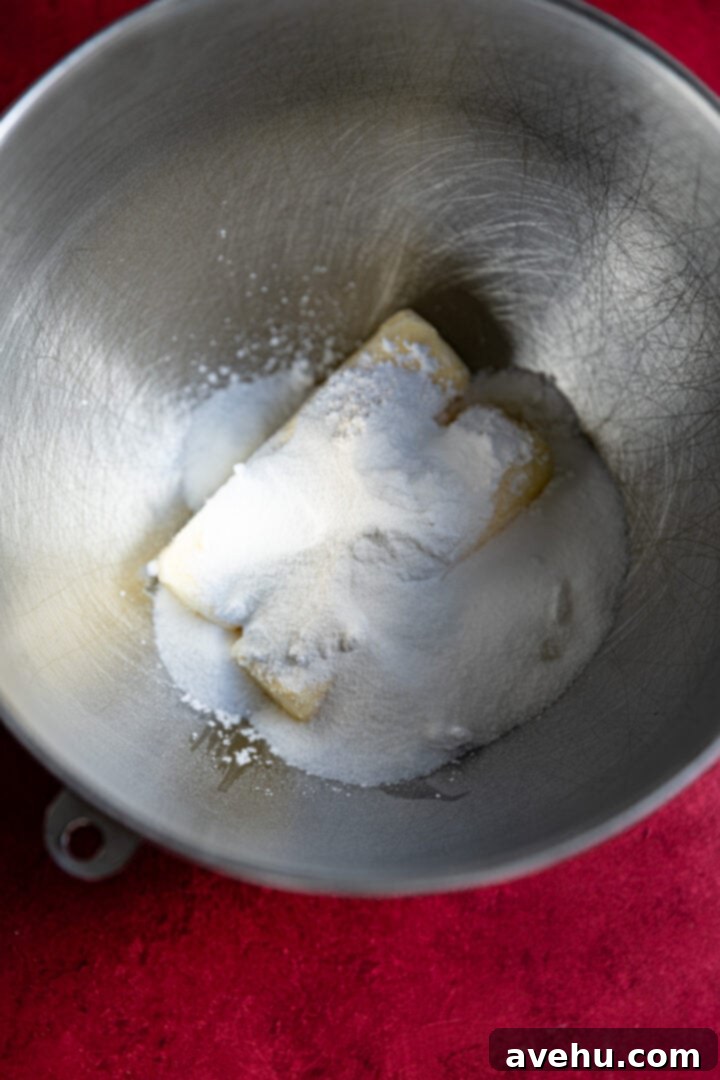
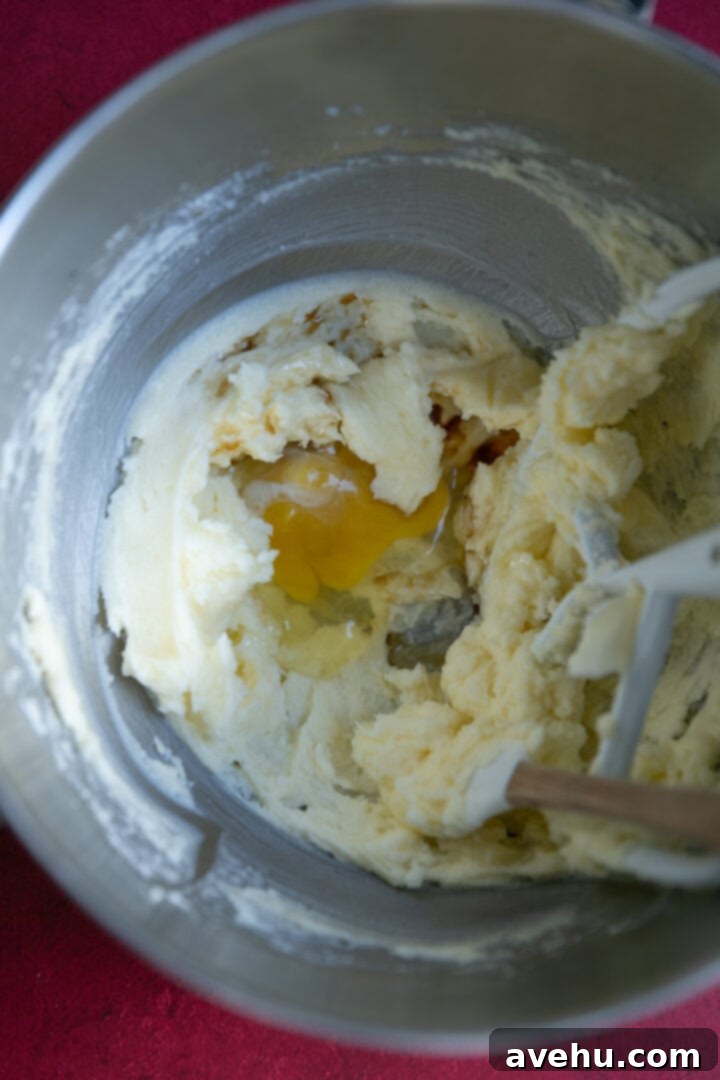
4. Incorporate Dry Ingredients Slowly
With your mixer running on low speed, gradually add the all-purpose flour into the wet mixture. This should take about a minute, allowing the flour to be absorbed slowly. Next, add the baking powder and kosher salt. Increase the mixer speed to medium and continue mixing for 1-2 minutes until all ingredients are well combined and a cohesive dough forms. Avoid overmixing once the flour is added, as this can develop the gluten too much, leading to tough cookies.
5. Roll and Cut the Dough
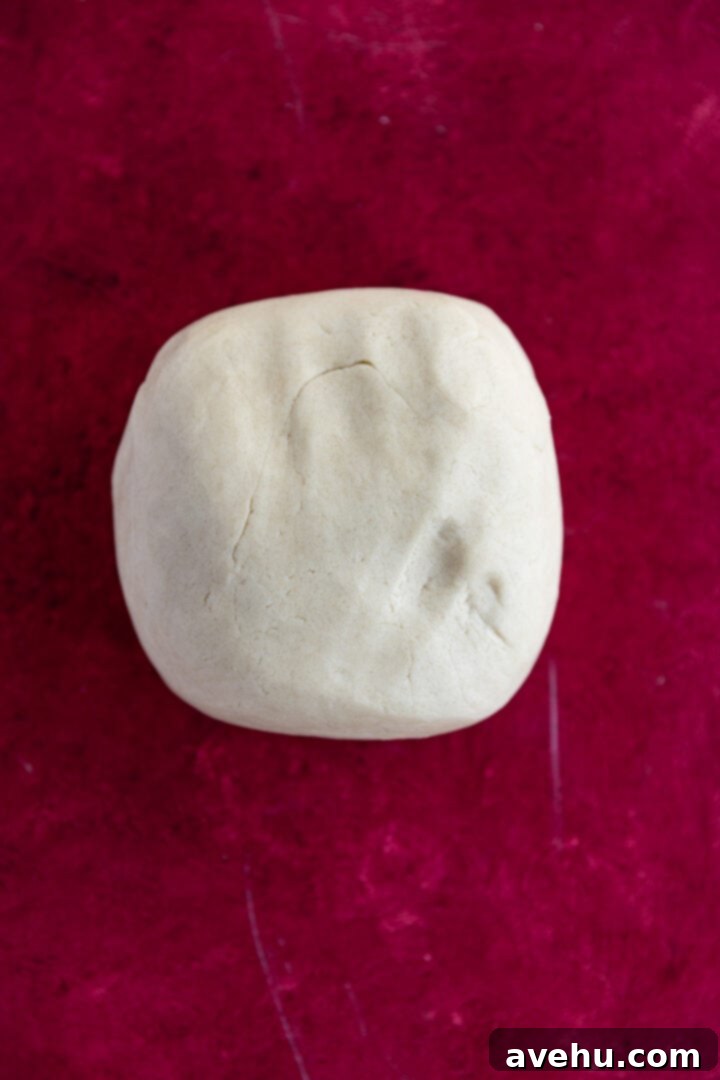
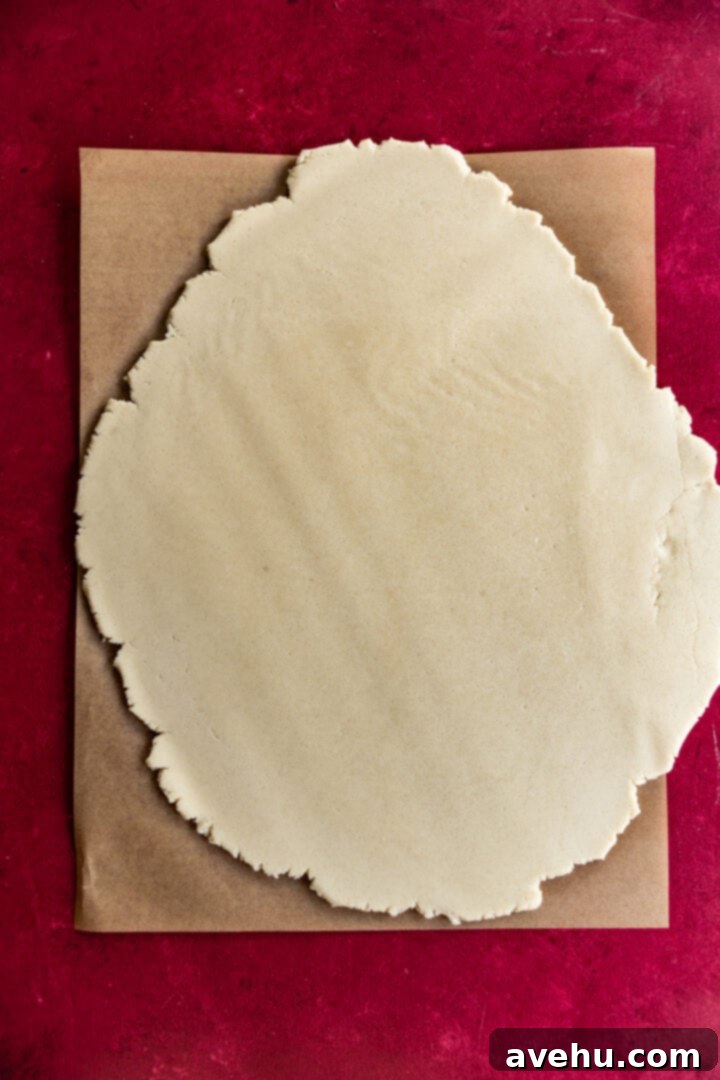
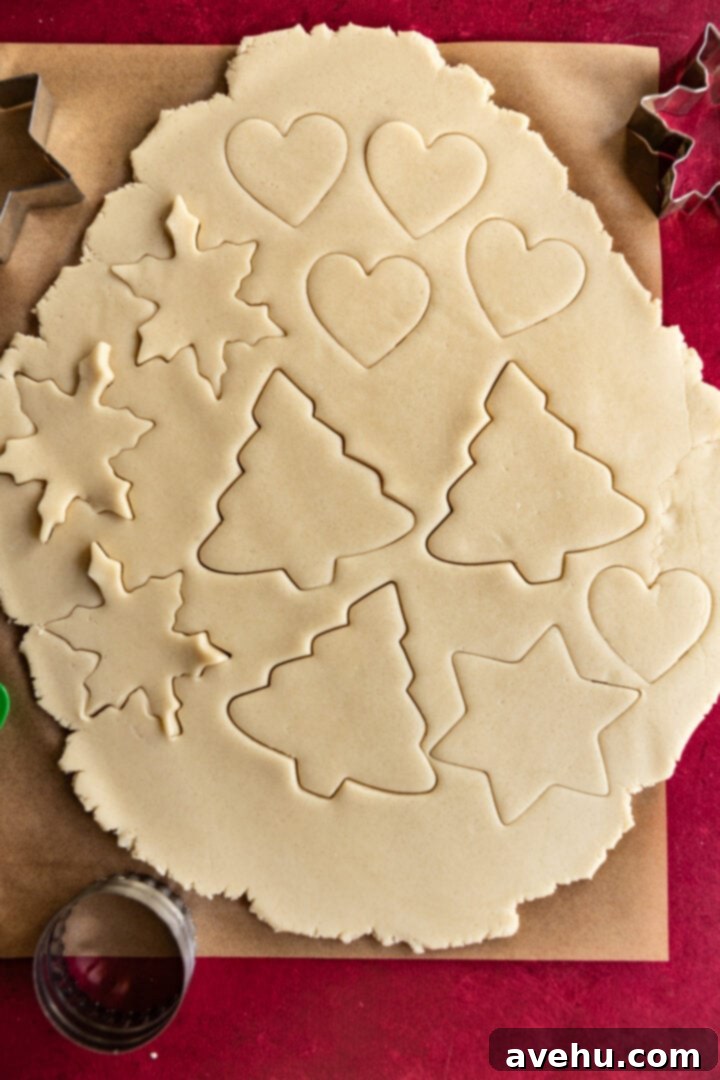
The finished dough should be wonderfully smooth and easy to handle, with no stickiness. Lightly flour your work surface and roll out the dough to your desired thickness, typically between 1/4 to 1/2 inch, depending on whether you prefer a thinner, crispier cookie or a thicker, chewier one. Use your favorite cookie cutters to create various shapes. Carefully transfer the cut-out cookies to your prepared baking sheets. Gather any dough scraps, gently reform them into a ball, and re-roll to cut out more cookies until all dough is used.
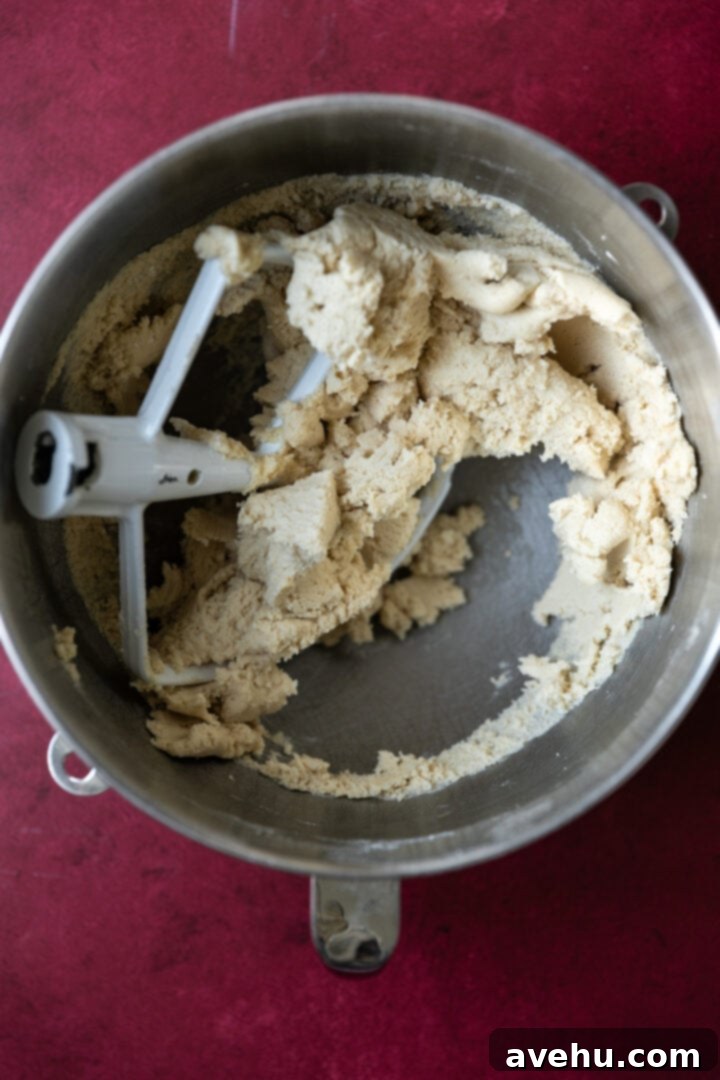
6. Bake to Golden Perfection
Arrange your cut-out cookies on the baking sheets. Since these cookies are designed not to spread, you can place them relatively close together, about 1/2 to 1 inch apart. Bake for 10-13 minutes, with the exact time depending on the thickness of your cookies. They are done when the edges and bottoms turn a very slight golden brown. Overbaking can lead to dry, hard cookies, so keep a close eye on them!
Once baked, allow the cookies to cool on the baking sheets for a few minutes before transferring them to a wire rack to cool completely. Once cooled, they are perfectly ready to be decorated with royal icing, cookie icing, or your favorite frosting!

Expert Mixing Tip for No-Chill Success
One of the key factors that allows this cookie recipe to be no-chill is a slightly higher flour content compared to recipes that require refrigeration. This increased flour helps the dough maintain its structure and prevents spreading in the oven. When you’re adding the flour, it’s crucial to incorporate it slowly—dribbling it in over a minute or so. This gives the butter, sugar, and egg mixture ample time to absorb the flour gradually and evenly. If you rush this step and dump all the flour in at once, the dough can become dry, crumbly, and difficult to work with, negatively impacting the final cookie texture. Should this happen accidentally, don’t despair! You can often remedy it by mixing for an extra 30-60 seconds to ensure everything is thoroughly combined, though careful, slow addition is always best.
Understanding Your Yield and Maximizing Dough
The total number of cookies you’ll get from this recipe is highly dependent on two main factors: the size of the cookie cutters you employ and the thickness to which you roll out your dough. For example, using a standard 3-inch cookie cutter, you can typically expect to yield between 18-20 delicious cookies. However, if you opt for smaller cutters, like the star shapes pictured here, you’ll certainly be able to make a greater quantity of cookies, extending your batch for more sharing or decorating fun.
Clever Ways to Utilize Dough Scraps
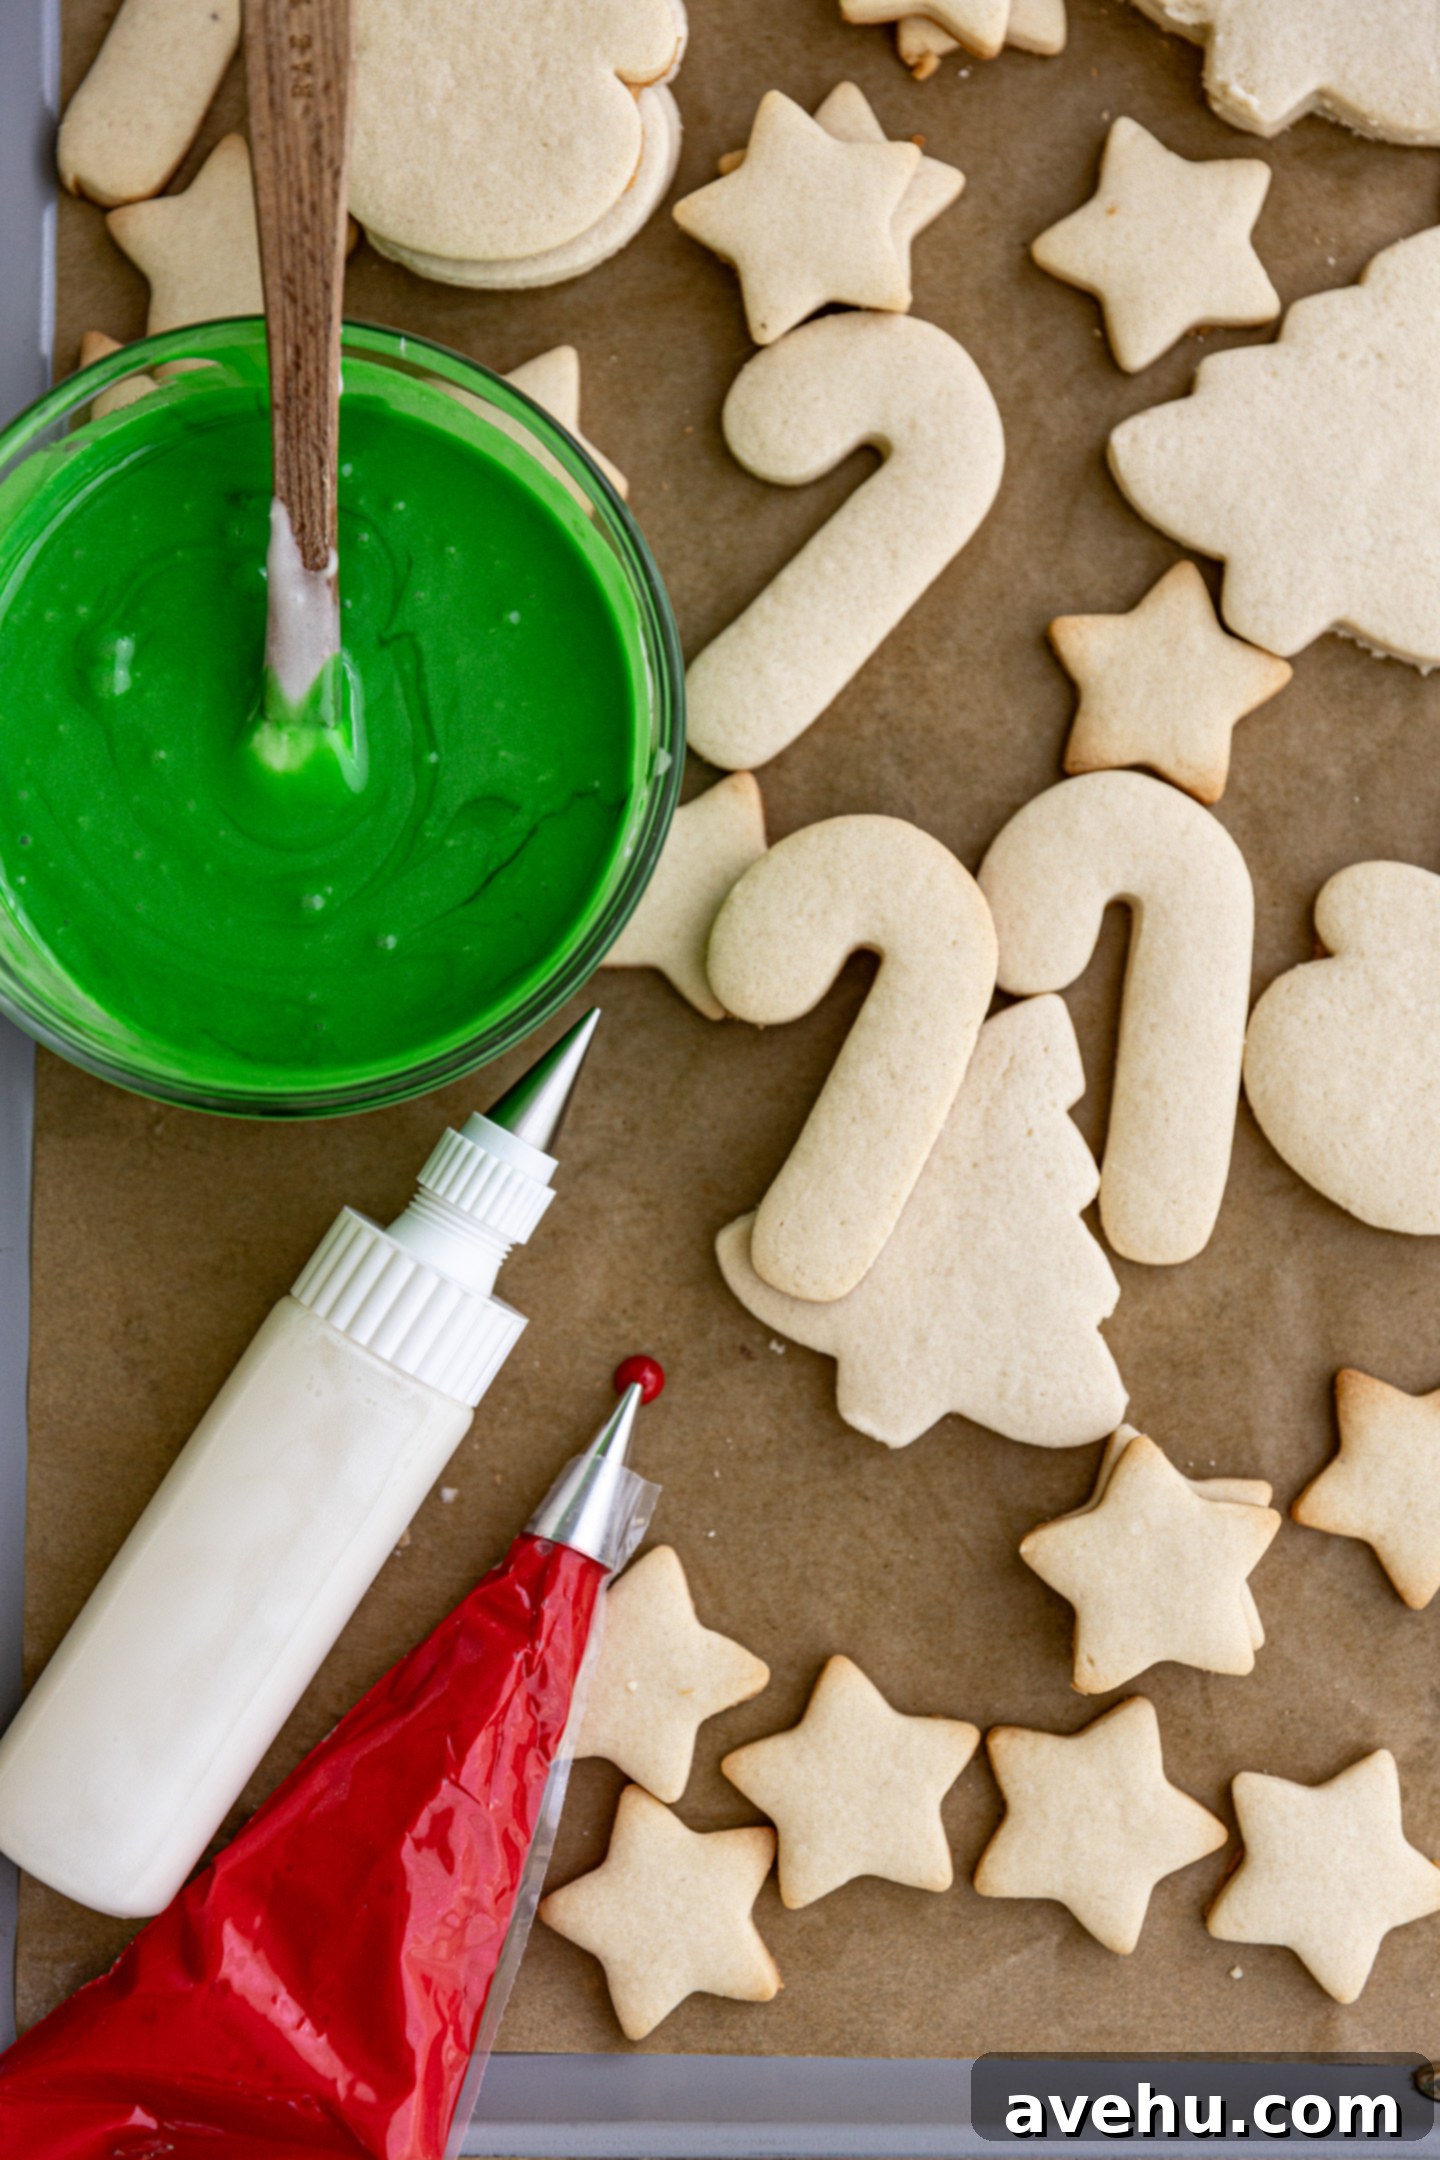
Don’t let any precious dough go to waste! I always ensure I use up all the scraps from my cut-out cookies. My go-to method is simply to re-roll the remaining dough and use smaller cookie cutters to maximize the yield. This is perfect for creating mini versions of your main cookie theme or just an assortment of tiny treats. If you’re committed to a specific theme and don’t wish to make smaller cookies, get creative! You can use a piping tip as a miniature cookie cutter to make tiny, decorative shapes. These can then be baked and adhered to your larger cookies with a dab of royal icing, adding an extra layer of edible embellishment.
Another fantastic option, especially if you have little helpers around, is to let your kids take ownership of the scraps. They can roll, cut, and shape their own unique cookies, turning it into a fun, interactive activity where everyone wins—you get all the cookies you need, and they get to unleash their inner baker!
Unleash Your Creativity: Decorating Sugar Cookies
Decorating these perfectly shaped sugar cookies is where the real fun begins! There are numerous ways to adorn your baked masterpieces, and your choice will largely depend on the amount of time, patience, and artistic flair you wish to dedicate. Here are some popular options:
- Buttercream Frosting: This classic frosting offers a rich, creamy taste that many adore. While it won’t dry hard like royal icing, meaning you can’t stack the cookies easily, its delicious flavor makes it a perennial favorite. It’s excellent for simple swirls or a generous spread.
- Royal Icing: The gold standard for decorated cookies! Royal icing dries hard within approximately two hours, allowing for intricate piping details, flooding techniques, and easy stacking once dry. It creates a smooth, professional finish and is ideal for elaborate designs.
- Cookie Icing: This type of icing typically takes longer to dry, often up to 24 hours, and doesn’t offer the same precision for fine details as royal icing. However, it provides a smooth, glossy finish and is a good option for simpler, flooded designs.
- Store-Bought Icing/Frosting: No judgment here! If time is of the essence or you prefer convenience, store-bought options are perfectly acceptable. Your secret is safe with me – the most important thing is enjoying the process and the delicious results!
Beyond the icing, don’t forget the power of sprinkles, edible glitter, sanding sugars, and other confectionery decorations to add sparkle and charm to your creations. The possibilities are endless!

Optimal Storage and Freezing Guidelines
These delightful no-chill cut-out sugar cookies store exceptionally well, ensuring you can enjoy them for days after baking. For maximum freshness, place them in an airtight container or a zip-top bag at room temperature. They will retain their delicious flavor and crisp texture for 5-7 days. If you’ve decorated them with royal icing, ensure the icing is completely dry before stacking to prevent smudging.
For longer storage, these cookies freeze beautifully. Once completely cooled (and any icing is fully dry), transfer them to a freezer-safe zip-top bag. Squeeze out as much air as possible before sealing to prevent freezer burn. You can also layer them in an airtight freezer container with parchment paper between layers. Frozen cookies will maintain their quality for up to 3 months. When you’re ready to enjoy them, simply thaw at room temperature. This makes them perfect for holiday meal prep or having a stash of homemade treats on hand.

Quick Cut-Out Sugar Cookies (No Chill)
- Prep Time:
- 10 mins
- Cook Time:
- 12 mins
- Total Time:
- 22 mins
24 cookies
If you’re tired of waiting for cookie dough to chill, this quick cut-out sugar cookie recipe is for you! These holiday cookies are ready in 30 minutes or less and use a mix of powdered and white sugar for an unbeatable texture. No chill time required, and they hold their shape perfectly!
Pin Recipe
Ingredients
- 1 cup unsalted butter, softened (227g)
- 1/2 cup powdered sugar (53g)
- 1/2 cup white granulated sugar (100g)
- 1 large egg
- 2 tsp vanilla extract
- 3 1/2 cups all-purpose flour (420g)
- 1 1/2 tsp baking powder
- 1/2 tsp kosher salt
Instructions
- Preheat the oven to 350°F (175°C) and line two baking sheets with parchment paper. Set aside.
- In the bowl of a stand mixer fitted with the paddle attachment, add the softened butter, powdered sugar, and granulated sugar. Mix on medium speed for 2 minutes until a thick, fluffy paste forms.
- Stop the mixer and scrape down the bowl. Add the egg and vanilla extract. Mix again for 30 seconds until well combined.
- With the mixer on low speed, slowly add the all-purpose flour over about 1 minute. Then, add the baking powder and kosher salt. Mix for another 30 seconds to 1 minute until well combined and a smooth dough forms.
- Dump the dough onto a lightly floured surface and shape it into a round ball. The dough should be smooth and not sticky.
- Roll the dough out to 1/4 inch thick and cut with your preferred cookie cutters. Place the cookies on the prepared baking sheets, leaving about 1/2 to 1 inch between them as they will not spread.
- Bake for 10-13 minutes, depending on cookie thickness. They are done when the bottoms turn a slight golden brown.
- Repeat with any remaining dough scraps. Cool completely before decorating with royal icing or your chosen frosting.
Notes
The total number of cookies you make will vary based on the size of your cookie cutters.
Nutrition Information (per cookie)
- Calories: 164 kcal
- Carbohydrates: 21g
- Protein: 2g
- Fat: 8g
- Saturated Fat: 5g
- Polyunsaturated Fat: 0.4g
- Monounsaturated Fat: 2g
- Trans Fat: 0.3g
- Cholesterol: 27mg
- Sodium: 79mg
- Potassium: 25mg
- Fiber: 0.5g
- Sugar: 7g
- Vitamin A: 246 IU
- Calcium: 21mg
- Iron: 1mg
- Course:
- Dessert
- Author:
- Sam Adler
- Cuisine:
- American
