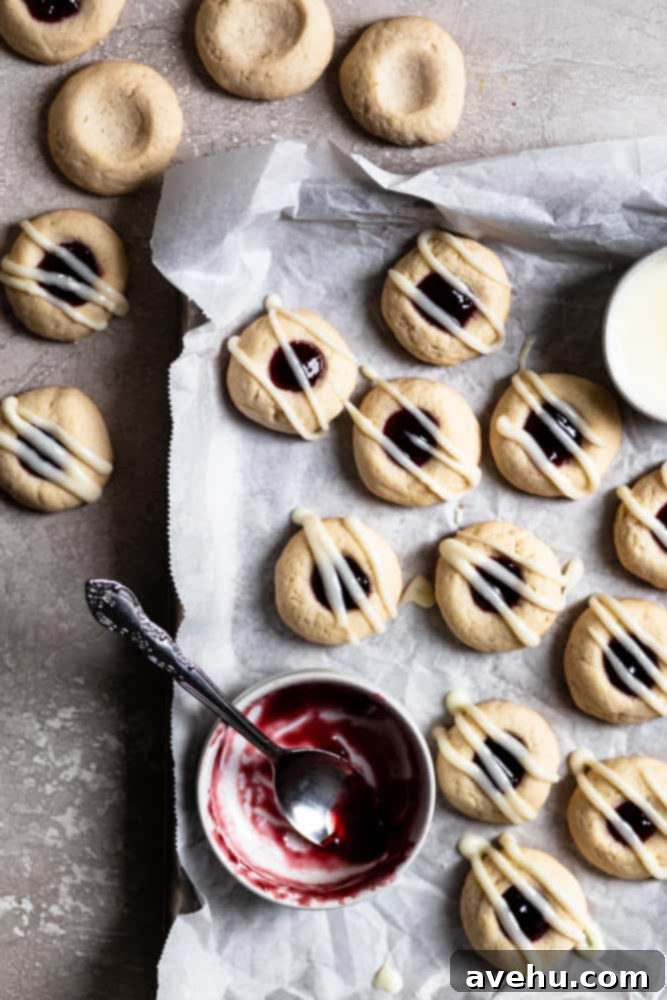
Irresistible Cream Cheese Raspberry Thumbprint Cookies: Your Go-To Holiday Recipe
There’s a reason why some recipes become timeless classics, especially during the festive season. These delightful raspberry thumbprint cookies are precisely that – a cherished holiday tradition! What makes our version stand out is the secret ingredient in the dough: cream cheese. This magical addition ensures a wonderfully smooth, soft texture that simply melts in your mouth and, crucially, prevents those annoying cracks that can sometimes mar classic thumbprint cookies. Each buttery cookie is generously filled with sweet, vibrant raspberry jam, creating a perfect balance of tart and sweet. To elevate them even further, a delicate drizzle of tangy cream cheese icing adds a final layer of irresistible flavor and a beautiful finish. Prepare yourself, because these cookies are guaranteed to be a crowd-pleaser and a highlight of any holiday gathering!
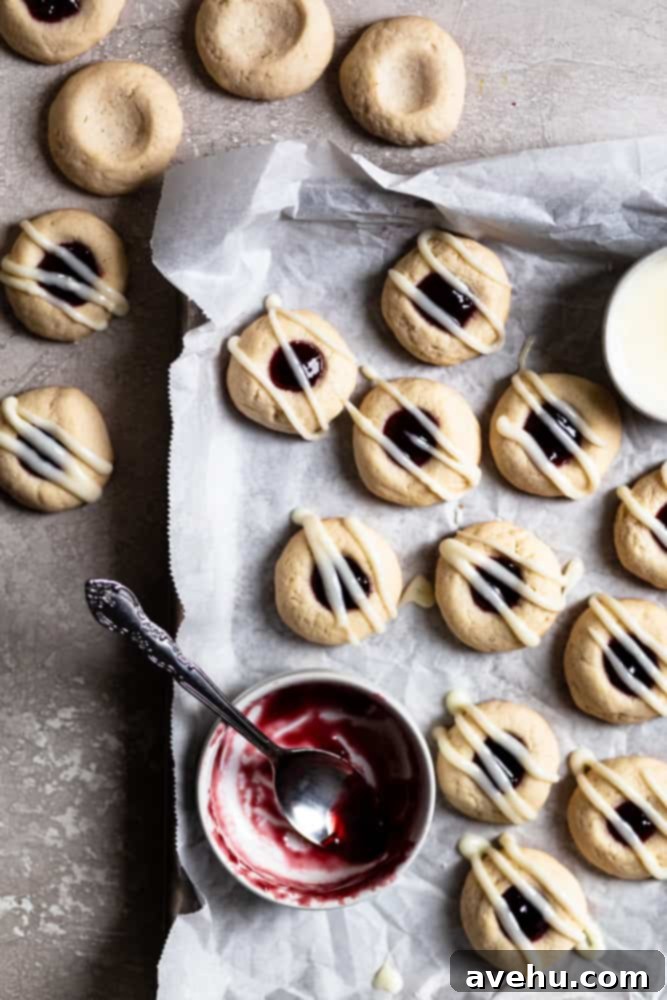
Who could possibly resist the charm of a freshly baked raspberry thumbprint cookie? Certainly not me! As a trained pastry chef, I’ve had the pleasure of tasting countless cookie varieties, but I can confidently say that these raspberry jam-stuffed beauties consistently rank among my top 5 favorite holiday cookies. Their timeless appeal, combined with the exceptional texture, makes them truly special.
Thumbprint cookies earn their whimsical name from their unique formation process. You simply roll the rich cookie dough into a neat ball, then gently press your thumb (or a small round object) into the center to create a perfect indentation, which is later filled with delicious jam. What sets our recipe apart is the inclusion of cream cheese directly in the cookie dough. This isn’t just a flavor enhancer; it’s a game-changer for texture, ensuring a smooth, tender cookie that won’t crack during baking, resulting in a consistently beautiful and soft treat every time.
Once baked to golden perfection, these cookies are generously filled with luscious raspberry jam, which softens beautifully with the residual warmth. But the indulgence doesn’t stop there. A delicate, tangy cream cheese glaze is then drizzled over each cookie, adding a bright counterpoint to the sweetness of the jam and the richness of the cookie. If you’re a true raspberry enthusiast and want to double down on that fruity flavor, consider topping them with a vibrant raspberry cream cheese frosting. And for those moments when you find yourself out of butter but still craving that creamy glaze, my convenient cream cheese frosting without butter recipe is a fantastic alternative.
The delightful interplay of textures and flavors – the firm yet tender cookie base, the gooey sweet raspberry filling, and the bright, tangy glaze – creates a truly exquisite combination that almost melts in your mouth. Seriously, resisting a second (or third!) cookie will be a challenge. As I often say, these are hands down one of my favorite easy cookie recipe ideas, perfect for bakers of all skill levels and sure to impress everyone who tries them.
Why You’ll Adore These Raspberry Thumbprint Cookies
These cream cheese thumbprint cookies aren’t just delicious; they offer several compelling reasons to become your new favorite:
- Effortlessly Simple to Make: Despite their sophisticated appearance, these cookies are surprisingly easy to prepare. I’ve enjoyed making them with my kids, and they always have a fantastic time rolling the dough and pressing their “thumbprints.” It’s a wonderful activity for family baking sessions, creating lasting memories along with delicious treats.
- The Tangy Cream Cheese Glaze is a Game-Changer: While the cookie itself is phenomenal, the light and tangy cream cheese glaze truly elevates these cookies. It provides a delightful contrast to the sweet jam and rich cookie dough, adding a layer of complexity and freshness that makes each bite incredibly satisfying. It’s the perfect finishing touch.
- Ideal for Gifting and Holiday Platters: Their beautiful presentation, delightful taste, and robust texture make these thumbprint cookies perfect for holiday gift baskets, cookie exchanges, or festive dessert platters. They travel well and are always a welcome sight, spreading joy with every bite.
- Crack-Free Perfection: Thanks to the cream cheese in the dough, you can say goodbye to unsightly cracks that often plague traditional thumbprint cookies. This recipe ensures a smooth, inviting surface ready to hold that delicious jam.
- Versatile Filling Options: While raspberry jam is a classic, these cookies are incredibly adaptable. Feel free to experiment with other fruit preserves, chocolate spreads, or even nut butters to create your own signature thumbprint cookie variations.
Essential Ingredients for Your Perfect Thumbprint Cookies
Gathering the right ingredients is the first step to baking success. Here’s what you’ll need, with a little insight into each component’s role:
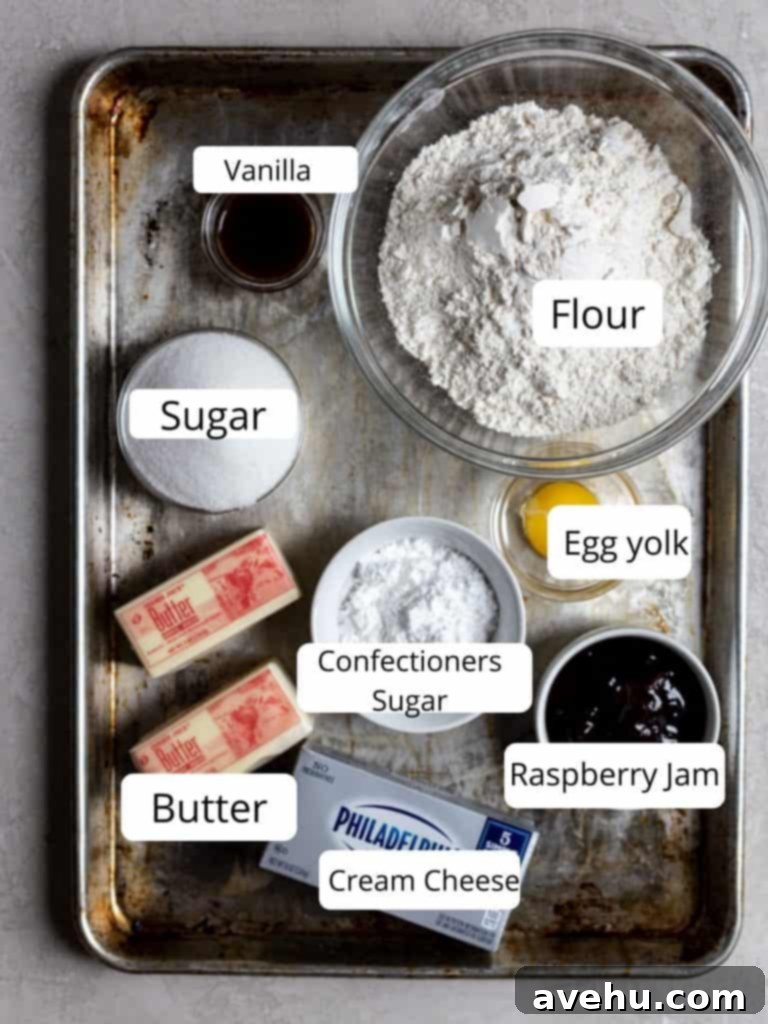
- Unsalted Butter: You’ll need softened butter to cream beautifully with the sugars. This forms the essential fat base of our cookies, contributing to their richness and tender crumb. If you’re short on time, learn how to soften butter quickly!
- Granulated Sugar: This provides both sweetness and structure to the cookie dough, helping to create that perfect texture.
- Powdered Sugar (Confectioners’ Sugar): Crucial for achieving that melt-in-your-mouth soft texture in the cookies. It also forms the base for our smooth, tangy cream cheese glaze.
- Cream Cheese: Use full-fat cream cheese for the best results, both in the cookie dough for its signature softness and crack-free property, and in the glaze for its delightful tang. You’ll only need one standard 8 oz block, and you might even have a little left over for other uses. Forgotten to take it out? No problem, learn how to soften cream cheese quickly!
- Egg Yolk: The egg yolk acts as a binding agent, helping to build the cookie’s structure and adding richness without making the cookies too firm.
- Vanilla Extract: A splash of good quality vanilla extract enhances all the other flavors, adding a warm, balanced aromatic note to the cookie.
- All-Purpose Flour: This is the fundamental structural component of our cookies, holding all the delicious ingredients together. Always measure flour accurately for consistent results.
- Kosher Salt: A small amount of salt is essential for balancing the sweetness and bringing out the depth of flavor in the cookies. Don’t skip it!
- Raspberry Jam: The star of the filling! Choose a good quality raspberry jam for the best flavor. You’ll be filling the baked cookies with this sweet and slightly tart preserve.
- Milk: Just a tablespoon or so of milk is needed to thin out the cream cheese and powdered sugar into a smooth, drizzle-able glaze for the topping.
Crafting Perfect Cream Cheese Thumbprint Cookies: A Step-by-Step Guide
Making these irresistible thumbprint cookies is a joyous process. Follow these simple steps for perfect results:
Step 1: Prepare the Cream Cheese Thumbprint Cookie Dough
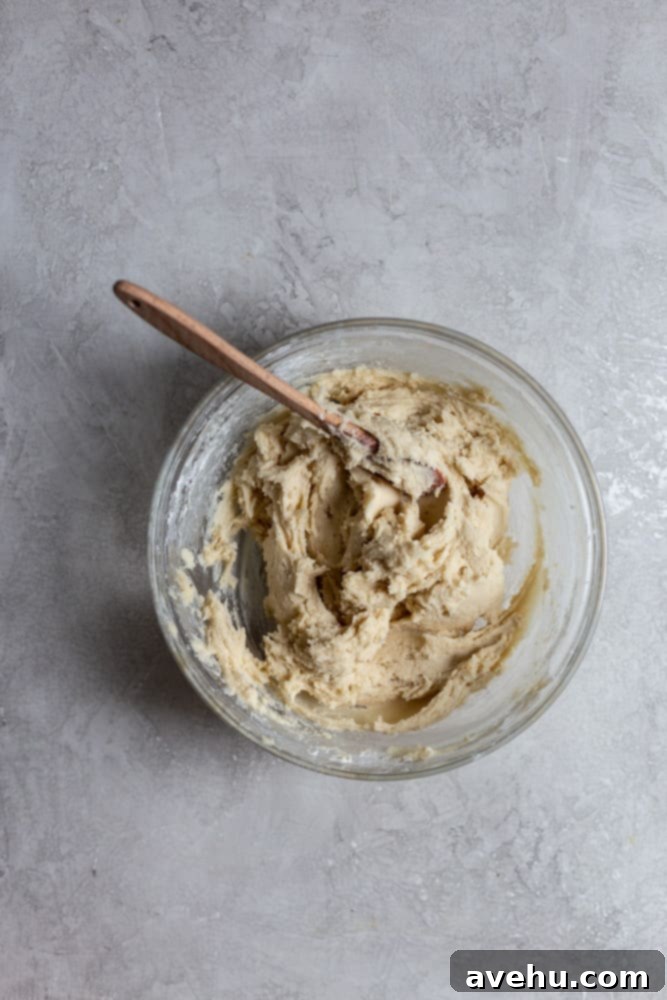
You have options here: use a powerful stand mixer with the paddle attachment, a convenient hand mixer, or even embrace the meditative art of baking by hand with a medium-sized bowl and a sturdy spatula. Begin by combining the softened unsalted butter, both granulated sugar and confectioners’ sugar, and the cream cheese. If using a mixer, cream them together on low speed until the mixture is light yellow, fluffy, and well aerated. If mixing by hand, stir vigorously until you achieve a similar smooth, foamy consistency. Next, incorporate the egg yolk and vanilla extract, mixing until just combined. Finally, add the all-purpose flour and kosher salt. Mix until the dough just comes together, being careful not to overmix, which can lead to tough cookies.
Step 2: Shape and Indent the Dough Balls
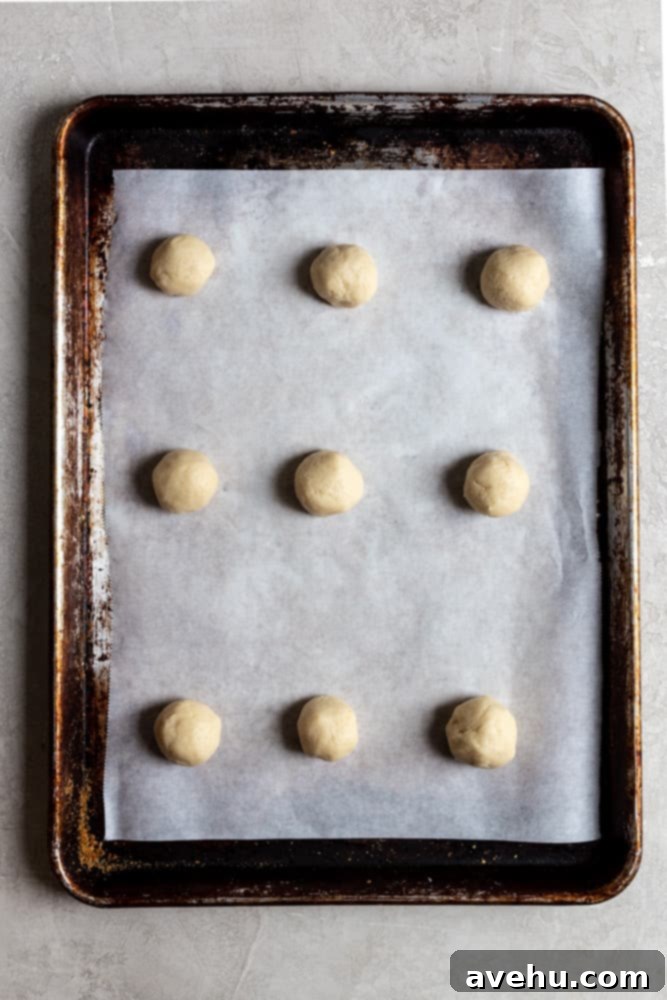
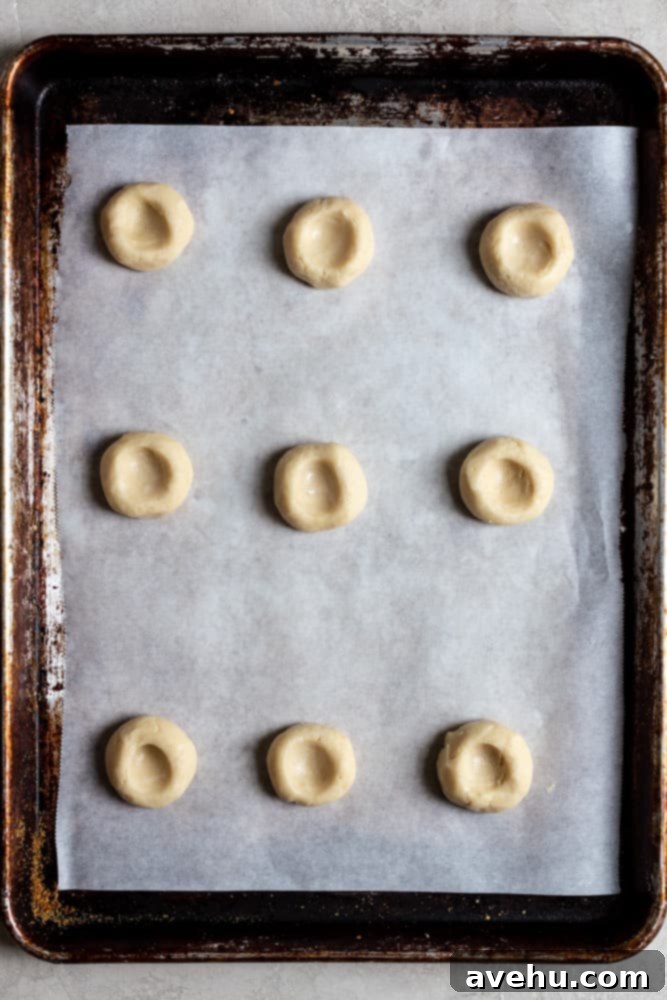
Using a small cookie scoop (about 1.5 tablespoons) or a regular kitchen spoon, portion out the dough. Roll each portion into a smooth, uniform ball between your palms. Place these dough balls on a parchment-lined cookie sheet, ensuring they are about 1.5 to 2 inches apart. To create the signature “thumbprint,” slightly moisten your thumb (this helps prevent sticking and cracking) and gently press it into the center of each cookie ball, forming a shallow indentation. Repeat this process until all the dough is shaped. Now, here’s a crucial step for optimal texture and to prevent spreading: chill the shaped cookies in the refrigerator for at least 30 minutes. This helps the butter firm up, resulting in a more tender cookie that holds its shape better.
Step 3: Bake to Golden Perfection and Fill with Jam
Preheat your oven to 375°F (190°C). Bake the chilled cookies for approximately 15 minutes, or until the edges are lightly golden brown. The centers should still look soft. Once baked, remove the cookie sheet from the oven and let the cookies cool on the sheet for about 10 minutes. This allows them to set slightly. While still warm, if the indentations have puffed up, you can gently re-press them with your thumb or the back of a small spoon to deepen the well for the jam. After a brief cooling period, warm your raspberry jam in the microwave for about 30 seconds; this makes it much easier to spoon and spread smoothly. Fill each warm cookie indentation with about 1/2 teaspoon of the warmed raspberry jam.
Step 4: Drizzle with Tangy Cream Cheese Glaze
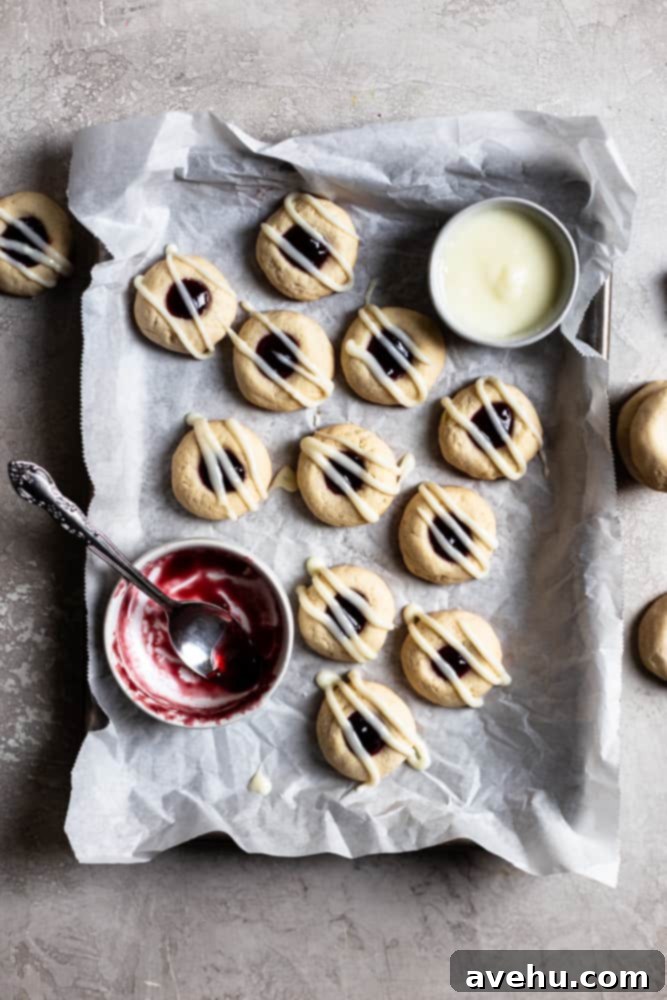
While the cookies continue to cool and the jam sets, prepare your delightful cream cheese glaze. In a small bowl, whisk together the softened cream cheese, confectioners’ sugar, and milk until you achieve a perfectly smooth, drizzle-able consistency. For a truly elegant presentation, arrange the jam-filled cookies on a cooling rack over a piece of parchment paper (to catch any drips). Drizzle the glaze generously over each cookie. Drizzling them diagonally can create a particularly pretty, professional-looking finish. Allow the glaze to set slightly before serving. Enjoy these delectable treats!
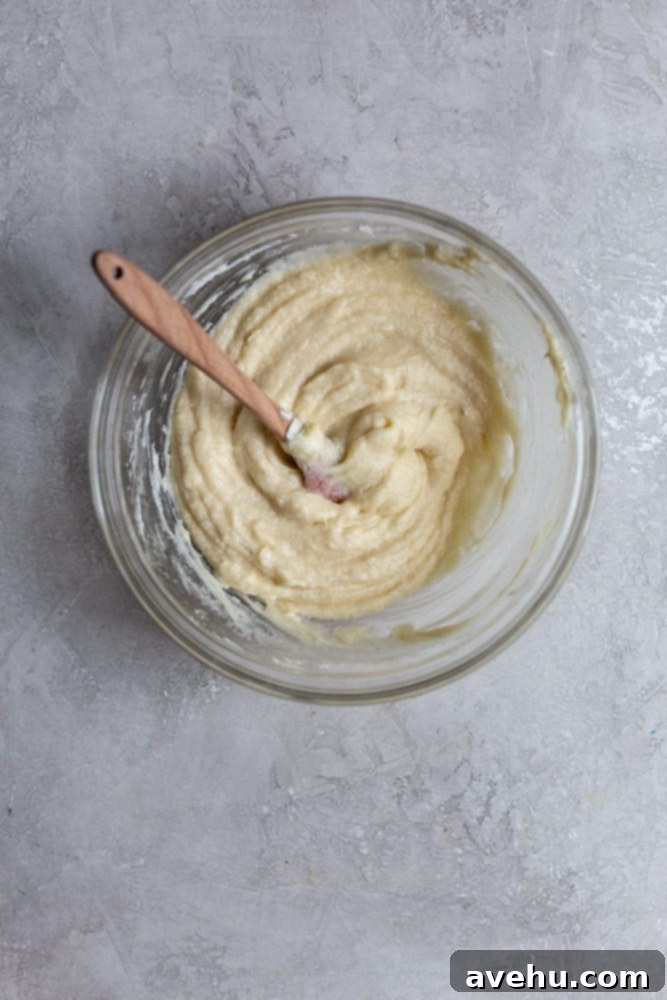

One important tip I always emphasize for these cookies is to fill them with jam after they are baked.
I experimented with filling them before baking, and while they still tasted good, I found the appearance wasn’t as appealing. The jam tended to dry out and lose some of its vibrant color and fresh texture during the baking process. Filling them afterward ensures the jam stays deliciously moist and beautiful, creating a more professional and enticing finished cookie.
Expert Tips for Raspberry Thumbprint Cookie Success
Achieving bakery-worthy thumbprint cookies is easy with a few insider tips:
- Deepen the Thumbprint While Warm: When the cookies first come out of the oven, they might puff up slightly, causing the thumbprint indentation to become shallower. While they are still warm and pliable, gently press down again with your thumb or the back of a small spoon to deepen the well. Be careful, as they will still be quite hot! This ensures a perfectly deep cavity for plenty of jam.
- Warm the Jam for Easy Filling: To make the raspberry jam super easy to spoon into the cookie wells and ensure a smooth, even application, warm it up in the microwave for about 30 seconds. This makes it more fluid and less sticky.
- Mindful Spacing for Even Baking: This particular cookie recipe doesn’t spread a lot during baking, which means you can fit more cookies per sheet than some other recipes. You only need about 1 1/2 inches of space between each cookie. This efficiency means more cookies in less time!
- Patience with Jam Filling: As mentioned, I recommend filling these cookies with jam *after* they are baked. My trials with pre-baking the jam resulted in a drier, less vibrant filling. Post-baking preserves the jam’s fresh flavor and luscious texture.
- Prevent Sticking When Storing: If you plan on stacking these cookies for storage or transport, it’s best to wait until just before serving to drizzle them with the cream cheese icing. If you must glaze them beforehand, line your cookie tin or container with wax paper between layers to prevent the glazed cookies from sticking together and smudging.
- Accurate Ingredient Measurement: Especially when it comes to flour, precise measurement is key. Too much flour can result in dry, crumbly cookies, while too little can make them spread excessively. Use a kitchen scale for the most accurate results, or the ‘spoon and level’ method for volume measurements.
Why These Cookies Won’t Crack
One of the most frustrating things about baking traditional thumbprint cookies can be the cracking of the dough as you press the indentation or during baking. This recipe virtually eliminates that worry, thanks to the star ingredient: cream cheese! The cream cheese in this dough significantly increases its moisture content and elasticity, making it incredibly soft and pliable. This pliable dough is far less likely to crack when you press your thumb into it, and it maintains its integrity beautifully during baking. Additionally, wetting your thumb slightly before pressing helps to create a smoother, more even indentation, further reducing any chance of cracking. If a minor crack does appear, the dough is so forgiving that you can simply smooth it back together, and it will bake up perfectly seamless.
Storing and Freezing Tips for Freshness
To enjoy these delectable thumbprint cookies long after they’re baked, proper storage is key:
Storing at Room Temperature or in the Fridge: You can store the baked and glazed cookies at room temperature in an airtight container for up to 3 days. For extended freshness, they will keep longer in the refrigerator for up to 6 days. If you plan on stacking the cookies, make sure to line the layers with wax paper or parchment paper. This simple step prevents the delicate cream cheese glaze from sticking and ensures each cookie remains pristine.
Freezing Options for Make-Ahead Convenience: These cookies are excellent for freezing, whether you want to prepare the dough in advance or save baked cookies for later.
- Freezing Cookie Dough: Form the dough into balls and press the indentations as instructed. Place them on a baking sheet and freeze until solid. Once firm, transfer the frozen dough balls to a zip-top freezer-safe bag. They will keep in the freezer for up to 2 months. When ready to bake, thaw the dough balls in the refrigerator for a few hours or at room temperature until soft enough to bake, then proceed with the baking instructions.
- Freezing Baked Cookies: If you’re freezing baked cookies, ensure they are completely cooled but *do not fill them with jam or glaze them* before freezing. Arrange the plain baked cookies in a single layer on a baking sheet and freeze until solid. Once frozen, transfer them to a zip-top freezer-safe bag or an airtight container, separating layers with wax paper. They will stay fresh for up to 2 months. When you’re ready to serve, thaw the cookies at room temperature, then fill with warmed jam and drizzle with the freshly made cream cheese glaze. This ensures the freshest taste and best appearance.
Recipe Frequently Asked Questions (FAQ)
Here are answers to some common questions about making these raspberry thumbprint cookies:
Can I use other jams or fillings for these cookies?
Absolutely! While raspberry jam is a classic, these cookies are incredibly versatile. Feel free to experiment with any fruit jam you love, such as apricot, strawberry, blueberry, or even fig. For a different twist, try filling them with a rich chocolate hazelnut spread, a dollop of peanut butter (perhaps with a chocolate drizzle!), or even lemon curd for a bright, tangy flavor. The possibilities are endless, allowing you to customize them for any occasion or preference.
Why do my thumbprint cookies crack?
Cracking is a common issue with many thumbprint cookie recipes, but ours is designed to minimize it. The cream cheese in this recipe is a key factor, as it keeps the dough exceptionally soft and pliable, significantly reducing the likelihood of cracks. To further ensure a smooth finish, make sure to use lightly wet hands when rolling the cookie dough into balls. This helps create a smooth surface before you even press your thumb into it. Also, press your thumb gently and evenly. If a small crack does appear, the dough is forgiving enough that you can gently smooth it back together before baking, and it should bake beautifully.
Can I make the cookie dough ahead of time?
Yes, absolutely! The cookie dough is perfect for making ahead. You can prepare the dough, shape it into balls, and press the indentations, then refrigerate for up to 2-3 days before baking. This makes them ideal for holiday baking when you need to prepare things in stages. Just allow the dough to come to a slight room temperature for about 15-20 minutes before baking if it feels too firm.
Discover More Fun Cookie Recipes!
If you’ve enjoyed baking these delightful thumbprint cookies, you’ll love exploring other exciting cookie recipes from my collection. From classic chocolate chip to unique seasonal treats, there’s always something new to bake!


Cream Cheese Thumbprint Cookies with Raspberry Jam
Pin
Review
SaveSaved!
Ingredients
For the cookies
- 1 cup (227 g) unsalted butter, softened
- 3/4 cup (150 g) sugar
- 1/4 cup (30 g) confectioners sugar
- 4 oz (113.4 g) cream cheese, 1/2 cup
- 1 (1 ) egg yolk
- 2 tsp (2 tsp) vanilla extract
- 2 1/2 cups (312.5 g) all purpose flour
- 1/2 tsp (0.5 tsp) kosher salt
- 1/2 cup (170 g) raspberry jam
For the glaze
- 2 tbsp (2 tbsp) cream cheese, softened
- 1/3 cup (40 g) confectioners sugar
- 1 tbsp (1 tbsp) milk
Instructions
Make the cookies
-
 You can use a hand mixer, stand mixer fitted with the paddle attachment, or make this recipe by hand. In the bowl combine the 1 cup softened butter with 3/4 cup sugar and 1/4 cup confectioners sugar. Cream on low speed or mix by hand until foamy and light. Add the 1/2 cup cream cheese, egg yolk, and 2 tsp vanilla and cream again.
 -
 Add the 2 1/2 cups flour and 1/2 tsp kosher salt and mix until the dough forms.
 -
 Scoop out the dough using a small cookie scoop or using a kitchen spoon and roll into a ball. Line the cookies up on the baking sheet 1 1/2″ apart. Wet your thumb and press it into the cookie.
 -
Preheat the oven to 375° and bake for 15 minutes. Cool.
-
 Warm up the jam for 30 seconds in the microwave. Spoon 1/2 tsp jam into each cookie.
Make theCream Cheese Glaze
-
 Combine the 2 tbsp cream cheese with 1/3 cup confectioners sugar and 1 tbsp milk. Whisk until a smooth glaze forms. Line the cookies up on a cookie sheet and drizzle the glaze all over the cookies. Enjoy!
Notes
Make sure when rolling out the dough that it is smooth with no cracks to ensure the cookies won’t crack while baking.
