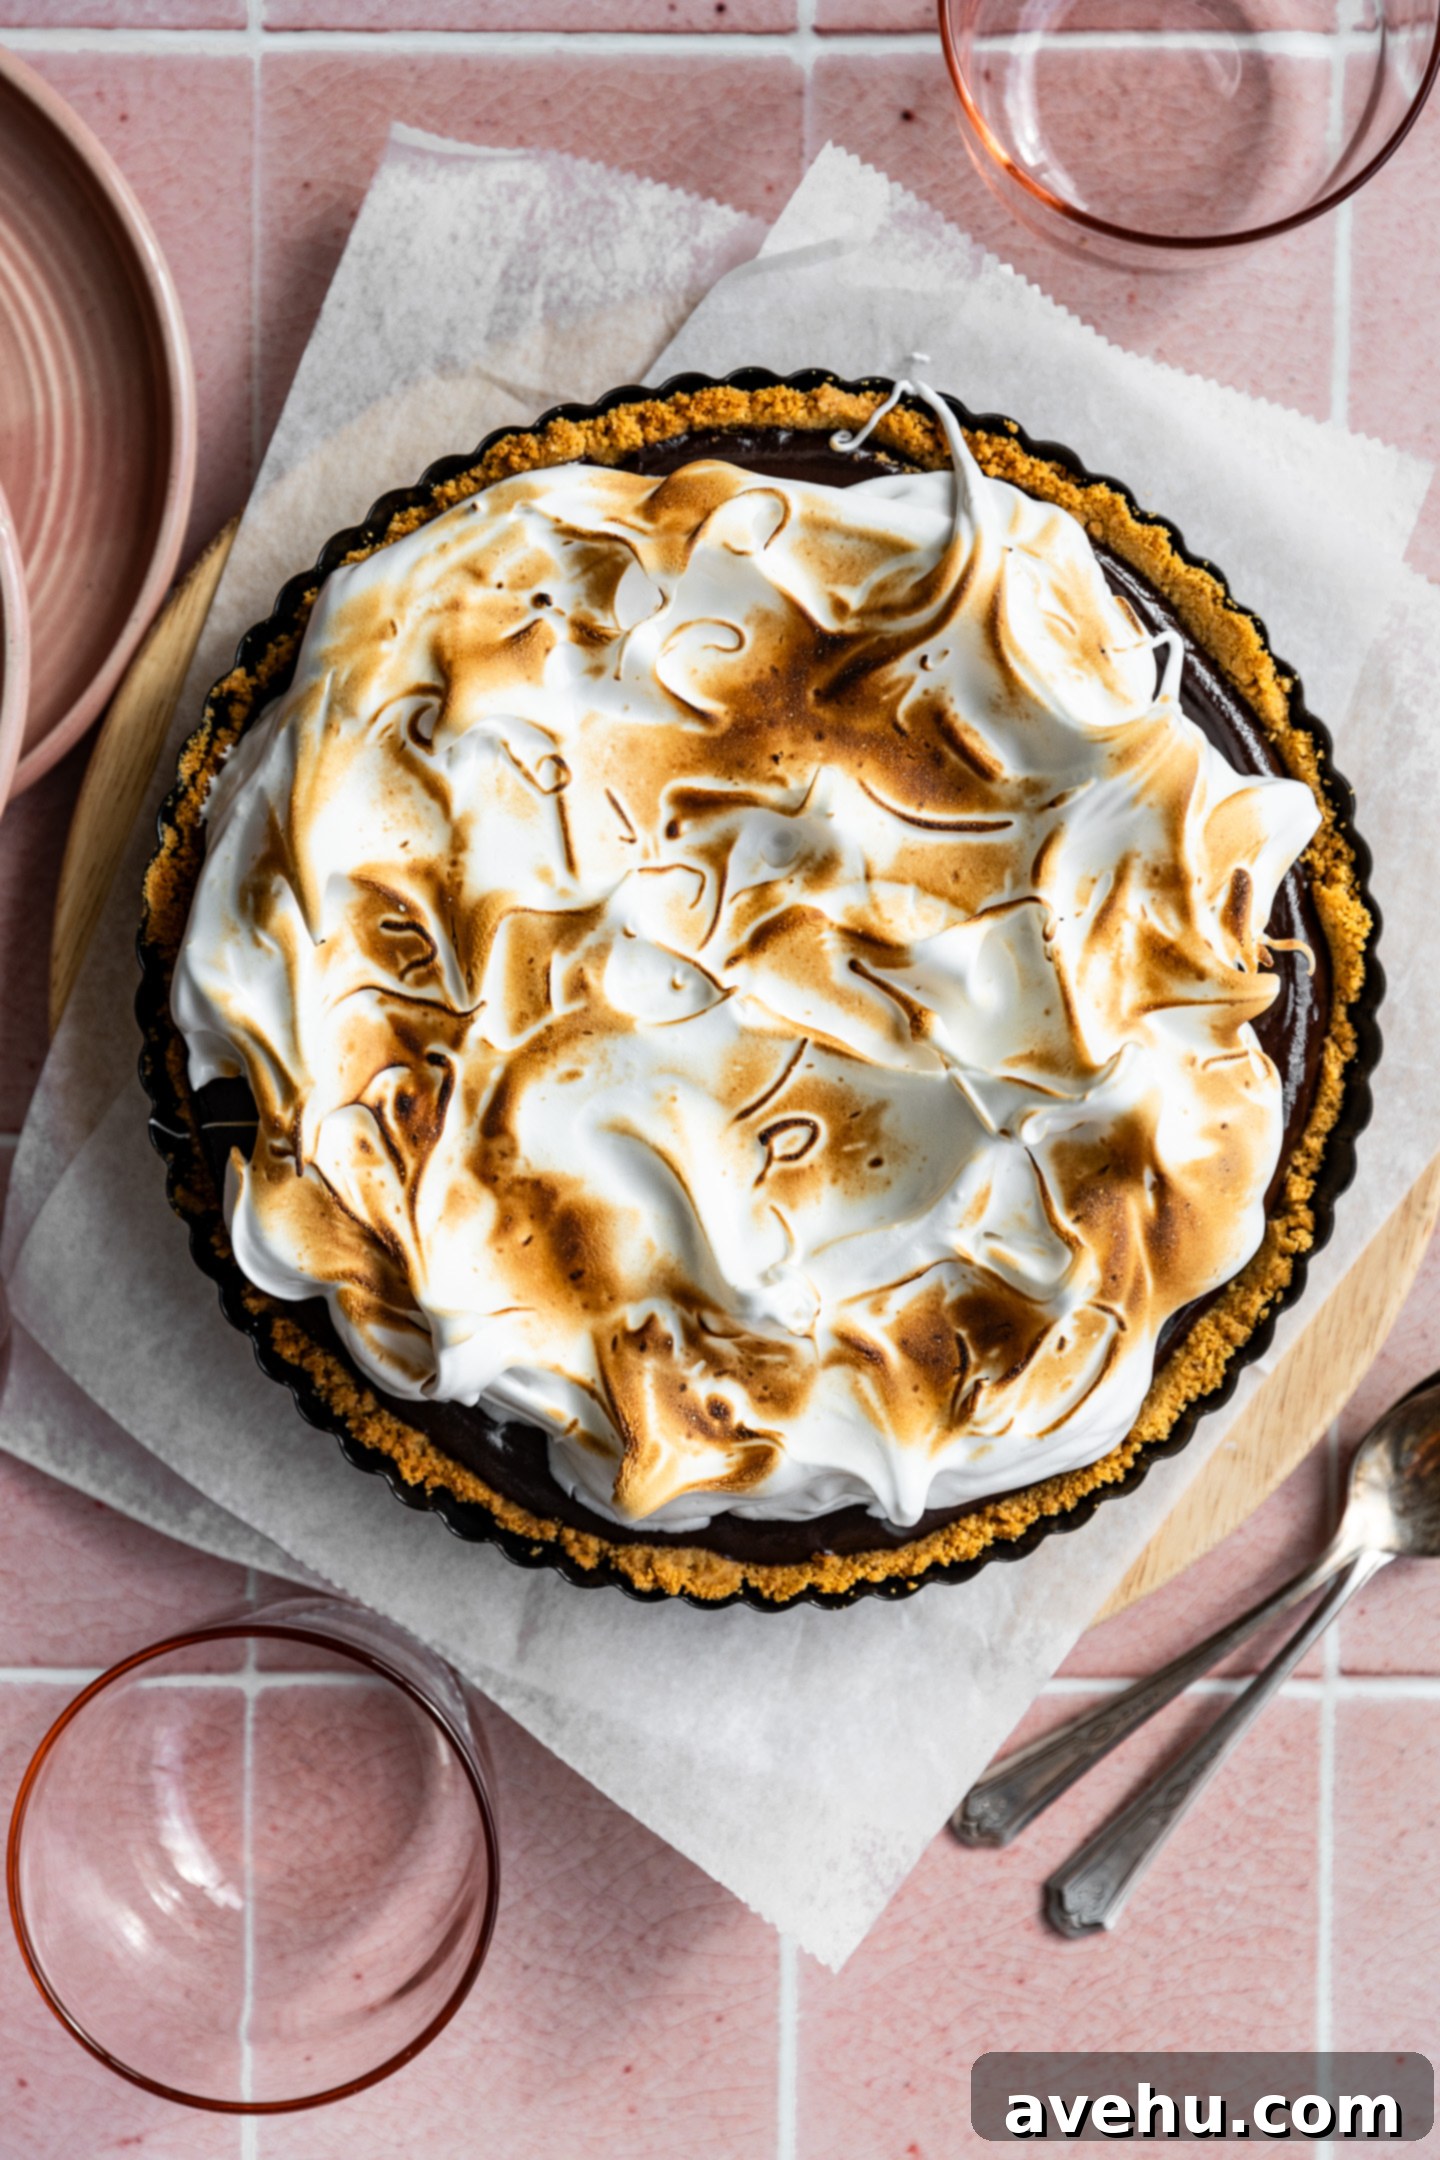
Ultimate S’mores Pie: Decadent Chocolate Ganache with Toasted Marshmallow Meringue
Prepare yourself for the most incredible S’mores experience in dessert form! This extraordinary **S’mores pie recipe** features a perfectly crunchy **graham cracker crust**, a rich and thick layer of velvety **chocolate ganache**, and is crowned with a beautifully toasted **marshmallow meringue**. Can you practically taste it already? Whether you’re looking for the perfect **summer dessert** to enjoy around a campfire or a show-stopping treat for the **holidays**, this decadent yet surprisingly **easy dessert** is guaranteed to impress your guests without demanding hours of your precious time in the kitchen.
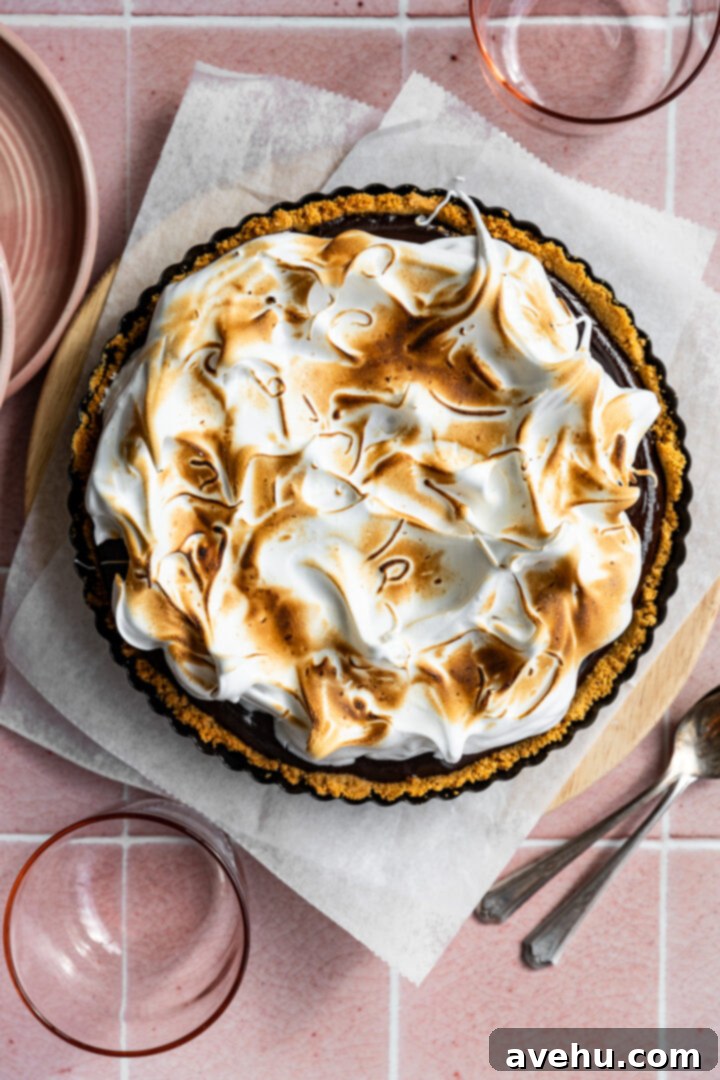
Let’s dive deeper into this incredible **homemade S’mores pie** because, quite frankly, it’s the stuff of dessert dreams. It’s truly that good, offering a sophisticated twist on a classic campfire treat, elevating it to an impressive, yet approachable, baked masterpiece.
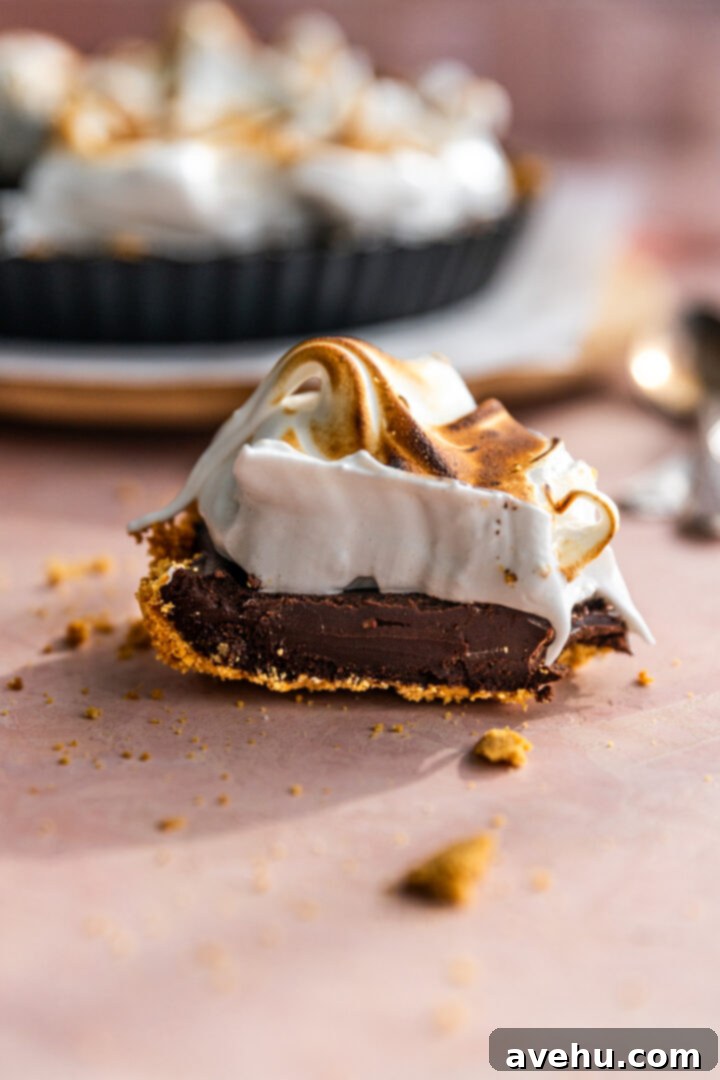
As a trained pastry chef, my primary goal for any dessert is to ensure that each component contributes a distinct and memorable experience with every single bite. What truly elevates this **S’mores pie** above the rest is the delightful interplay of contrasting textures and harmonious flavors found in its meticulously crafted layers. This pie stands apart from other S’mores variations, like my S’mores brownies or marshmallow brownies recipe, precisely because it boasts three unique layers, each contributing its own special character and textural nuance to the overall indulgence. It’s a true symphony of taste and sensation that will leave a lasting impression.
Let’s break down these irresistible layers that make this S’mores Pie so unforgettable:
The Crunchy Graham Cracker Crust
Much like the sturdy and flavorful foundations of my homemade cheesecake recipes, the base of this extraordinary **S’mores pie** is a perfectly executed **graham cracker crust**. It’s briefly toasted in the oven, just enough to achieve a sturdy, cohesive structure that holds its shape beautifully when sliced, preventing any unwanted crumbling. I’ve subtly enhanced this recipe with a touch of granulated sugar, sweetening the crust just enough to create a perfect counterbalance to the intense, often bittersweet chocolate in the decadent ganache layer that follows. This careful balance ensures a harmonious flavor profile that delights from the very first bite.
The Decadent Chocolate Ganache Filling
The **chocolate ganache** at the heart of this pie is anything but ordinary. It’s incredibly thick and deeply luscious, possessing an almost truffle-like density that speaks to its richness. My intention here was to create a significant textural contrast: the airy lightness of the toasted meringue on top is beautifully complemented by the substantial, indulgent experience of this dark chocolate layer. This deliberate difference in texture truly tantalizes your taste buds, making each mouthful an exciting journey through layers of pure chocolate bliss. We’re talking a truly rich, smooth, and satisfying chocolate experience.
The Light and Toasted Meringue Topping
I must confess, I have a deep adoration for a perfectly glossy, cloud-like meringue! This topping offers a taste sensation reminiscent of classic marshmallow fluff, but magnified tenfold in flavor and elegance due to its fresh, homemade quality and light texture. Please don’t be intimidated by the thought of making meringue – it’s actually remarkably simple to achieve! While I highly recommend toasting it with a **kitchen torch** for precision and a beautiful golden-brown finish (they are incredibly easy and safe to use, I promise, offering unparalleled control over the toasting process), you can certainly achieve a similar effect by carefully toasting it in your oven, as detailed in the instructions below.
Should you prefer an alternative to meringue, perhaps due to time constraints or if you simply don’t have a kitchen torch handy, you could also generously top this pie with my homemade marshmallow frosting. It offers a similar sweet, fluffy texture, creating a delightful contrast with the rich chocolate and crunchy crust. However, the unique, slightly smoky, and caramelized notes of toasted meringue truly add a special dimension that captures the authentic S’mores spirit like no other.
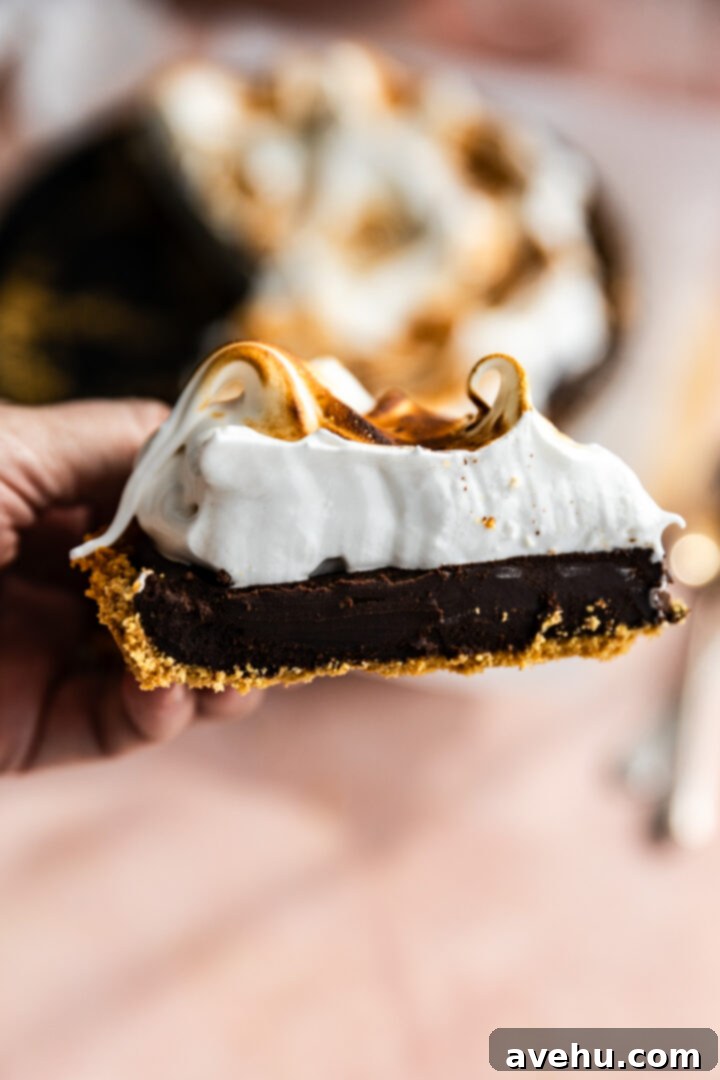
Bringing all these delightful components together results in an incredibly beautiful and genuinely impressive dessert that, despite its sophisticated appearance and gourmet layers, is remarkably straightforward to prepare. It’s a true win-win situation – a showstopper that doesn’t demand advanced baking skills, making it accessible for home bakers of all levels. Now, let me walk you through exactly how to create this masterpiece, ensuring your success with this **easy S’mores pie recipe**!
Essential Equipment for Your S’mores Pie Success
To ensure a smooth and successful baking experience for your **homemade S’mores pie**, having the right tools on hand can make all the difference. Here’s a list of essential equipment you’ll need:
- Pie or Tart Pan: I personally favor using a tart pan for this **S’mores pie recipe** due to its elegant fluted edges and removable bottom, which make for a stunning presentation and easy slicing. The fluted edges add a lovely visual appeal to the finished dessert. However, a standard pie pan (9-inch or 9.5-inch) will work just as effectively to create this delicious treat, simply adjust the pressing of the crust accordingly.
- Stand or Hand Mixer: Whipping egg whites to create that luscious, airy meringue is a crucial step that simply cannot be done effectively by hand. Achieving the correct volume and consistency for your meringue topping requires mechanical assistance. A robust stand mixer with a whisk attachment or a powerful hand mixer is absolutely essential for light, fluffy, and stable peaks.
- A Kitchen Torch: While not strictly mandatory to finish the pie (you can use your oven’s broiler, as explained below), I cannot emphasize enough how highly I recommend investing in a good quality kitchen torch. It provides superior control for achieving a perfectly golden and toasted meringue, creating those beautiful caramelized spots without overcooking the rest of the pie. It’s also significantly less intimidating and safer than attempting to broil or bake the delicate meringue in your oven, as it minimizes the risk of burning and allows for precise browning. Trust me, once you own one, you’ll wonder how you ever managed without this fantastic tool for all your dessert finishing needs!
Key Ingredients for the Perfect S’mores Pie
Choosing the right ingredients is paramount to the success of this **decadent S’mores pie**. High-quality components ensure the best flavor and texture in your finished dessert. Here are a few important notes on the key components:
Graham Cracker Crumbs: For ultimate convenience and to guarantee a consistently fine texture, I highly recommend purchasing pre-crushed **graham cracker crumbs**. While you can certainly crush your own whole graham crackers at home, I often find that homemade crumbs can remain a bit too chunky, which can affect the smooth, compact consistency of the pie crust. Opting for store-bought ensures a perfectly uniform and delightful base for your pie, saving you time and effort.
Chocolate: The quality and type of your chocolate directly impact the richness and depth of your **chocolate ganache**. For the most balanced and delicious flavor profile, always use **semi-sweet or bittersweet chocolate**. These varieties offer a pleasant intensity that complements the sweetness of the meringue and crust. Milk chocolate, while tempting, tends to be overly sweet for this particular dessert, potentially overwhelming the other delicate flavors and making the pie less sophisticated. I’m a big fan of the 72% cocoa chocolate chips from Trader Joe’s for this recipe, but any good quality baking chocolate (chips or bars, chopped) will work. And yes, using chocolate chips is perfectly fine! We’re aiming for a wonderfully rich **homemade S’mores pie**, not a Michelin star – so don’t hesitate to use good quality chips for convenience.
Heavy Cream: To achieve that luxuriously thick, smooth, and stable ganache, **heavy whipping cream** is an absolute necessity and non-negotiable ingredient. Its high fat content (typically 36% or more) is essential for emulsifying with the chocolate correctly, resulting in that desirable rich, truffle-like consistency. Please, do not attempt to substitute with half-and-half, light cream, or any lower-fat cream alternatives; they simply will not yield the desired texture or stability and would unfortunately be a waste of your precious ingredients.
Beyond these key components, you will also need several other pantry staples that contribute to the pie’s overall perfection:
- White Granulated Sugar: Essential for both sweetening the graham cracker crust and creating the stable, glossy meringue topping.
- Unsalted Butter: This binds the graham cracker crumbs together, creating a perfectly crumbly yet cohesive crust.
- Fresh Eggs: Specifically the egg whites, which are the foundation of your light, airy, and fluffy meringue. Ensure they are fresh for best whipping results.
- Cream of Tartar: A vital ingredient for the meringue, acting as a stabilizer to help the egg whites whip up beautifully, achieve maximum volume, and hold their stiff peaks without collapsing.
- Vanilla Extract: To add a touch of aromatic warmth and enhance the overall flavor profile of the meringue, creating a more complex and appealing taste.
Step-by-Step Guide: How to Easily Make This S’mores Pie
1. Crafting the Perfect Graham Cracker Crust
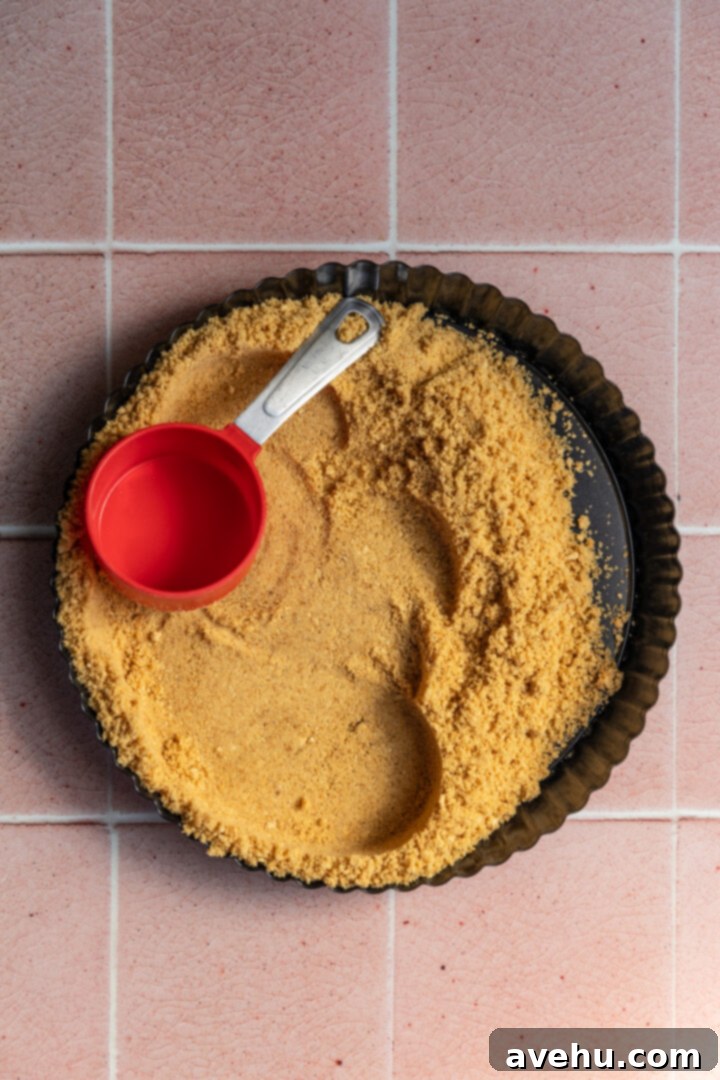
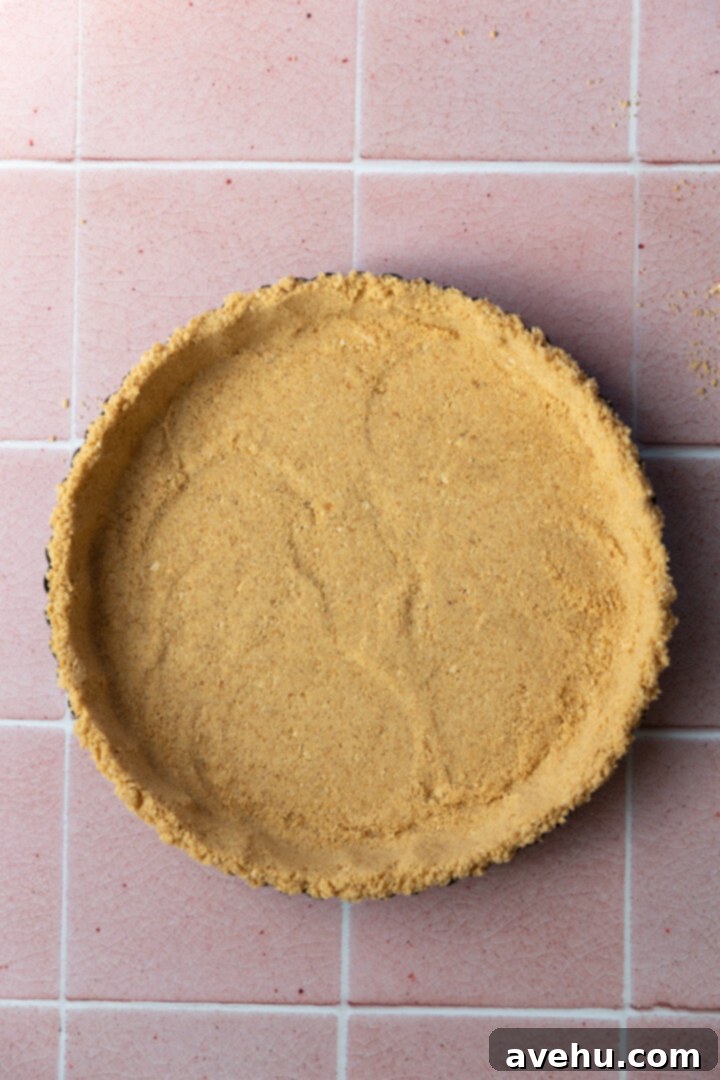
Begin by preheating your oven to 350° F (175° C). In a medium-sized microwave-safe bowl, melt the unsalted butter in short 30-second increments until it’s completely liquid and clear. Add your pre-crushed **graham cracker crumbs** and granulated sugar to the melted butter, mixing thoroughly with a fork or spatula until the mixture is evenly moistened and resembles wet sand. This consistency is crucial for a well-formed and sturdy crust. Firmly press this mixture into your chosen tart or pie pan, making sure to distribute it evenly across the bottom and slightly up the sides. I find that using the flat bottom of a 1/3 cup measuring cup is an excellent tool for compacting the crumbs tightly against the pan, ensuring a solid, unyielding base. Bake this crust for just 7 minutes to set its structure and deepen its flavor. Once baked, remove from the oven and allow it to cool completely while you prepare the next layer.
2. Preparing the Velvety Chocolate Ganache
Measure 12 ounces of your chosen semi-sweet or bittersweet chocolate into a heatproof bowl. In a separate microwave-safe measuring cup, measure out 8 ounces of heavy cream. Heat the heavy cream in 30-second intervals in the microwave until it reaches a scalding temperature – you’ll notice small bubbles forming around the edges of the cup, indicating it’s very hot. It’s crucial that the cream is very hot but definitely not boiling, as boiling can cause the cream to curdle and negatively affect the smooth texture of your ganache. Keep a close eye on it during heating!
Important Ganache Tip: You want the heavy cream to be extremely hot, just shy of a full boil. Boiling cream can cause it to curdle, resulting in a grainy ganache, so watch carefully for those small edge bubbles but prevent rapid bubbling!
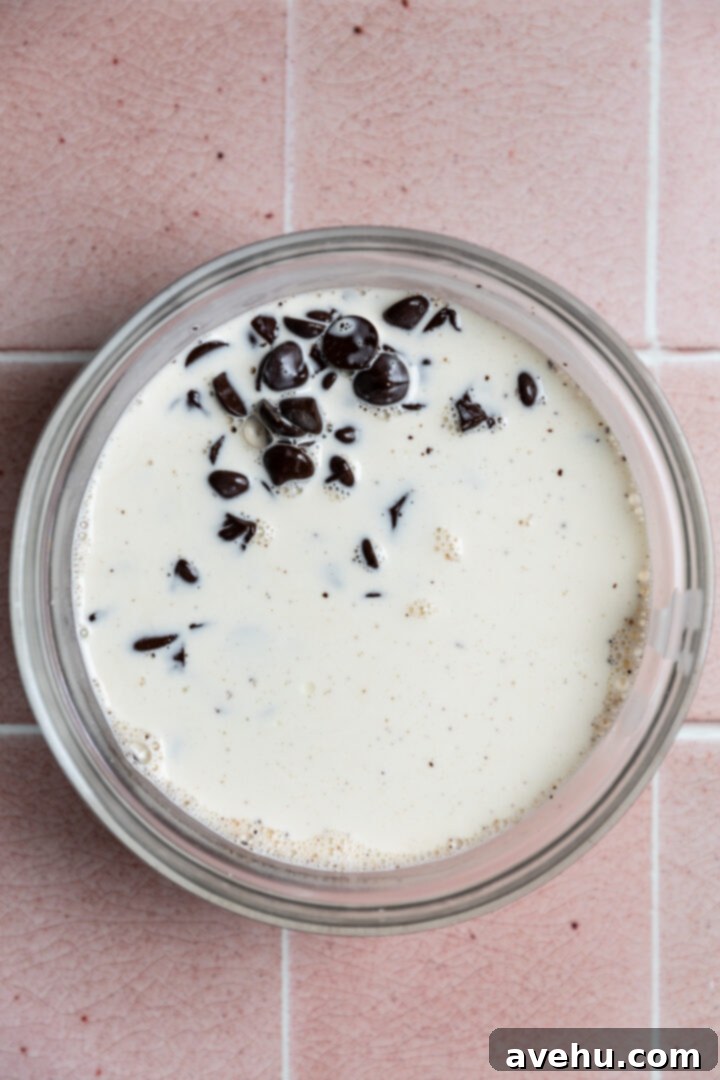
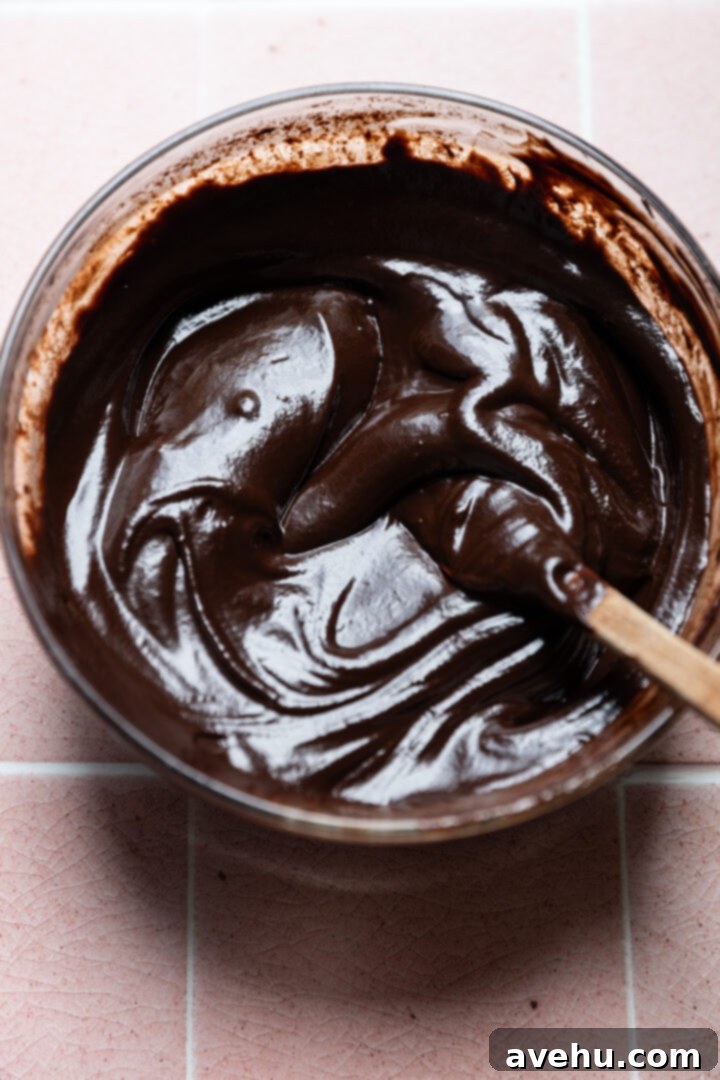
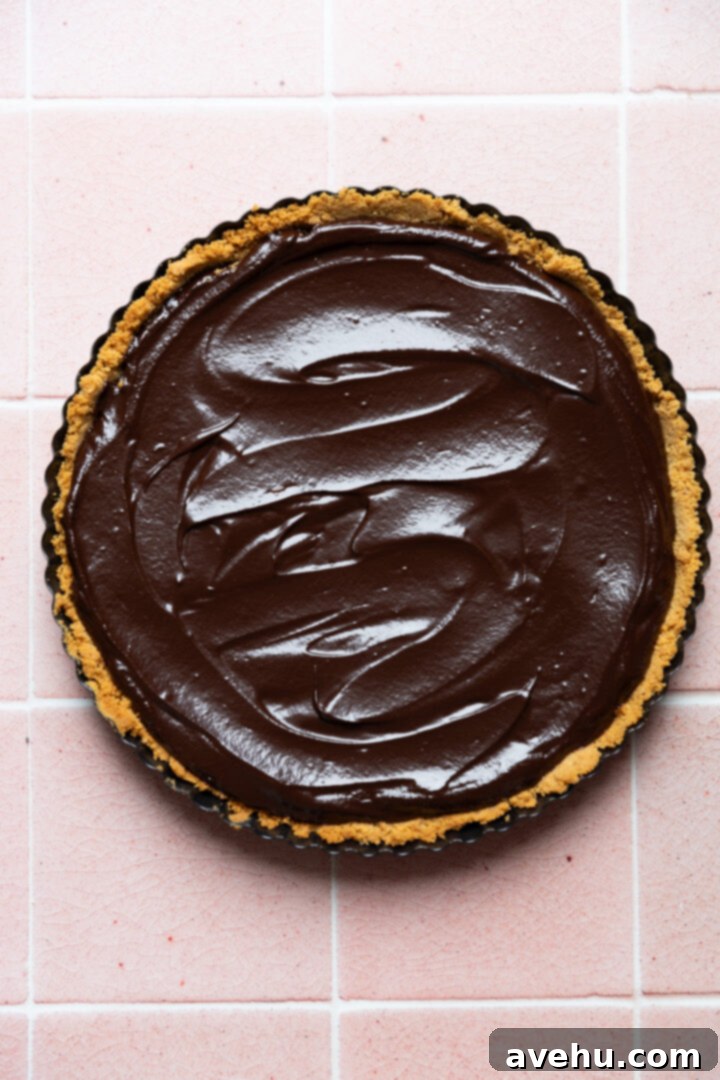
Carefully pour the scalding hot heavy cream directly over the chocolate in the heatproof bowl. Let this mixture sit undisturbed for 5 full minutes. This crucial resting period allows the intense heat from the cream to thoroughly and gently melt the chocolate without the need for immediate stirring, which is key for a truly smooth and lump-free ganache. After 5 minutes, gently stir the mixture with a spatula (it’s important to avoid using a whisk at this stage, as it can incorporate too much air) until the ganache becomes beautifully smooth, glossy, and fully emulsified. If desired, stir in a tiny pinch of kosher salt to enhance the chocolate’s flavor. Finally, pour this luscious ganache into your now-cooled baked graham cracker crust and refrigerate for 20-30 minutes, or until it is completely set and firm to the touch.
3. Whipping Up the Fluffy Meringue
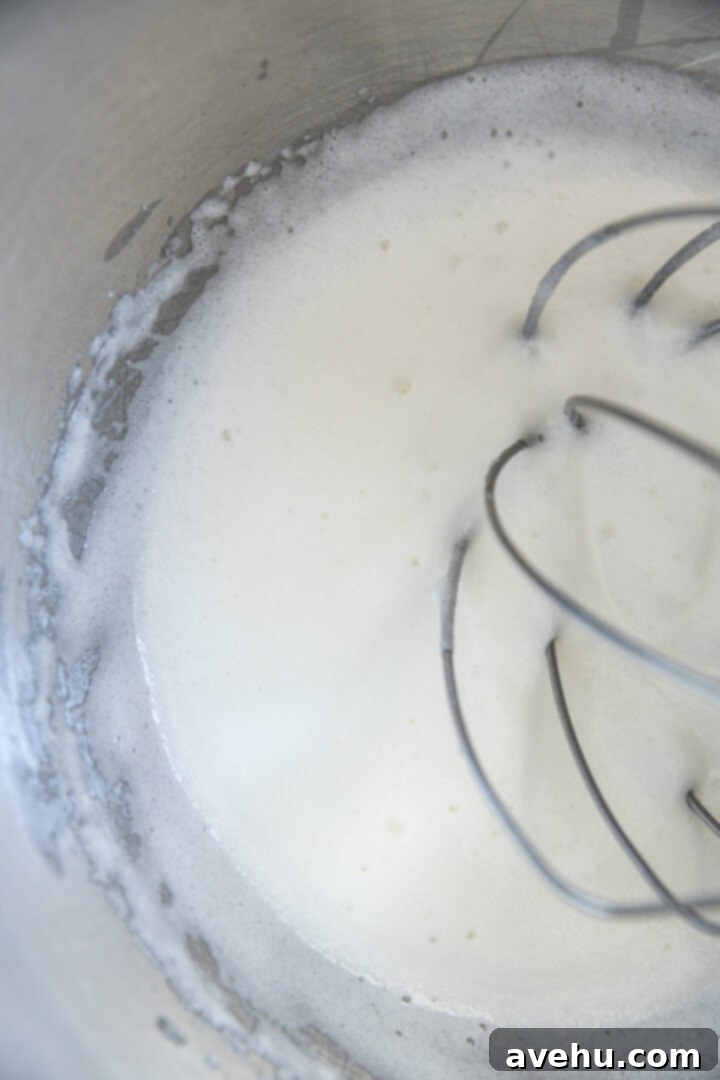
This step requires a delicate touch and careful execution. Very carefully separate the egg whites from the yolks, ensuring not even the smallest speck of yolk gets into the whites. Add the egg whites to the meticulously clean bowl of your stand mixer (or a large bowl if using a hand mixer) fitted with the whisk attachment. Even a tiny amount of fat from the yolk can prevent the egg whites from whipping properly, so precision is key. Begin whisking on low-medium speed for 1-2 minutes until the egg whites become visibly foamy and cloudy.
Once foamy, increase the mixer speed to medium (around setting 6 on a stand mixer) and gradually begin adding the granulated sugar. Add approximately one-third of the total sugar amount, whisk for about 1 minute, then repeat this process with the next third, and finally the last third. It’s crucial to incorporate the sugar slowly and in stages, allowing it sufficient time to fully dissolve into the egg whites. Rushing this step will result in a gritty, rather than smooth and silky, meringue, affecting both texture and appearance.
Meringue Mastery: Incorporating the sugar gradually and allowing it to dissolve is absolutely critical for preventing a gritty meringue. This patience results in a perfectly smooth, stable, and glossy finish that is characteristic of high-quality meringue. Don’t rush this step!
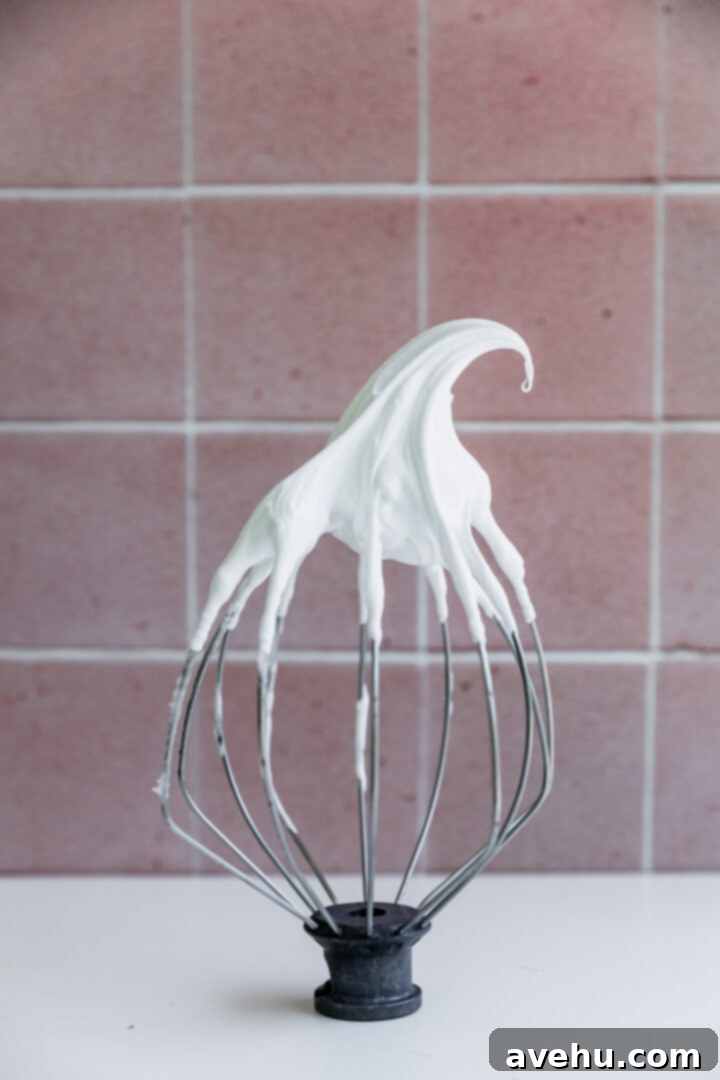
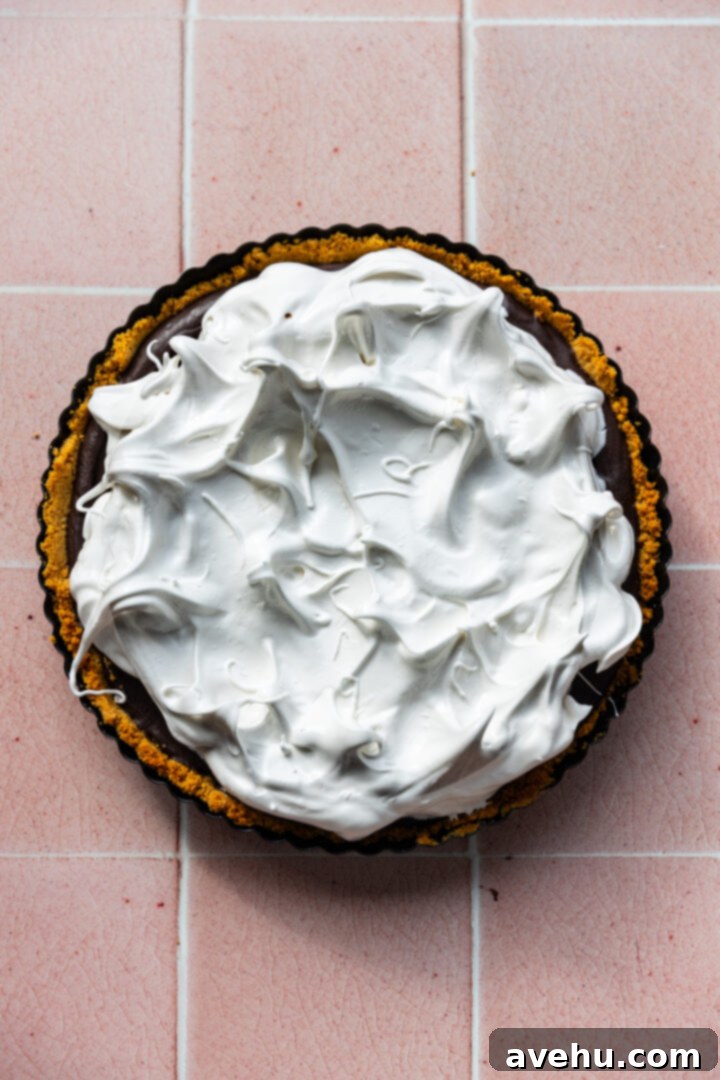
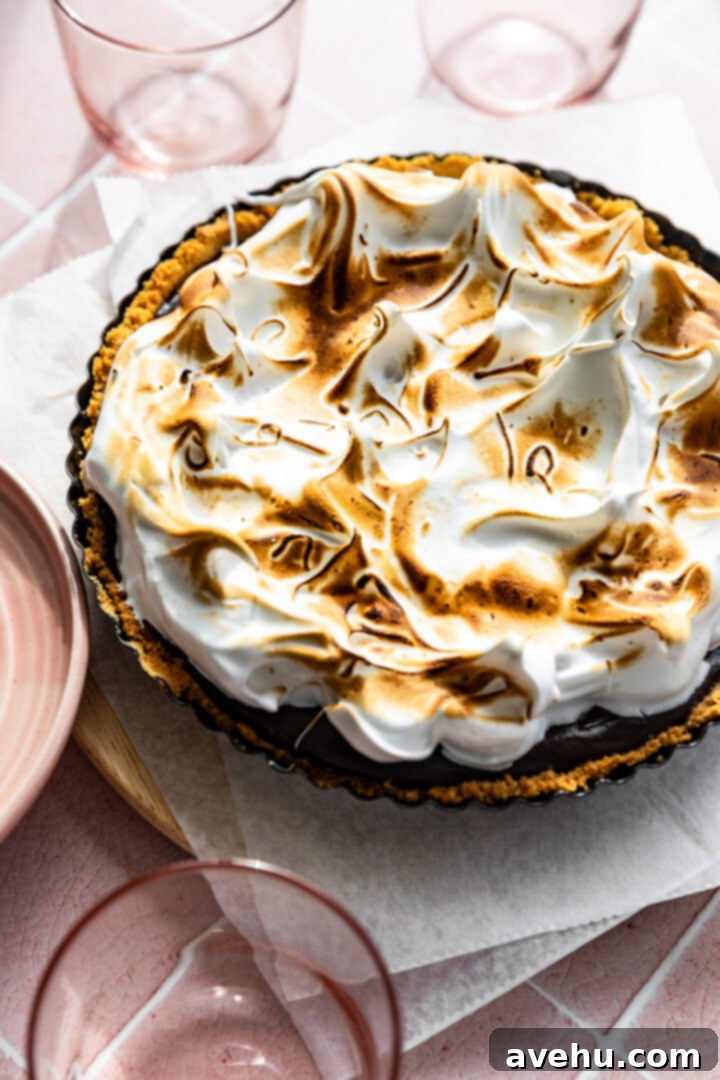
After all the sugar has been added and fully incorporated, add the cream of tartar (which acts as a stabilizer, helping the meringue hold its volume and shape) and the vanilla extract for added flavor. Increase the mixer speed to high and continue whipping until thick, glossy **stiff peaks** form. The meringue should be firm, hold its shape beautifully, and when the whisk is lifted, the peaks should stand upright. Remove the chilled pie with the set ganache from the refrigerator and generously top it with your freshly made meringue. You can spoon it on for a rustic look or use a piping bag for more decorative flair. Using a **kitchen torch**, carefully toast the meringue until it achieves a beautiful, golden-brown, toasted marshmallow appearance all around. Alternatively, refer to our detailed oven-toasting instructions below if you don’t have a torch handy. Serve this delightful pie immediately for the best experience!
Alternative Method: Toasting Meringue in Your Oven
If a **kitchen torch** isn’t currently in your arsenal (perhaps add it to your next holiday wish list!), don’t worry – you can still achieve a beautiful toasted meringue using your oven’s broiler function. This method, however, requires extreme vigilance and quick action, as things can transition from perfectly toasted to unfortunately burnt in mere seconds.
Preheat your oven to the broiler setting. If your oven offers a “low broil” option, definitely utilize it, as the heat intensity can be very high and rapid. Place your assembled **S’mores pie** carefully into the oven, positioning it on a rack that is not too close to the broiler element (typically the middle or lower-middle rack). Critically, keep a watchful eye on the pie at all times; I strongly advise against walking away, even for a moment. Under the broiler, the meringue will brown very, very quickly. You should not need more than 20-30 seconds, possibly even less, to achieve a lovely golden-brown finish. Remove the pie as soon as it reaches your desired toastiness. The goal is to lightly brown the peaks, not to char the entire surface. This method is effective but demands your undivided attention to prevent burning.
Expert Meringue Tips and Troubleshooting for Success
Mastering meringue might seem daunting, especially for those new to baking, but with a few professional tips and a clear understanding of the process, you’ll be whipping up perfectly stable and glossy peaks in no time:
- Start with Cold Eggs for Easier Separation: When separating your egg whites from the yolks, it’s significantly easier to do so when the eggs are cold, straight from the refrigerator. Cold yolks are firmer and less likely to break, greatly reducing the chance of any fatty yolk contaminating your delicate egg whites. Once separated, let the egg whites come to room temperature for about 20-30 minutes before whipping, as this helps them achieve maximum volume.
- Separate One by One in a Separate Bowl: To safeguard your entire batch of egg whites from potential mishaps, always separate each egg individually into a small, separate bowl before adding it to your main mixing bowl. This way, if a yolk accidentally breaks during separation, only one egg white is compromised, and you won’t ruin the entire batch you’ve already carefully prepared. This simple step can save you a lot of frustration!
- Whip to Foam Before Adding Sugar: Begin whipping the egg whites on a low to medium speed until they become visibly foamy and opaque before you introduce any sugar. At this stage, the egg whites have already started to build some structure and incorporate air, which will help them better incorporate and hold the sugar, leading to a more stable and voluminous meringue. Adding sugar too early, before the whites are foamy, can inhibit them from aerating properly and might even cause them to collapse, resulting in a thin or runny meringue.
- Gradual Sugar Incorporation for Smoothness: The instruction to add granulated sugar slowly, in thirds, and allowing time for dissolution between additions, is absolutely critical for achieving a smooth, non-gritty meringue. This gradual method ensures that the sugar crystals melt completely into the egg whites, resulting in that desirable silky texture and glossy sheen. Dumping all the sugar at once can lead to a coarse, unstable meringue, so patience here truly pays off with a superior final product.
- Ensure Bowls and Utensils are Grease-Free: Any trace of fat (from yolks, oily hands, or dirty equipment) can prevent egg whites from whipping. Make sure your mixing bowl, whisk attachment, and any tools used for separation are immaculately clean and completely grease-free. Wiping them down with a lemon wedge or a paper towel dampened with vinegar before use can help.
How to Accurately Identify Stiff Peaks in Meringue
Knowing exactly when your meringue has reached the coveted **stiff peaks** stage is a common point of confusion for many bakers, but it’s simpler than you might think. The easiest and most reliable way to check is to carefully lift and invert the whisk attachment from your mixer. Observe how the egg whites hold their shape on the whisk.
If the peaks are still soft, collapsing into themselves, or drooping heavily when you invert the whisk, they are considered “soft peaks” or “medium peaks.” This means you need to continue whipping for a bit longer to achieve more structure. True **stiff peaks** are achieved when you invert the whisk attachment, and the meringue peaks stand straight up with minimal to no drooping. They will be firm, distinct, glossy, and hold their shape beautifully against gravity, maintaining their form when the whisk is removed. The meringue should also feel thick and resistant when stirred with a spoon.
For a clear visual reference, please refer to the gallery image above where I show the meringue on the whisk attachment – that’s precisely the firm, upright consistency you’re aiming for to ensure a stable and impressive topping for your S’mores pie!
Make-Ahead and Storage Tips for Your S’mores Pie
This **S’mores pie** can be partially prepared in advance, making it an excellent and stress-free option for entertaining. To make it ahead, follow the recipe instructions for preparing the **graham cracker crust** and the **chocolate ganache** layers, allowing the ganache to set completely in the refrigerator. Then, prepare and toast the meringue topping just before you plan to serve the pie. This timing is crucial as it ensures the meringue is at its freshest, with that delightful crispy, toasted exterior and airy texture, mimicking a freshly roasted marshmallow.
Once fully assembled and the meringue is toasted, this **decadent S’mores pie** is best enjoyed immediately. However, it can be stored loosely covered at room temperature for 1-2 days, though the meringue’s crispness will diminish over time. While you can refrigerate it, I’ve found that the humidity in the fridge tends to soften the crispy, toasted texture of the meringue relatively quickly, and it may also absorb some refrigerator odors. If you do refrigerate, ensure it’s tightly covered to protect the flavors and textures, and allow it to come to room temperature for about 15-20 minutes before serving for optimal enjoyment.
I do not recommend freezing this dessert, and I have not tested it, as it’s highly likely to negatively impact the delicate texture of both the ganache (which can become grainy or separate) and the meringue (which can weep and become rubbery upon thawing). For best results, plan to assemble and serve within a day or two.
Yield and Serving Suggestions
Depending on how generously you slice it, this rich and satisfying **S’mores pie** can comfortably feed 10-12 people. Its impressive appearance and layered flavors make it a perfect centerpiece dessert that’s ideal for sharing at any gathering, from casual backyard barbecues and summer potlucks to festive holiday dinners and special celebrations. For the ultimate dessert experience, pair a slice of this pie with a cup of freshly brewed coffee, a cold glass of milk, or even a scoop of vanilla bean ice cream to complement the warm, toasted notes.

