Master the Art of Bakery-Style Muffins: The Ultimate Easy & Moist Vanilla Muffin Recipe
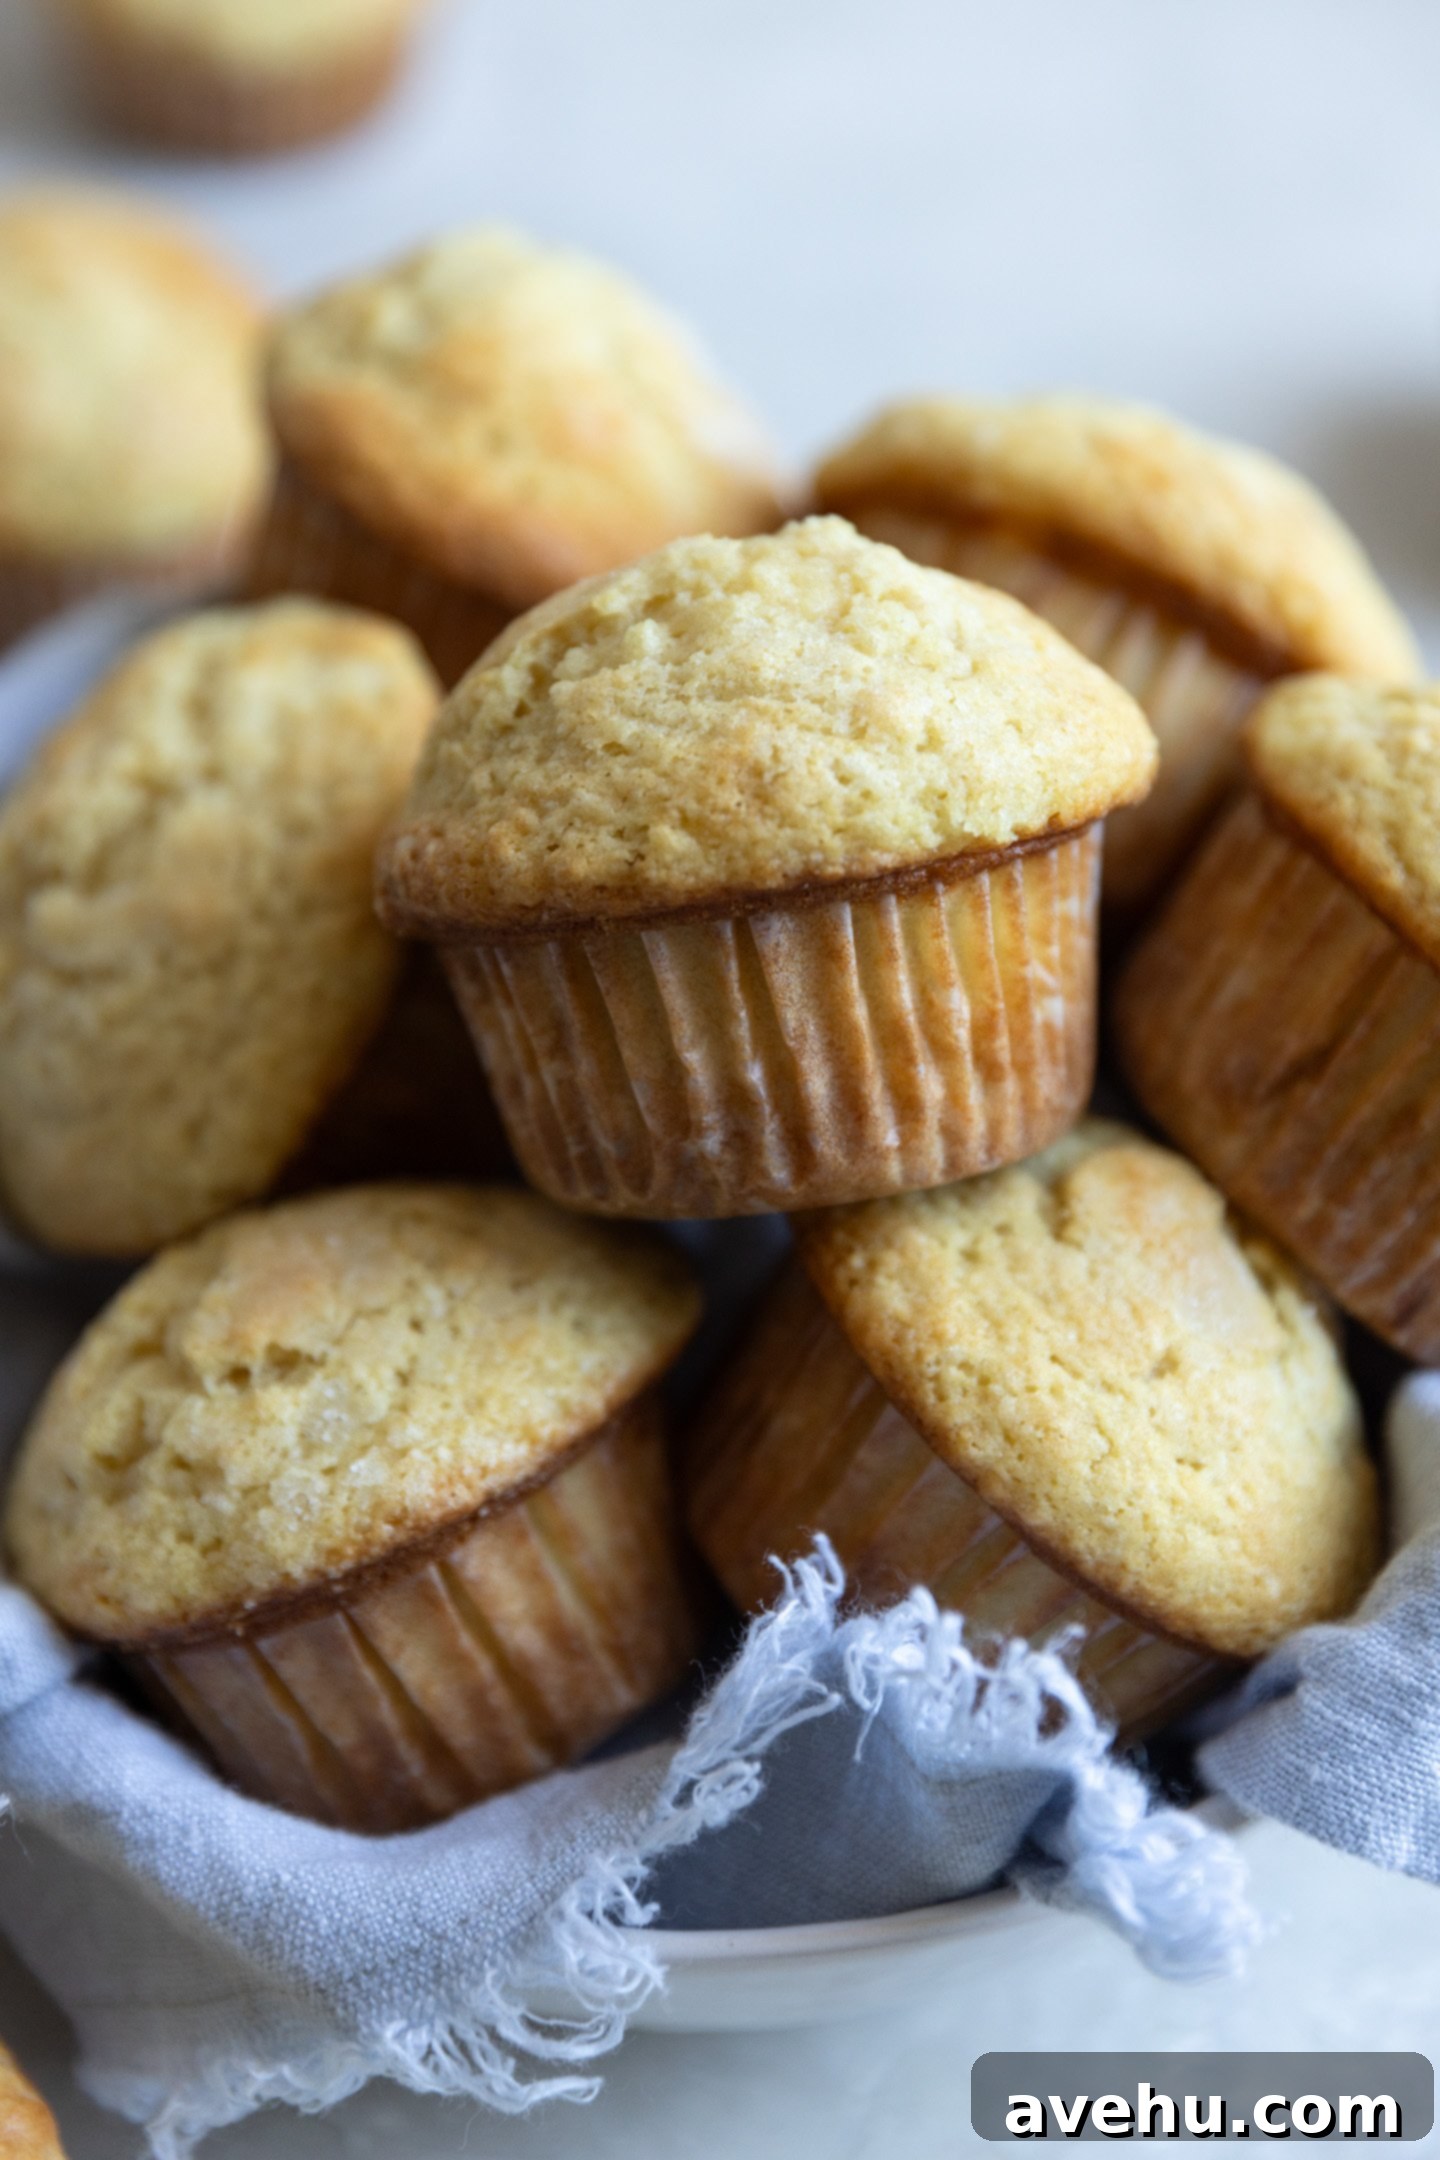
Prepare to bake the ultimate easy muffin recipe that consistently delivers thick, soft, and perfectly moist muffins with those coveted sky-high, rounded tops you adore from your favorite bakeries. Crafted with minimal equipment – just two bowls, a whisk, and a spatula – these plain vanilla muffins are the epitome of simple baking, yet yield truly exceptional results. They are absolutely delicious on their own, perhaps with a warm cup of coffee or a smear of butter, but also serve as the perfect foundational recipe for all your favorite add-ins. Once you try this foolproof method, you’ll find yourself returning to it again and again, eager to whip up a fresh batch in no time!
The Journey to Muffin Perfection: Why This Recipe Stands Out
As a professional baker, I know that developing a truly outstanding base recipe requires dedication and meticulous testing. That’s precisely why I rigorously tested this muffin recipe five times, refining every ratio and technique to ensure absolute perfection. My goal was clear: to create a foundational muffin recipe that wasn’t just good, but utterly “amazeballs,” a versatile canvas for any flavor you might dream up, much like our popular bakery-style lemon muffins.
My extensive baking experiencetaught me that achieving the ideal muffin texture and appearance required a delicate balance. I envisioned a muffin that was thick yet incredibly soft and moist, never overly dense. Crucially, I was determined to achieve those distinctive high, rounded tops you find in specialty bakeries, reminiscent of our beloved carrot cake muffins.
My initial trials focused solely on butter, but while flavorful, the muffins turned out too dense, resembling cupcakes more than what I had in mind. Introducing vegetable oil helped soften the crumb significantly, but there was still a slight lack of moisture. The turning point came when I incorporated full-fat Greek yogurt into the batter, alongside some strategic baking tips that I’m excited to share with you. These additions transformed the recipe, elevating it from a simple “basic” muffin to something truly extraordinary. Now, I can confidently say this plain and simple muffin recipe is anything but ordinary!
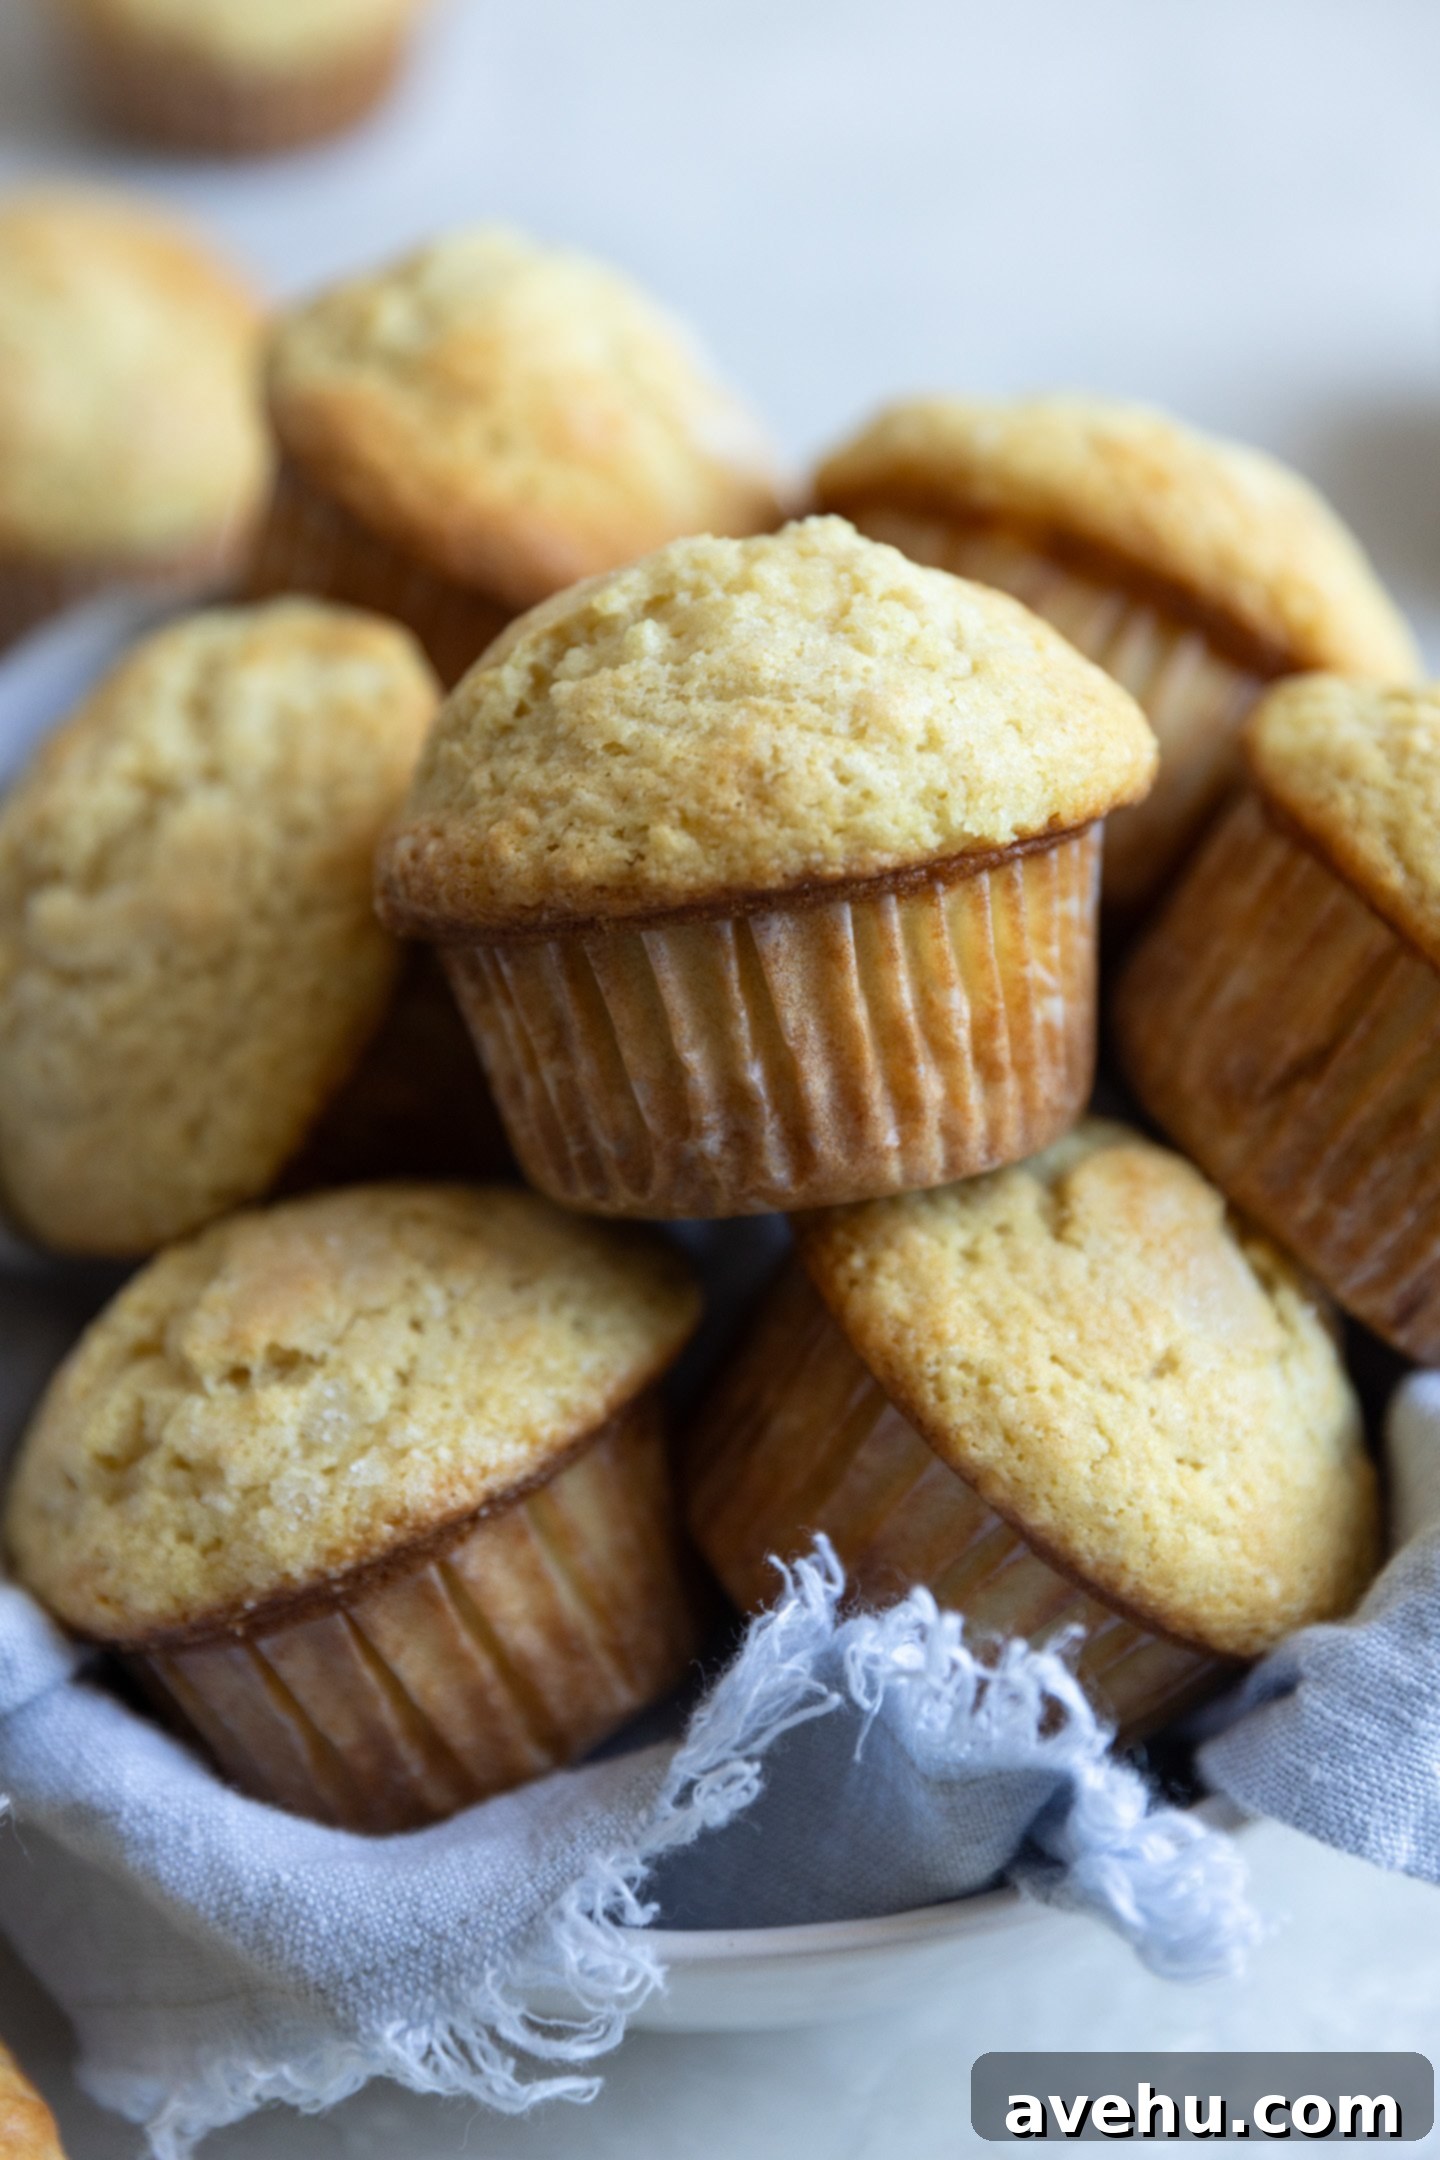
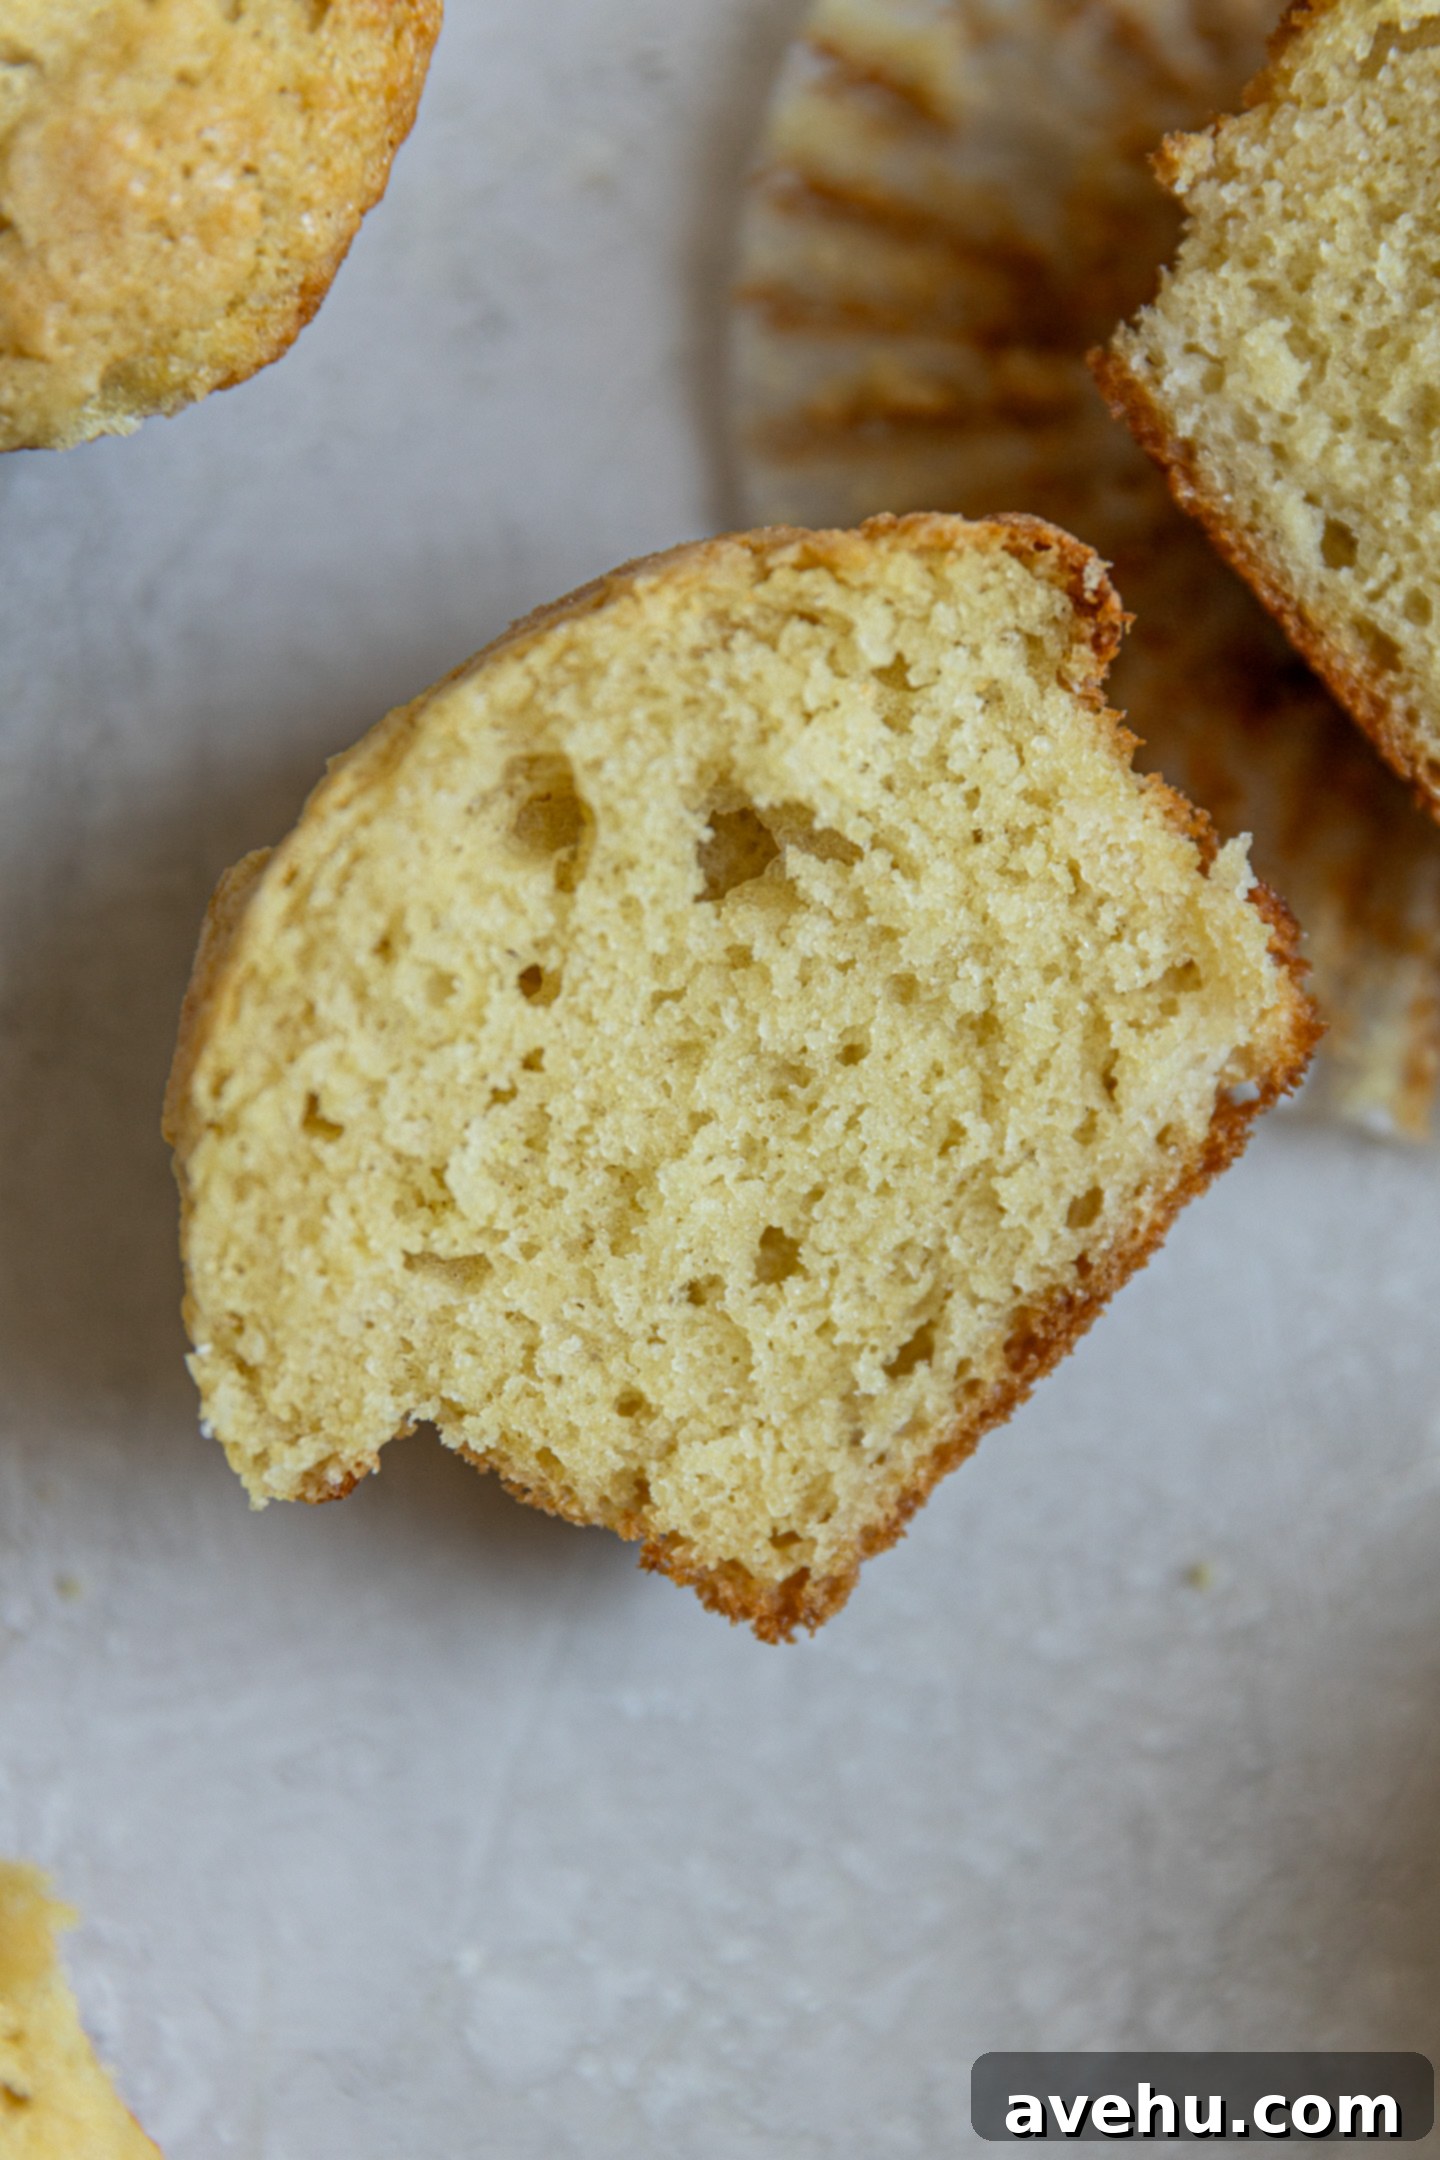
The result was exactly what I had pictured: muffins that are wonderfully soft and fluffy on the inside, with just the right amount of sweetness, and a delightfully thicker, slightly harder crust. Just look at them! Those gorgeous muffin tops are truly swoon-worthy and a testament to the perfected method.
This ultimate vanilla muffin recipe is robust enough to shine on its own, offering a delicate, comforting flavor. However, its true beauty lies in its adaptability; it effortlessly accommodates any kind of add-in you wish to incorporate. I even used this exact base to create our irresistible triple lemon muffins, proving its versatility.
Perhaps the most appealing aspect of this recipe is its efficiency. The batter comes together in less than 10 minutes, followed by approximately 20 minutes of baking time. This means you could be enjoying warm, fresh, bakery-quality muffins in just about 30 minutes! So, what are we waiting for? Let’s get baking!
The Secret Behind Amazing Muffins: Key Ingredients Explored
While this recipe utilizes common pantry staples like all-purpose flour, granulated sugar, baking powder, baking soda, and kosher salt, it’s the specific combination and balance of wet ingredients that truly sets these muffins apart and gives them their incredible soft, moist texture and rich flavor.
The secret lies in a powerful trifecta of fats and dairy: unsalted butter, vegetable oil, and full-fat Greek yogurt. Each plays a distinct and crucial role in crafting the perfect muffin:
- Unsalted Butter: Butter is indispensable for flavor. It imparts a rich, classic bakery taste that deepens with every bite, creating a more complex and satisfying profile than oil alone. Melting the butter ensures it disperses evenly, contributing to a tender crumb without making the muffin too dense.
- Vegetable Oil: Unlike butter, oil remains liquid at room temperature, which translates directly to a softer, more tender crumb in your baked goods. It helps to keep the muffins moist for longer and prevents them from drying out quickly, ensuring they stay delicious for days.
- Full-Fat Greek Yogurt: This ingredient is a game-changer for moisture and texture. The fat in the yogurt adds richness, while its acidity reacts with the baking soda to create extra lift and a wonderfully tender crumb. Greek yogurt also contributes to the muffin’s overall moistness without making it soggy, resulting in a perfectly balanced texture.
When used individually, butter, oil, or yogurt can only achieve so much. But combine these three in the right ratios, and the result is truly a “chef’s kiss” moment – muffins that are unparalleled in flavor and texture. Additionally, whole milk is included in the recipe to provide further liquid, ensuring the batter has the right consistency and helps the muffin tops achieve a beautiful golden-brown color during baking.
Unlocking Bakery-Style Muffins: Essential Baking Tips
To ensure your homemade muffins rival those from a high-end bakery, follow these critical techniques. These aren’t just suggestions; they are key steps to achieving those coveted sky-high domes and a perfect crumb.
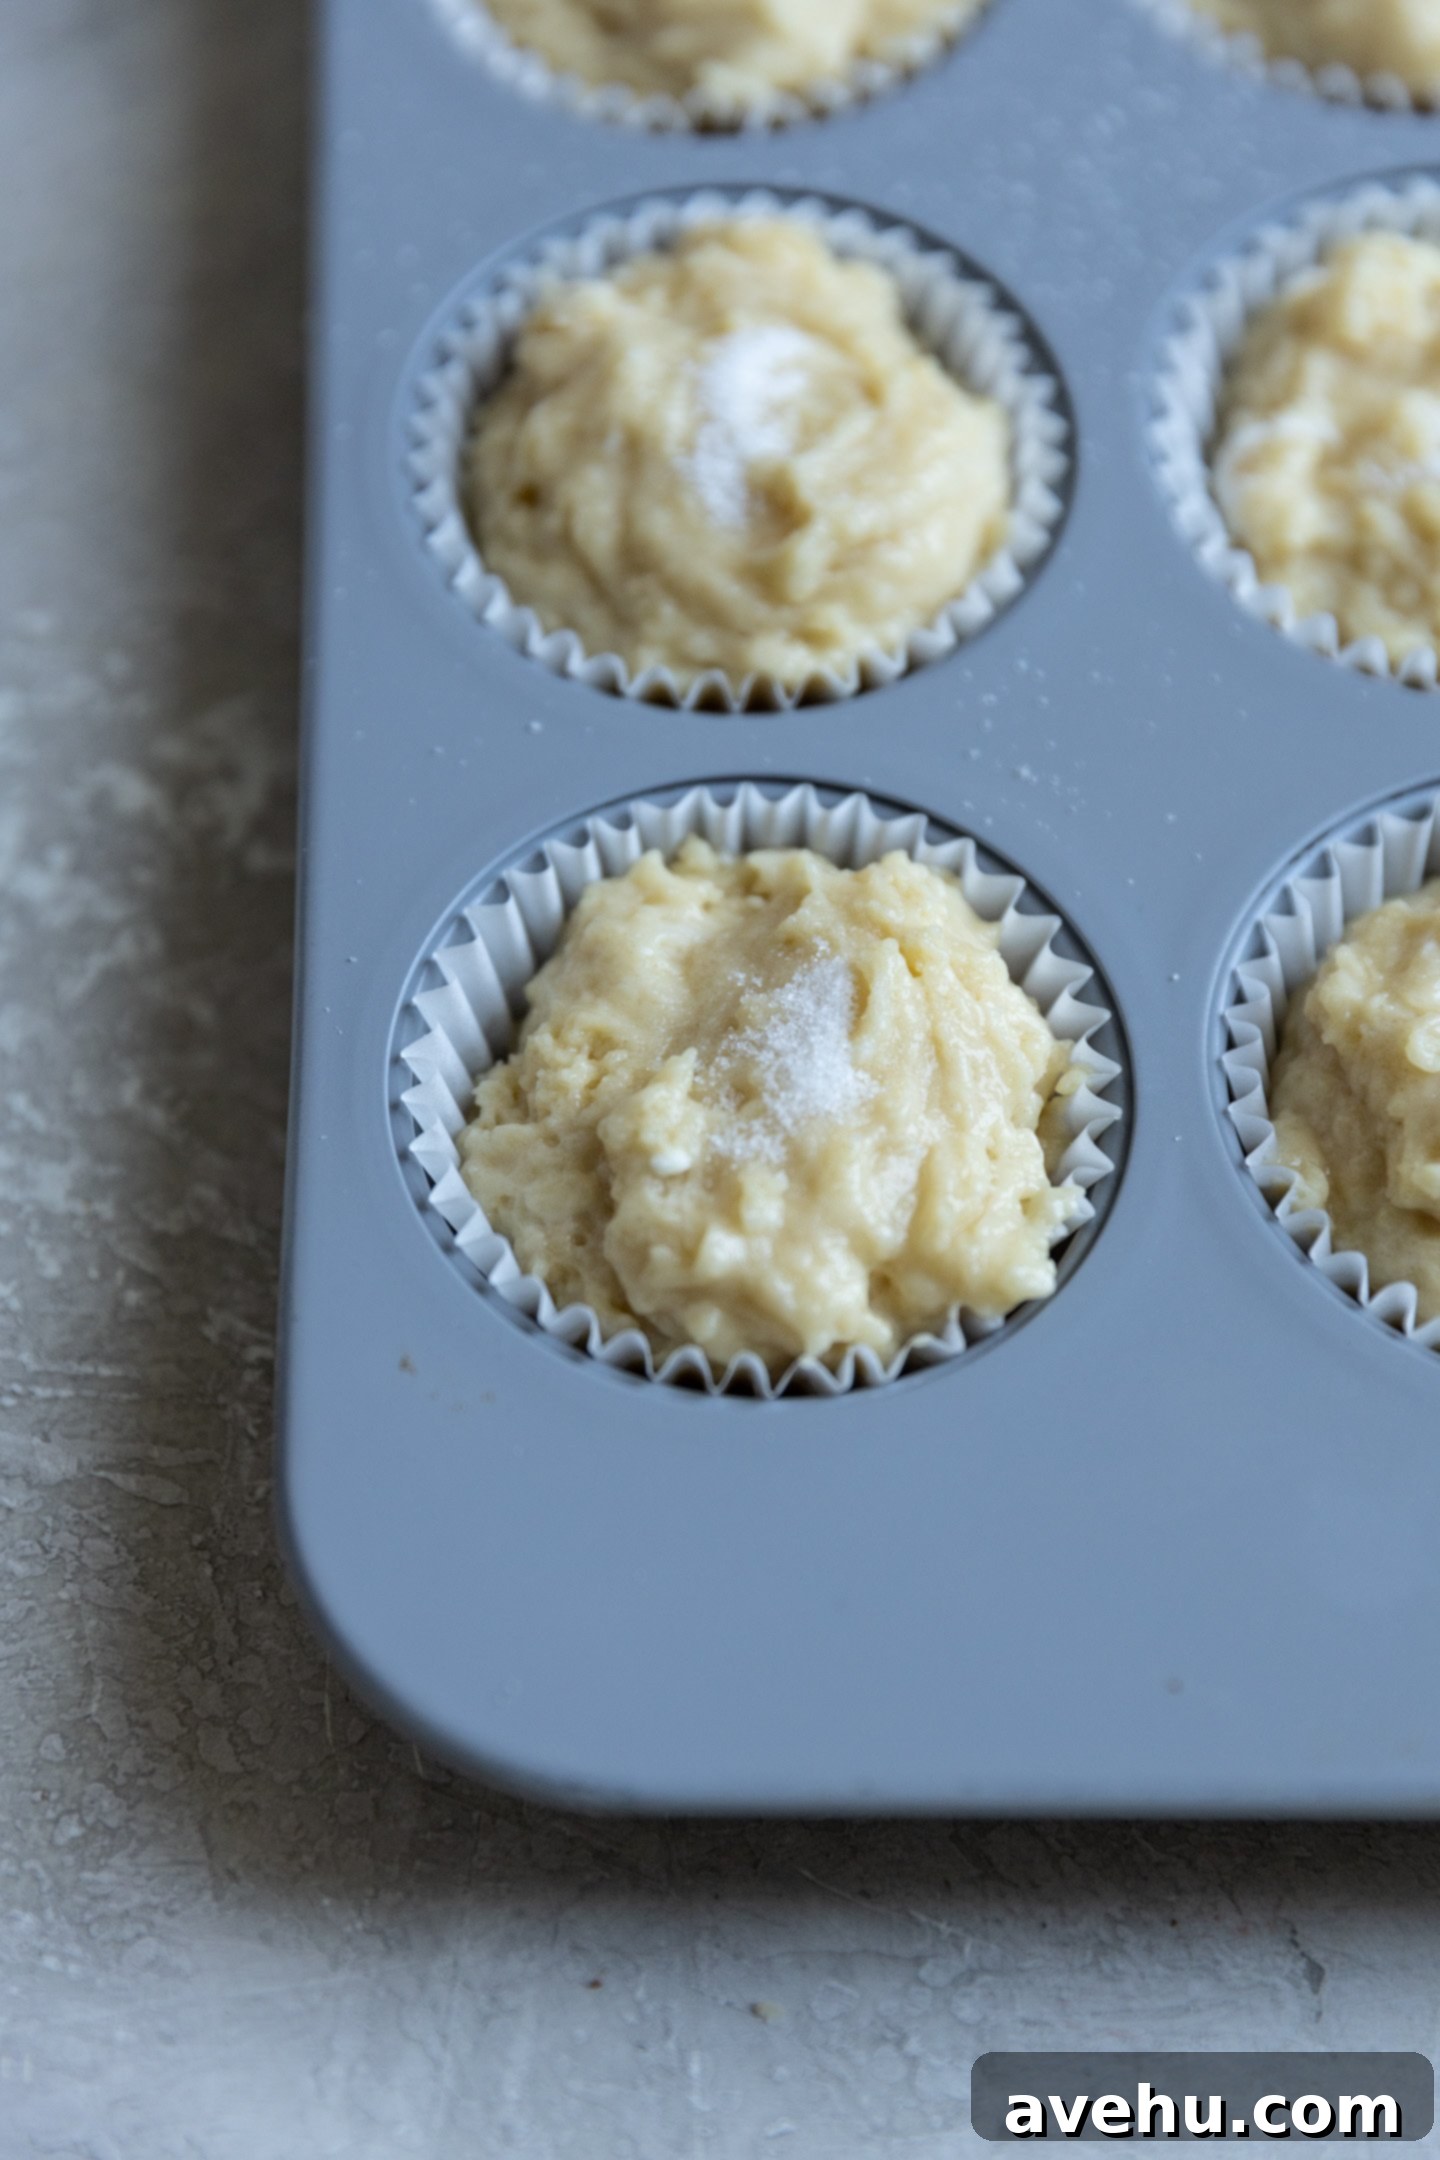
1. Fill Your Muffin Liners All The Way Up: Forget the conventional 3/4-full rule often seen in cupcake recipes. To achieve those dramatic, domed, and craggily muffin tops, you must fill your muffin liners right to the very brim. This generous amount of batter allows for ample rising, pushing the top of the muffin well above the rim of the tin and creating that characteristic bakery-style overflow and shape.
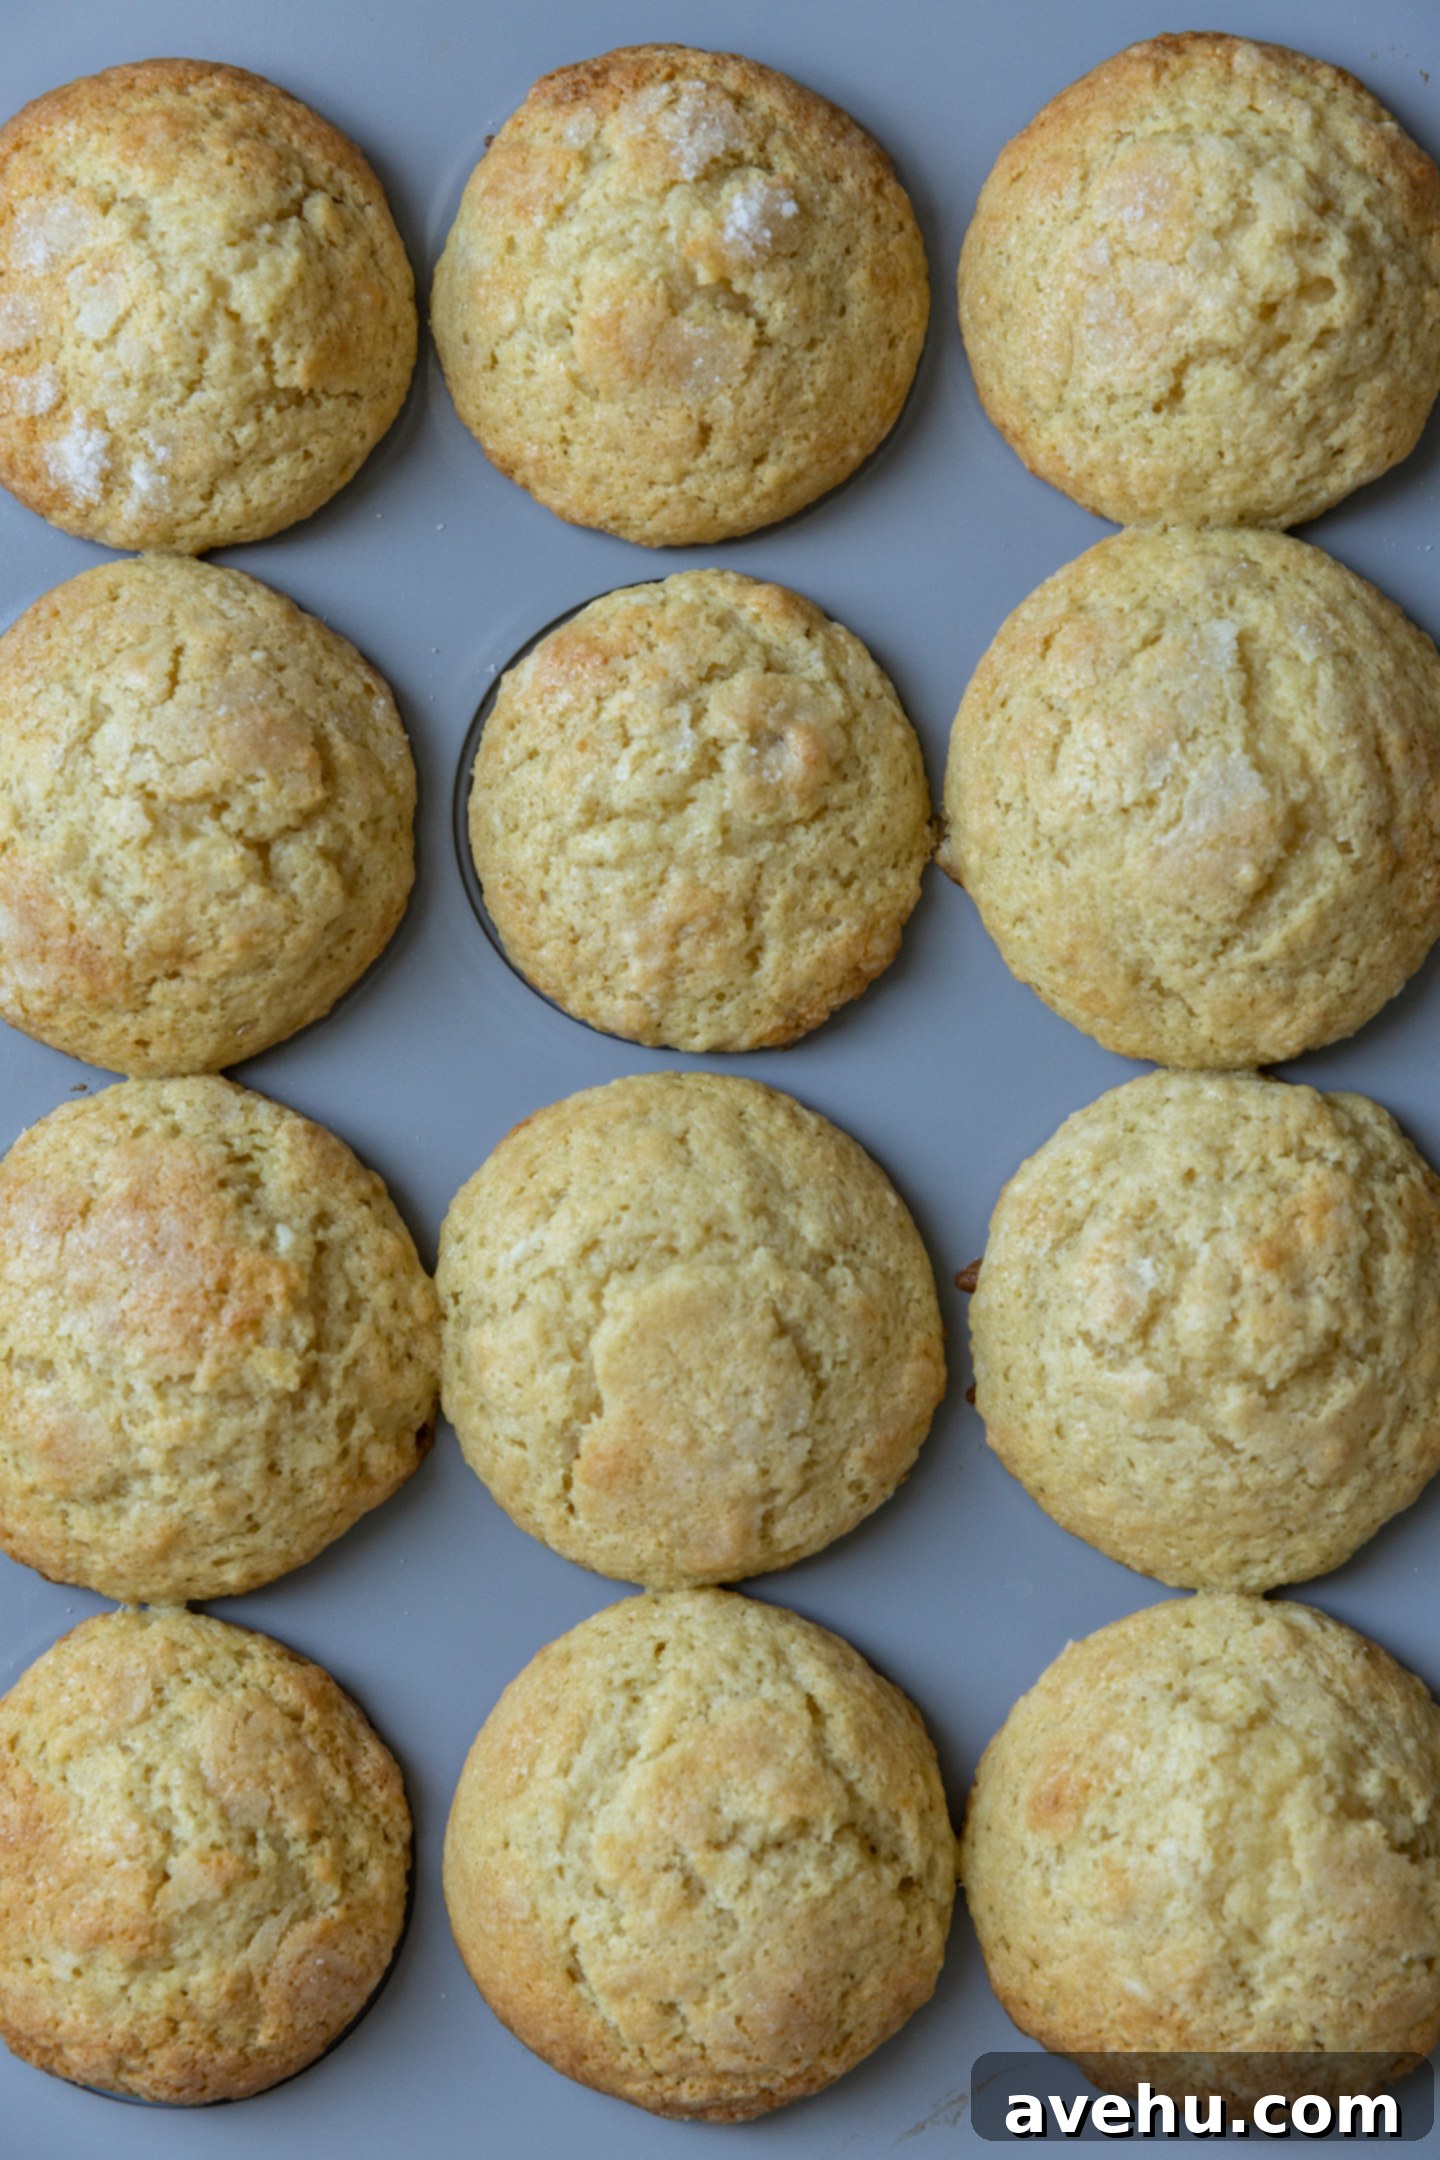
2. Employ Two-Temperature Baking: This technique is a secret weapon for magnificent muffin tops. Begin by baking your muffins at a high temperature of 425°F (220°C) for the first 7 minutes. This initial burst of intense heat creates a rapid rise, causing the muffin batter to quickly puff up and form its signature domed top. After this initial period, lower the oven temperature to 350°F (175°C) and continue baking for another 13-15 minutes, or until a toothpick inserted into the center comes out clean. The lower temperature allows the inside of the muffin to cook through evenly without over-browning or drying out the exterior.
3. Let the Batter Rest: Patience is a virtue in baking, and a short rest period for your muffin batter can make a significant difference. After mixing, allow the batter to rest for 10 to 20 minutes before scooping it into the muffin tin. This resting period gives the flour ample time to fully absorb the liquid ingredients. The result is a thicker, more hydrated batter. A thicker batter provides a more stable structure for rising, leading to a more even lift and those wonderfully rounded, professional-looking tops. It also helps to tenderize the gluten, contributing to a softer crumb.
By diligently following these expert tips, you’ll produce muffins so impressive that everyone will believe you moonlight as a professional pastry chef!
The Classic Muffin Method: How to Make These Wonders
For this particular recipe, it is absolutely crucial to avoid using a stand mixer. Overmixing is the enemy of tender muffins and will result in a dense, tough texture. All you need are two medium-sized mixing bowls, a simple whisk, and a rubber spatula – truly the ultimate easy bake setup!
These muffins are made using the time-honored Classic Muffin Method. This straightforward technique involves separating your ingredients into two distinct groups:
- Dry Ingredients: All-purpose flour, granulated sugar, baking powder, baking soda, and kosher salt are whisked together in one bowl.
- Wet Ingredients: Melted unsalted butter, vegetable oil, whole milk, full-fat Greek yogurt, large eggs, and vanilla extract are combined and whisked in a second bowl.
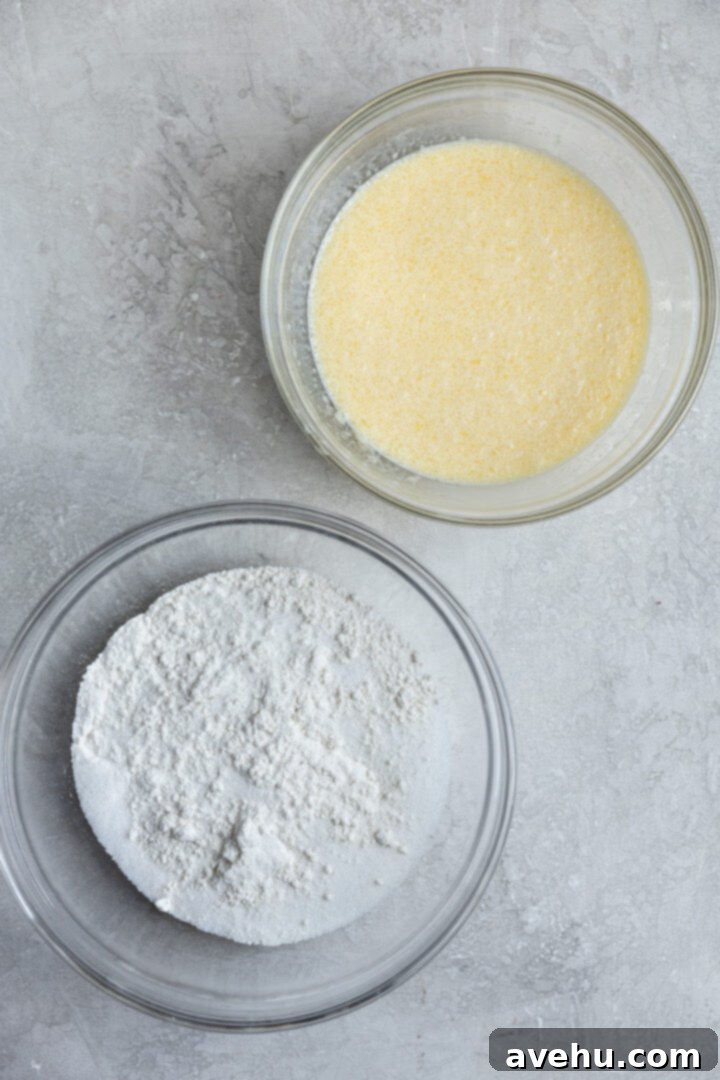
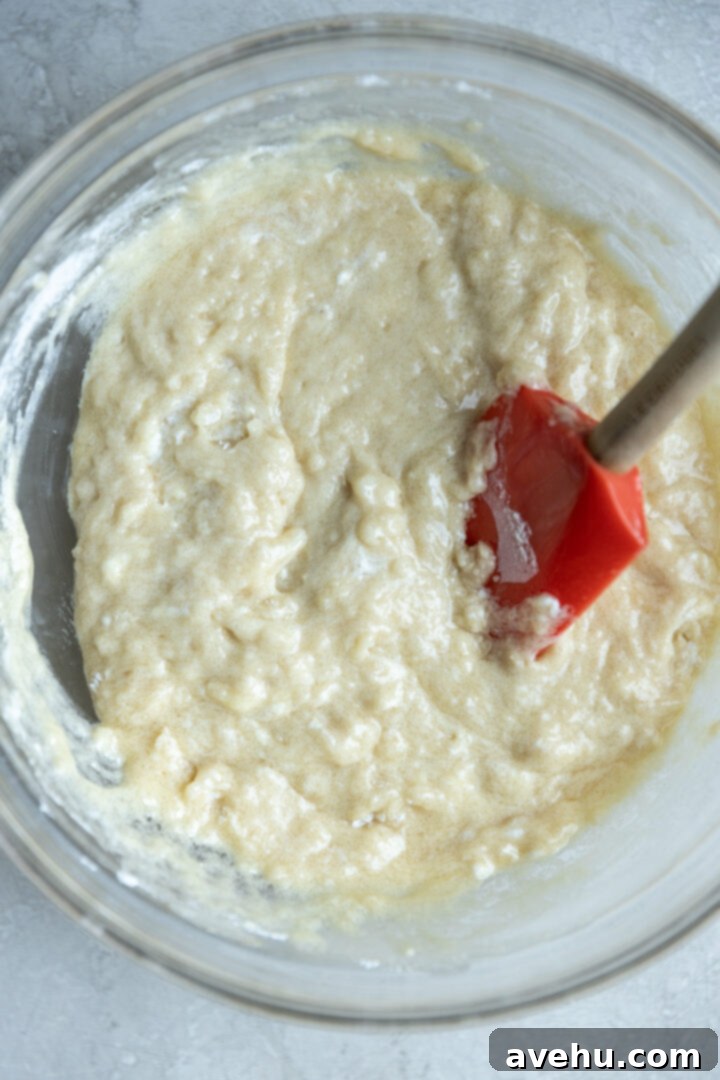
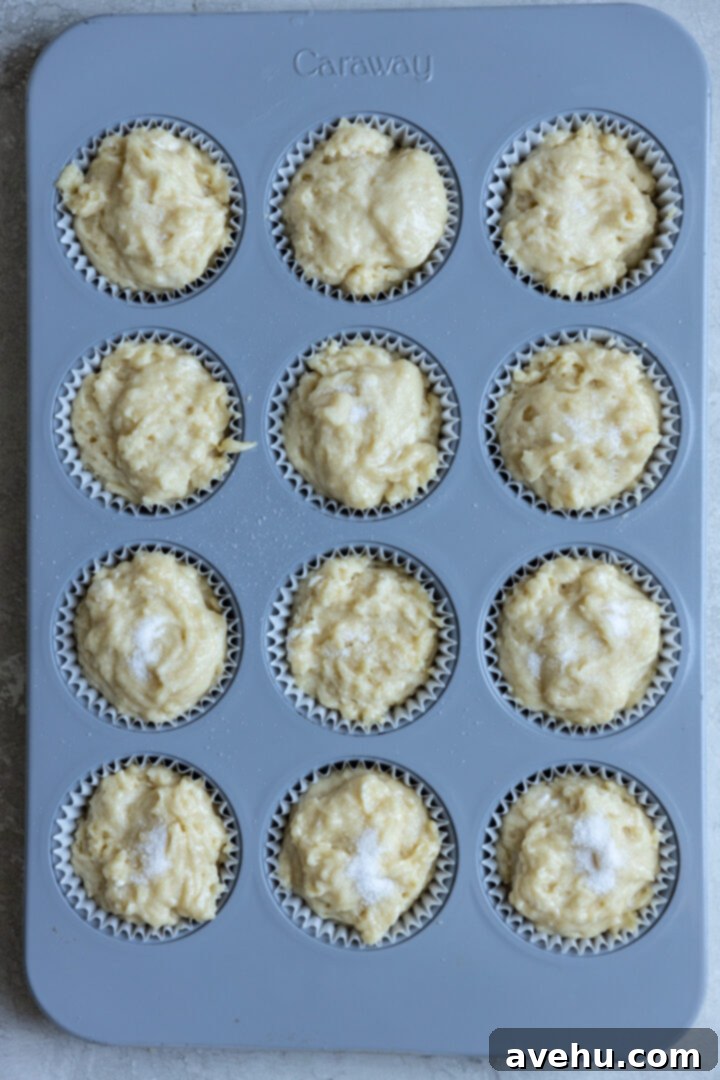
The next crucial step is combining them. You’ll pour the dry ingredients directly into the wet ingredients, then, using a large spatula, gently fold the batter until it’s just combined. The key here is gentleness – do not overmix! The batter should still be thick and visibly lumpy, with only a few streaks of flour remaining. Once combined, use an ice cream scoop to evenly portion the luscious, thick batter into your prepared muffin liners, then bake according to the recipe instructions!
Understanding the Classic Muffin Method is incredibly helpful, as it’s the standard for almost all muffin recipes. Different baked goods rely on different mixing methods (like the creaming method for cakes or the biscuit method for scones). Once you grasp these fundamental techniques, you’ll find you can confidently approach a wide variety of recipes, often needing only the ingredient list to proceed without constantly referring back to the step-by-step instructions.
For precise measurements and detailed instructions, always scroll down to the full recipe card below.
Why “Dry into Wet” Matters & The Perils of Overmixing
While it might seem like a minor detail, the order in which you combine your ingredients can significantly impact the final texture of your muffins. Pouring the dry ingredients into the wet ingredients is not just a preference, it’s a smart strategy. This method ensures that all the dry components are gradually introduced into the liquid mixture, making it easier to see and incorporate any flour that might otherwise stick to the bottom of the bowl. This visibility helps prevent common issues like pockets of unmixed flour, which can lead to overmixing as you try to fully combine everything.
And that leads us to one of the most critical aspects of muffin baking…
Avoiding Overmixing: The Key to Tender Muffins
Overmixing is an all-too-common pitfall when baking muffins, often because it’s the exact opposite of how you’d treat cake or cupcake batter, which typically aims for a smooth, uniform consistency. For muffins, your goal is completely different.
You want to mix the batter very lightly and gently, using a spatula, until just the last visible streaks of dry flour disappear. The batter should still be noticeably lumpy – and those lumps are a good thing! We are definitely not striving for a smooth batter here. Think of it as merely bringing the ingredients together, perhaps just 5-6 gentle folds, and then stop. The less you mix, the more tender your muffins will be.
Why is overmixing so detrimental? When you mix flour with liquid, gluten develops. In breads, gluten development is desired for chewiness and structure. In muffins, however, too much gluten development results in a tough, rubbery, and dense texture. If your muffins come out feeling heavy or overly chewy, it’s a tell-tale sign that you’ve sadly overmixed the batter.
Embrace the lumps! They are your assurance of light, fluffy, and tender muffins.
Recipe Yield and Delicious Customization Options
This recipe consistently yields a perfect batch of 12 standard-sized muffins. Remember our earlier tip: fill those muffin liners all the way to the top for the best rise and bakery-style domes! It’s important to note that if you decide to add mix-ins like chocolate chips, fresh or frozen fruit, or nuts, these additions will increase the overall volume of your batter. Depending on the quantity of add-ins, you might even find yourself with enough batter for an extra muffin or two, so be prepared!
Irresistible Add-ins and Toppings
While these basic vanilla muffins are phenomenal on their own, they are also an ideal base for creative customization. Here are some of my favorite add-ins to elevate your muffin game:
- Chocolate Chips: Classic and always a crowd-pleaser. Use milk chocolate, dark chocolate, or even white chocolate chips.
- Fresh or Frozen Fruit: Blueberries, raspberries, diced strawberries, or even chopped apples work wonderfully. If using frozen fruit, there’s no need to thaw it beforehand; simply toss it directly into the batter. To prevent fruit from sinking to the bottom, try coating it lightly in a tablespoon of flour before adding.
- Lemon Zest and Poppy Seeds: For a bright, tangy, and subtly crunchy muffin.
- Any Kind of Nuts: Chopped walnuts, pecans, or almonds add a delightful crunch and nutty flavor.
- Dried Fruit: Raisins, cranberries, or chopped apricots can add a chewy texture and concentrated sweetness.
- Spices: A pinch of cinnamon, nutmeg, or cardamom can transform the flavor profile, especially delicious with apple or pumpkin add-ins.
Incorporate any of these add-ins into the batter after you’ve combined the dry and wet ingredients, just before the final gentle folds. I typically use about 1/2 cup to 3/4 cup of mix-ins, depending on how loaded I want my muffins to be.
For toppings, a simple yet effective technique is to sprinkle coarse sugar (also known as turbinado or sparkling sugar) over the tops of the muffins before baking. This creates an extra crunchy and delightfully sweet crust that is truly bakery-worthy. Alternatively, you could create a simple streusel topping with flour, sugar, and butter for added texture and sweetness.
Storing and Freezing Your Perfect Muffins
To keep your freshly baked muffins at their best, proper storage is key:
- Room Temperature: Store cooled muffins in an airtight container or a zip-top bag with as much air squeezed out as possible. They are truly best when enjoyed within the first 2-3 days after baking, as this is when their moistness and soft texture are at their peak.
- Refrigeration: While muffins can be refrigerated, it tends to dry them out slightly. If you must refrigerate, make sure they are in an airtight container. Bring them to room temperature or warm them gently before serving for the best experience.
These muffins also freeze exceptionally well, making them perfect for meal prepping or having a quick breakfast on hand. Follow these steps for freezing:
- Cool Completely: Ensure the muffins are completely cooled before freezing. Any residual warmth can lead to ice crystals forming, which affects texture.
- Individual Wrapping: For best results, wrap each muffin individually in plastic wrap, then place them in a large freezer-safe zip-top bag. Squeeze out as much air as possible before sealing.
- Freezer Life: They can be stored in the freezer for up to 3 months.
- Thawing: To enjoy, simply remove a muffin from the freezer and let it thaw at room temperature for an hour or two. For a warm treat, you can also microwave a frozen muffin for 30-60 seconds, or warm it in a preheated oven at 300°F (150°C) for about 10-15 minutes.

Moist, Soft, and Simple Plain Muffins
Pin
Review
SaveSaved!
Ingredients
- 3 cups all purpose flour, 360g
- 1 cup white sugar, 200g
- 3 tsp baking powder
- 1 tsp baking soda
- 1/2 tsp kosher salt
- 4 tbsp unsalted butter, melted
- 1/2 cup vegetable oil, or other neutral oil
- 1/2 cup whole milk, can sub for other milk
- 1/2 cup greek yogurt
- 3 eggs, large
- 1 tbsp vanilla extract
- 1/2 cup toppings (see note), optional
Equipment
-
1 whisk
-
1 Spatula
-
2 Medium Sized Bowls
-
1 Muffin tin
-
12 Muffin liners
Instructions
-
Preheat the oven to 425°F (220°C) and line a muffin tin with 12 paper liners.
-
Prepare two medium-sized mixing bowls. In the first bowl, combine the 3 cups of all-purpose flour, 1 cup of white sugar, 3 tsp of baking powder, 1 tsp of baking soda, and 1/2 tsp of kosher salt. Whisk these dry ingredients lightly to ensure they are well combined.
-
In the second bowl, melt the 4 tbsp of unsalted butter in the microwave, heating in 30-second intervals until fully liquid. To this, add the 1/2 cup of vegetable oil, 1/2 cup of whole milk, 1/2 cup of full-fat Greek yogurt, 3 large eggs, and 1 tbsp of vanilla extract. Whisk these wet ingredients thoroughly until smooth.
-
Pour all the dry ingredients into the bowl with the wet ingredients. If you are using any add-ins (like chocolate chips or fruit), incorporate them at this stage. Using a large rubber spatula, very lightly and gently fold the batter. Mix just until the large streaks of flour have disappeared; do not overmix. The batter will be thick and quite lumpy – this is exactly what you want!
-
For the most accurate and even portions, use an ice cream scoop to transfer the thick, lumpy batter into the prepared muffin tin. Remember to fill each liner all the way to the top. If desired, sprinkle additional toppings (such as coarse sugar or extra mix-ins) over the batter before baking.
-
Bake the muffins at 425°F (220°C) for the initial 7 minutes. Then, reduce the oven temperature to 350°F (175°C) and continue baking for another 13-15 minutes, or until a toothpick inserted into the center of a muffin comes out clean.
-
Carefully remove the muffin tin from the oven. Allow the muffins to cool in the tin for 5-10 minutes, then transfer them to a wire rack to cool completely.
Notes
- Chocolate Chips
- Frozen berries
- Lemon zest and poppyseed
- Chopped nuts (walnuts, pecans)
- Cinnamon sugar sprinkle
- Streusel topping
