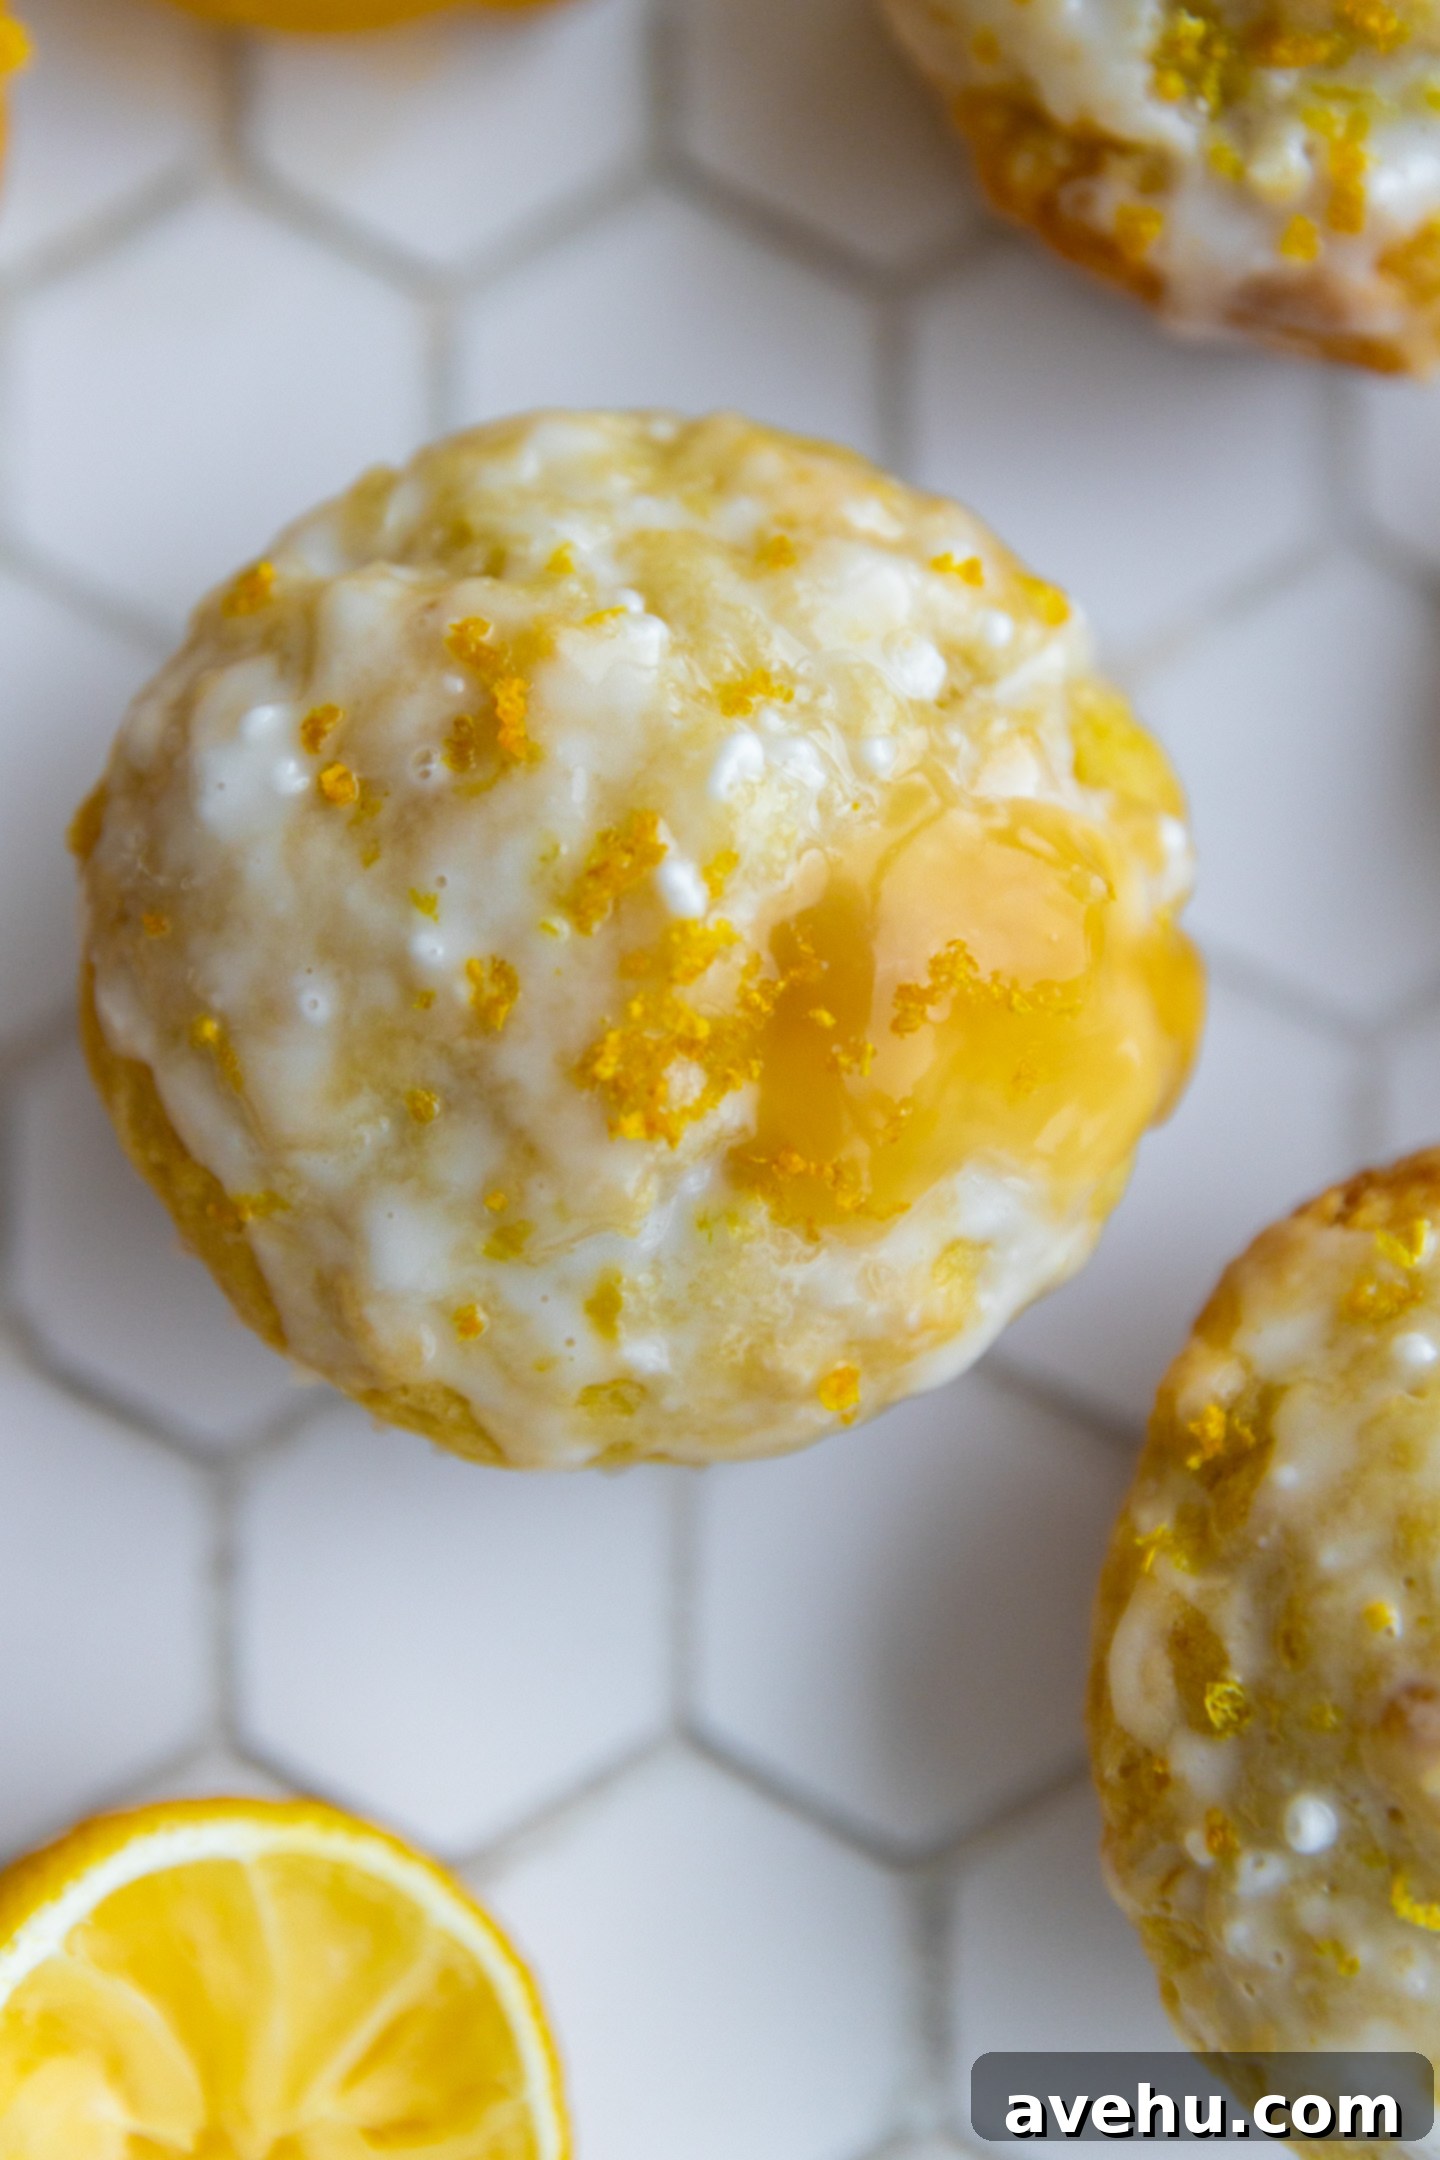
Ultimate Guide to Moist & Fluffy Lemon Curd Muffins with Zesty Glaze
Prepare to embark on a delightful culinary journey to create the most divine lemon curd muffins you’ve ever tasted. This recipe is a true ode to citrus lovers, meticulously crafted to deliver an explosion of fresh, zesty lemon flavor perfectly encased within a soft, moist, and irresistibly fluffy muffin. What truly elevates these muffins beyond the ordinary is a clever technique: immediately after baking, they are generously brushed with a bright lemon glaze. This secret step allows the sweet and tangy glaze to seep deep into the warm muffin crumb, locking in moisture and ensuring every bite is as tender as the last. But we don’t stop there! To crown this masterpiece, each muffin is then lovingly filled with luscious lemon curd – whether you opt for the convenience of store-bought or choose to impress with your own homemade creation. The result? An incredible breakfast or brunch treat that will undoubtedly become a cherished favorite in your home, loved by everyone who tries them.

If the mere mention of lemon sends your taste buds tingling, then you’ve absolutely found your next baking obsession. These sensational lemon curd muffins are built upon the solid foundation of my already highly-rated lemon muffin recipe, but are taken to an entirely new level. They are enhanced with the vibrant tang of either homemade or quality store-bought lemon curd and crowned with a dazzling lemon glaze. The secret to their unparalleled moistness lies not only in the carefully selected ingredients within the batter – a harmonious and rich blend of butter, oil, creamy yogurt, and nourishing milk – but also in that crucial, post-baking step of brushing them with glaze immediately as they emerge from the oven.
As a trained pastry chef, I usually advise bakers to wait until their baked goods are completely cool before applying frosting, primarily to prevent the frosting from melting. However, this particular recipe is a delightful and intentional exception to that rule! When you generously brush this sweet and zesty glaze onto the tops of hot muffins, the warmth allows the glaze to truly seep and absorb deeply into the muffin’s crumb. This process locks in an incredible amount of moisture, ensuring they remain extra moist and tender for a longer period. This ingenious technique is a personal favorite trick I employ to significantly enhance the flavor, texture, and overall moistness in many of my muffin recipes. Get ready to create these amazing, bakery-worthy muffins; let’s dive right into the details!
Selecting and Preparing Your Lemons for Optimal Flavor
The undisputed star of our show, and indeed any lemon-flavored treat, is the lemon itself! For this particular recipe, I highly recommend using approximately five fresh, medium-to-large lemons. The quality and freshness of your lemons will significantly impact the final flavor profile of both your muffins and your glorious lemon curd. When selecting lemons, look for ones that are firm to the touch, possess a vibrant, unblemished bright yellow skin, and feel surprisingly heavy for their size; these characteristics are typically indicators of a very juicy lemon. If you are planning to make your own lemon curd from scratch, you’ll be utilizing the entire lemon – both its wonderfully aromatic zest and its intensely tart juice. However, if you opt for the convenience of store-bought curd, the zest will be the most crucial component from your fresh lemons for the muffin batter and glaze, so it’s wise to choose larger ones to ensure you get a generous amount of that fragrant zest.
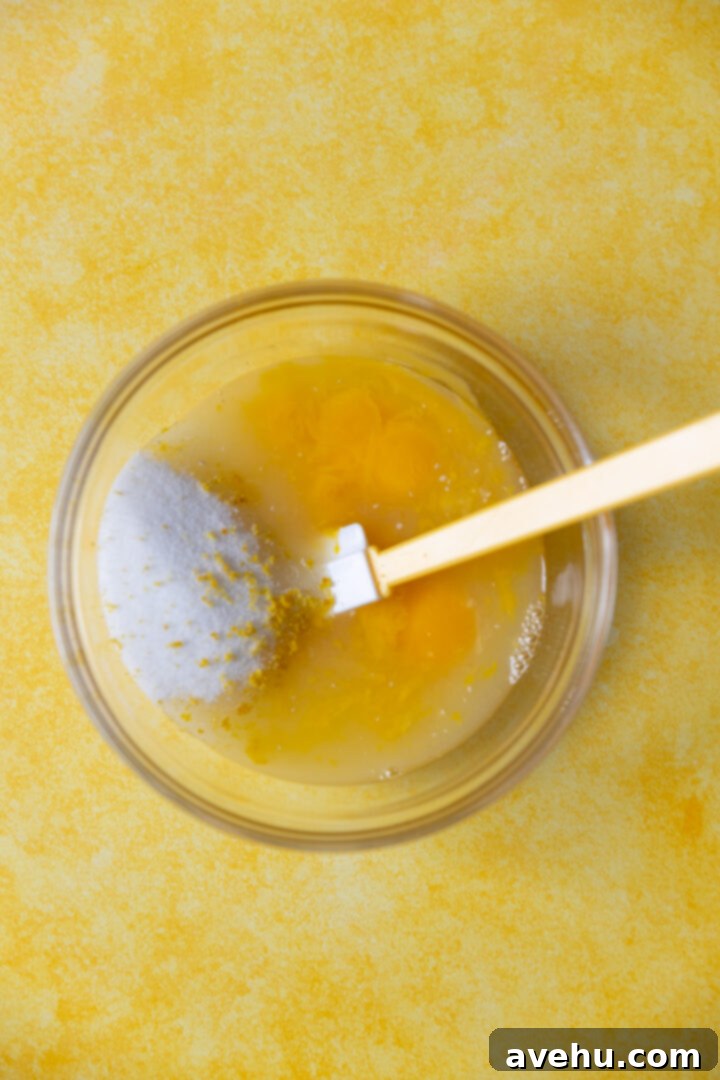
For maximum flavor extraction, I always zest my lemons using a microplane. This specialized kitchen tool effortlessly removes only the bright yellow outer layer of the rind, leaving behind the bitter white pith, which can impart an undesirable flavor. Here’s a professional tip for intensifying that beautiful lemon aroma: always zest your lemons directly over the sugar specified in your recipe. This ingenious method ensures that all the volatile aromatic oils, which are packed with flavor, are immediately captured and absorbed by the sugar crystals. This prevents any loss of precious lemon flavor that can occur when transferring zest between bowls. It’s a small but incredibly impactful step that truly makes a big difference in the overall lemony punch and brightness of your finished muffins!
Mastering Homemade Lemon Curd (or Smartly Using Store-Bought Options)
While I wholeheartedly encourage you to try your hand at homemade lemon curd – it’s an incredibly rewarding and truly delicious endeavor – there’s absolutely no shame in opting for a high-quality store-bought version if your time is limited or you simply prefer the convenience. You’ll still achieve fantastic results with these muffins! However, if you’re already going through the effort of zesting fresh lemons for the muffin batter, making your own curd is a natural, economical, and incredibly fresh next step, as it beautifully utilizes the remaining lemon juice. It’s surprisingly simple to prepare and requires just four basic ingredients, which you likely already have on hand:
- Fresh Lemons: Essential for both the vibrant zest (if not already incorporated into the muffins) and the crucial tart juice.
- Eggs: Specifically the yolks, which are vital for providing both luxurious richness and acting as the primary thickening agent for the curd.
- Granulated Sugar: Perfectly balances the intense tartness of the fresh lemons and contributes the necessary sweetness.
- Unsalted Butter: Incorporates a luscious, smooth, and creamy texture, while also adding a beautiful sheen to the finished curd.
Step-by-Step Guide to Creating Silky Lemon Curd:
- Prepare the Eggs: Carefully separate the egg yolks from the whites. Be meticulous to avoid any white getting into the yolks. You can save the whites for another culinary creation (such as meringues, an angel food cake, or a healthy omelet) or simply discard them. For this specific recipe, we only need the yolks.
- Measure Lemon Juice: Precisely juice your zested lemons until you have exactly 1/2 cup of fresh lemon juice. This typically requires about 4-5 average-sized lemons, though this can vary based on their individual juiciness.
- Combine the Essential Ingredients: In a heat-safe bowl (preferably glass or stainless steel) or directly in your non-reactive saucepan, combine the separated egg yolks, the measured lemon juice, and 3/4 cup of granulated sugar. Whisk these ingredients together until they are thoroughly blended, and you notice the sugar beginning to dissolve into the liquid.
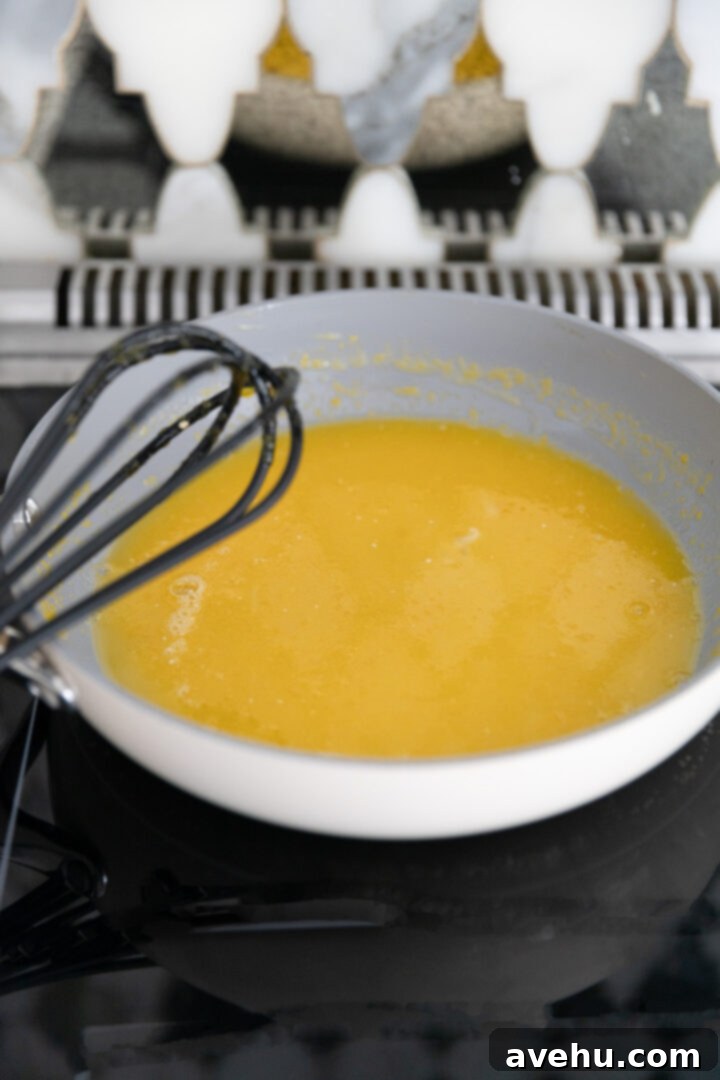
- The Gentle Cooking Process: Transfer the combined mixture to a heavy-bottomed, non-reactive saucepan (stainless steel or enameled cast iron are ideal choices) and place it over low to medium heat. This step is absolutely crucial and demands your patience and constant attention. You must consistently stir the mixture with a spatula or whisk, ensuring it doesn’t stick to the bottom. The primary goal here is to gently heat the eggs to thicken the curd, carefully avoiding cooking them into scrambled bits. This delicate process can take anywhere from 8 to 12 minutes. Resist the strong urge to increase the heat, as rushing this step will almost certainly result in a grainy, lumpy, or even scrambled curd.
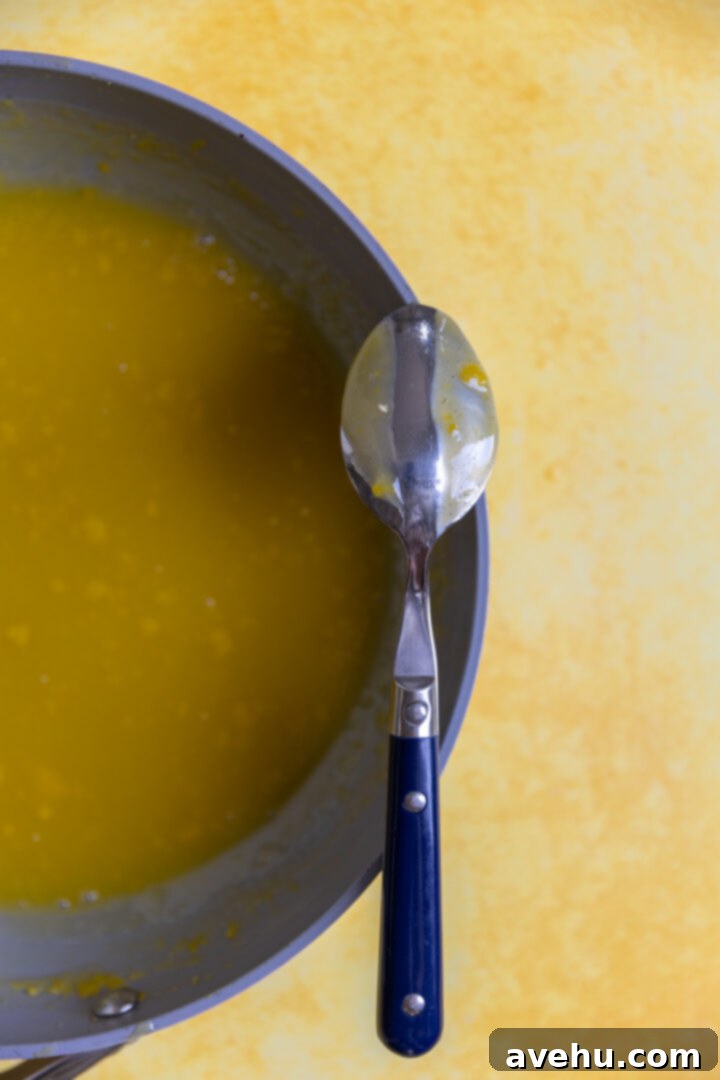
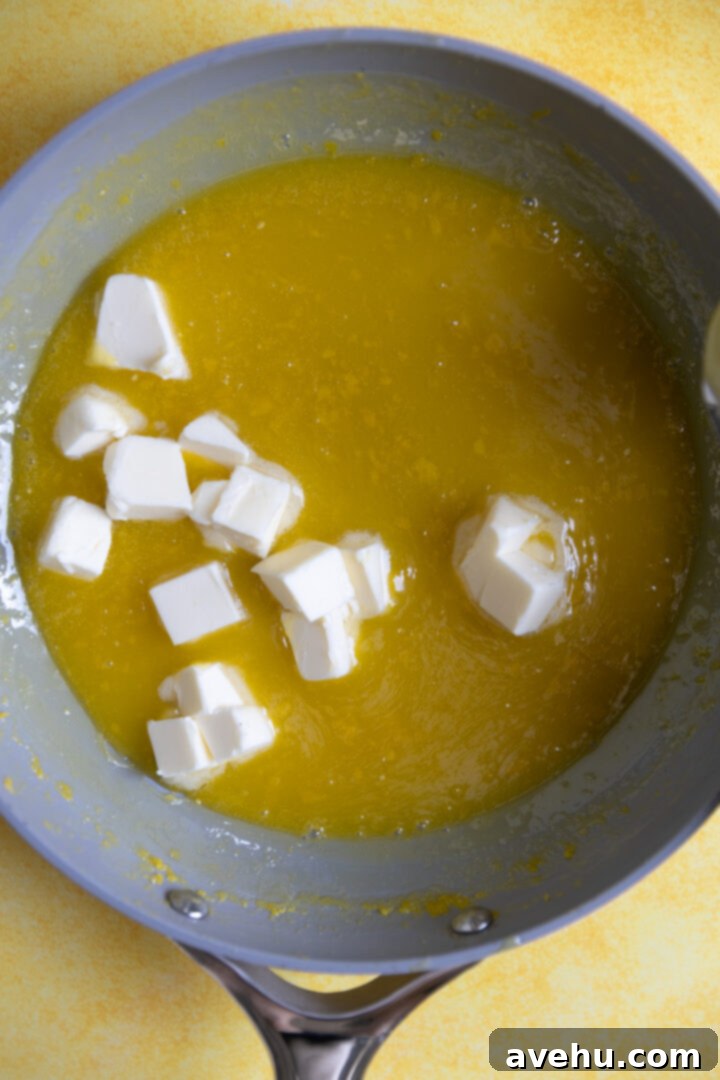
You’ll know your lemon curd is perfectly thick when it visibly coats the back of a spoon, and if you draw a clear line through the curd with your finger, the line holds without the curd running back together. Once it reaches this ideal consistency, immediately remove the pan from the heat. At this point, promptly add the 6 tablespoons of cold, diced unsalted butter. The cold butter will help to halt the cooking process, preventing further thickening, and will beautifully melt into the hot curd. This step is essential for giving the curd that characteristic smooth, creamy, and luxurious texture that is so irresistible. It also adds a wonderful richness and mouthfeel.
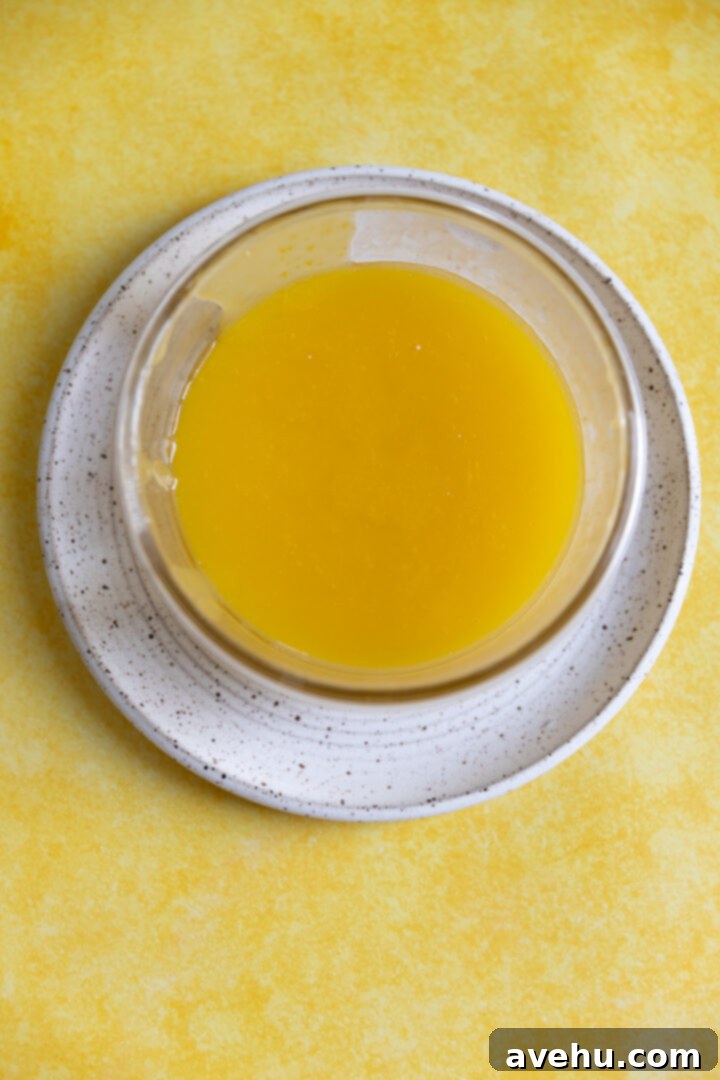
For an extra silky-smooth finish, I highly recommend straining the warm lemon curd through a fine-mesh sieve directly into a clean, heat-proof container. This critical step acts as a safeguard, catching any tiny bits of cooked egg or stray zest that might have formed despite your diligent stirring, ensuring a perfectly smooth result. To prevent an undesirable film or skin from forming on the surface as it cools, gently press a piece of plastic wrap directly onto the surface of the curd, making sure it touches the entire top. Then, cover the container tightly and place it in the refrigerator to chill thoroughly and allow it to set properly while you prepare your muffin batter. Chilling is absolutely essential for the curd to firm up to the right consistency, making it easy to handle and pipe for filling your glorious muffins.

Crafting the Perfect Lemon Muffin Batter for Tenderness and Flavor
Creating genuinely delicious, airy, and fluffy muffins is a surprisingly straightforward process, especially when you adhere to the “dry into wet” mixing method, which is a fundamental key to preventing tough, chewy muffins. The core principle of successful muffin making lies in minimal mixing. We begin by combining all the dry ingredients – this includes your all-purpose flour, the granulated sugar (now infused with that incredible lemon zest!), baking powder (for lift), baking soda (for tenderness and reaction with acidic yogurt), and a touch of salt to balance the flavors – in one large mixing bowl. In a separate, generously sized bowl, the wet ingredients are thoroughly whisked together until well combined. This wet mixture comprises melted unsalted butter, vegetable oil (which contributes significantly to extra moisture and a delicate crumb), rich Greek yogurt (adding moisture and a slight tang), wholesome whole milk, and a hint of pure lemon extract (to truly amplify that wonderful citrusy punch). Always refer to the complete recipe below for precise measurements and detailed step-by-step instructions to ensure accuracy.
Once both your dry and wet components are perfectly ready, gently pour the dry ingredients directly into the bowl containing the wet mixture. Using a large, flexible spatula, very lightly and gently fold the ingredients together. The critical objective here is to mix *just until combined*, ensuring there are no large, noticeable pockets of dry flour remaining. A common and significant mistake that frequently leads to dense, tough muffins is overmixing the batter. You actually want the batter to appear quite lumpy and textured – this is perfectly normal and, in fact, highly desirable, as it directly contributes to that wonderfully light and tender texture we crave in a perfect muffin. The advantage of mixing the dry ingredients into the wet is that it allows the flour to sit more evenly on top of the batter, making it considerably easier to incorporate with fewer strokes. This significantly reduces the risk of over-developing the gluten in the flour, ultimately yielding a far superior, tender, and moist muffin with every single bake.
Achieving Bakery-Style Tall Muffin Tops: The Secret Technique
Who doesn’t adore a beautifully domed, impressively sky-high muffin top? Achieving this signature bakery-quality look is actually much simpler than you might imagine, and it largely hinges on a smart baking technique involving temperature control. To begin, preheat your oven to a blazing 425°F (220°C). This initial high heat is the absolute secret weapon for cultivating those majestic, well-defined crowns. Prepare your muffin tin by lining it with paper liners or by thoroughly greasing and flouring each cavity. Then, proceed to fill each muffin liner generously with batter, going all the way to the top of the muffin tin, or even slightly mounding it over the rim. This is a crucial distinction: unlike cupcakes, which are typically filled only halfway, muffins actually *need* to bake over the rim to properly develop their characteristic tall, rounded tops. Do not be shy or conservative with the batter here; embrace the fullness!
The true magic of the tall muffin top happens through a two-stage temperature baking process. We initiate baking at that intense high temperature of 425°F (220°C) for the first 7 minutes. This initial burst of intense heat causes the edges of the muffin batter to set rapidly and firm up quickly. Simultaneously, the leavening agents (baking powder and baking soda) react vigorously in the hot oven, producing a powerful burst of steam and gas that forces the unfirmed center of the muffin to rise rapidly and dramatically upwards, creating that coveted domed shape. After this critical initial burst of heat, you will then lower the oven temperature to 350°F (175°C) for the remainder of the baking time, which typically spans another 13-15 minutes. This subsequent lower temperature ensures that the middle of the muffins cooks through evenly and thoroughly without the already golden-brown tops becoming burnt or overbaked. If you were to bake them at the high temperature for the entire duration, the tops would invariably burn before the interior had a chance to fully cook, leaving you with an unappetizingly burnt exterior and a raw interior. Therefore, always remember to carefully adjust your oven temperature as instructed for perfect results!

The Magic of the Zesty Lemon Glaze: An Essential Finishing Touch
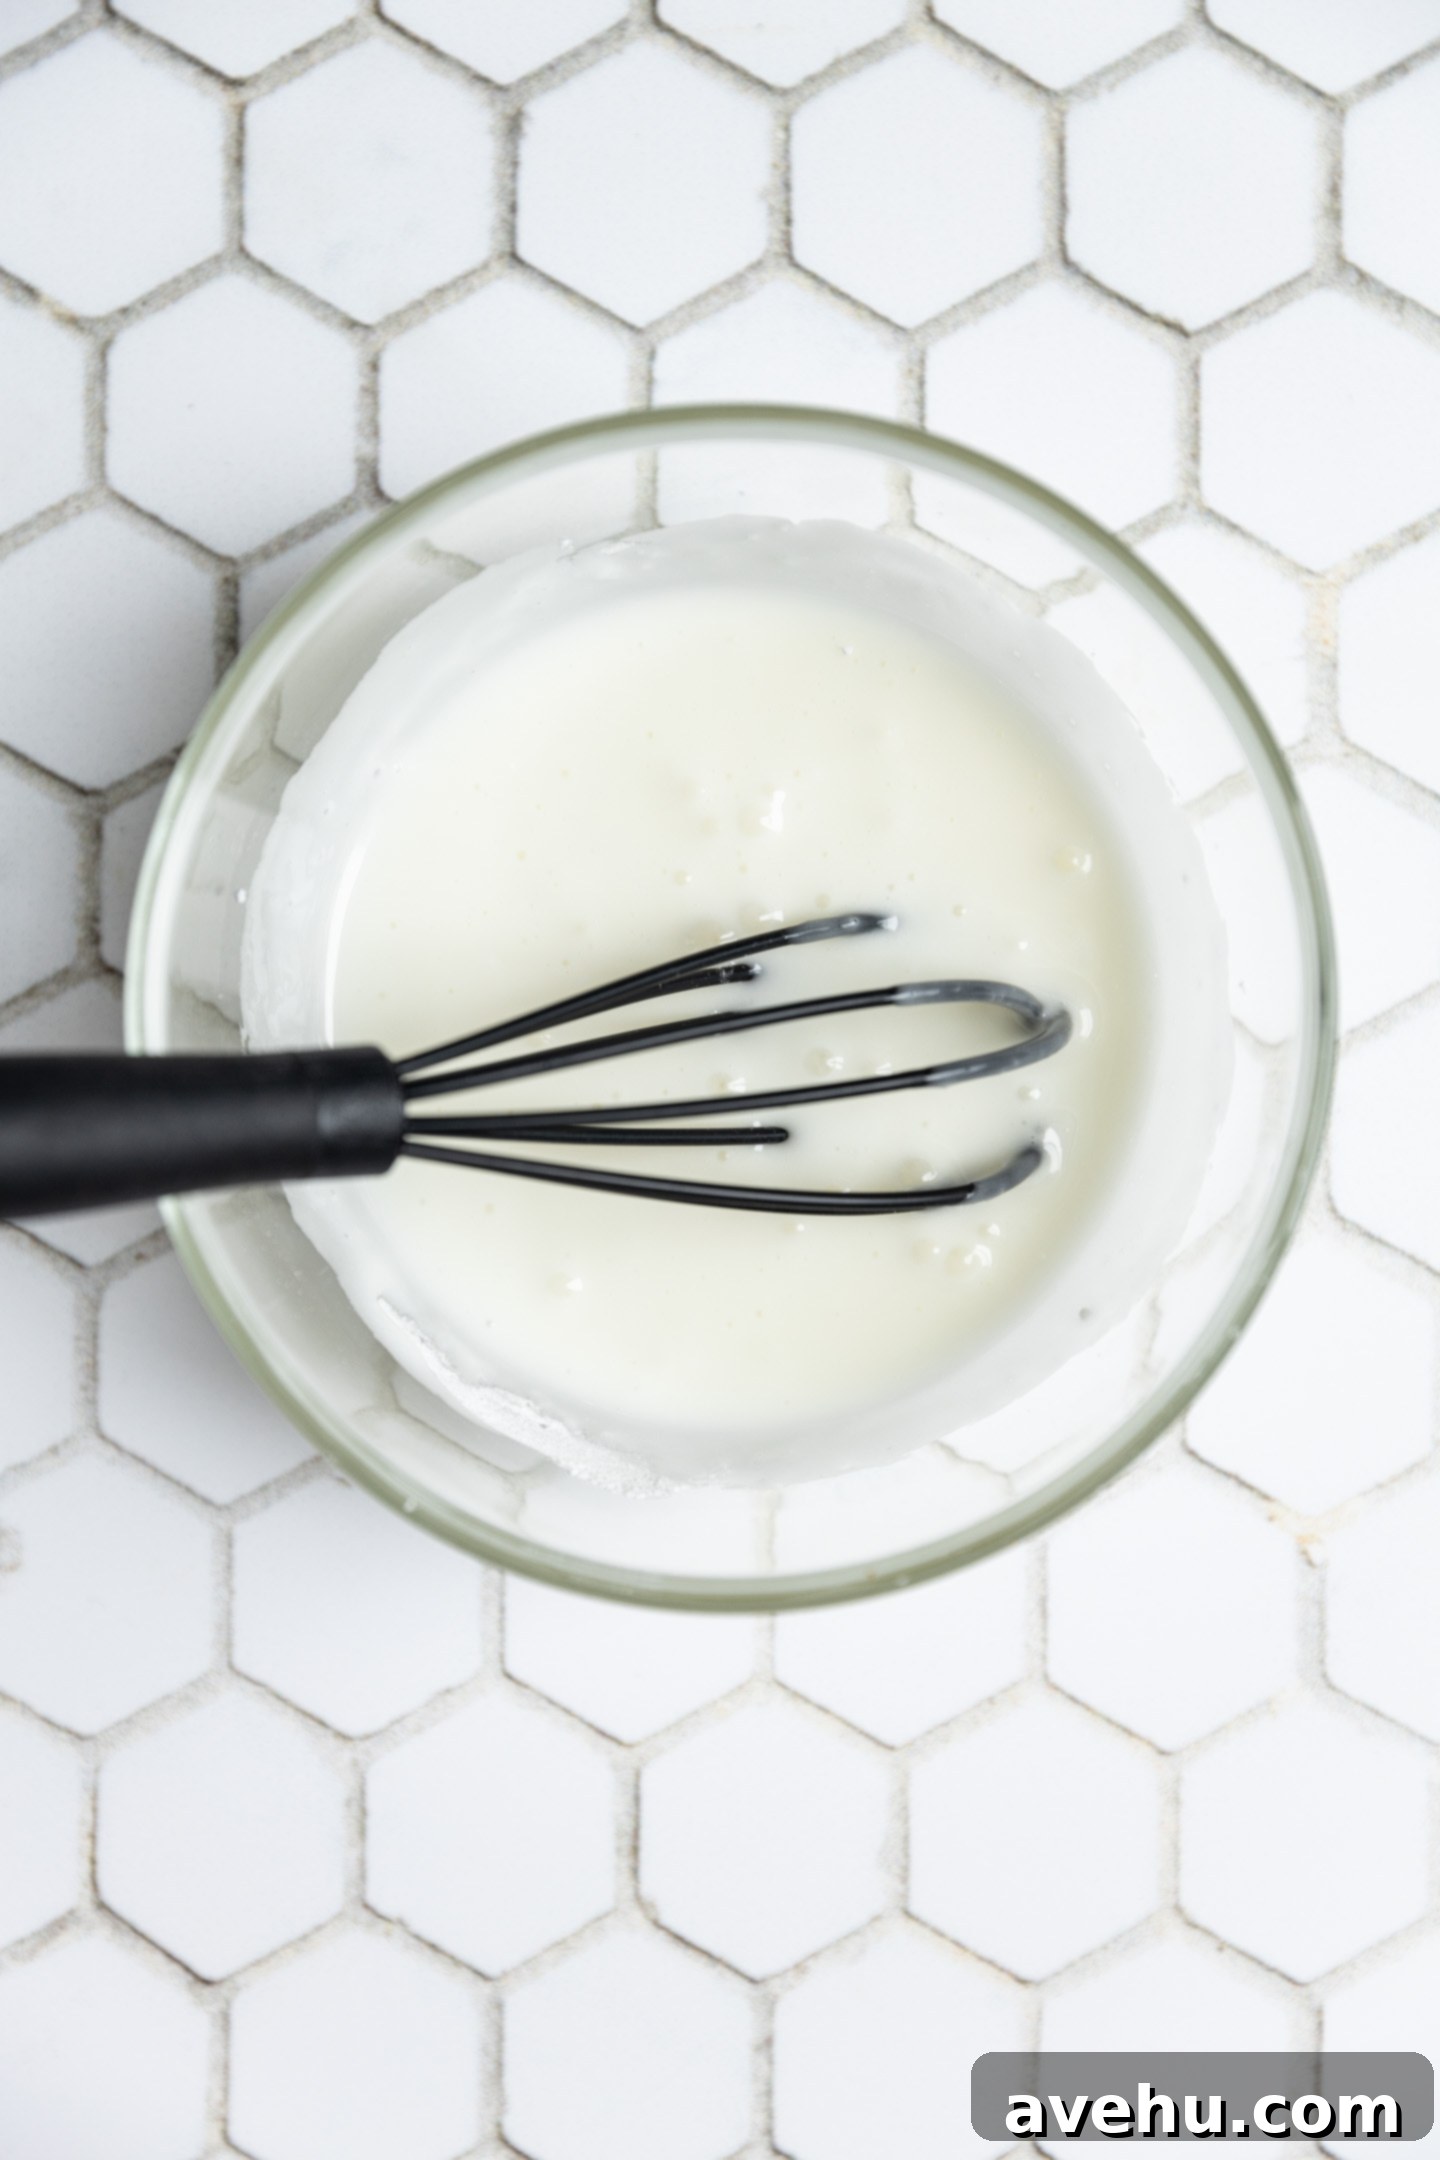
While your delightful lemon muffins are beautifully puffing up and baking to perfection in the oven, it’s the ideal moment to swiftly whip up the simple yet incredibly impactful lemon glaze. In a medium-sized bowl, combine powdered sugar (also widely known as confectioners’ sugar), fresh lemon zest (for maximum aroma), fresh lemon juice (for that signature tang), and a small splash of milk or cream. Whisk these ingredients together diligently until you achieve a smooth, pourable consistency. If your glaze appears too thick, add a tiny bit more milk or lemon juice, one teaspoon at a time; if it’s too thin, a touch more powdered sugar will correct it. Set this vibrant and aromatic glaze aside, eagerly awaiting its moment to shine.
The very instant your perfectly baked muffins emerge from the hot oven, without delay, grab your prepared glaze and a clean pastry brush. Immediately brush a generous amount of the lemon glaze over the tops of the piping hot muffins. You will observe it beautifully seeping and glistening into the warm muffin, not only infusing an additional layer of intense lemon flavor but also, as it cools, creating a delicate, slightly sweet, and utterly divine crust. This step is a genuine game-changer for overall moisture retention and adds an exquisite layer of textural delight that enhances every bite. For an added touch of striking visual appeal and an even more invigorating citrusy aroma, consider sprinkling a little extra fresh lemon zest on top of the glaze right after brushing. Be quick, though, as the glaze sets rather fast once exposed to air and the cooling muffins, and you want the zest to adhere beautifully before it hardens. Allow the glazed muffins to cool in the pan for about 10-15 minutes before carefully transferring them to a wire rack to cool completely. This crucial cooling period is essential for the internal structure of the muffin to set and ensures the glaze fully cures and hardens properly.

Effortlessly Filling Your Muffins with Zesty Lemon Curd
Once your beautifully glazed lemon muffins have achieved 100% cool room temperature, it’s time for the ultimate crowning glory: filling them with that luscious, tangy, and delightful lemon curd! There are several effective methods to achieve this, catering to different levels of kitchen gadgetry and personal preference. My absolute preferred tool for a clean, precise, and efficient fill is a donut filler syringe. This specialized tool allows for a neat injection of the curd directly into the center of the muffin without creating much mess on the exterior. If you don’t happen to own a donut filler, a piping bag fitted with a medium-sized round tip works wonderfully, providing excellent control, or even a simple squeeze bottle can offer an easy and practical approach. Alternatively, an apple corer can be used to create a neat cylindrical hole in the center of the muffin, which you then fill with curd before carefully replacing the removed muffin top like a cap. And if you’re like me and sometimes prefer to avoid accumulating too many single-use gadgets (haha, I actually tend to dislike them!), a small pairing knife can do the trick just as effectively. Carefully cut a small, cone-shaped hole in the top center of each muffin, scoop in the desired amount of chilled lemon curd, and then gently replace the cut-out muffin top to conceal the filling. Regardless of the method you choose, the burst of creamy, tart lemon curd inside makes these muffins truly extraordinary.

Alternative Method: Baking with Lemon Curd Inside the Muffin
While this particular recipe is primarily designed for filling the muffins after they have been baked and cooled, a resourceful reader from my popular lemon muffin post successfully experimented with baking the lemon curd directly inside the muffin batter, and reported fantastic results! If you’re keen to try this delightful variation, here’s how to do it: First, fill your muffin liners about halfway with the prepared lemon muffin batter. Next, gently poke your finger into the very center of the batter in each liner to create a small, shallow well or indentation. Carefully spoon approximately 1/2 to 1 tablespoon of the chilled lemon curd into this created well. Finally, top the curd with additional muffin batter, ensuring that the lemon curd is mostly covered by the batter. Continue to bake the muffins following the recipe instructions, including the crucial two-temperature baking method for achieving those coveted tall tops. You might notice that some of the lemon curd could seep out slightly during the baking process, creating charming little pockets of golden, caramelized deliciousness on the muffin tops. Rest assured, no one will complain about an extra, unexpected burst of warm lemon flavor!
Recipe Yield, Smart Storage, and Freezing Tips
This comprehensive recipe is meticulously designed to consistently produce 12 perfectly sized, individual lemon curd muffins. As a crucial reminder, the key to achieving those impressive bakery-style, sky-high muffin tops is to generously fill your muffin liners right to the brim of the tin, or even slightly overfill them, ensuring ample batter for that signature rise. If you opt for the alternative method of baking the lemon curd directly inside the muffins, you might find you have a very small amount of batter left over, as the volume of the curd displaces some of the muffin batter. For the absolute best and most vibrant experience, I highly recommend enjoying these exquisite muffins fresh on the day they are baked.

Storing Your Freshly Baked Lemon Curd Muffins for Peak Enjoyment
To keep your delectable lemon curd muffins in optimal condition and, crucially, to preserve that delicate, slightly crisp glaze crust, it’s best to store them in a cake dome or a container that allows a little air circulation. Storing them in a completely airtight container can cause the moisture to condense, leading to the glaze softening, melting fully, and ultimately disappearing into the muffins, thus losing that lovely slight crust it forms. While the muffins will undeniably still be incredibly delicious and moist, the textural contrast will be different. At cool room temperature, properly stored muffins should maintain their freshness and ideal texture for approximately 2-3 days.
Freezing Lemon Curd Muffins for Future Indulgence
If you’re planning to make a larger batch of these irresistible treats or simply wish to enjoy them over a more extended period, freezing is an absolutely fantastic and highly recommended option. For the very best results and to maintain the integrity of both the muffin and the curd, I strongly recommend freezing the muffins *before* filling them with lemon curd and applying the lemon glaze. Once the baked muffins have cooled completely to room temperature, wrap each one individually and tightly in plastic wrap to prevent freezer burn. Then, place the wrapped muffins in a freezer-safe zip-top bag or an airtight container. They can be effectively frozen for up to 2-3 months without a significant loss in quality.
When you’re ready to indulge in these frozen delights, simply remove them from the freezer and allow them to defrost naturally at room temperature for a few hours. Once fully thawed, you can then proceed with filling them with your chilled lemon curd and brushing them with a freshly made lemon glaze, just as you would with freshly baked muffins. The glaze applied at this stage will still harden beautifully, and because the muffins are no longer warm, it won’t melt into the cupcake as quickly or deeply as when applied to hot muffins, thus maintaining a more pronounced and appealing crust. This method ensures you get the freshest possible taste and the best textural experience whenever you decide to enjoy these wonderful lemon curd muffins.

Moist and Fluffy Lemon Curd Muffins
Pin
Review
SaveSaved!
Ingredients
For the lemon curd
- 5 lemons, Zest these first into a bowl on top of 1 cup of sugar
- 5 egg yolks
- 3/4 cup granulated sugar, 150g
- 6 tbsp unsalted butter, cold
- 1/2 cup lemon juice
For the lemon muffins
- 2 tbsp Lemon zest
- 1 cup white sugar
- 3 cups all purpose flour
- 3 tsp baking powder
- 1 tsp baking soda
- 1/2 tsp kosher salt
- 4 tbsp unsalted butter, melted
- 1/2 cup veg oil
- 1/2 cup whole milk
- 1/2 cup greek yogurt
- 3 eggs
- 1 tsp lemon extract
Instructions
-
Since we need lemon zest for the muffins, first zest the lemons on top of 1 cup of sugar in a medium sized bowl and set it aside, this is the sugar you’ll need in the dry ingredients for the muffins.
-
Now make the lemon curd. Separate the egg yolks from the whites carefully.
-
Combine the 5 egg yolks, 3/4 cup sugar, and 1/2 cup freshly squeezed lemon juice in a small bowl or measuring cup and whisk to combine.
-
Pour it into a heavy bottomed pan over low- medium heat. Consistently stir the mixture for 10 minutes until it has thickened. You don’t want to rush this part or raise the heat as it will cook the eggs.
-
The mixture is done when it coats the back of a spoon. If you take your finger and make a line through the curd on the back of the spoon and it stays in place, it’s done.
-
Take the pan off the heat and immediately add the 6 tbsp cold butter. Stir until melted.
-
Strain the curd through a fine mesh strainer to make it smooth. Pour the curd into a container and place a piece of plastic directly on top to prevent a film. Then cover and chill in the fridge while you make the muffins.
-
Make the muffins
-
Preheat the oven to 425° F and line a 12 cup muffin tip with muffin liners.
-
In the bowl with the sugar and zest, add the 3 cups flour, 3 tsp baking powder, 1 tsp baking soda, and 1/2 tsp kosher salt. Mix lightly with a whisk.
-
In the second bowl, add the 4tbsp butter and microwave for 30 seconds at a time until fully melted. Then add in the 1/2 cup oil, 1/2 cup milk, 1/2 cup greek yogurt, 3 eggs, and 1 tsp lemon extract. Mix well with the spatula.
-
All at once, add the dry ingredients into the wet ingredients. Using a large spatula, lightly and gently fold in the flour taking care not to over mix or mix too hard. You want the flour to JUST mix in till there are no mare large streaks. The batter will be lumpy.
-
Using an ice cream scoop for accuracy, scoop the batter into the prepared muffin tin all the way to the top.
-
Bake for 7 minutes on 425, then lower the temperature to 350°F and continue to bake for another 13-15 minutes.
-
Make the lemon glazeand set aside.
-
Take the muffins out and immediately brush them with the glaze. Then cool for 10 minutes in the pan. Move them to a wire rack to cool completely.
-
Using a donut syringe, piping bag and tip, or squeeze bottle, insert it into the top of the muffin and fill with the chilled lemon curd.
-
Drizzle with more glaze to cover the hole, or let the lemon curd show on top!
Notes
Alternatively you can bake the lemon curd into the muffins by filling up the batter halfway. Poke your finger into the middle to create a well. Add 1/2 tbsp -1 tbsp lemon curd, then top with more batter. Continue baking according to the recipe instructions.
