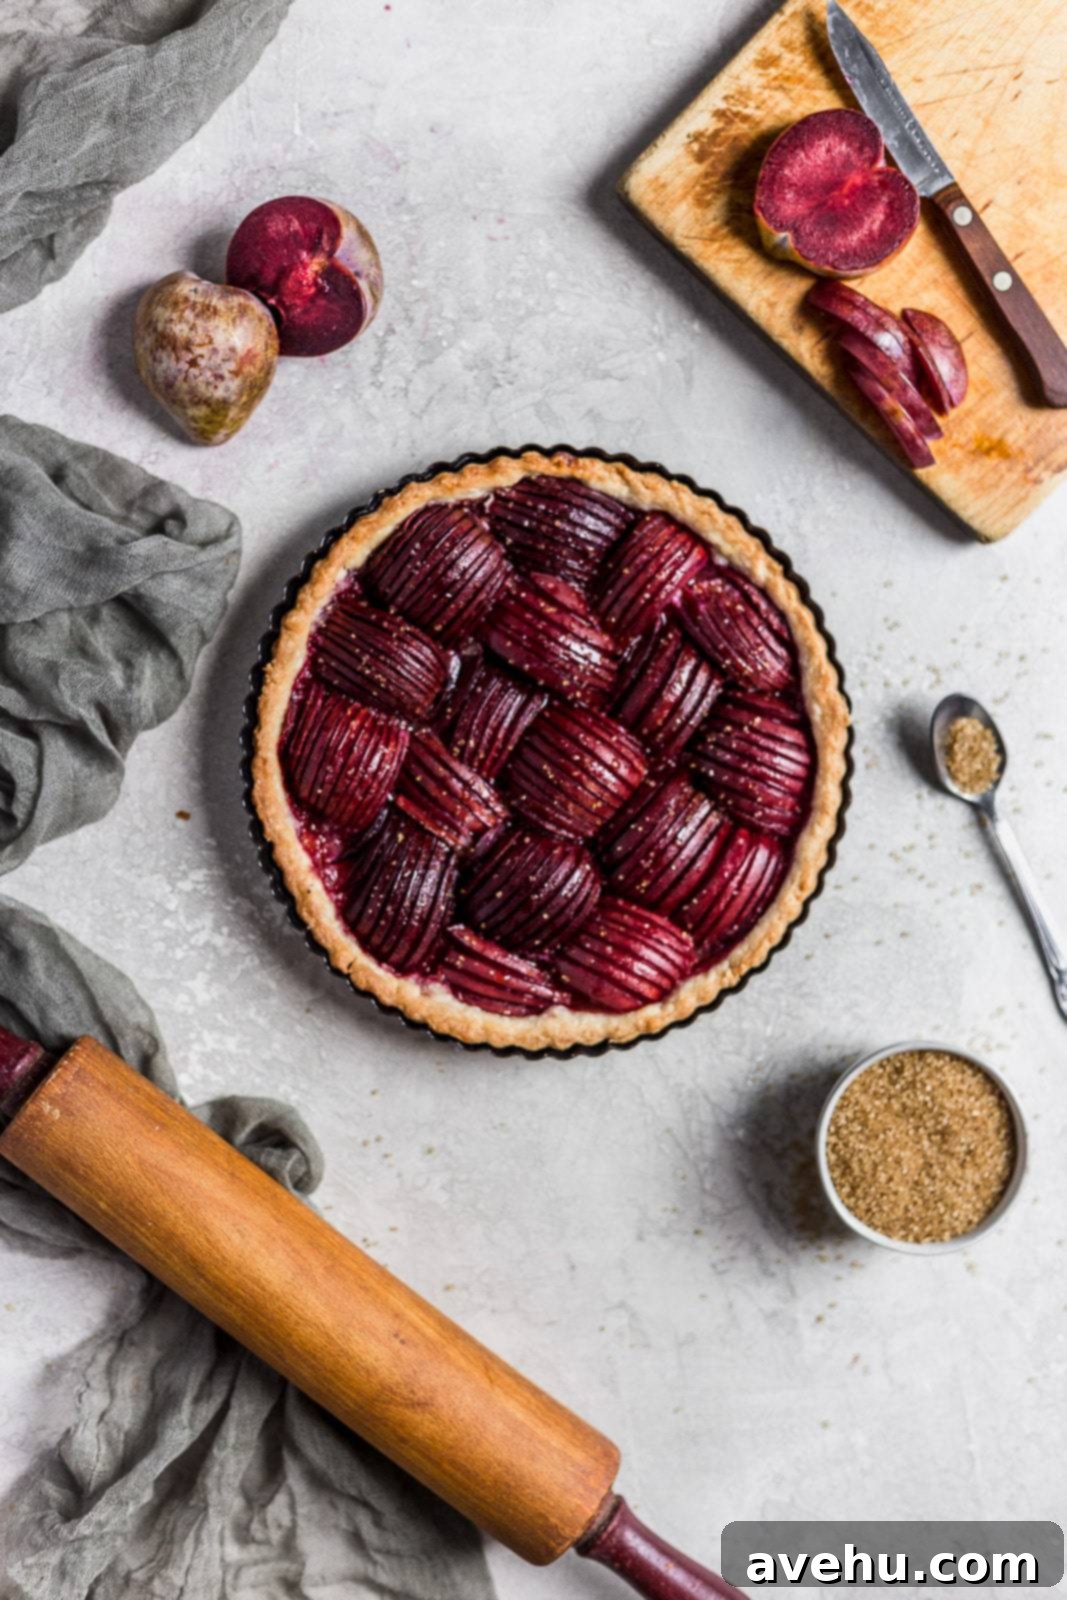
Easy & Impressive Plum Tart Recipe: A Show-Stopping Dessert with Just 4 Ingredients
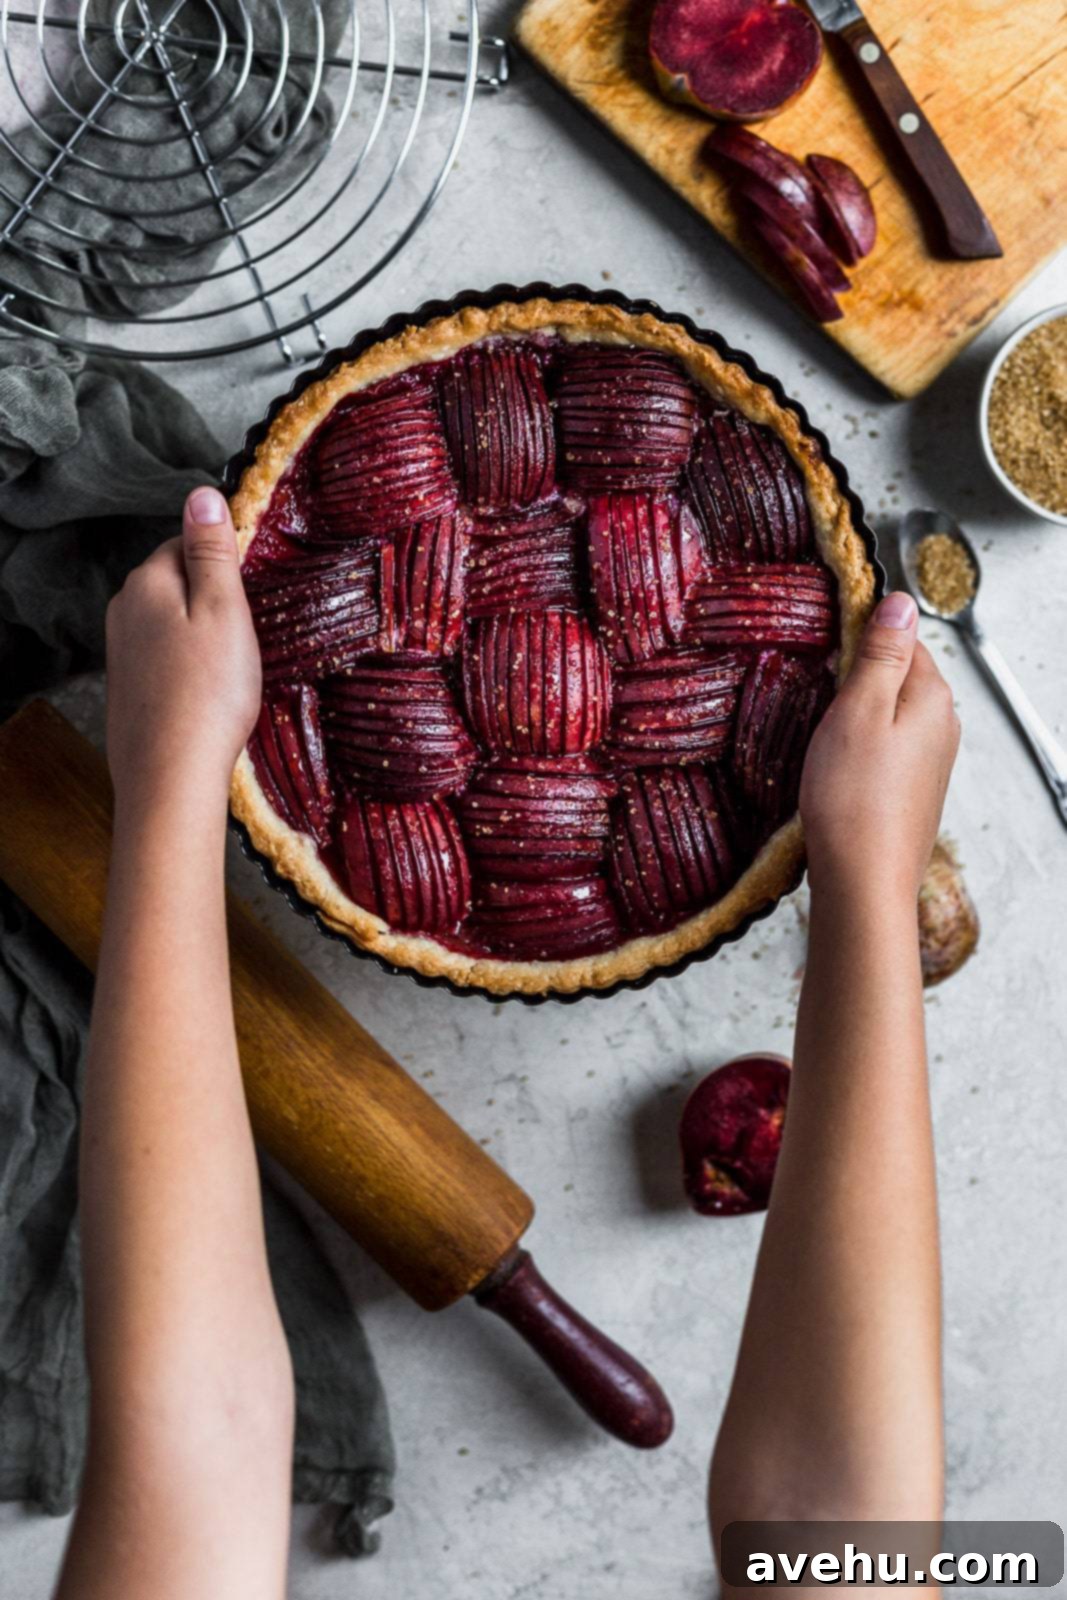
Imagine a dessert so visually stunning it looks like it took hours of painstaking effort, yet in reality, it comes together with incredible ease. This gorgeous plum tart is precisely that – a culinary magic trick designed to wow your guests and satisfy your sweet cravings without keeping you in the kitchen all day. With just a few simple, standard ingredients, you can create a masterpiece that boasts a vibrant, intricate presentation and a delightful flavor. All you truly need for this show-stopping fruit pie is a good knife and a little bit of creative arranging!
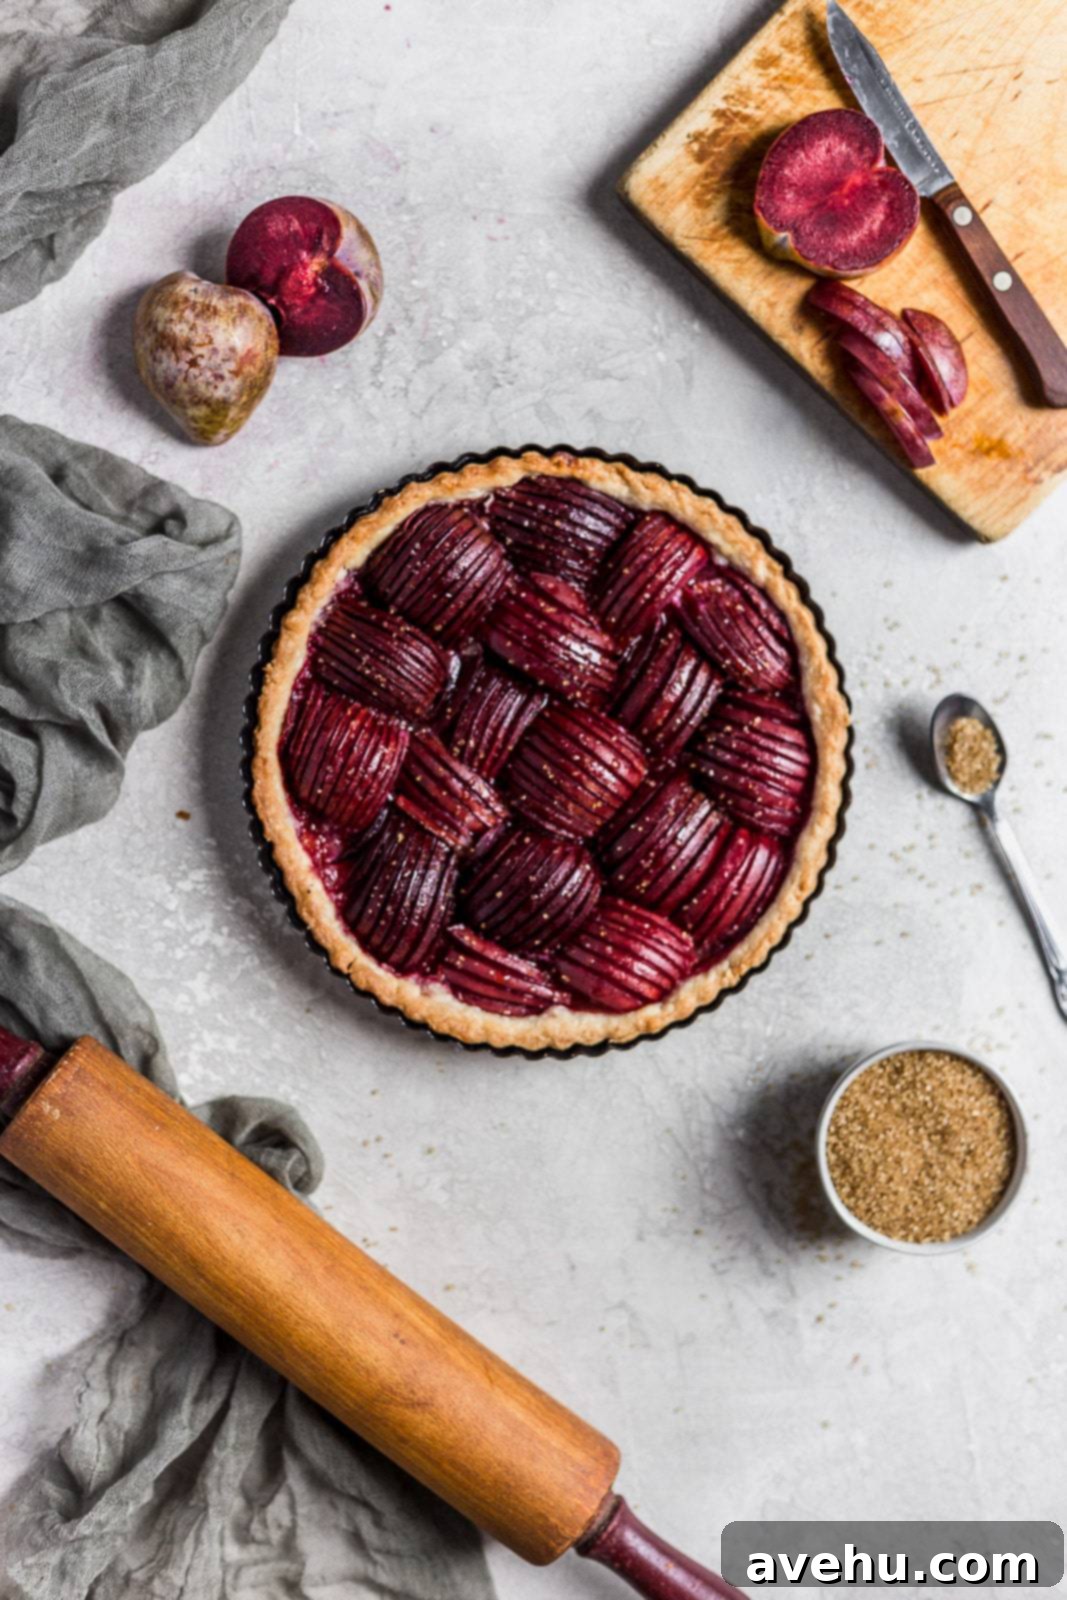
What truly sets this plum tart apart is its deceptive complexity. As a trained pastry chef, I often find joy in crafting desserts that appear outrageously intricate but are surprisingly straightforward to assemble. This recipe embodies that philosophy perfectly. It’s the kind of dessert that elicits gasps of admiration before revealing its secret: minimal effort, maximum impact. You can embrace a fantastic shortcut here by using a high-quality store-bought pie crust, which makes the entire process even quicker. Alternatively, for those who love the satisfaction of homemade, you can certainly prepare your own flaky pie crust from scratch. Either way, the result is a breathtakingly beautiful and delicious fruit tart that tastes like pure sophistication.
Why This Easy Plum Tart Will Become Your Favorite Dessert
Life can be busy, but that shouldn’t stop us from enjoying elegant, homemade desserts. This easy plum tart is designed for just that. It’s perfect for a weeknight treat, a spontaneous gathering, or when you want to impress without the stress. The vibrant color of the plums, artfully arranged, creates a stunning visual appeal that belies its simple construction. Beyond its good looks, this tart offers a delightful balance of sweet, juicy plums, a hint of honey, rich butter, and a perfectly flaky crust. It’s versatile enough to enjoy warm from the oven or at room temperature, making it an ideal choice for any occasion.
The Beauty of Simplicity: Just Four Core Ingredients
Sometimes, the simplest recipes yield the most incredible results, and this plum tart is a shining example. Would you believe it only requires **FOUR INGREDIENTS**? That’s right! Four basic components are all it takes to create this stunning and delectable fruit tart. This minimalist approach not only makes the baking process incredibly easy but also allows the natural flavors of the fresh plums to truly shine.
The Essential Ingredients for Your Simple Plum Tart:
- **The Pie Crust:** Whether you opt for convenience with a store-bought crust or the satisfaction of a homemade one, this is your foundation. I often lean towards a good quality pre-made pie dough because, let’s be honest, sometimes you want a delicious tart now, not in two hours after chilling your dough. A defrosted, ready-to-use crust means you’re just minutes away from assembling your masterpiece. If using store-bought, simply let it defrost and then re-roll it slightly to fit your tart pan if needed.
- **Perfectly Ripe Plums:** The star of the show! Choosing ripe plums is crucial for the best flavor and texture. Look for plums that are firm but yield slightly to gentle pressure and have a sweet aroma. The beauty of this tart comes from their thin, artful slices. A sharp knife is your best friend here.
- **Golden Honey:** A drizzle of honey adds a natural sweetness that complements the plums beautifully, enhancing their flavor without overwhelming it. It also contributes to a lovely caramelized sheen on the fruit as it bakes.
- **Rich Butter:** Small dots of butter scattered over the plums melt into the fruit, creating a wonderfully rich flavor and helping the plums to soften and bake evenly, achieving that perfect tender-crisp texture.
How to Make This Effortlessly Elegant Plum Tart
Creating this impressive plum tart is a straightforward process, broken down into a few simple steps. The key to its elegant appearance lies in the slicing and arrangement of the plums, which is much easier than it looks!
Step-by-Step Instructions:
- **Prepare Your Crust:** Begin by preheating your oven to 375°F (190°C). If using a store-bought pie dough, ensure it is fully defrosted. Carefully unroll it and fit it into your tart pan. You can gently press it into the corners and trim any excess dough around the edges. If you’re using a homemade crust, roll it out to your desired thickness and size before placing it in the pan.
- **Slice the Plums:** This is where the magic happens for that stunning visual effect. Take your ripe plums and, using a very sharp knife, slice them into thin, approximately ⅛-inch thick slices. The trick here is to try and keep the slices of each plum together as much as possible. This makes arranging them much easier and creates those beautiful “clusters” that give the tart its intricate look. You might find it helpful to slice each plum into quarters first, then thinly slice each quarter to maintain structural integrity.
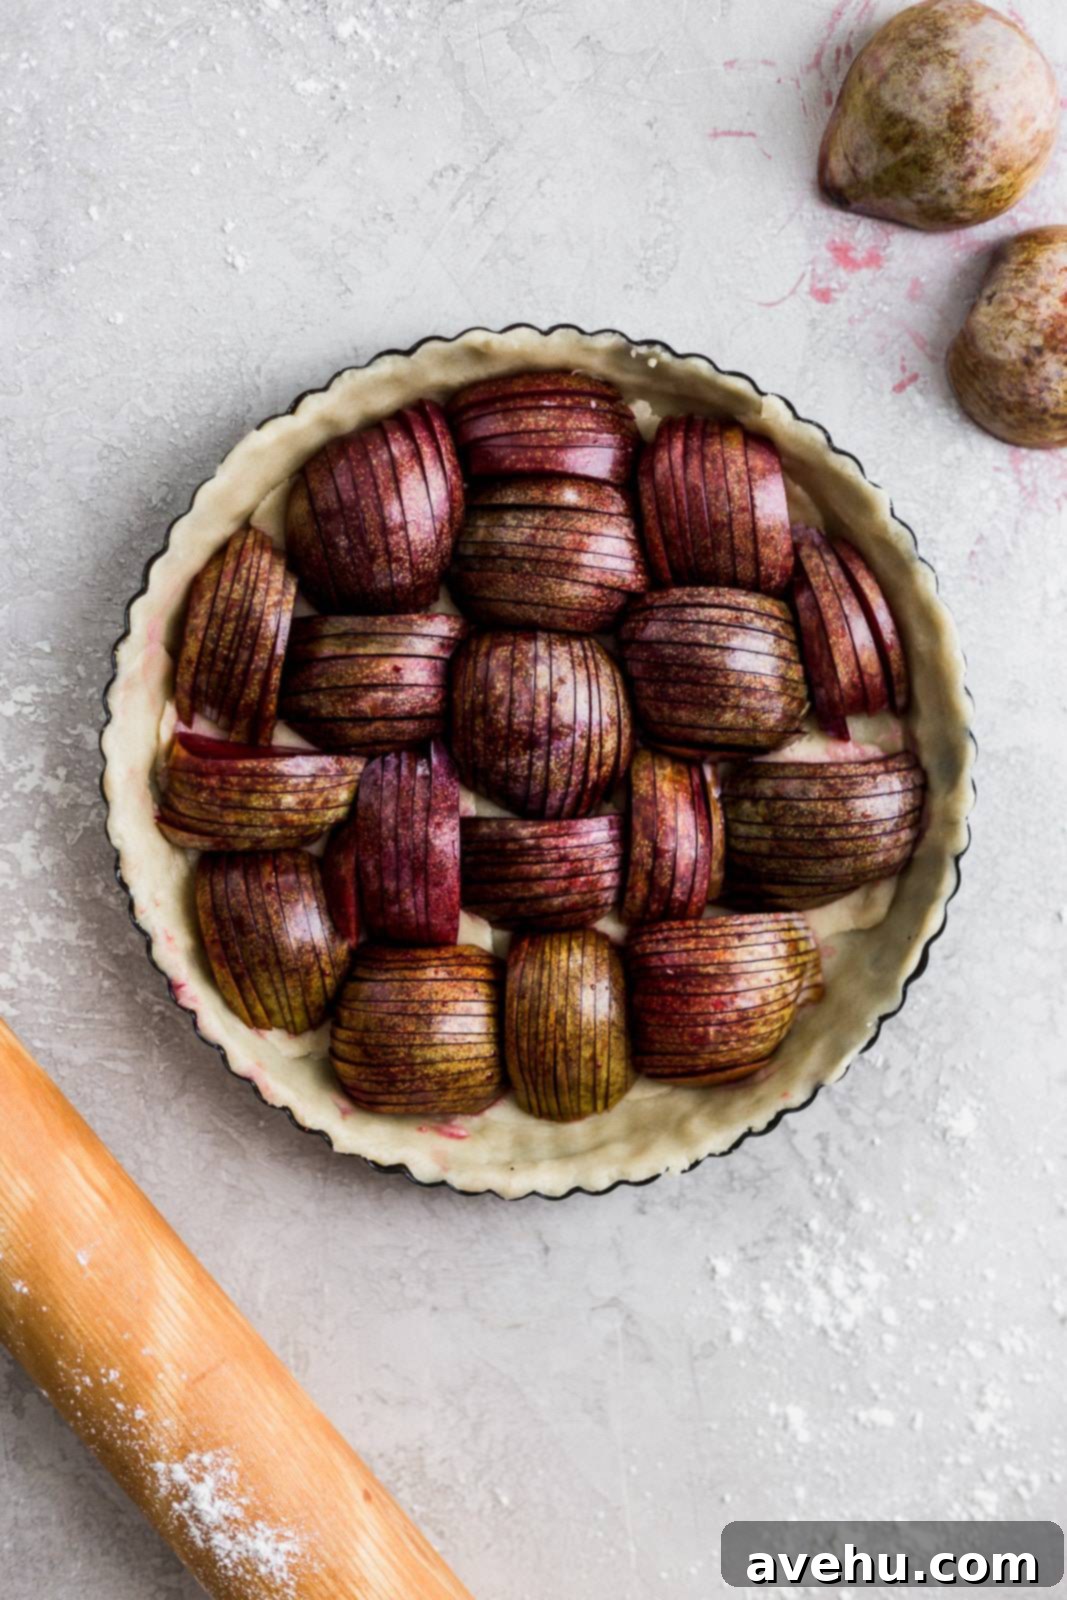
Once your plums are perfectly sliced, it’s time for the artistic touch!
- **Arrange the Plums:** Carefully arrange the plum slices snugly in the pie crust. You can create a beautiful pattern by lining them up in clusters, alternating between horizontal and vertical orientations, or creating a circular, fanned-out design from the outside in. Don’t worry about perfection; the rustic charm of a fruit tart is part of its appeal. The goal is to fill the crust completely, so the plums are packed in tightly. This ensures an even bake and a lush, fruit-filled tart.
- **Flavor and Bake:** Next, generously drizzle about one tablespoon of honey evenly over the arranged plums. This will add sweetness and help caramelize the fruit. Then, dot the slices with small pieces of butter (using a total of two tablespoons). Distribute the butter bits all around the tart to ensure even melting and to infuse the plums with rich flavor as they bake.
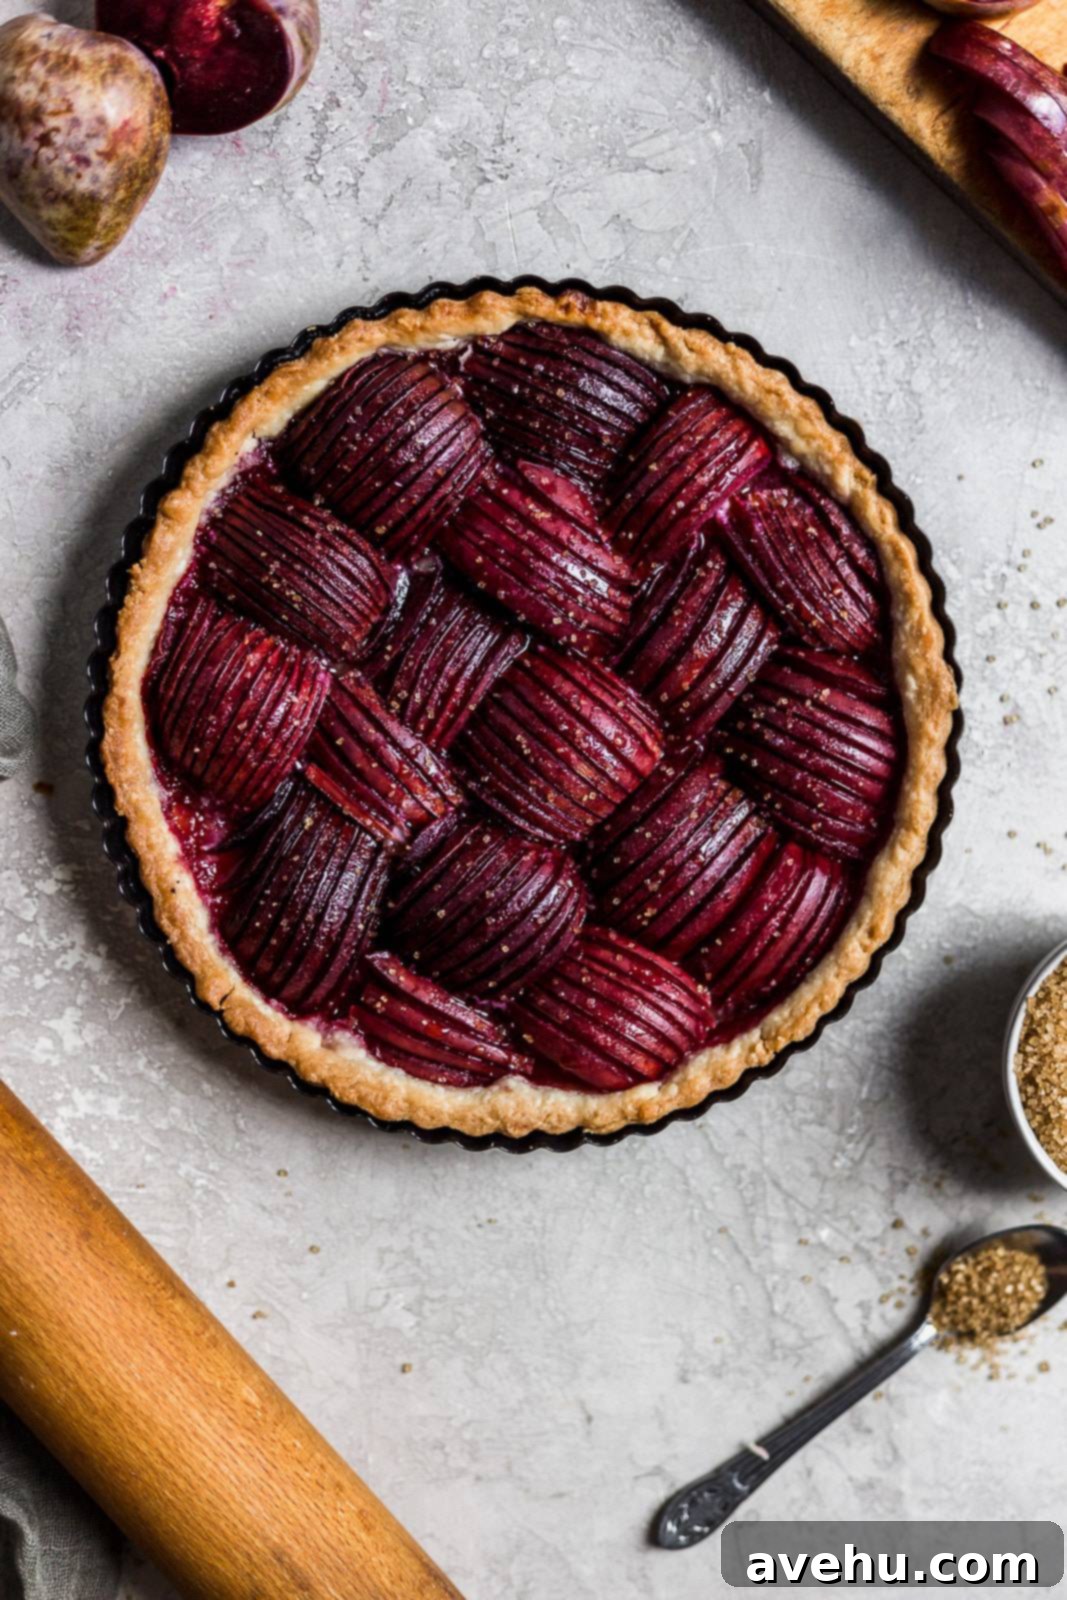
- **Bake to Golden Perfection:** Place your plum tart in the preheated oven and bake for approximately 20 minutes. Keep an eye on it; you want the pie crust edges to turn a beautiful golden brown and the fruit to look slightly dried out and caramelized, with the plums tender and juicy. The aroma filling your kitchen will be absolutely glorious! Once baked, you’ll be left with an incredibly glorious-looking, EASY AS ANYTHING, and truly impressive plum tart.
Garnishing Your Masterpiece
While this plum tart is stunning on its own, a simple garnish can elevate it even further. If you’re feeling a little extra fancy (and are okay with pushing our ingredient count to a grand total of five!), you can sprinkle some turbinado sugar (coarse brown sugar) on top of the tart before or after baking. This adds a beautiful sparkle and a delightful textural crunch. Marvel at your handiwork – you’ve just created a bakery-worthy dessert with minimal fuss!
Serving Suggestions for Your Plum Tart:
This plum tart is fantastic served warm, allowing the fruit’s juices to mingle with the melted butter and honey. A scoop of vanilla bean ice cream or a dollop of freshly whipped cream makes for an indulgent accompaniment. It’s also delicious at room temperature, making it a perfect dessert to prepare ahead for parties or picnics. For an extra touch, a light dusting of powdered sugar just before serving can add an elegant finish.
Beyond Plums: Fruit Variations You’ll Love
One of the best things about this easy plum tart recipe is its incredible versatility. The technique used here—thinly slicing fruit and arranging it artfully in a crust—can be applied to various other fruits with equally impressive results. It will work beautifully for:
- **Apples:** Think thinly sliced Granny Smith or Honeycrisp for a classic apple tart. A sprinkle of cinnamon would be a delightful addition.
- **Peaches:** Use ripe, firm peaches for a summery twist. No need to peel if you don’t mind the skin.
- **Pears:** Bosc or Anjou pears, thinly sliced, create a sophisticated and subtly sweet tart.
However, I would not suggest this technique for berries, as their smaller size and higher water content don’t lend themselves to the neat, fanned arrangement and can result in a soggy tart. While the tart is best enjoyed fresh, I also wouldn’t suggest freezing the baked tart, as the texture of the fruit and crust can suffer. But here’s some great news: this recipe is incredibly forgiving and adaptable!
Making it Your Own: Dietary Adaptations & Tips for Success
This plum tart is not only easy to make but also simple to adapt to various dietary needs. To make this recipe **vegan**, simply swap out the butter for a plant-based butter substitute and replace the honey with agave nectar or maple syrup. The results will be just as delicious and impressive. The inherent simplicity of the ingredients means fewer potential allergens and more flexibility.
Tips for Achieving a Perfect Plum Tart Every Time:
- **Choose Ripe Plums:** This is paramount for flavor. Ripe plums are sweeter and juicier.
- **Sharp Knife is Key:** Thin, even slices are critical for both presentation and proper baking.
- **Keep Slices Together:** When slicing plums, try to keep the original shape so you can easily arrange them in clusters.
- **Don’t Overcrowd, But Be Snug:** Arrange the plums tightly enough to fill the crust without overflowing, allowing them to bake evenly.
- **Even Butter Distribution:** Ensure the butter dots are spread across the tart to enhance flavor and promote uniform cooking of the fruit.
- **Monitor Baking:** Ovens vary, so keep an eye on your tart. The edges should be golden, and the fruit tender.
Seriously, this recipe is so forgiving, super easy to make, and delivers truly impressive results every single time. Get ready for all the oohs and ahhs from your family and friends!
AHH, I’m excited for you to try it!
Plum Tart – Easy and Impressive!
Pin
Review
SaveSaved!
Ingredients
- 1 pre-made or store-bought pie crust, defrosted
- 8-10 ripe plums, sliced into ⅛ inch slices, keep slices together!
- 1 tablespoon honey
- 2 tablespoons butter, cut into small dices
- Turbinado sugar for garnish, optional
Instructions
-
Preheat the oven to 375° F.
-
Arrange the plum slices in clusters, alternating between horizontal and vertical. They should fit snugly next to each other.
-
Drizzle with honey, and dot with butter. Make sure you dot the butter all around to ensure the plums bake well. Bake for 20 minutes until the pie edges are golden brown and the fruit is dried out a little. Garnish with turbinado sugar if you like!
Notes
You can use this technique for apples, pears, or peaches too!
Slice the plums into quarters and then into the slices to keep them more together.
Make sure you slice the plums thinly so that they can bake well.
